
Halo 5: Guardians Guide Campaign Walkthrough Mission 1: Osiris
Major Firefight: Kraken Battle
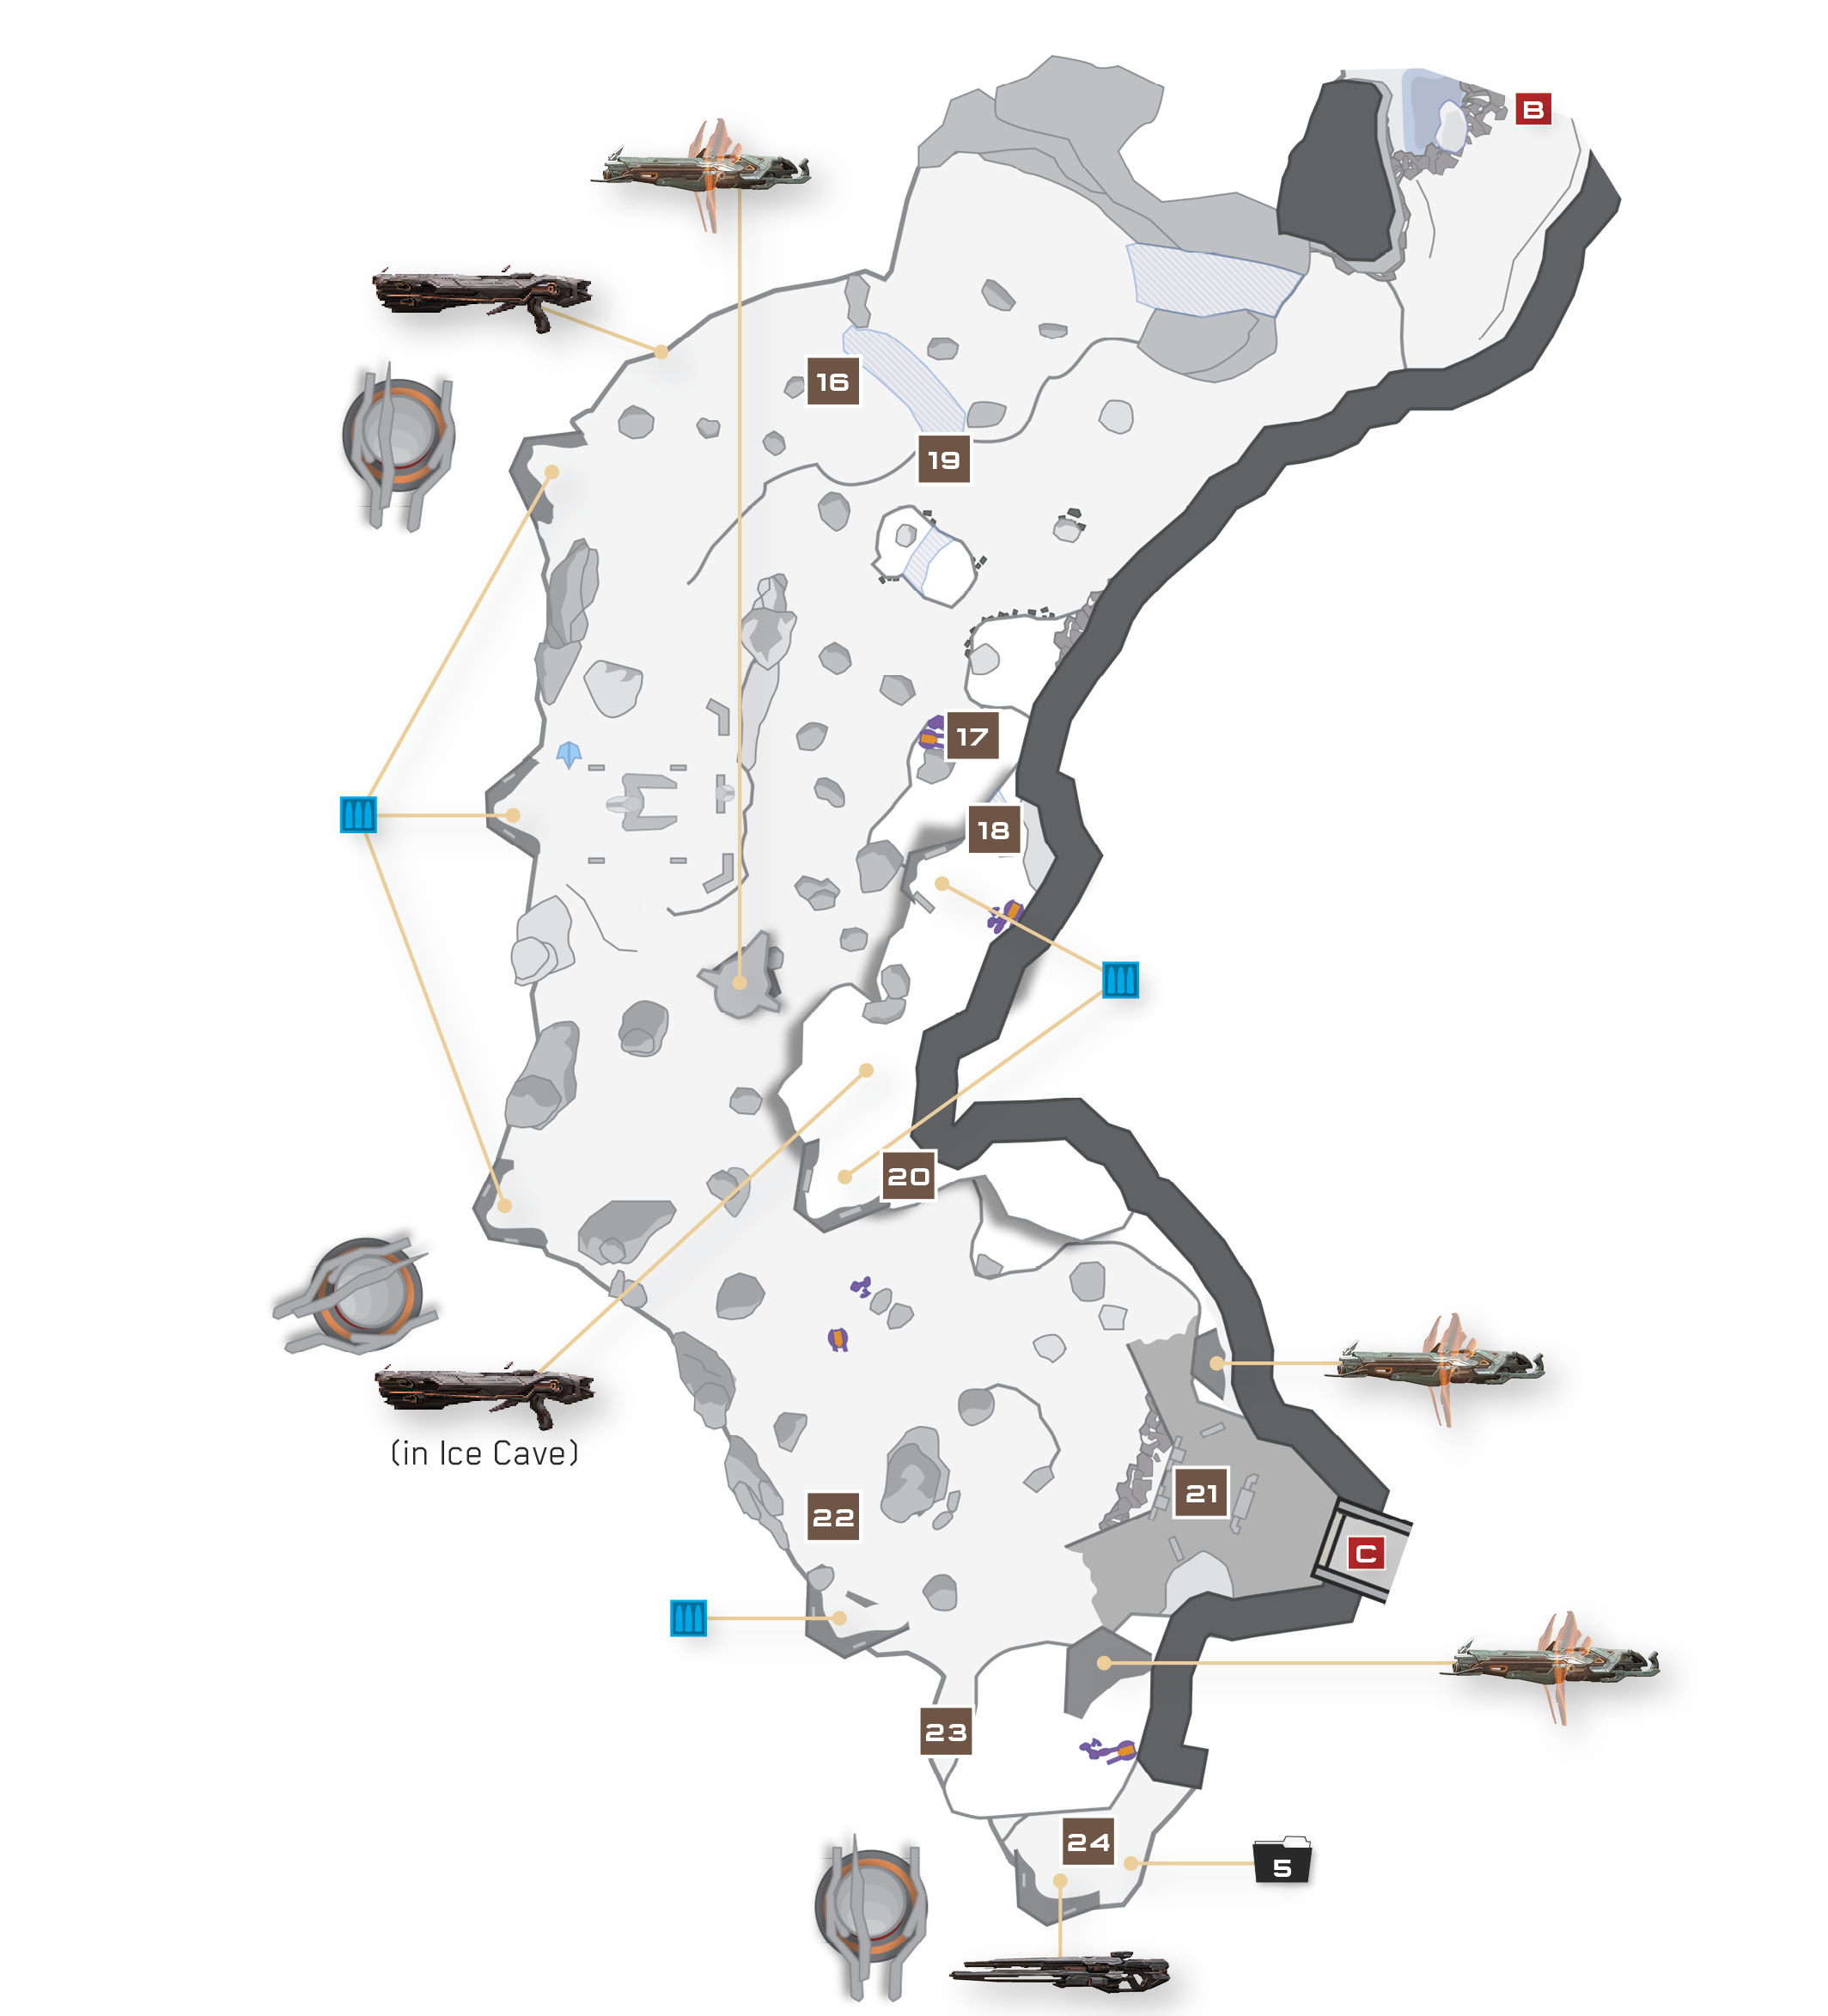
From one major firefight to another—such is the life of Fireteam Osiris. This next clash is even more major than the last, with huge numbers of Covenant fighters and Prometheans locked in battle across a wide, snowy hill. Picking good sniper perches makes all the difference in this long fight.
Recommended Loadout
A LightRifle will serve you well in this fight, for the battlefield is large, and picking off threats from afar is helpful. However, you’ll also want a good backup weapon for times when those pesky Crawlers close in. You can’t go wrong with a Suppressor or Scattershot as your number two, especially if that Scattershot is Loathsome Thing.
Two tunnels lead out of the cave and into the Kraken battlefield. Take the right tunnel out of the cave to reach a snowy hill 16, where you have a great view of the action between the Covenant fighters at the base of the hill and the Prometheans poised to defend it.
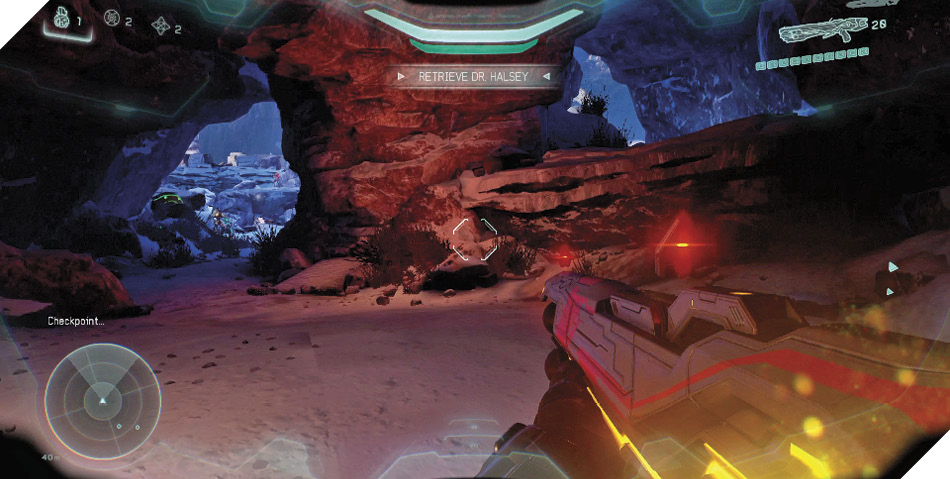
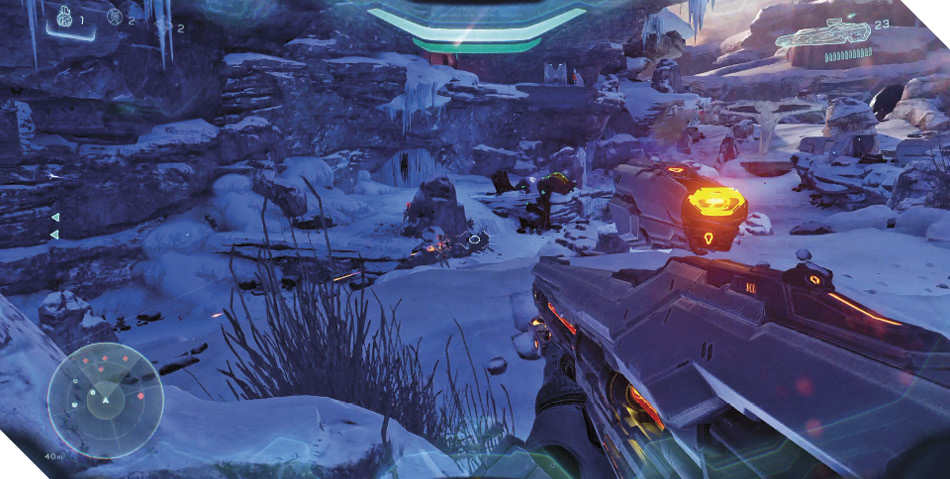
Pick shots at remote foes from the snowy hill 16, prioritizing Crawlers and Soldiers. The Covenant troops are too busy to bother with you, and will largely ignore you as long as you don’t attack them. Exploit the situation and work with the Covies to push back the Prometheans. Fall back and switch to a Suppressor or Scattershot to cut down any ambushers, then turn your attention back to sniping constructs that lie farther ahead. The distant Soldier that’s manning a Splinter Turret atop the central platform is a primary target.
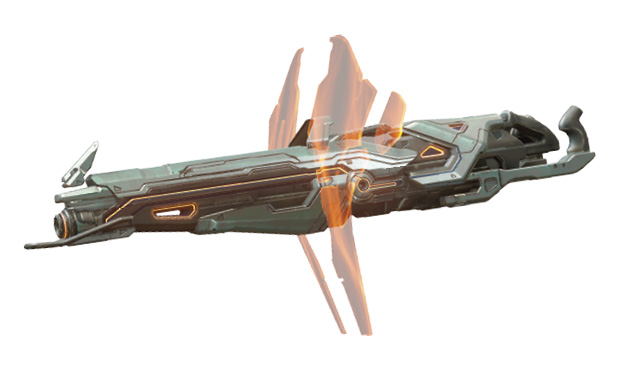
Splinter TurretSplinter Turrets are stationary Promethean weapon systems designed to deliver deadly mortars across a battlefield. Not only are Splinter Turrets lethal, but also they never run out of ammo—a formidable combination. Seize control of a Splinter Turret and you can detach the weapon from its mount; this lets you carry it around the field as a third weapon, albeit at a loss of agility. Detached Splinter Turrets lose their infinite ammo advantage, but it usually doesn’t take many shots to get the job done. |
Legendary StrategyEliminating hostiles from afar is vital when playing on Legendary. Use a LightRifle to thin out the enemy’s ranks from range, never advancing too far or exposing yourself to needless risk. Keep to the high ground, take your time, and make every shot count. |
Achievement: Enemy of my Enemy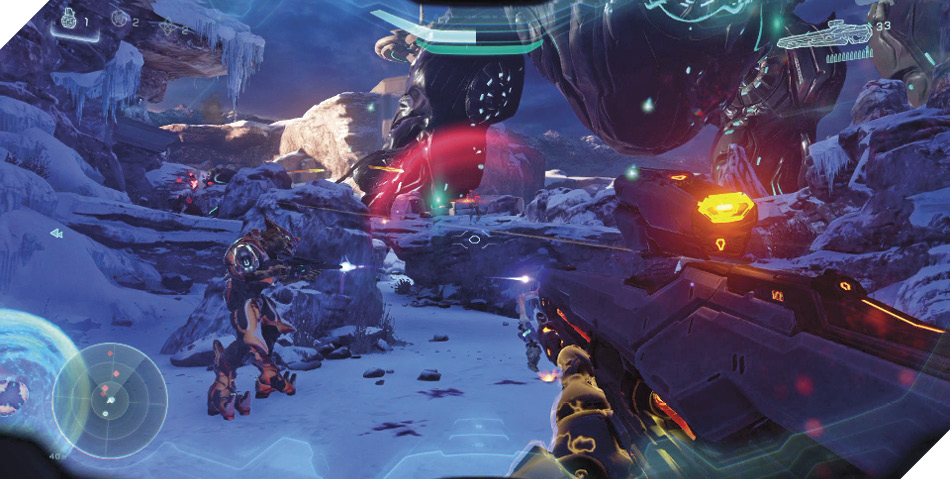
If you’re playing on Heroic or Legendary difficulty, then you’re able to complete a special Achievement during the Kraken battle. Keep your distance from the Covenant forces at the bottom of the hill and don't attack them. Provide overwatch and advance ahead of them instead, helping them wipe out Promethean Soldiers and Crawlers they're battling. 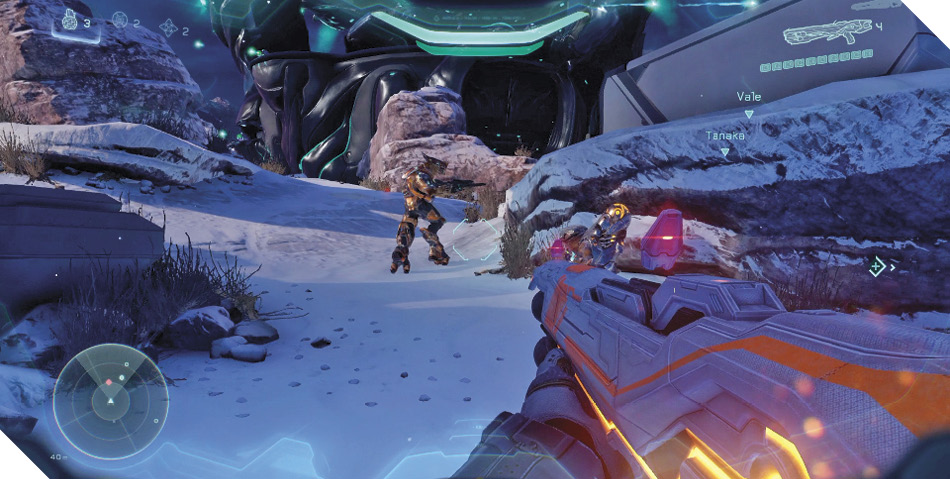
Keep fighting your way uphill, leading the charge to protect the Elite. This Achievement is easier to finish in Co-op, for the Elite rushes forward near the top of the rise, and you don’t have long to neutralize the entrenched Prometheans. Instruct your teammates to spread out and secure the hilltop as quickly as possible, prioritizing those pesky Splinter Turrets. Finish the battle without losing the Elite to complete the Achievement! If the Elite happens to die, restart from the last checkpoint and try again. |
When suitable targets become scarce, advance along the main trail and look for a suspicious wall of ice on the left 17. Perform a Spartan Charge here to smash through the ice, then clamber up the ledges beyond to reach an excellent sniper’s perch 18.
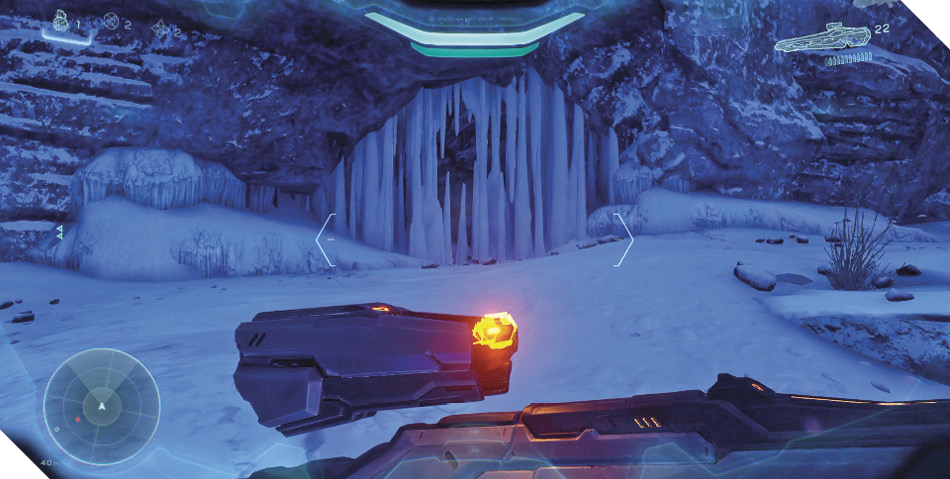
Alternate ApproachIf you prefer to keep your feet on the ground, avoid the high ledge and smash through an ice wall over on the right instead 19. This leads to a side trail that runs along the area’s right edge, letting you or your Co-op teammates flank the Prometheans. As a bonus, the side trail also features a Forerunner weapon rack that’s stocked with a Scattershot. 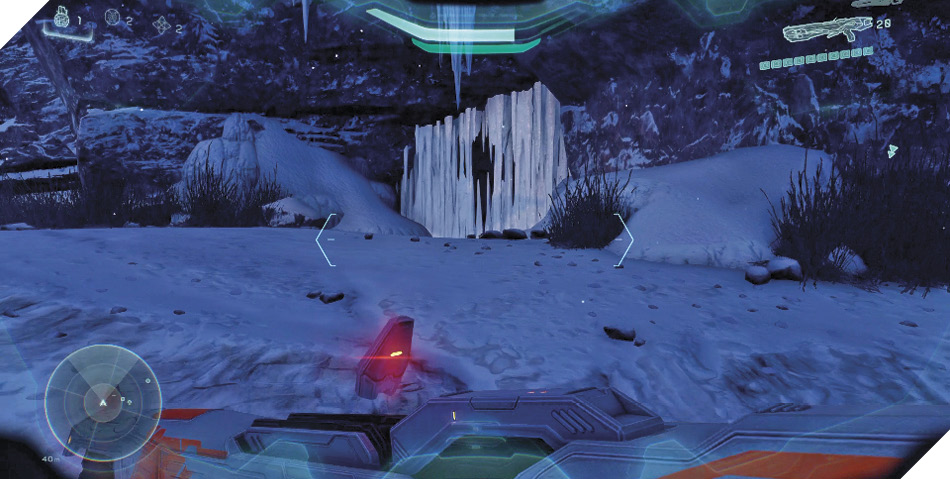
|
Continue to pick off foes from the perch, grabbing more LightRifle ammo from the nearby weapon rack. Lob grenades down at the enemies clustered below, then pick off the stragglers. Don’t advance too far along the ledge or you’ll expose yourself to fire from the enemies around the bend.
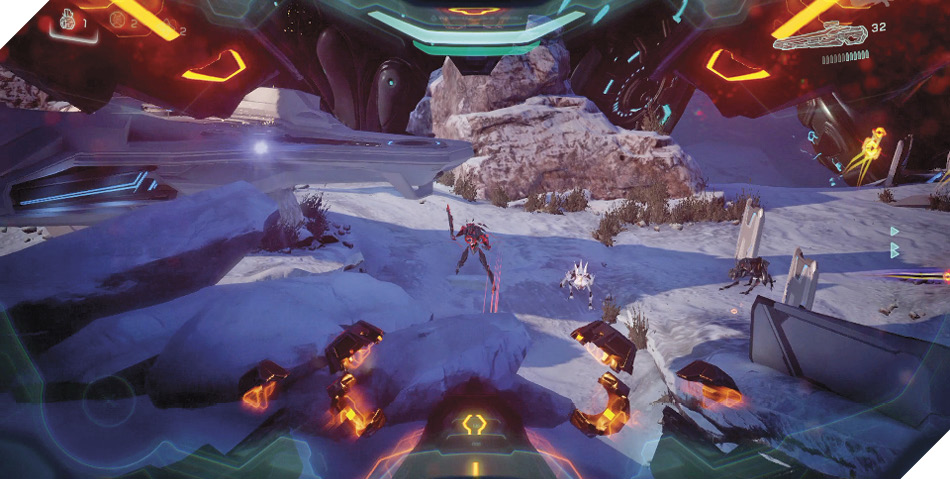
After neutralizing all nearby threats, restock your ammo and then advance to the ledge’s far end 20. From here, you can pick off several more Prometheans that stand between you and the next Forerunner facility 21. Crouch, and you’ll be able to snipe a Soldier that mans a distant Splinter Turret near the facility. Try to dispatch this troublesome Soldier and/or disable its deadly Splinter Turret from here.
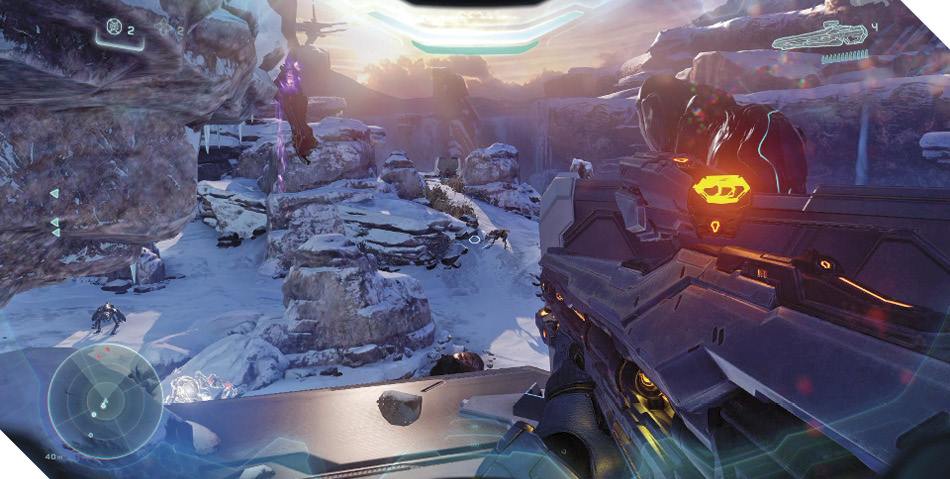
When no further targets present themselves, drop from the ledge. If you like, smash through the ice wall below to discover a Scattershot. Sprint to the main path’s right side 22 afterward as you advance on the Forerunner facility. You’ve taken out the Splinter Turret on the right, but there’s still one on the left, and several more Soldiers guard the structure’s front door 21. Keep to the right as you advance, using rocks as cover as you move to flank the front door.
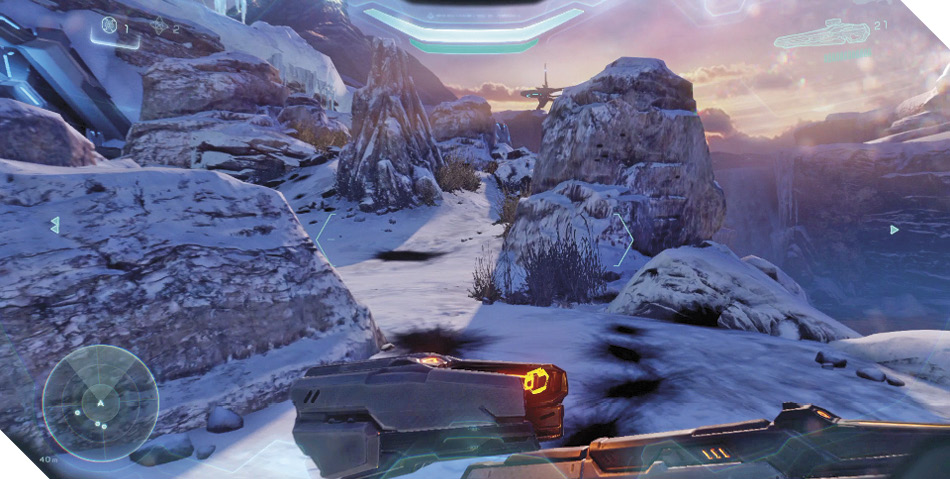
Stay to the right and move to the very edge of the area, where you’ll be able to jump up and grab onto a low ledge 23. Climb up to find yourself near a weapon rack stocked with a powerful Binary Rifle 24. Ignore the Binary Rifle for the moment and jump to higher ground. Use your LightRifle to pick off the Soldier manning the remaining Splinter Turret, then toss grenades at the Soldiers near the facility’s door, finishing them off with a Scattershot or Suppressor.
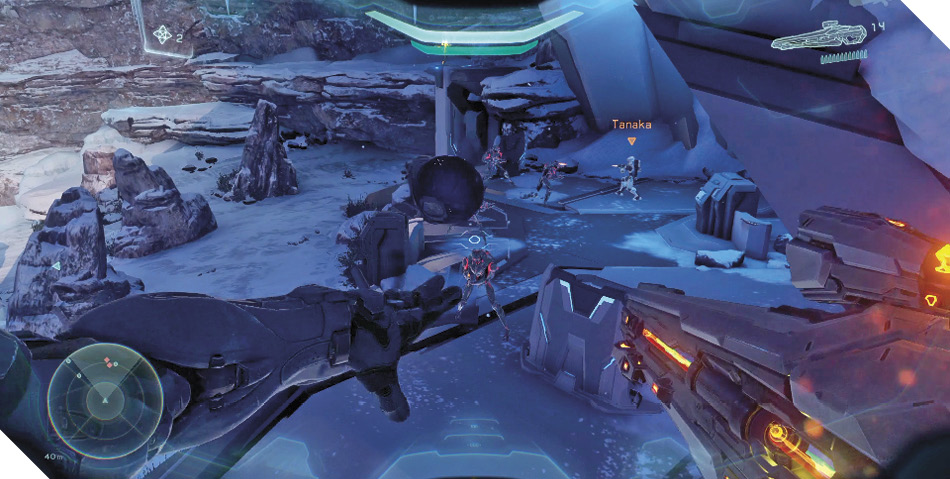
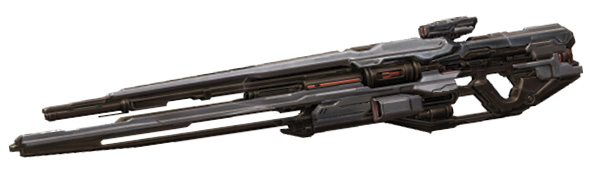
Binary RifleThe Prometheans’ ultimate long-range precision weapon, the Binary Rifle packs a tremendous punch across long distances. Comparable to the UNSC’s Sniper Rifle, the Binary Rifle’s powerful scope features a double-zoom function, letting you sight targets and score lethal headshots across incredible distances. Only two rounds can be loaded into a Binary Rifle at a time, so the weapon needs to be reloaded often. Ammo is always scarce, so make every shot count! |
After securing the area, return to the side ledge with the Binary Rifle 24. Trade your LightRifle for the Binary Rifle, then inspect the nearby ground to find a UNSC data pad. This one looks different than the others you’ve found because it isn’t one of the Covenant’s; it belonged to Dr. Halsey, the focus of your mission. Scan the data pad to unlock some new intel, then enter the nearby facility to advance to the mission’s final battle.
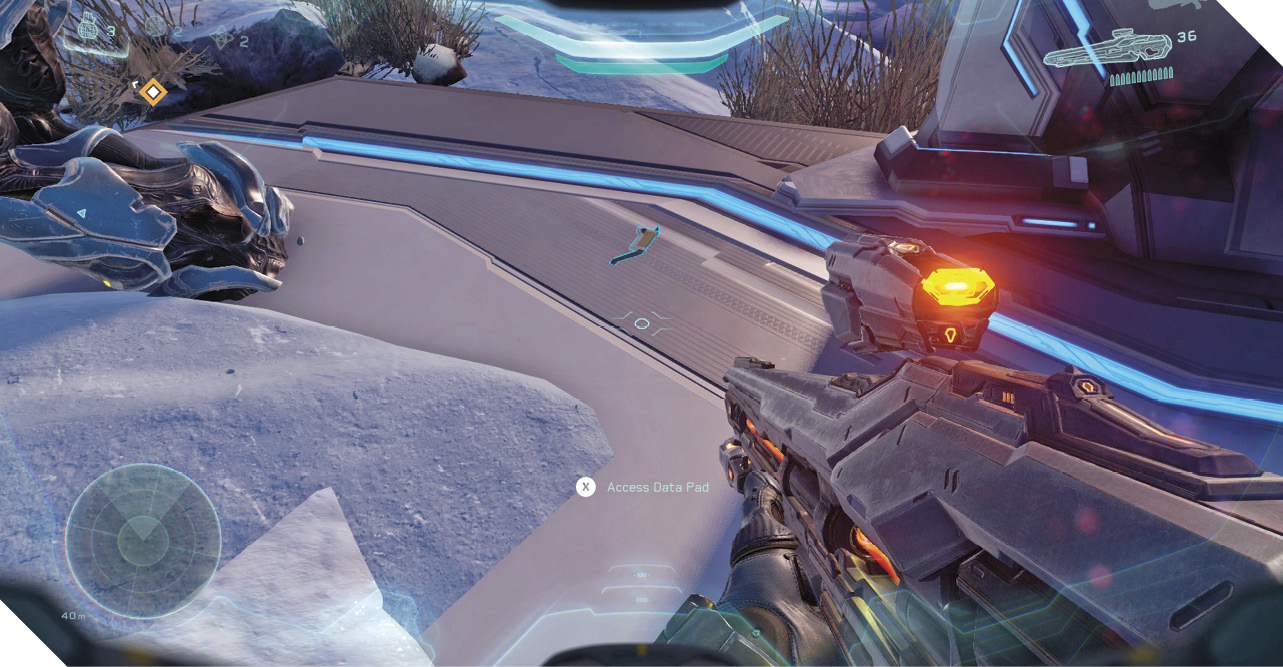
Mission 1 intel Acquired (5/7) |