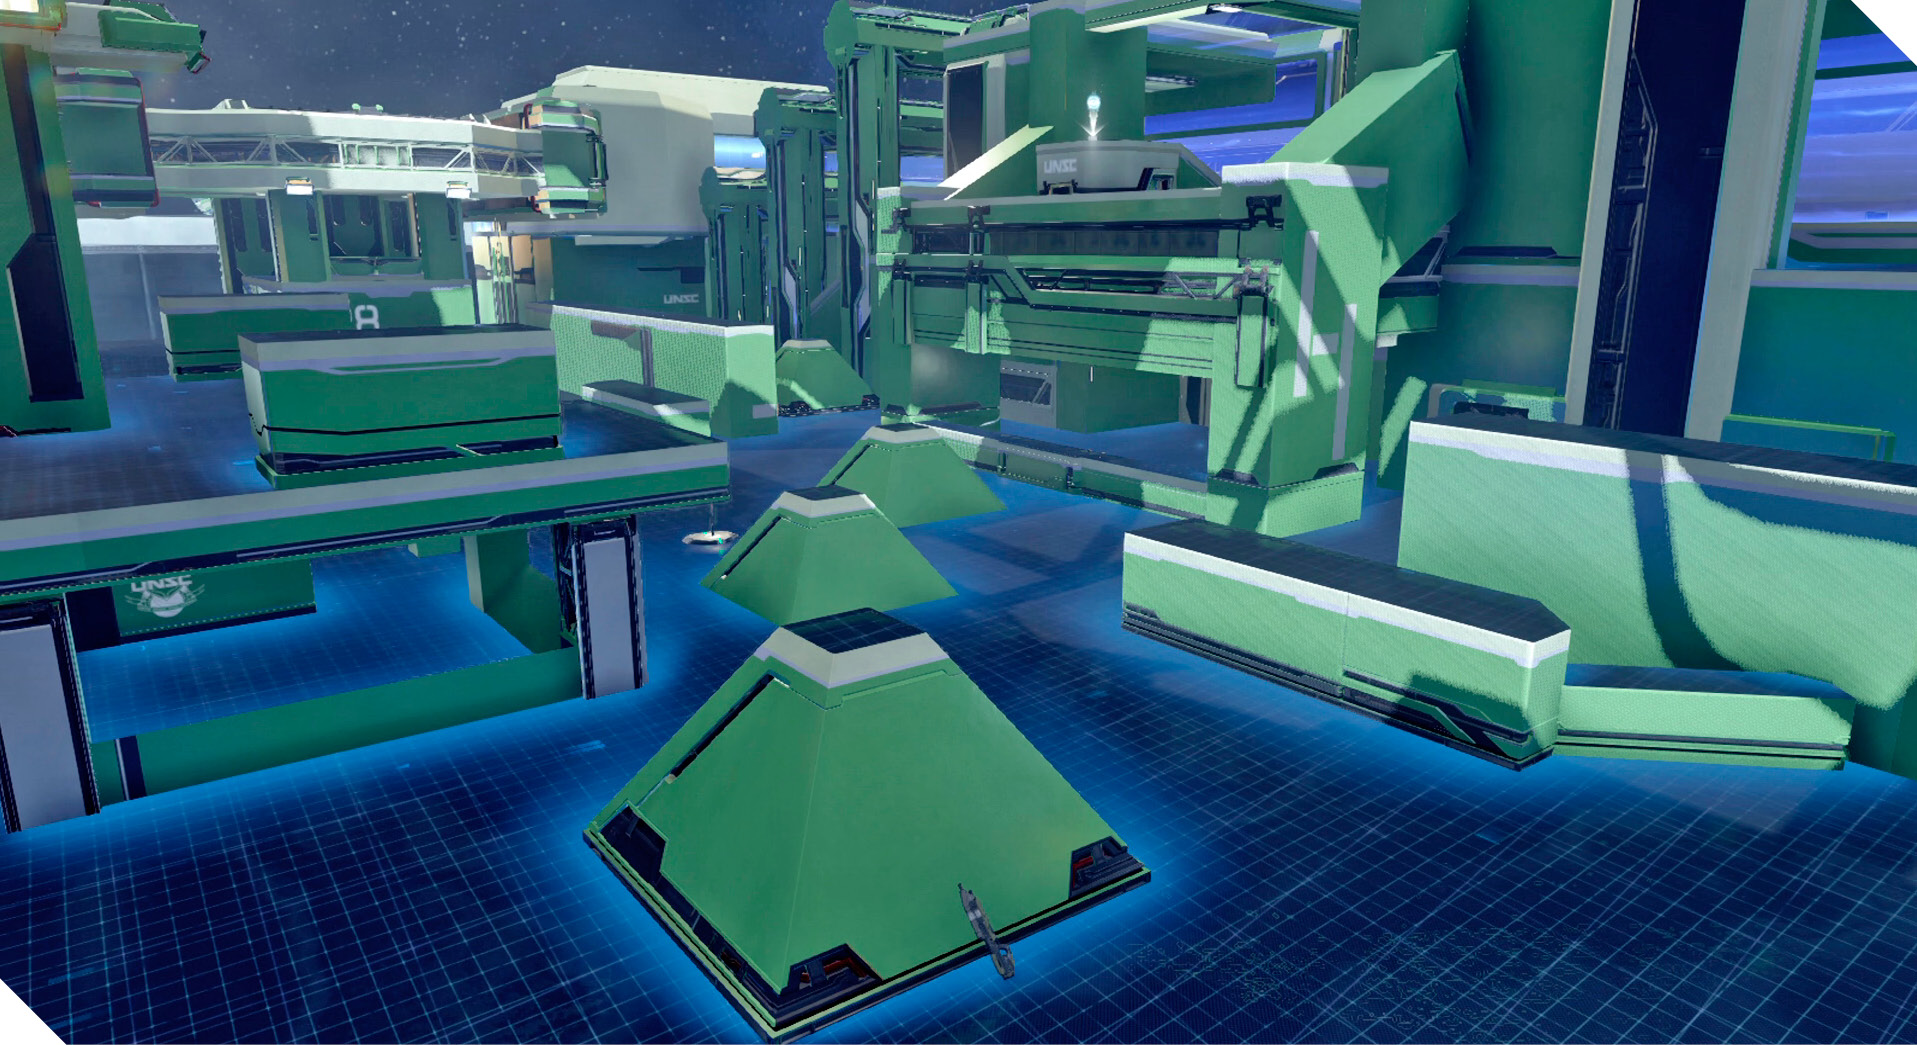
Gambol
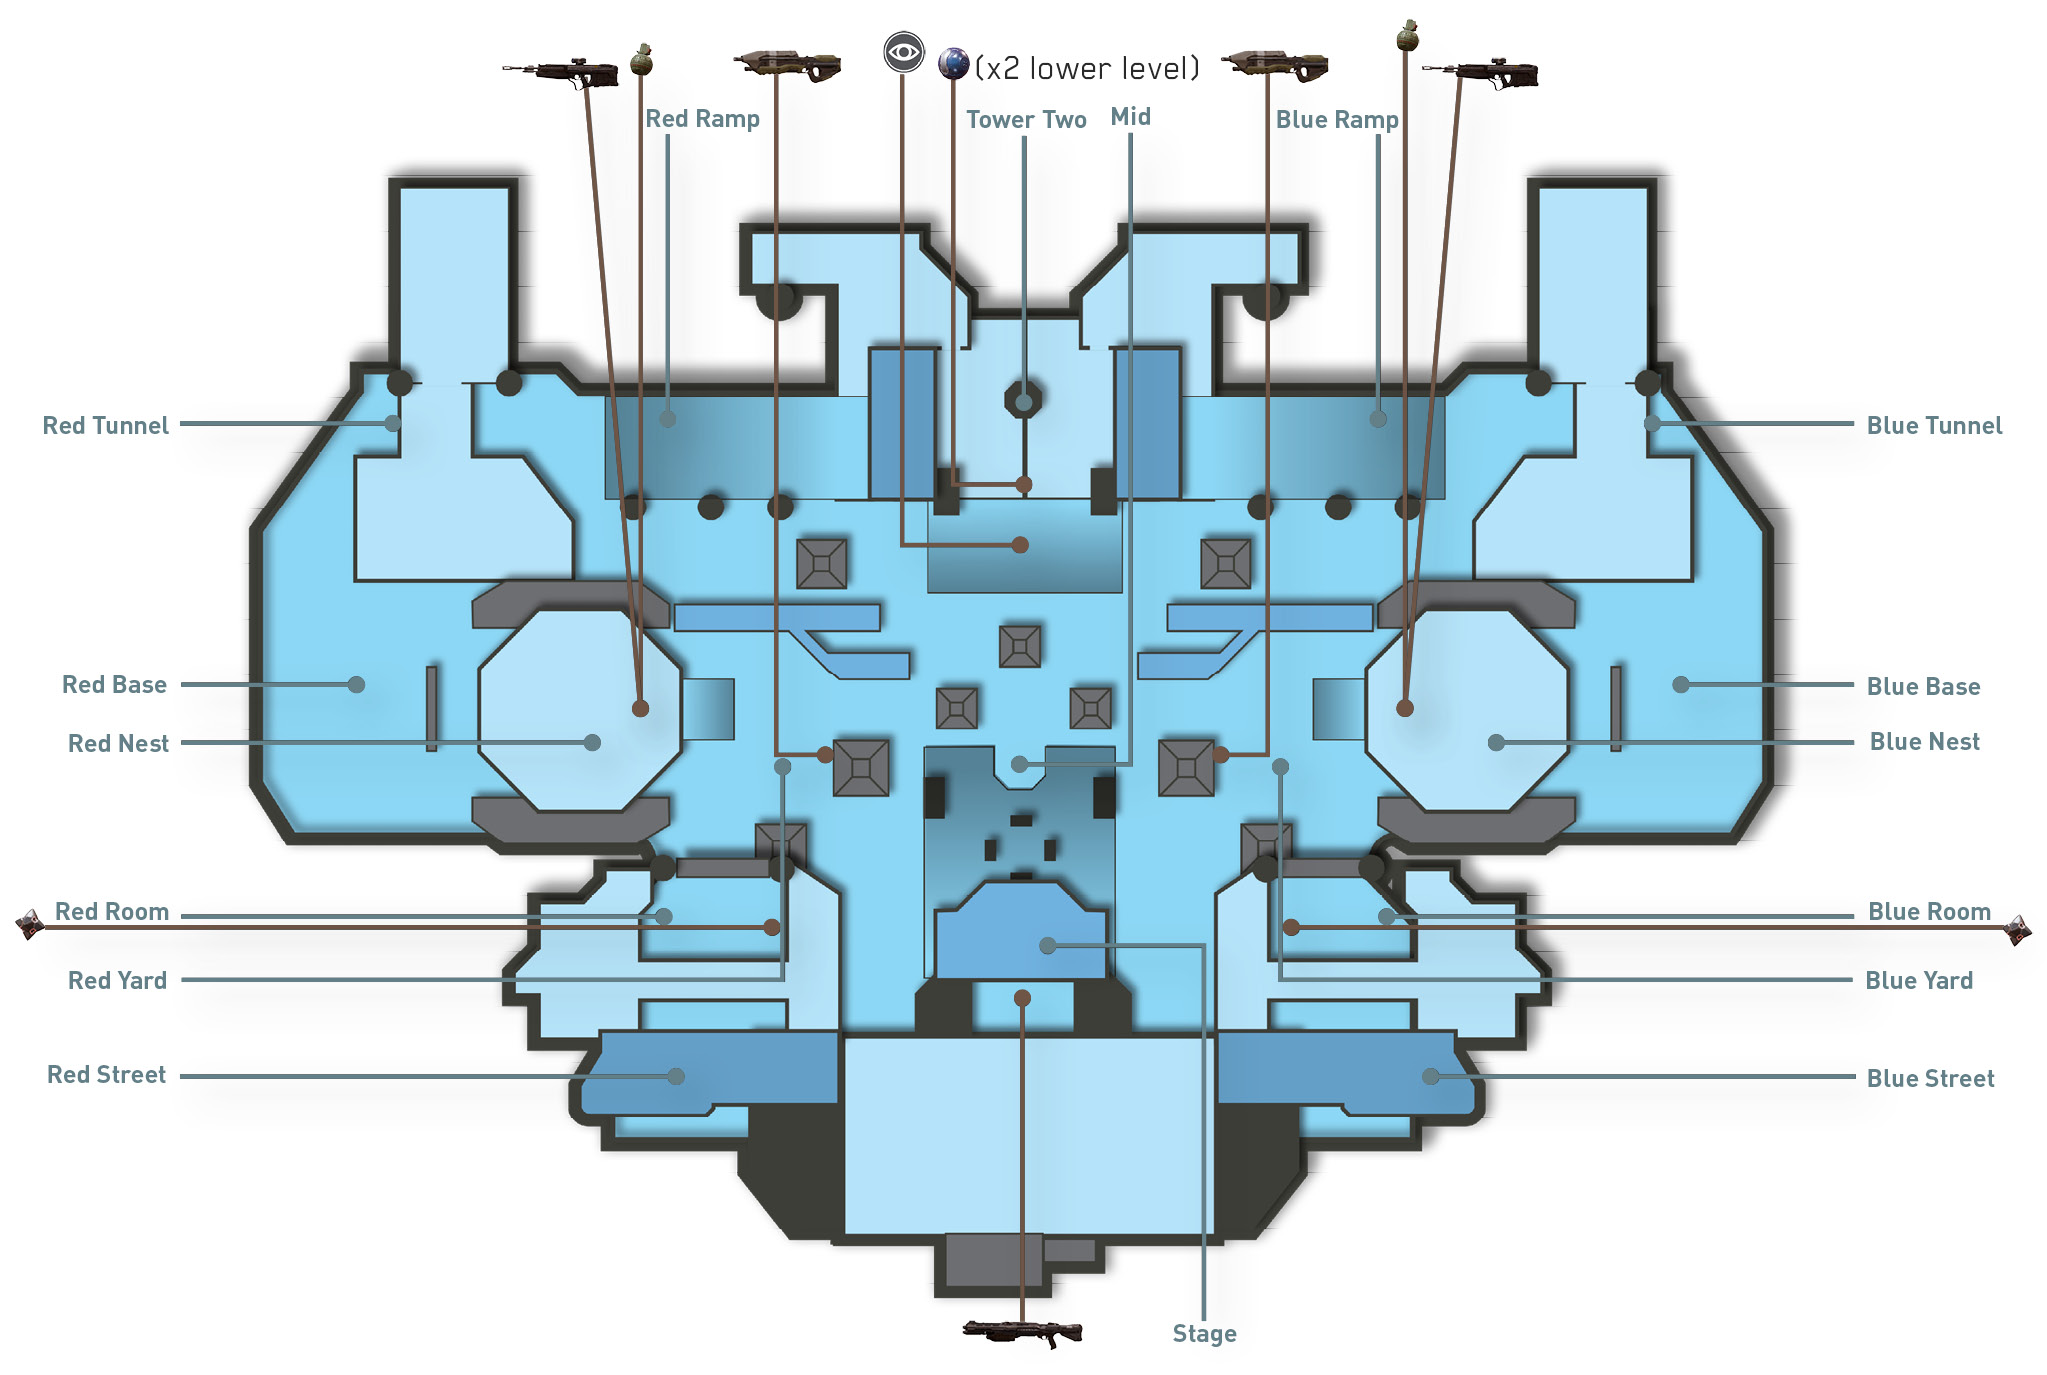
Description: Up and down, round and round.
Game Modes: Breakout
Despite being one of the largest Breakout maps, Gambol offers a surprising mix of close- and long-range sight lines, rewarding aggressive gameplay. Take a cue from the map’s name—prepare to run and jump about while taking the fight to the enemy
Featured Weapons and Power-Ups
| Item | Name | Location | Respawn Time |
|---|---|---|---|
|
|
Active Camo | Tower Two | 2:00 |
|
|
Shotgun | Stage | 0:10 |

Starting Moves
- After hitting the ground, rush up to the Red/Blue Nest and grab the DMR. The Nest offers a clear view of the map, making it an ideal position for targeting distant opponents—including those in the opposing Nest. But you’re likely to take fire here, so don’t expose yourself in an open window for long. Peek out from the left or right side of the window to line up your shots.
- If you’re not sniping from the Nest with the DMR, make a push along one of the flanking paths. Instead of rushing up the ramp to Tower Two, consider going low, moving beneath Tower Two or the Stage in an attempt to flank opponents. When maneuvering in these tight quarters, keep your SMG equipped, because engagements are likely to occur at close range.
Tactics
In competitive matches it’s important to spread out and cover a few key areas. While one player occupies the Nest and provides covering fire with the DMR, send two players up the Red/Blue Ramp toward Tower Two—expect some close-range duels here as both teams collide. Send the fourth player toward the Stage to balance your team’s advance.
When moving up the Red or Blue Ramp, jump and thrust off the side of the ramp and clamber onto Tower Two. From here you can get an angle on the opposing team rushing up their ramp, often catching them off-guard.
At the Stage, use the pillars for cover while inching your way toward the Shotgun. Players on the Stage also have a good flanking angle on opponents rushing up the Red/Blue Ramps or loitering at Tower Two.
Although the map is large, it’s important to keep a versatile loadout for both close-range and long-range engagements. Initially, the SMG is adequate for close-quarter duels, but try to upgrade to the Scattershot or Shotgun for greater lethality. The Magnum is decent for long-range duels, but the DMR is the best option on this map.
During Breakout matches, don’t be afraid to grab the flag. The map features plenty of cover and routes for flag carriers. After grabbing the flag, push toward the base of Red or Blue Ramp in an effort to hide yourself from opponents in the Nest. Alternatively, run it beneath the Stage. Whatever you do, keep the flag low, where you can leverage the plentiful cover to conceal your movements.