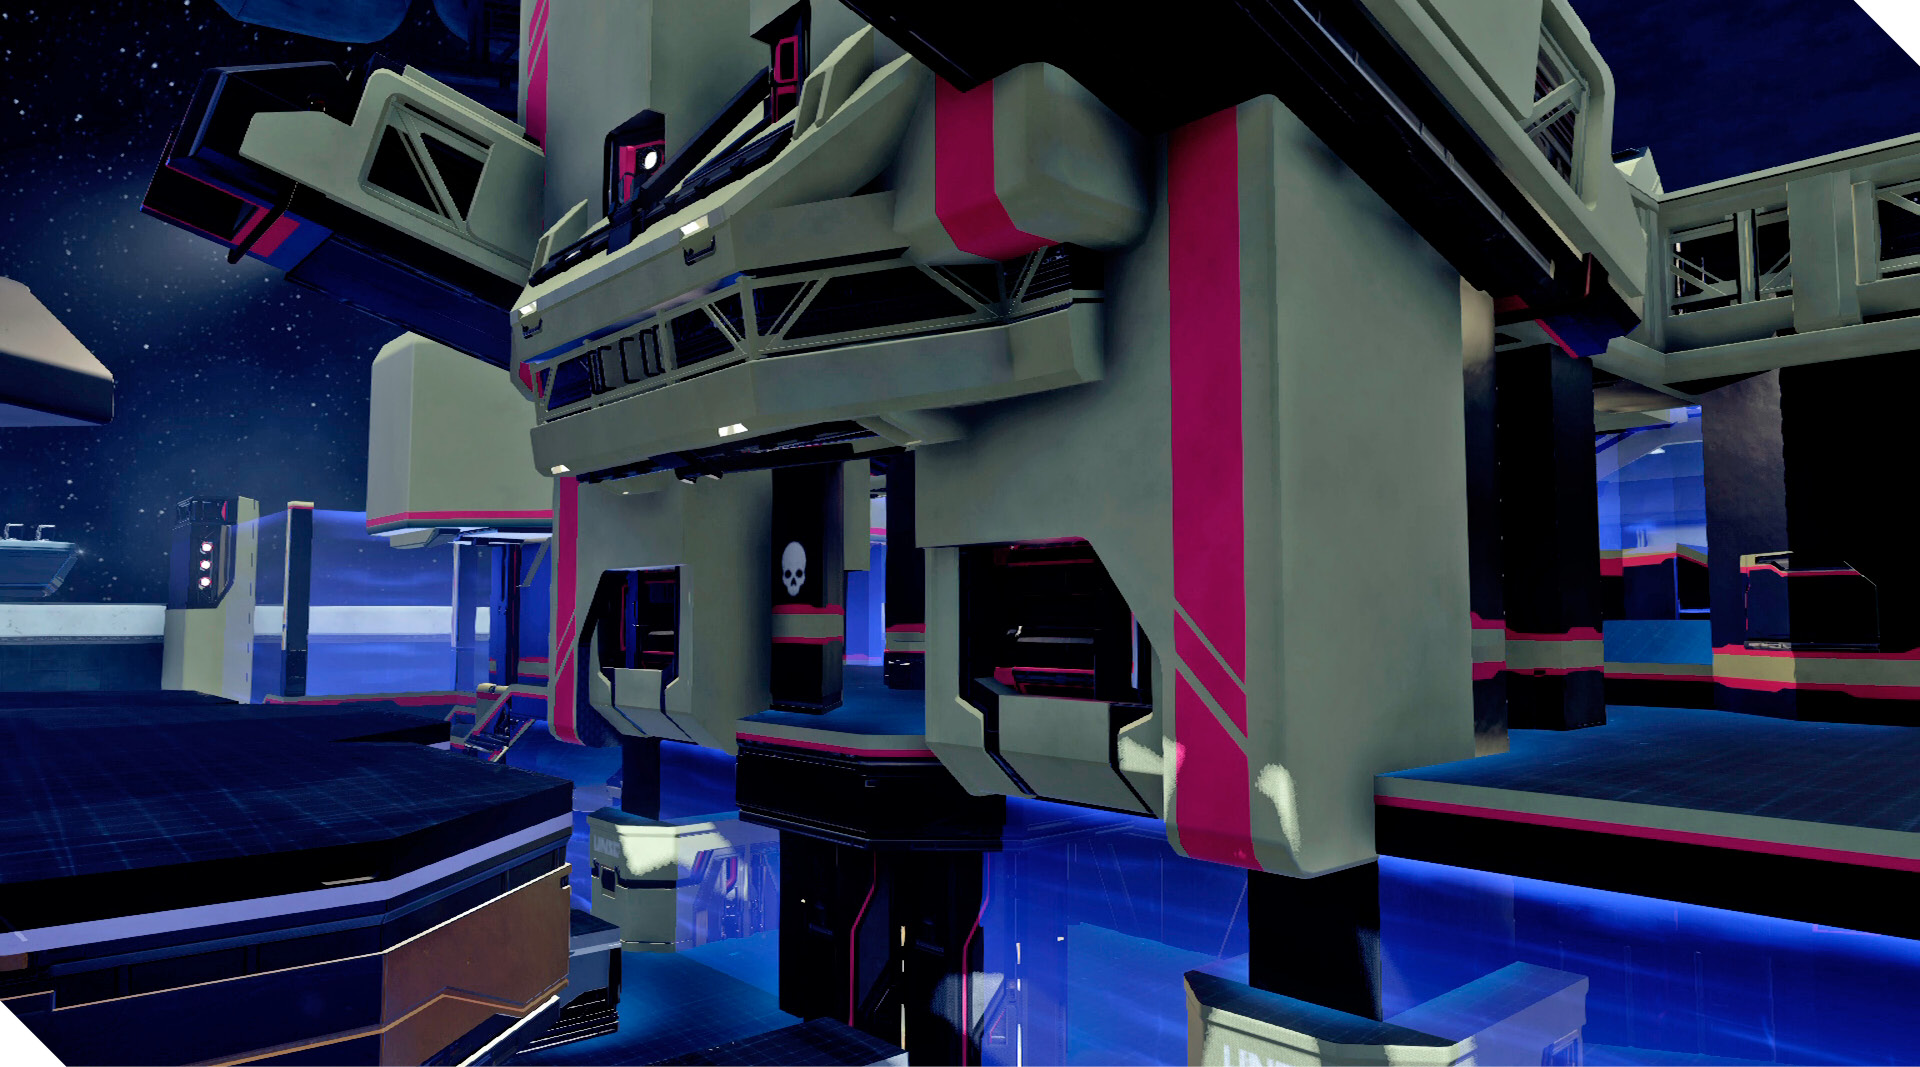
Trident
Description: There were Warthogs, and a Spartan on fire…
Game Modes: Breakout
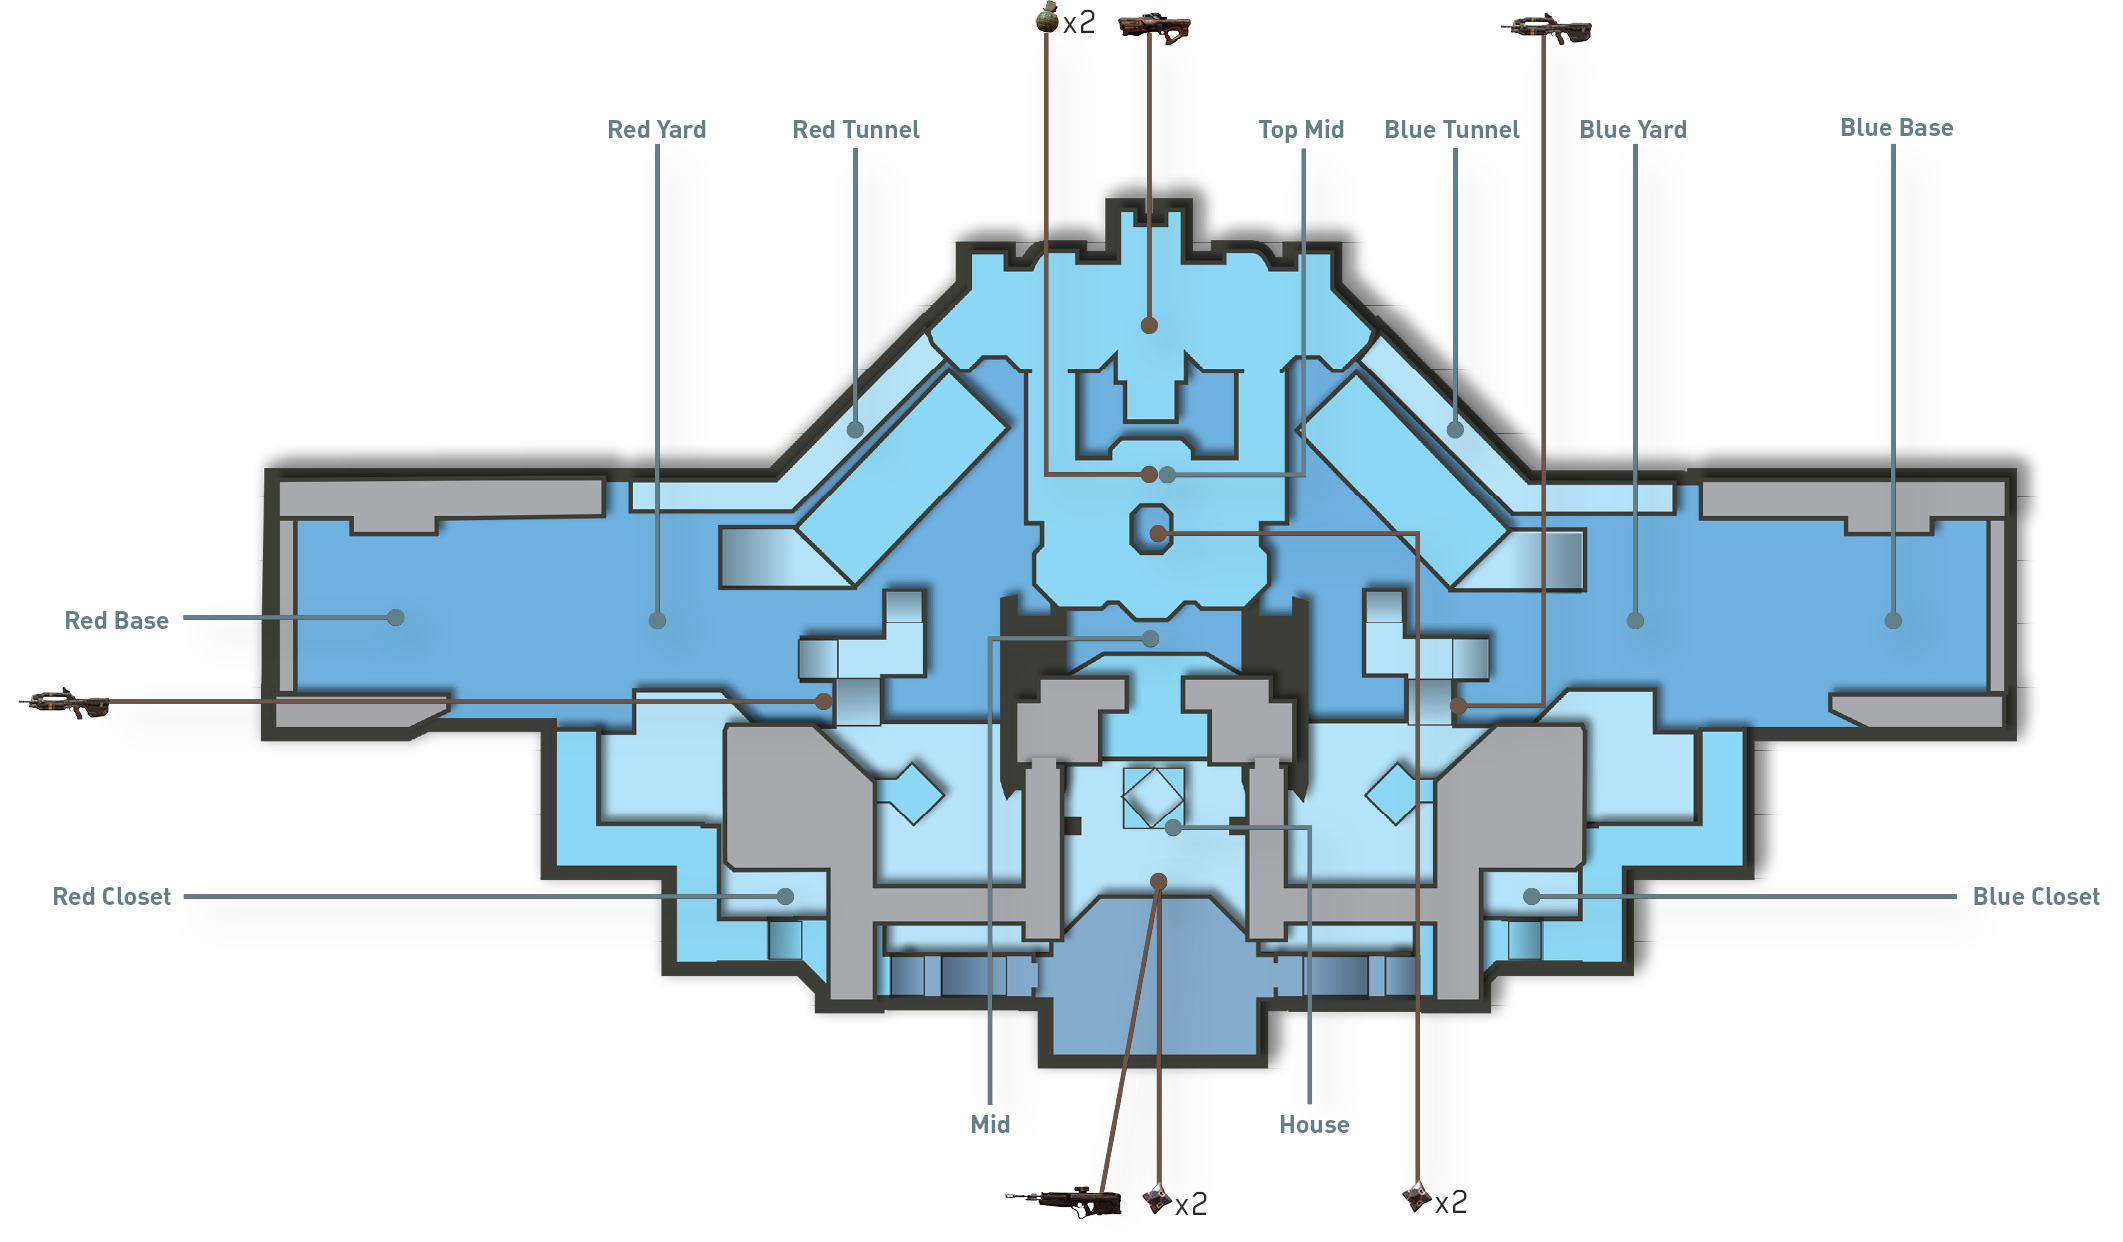
Trident is a relatively compact map with three distinct lanes. While the center lane provides the longest sight lines, there is still ample cover for maneuvering. The two perimeter paths offer even shorter lines of sight, leading to some intense close-quarter firefights.
Featured Weapons and Power-Ups
| Item | Name | Location | Respawn Time |
|---|---|---|---|
|
|
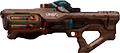
Hydra Launcher | Top Mid | 0:10 |
Starting Moves
At the start of the round grab the Battle Rifle and use the nearby ramps in your team’s Yard to engage distant opponents—look for targets in the House and Top Mid. But be careful not to overextend—pushing out too far onto the ramp leaves you exposed to incoming fire. Instead, hold back, peeking over the ramp to spot and engage opponents.
If you’re not holding back with the Battle Rifle, rush through your team’s Closet area on the way to the House. But be ready for a fight—toss grenades off the House’s back wall in an attempt to take out opponents rushing from the opposite side. Once the area is clear, grab the DMR and engage opponents at Top Mid or the opposing team’s Yard.
Tactics
Most of the weapons on this map are located in the center, at Mid and Top Mid. Since other players are likely rushing these locations too, approach with caution. Keep your Magnum equipped and trade shots with opponents at midrange while tossing grenades before pushing forward.
Don’t overlook the opportunities available by rushing through Mid. This center lane provides plenty of cover while giving you the chance to jump and clamber onto positions at Top Mid and the House. This is a good way to sneak up behind preoccupied opponents.
While the House looks like a formidable position to hold, don’t bother. In addition to being a high-traffic area, the geometry of the interior walls and obstacles lead to some unpredictable grenade bounces. Instead of holding out here, grab the DMR (or flag) and get out.
Some useful vertical transitions can be made around Top Mid, perfect for changing levels and getting the jump on opponents. If you want to drop down, step off the catwalk-like walkway adjacent to the Blue or Red Tunnel. If you’re beneath this area, you can jump and clamber onto these catwalks from Mid to quickly reach Top Mid.
In Breakout matches, flag captures aren’t uncommon due to the map’s ample cover and varied routes. When carrying the flag, stay low, using the cover below Top Mid to avoid detection. If the opposing team has the flag, fall back immediately to your base and play defense—if you don’t get eyes on the flag carrier soon, they can score a quick capture.