Halo 5: Guardians Guide Campaign Walkthrough Mission 12: Battle of Sunaion
Fall of the Covenant
Objective: Destroy Air Defenses
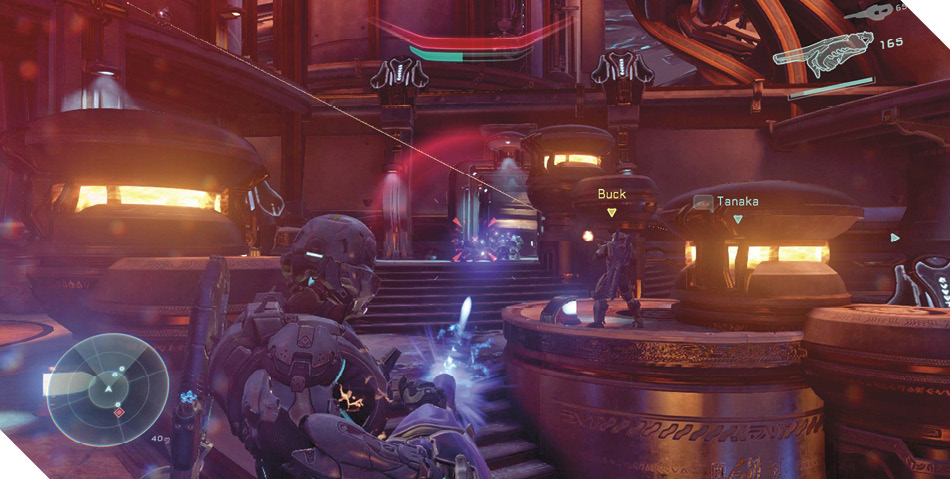
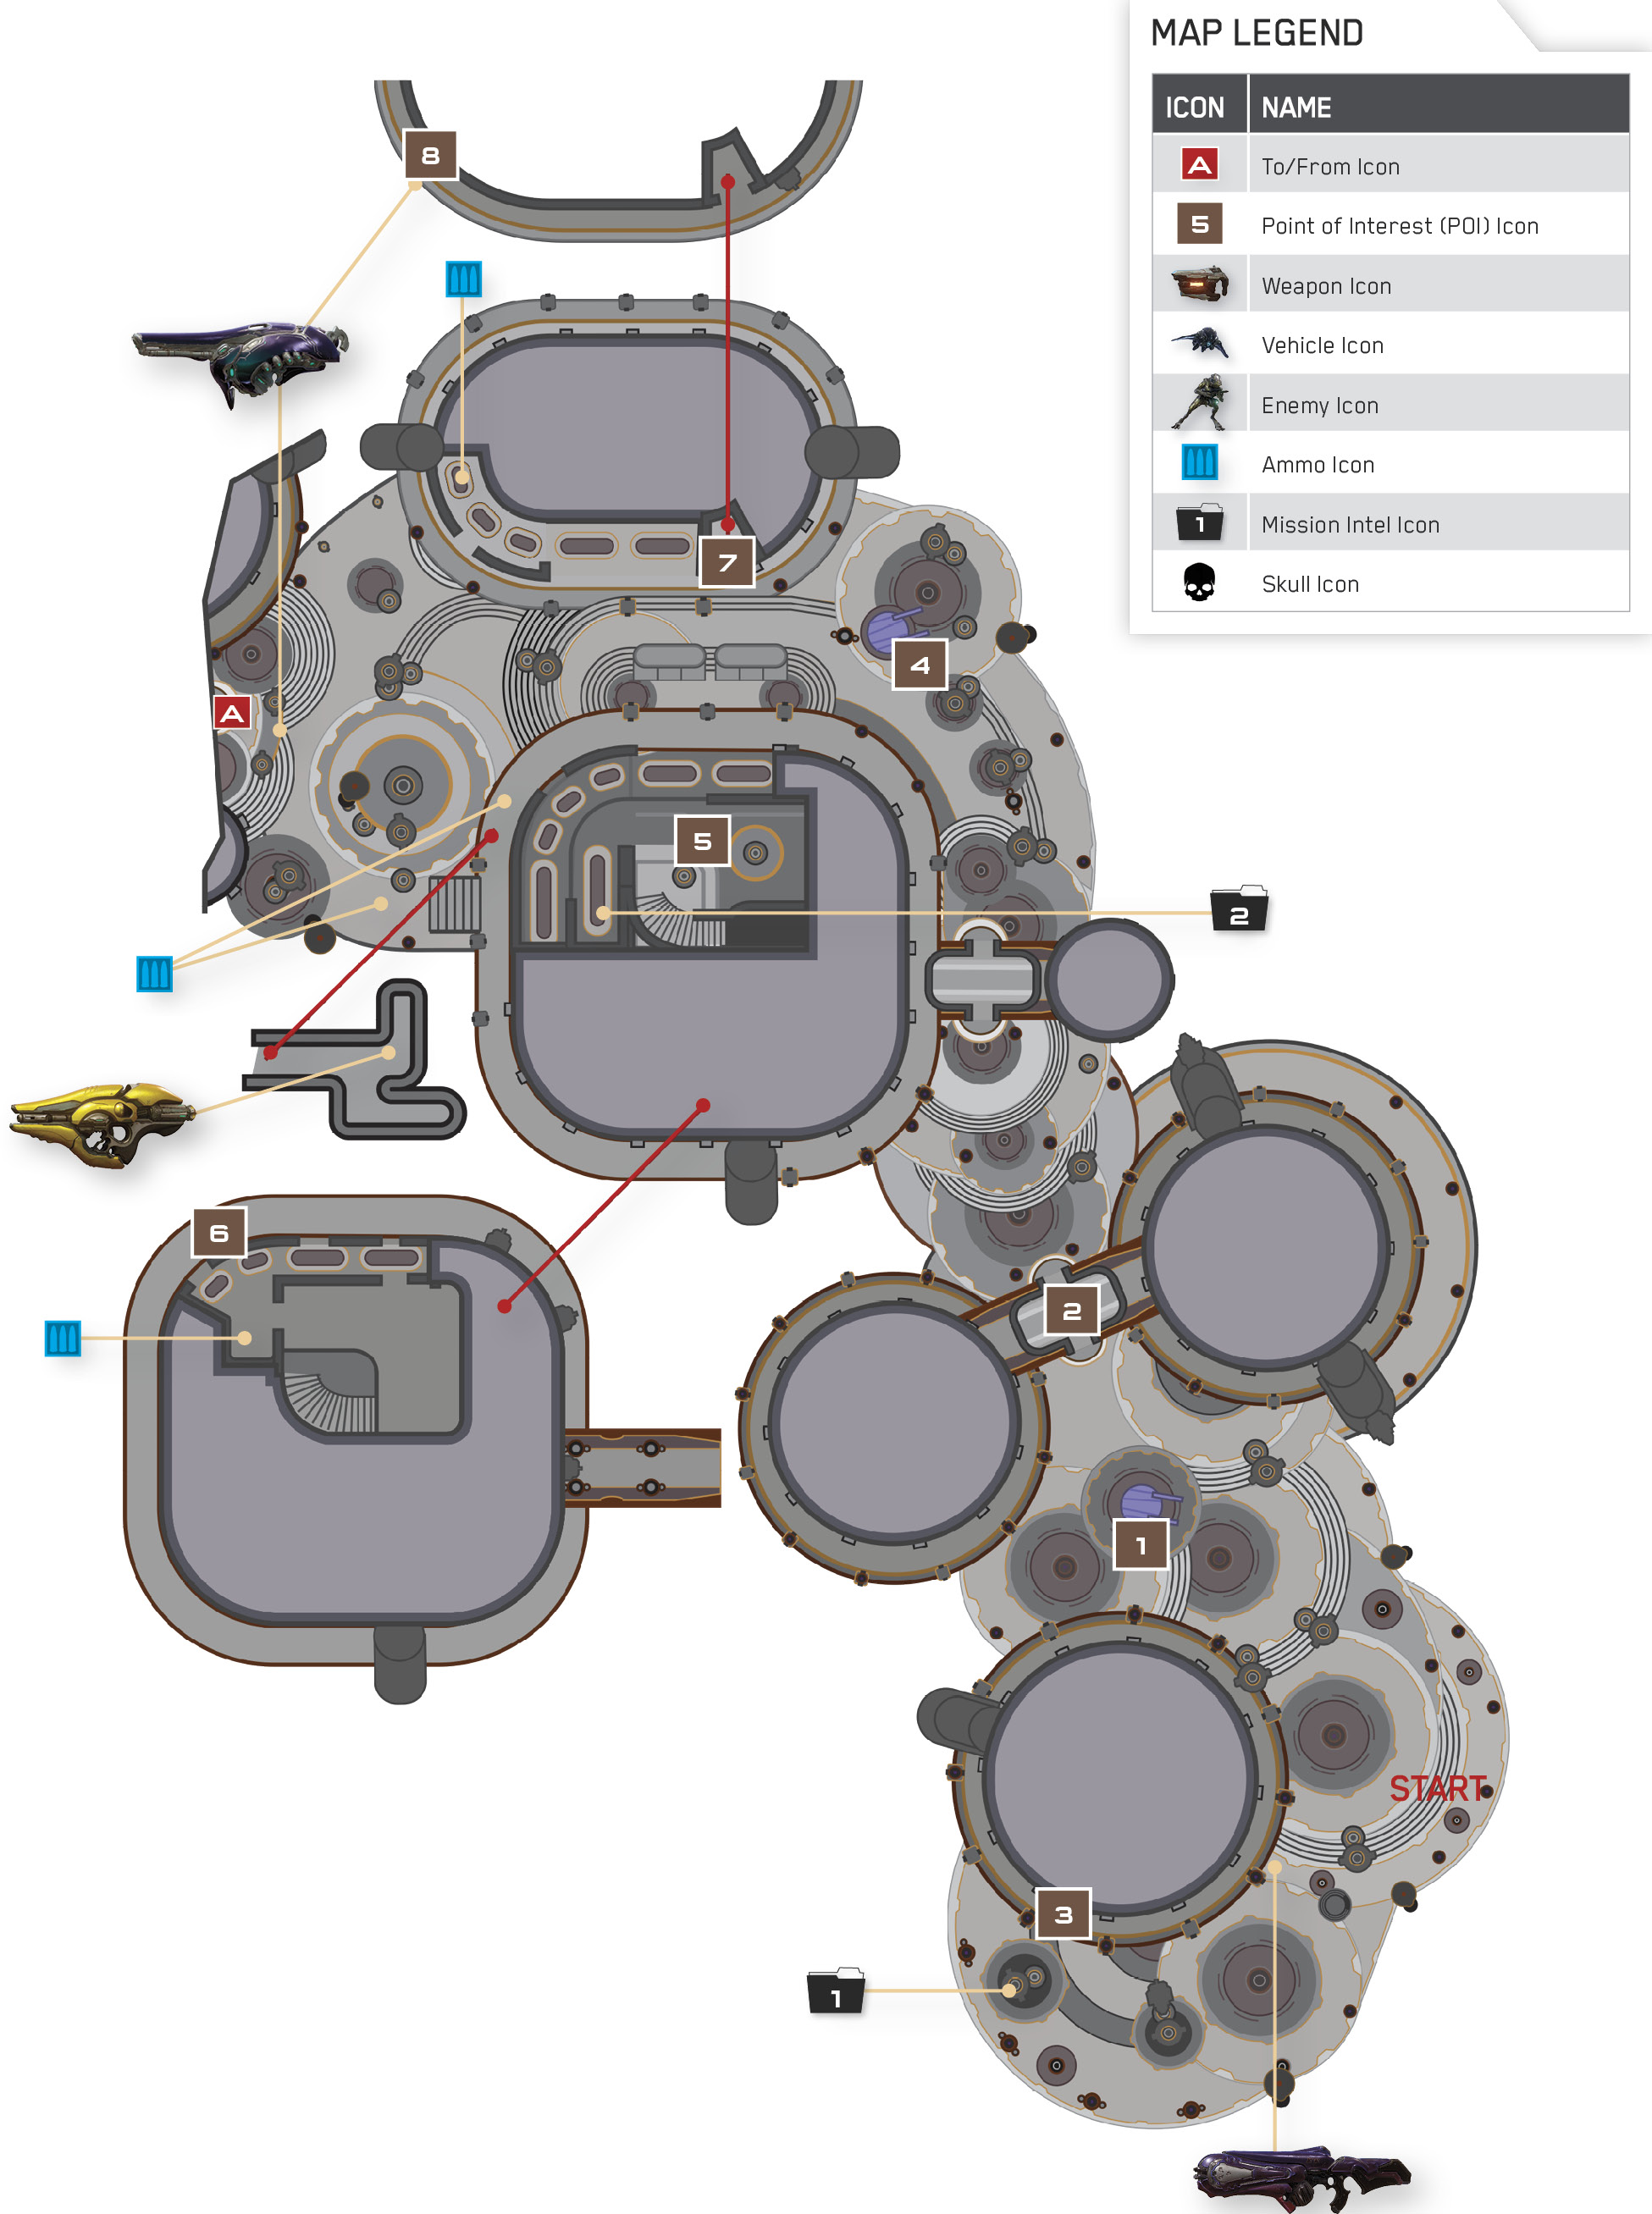
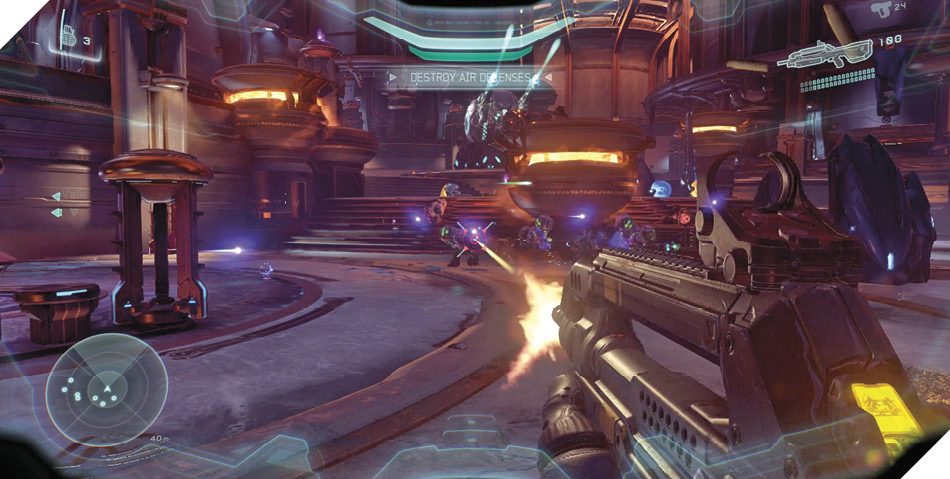
This mission kicks off with a brief but intense firefight against a band of Covenant Grunts and Jackals defending an anti-air (AA) turret 1. They’re no match for Fireteam Osiris, especially now that you’ve got the Swords of Sanghelios’s full support. Cut down the Covies without mercy to secure your landing site.
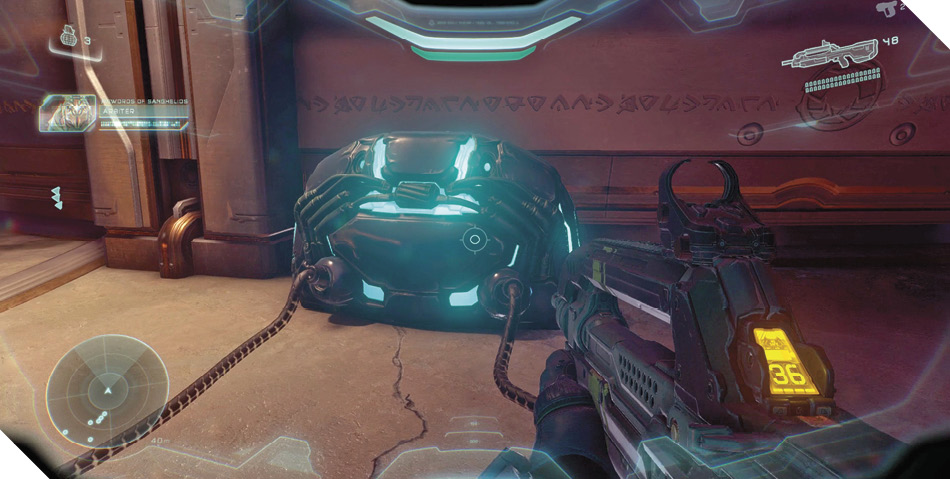
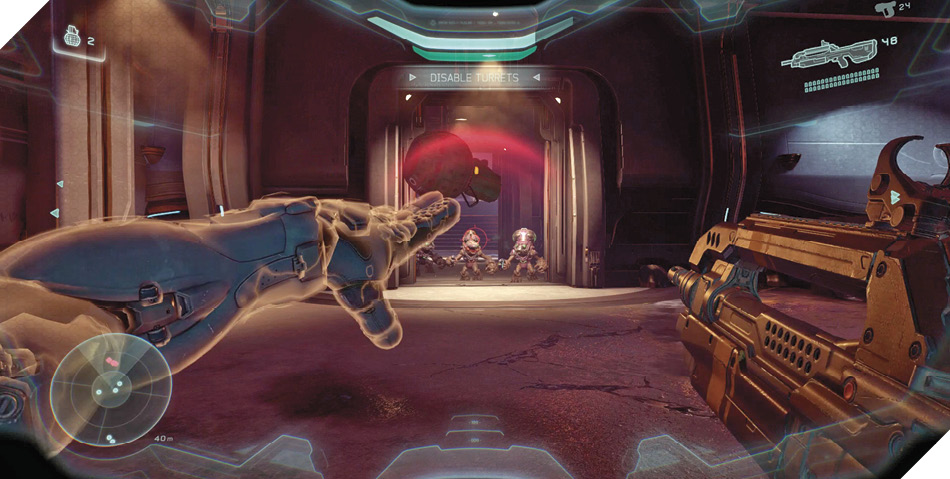
With the landing site secured, move to disable the nearby AA turret 1. You can do this by firing on the turret itself, but it’s faster to simply destroy its nearby battery. Use Artemis to detect the battery, then hit it with a few melee strikes to destroy it.
Grunts storm in from a nearby doorway 2 after you disable the turret. Greet them with a grenade and pick off any survivors, but don’t head through the doorway just yet.
Instead, loop around to the left of the landing site to find a powerful Plasma Caster. Keep going and engage Artemis to detect an item of interest atop a tall brazier. It’s a data pad, and you need to leap from the nearby building’s balcony to reach it 3. Backtrack to the landing site, go upstairs, climb onto the balcony, and then circle around and leap over to the data pad.
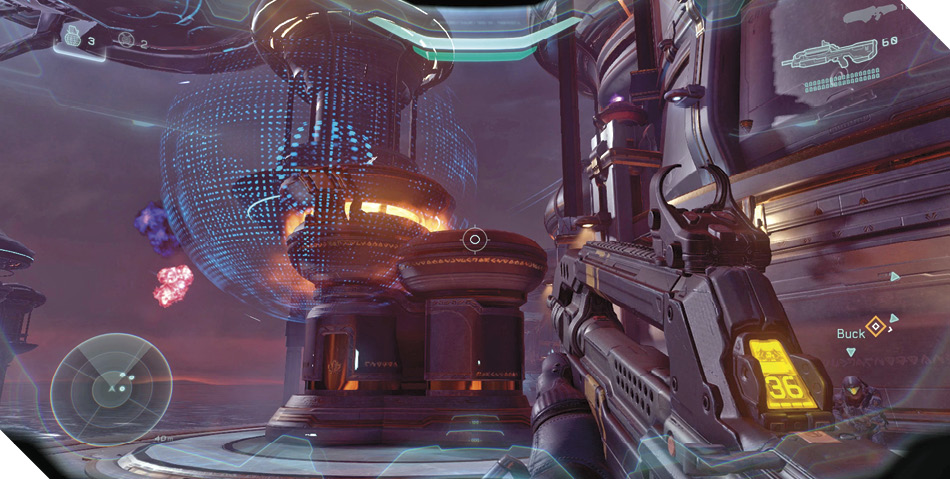
Mission 12 Intel Acquired (1/8) |
Now return to the doorway from which the Grunts emerged, and go through to approach another AA turret 4. Push back the Covenant defenders as you move to destroy the turret’s battery just as you did before. Pick off the Jackals on the far balcony, then destroy the turret’s battery with melee strikes to disable the turret.
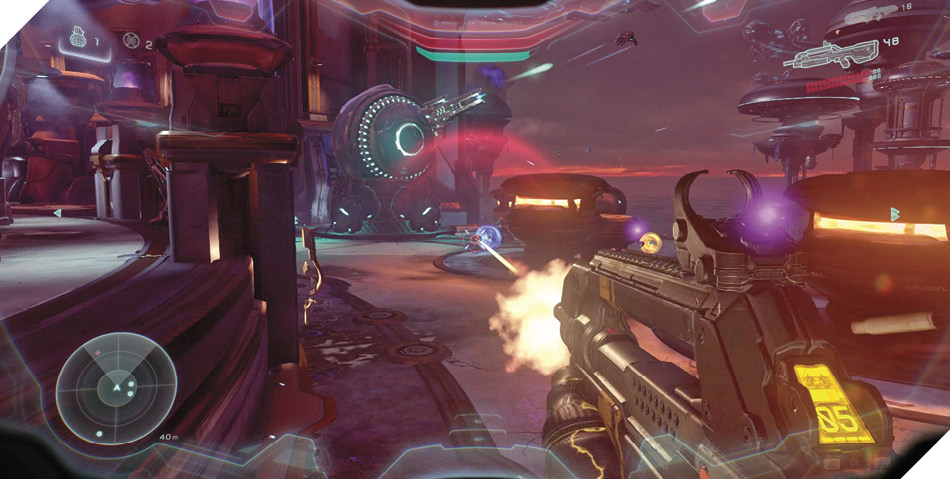
The street that follows is filled with Covenant forces, as are the buildings on either side. Rushing through is ill-advised, so take your time and clear out the side buildings first before advancing down the street. Enter the building on the left 5 to eradicate more Grunts, then search the ground floor with Artemis to discover a control console. Scan it to unlock new intel.
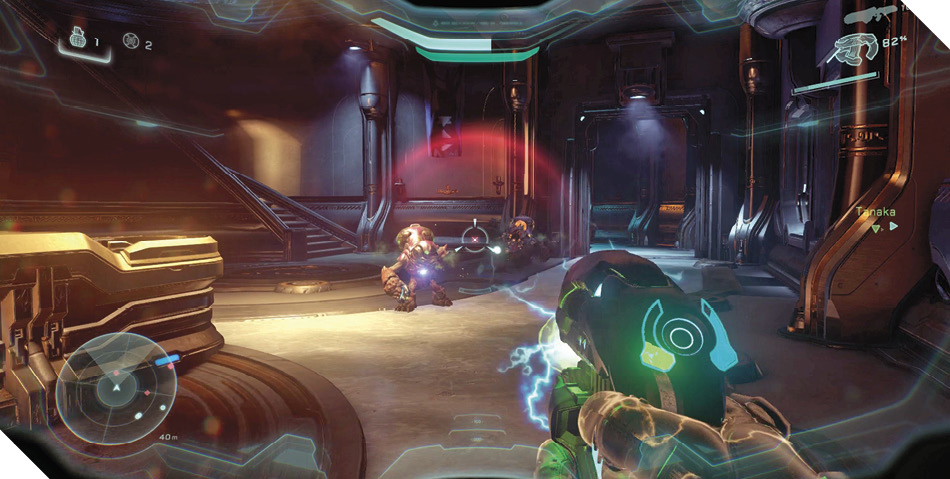
Mission 12 Intel Acquired (2/8) |
Legendary StrategyWhen you’re playing on Legendary, a Grunt Heavy armed with a Fuel Rod Cannon guards the second AA turret. It lurks just beyond the turret, beneath the Jackals on the balcony. Listen for the Fuel Rod Cannon’s clunky firing sound and be ready to thrust out of harm’s way. Eliminate this Grunt the moment you spot it, then grab or give away its Fuel Rod Cannon. |
Head upstairs after scanning the console and tackle the Jackals on the building’s second floor. Grab one of the Carbines you discover up here, then step out to the balcony 6 and pick shots at the Covenant blockade below.
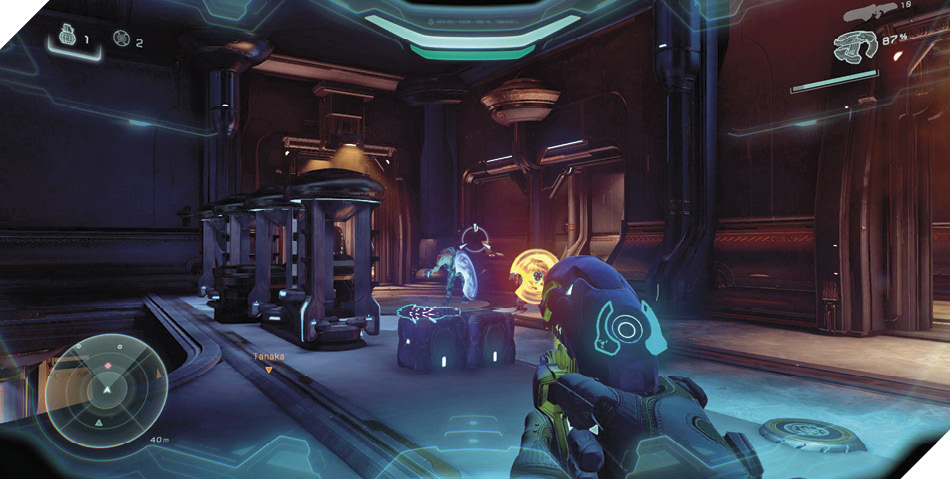
You can also leap across the street, landing on the balcony of the building on the right. (Alternatively, you can reach the building’s balcony by using the grav lift down on the street level 7.) Follow it to its end to discover a Plasma Cannon Turret and a Carbine 8. Punish the Covies with these weapons from this excellent vantage.
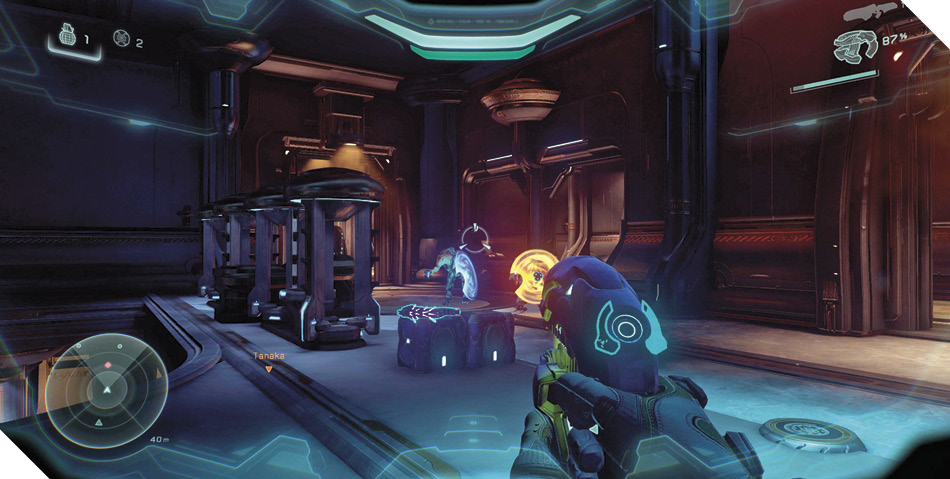
Achievement: Death From AboveDon’t kill the Grunts in the left building 5. Instead, perform a Ground Pound from the interior staircase, aiming to simultaneously kill a Grunt and smash a hole in the center of the floor. Accomplish both feats with a single Ground Pound to earn an Achievement! You may then drop into the passage beneath the building to discover a valuable Fuel Rod Cannon, along with a shutter that you can smash through with a Spartan Charge to get the drop on the Covies in the street. 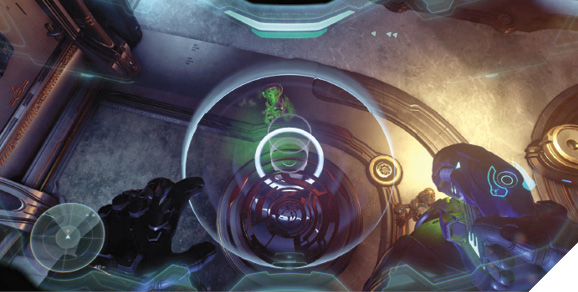
|
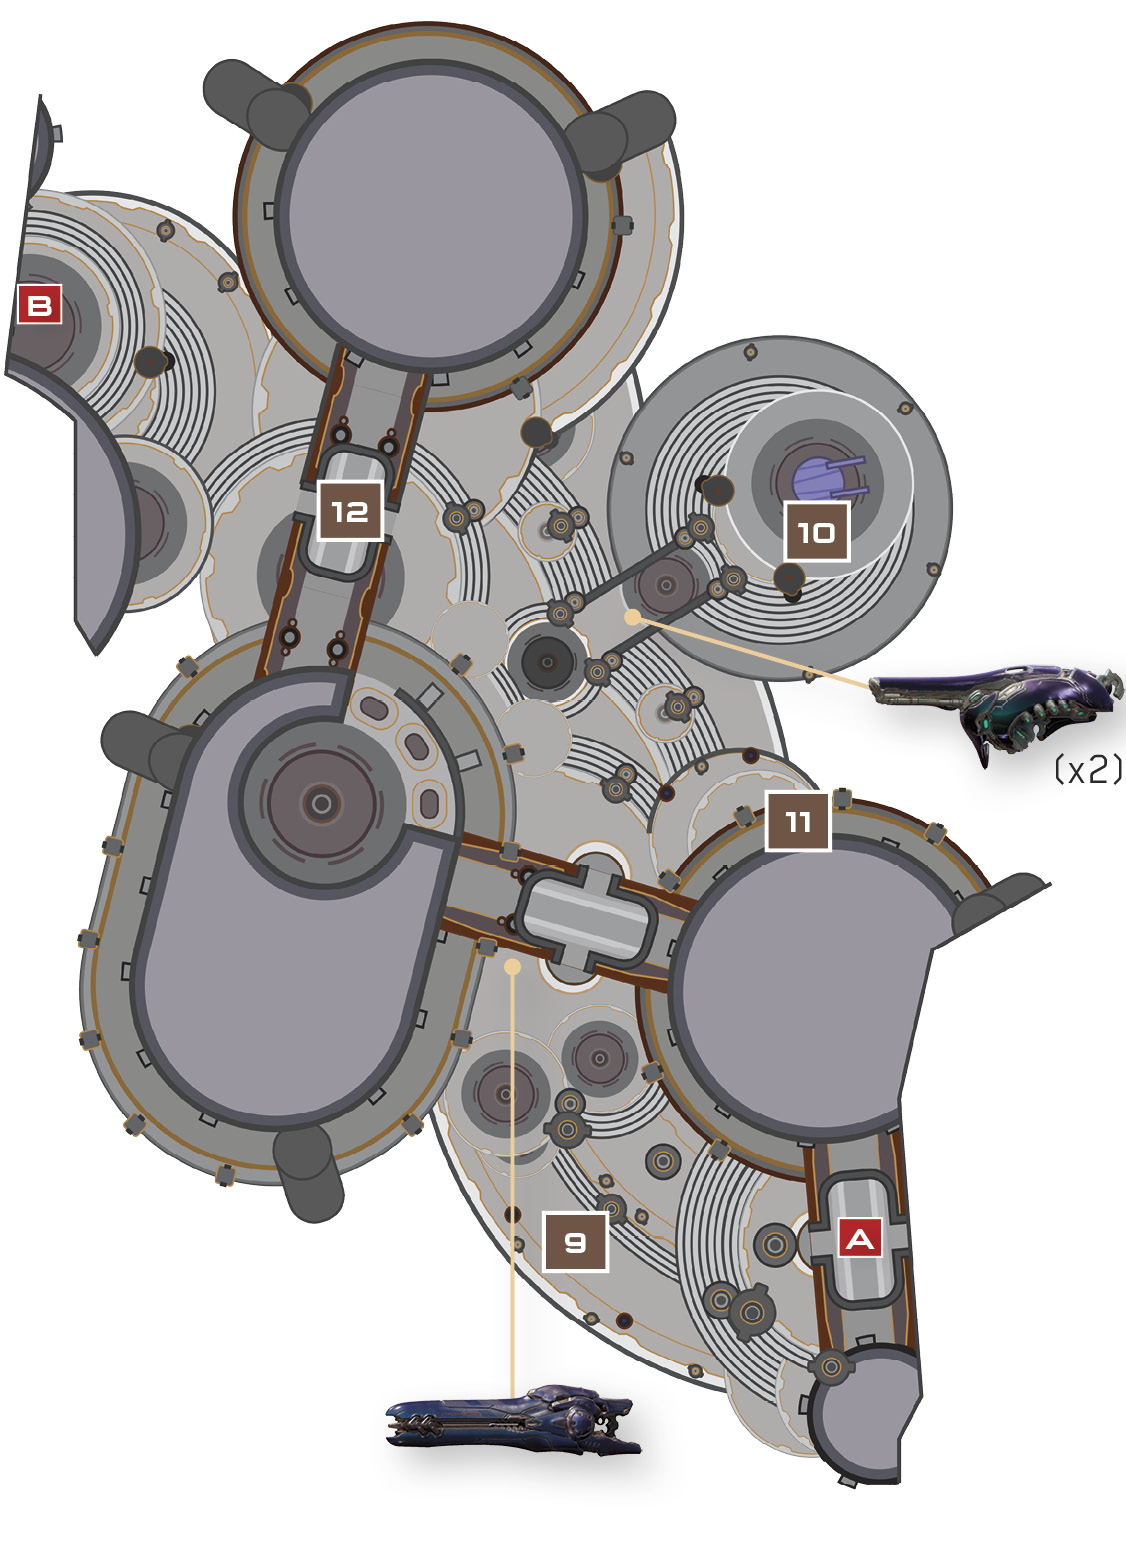
Advance beyond the blockade after securing the street. An insertion pod deploys a few more Covies in the next plaza 9; wipe them out before you proceed to the doorway ahead. Before going through the doorway, check just to the left of it to find a Beam Rifle stashed near some machinery. Grab this powerful weapon or give it to a teammate.
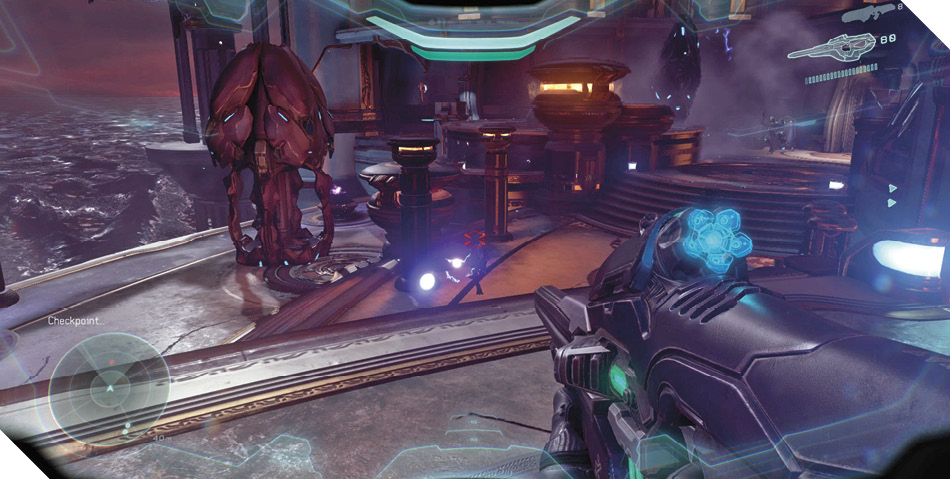
Another anti-air turret is blasting away in the next square 10. Move onto the right balcony 11 to gain a superior firing angle on the Jackals and Elite standing a close guard over it. Remain near cover as you pick off the Jackals with headshots, followed by the Elite. Beware of inbound fire from their Plasma Cannon Turrets.
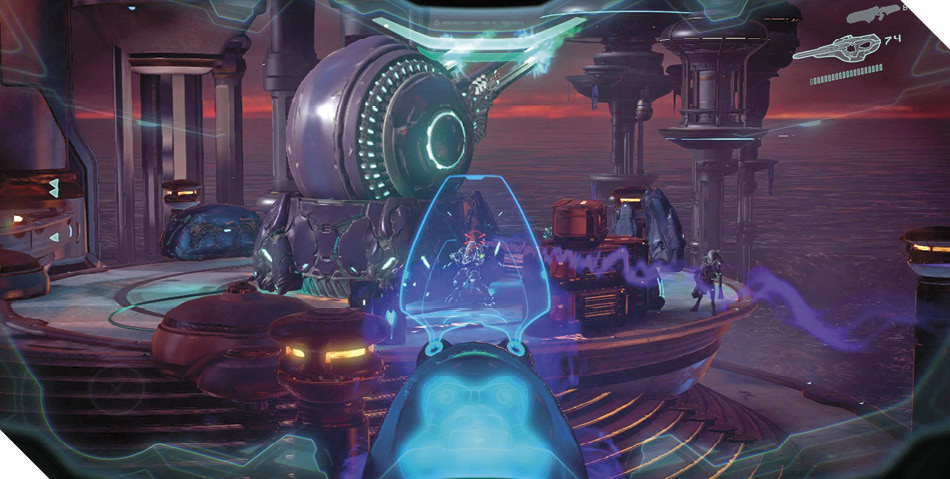
Advance and destroy the turret’s battery after securing the area. This clears the airspace for more of the Arbiter’s forces to join the assault, but also prompts additional Covenant troops to emerge from the next door ahead 12. Meet them with a grenade or some furious Plasma Cannon Turret fire, but beware that the Elite is armed with a lethal Fuel Rod Cannon. The two Jackal Rangers deployed above the doorway via Spirit are also priority targets. Grab or give away the Elite’s Fuel Rod Cannon after the battle and then proceed through the door.