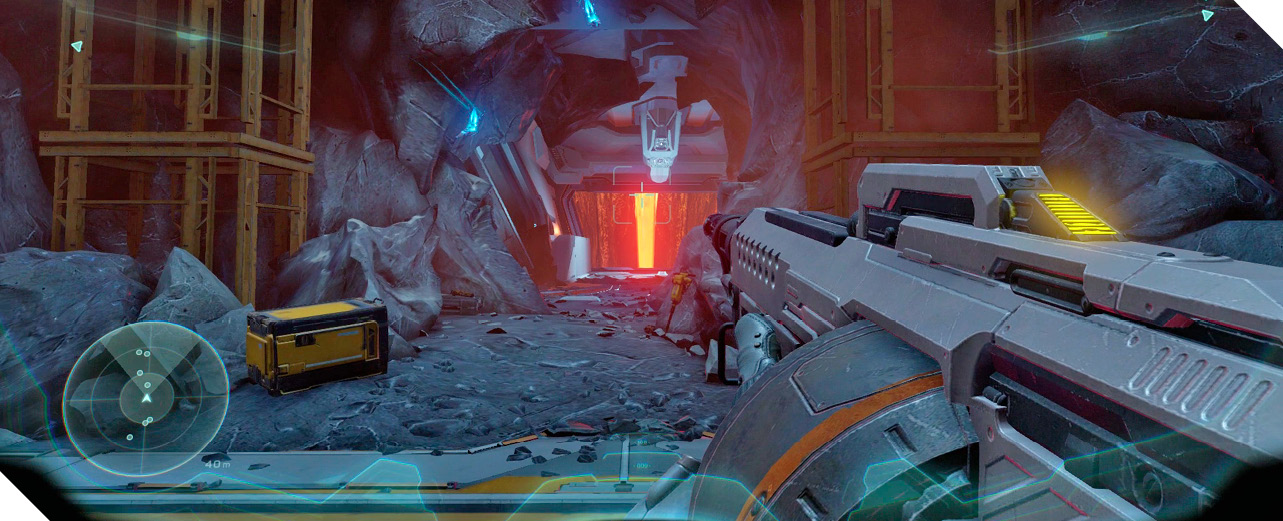
Halo 5: Guardians Guide Campaign Walkthrough Mission 5: Unconfirmed
Major Firefight: Apogee Mine
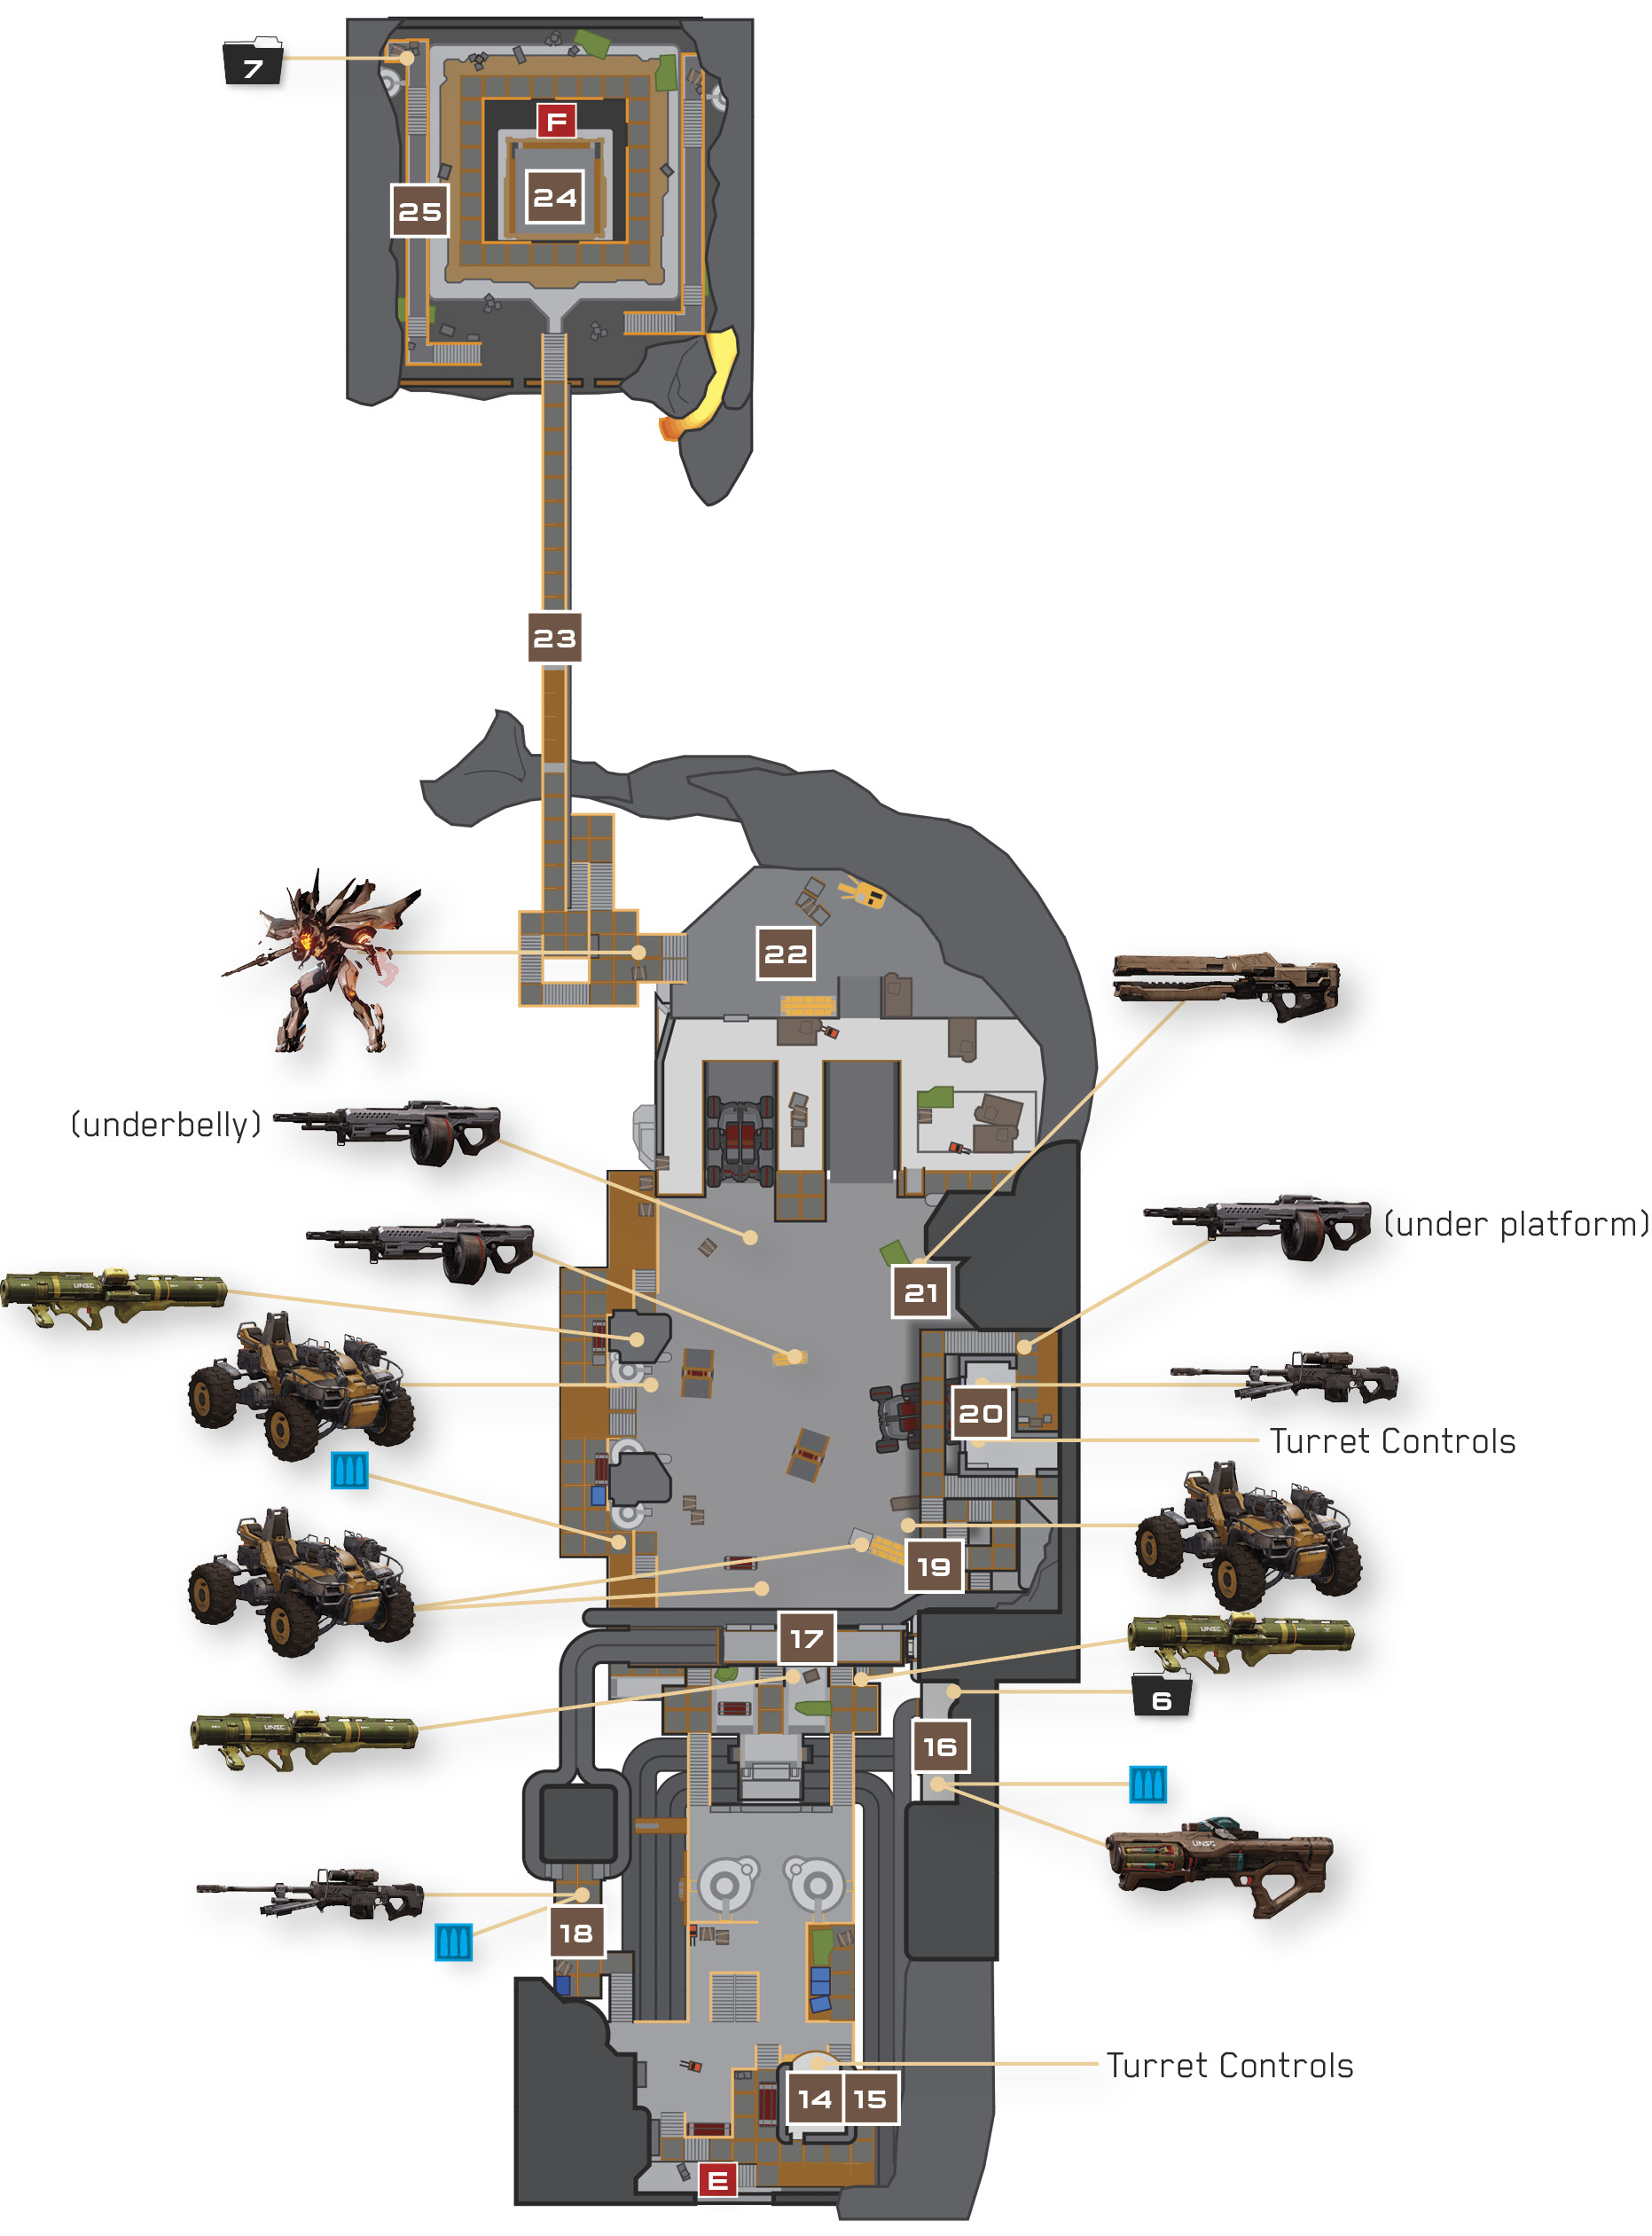
As you might expect, Apogee Station’s spacious mine is packed with Prometheans, namely Soldiers and Crawlers. There are more Soldier Snipers down here, so keep near cover and look for their laser sights. Activating the auto-turrets in each half of the mine makes matters much easier.
Recommended Loadout
You can’t go wrong with a DMR in this spacious area. You can find DMRs around the mine, but it’s better if you’re able to bring one with you into the fray. (There were DMRs in a case back at the entrance to Quarry 6C 8, but you can’t go back there for them once you’re inside the mine.) Also, bring the Railgun that’s found in the quarry’s exterior ventilation duct 12; it helps with defeating the Soldiers that wear heavy armor.
Pick off the first few Soldiers, including the one that’s grabbing a SAW from a nearby UNSC weapon rack, and the two Snipers that sight you from afar. Engage Artemis afterward to detect a turret control mechanism in the control room on the right 14. Head upstairs and enter the control room, then activate the controls to unleash the mine’s auto-turret on the Prometheans. With the auto-turret activated, circle around to the walkway on the right 15 and open fire on the Soldier and Crawlers with your DMR.
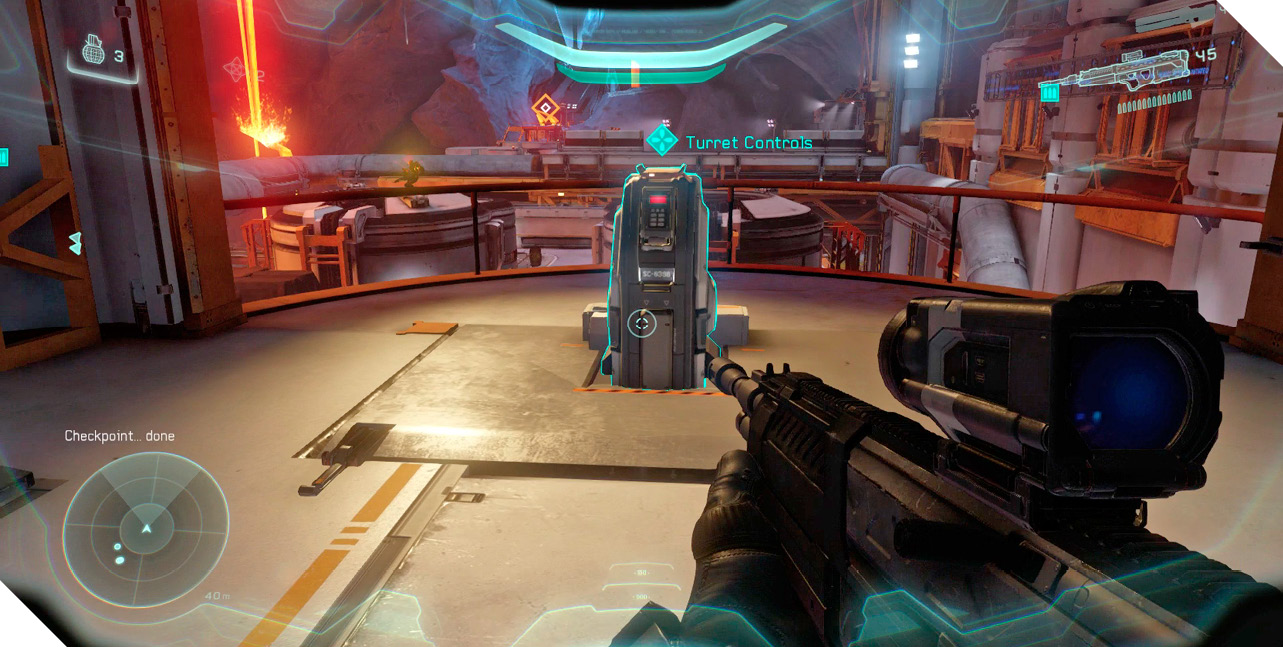
Legendary StrategyThe auto-turret won’t last long on Legendary. Take full advantage of the distraction it creates by firing your Railgun at the Soldiers and lobbing grenades at groups of foes. |
It shouldn’t take long for the constructs to fall back. When they do, hop the walkway’s railing and land on the thick pipes below. Run along the outside pipe to reach a high ledge that features a Hydra Launcher, some ammo kits, and a radio encased in glass 16. Restock your DMR’s ammo and consider grabbing the Hydra before scanning the radio for intel. After that, leap to the top of the mine’s central wall 17, which is just ahead.
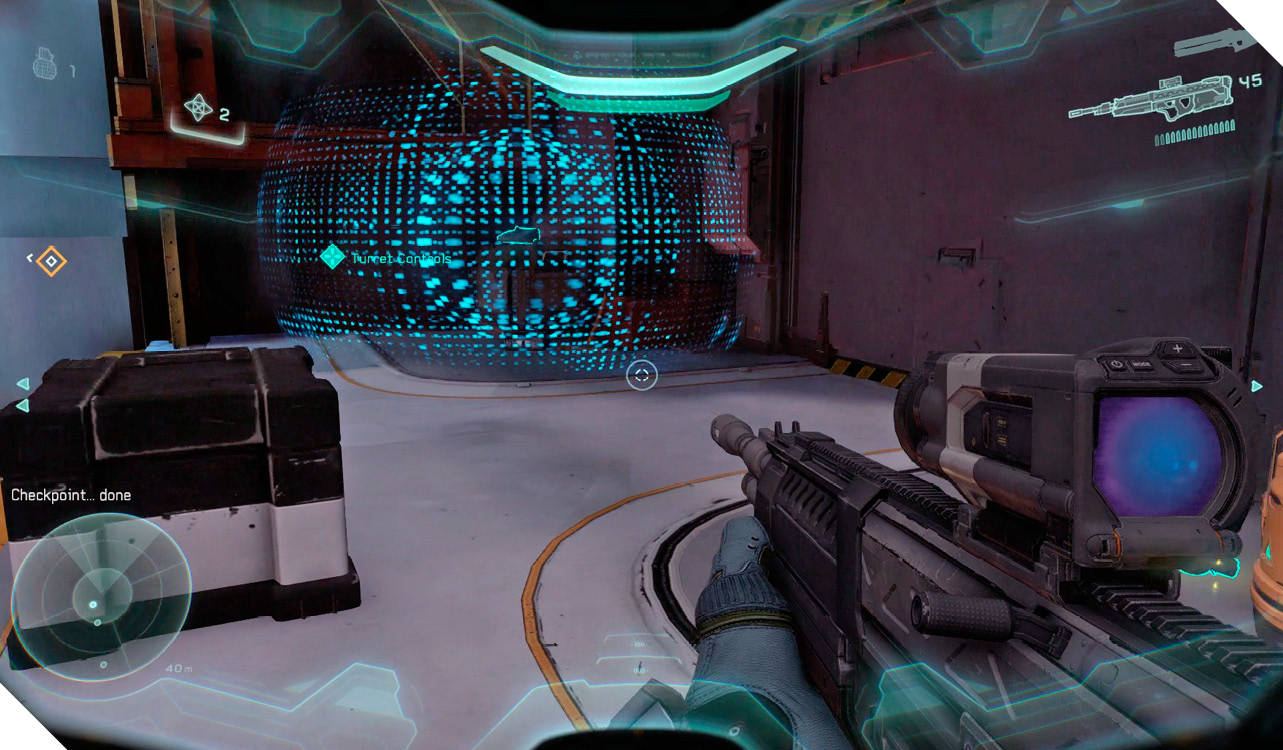
Mission 5 Intel Acquired (6/7) |
Alternate Approach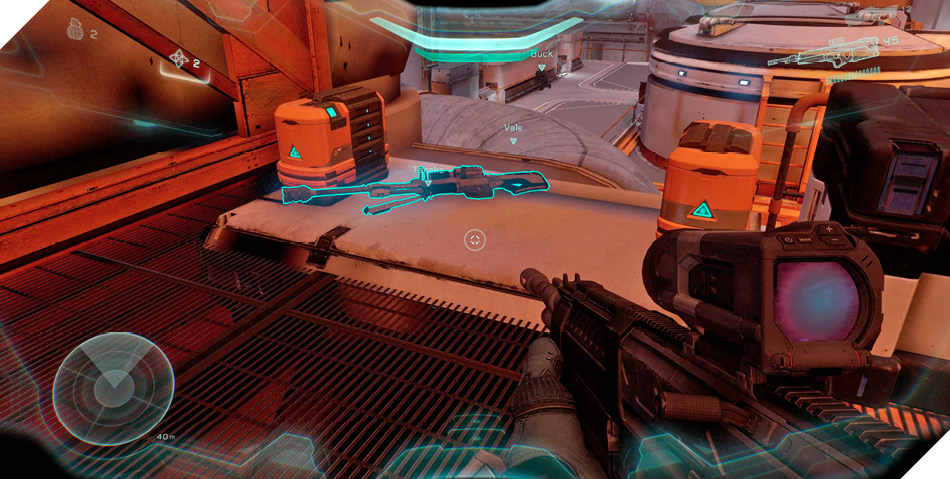
Rather than advancing along the thick pipes on the right, you can cut over to the elevated walkway on the left 18. This walkway features a Sniper Rifle and two ammo kits, making it a good spot to defend. When the Prometheans fall back, advance along the thick pipe near the ammo kits to reach the top of the mine’s central wall 17. 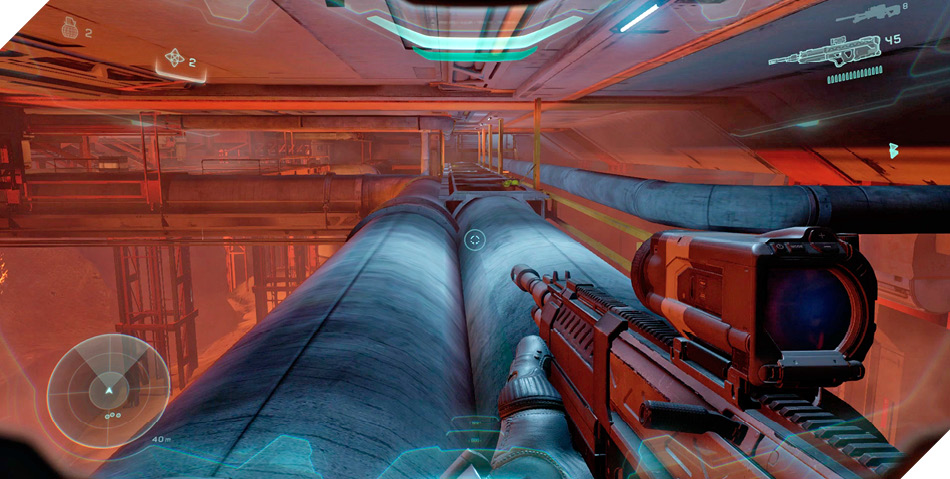
You could also take the central trench down to the mine’s underbelly. This sets you up to slip past the horde of Prometheans guarding the mine’s second half. It’s a risky approach that shouldn’t be attempted on higher difficulties. |
More Prometheans await in the mine’s second half, and many more spawn in to overwhelm you. There are no Snipers to worry about here—just a vast army of Soldiers and Crawlers. Unload on the enemy horde from the top of the mine’s central wall 17, ducking behind its barricades whenever you need to reload or recover your shields. If you need more ammo but don’t want to give up this excellent position, backtrack along the pipes to return to the previous perches (16, 18), where ammo kits can be found.
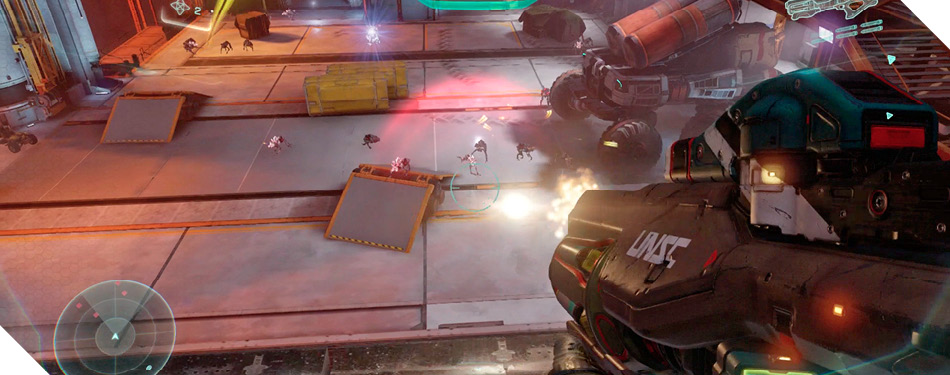
Achievement: MAverickThis Achievement asks you and a Co-op buddy to hop in a vehicle and kill 30 or more enemies during this mission. This battle is your only chance to do so, for this is the only place where you’ll find vehicles (namely Gungooses). However, with so much enemy fire and so little vehicular cover, this approach is dangerous in the extreme. You may want to try this Achievement on easier difficulty levels—there’s no shame in it! |
When you’re ready to advance, make a sprinting leap from the top of the central wall, aiming to land on the stairs ahead and to the right 19 (you may need to thrust in midair to reach the stairs). Hurry upstairs to reach a control room 20, then activate the control panel you discover there to turn on auto-defense turrets around the mine. Put the nearby Sniper Rifle to use as well—you can inflict great damage from this excellent vantage. Alternatively, leap across the towers on the left to reach another great vantage with a Rocket Launcher.
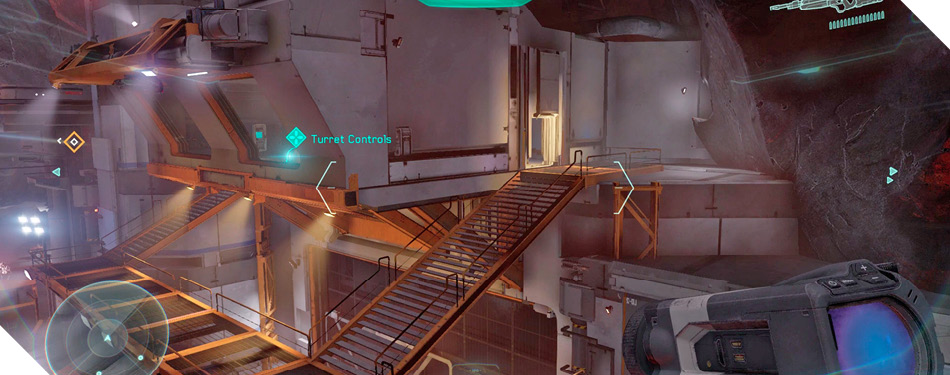
Legendary StrategyDon’t risk activating the auto-turrets too early when playing on Legendary. You could end up getting caught in the control room or simply running out of ammo while you’re there. Remain on the central wall instead, where you can easily fall back to the ammo kits at 16 or 18 for more DMR ammo. Don’t leave the safety of the wall until you’ve nothing left to kill. |
When the constructs finally stop spawning, descend to the ground floor and grab the Railgun leaning against some nearby crates 21. Scale the ramps at the mine’s far end to entice more Prometheans to spawn 22, including a Soldier Captain armed with a Splinter Turret and a monstrous Knight. Use the Railgun to bring down the Soldier Captain and Knight from a safe range, finishing things off with smaller arms if need be.
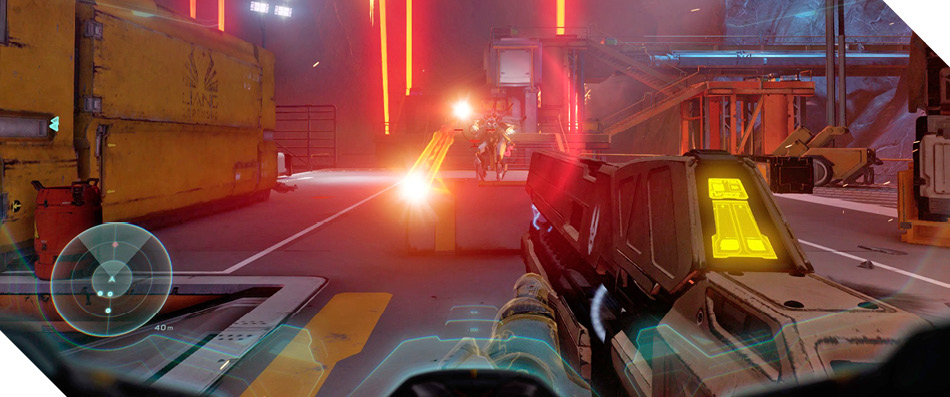
With the mine finally secured, head upstairs to discover a long bridge that leads to a Forerunner structure 23. This must be what drew Blue Team to Apogee! The Chief can’t be far; hurry across the bridge to discover a deep pit leading down toward the facility’s entrance 24—but don’t drop into the pit just yet.
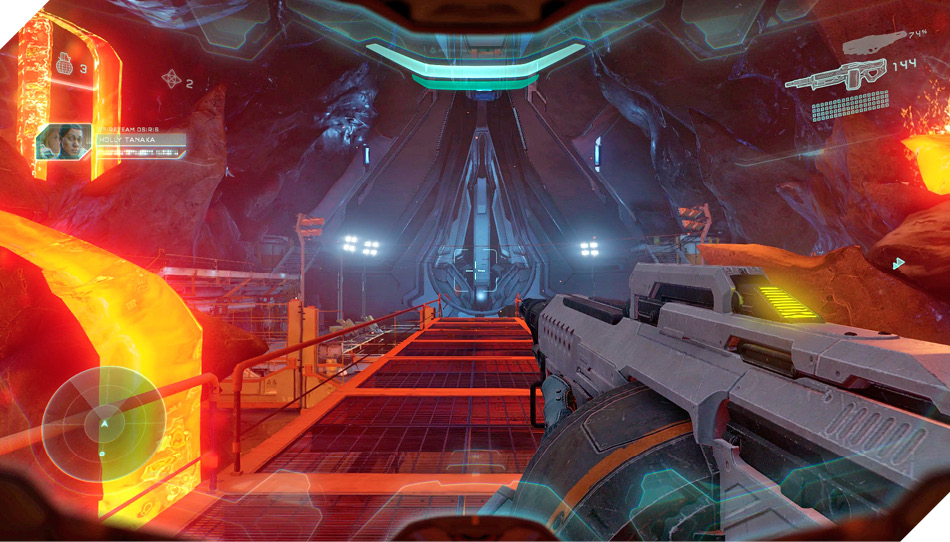
Instead, turn left and scale some stairs to reach a long walkway 25. Run to the walkway’s end and use Artemis to detect a UNSC data pad. Scan it for your final piece of intel, then drop into the pit 24 and advance toward the Forerunner facility.
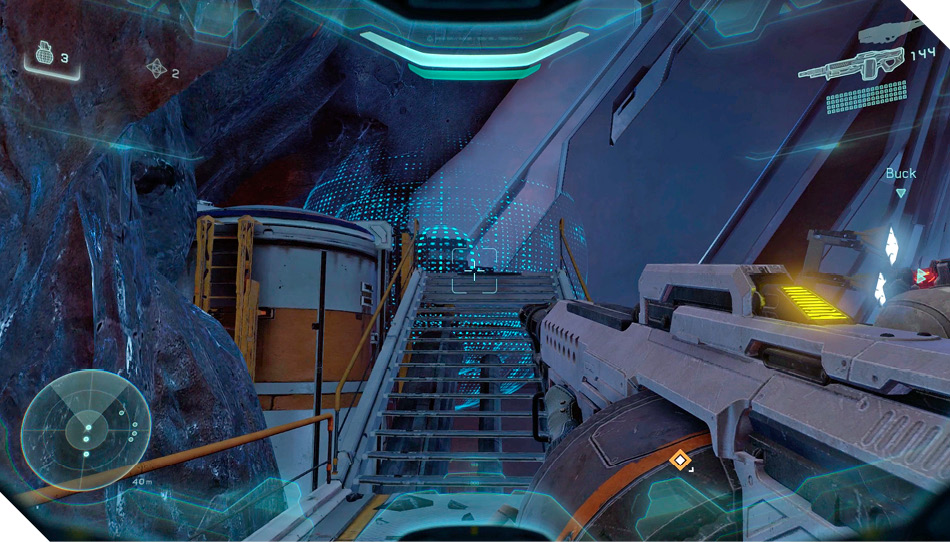
Mission 5 Intel Acquired (7/7) |
Curious devices similar to Forerunner maintenance drones hover about the pit. They zip off as you approach, flying into a nearby volcanic cavern. Follow the devices into the sweltering cave.