
Halo 5: Guardians Guide Campaign Walkthrough Mission 5: Unconfirmed
Major Firefight: Apogee Station Rooftop
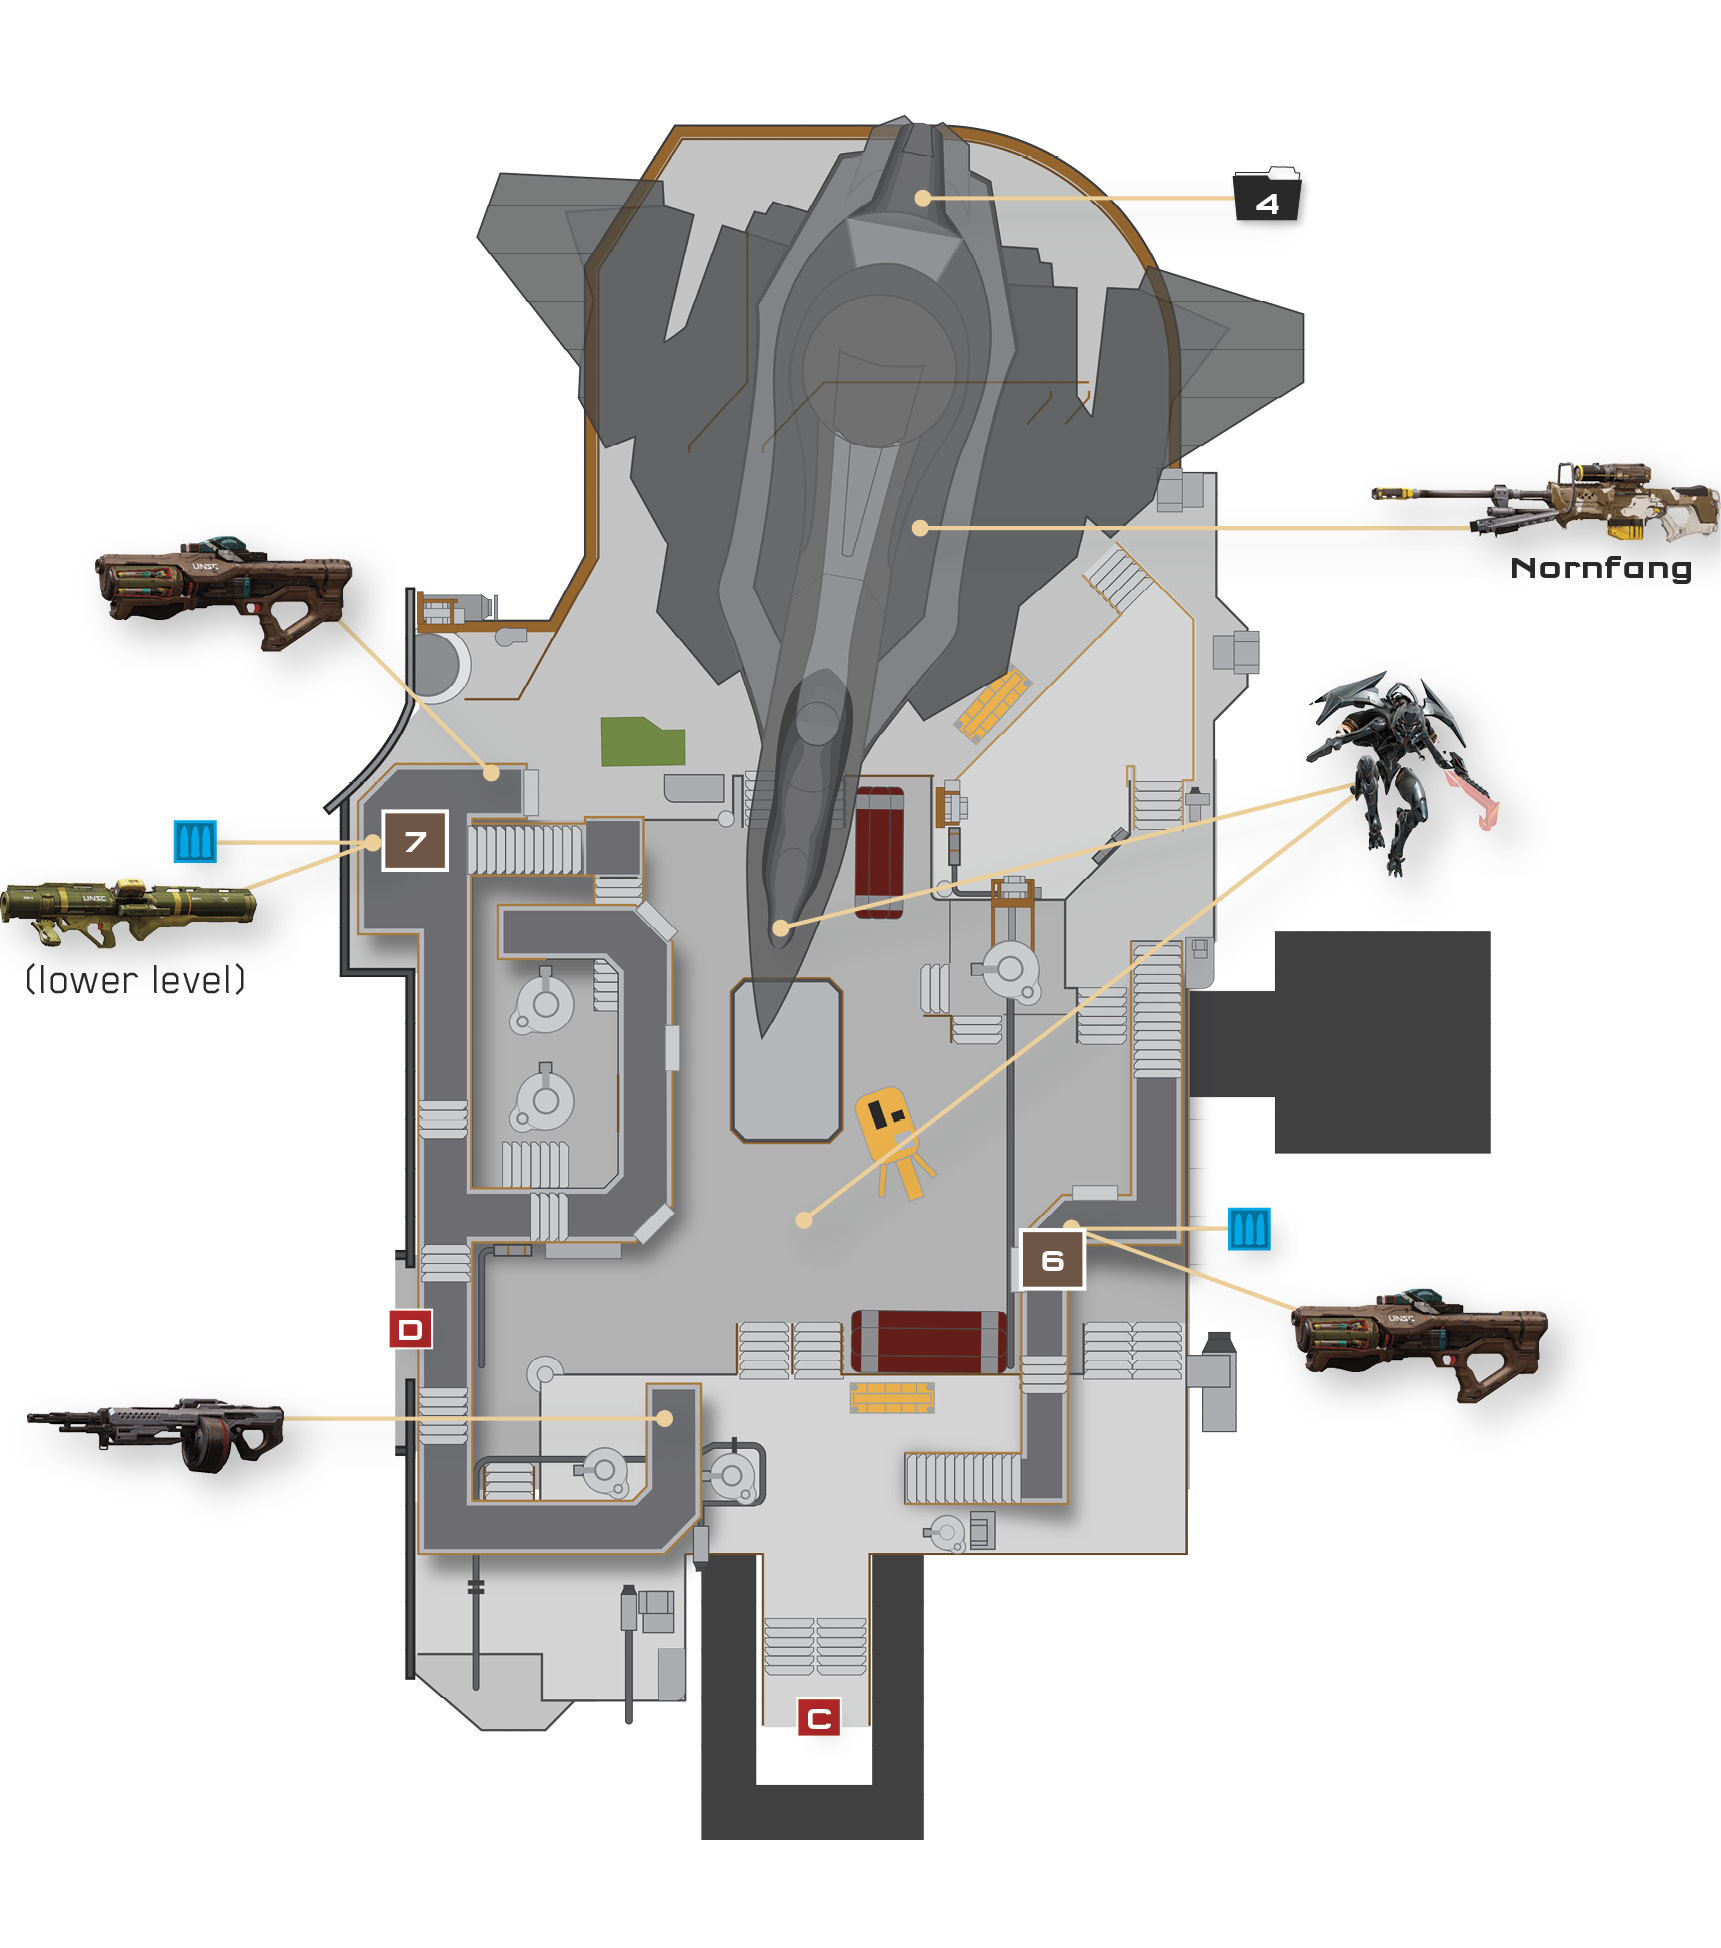
Another intense battle erupts on the roof of Apogee Station. This one’s even more challenging, for there’s very little cover, and you face two hulking Knights armed with lethal Scattershots in addition to numerous Crawlers and Soldiers. Wiping out the Knights should be your first priority, especially the one closest to your entry point.
Recommended Loadout
The Hydra Launcher you found in the nook during the previous firefight helps you obliterate the first Knight in short order. Bring the Hydra and a fully stocked Suppressor or SAW, and you’ll be well armed for this battle. If you’d like even more firepower, grab the detached Splinter Turret that the Soldier Captain left behind in the previous battle and carry it with you.
A towering Knight stands in the center of the roof. If you brought the Hydra Launcher or Splinter Turret upstairs with you, lock on and pound the Knight from afar. Toss grenades as well, aiming to bring down the Knight before it can mount much offense. If the Knight spawns a Watcher, switch to your Suppressor and destroy the Watcher first, then return to battling the Knight.
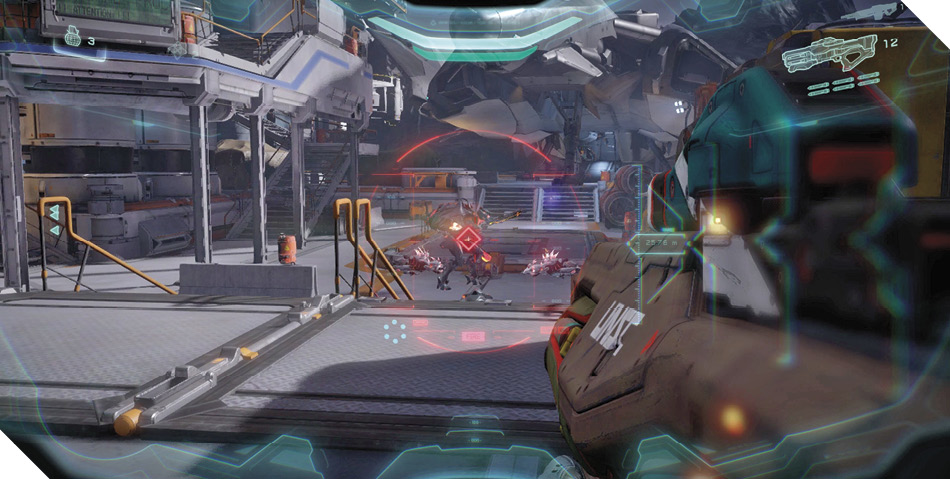
 WatchersServing a support role for Promethean forces, Watchers fly around the battlefield in search of Crawlers, Soldiers, and Knights to shelter with Hardlight Shields. Watchers can also repair damaged allies, restoring their armor and healing them back to full vigor. Grenades that you throw or launch from Plasma Casters can be caught and tossed back at you by Watchers, as can missiles fired from Hydra Launchers. Watchers can also fire their blasters at you from on high. Watchers can make simple battles far more challenging, but they can’t withstand much damage. Exploit their weakness and annihilate Watchers with fast-firing weapons such as the Assault Rifle or Suppressor before taking the fight to their allies. |
There’s another Hydra Launcher up the stairs on the right 6, along with an SMG and some ammo crates. This is fortunate, because another Knight lurks just ahead. Reload your Hydra and unleash it against the remaining Knight. Once it’s down, fall back and mop up the remaining Soldiers and Crawlers.
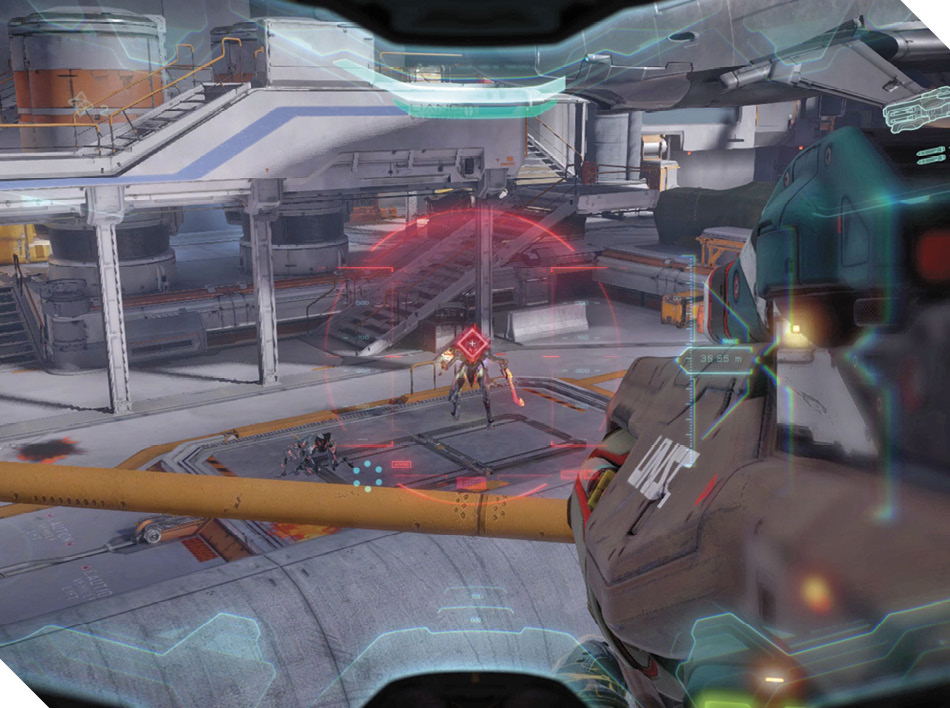
Legendary StrategyKeeping near the entry stairs throughout this battle is vital during Legendary play. Exploit the Hydra Launcher and ammo kits up the stairs on the right 6 to gain valuable firepower and ammo, but don’t remain on that walkway, for you’re far too exposed. Fall back to the entry stairs and stick close to the cover afforded you there. Don’t hesitate to fall back downstairs for more ammo if need be. |
If the Hydras aren’t enough, there’s a Rocket Launcher lying near a UNSC weapon rack along the left wall 7. Sprint there to reach it safely, then head upstairs to reach the walkways above, where you’ll discover another Hydra Launcher and an excellent firing vantage. (There’s also a SAW at the walkways’ far end.)
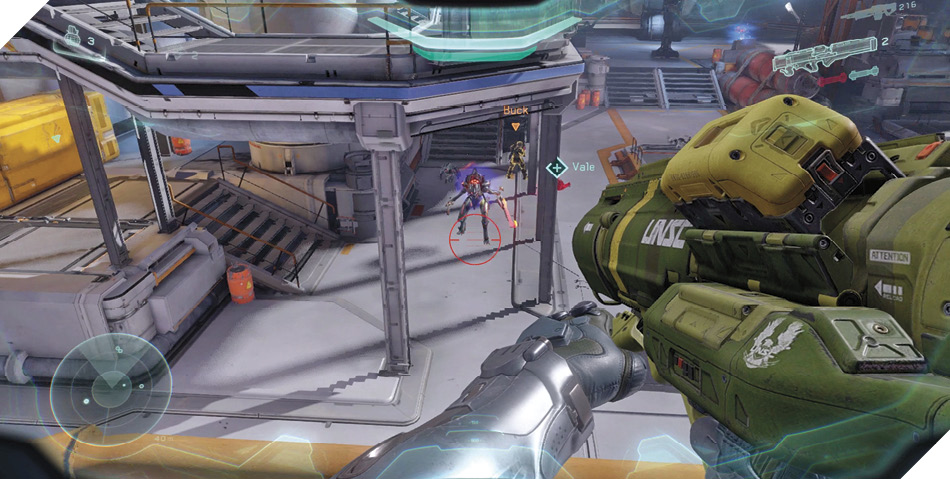
Before long, two Watchers arrive, along with some Soldier and Crawler reinforcements. Many of the Soldiers wield Scattershots, making them extremely dangerous to battle up close. Fall back and bring down the Watchers first with a Suppressor, SMG, or similar weapon, or else they’ll shield and repair their damaged allies, extending the battle.
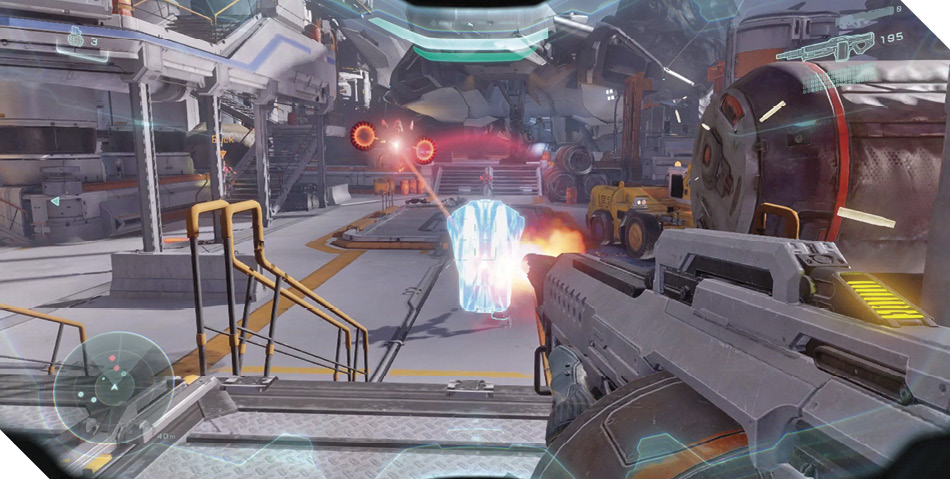
Achievement: Waiting on YouTo earn this Achievement, you must allow a Watcher to repair one of its damaged allies. Shoot a Soldier or Knight until its armor shatters, then back off and allow a Watcher to administer repairs. Wait for the Watcher to finish, then defeat the Soldier or Knight it has just fixed. This final act of aggression earns you the Achievement! |
Objective: Investigate Prowler
With the rooftop secured, you can take a closer look at the Prowler parked on the far side. Step inside to find an Assault Rifle, some Frag Grenades, and a customized Sniper Rifle called Nornfang. This is Spartan Linda’s weapon! There’s no doubt about it now; you’re hot on Blue Team’s heels.
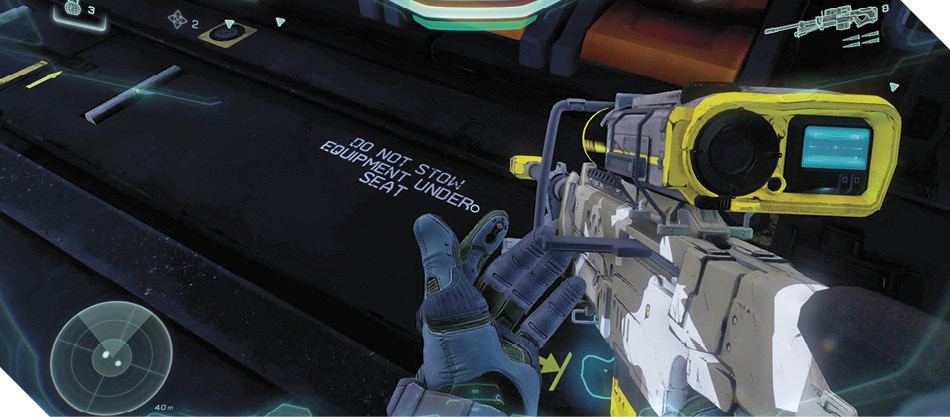
 NornfangA master-crafted instrument of death and destruction, Nornfang is a special Sniper Rifle customized by Spartan Linda. She'd never leave this treasured weapon behind; something must be wrong. |
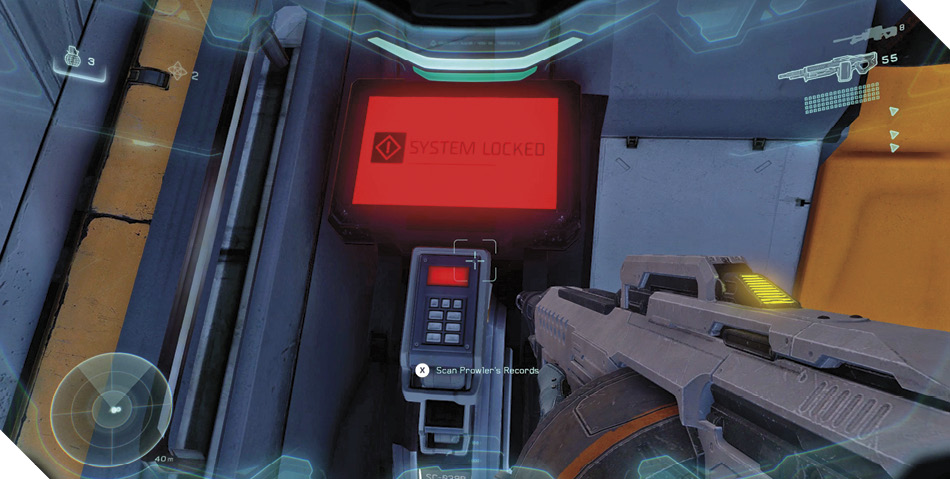
Blue Team can’t be far, but you need more information. Access the terminal in the back of the ship to discover that Blue Team has likely entered the nearby mine, which Governor Sloan reluctantly grants you access to.
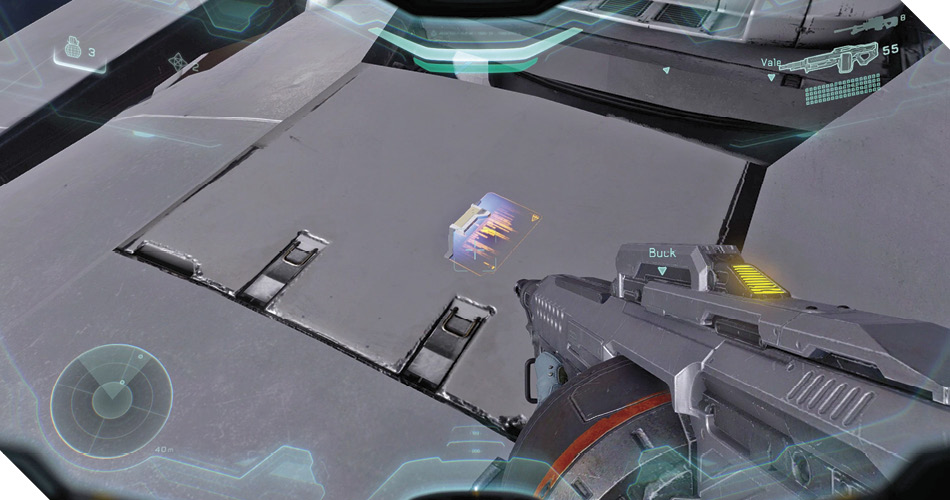
Before heading to the mine, move behind the Prowler and engage Artemis to detect an item of interest on top of the ship. To reach it, go upstairs to the top of the platform above the Rocket Launcher 7. (The stairs will be on your right as you move away from the Prowler.) From the height of that platform, jump on top of the Prowler (you may need to thrust in midair to make it).
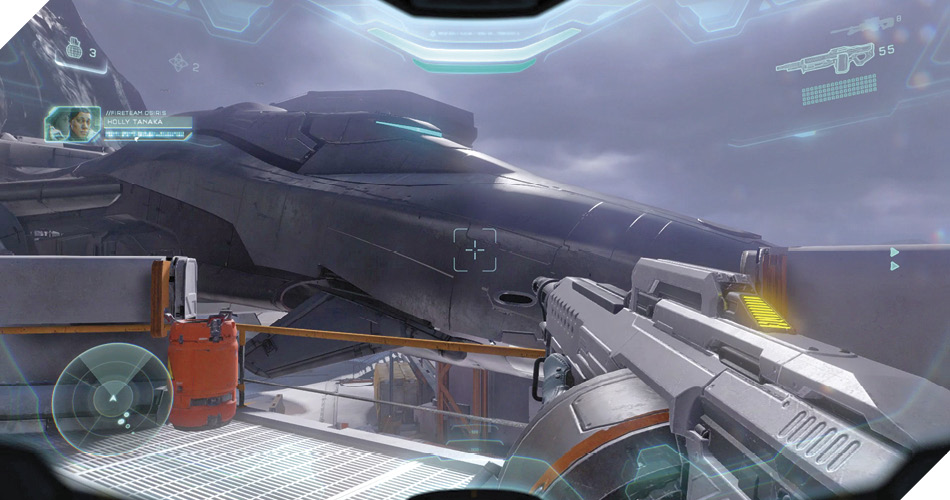
Once you’re on the Prowler, simply head to the back and use Artemis to locate a UNSC data pad. Scan it for more intel, then drop down. Grab the DMR near the barricade in front of the Prowler, and bring it and Nornfang with you into Quarry 6C.
Mission 5 Intel Acquired (4/7) |
objective: Pursue Chief and Blue Team
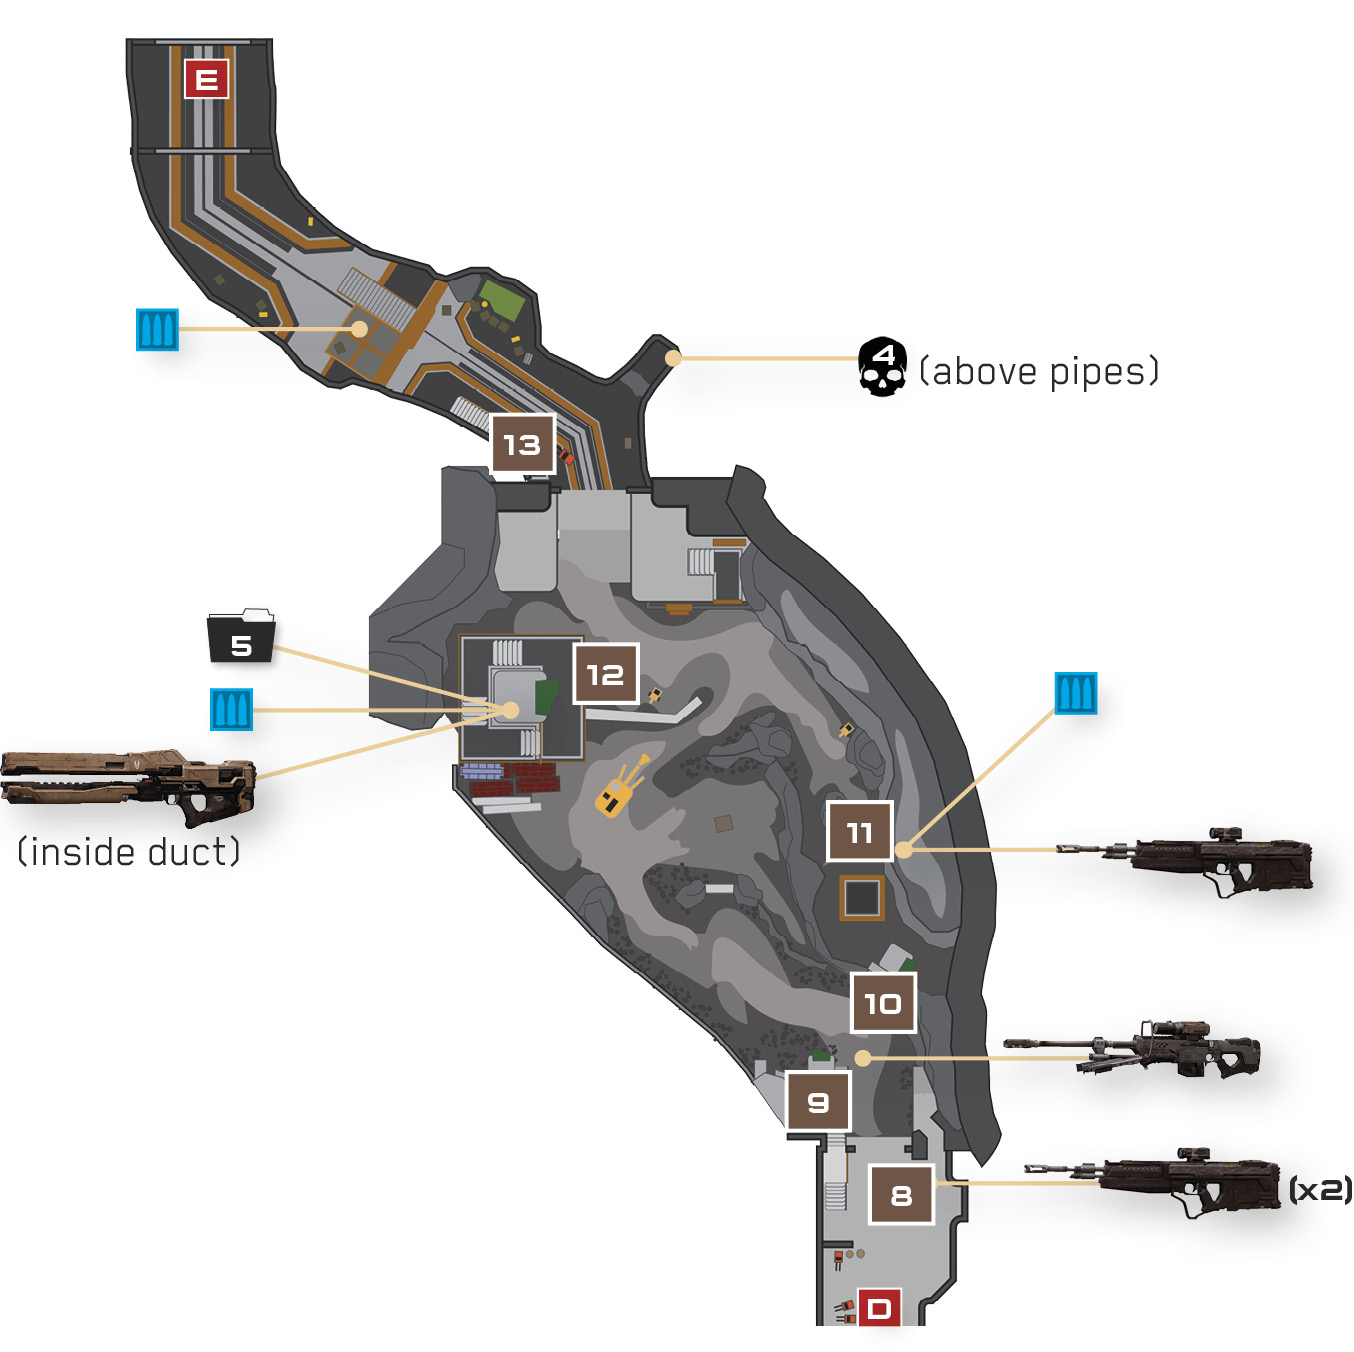
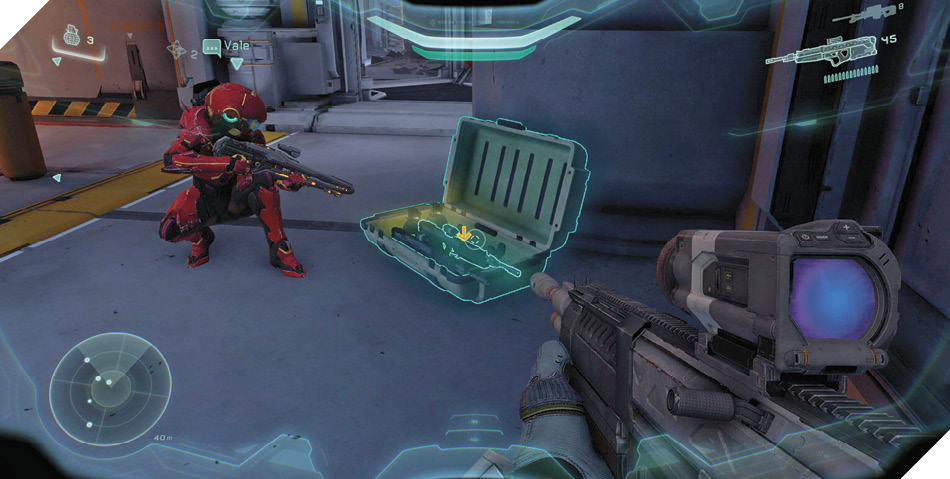
Soldier Snipers armed with deadly Binary Rifles have taken position all around Quarry 6C. The Soldiers have the high-ground advantage, so you face a harrowing uphill battle. Grab some DMR ammo from the case in the quarry’s entry 8 and give away any extra DMRs to your teammates.
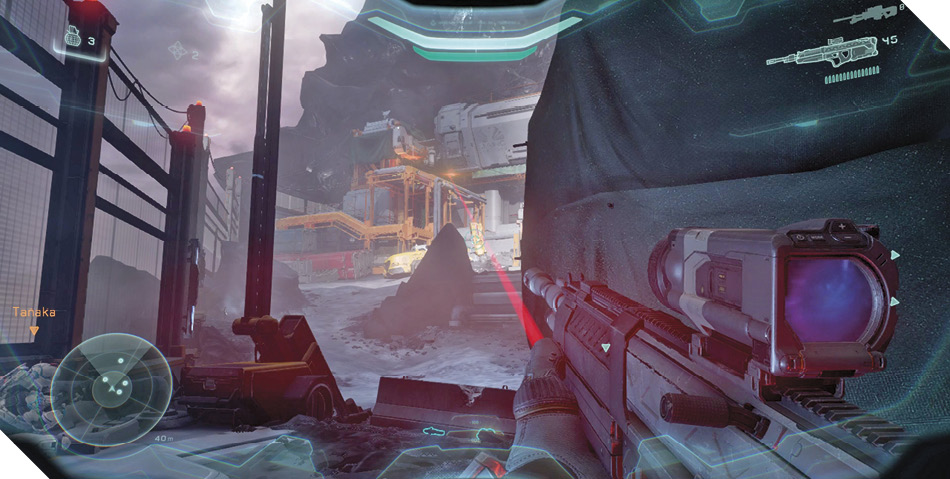
Two doorways lead into the quarry, and it pays to split up if you’re playing with friends. Those who exit through the left doorway should take cover behind the large machinery that’s covered by blankets 9. This is a good spot to pick shots at the Soldier Snipers while you remain near cover.
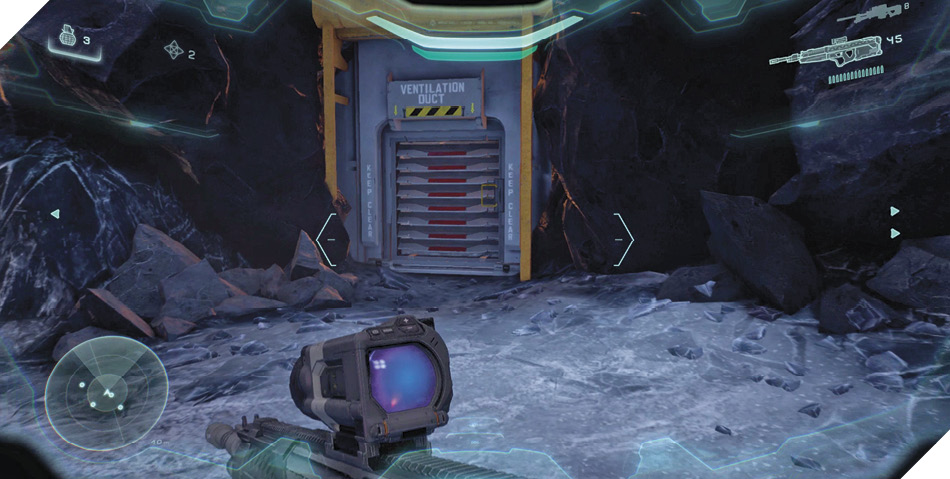
Spartans that exit through the right doorway are able to reach higher ground. Begin by performing a Spartan Charge through the shutter on the right 10, which is marked “Ventilation Duct.” You end up in a small nook; jump and climb up to higher ground.
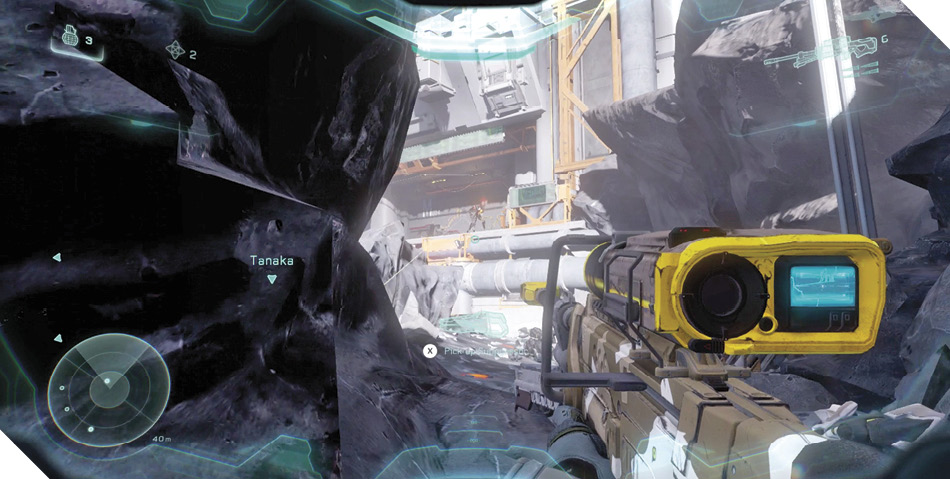
After climbing, take cover behind the large nearby rock 11 and pick shots at the distant Snipers. The laser sights of their Binary Rifles betray their positions—simply track their lasers back to them. Be extremely cautious each time you poke out to fire, and try to score a quick headshot for an instant kill before ducking back to safety. Avoid leaving cover unless you have full shields.
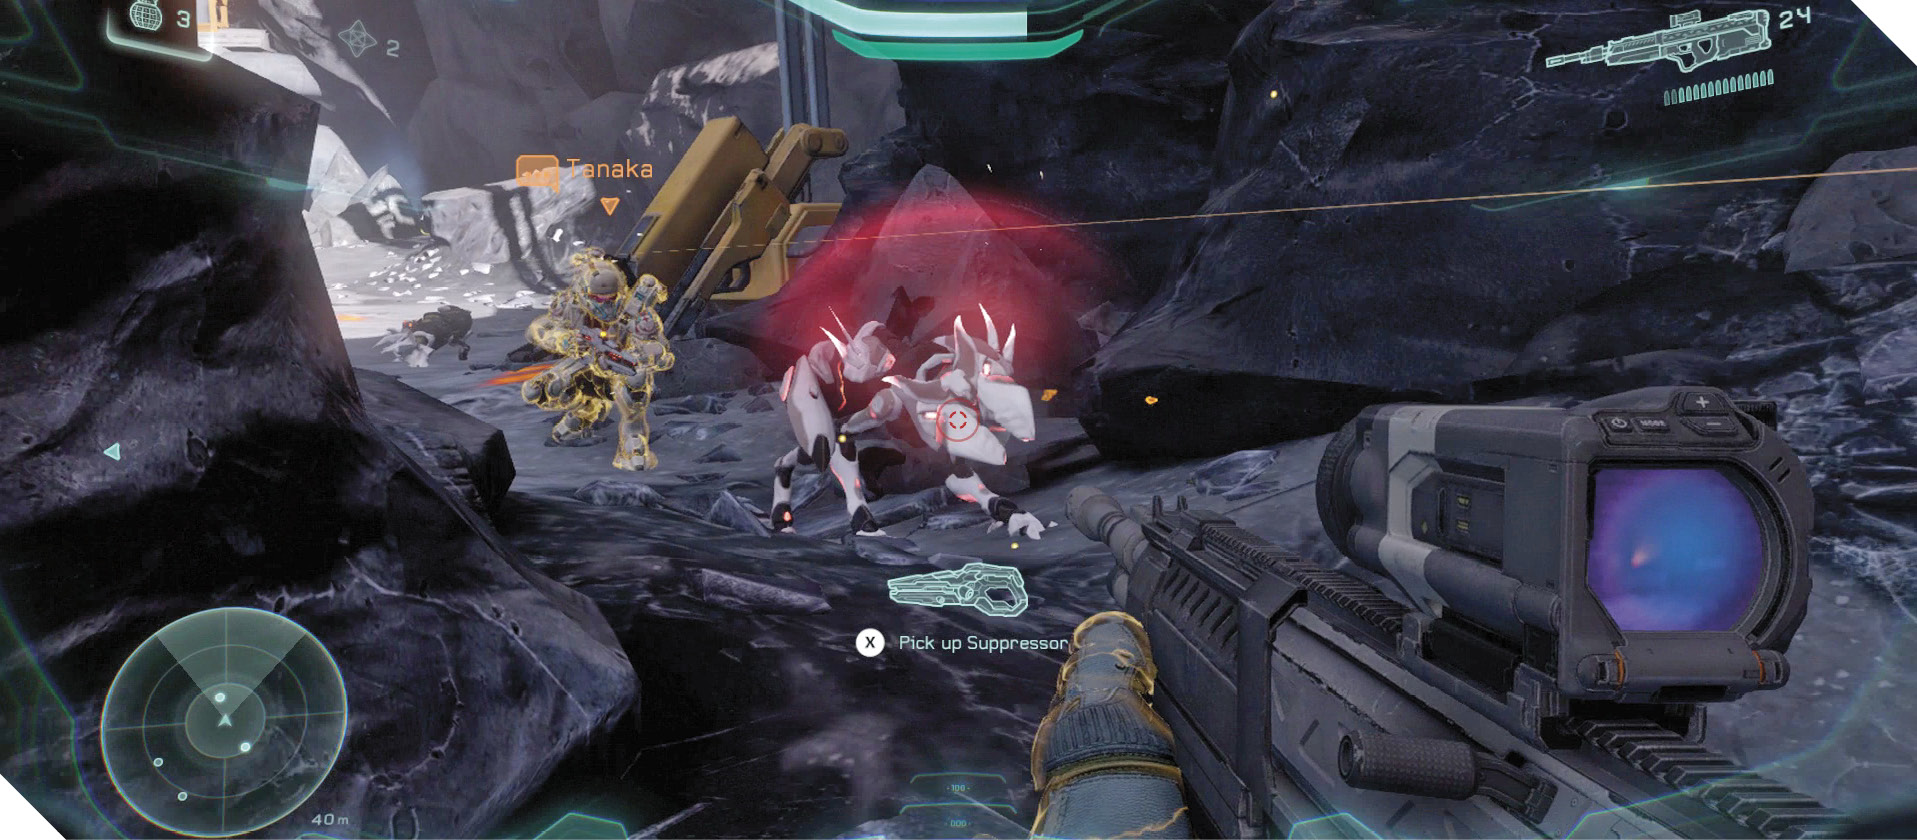
Crawlers will spawn and rush you from time to time as you fire on the Snipers. Blast them with headshots as they approach, and whack any nearby Crawlers with a melee blow or two to defeat them.
Legendary StrategySoldier Snipers are absolutely lethal on Legendary. They’re much quicker at pulling the trigger, and being hit often means instant death. Their Binary Rifles won’t leave anything left for your teammates to revive, so you’ve got to avoid being shot. Keep near cover and only emerge when your shields are full. Squeeze off one headshot and then immediately retreat behind cover again, even if you miss. Crawlers spawn each time you kill a Sniper; eliminate them all before returning your attention to the Snipers. |
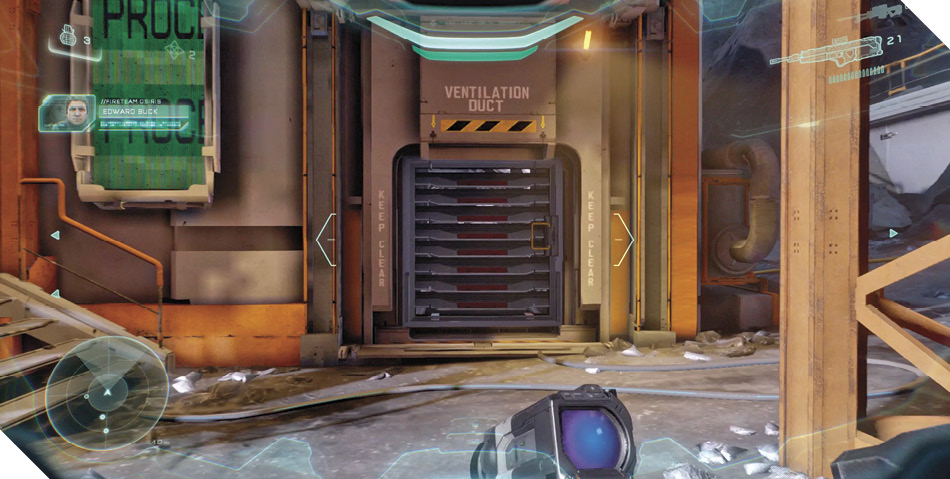
Sloan opens the door to the nearby mine after you’ve secured the quarry. Before rushing onward, take a moment to charge through another shutter at the base of the platform on the left 12. This leads to a small ventilation duct, where you discover a Railgun, some ammo kits, and a UNSC data pad. Scan the pad, grab or give away the Railgun, and restock your DMR ammo before backing out and heading into the mine.
Mission 5 Intel Acquired (5/7) |
Skull 4 of 13: Blind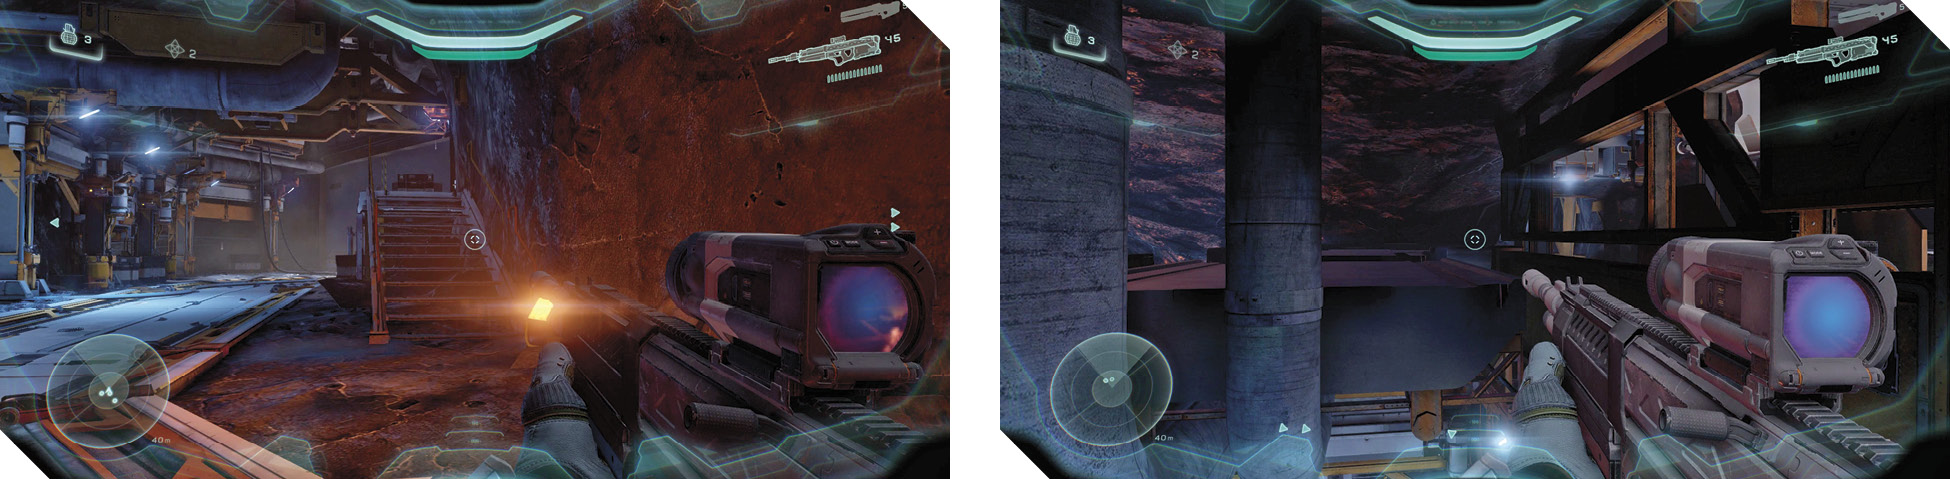 A UNSC weapon rack stocked with SMGs and Shotguns stands in the mine’s entry hall. You don’t particularly need these weapons, so turn around and scale the stairs behind you to reach a small landing 13. 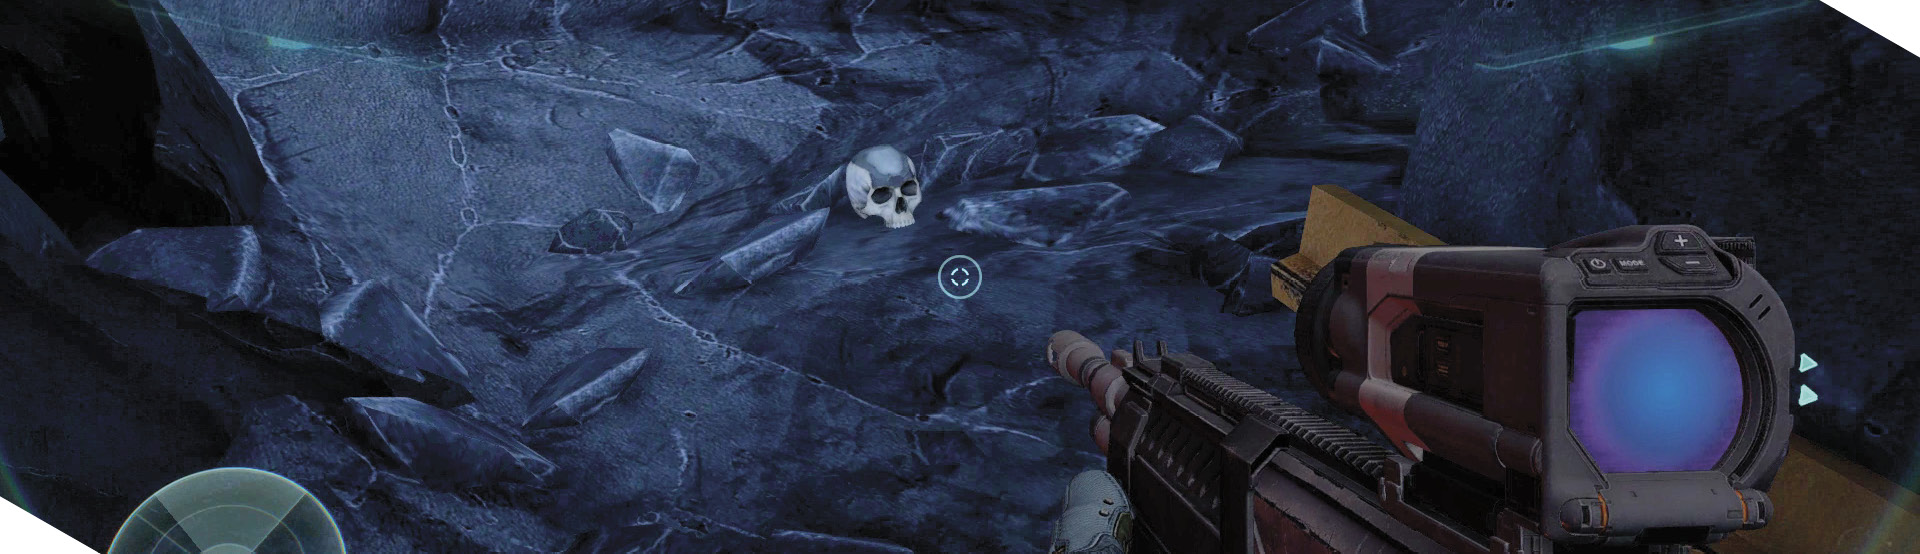 Hop onto one of the landing’s crates, then look up to spy some pipes and support beams up near the ceiling. Jump straight up, and you can see that there’s a flat surface above the pipes. Jump and climb onto this surface. Creep along the flat surface near the ceiling until you notice a small passage in the wall on your left. Inch into the passage to discover a Skull at its end. Grab it to add the Blind Skull to your growing collection.  |