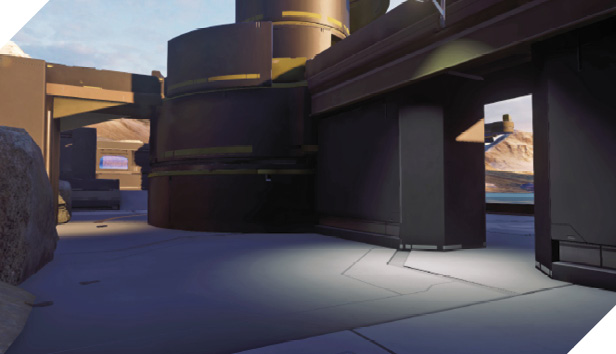
Orion
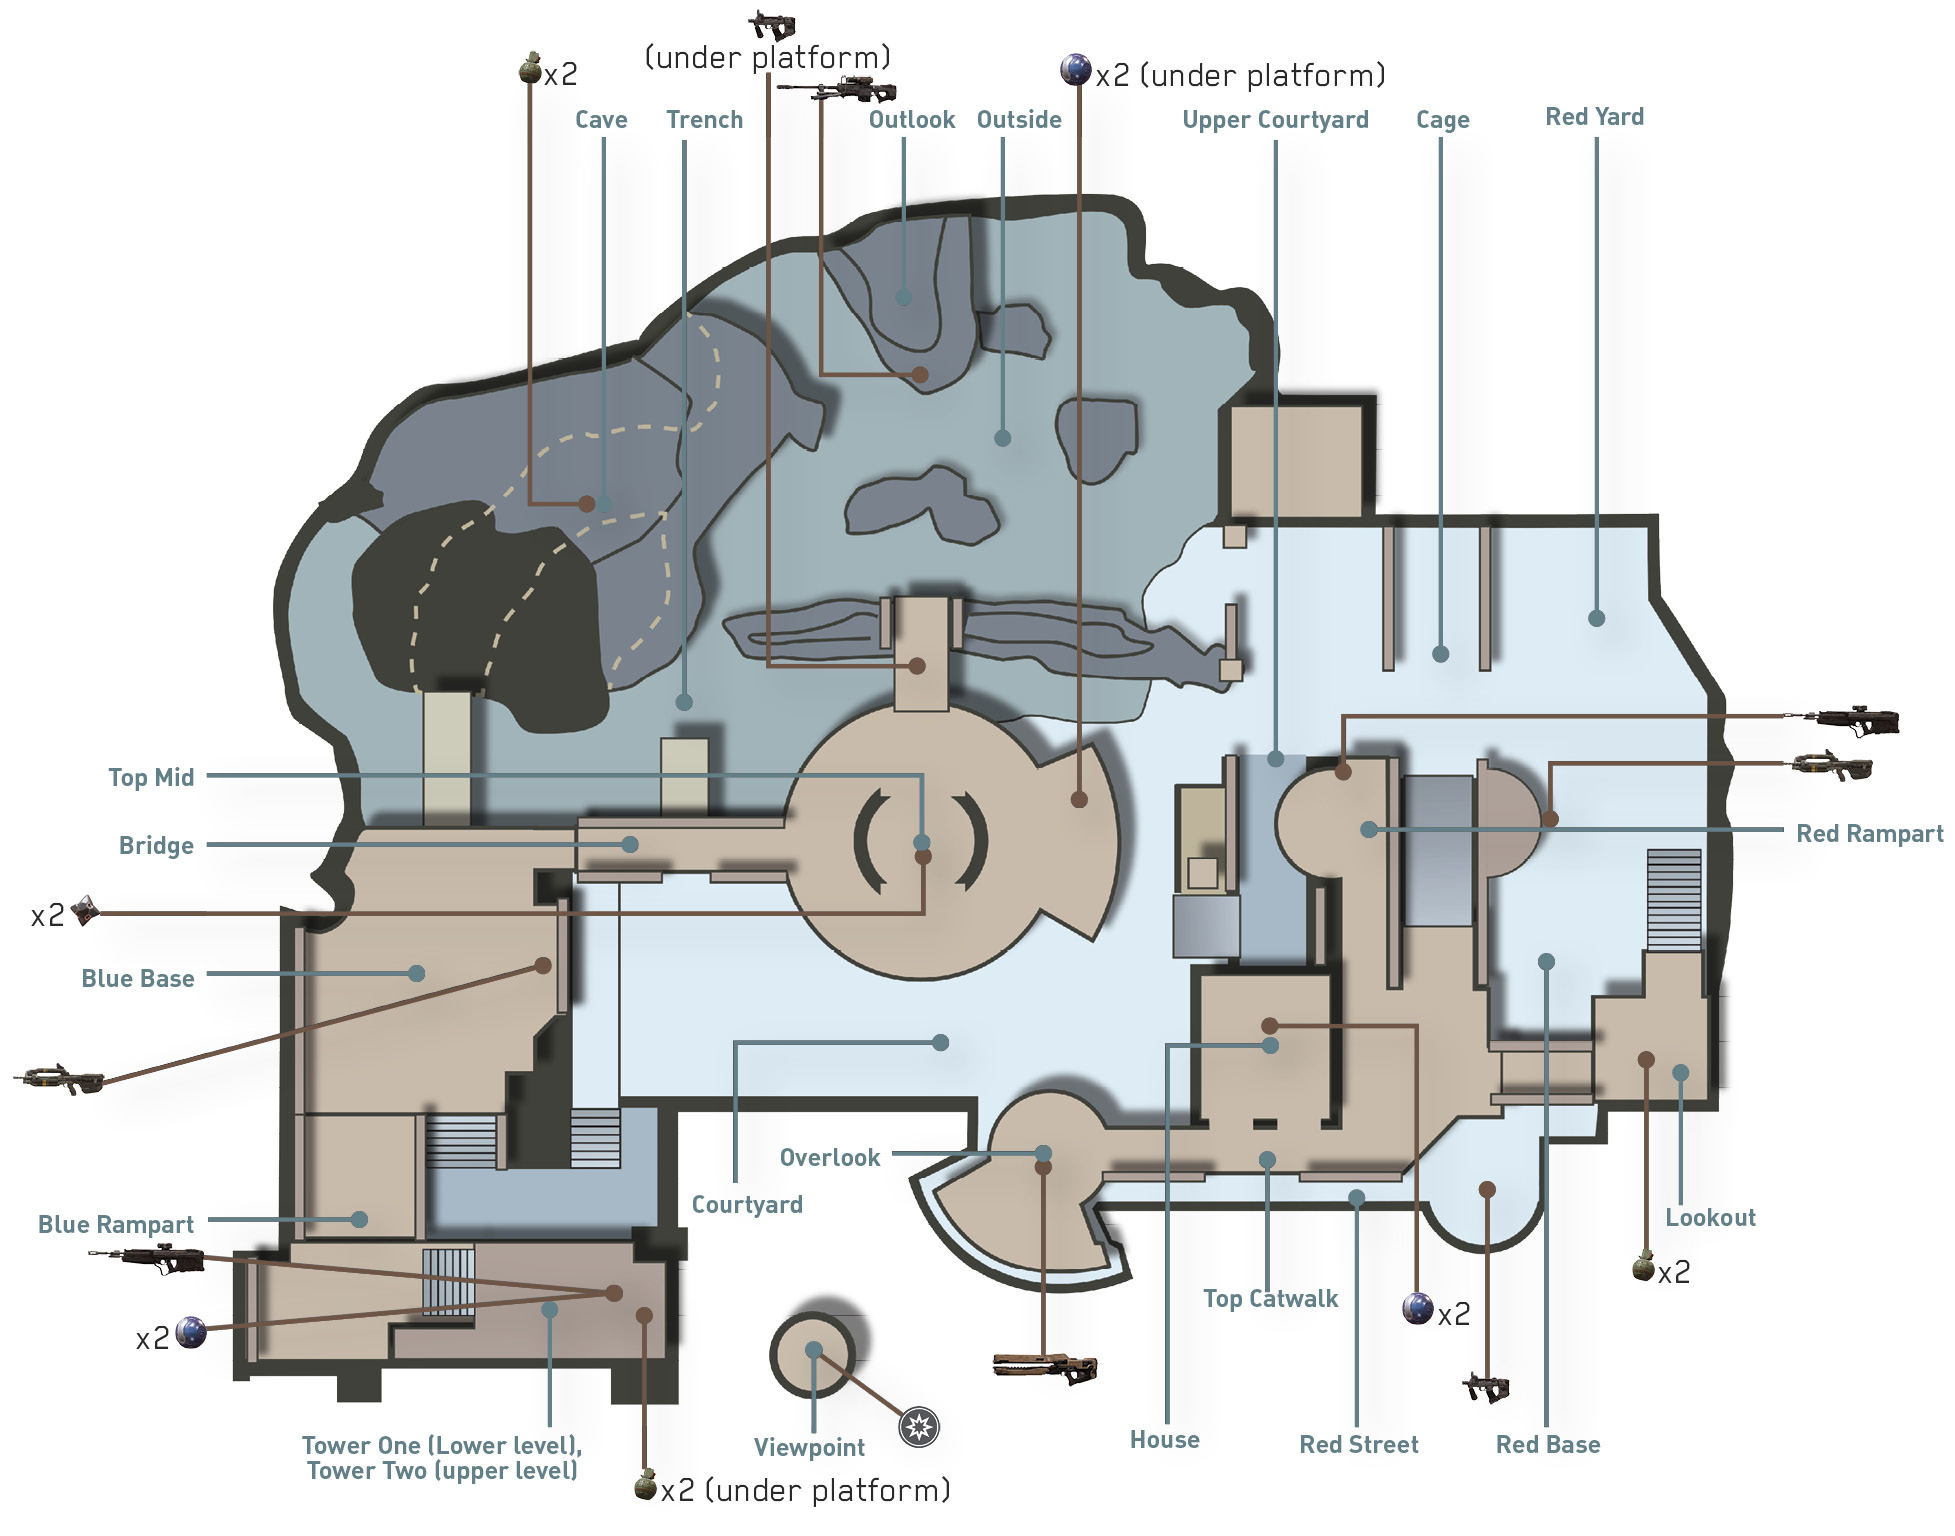
Description: Unidentified Forerunner facilities have appeared across Delta Halo, hinting at the activation of long dormant systems.
Game Modes: Slayer, Strongholds
Orion is an open asymmetrical map with several long sight lines. Precision weapons are king here, leading to stand-off, tug-of-war style matches as both teams vie for control of the power-ups in the center no man’s land. The map’s verticality also makes it very jump- and clamber-friendly.
Featured Weapons and Power-Ups
| Item | Name | Location | Respawn Time |
|---|---|---|---|

|
Damage Boost | Viewpoint | 2:00 |
|
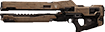
Railgun | Overlook | 3:00 |
|
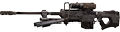
Sniper Rifle | Trench | 3:00 |
Starting Moves
- Red Team: Grab the DMR from House and rush to Overlook while engaging the Blue Team leaving their base. This is a good way to counter early-round pushes toward Top Mid.
- Blue Team: Take the DMR at Blue Base and move to Tower. From there, duck in and out of cover while harassing Red Team as they move toward Top Mid or the Railgun at the Overlook. You can also make a move for the Damage Boost located on the Viewpoint platform.
Power Position: Tower
How to Leverage
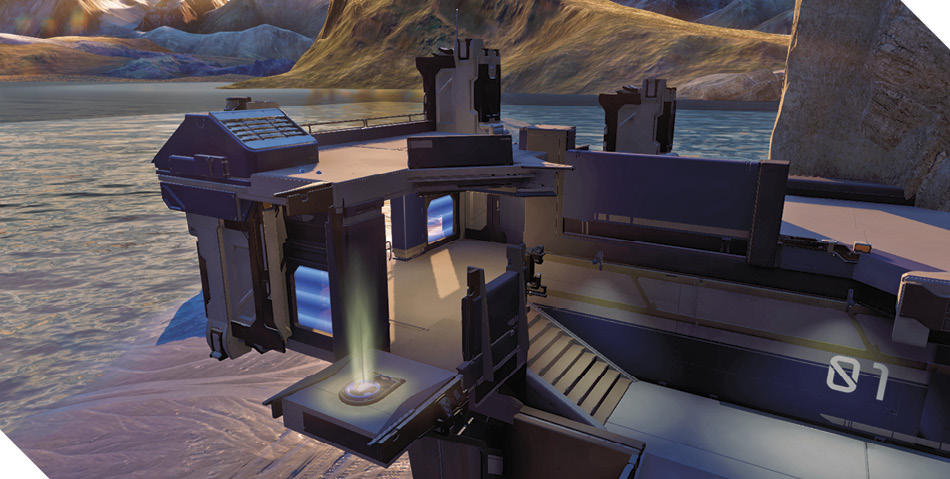
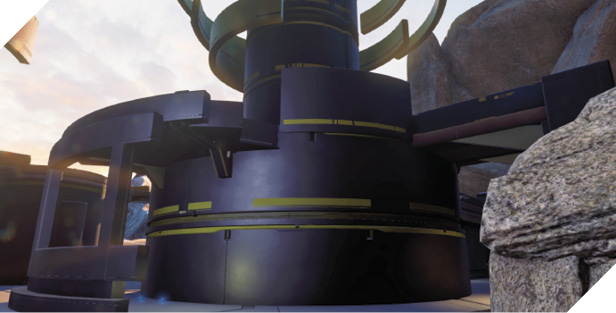
The Tower, near Blue Base, has a slight height advantage over the rest of the map, making it an ideal sniping perch. When possible, acquire the Sniper Rifle from the Upper Courtyard and rush to the Tower. If you can’t get the Sniper Rifle, the Railgun, a DMR, or a Battle Rifle will suffice. Use the triangular wall on the edge of the Tower for cover—duck behind this feature if you take damage, allowing your shields to recharge. This is a great place to contest access to Top Mid and the Railgun.
How to Counter
If the opposing team holds the Tower, try to pick them off from range using either the Sniper Rifle or a DMR. Even if you can’t score a kill, damaging an opponent on Tower may make them retreat. Alternatively, sneak through the lower part of the map and flank them from the Blue Rampart side.
Tactics
Running out into the open to acquire one of the power-ups can be dangerous. Toss Plasma Grenades near these weapons in an effort to launch them back toward you. The concussion of a grenade’s explosion will send the weapon flying off its weapon pad. For best results, toss a grenade on the far side of a weapon to knock it back toward you.
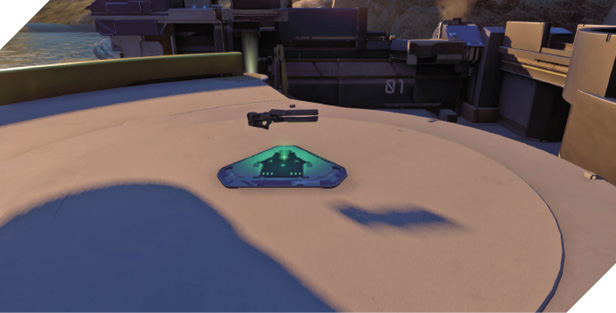
Top Mid is a focal point of most matches. However, players who linger here too long are vulnerable to incoming grenades. Grab the Splinter Grenades and move out before you get pinned down here.
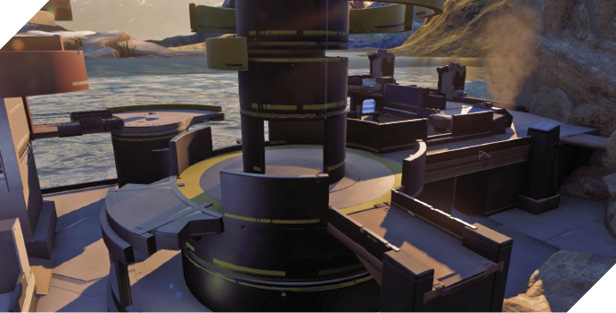
From Tower Two you can sprint, jump, and thrust to reach the Railgun at Overlook. This is a good way to make a push to the opposite side of the map. However, this leaves you completely exposed—don’t attempt this jump if the opposing team has the Sniper Rifle or Railgun. You can also sprint, jump, and initiate a Ground Pound—cancel the Ground Pound in midair with a thrust to reach the nearby Viewpoint platform to grab the Damage Boost power-up.
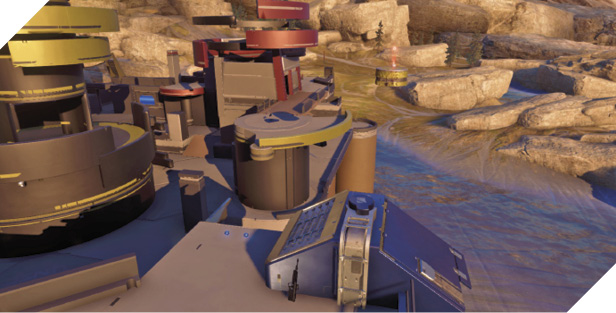
The map features several high ledges that can be reached by jumping off the top of one of your teammates. Use this technique to reach spots near Courtyard and Top Mid, catching your opponents by surprise.
When traversing the lower parts of the map, crouch-walk to avoid giving away your position on the opposing team’s radar. This is a great way to sneak up on opponents who are preoccupied with long-range engagements.