
Halo 5: Guardians Guide Campaign Walkthrough Mission 8: Swords of Sanghelios
Hornet's Nest
Objective: Find the Arbiter (Continued)
The sounds of battle greet you as you pass through the ruin; more Covenant forces are staging an assault just outside. You’re getting close to the Elder Council Chamber where the Arbiter is standing his ground. Time to pick up the pace, Spartan.
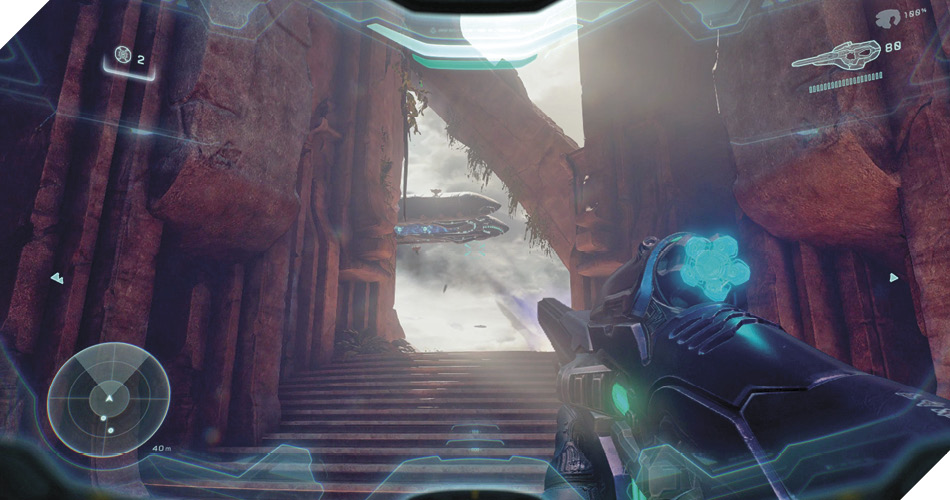
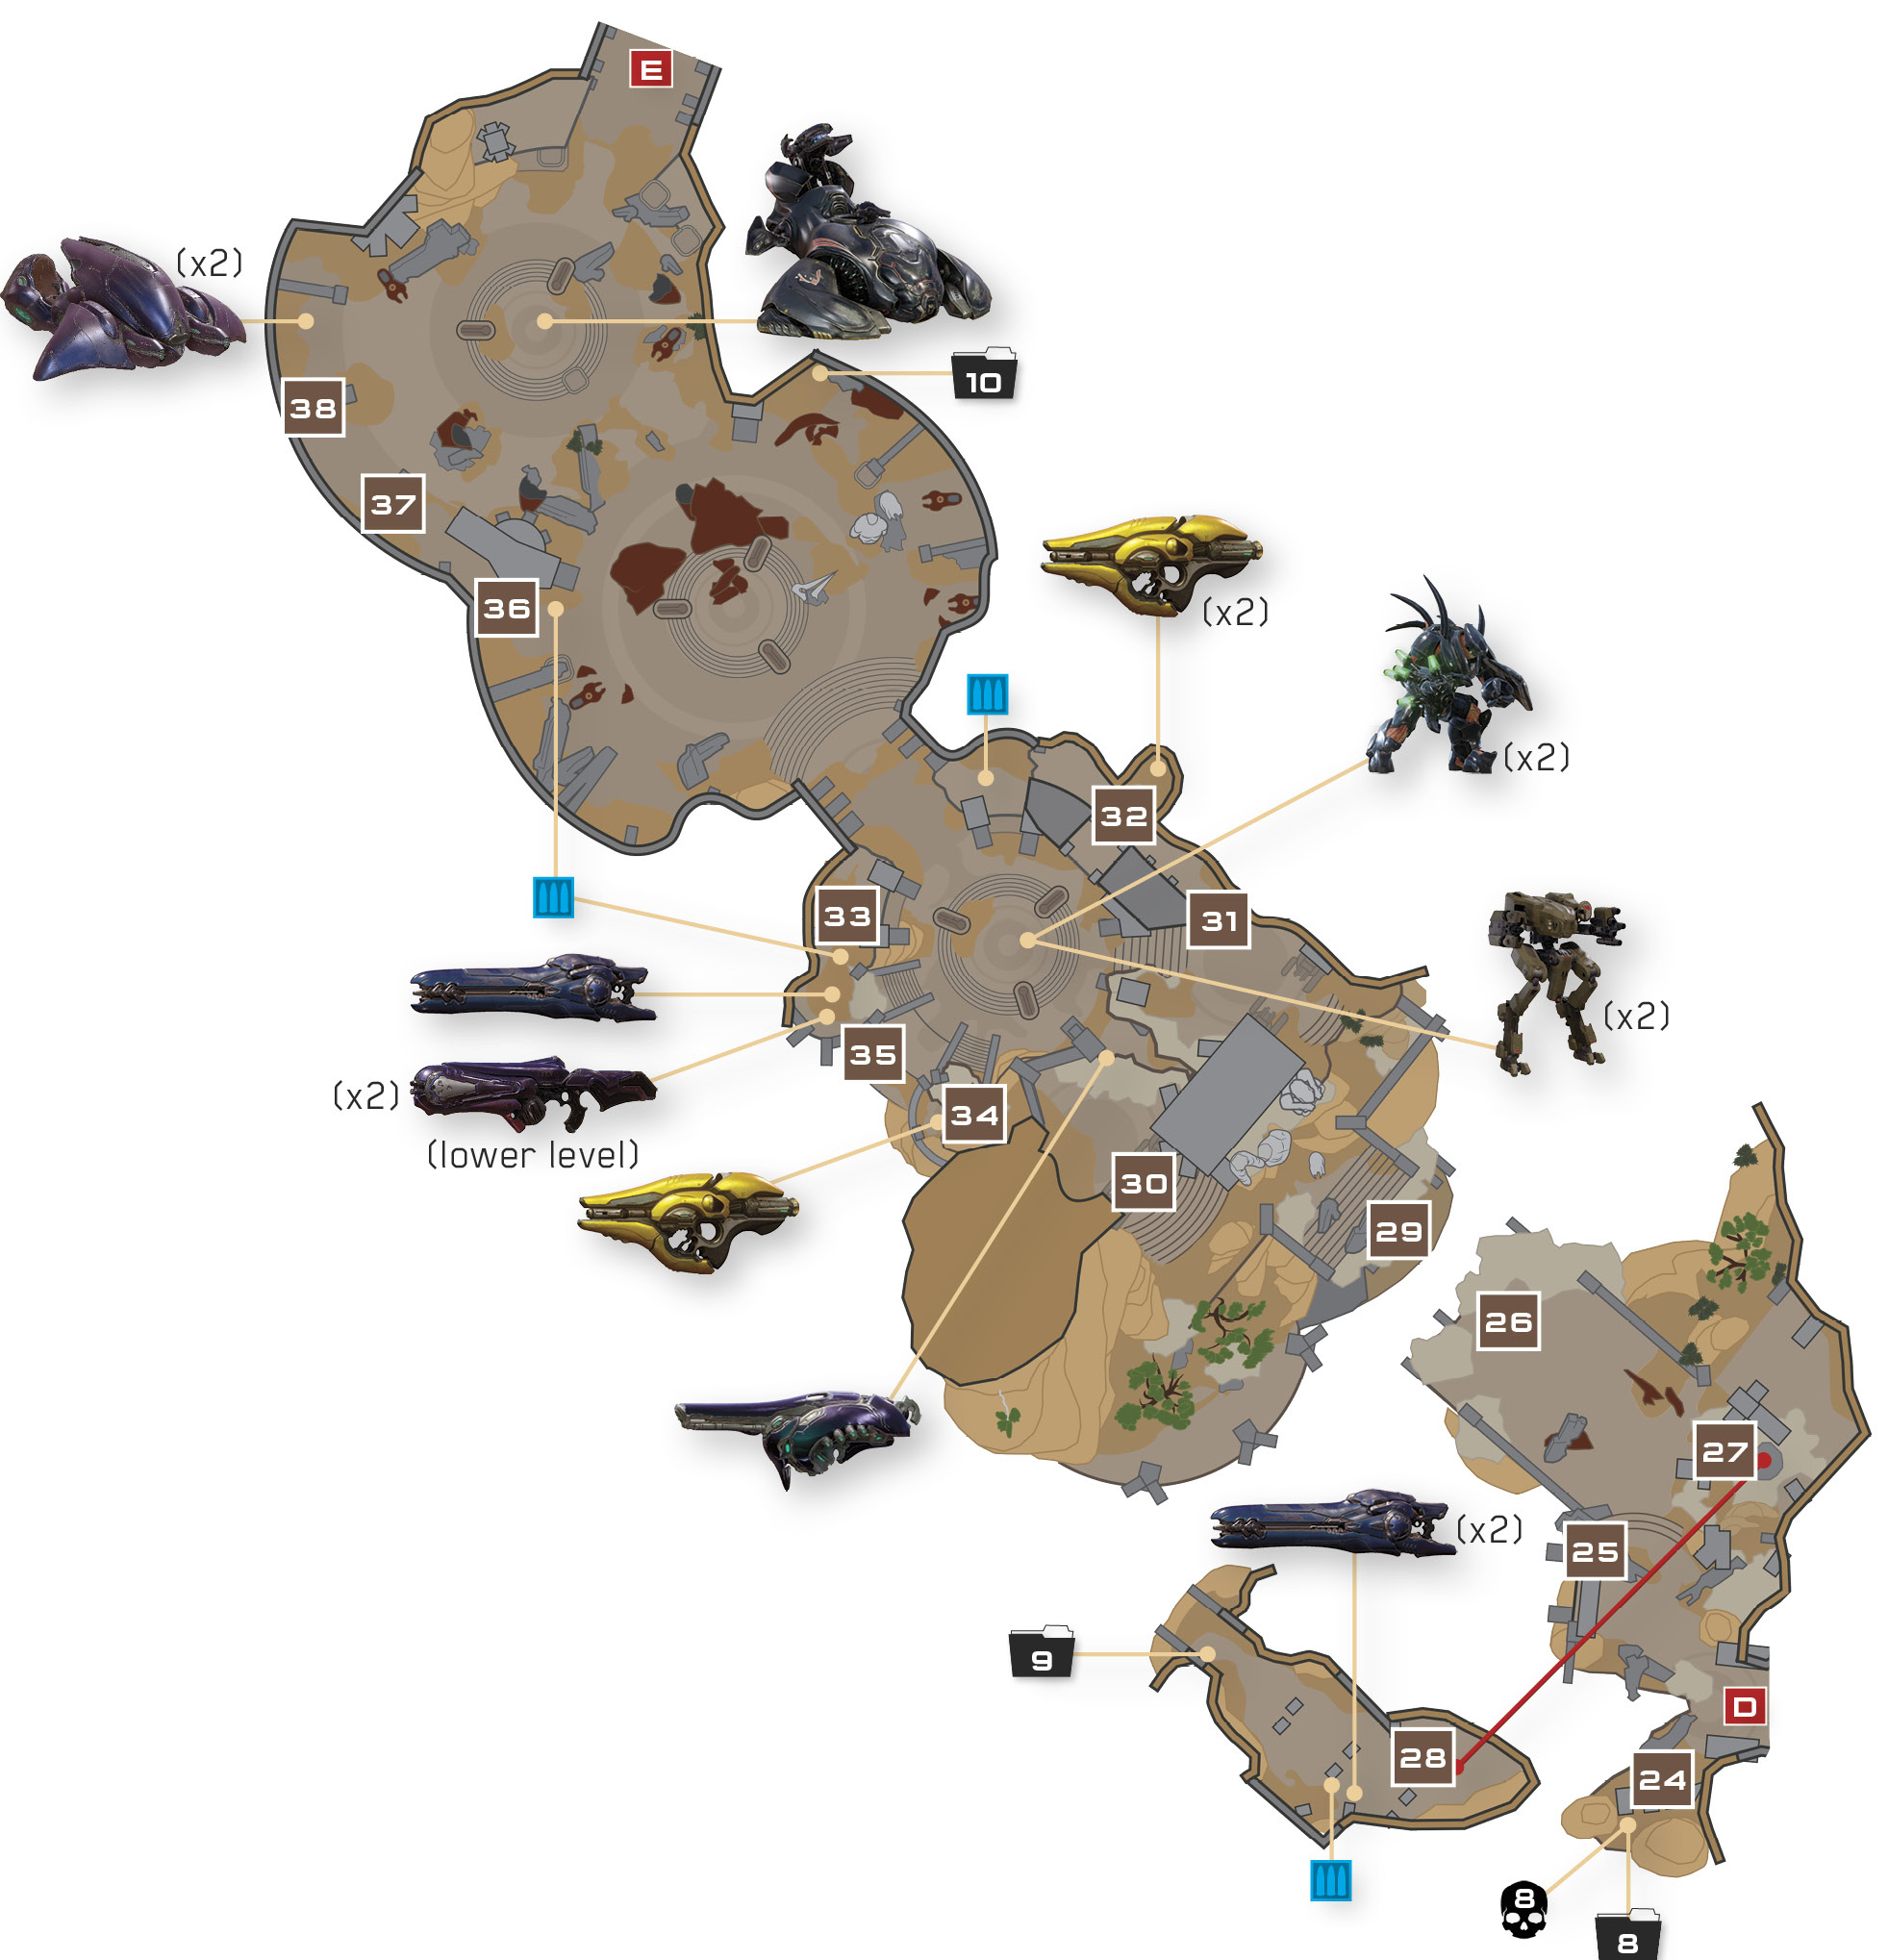
As you exit the ruin, turn left and search behind a pillar 24 to discover a data pad dropped by a fallen Elite. Scan it for new intel.
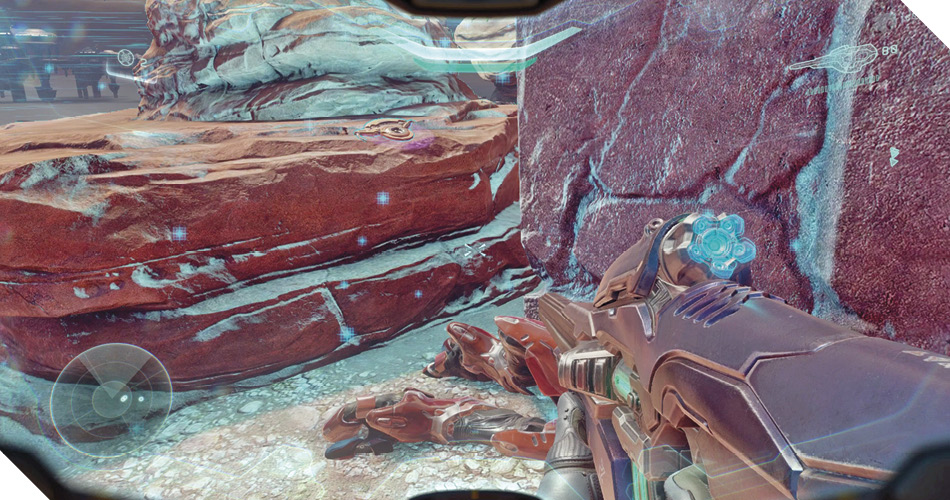
Mission 8 Intel Acquired (8/12) |
Skull 8 of 13: Mythic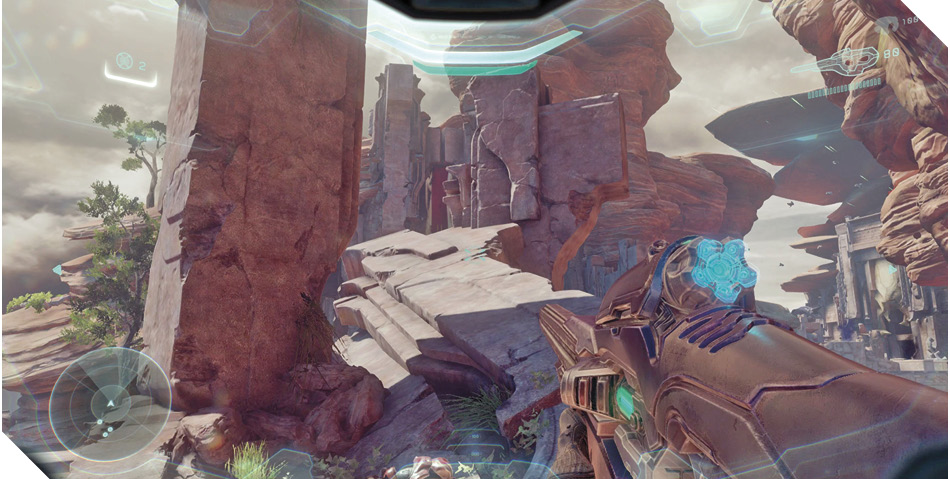 This mission’s secret Skull is stashed on the pillar above the data pad you’ve just scanned 24. Reaching it requires some tricky jumping between the surrounding pillars. Approach the nearby pile of crumbling pillars 25 and scale the fallen one to reach the top of the shortest pillar. 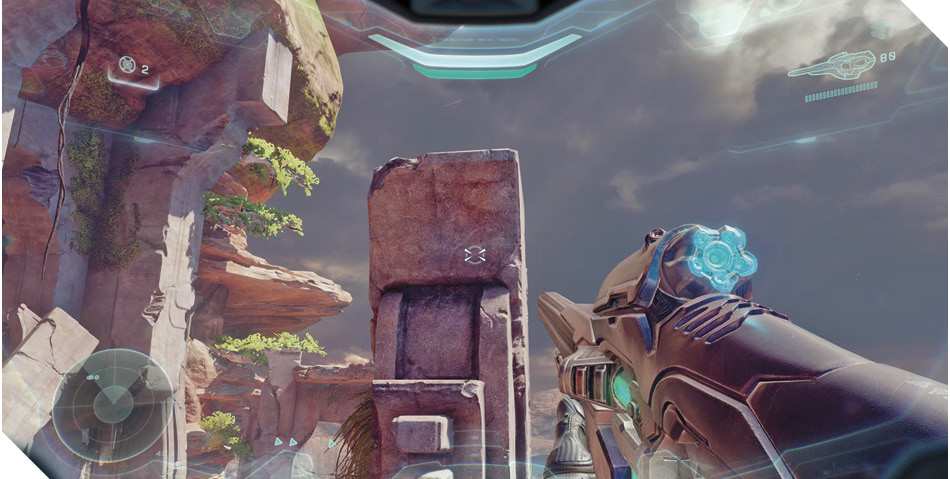 From the top of the shortest pillar, jump to the nearby pair of taller pillars. Climb to the top. 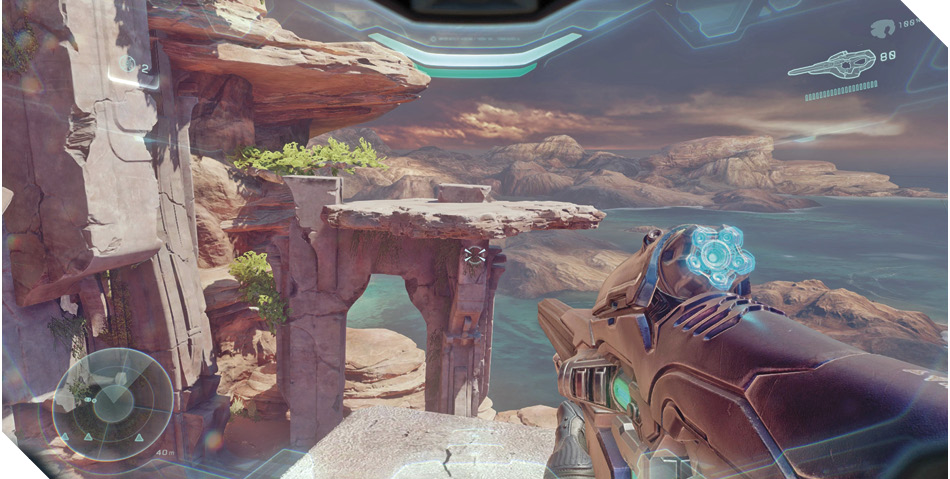 Now for the hard part: You must make a sprinting leap from the top of the tall pillars to reach the top of the Skull’s pillar 24. Back up so that you have just enough room to hit a full-speed sprint, then sprint forward and leap toward the Skull. 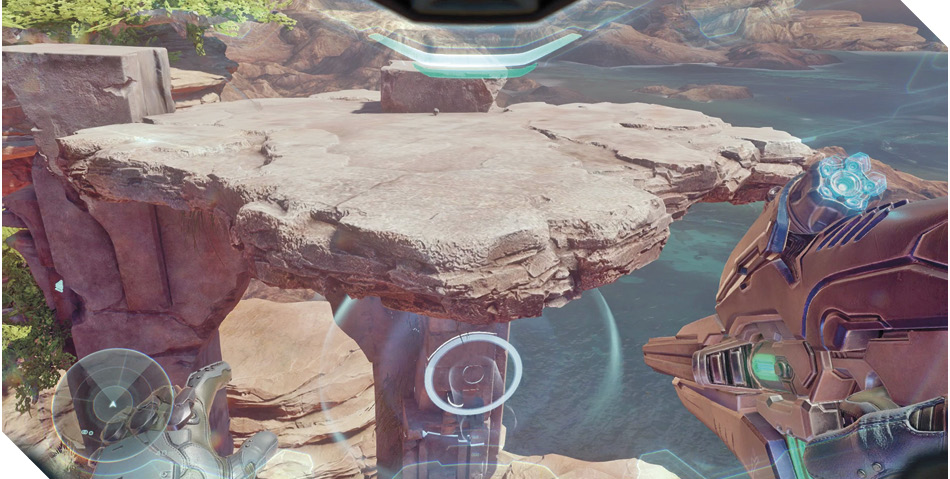 Even if you thrust forward mid-jump, a sprinting leap isn’t enough to reach the Skull’s pillar. To clear the distance, you must sprint, jump, and briefly initiate a Ground Pound by holding the Melee button in midair. Don’t release the Melee button to execute the Ground Pound; you’re only initiating the maneuver for a bit of extra hang time. Engage your thrusters to cancel the Ground Pound and boost forward instead. If you do it right, you’ll be able to grab the edge of the Skull’s pillar and climb up. This tricky jump is far from easy, but it is possible if you set it up with care. Claim your prize and then return to the mission at hand. 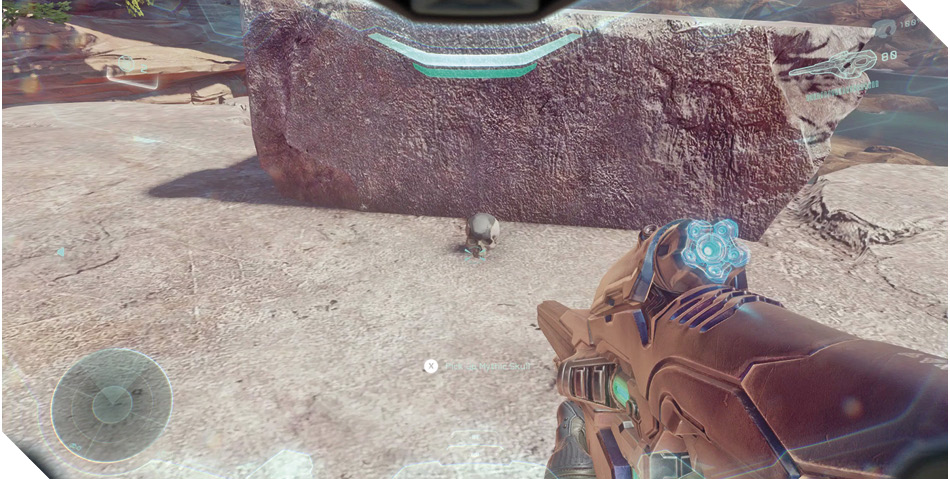  |
Advance along the cliff trail, taking note of the Elder Council Chamber in the distance. It’s the focus of Covenant fire, but there’s no direct means of reaching it. You’ll need to pass through the ruin on your left, but the bridge leading to it is broken 26.
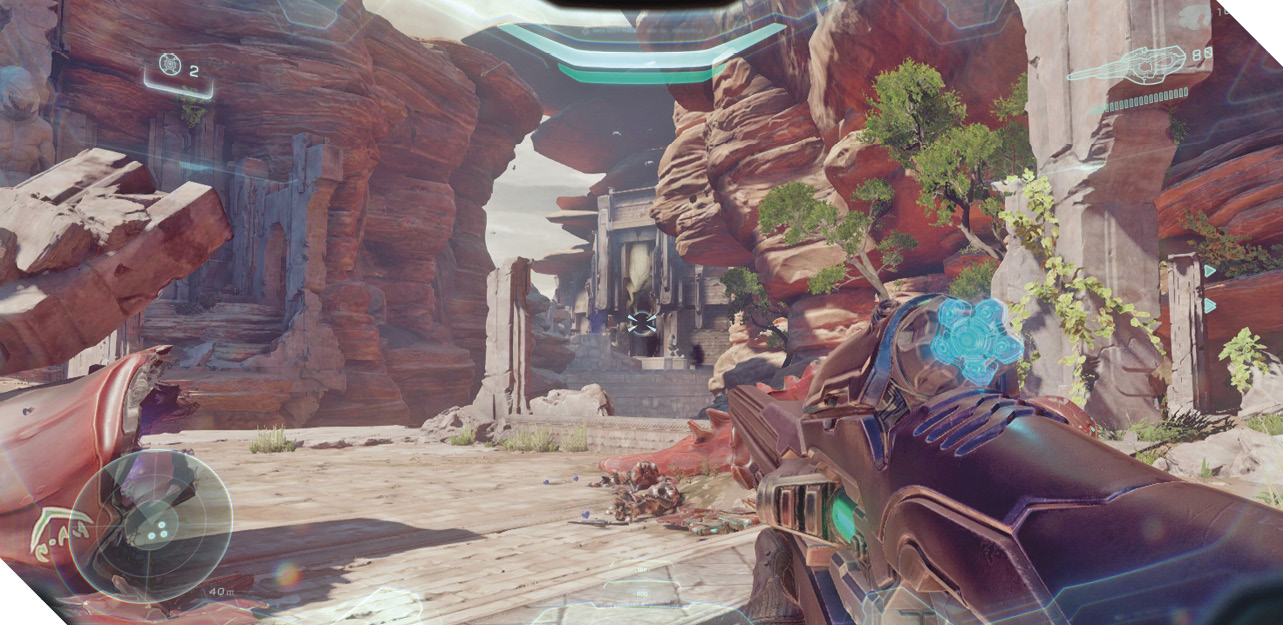
Rather than jumping across the broken bridge, turn around and search the nook behind you for a patch of weak ground 27. Smash through with a Ground Pound (jump and hold the Melee button) to land in a lower area beneath the bridge 28.
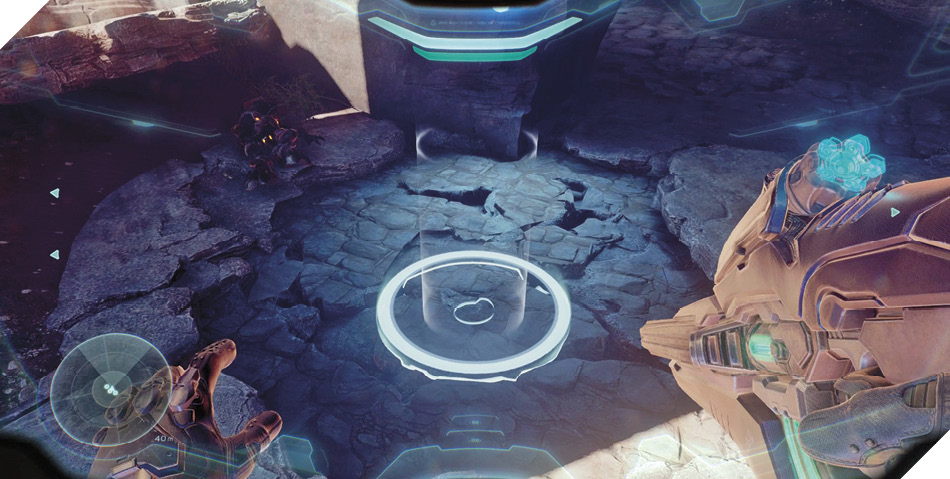
Covenant weapon crates stocked full of Carbines and Beam Rifles await you beneath the bridge 28. Load up and then scan the nearby data pad for more intel.
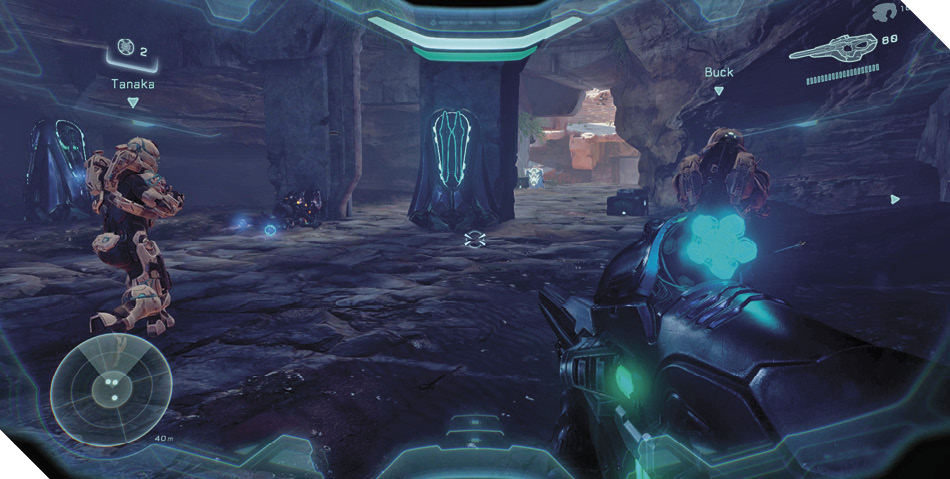
Mission 8 Intel Acquired (9/12) |
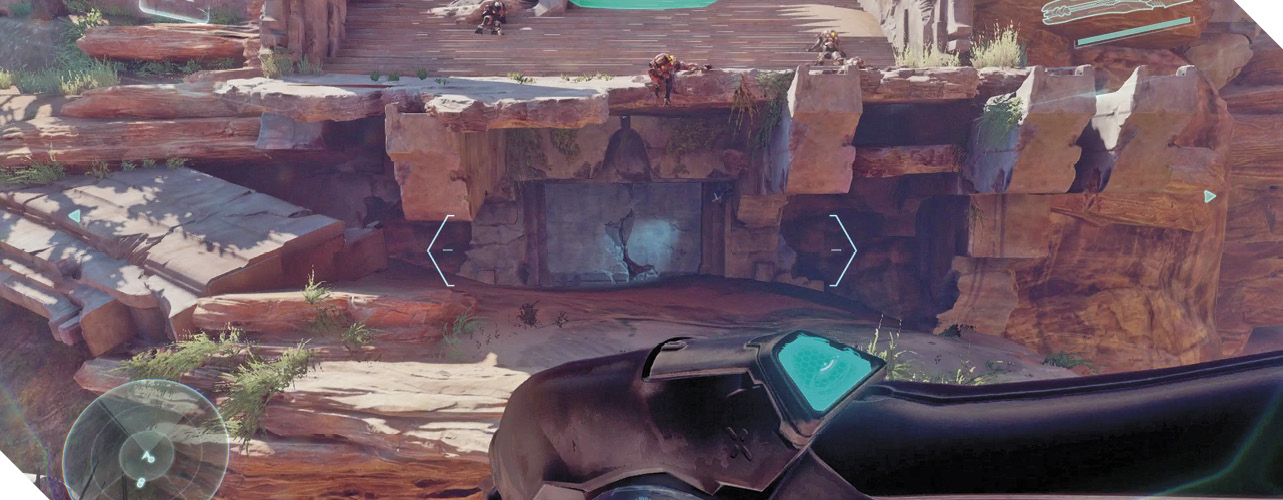
Leap the gap in the bridge afterward, landing near a weak wall 29. Charging through the wall sets you up to battle more Covenant in the ruin ahead, but there’s a smarter way to approach this battle.
Objective: Secure Landing Zone
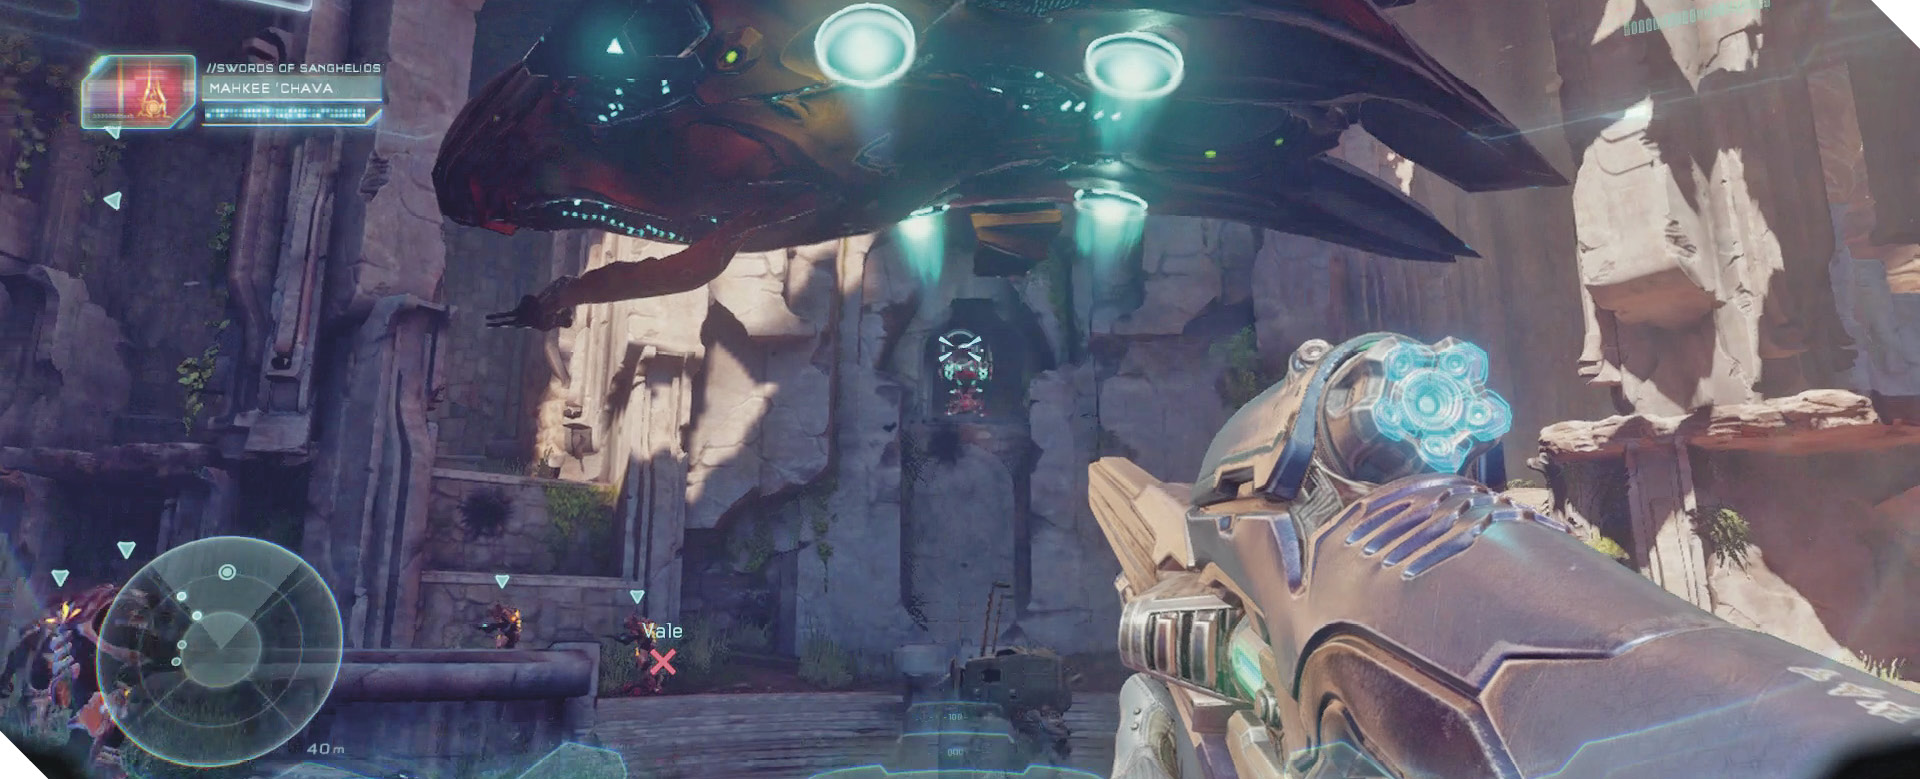
Rather than smashing into the ruin via the cracked wall at its base, climb the rocks on the left to reach a higher entry point 30. Smash through a weak wall 31 on your right to access an excellent sniper’s ledge that’s stocked with two Fuel Rod Cannons and features an unmanned Shade Turret 32. Put your newfound Beam Rifles to use from this superior vantage.
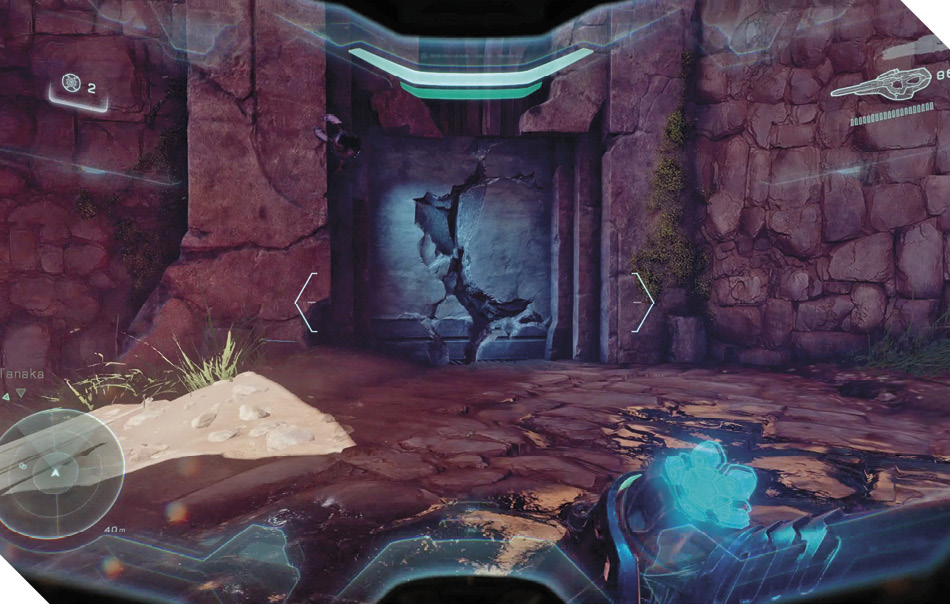
Use the Shade Turret to annihilate the Covenant below as well, but don’t hesitate to abandon the Shade Turret if you start drawing heavy fire. Try to conserve the Fuel Rod Cannons for a pair of inbound Hunters.
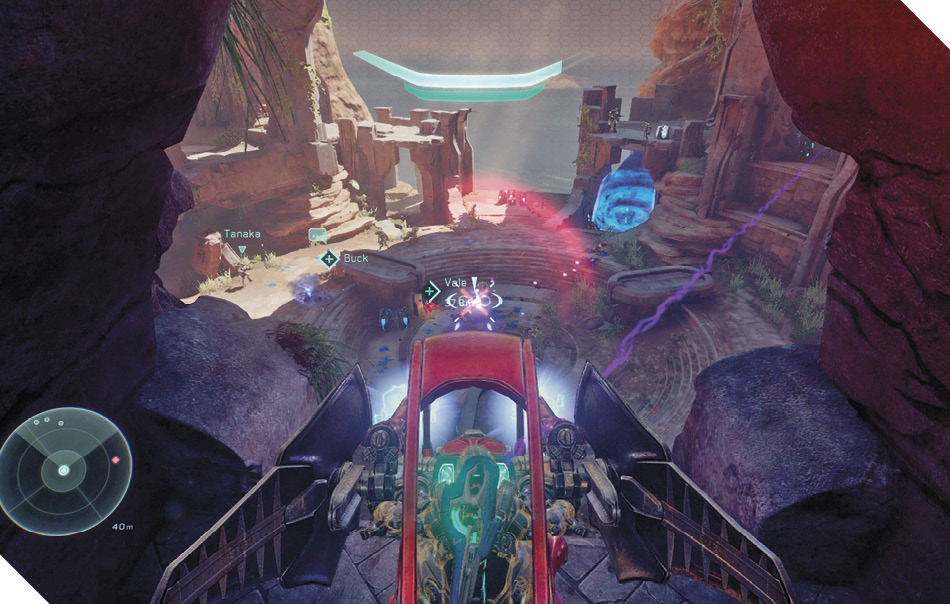
Alternate ApproachIf you prefer a straightforward approach, smash into the ruin via the weak wall at its base 29. Go left as you enter the ruin and man a Plasma Cannon Turret to unload on the unsuspecting Covenant. You’re certain to draw heavy fire, so immediately detach the turret and fall back as you unload. 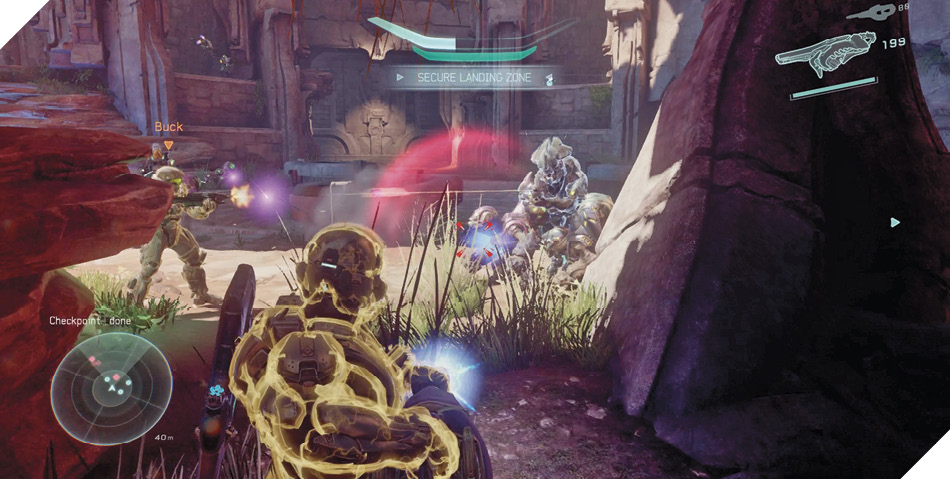 |
It’s not long before a Spirit deploys a pair of Hunters. Remain on the Shade Turret ledge and use the available Fuel Rod Cannons to batter the Hunters from on high. Loop around the ledge to gain angles on their vulnerable backs, and leap over to the Beam Rifle perch 33 for even more firepower.
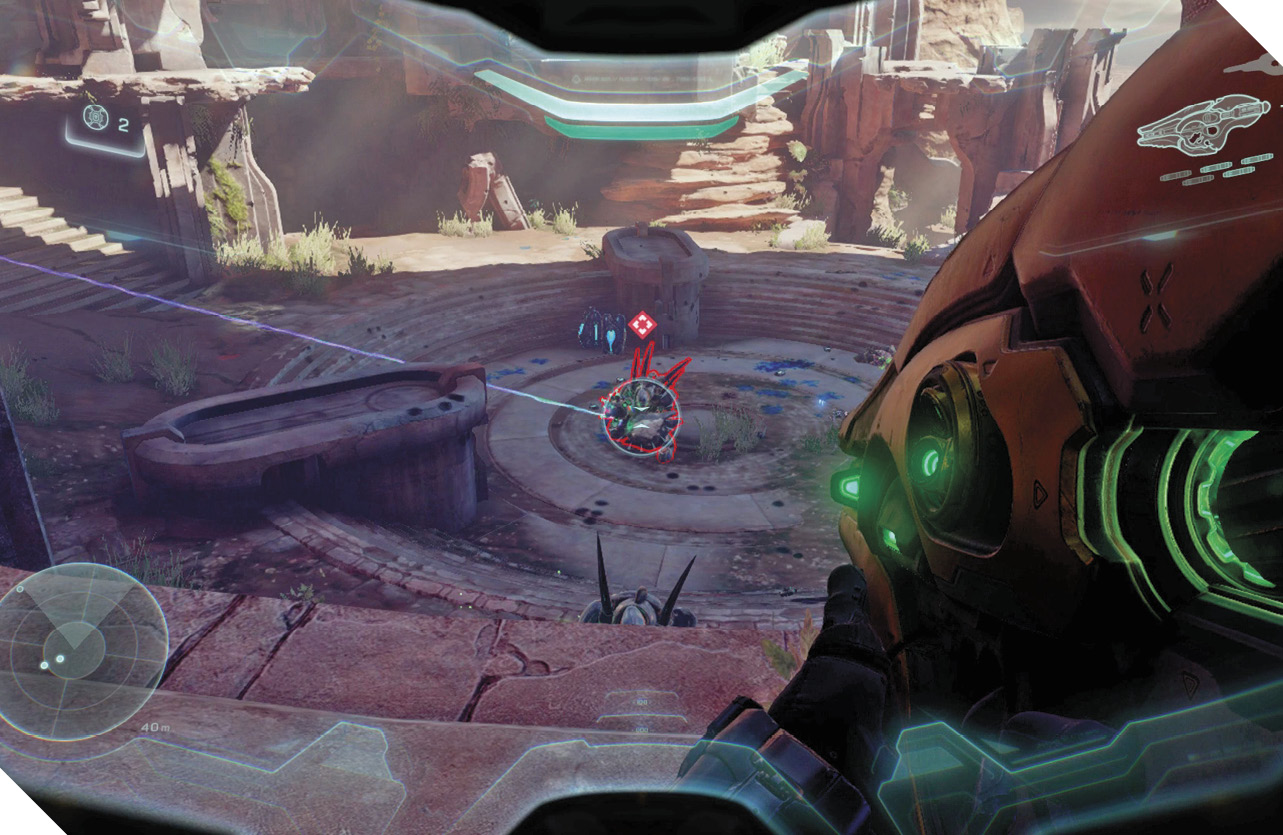
Legendary StrategyThe sniper’s ledge 32 is a vital position to control during Legendary play. Get up there and turn loose the Shade Turret against the Covenant below. The Shade will draw lots of fire on Legendary, including grenades, so don’t use it for long. Pick off Covies with smaller arms such as a Carbine, saving the available Fuel Rod Cannons and Beam Rifle for use against the Hunters. |
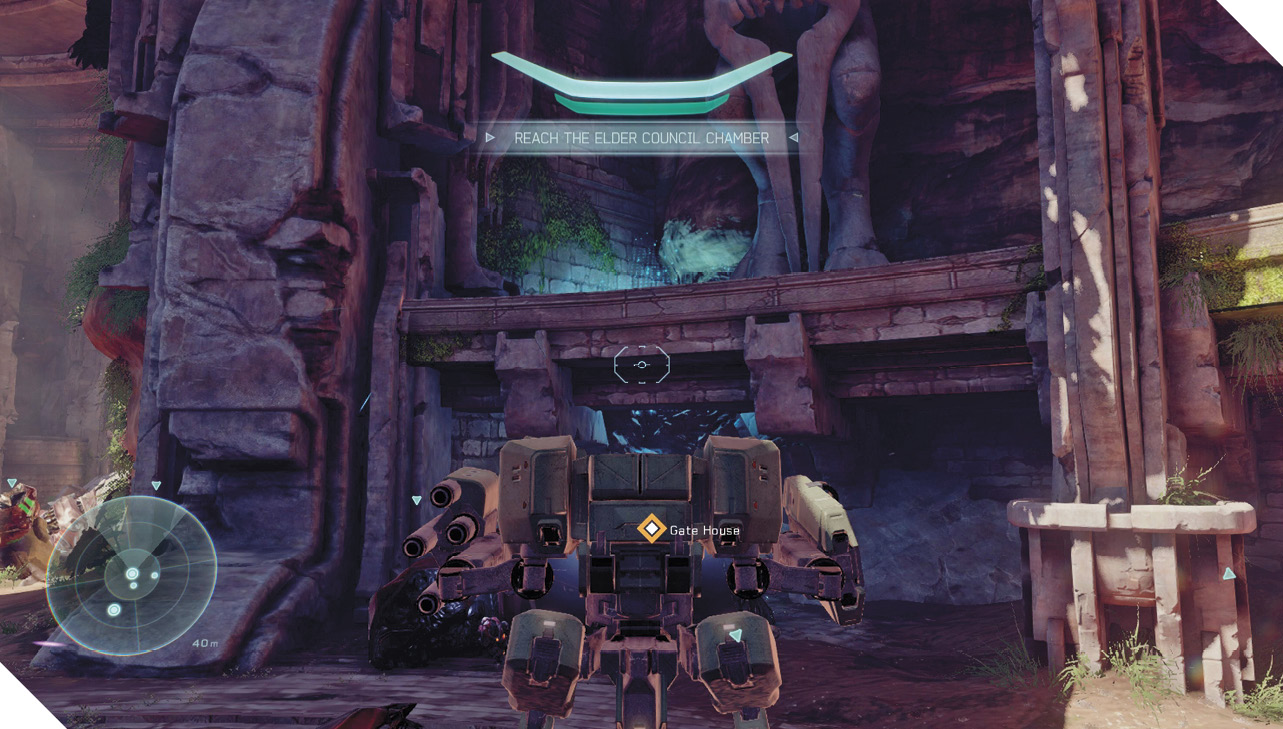
After both Hunters fall, a friendly Phantom arrives and deploys a pair of UNSC Mantises, along with some Swords of Sanghelios warriors to assist you. All of this backup will come in handy for your final approach on the besieged Elder Council Chamber. Climb into a Mantis and stomp forward into the next heavily guarded chamber.
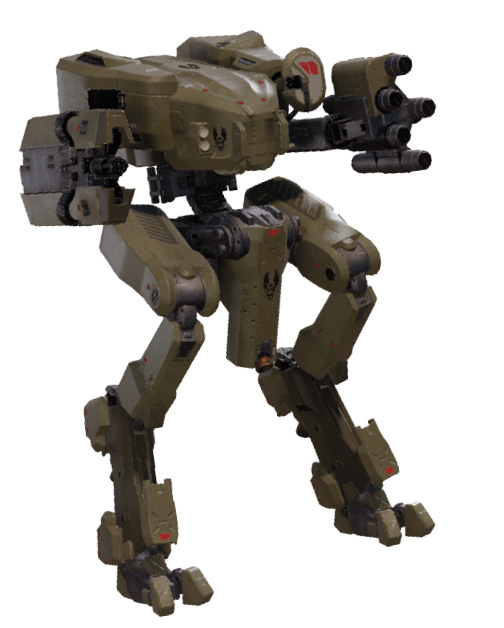 MantisA mighty armored walker, the Mantis is the only UNSC vehicle that enjoys regenerative shielding. This allows the Mantis to survive through extended operations, assuming it’s piloted by a seasoned Spartan who knows when to fall back and recharge. The Mantis features a machine gun that makes short work of ground troops and a guided missile launcher that can track and obliterate more hardened targets. If foes threaten to swarm the Mantis, press the Melee Attack button to unleash a powerful foot stomp to knock all nearby foes for a loop. |
Achievement: Preying MantisIf you’re playing Co-op mode on Heroic or Legendary difficulty, you can work together with a friend on completing an Achievement. Simply pilot a Mantis while your Co-op buddy does the same, and avoid exiting your Mantises for the duration of the mission. Neutralize all threats with your Mantises’ excellent weaponry, and ensure that neither Mantis is destroyed. Reach the mission’s end without exiting your Mantises to earn this Achievement! |
Objective: Reach the Elder Council Chamber
More Covenant troops guard the ruin’s next chamber, and many more are soon deployed via an inbound Spirit. Put your newfound Mantis to use and unleash its devastating weaponry to wipe out the Covies in short order.
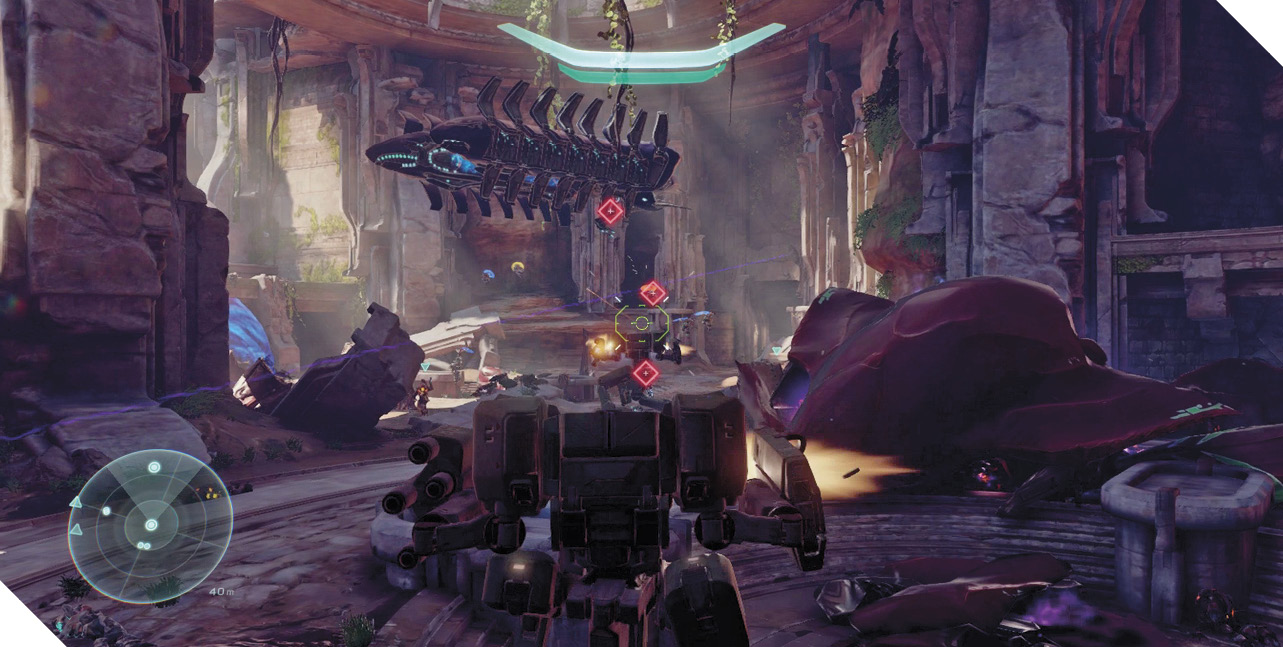
Alternate ApproachWith only two Mantises, two members of Fireteam Osiris are left to go it on foot. Follow the Mantises into the next chamber, then duck into the passage on your left 36. Here you’ll enjoy excellent cover, along with the ability to flank the enemy. Smash through two weak walls ahead at 37 and 38 to reach four Plasma Casters and a pair of parked Ghosts kept safe behind shields. Destroy the shield generators and use your newfound toys to annihilate the enemy. Ghosts are great, but you can also commandeer the vacant Wraith parked in the center of the area for even more firepower. |
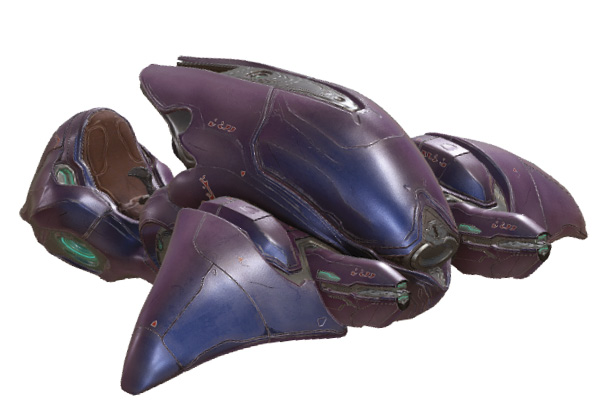 GhostGhosts are swift Covenant vehicles equipped with twin Plasma Cannons. Featuring light armor and lacking regenerative shields, Ghosts rely on their speed and superior mobility to avoid inbound fire. Ghosts have thrusters and can strafe side to side, making them tough to track as they pepper threats with rapid fire. Spartans and Elites can hijack occupied Ghosts, but they risk being run over during the effort. |
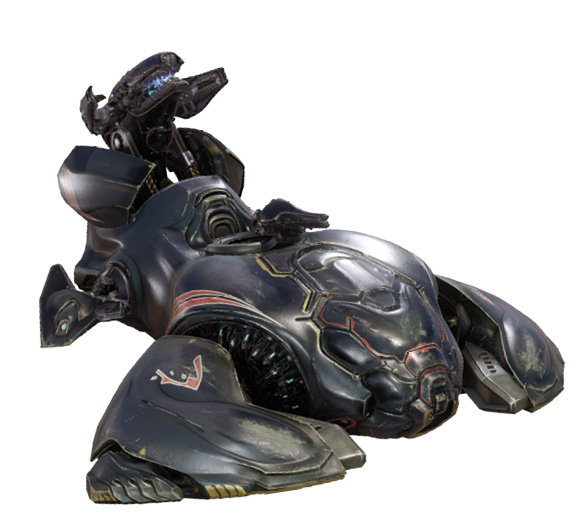 WraithAside from giant walkers like Scarabs and Krakens, Wraiths are the Covenant’s most powerful ground vehicles. They boast heavy armor comparable to that of a UNSC Scorpion Tank, along with a powerful cannon that delivers devastating plasma mortars to targets clear across a battlefield. Like Scorpions, Wraiths can accommodate a gunner, who mans a Plasma Cannon Turret. The Wraith’s main cannon is a bit more challenging to use than the Scorpion’s, but the Wraith’s ability to strafe grants the vehicle superior maneuverability. |
After securing the area, backtrack a bit and scan the statues on the side wall with Artemis to detect an item of interest up near the statues. Exit your Mantis and leap from the broken statue on the right to reach the item, which turns out to be a data pad. Scan it before returning to your Mantis and stomping onward.
Mission 8 Intel Acquired (10/12) |