Halo 5: Guardians Guide Campaign Walkthrough Mission 2: Blue Team
Major Firefight: Reactor Core
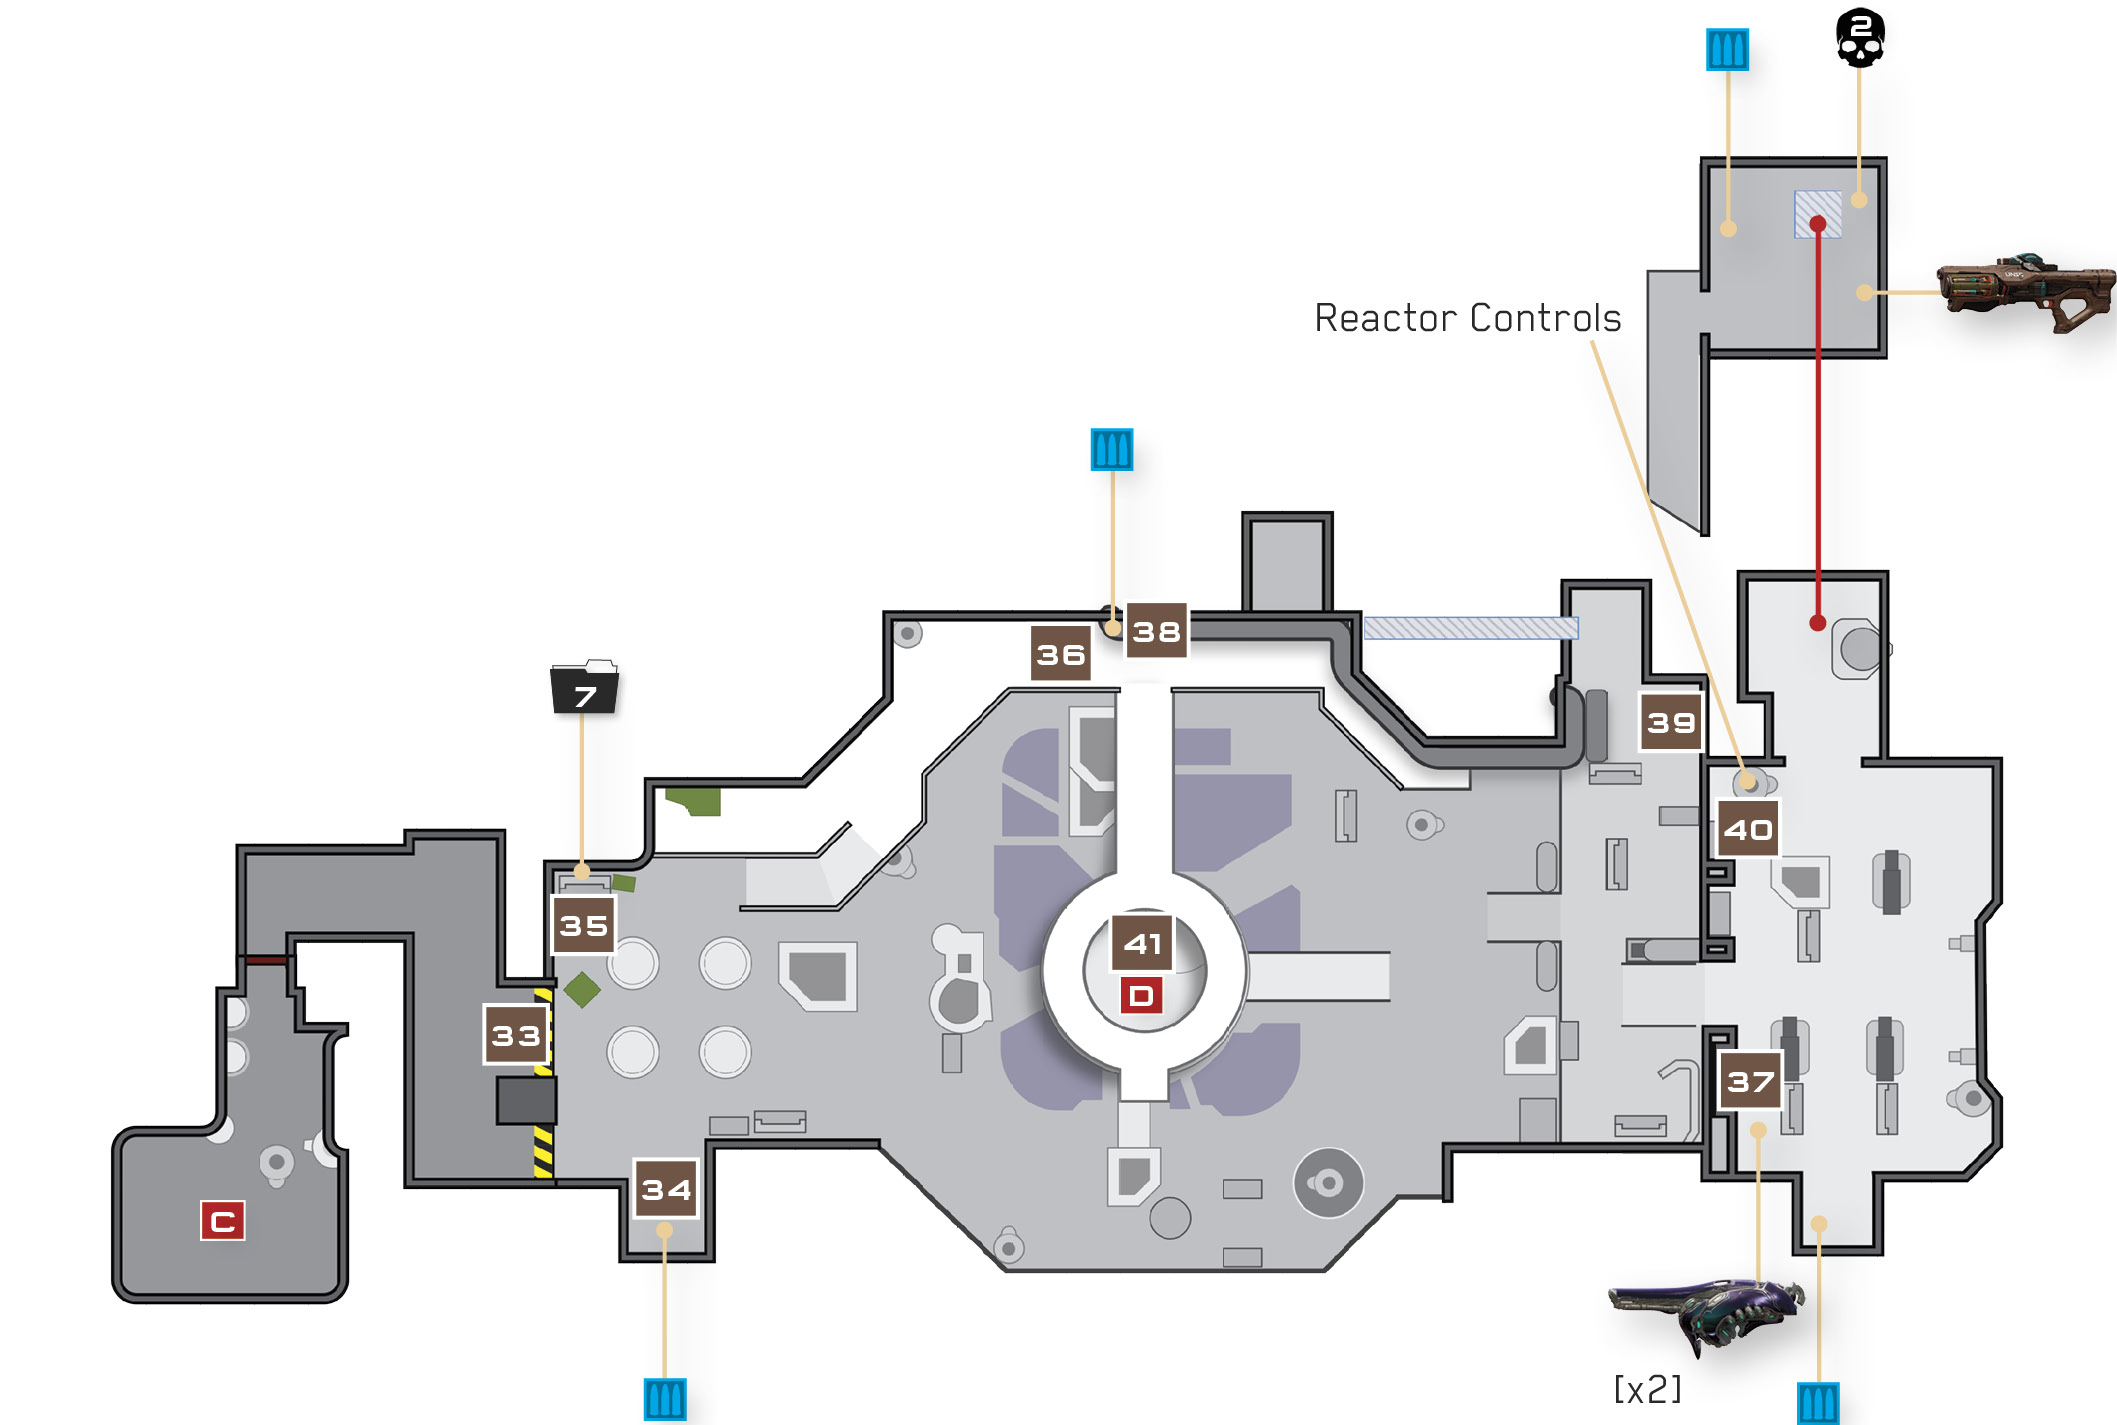
Grunts, Jackals, and Elites have fortified positions around Argent Moon’s spacious reactor core, setting the stage for a major firefight. You need to reach the reactor controls on the far side of the room, but the control room is heavily defended by numerous Elites, Jackal Snipers armed with Beam Rifles, and two Plasma Cannon Turrets. A slow, tactical advance is the best plan—otherwise you expose yourself to the Snipers and Plasma Cannon Turrets.
Recommended Loadout
Ranged weaponry is a big advantage in this battle. Bring a fully loaded Battle Rifle and Magnum with you, and use them to pick off threats from afar. There are many Elites to defeat here, especially back near the control room, so you’ll eventually want to swap your Magnum for a Storm Rifle or Plasma Pistol to quickly break their shields.
Mission 2 Intel Acquired (6/8) |
Remain on the dark entry ledge 33 as you begin your assault on the reactor core. Toss a grenade or two at the nearby Elites and Jackals, and then pick off as many foes as you can from up here.
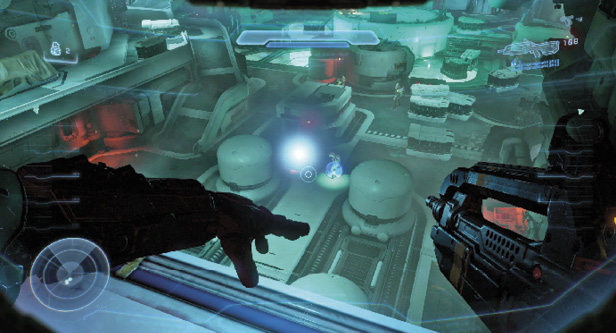
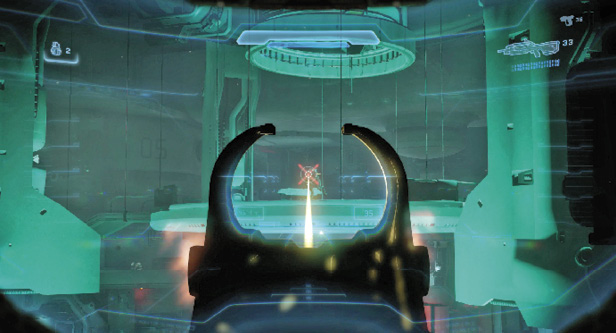
Inch along the dark lip to the right 34; you can advance a bit farther into the room and sight additional targets without giving up your elevated vantage. Every kill counts!
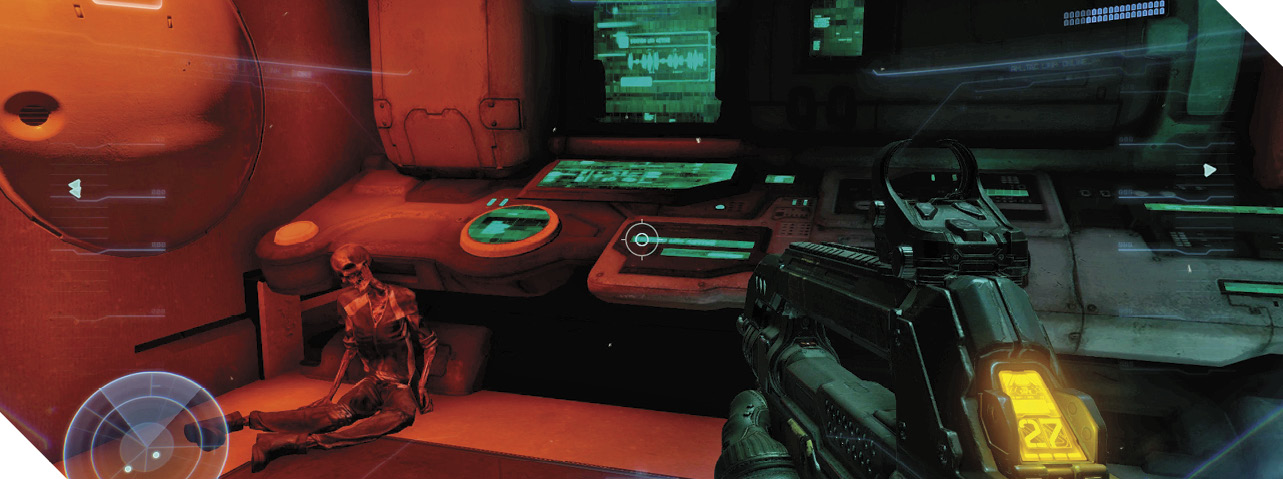
When your ammo runs low, or when suitable targets fail to present themselves, drop to the floor and check a nearby computer station for intel 35. It’s safe to do this now; the remaining enemies near the control room are too far to sight you.
Mission 2 Intel Acquired (7/8) |
Advance after scanning the computer station, keeping to the left side of the chamber and scaling a slope to reach an elevated walkway 36. Here you find a weapon rack that’s conveniently stocked with Battle Rifles and Magnums. Ammo up and then pick off additional targets in the control room from here, especially the Elites manning the twin Plasma Cannon Turrets on the right 37 and the two Jackal Snipers armed with lethal Beam Rifles (look for the red lights on their heads). You’ve plenty of ammo, so record as many kills as possible from this excellent position.
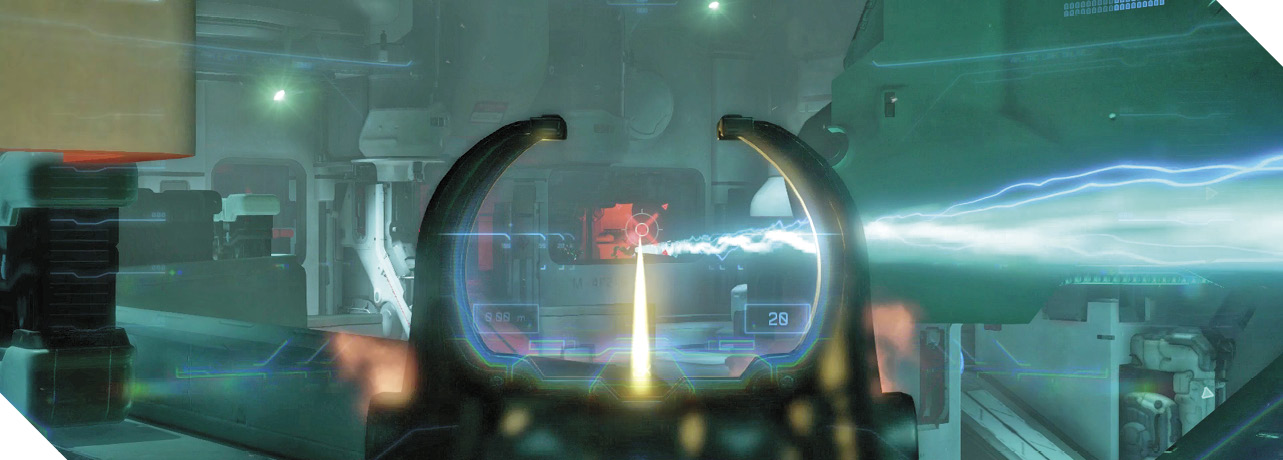
Legendary StrategyFar more Elites guard the control room on Legendary difficulty. They’ll toss Plasma Grenades at you to get to you move, but don’t stray from the left walkway until you’ve neutralized as many threats as possible. Storming the control room is incredibly difficult unless you thin out the enemy ranks from afar—be sure to eliminate both Jackal Snipers before advancing. |
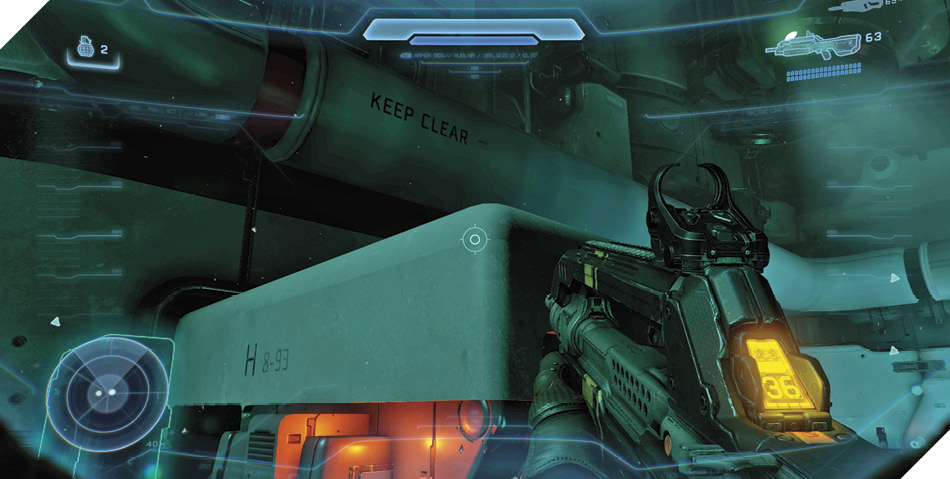
When the threat level is low, grab a Storm Rifle and then climb onto the nearby machinery next to the wall. From there, jump onto the thick pipe above you with “Keep Clear” printed on it 38. Advance along the top of the pipe, heading for the control room.
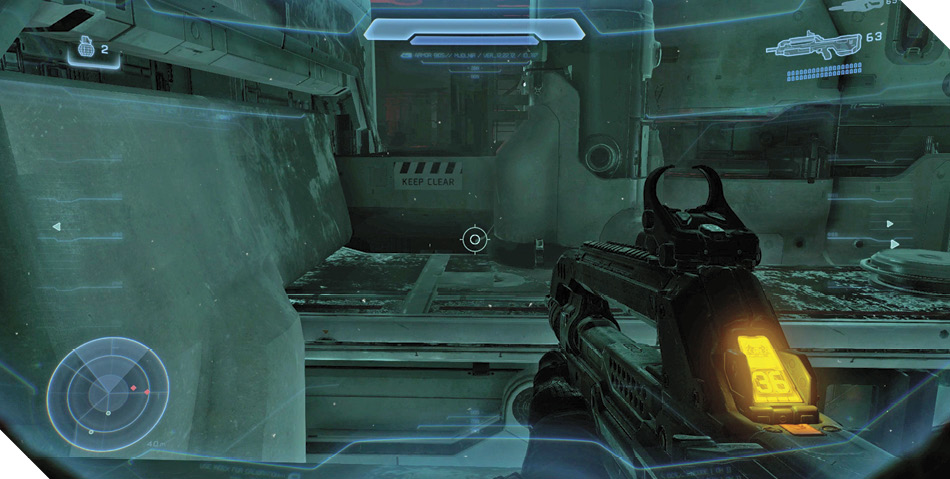
When you near the control room, jump over to a ledge that’s also marked “Keep Clear” 39. Climb into a higher nook to discover a vent on the floor. Jump and hold the Melee button in midair to initiate a Ground Pound, then target the vent and release the Melee button to smash through.
Your Ground Pound lands you in a small, secure room. Keep your Storm Rifle, but trade your other weapon for the Hydra Launcher in the case, or for one of the Battle Rifles or DMRs hanging in the nearby weapon rack. Approach the room’s only door afterward and it will open, granting you access to the reactor control room.
Skull 2 of 13: Black Eye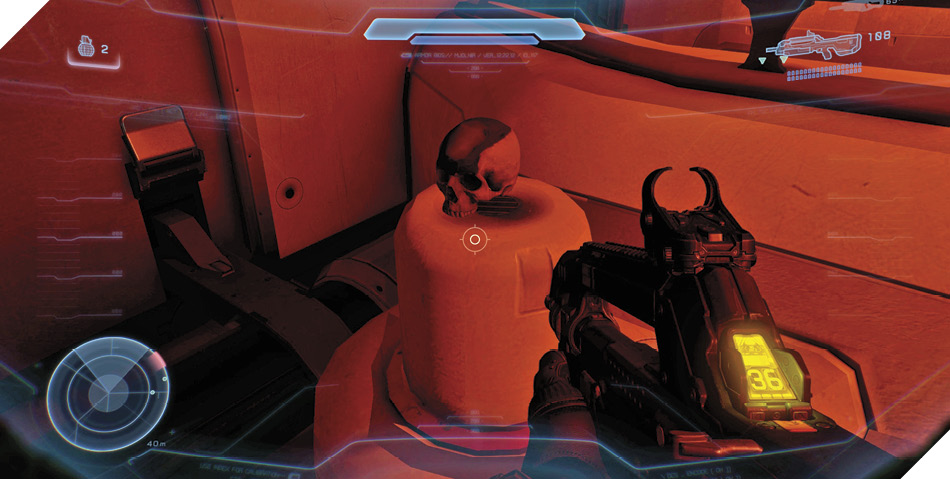
Did you notice the little Skull that’s sitting in the corner of the secure room? It’s one of the thirteen Skulls hidden in the Campaign! Collect it to unlock the Black Eye Skull, and remember to check the Appendix to learn more about Skulls. 
|
As you step out of the secure room, you’ll take the Covenant near the reactor controls by surprise. There shouldn’t be too many left by now, and your Storm Rifle or newfound power weapons will make short work of them. Don’t relent until the area is secure.
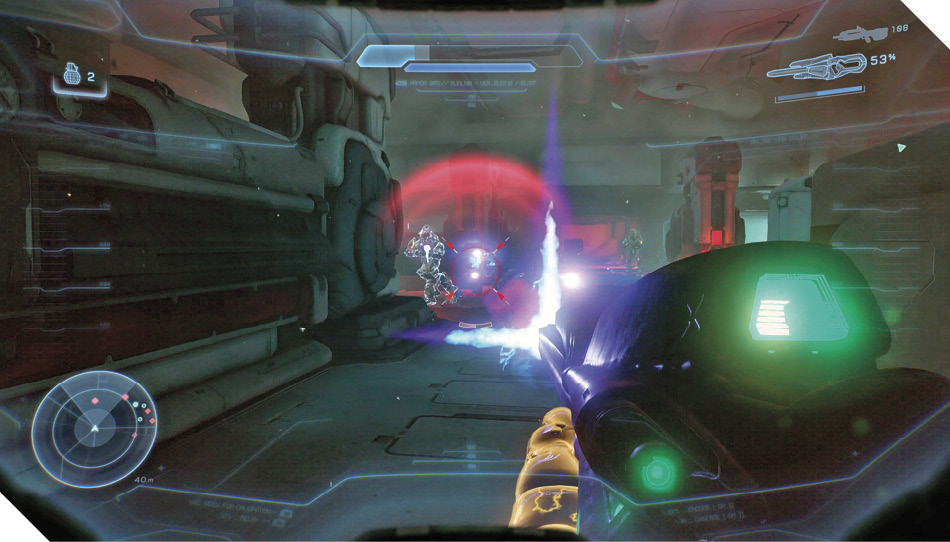
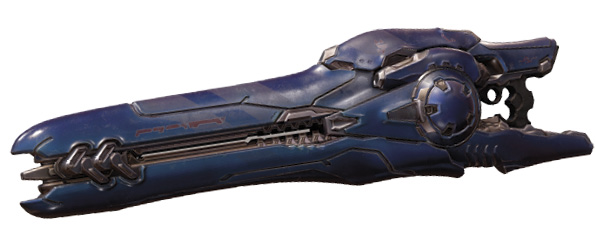
Beam RifleThe Covenant’s spin on a Sniper Rifle, the Beam Rifle is designed to fry enemy soldiers at nearly any range with its devastating jolts of lethal energy. Like the Plasma Pistol, the weapon features no magazine and can be fired as quickly as its wielder can pull the trigger—this reduces the odds that the target will manage to escape while you’re reloading, but it also enables the Beam Rifle to overheat if it is fired too rapidly. Just two successive shots without pause will cause an overheat, so keep an eye on the heat gauge and try to leave short pauses between shots. |
Legendary StrategyUse the Hydra Launcher to wipe out the Elites in the control room when playing on Legendary—it’s almost impossible to secure the room without it. Toss grenades as well, and mop up whatever’s left with a Storm Rifle. |
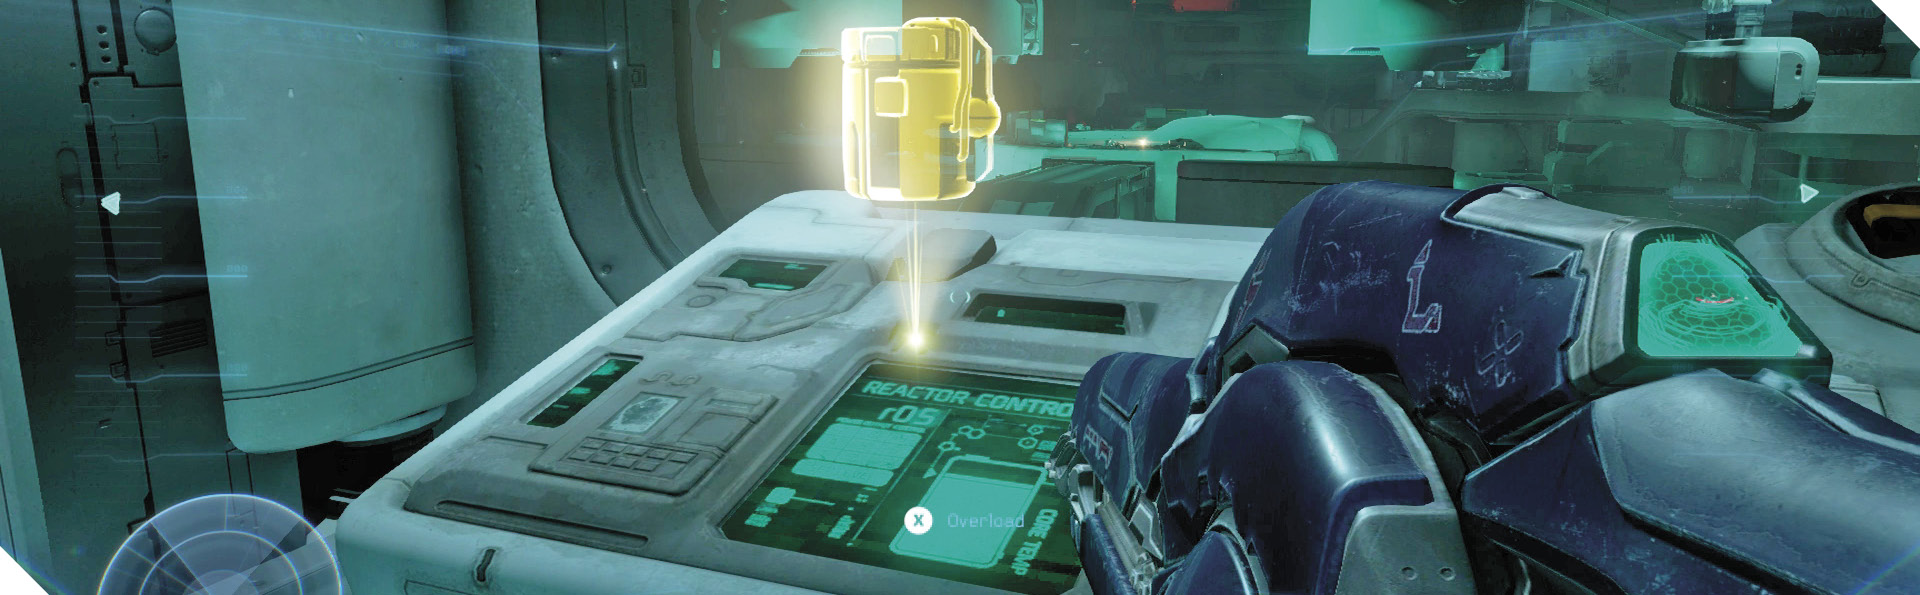
Excellent work, Spartan; now you can safely overload the reactor core. Access the core controls 40 to initiate the overload—but don’t expect a big bang. Instead, a security protocol prevents the overload, and the core is automatically shuttled to a new section of the station. Move onto the room’s central platform 41 and ride down in pursuit of the core.
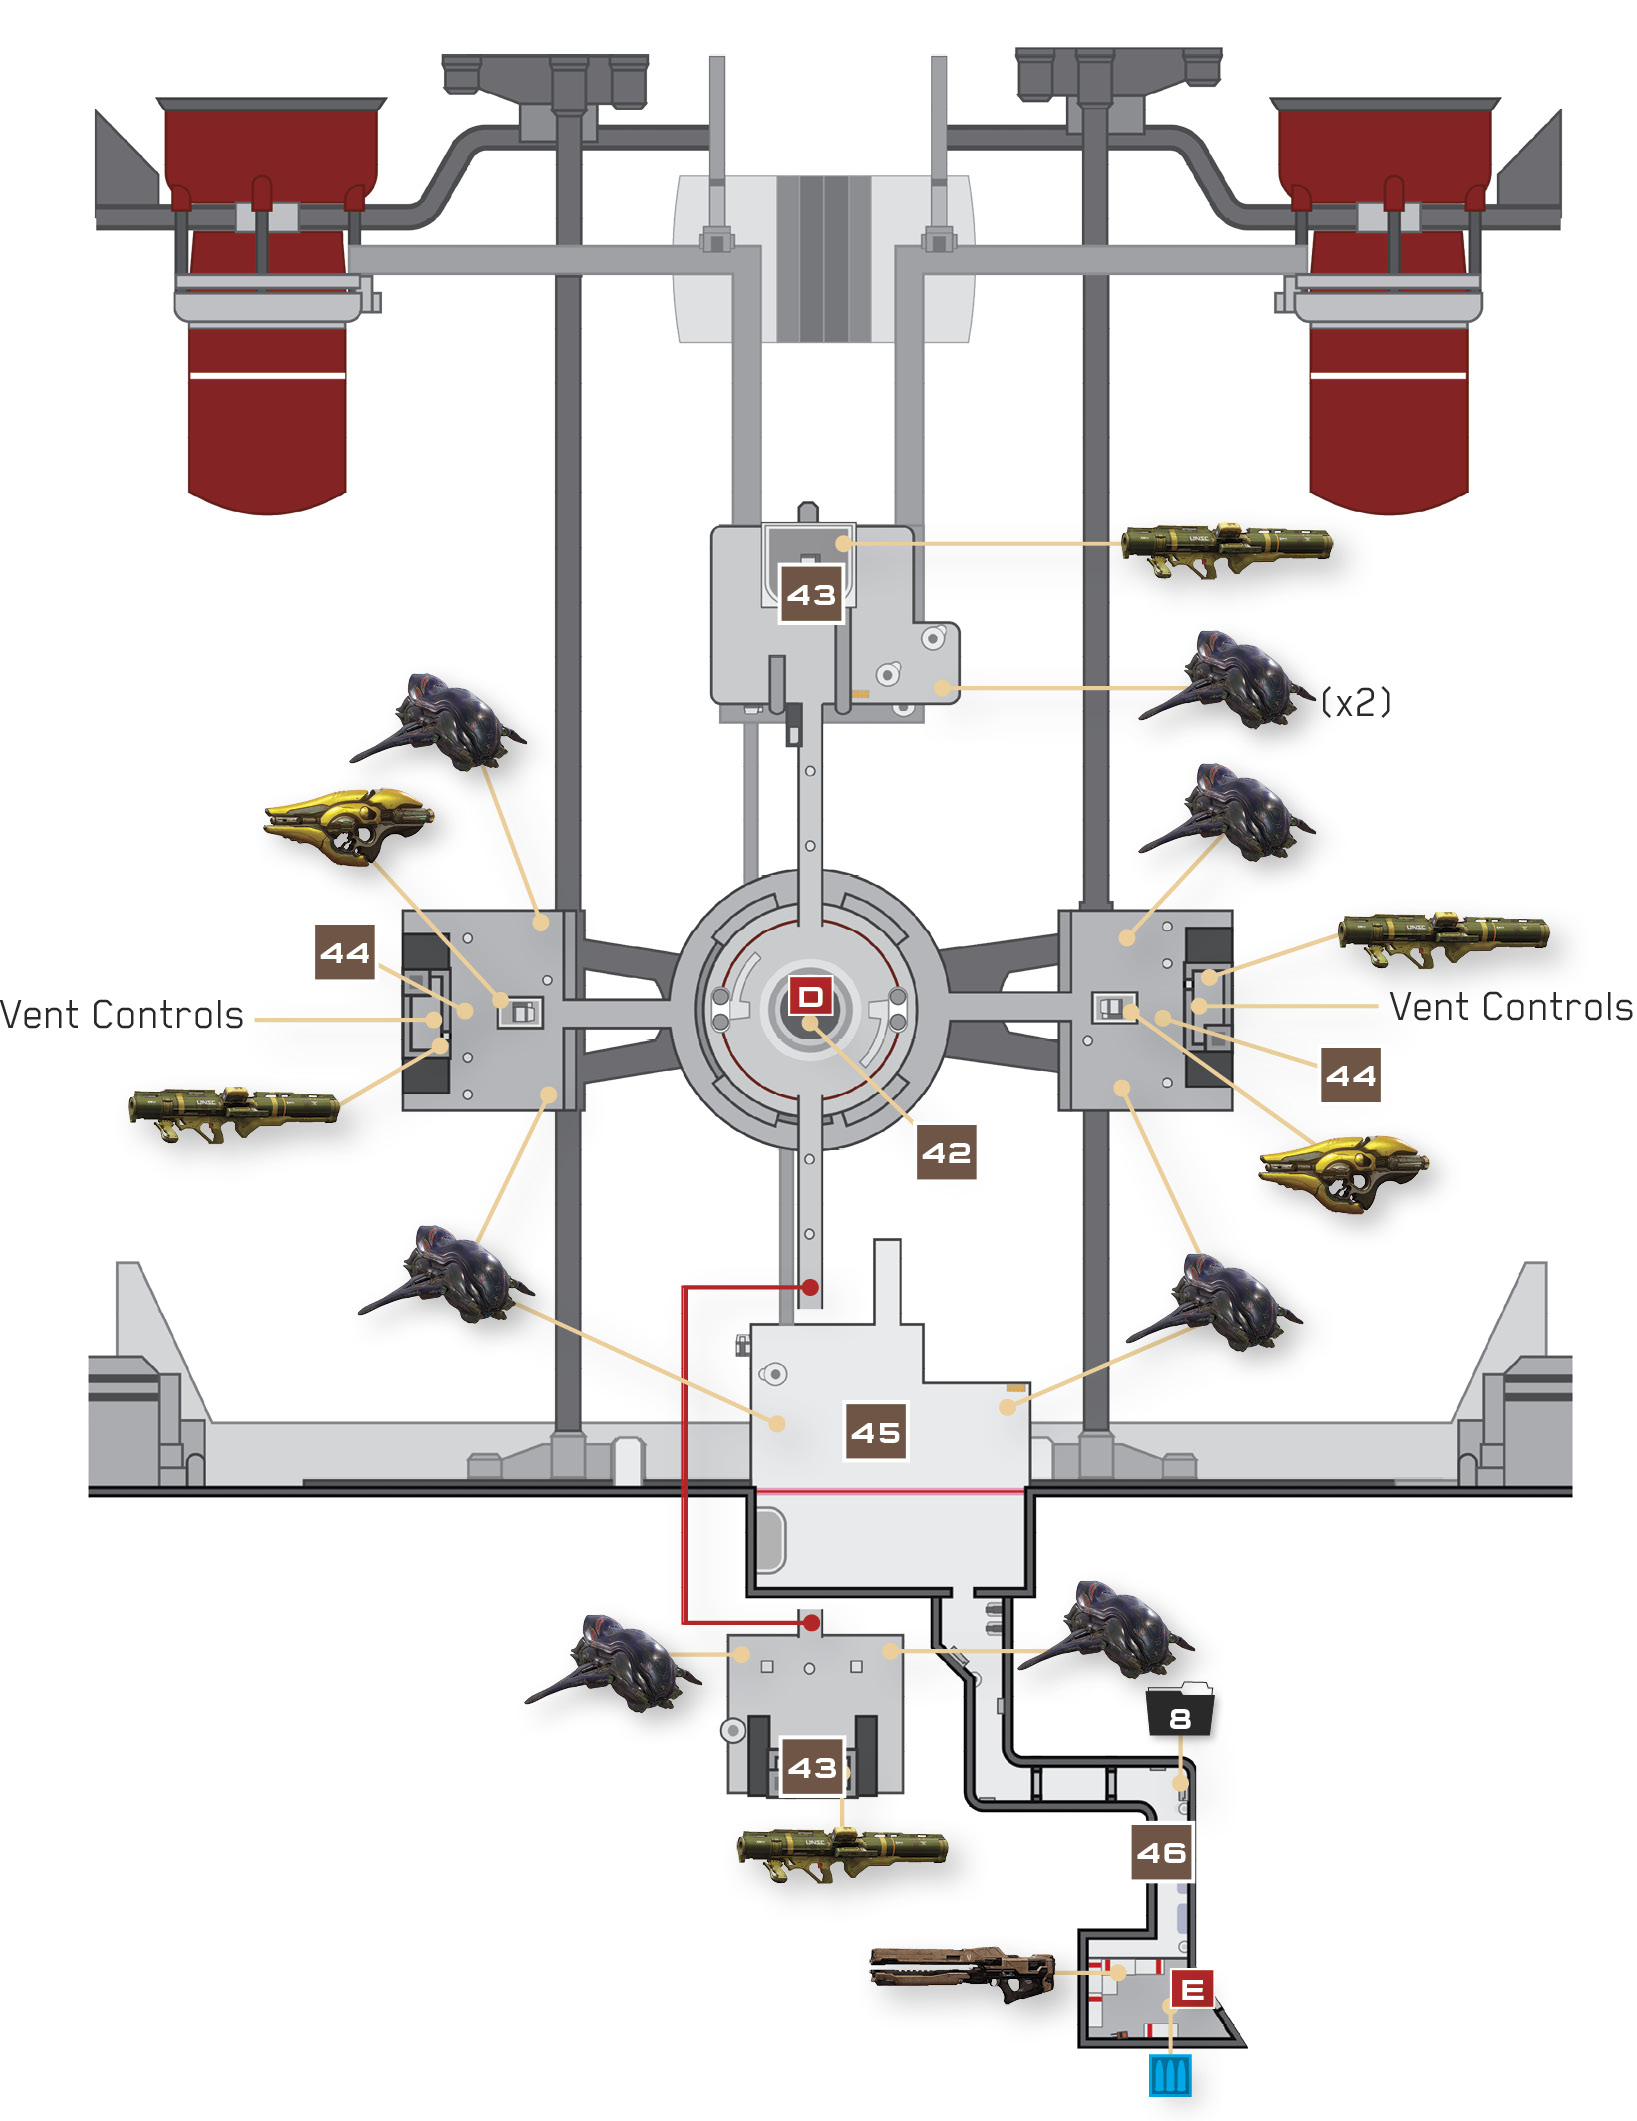
Riding the reactor core brings you to a spacious chamber that’s open to the inky vacuum of space. You arrive in the area’s center 42 and must immediately find cover from the circling Covenant Banshees. Two bridges extend from the center, and both lead to similar shelters on either side of the area 43. Hurry across either bridge, cutting down Covenant troops deployed by Spirits on your way to one of the shelters.
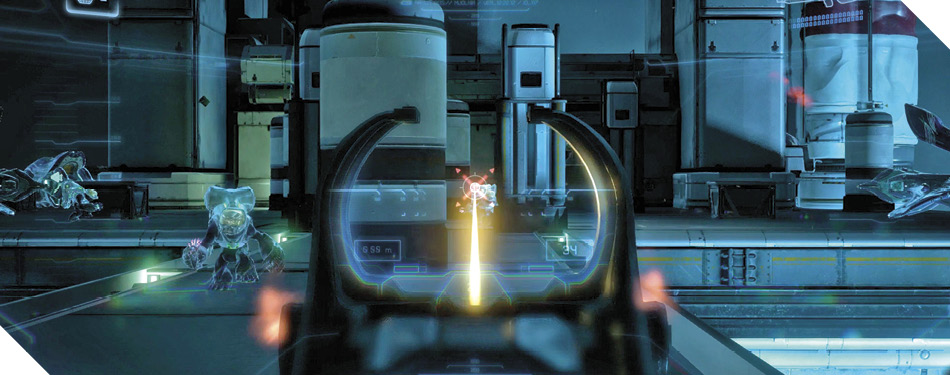
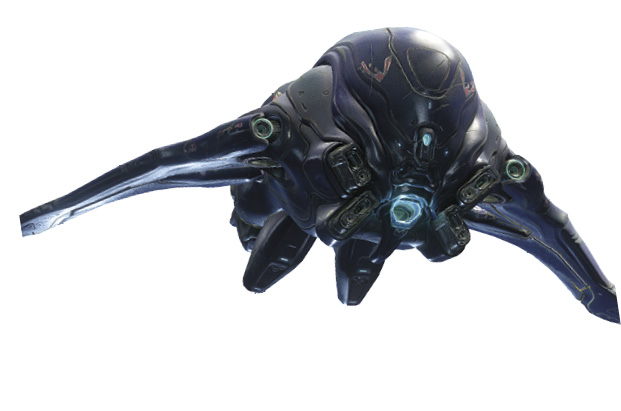
BansheeBanshees are formidable flying vessels equipped with twin Plasma Cannon Turrets and a deadly Fuel Rod Cannon. The telltale wail they emit as they fly through the sky is a warning for ground troops to take cover. Banshees boast good maneuverability and an impressive damage output, but their armor is light and easily penetrated. The Covenant has recently improved the Banshee’s defenses, however, equipping current models with regenerative shields that bolster their survivability. |
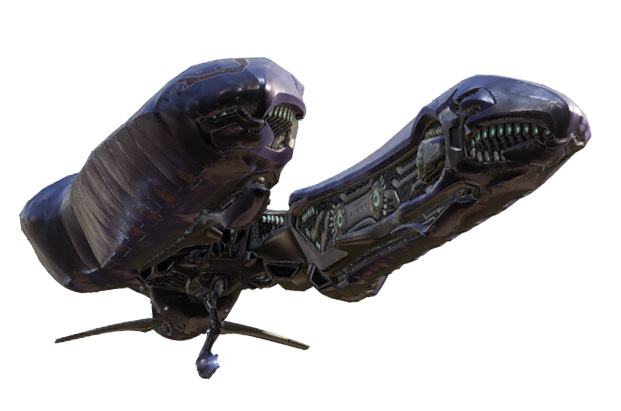
SpiritSpirits are sizable vessels designed to transport and deploy large groups of Covenant troops to key regions of a battlefield. Occupants remain protected inside the Spirit’s “arms” until they reach their destination; then the Spirit’s “arms” open up to deploy the Covies to the field. While Spirits could theoretically be shot down en route to their destination, their thick armor and swift flight speed often ensure they make their drops. |

Fuel Rod CannonThe Covenant’s spin on a Sniper Rifle, the Beam Rifle is designed to fry enemy soldiers at nearly any range with its devastating jolts of lethal energy. Like the Plasma Pistol, the weapon features no magazine and can be fired as quickly as its wielder can pull the trigger—this reduces the odds that the target will manage to escape while you’re reloading, but it also enables the Beam Rifle to overheat if it is fired too rapidly. Just two successive shots without pause will cause an overheat, so keep an eye on the heat gauge and try to leave short pauses between shots. |
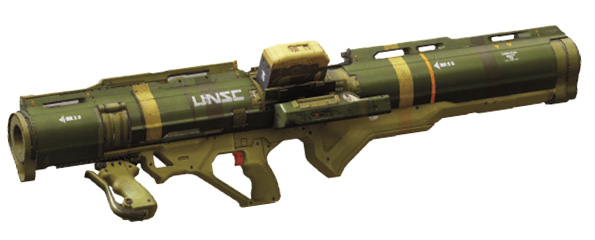
Rocket LauncherRocket Launchers rank among the UNSC’s most powerful portable armaments. Similar to Fuel Rod Cannon blasts, rockets fired from a Rocket Launcher travel somewhat slowly but land with tremendous impact. Rocket Launchers hold less ammo than a Fuel Rod Cannon, but the weapon features a tracking system that lets you “fire and forget” once you’ve locked onto a target. Turn Rocket Launchers loose against vehicles and powerful ground adversaries, such as Knights and Hunters. |
Legendary StrategyOn Legendary difficulty, you don’t have the luxury of time to battle the Covenant on the bridges—you’ve got to reach those shelters immediately, or the circling Banshees will rip you apart. Sprint straight for either shelter, pressing the Melee button to perform a Spartan Charge and knock away any Covies that get in your path. (Alternatively, drop Grunts with headshots as you sprint for the shelter, using cover to keep out of the Banshees’ sights.) Once you’re inside a shelter, you’ll be in a far better position to defend yourself and cut down the Covenant you’ve just hurried past. |
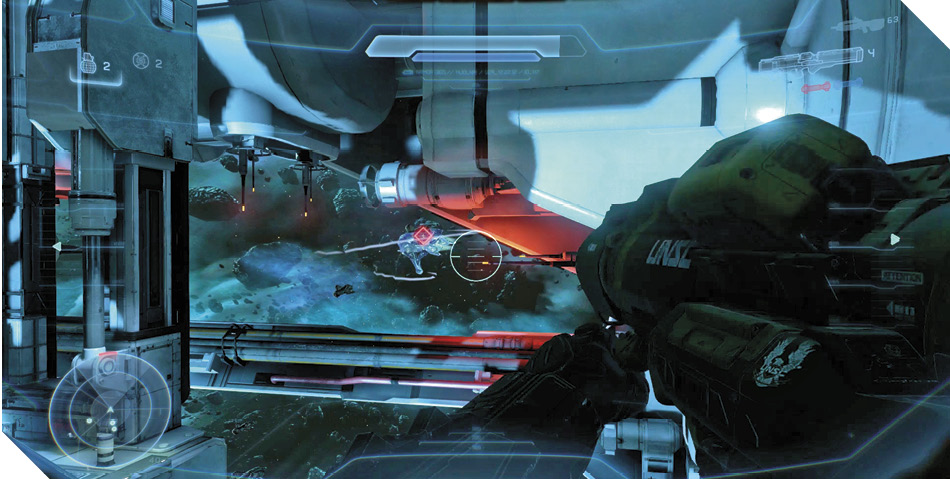
Both bridges lead to protective shelters that provide cover from the Banshees 43. (You’ll need to perform a Spartan Charge and smash through a shutter to access one of the shelters; alternatively, you can destroy the shutter with a blast from a Banshee’s Fuel Rod Cannon.) Once inside, grab a Rocket Launcher (both shelters have them) and then target a nearby Banshee until you establish a lock. Once you’ve locked on, fire just as the Banshee turns and begins its attack run. Two direct hits from a Rocket Launcher will bring down a Banshee.
Alternate ApproacYou could hop into one of the Banshees parked near the enclosures, but doing so is risky with so many other Banshees in flight. Avoid the urge to pilot a Banshee until you’ve downed at least one of the others with the Rocket Launcher. |
If you run out of rockets, try using a Fuel Rod Cannon against the Banshees instead. The weapon has no tracking system, so wait until a Banshee is committed to an attack run before firing. Also, fire the Fuel Rod Cannon at the Covenant forces guarding the two platforms on either side of the space below you 44. You’ll soon be storming these platforms, so you might as well soften them up!
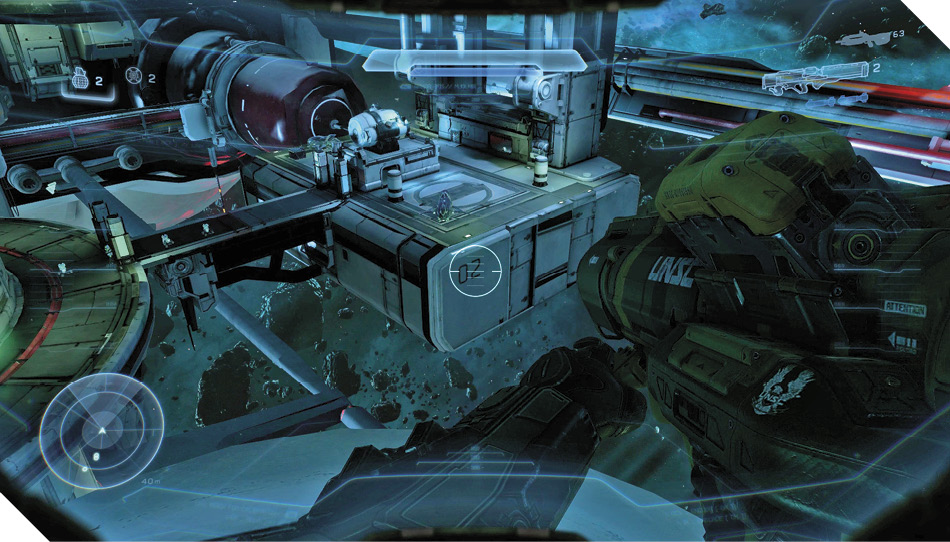
With the Banshees obliterated, the time has come to assault the platforms below you 44. Hop into one of the Banshees parked near either enclosure and take flight. Now that you’ve downed the enemy Banshees, you have total dominance over the air. Simply avoid any incoming Fuel Rod Cannon blasts as you unload on the hapless Covenant forces below.
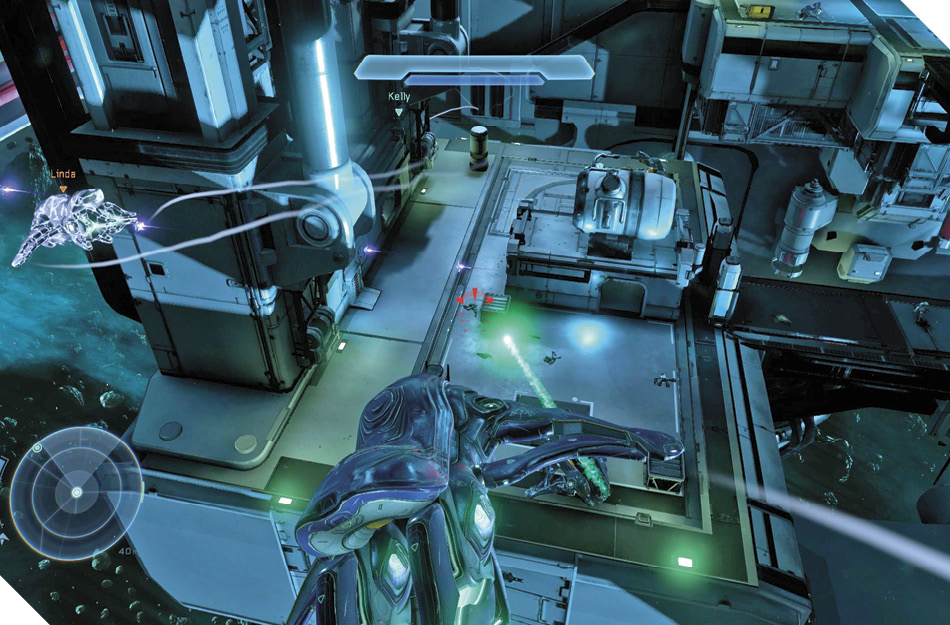
After clearing the Covies off one of the platforms, land and then smash into the nearby control room with a Spartan Charge (both platforms feature similar control rooms, and you can also blast your way into these rooms with a Banshee’s Fuel Rod Cannon instead of using a Spartan Charge). Inside each room you’ll find a Rocket Launcher and Battle Rifle, along with a control mechanism. Activate either room’s controls to open up several exhaust vents around the area.
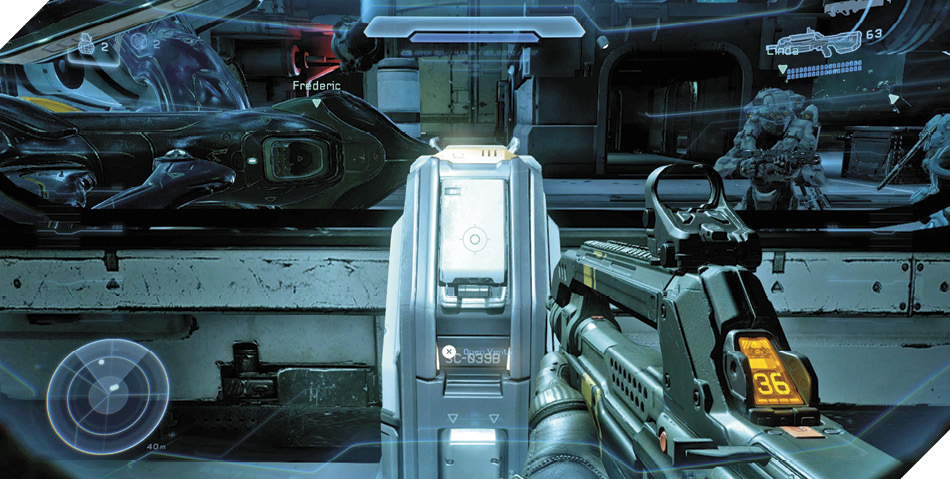
Opening the vents triggers the arrival of more Banshees and a Covenant Phantom dropship, which deploys more Covenant troops around the area. Exit the control room with your Rocket Launcher at the ready and blast the Banshees from the sky. The Phantom can be downed as well, but it takes many more hits. Hunt it down with a Banshee if you like, or simply pick off the troops it deploys after it leaves.
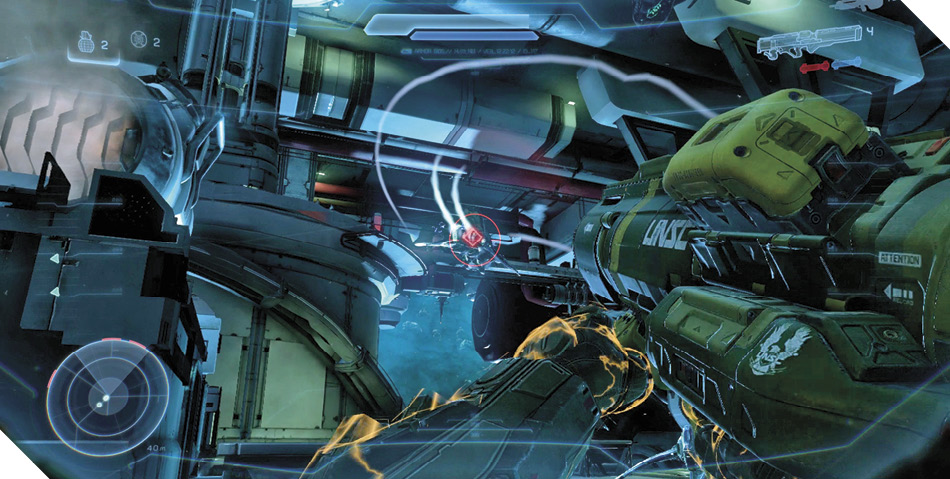
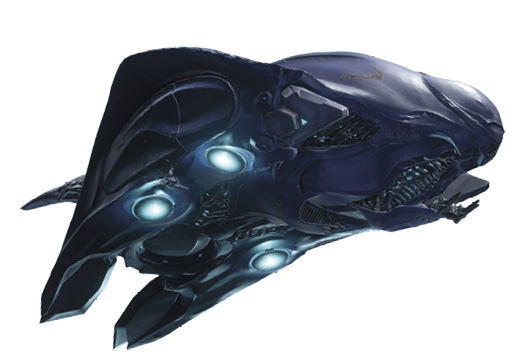
PhantomPhantoms are the Covenant’s workhorses, deploying troops into the hottest of hot spots while repelling enemy advances with their powerful Plasma Cannon Turrets. Slower than Banshees, Phantoms sport much thicker armor, helping them survive through intense combat situations. They’re not indestructible, just rugged enough to ferry troops into perilous environments. Unless they’re hammered by anti-air defenses, Phantoms are usually tough enough to survive the trip. |
Now for those vents. Board a Banshee and use it to destroy every vent in the area, being careful not to sustain too much damage. Press the Tracking button to detect all of the vents, and use the Banshee’s Fuel Rod Cannon to obliterate each one in turn. Trade your Banshee for a fresh one if yours catches fire; there are plenty to choose from.
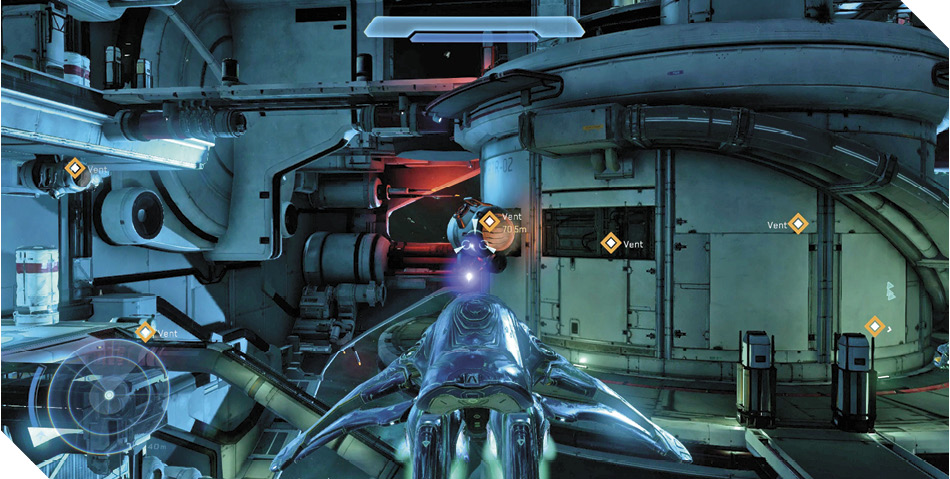
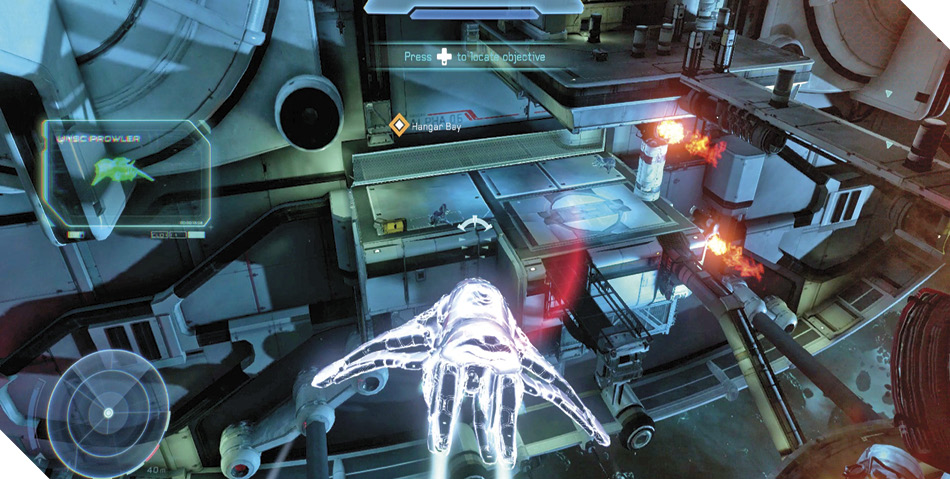
With all of the vents destroyed, the reactor core will soon overheat and go critical. The time has come to leave, but Banshees aren’t fast enough to escape the looming reactor breach. You’ll need to steal a speedy Prowler, and Frederick locates the entrance to a nearby hangar, where one is likely to be found 45. Land your Banshee near the hangar and then advance on foot.
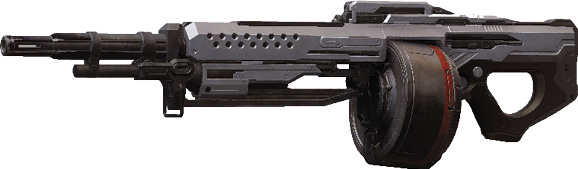
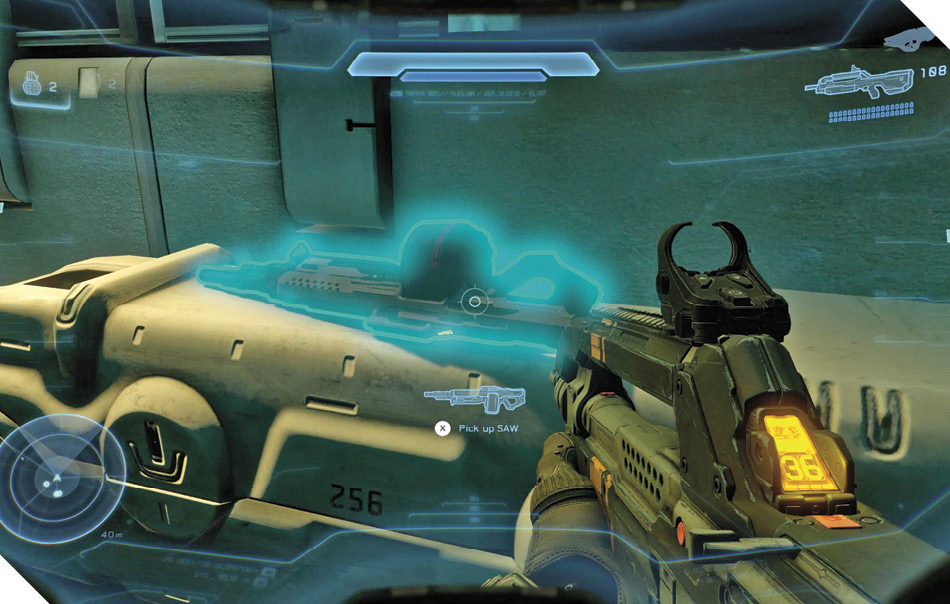
SAWUtilizing a drum magazine, SAWs (Squad Automatic Weapons) are designed to unleash a massive spread of high-caliber rounds in the blink of an eye. Think of them as a marriage of the SMG’s intense firing speed with the Assault Rifle’s range and power. SAWs unload their rounds so quickly that the weapon can shred through armor, energy shields, and flesh alike, all with blistering haste. The SAW’s recoil and muzzle flare are so intense that even Spartans have difficulty handling these mighty firearms. |
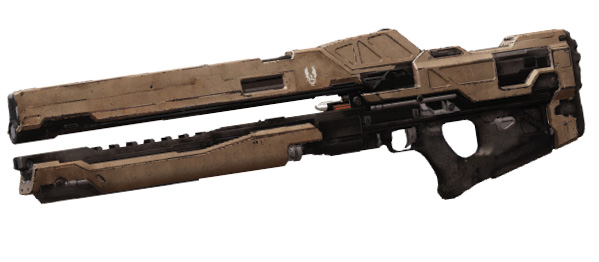
RailgunFew weapons combine exceptional range, accuracy, and lethality quite as seamlessly as the UNSC’s Railgun. The weapon takes a few seconds to charge, and then a high-explosive, armor-piercing shell is delivered to the Railgun’s most unfortunate victim. Railguns are absolutely deadly and can bring down Hunters, Knights, and even armored vehicles in short order. Ensure you have a more adaptable weapon as a backup, however, for the Railgun’s long firing delay and single-shell ammo capacity make it one of the least-versatile weapons around. |
There’s the Prowler! Looks like it’s under Covenant guard. Inspect the computer station to the left of the lookout window 46 for the mission’s last piece of intel, then round the corner ahead and drop to lower ground.
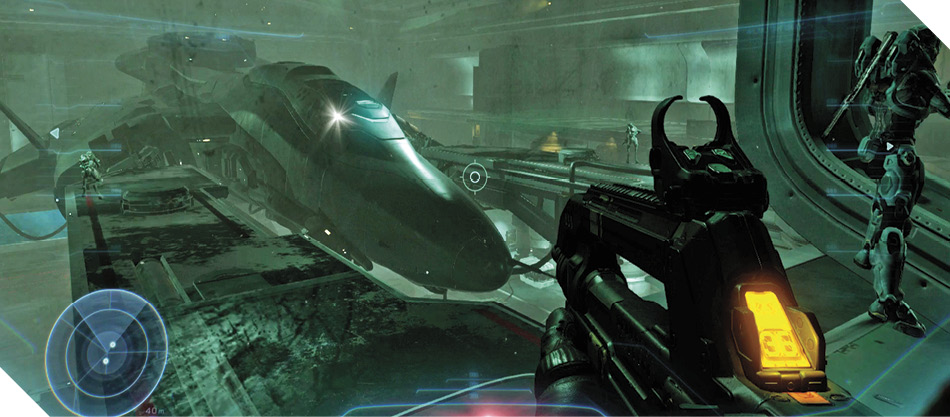
Mission 2 Intel Acquired (8/8) |
After landing on the lower ground, look around to find a variety of weapons in cases, including an SMG and Assault Rifle, along with a mighty SAW and Railgun. You can return here to swap weapons or restock your ammo, so remember this fallback location. Load up before approaching the giant bay door, which leads into the hangar.