
Halo 5: Guardians Guide Campaign Walkthrough Mission 2: Blue Team
Major Firefight: Assembly Bay
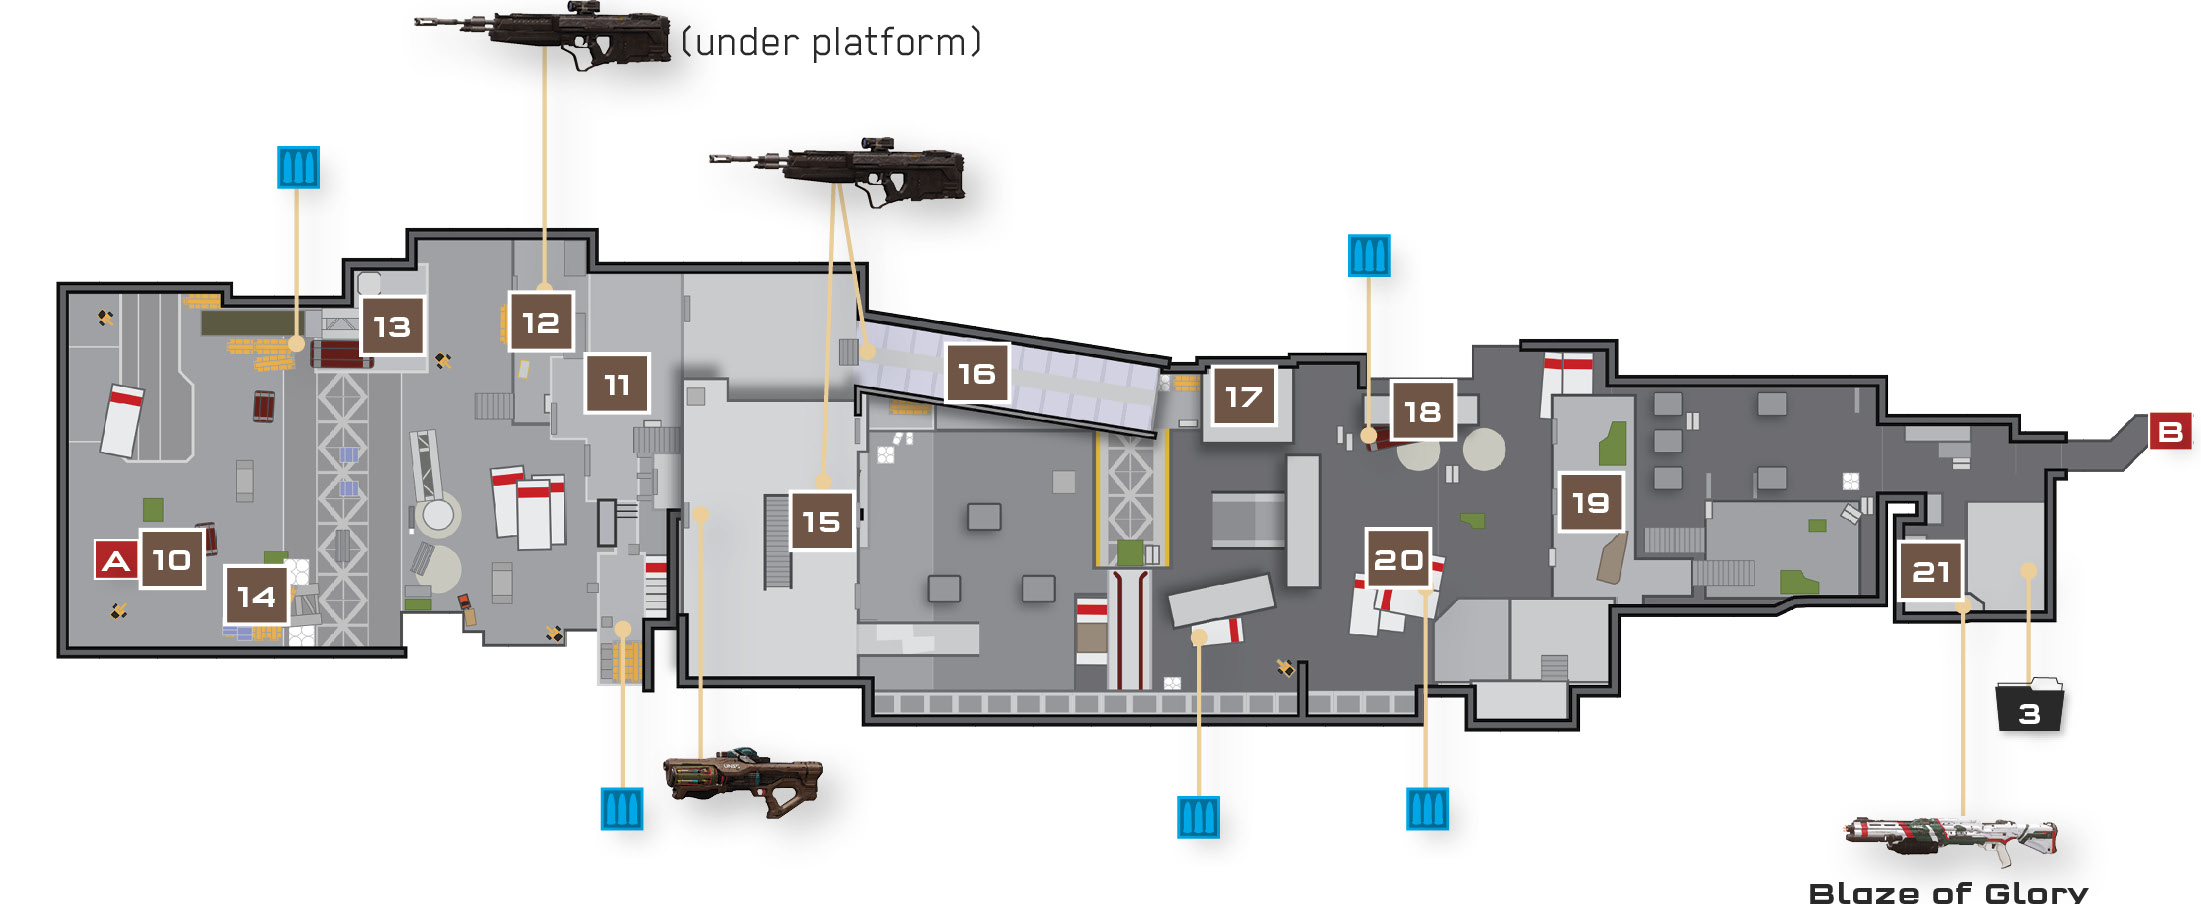
The Covenant seems very interested in the stealth vessel that ONI had been constructing here at Argent Moon. A large Covenant presence dominates the assembly bay, where the vessel was being built before the station was stormed. First, you face an uphill battle against a variety of Covenant forces; then you get to turn the tides in your favor and take the high ground for yourself.
Recommended Loadout
The SMG you recently found will help you mow down the first few foes, while a ranged weapon such as a Magnum is useful against the more distant threats. When your SMG’s ammo runs low, swap it for a shield-shattering Plasma Pistol or Storm Rifle that will help you break the Elites’ shields. The DMR that lies beneath the platform is a must-grab once you get there.
Smashing through the shutter lands you at one end of a long, heavily guarded assembly bay 10. The racket immediately alerts the Covenant to your presence, and battle erupts. Take cover and use your newfound SMG to wipe out the initial group of Grunts and Jackals that open fire. Work your way forward, heading for the far platform 11.
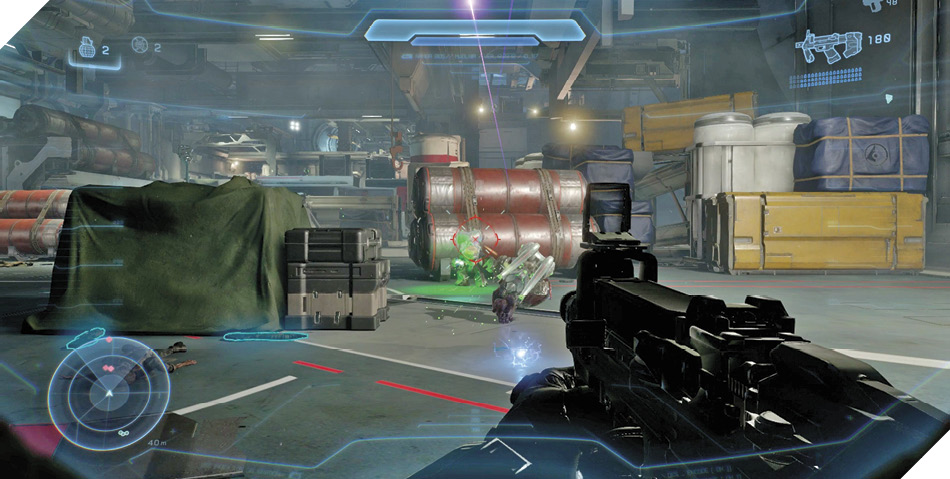
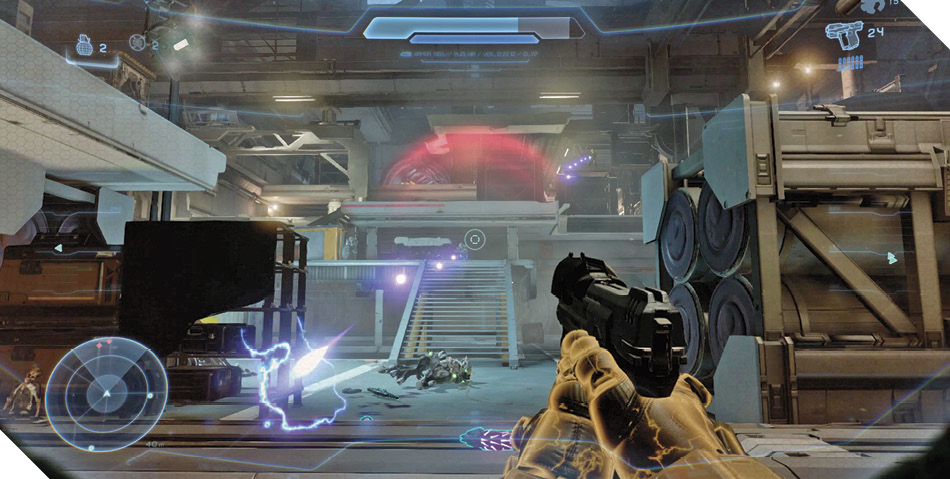
Storming the platform is the tricky part. Pick off as many Grunts and Jackals as possible with Magnum headshots from afar. The Elites are more difficult, for they often take cover after their shields have been broken. Grab the DMR that lies beneath the platform 12 and put its powerful scope and devastating damage to use against the Elites.
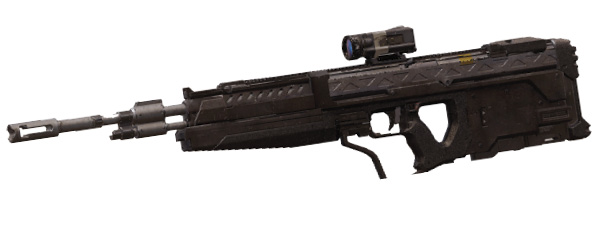
DMTThe DMR (Designated Marksman Rifle) is a powerful semi-auto rifle. It’s designed to excel in mid- to long-range firefights, and few weapons can match the DMR’s pinpoint accuracy and lethal firepower. The weapon’s scope allows for improved accuracy over longer distances, but it’s not quite as powerful as the Sniper Rifle’s scope. In fact, that’s a good way to think of the DMR: a less-powerful Sniper Rifle with a much larger magazine that can be fired more rapidly. |
To get a perfect angle on the platform, backtrack after grabbing the DMR and climb some blue, covered crates to reach a higher vantage 13. Up here, you can blast the Elites without exposing yourself to much risk. Crouch and take cover behind the low walls to recharge your shields as needed.
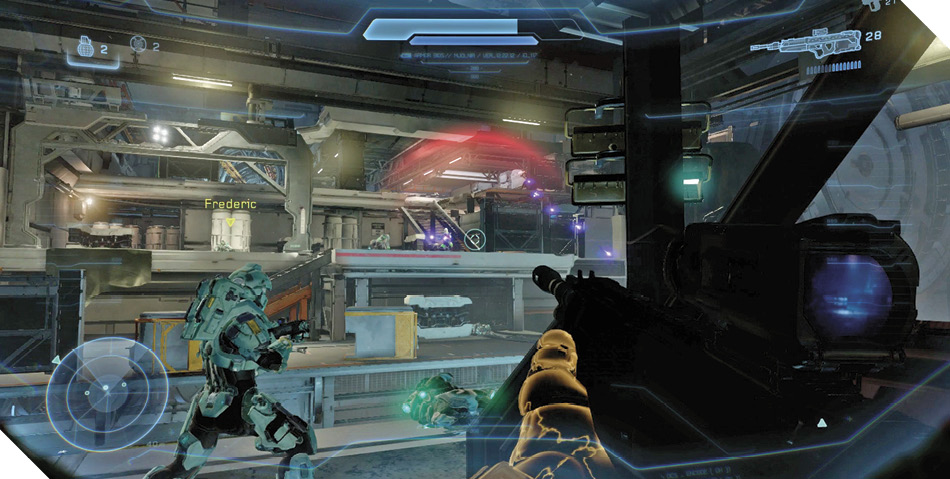
You can also climb the yellow crates on the bay’s opposite side 14 for another good angle on the platform. The DMR is strong enough to break shields quickly, and you’ll soon be finding lots more DMR ammo, so don’t spare any. Pick off as many Elites as possible from these vantages before scaling the platform to mop up the stragglers.
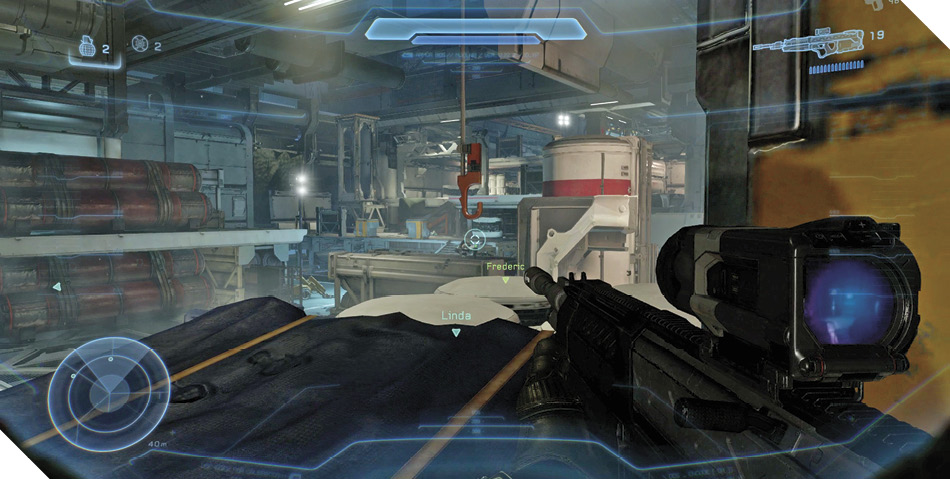
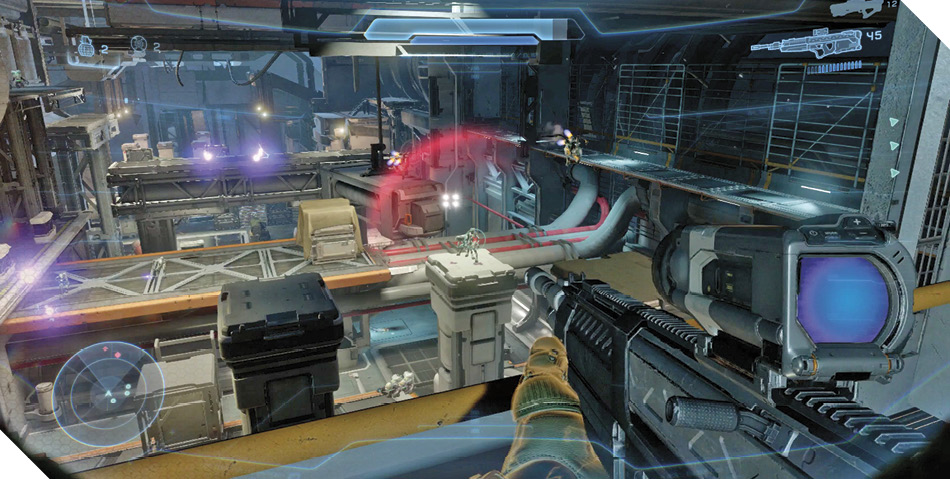
With the platform secured, advance and trade your secondary weapon (not your DMR) for the Hydra Launcher that greets you near the top. Ascend the nearby stairs to reach the platform’s highest level, where you discover two more DMRs on the ground near the far railing 15. Their placement couldn’t be better, for you have a clear view of the rest of the bay from up here. Take the opportunity to eliminate the many Grunts and Jackals ahead.
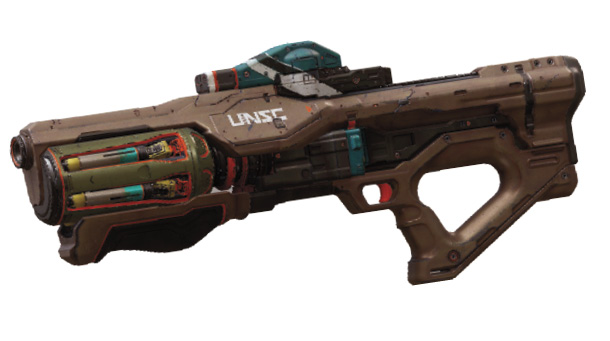
Hydra LauncherThe UNSC’s newest toy, the Hydra Launcher is a compact missile launcher capable of unleashing volleys of up to six explosive missiles at threats near or far. (Far being preferable, given the weapon’s explosive ordnance!) Sight enemies with Smart-Link to establish targeting locks with the Hydra, then pull the trigger to send one or more of its missiles zipping toward your prey (hold the trigger to fire missiles in a volley). The Hydra’s missiles don’t pack the same huge punch as the Rocket Launcher’s, but a full volley will decimate most targets. Unlike loading the Rocket Launcher, each missile must be loaded into the Hydra individually, increasing its reload times. |
When no further targets present themselves, restock your DMR ammo and then return to the level below. Enter a brightly lit tunnel 16 to find another DMR, which you might want to give to a teammate. Sprint through the tunnel and jump from its end to reach a high platform 17, which may or may not be guarded by Grunts (depending on whether or not you’ve already killed them).
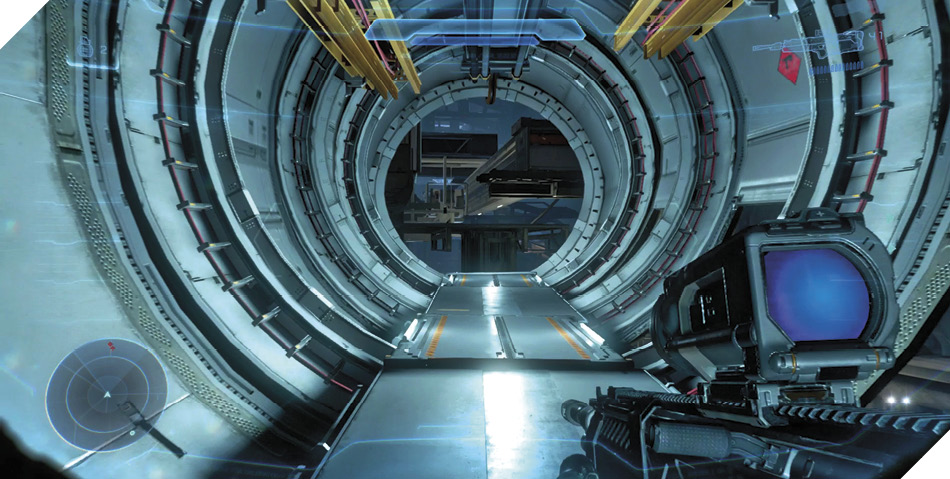
From the height of the platform, you can easily rain down more death on the Grunts and Jackals below. Wipe them out with the DMR and Hydra, then run and jump to the next platform ahead 18. Eliminate all possible threats, then sprint, run, and jump to the final platform 19, which is significantly larger and lower than the ones you’ve just been exploiting.
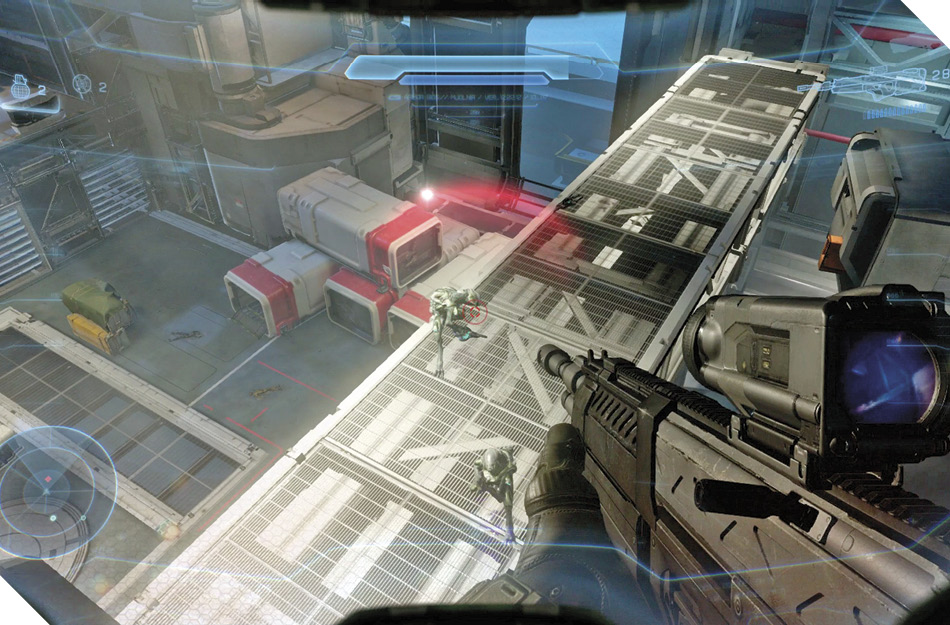
Legendary StrategyMany more enemies populate the assembly bay’s second half on Legendary difficulty, and they’re far more aggressive. They’ll boost up to the high ledges and attempt to overwhelm you with their numbers. Be prepared to melee Grunt and Jackal ambushers as you fire down from on high. |
Unleash the Hydra from the final platform to wipe out the remaining shield Jackals and Elite, which are difficult to sight from the previous, higher platforms. Secure the area, then make a run around the bay’s ground floor and restock your ammo. You can find more DMRs in a large cargo container 20, and there’s plenty of other weaponry littered around as well.
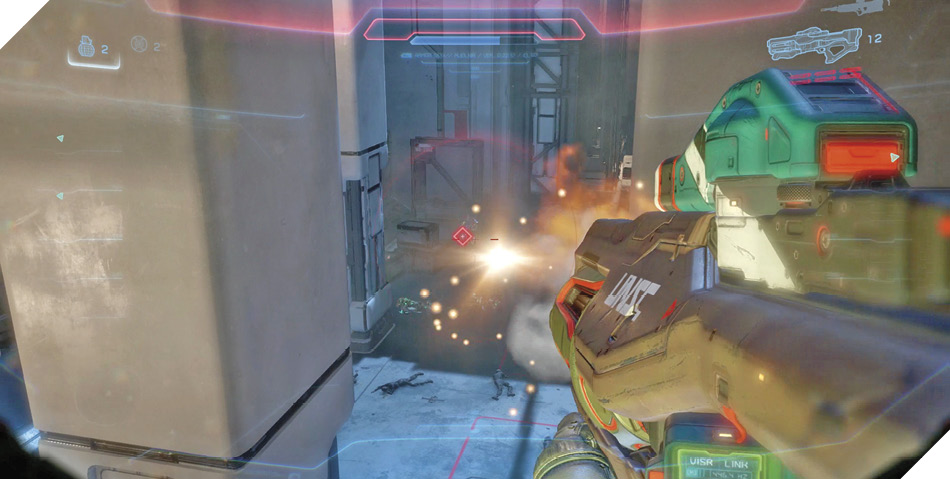
Advance toward your objective after grabbing some ammo, but pause when you reach a doorway that’s marked “Central Control.” Your objective lies beyond the doorway, but don’t go through it just yet. Instead, turn around and look for a tall shelf on your left 21. Jump and climb onto the shelf, then climb onto the next shelf above.
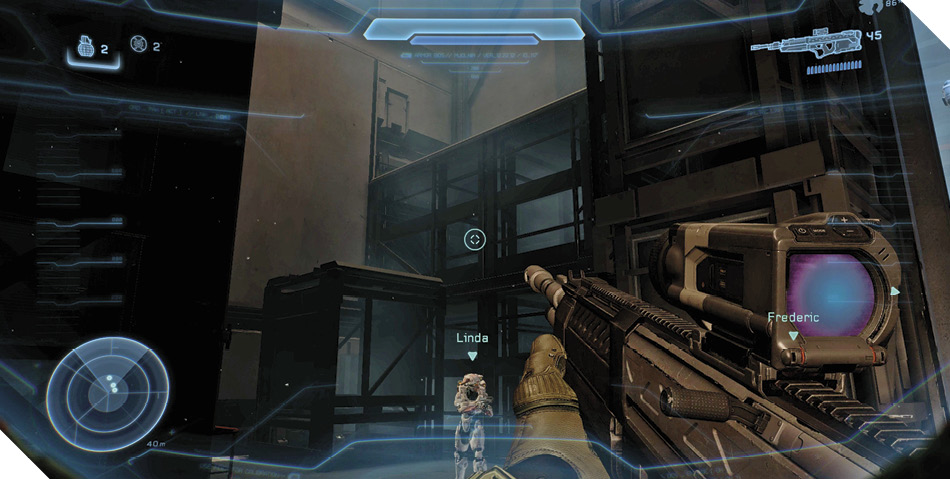
Turn around after reaching the second shelf and leap to the wider shelf behind you. It isn’t easy to see at first, but there’s a UNSC data pad atop this wide shelf. Find it and scan it to unlock new intel.
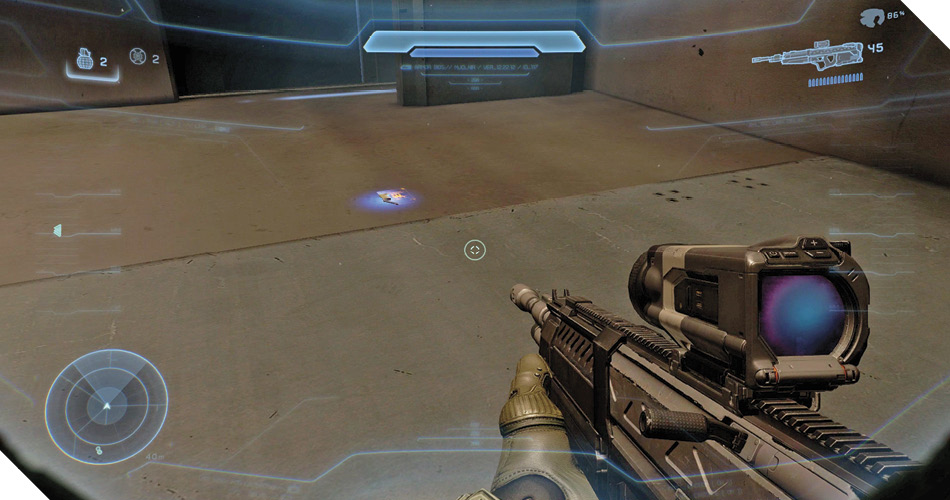
Mission 2 Intel Acquired (3/8) |
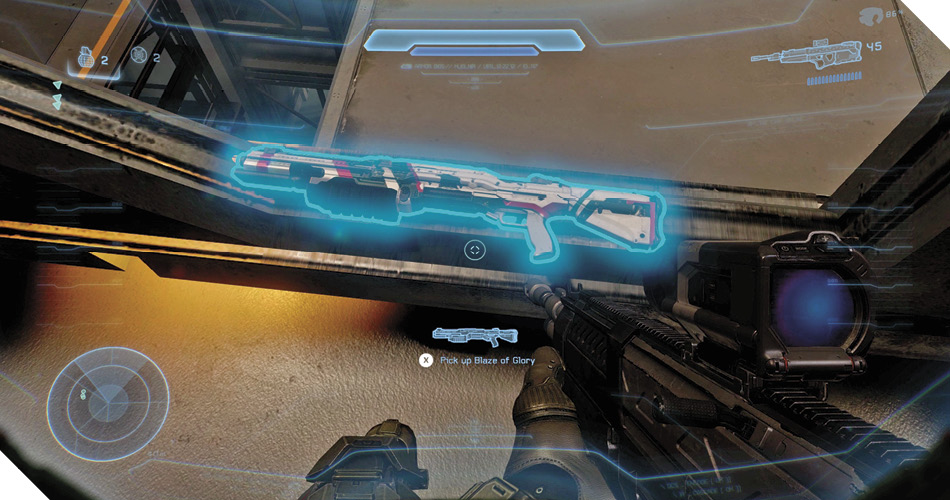
But wait, there’s more! After scanning the data pad, climb onto the nearby ledge to discover a special Shotgun called Blaze of Glory. Custom weapons like this aren’t easy to come by, probably because they’re awesomely powerful. Swap your Hydra Launcher for Blaze of Glory before dropping down and moving on to central control.
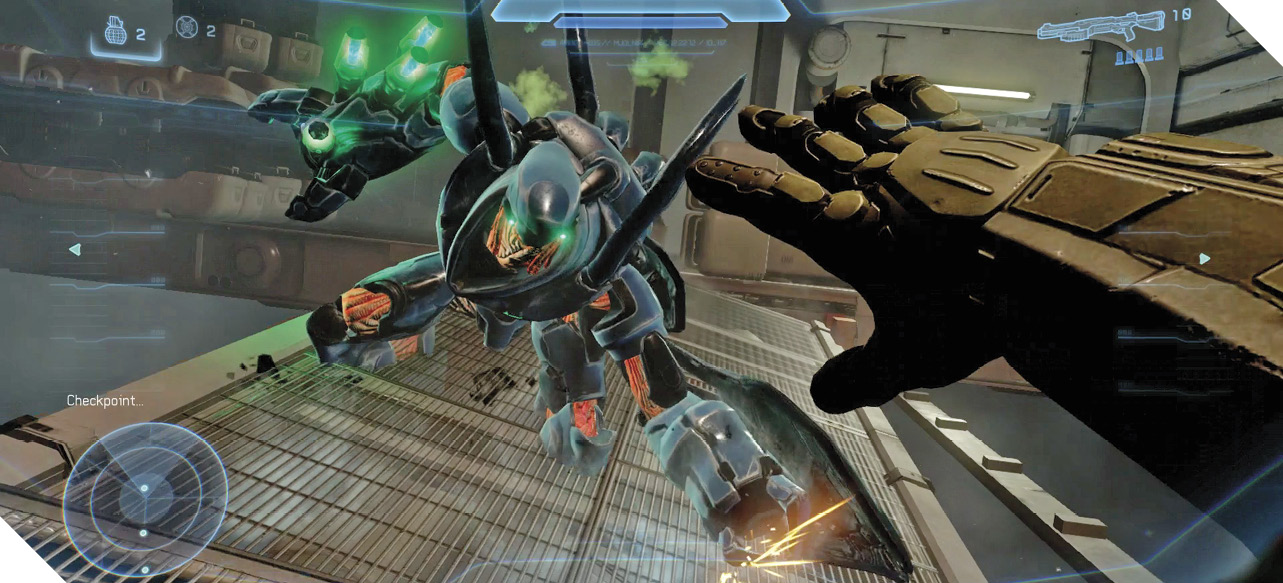
You don’t get far before a hulking Hunter suddenly appears. The monster smashes the footbridge that you’re crossing, sending you tumbling to a new area. Looks like you’ll have to find another route to central control.

Blaze of GloryAdvanced technology married to brutal simplicity. The Blaze of Glory is an advanced Shotgun with a Forerunner mechanism to fire fast-moving hardlight projectiles with extra range and anti-vehicle effect. Reloads with a single shell. |