
Introduction
While Warzone offers a new way to experience multiplayer in the Halo universe, the Arena modes represent Halo’s established legacy of pure, skill-based 4-vs-4 competitive combat. In creating these new arenas, the designers peered into Halo’s past, seeking inspiration from classic maps to ensure a greater sense of balance and familiarity. But while some of these environments may look familiar, new gameplay mechanics like thrust, clamber, and Ground Pound make for a completely unique experience, putting a greater emphasis on mastering the verticality of each arena. To enhance balance, all Spartans begin the match with the same weaponry—an Assault Rifle, a Magnum, and two Frag Grenades. But there are more weapons and power-ups scattered across each map, often leading to intense, pitched battles over game-changing items like Active Camo, Overshield, a Rocket Launcher, or a Sniper Rifle. So whether you’re a Halo veteran or a rookie, the Arena modes are primed to hone and test your skills.
In this chapter we take an in-depth look at each arena. Included are detailed illustrations of every map, complete with labeled callouts and weapon locations—use them to familiarize yourself with the layout of each arena and formulate a game plan. The in-house professional team at 343 Industries has identified opening moves, power positions, key jumps, and other tips for every arena, providing the high-level tactics necessary to give your team an edge in every match.
Game Modes
The Arena maps support four game modes, all designed for competitive 4-vs-4 matches. Popular modes like Slayer and Capture the Flag have returned, along with the new Strongholds and Breakout modes.
 Slayer
The objective of Slayer is simple—score more kills than the opposing team. The first team to rack up 50 kills wins. But there’s a timer in play, too. If neither team has reached the 50-kill mark within the allotted time, the team with the most kills wins—by default each match lasts for 12 minutes. Keep an eye on the game mode info in the bottom-right corner of the HUD to see the current score and time remaining in the match. If you’re new to the game, Slayer is a great way to get familiar with every arena.
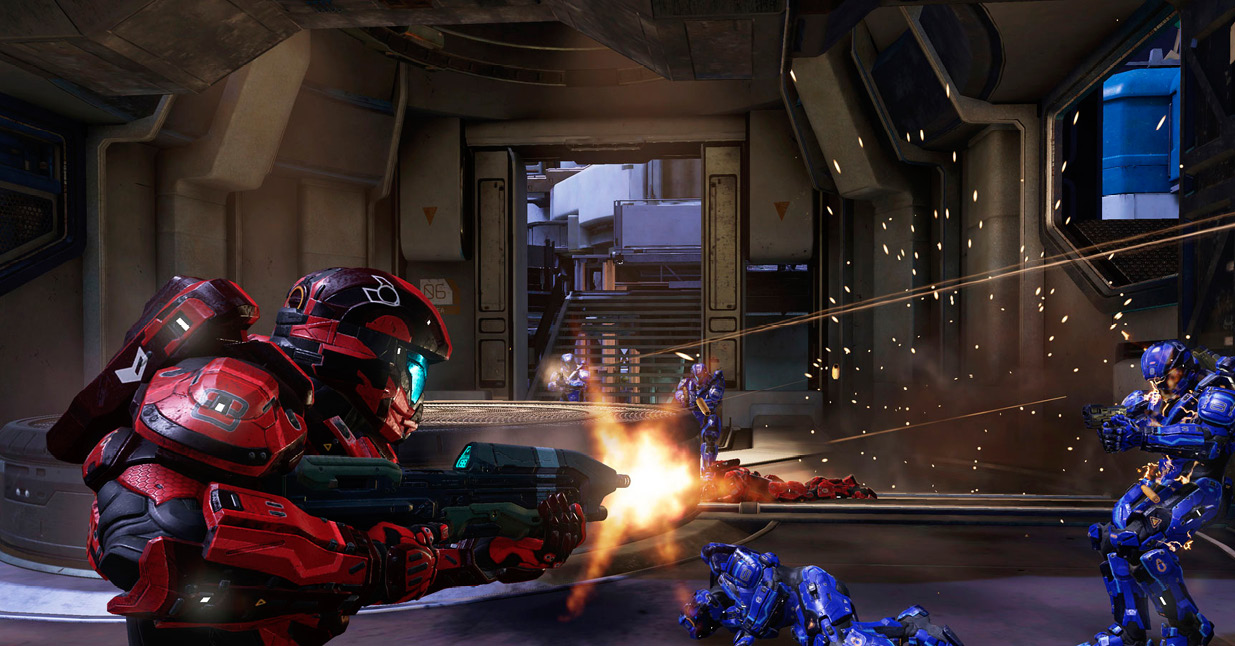
Don’t stray too far from your teammates—getting outnumbered in a firefight is a fatal mistake.
Tactics
While casual matches often devolve to a free-for-all, Slayer is designed as a team-based game mode. Communicate with your teammates, using map callouts to relay the presence of weak or specially equipped opponents. A team that communicates effectively will always have an edge over a team that remains silent.
Foolish, high-risk plays benefit only the opposing team. Remember; every time you die, you’re handing the opposition points. So be wary of overcommitting during firefights. If your shields are down, disengage and retreat—wait for your shields to regenerate before rushing back into the fray.
Winning one-on-one engagements comes down to skill, often favoring the player who fires first. If you’re not winning these duels, consider following a teammate until your skills develop. Roaming the map with a buddy increases your survivability while giving you the opportunity to take part in some lopsided two-on-one engagements.
More than ever, taking the high ground is key to getting the jump on opponents. Using jump, thrust, and clamber, ascend to ledges and perches to fire and rain grenades down on opponents. Or slam down onto unsuspecting opponents with a devastating Ground Pound attack.
 Capture the Flag
This longtime classic is back, along with the ability to toss the flag, speeding up this already intense, nail-biter of a game mode. In Capture the Flag the goal is to grab the opposing team’s flag and carry it back to your base. But before you can score the flag, your team’s flag must be present at your base. The team that scores a flag three times wins. Or if time expires, the team with the most flag captures wins—by default, each match lasts for 12 minutes. The current score and match timer are visible in the bottom-right corner of the HUD. For balance reasons, Capture the Flag is only playable on the symmetrical arena maps.
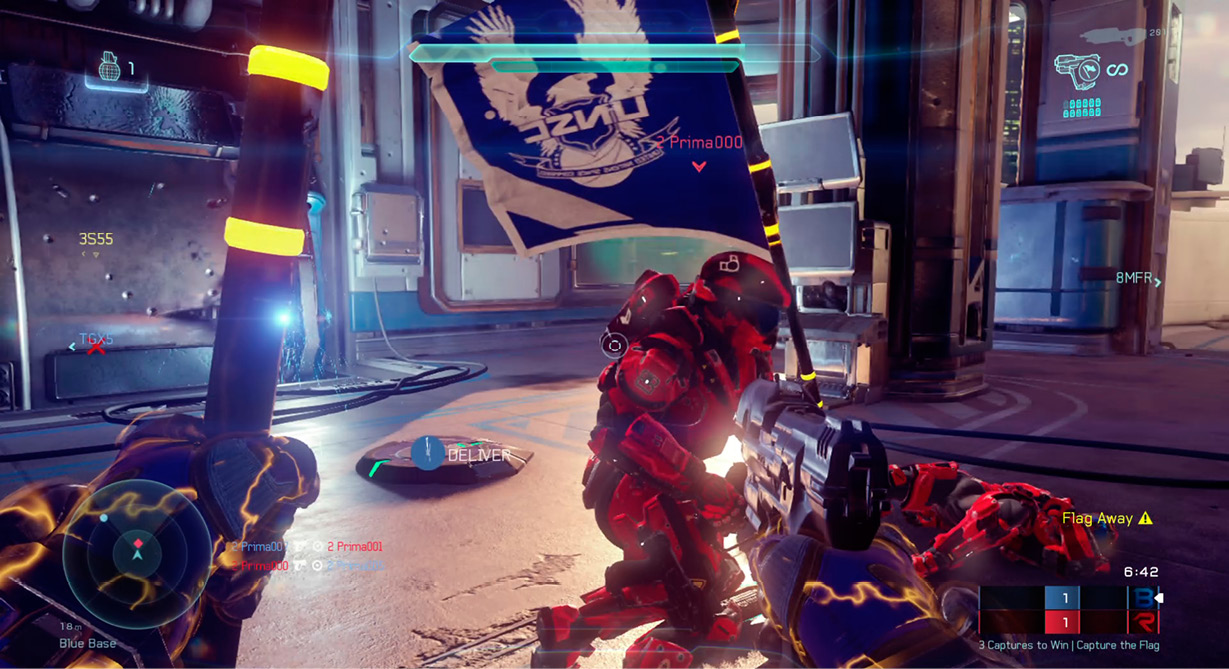
While carrying the flag, you have unlimited Magnum ammo. But sometimes a melee strike is more effective when encountering enemies at close range.
Tactics
If you want to advance the flag quickly, jump, thrust, and then toss the flag toward your base. This launches the flag several meters ahead of your Spartan. This is also a good way to “pass” the flag to a distant teammate.
When you’re carrying the flag, your location is a mystery to the opposing team. However, if you’re shot, a flag icon appears on the HUD of your opponents for five seconds (you’ve been “spotted”), aiding them in hunting you down. If you’ve been spotted, drop the flag and then pick it up again to lose your spotted status.
In most cases, the most direct route with the flag is the best, cutting across the center of the map as quickly as possible. But these direct routes also lack cover. So make sure at least three opponents are down before attempting a direct flag run. Otherwise, sneaky perimeter runs may yield the best results.
Failing to defend your team’s flag is a surefire way to guarantee defeat. Make sure at least one player on your team stays back in your base to watch the flag. When defending, become familiar with all routes leading into your base—find a sneaky spot to hide out, then ambush all opponents who make a move for your flag.
 Strongholds
For veterans, the new Strongholds mode is reminiscent of King of the Hill. But in this game mode there are three hills (or Strongholds) on the map at all times. Each time a team holds at least two of the objectives, points are accrued at the rate of approximately one point per three seconds. The first team to reach 100 points wins the game. Or if time expires, the team with the most points wins—by default, each match runs for 12 minutes. The current score and the time remaining in the match appear in the bottom-right corner of the HUD—the shield icons represent how many Strongholds each team controls.
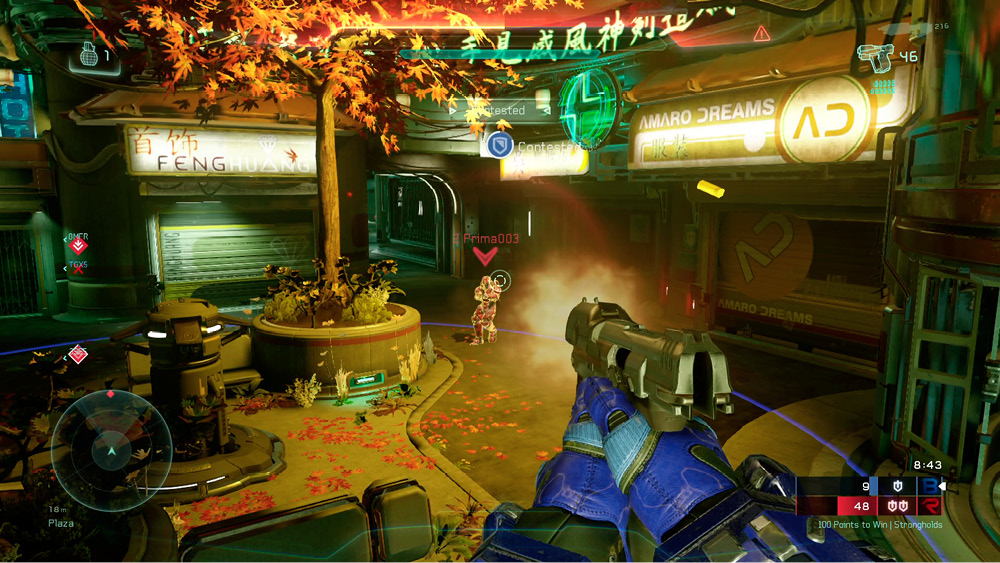
A Stronghold is considered contested when two adversaries occupy its circular capture radius.
Tactics
Strongholds are captured faster when there are multiple teammates within the objective’s circular capture radius. So make sure you have the support of teammates, particularly when attempting to capture an enemy-held Stronghold. If you exit this radius during a capture attempt, your capture status isn’t lost unless contested by an opponent. Step back into the capture radius to resume the capture.
If you can’t find the objectives, simply head for the diamond-shaped icons on the HUD—these mark the locations of the Strongholds. Icons marked with an arrow represent a Stronghold that is either neutral or held by the opposing team. An icon marked with a shield represents a Stronghold held by your team.
Don’t make the mistake of overextending. It’s better to consolidate your forces around two Strongholds than to attempt to lock down all three—you do not accrue points at a faster rate if you hold all three. So capture two adjacent Strongholds and hunker down for the duration of the match.
When defending a Stronghold, instead of standing in the capture radius, back away and watch the objective from a distance. For best results, find a ledge or perch to covertly monitor the Stronghold, then swoop down with a satisfying Ground Pound attack as enemies approach.
 Breakout
This is an all-new game mode played on specially designed maps created specifically for Breakout. It plays like a mix of Slayer and Capture the Flag, but with no respawns. A flag is positioned in the center of the map and can be carried and scored by dropping it at the opposing team’s base. Alternatively, a victory can be achieved by wiping out the opposing team. Each round lasts for two minutes. If any member of either team is alive when time expires, the round ends in a tie. There are up to nine rounds per match—the first team to win five rounds wins the match. If there are five rounds that end in ties, the match is a tie.
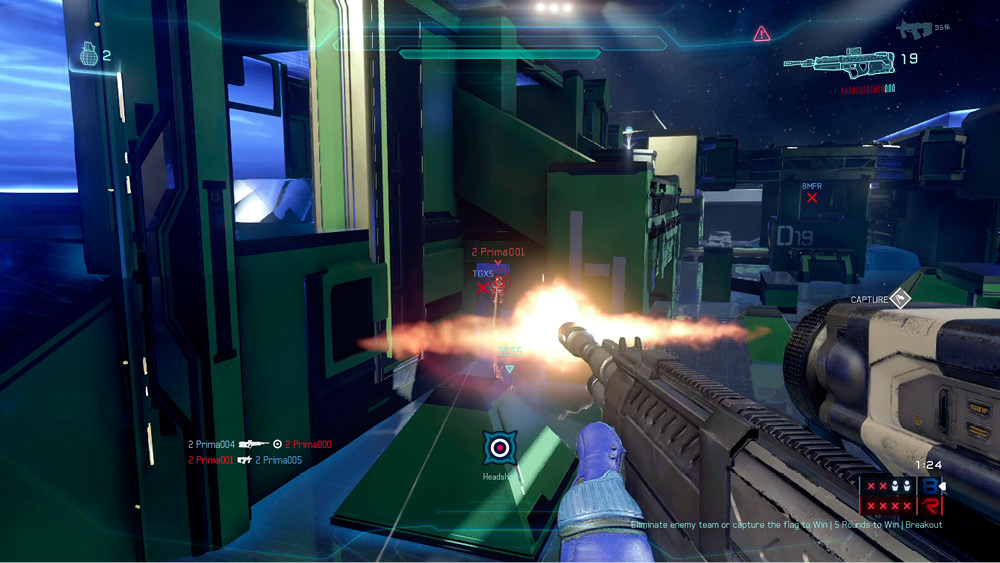
Hard-hitting, long-range weapons like the Battle Rifle and DMR are ideal for Breakout’s standoff-heavy gameplay.
Tactics
- With no respawns, Breakout is a methodical stand-off game with a decidedly slower pace than the other arena modes. You begin each match with an SMG, a Magnum, and one Frag Grenade. Unless you can get your hands on a Battle Rifle or DMR, use your Magnum to hold back and score some long-range hits while utilizing any available cover.
- Breakout games move fast. Each shot you land (and absorb) can make a huge difference in the final outcome. So don’t get greedy. If you can only land one or two shots safely, do so and retreat. If you take shield damage, they will regenerate, but only if you avoid sprinting. Even if your shields are gone, entering combat with full health can make all the difference in a close duel.
- In Breakout matches, flag captures are rare. Matches are often decided by one team wiping out the other. However, there are moments when a well-timed flag run can turn the tide. If the opposing team has overextended into your team’s side of the map, consider making a move for the flag and rushing it to their base. As in Capture the Flag, you can toss the flag forward—sprint, jump, and thrust to toss the flag closer to the enemy team’s base.
- If all other teammates have been killed, you’ll become the Last Man Standing—a yellow notification appears in the bottom-right corner of the HUD, just above the timer. Below the timer you can see how many opponents are remaining. Take this into account before making your next move. If you’re outnumbered, it may be wise to hold back and engage opponents from a distance.
Weapons and Power-Ups
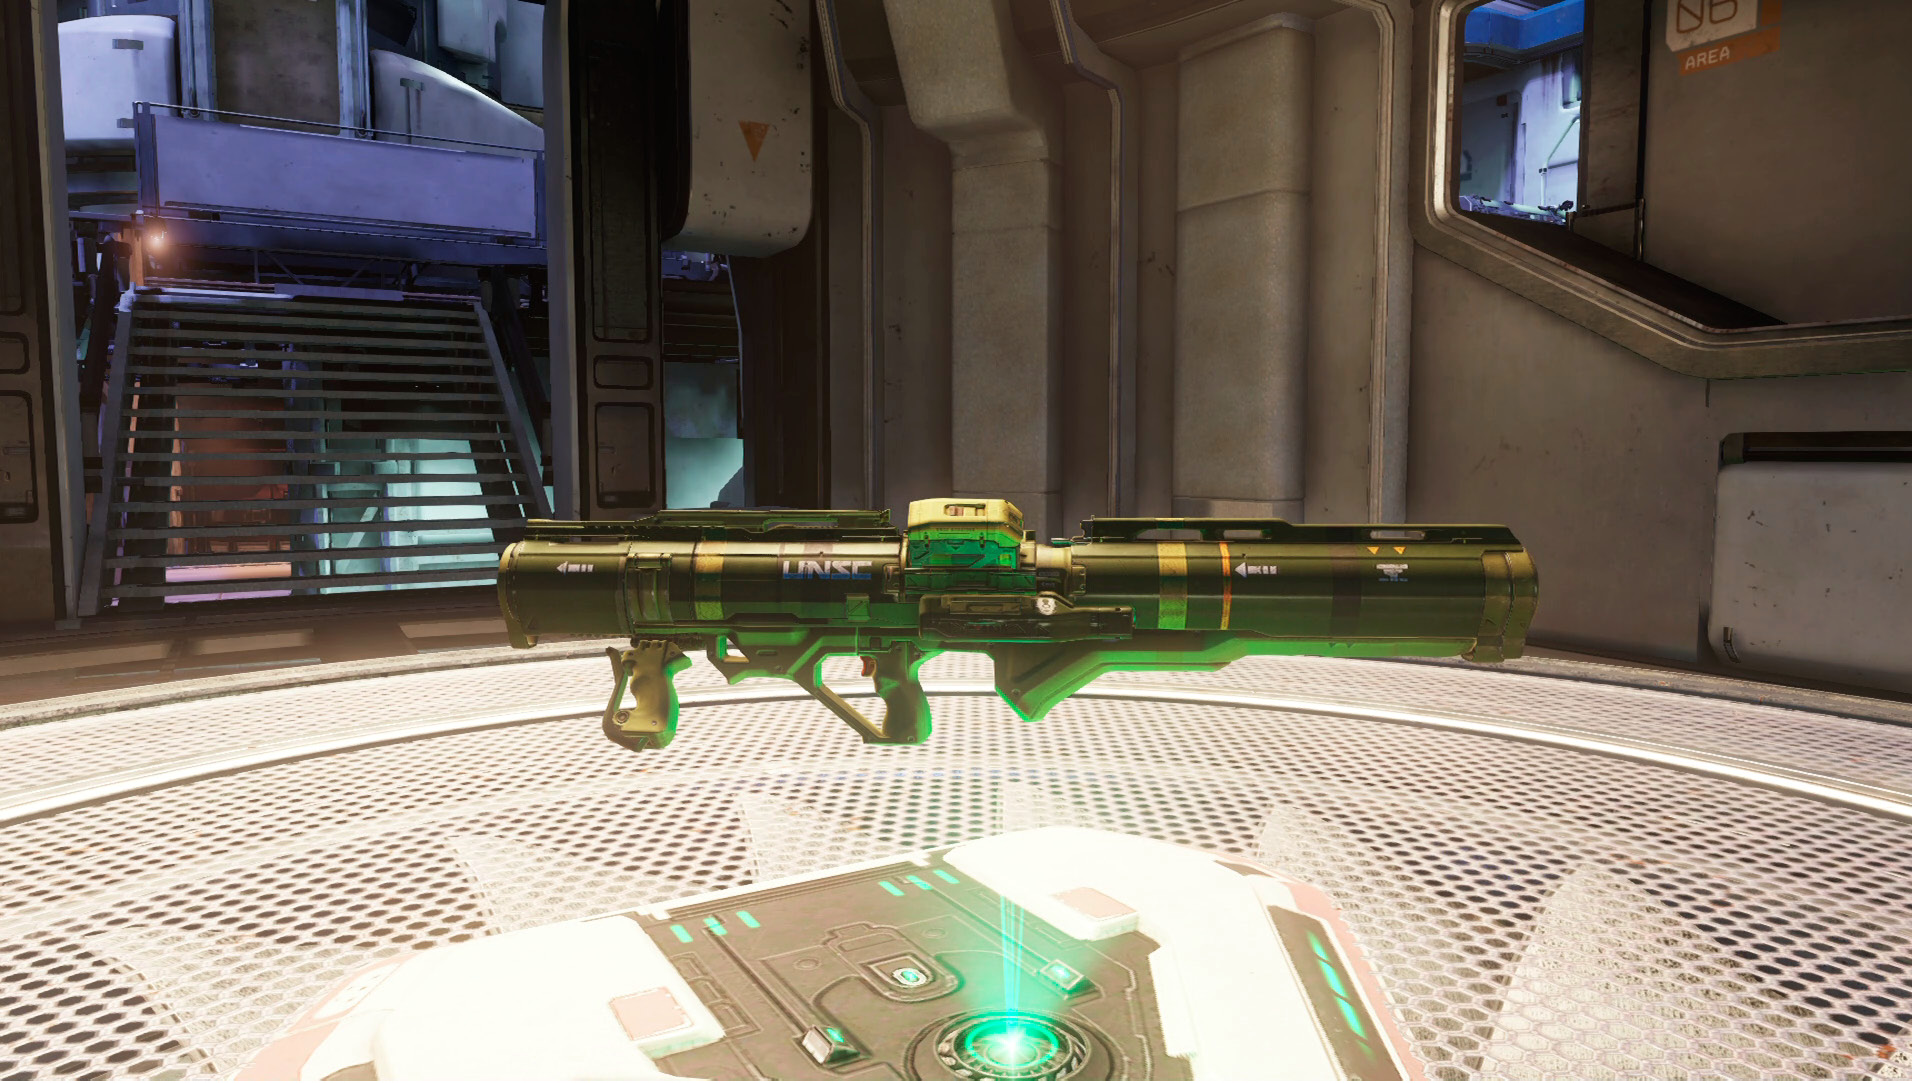
The most powerful weapons, like the Rocket Launcher, spawn on weapon pads every two minutes, while precision weapons spawn every three minutes.
In all Arena matches, you begin with an Assault Rifle and Magnum—or in the case of Breakout, an SMG and a Magnum. But there are plenty of other weapons placed around each map, along with some game-changing power-ups. These weapons and power-ups continually respawn during a match. But their spawning behaviors and respawn times differ slightly. Here’s some developer insight into how these weapons and power-ups spawn.
Static on Pickup
Power-Ups:
- Overshield
- Active Camo
- Damage Boost
- Speed Boost
This applies only to power-ups. These items spawn every two minutes. The timer begins as soon as the power-up is activated. If you’re killed while activating a power-up, it is consumed and the timer restarts at the moment of your Spartan’s death. There’s only one power-up on a map at any given time—controlling it is crucial to your team’s success. So keep tabs on when the power-up is activated and when it will respawn.
Weapon Pad
Weapons:
- Rocket Launcher
- Plasma Caster
- Railgun
- Incineration Cannon
- Fuel Rod Cannon
- Sniper Rifle
- Binary Rifle
- Beam Rifle
The triangular tiles with a green glow are weapon pads. Weapons appearing on weapon pads spawn at fixed intervals. Explosive-based weapons spawn every two minutes, and precision weapons spawn every three minutes. These are the most powerful weapons available, so work with your team to control traffic around these weapon pads. Make note of when weapons are picked up and try to keep track of when they’ll respawn.
Dynamic
Weapons:
- Shotgun
- Scattershot
- Energy Sword
- Plasma Pistol
- Hydra Launcher
These weapons are stronger than loadout weapons but weaker than those spawning on weapon pads. They respawn every 10 seconds after they have been destroyed, meaning only one of these weapons can be active on the map at a time. A weapon is considered destroyed when it runs out of ammo and is dropped or if it has been left untouched on the map for 30 seconds. This allows teams to exert control over these weapons.