
Halo 5: Guardians Guide Campaign Walkthrough Mission 12: Battle of Sunaion
Major Firefight: Triple AA Turrets
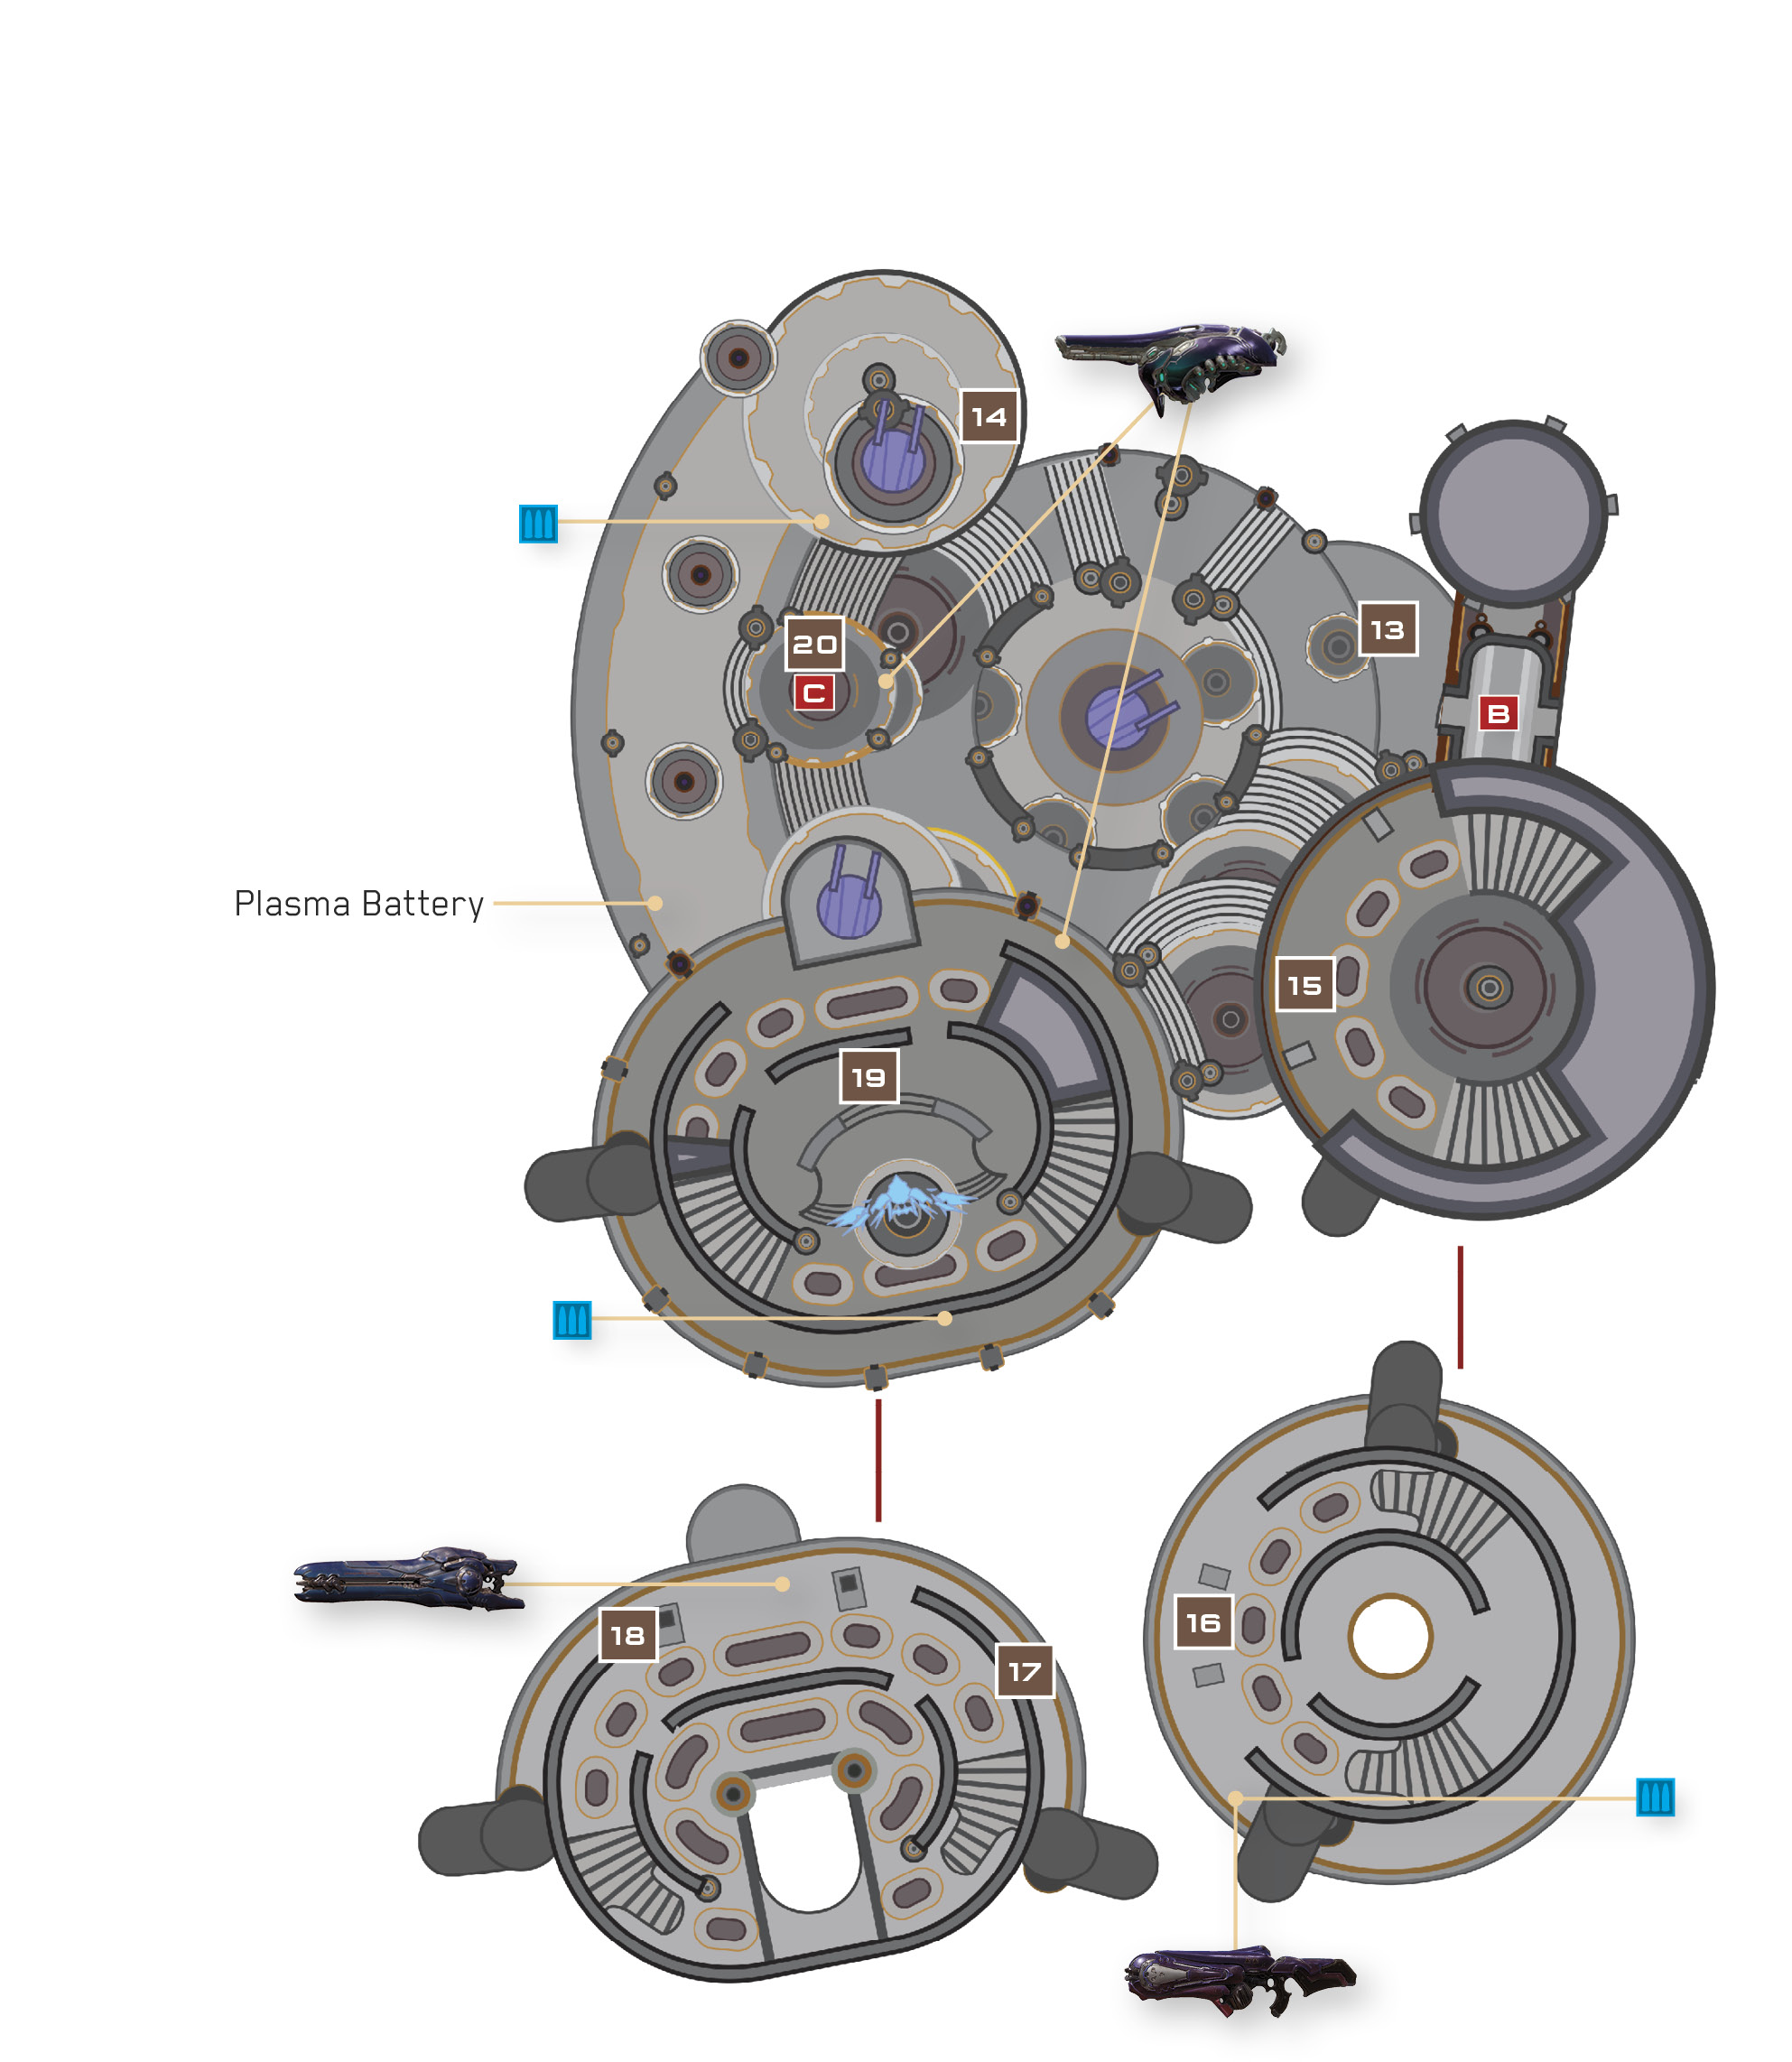
The next plaza features not one but three active anti-air turrets. The Covenant forces have amassed here, positioning several Plasma Cannon turrets and a lethal Shade Turret in their defense. Disabling the last three AA guns won’t be easy, but it must be done before the Arbiter can deploy necessary reinforcements.
Recommended Loadout
The Plasma Caster found at the start of this mission is a fantastic weapon to bring into this wild firefight, as is the Fuel Rod Cannon dropped by the previous Elite. You can more easily cripple the Covenant forces with these powerful arms, and even destroy the dangerous Shade Turret right from the start. A Storm Rifle or Carbine will serve you well as your primary weapon.
You enter the plaza on the low ground, exposed to the Covenant’s direct line of fire. Rush forward and take cover behind the large, circular platform ahead 13. If you grabbed the Plasma Caster back at the mission’s start, charge up a shot and try to stick it to the Shade Turret that’s busy firing at the Arbiter’s aircraft 14. If you don’t have the Plasma Caster, try sticking the Shade with a regular Plasma Grenade, or hit it a few times with a Fuel Rod Cannon.
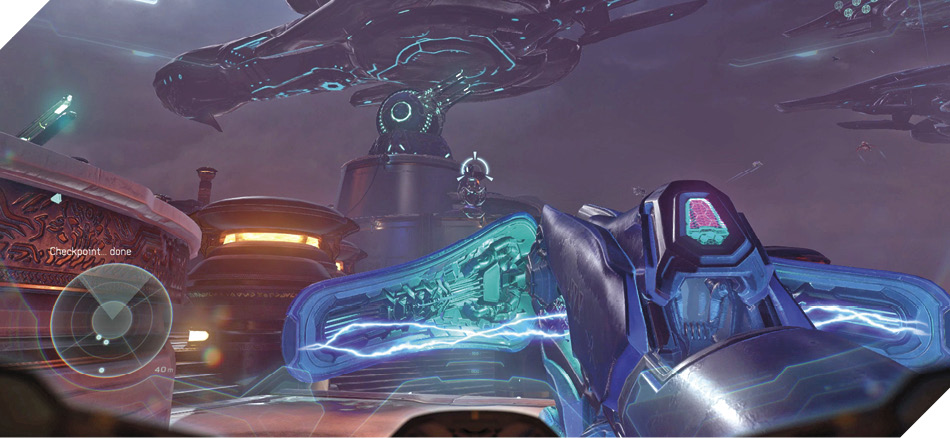
Whether or not you succeed in destroying the Shade Turret, go left and sprint upstairs to reach a tower on the left that’s lit by soft blue light 15. Hurry into the tower and sprint upstairs to its second floor 16. Cut down a few Grunts to secure the second floor, then search the balcony to discover a stash of Carbines, a Covenant ammo crate, and a Plasma Caster stashed in the corner. Put the Carbines and Caster to use against the Covenant in the plaza below, maintaining this superior vantage until no further targets present themselves.
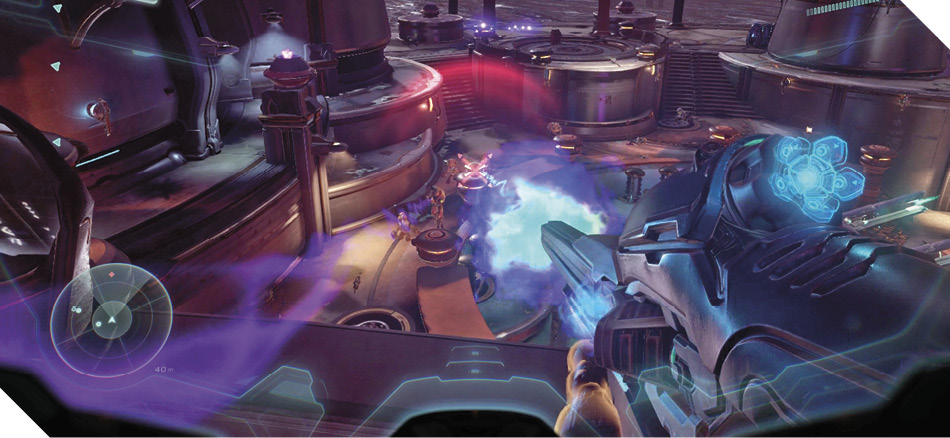
Legendary StrategyThe left tower’s balcony remains a good position to hold on Legendary, but expect to use a lot more Plasma Caster ammo. Use charged Plasma Caster blasts to destroy the Shade Turret and both Plasma Cannon Turrets, and to thin out the enemy ranks, relying on your Carbine to finish off whatever’s left. The nearby Covenant ammo crate provides you with unlimited Carbine ammo, so just take your time. Mark troublesome Elites as targets for your team, and beware of inbound Plasma Grenades tossed up to your perch, along with invaders who may decide to storm the tower. |
With the plaza largely free of hostiles, pick shots at the lowest anti-air turret’s power battery with your Carbine (assuming you haven’t already destroyed it). Destroy the battery from up here, then restock your Carbine and Plasma Caster ammo before making a sprinting leap over to the neighboring building’s balcony 17.
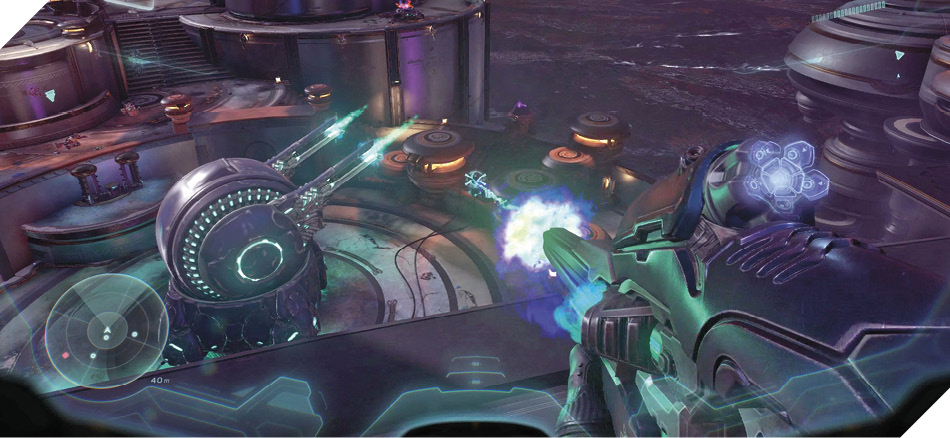
A deadly Energy Sword Zealot equipped with Active Camouflage guards the neighboring building’s balcony 18, but it isn’t expecting Spartans to enter from up here. Quickly stick the Zealot with a charged shot from the Plasma Caster to inflict tremendous damage, finishing it off with your Carbine. Try to defeat the Zealot before it engages its Active Camouflage and rushes you.
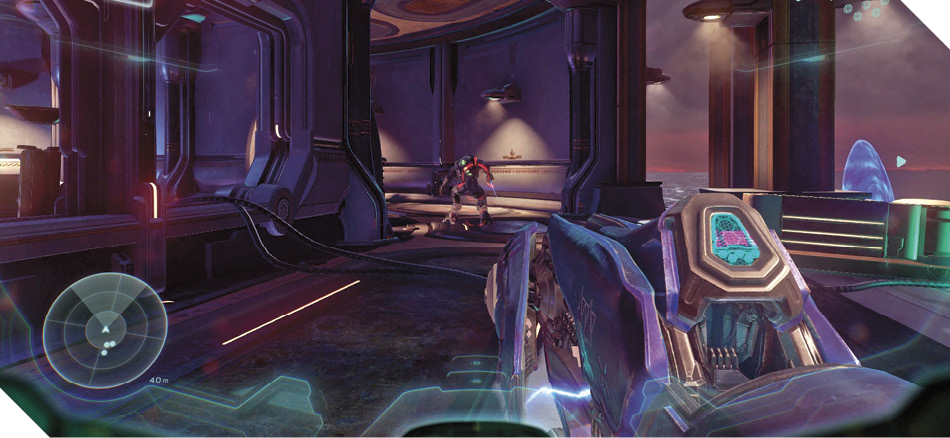
Legendary StrategyTwo Energy Sword Zealots guard the balcony during Legendary play. Stick one with the Plasma Caster, then pop out several more grenades from the weapon to ensure they don’t survive. |
With the Zealot down, use Artemis to detect the nearby anti-air turret’s battery. Destroy the battery with a few melee blows, then use the nearby Beam Rifle to eliminate any other enemies still defending the plaza (or give the Beam Rifle to a teammate).
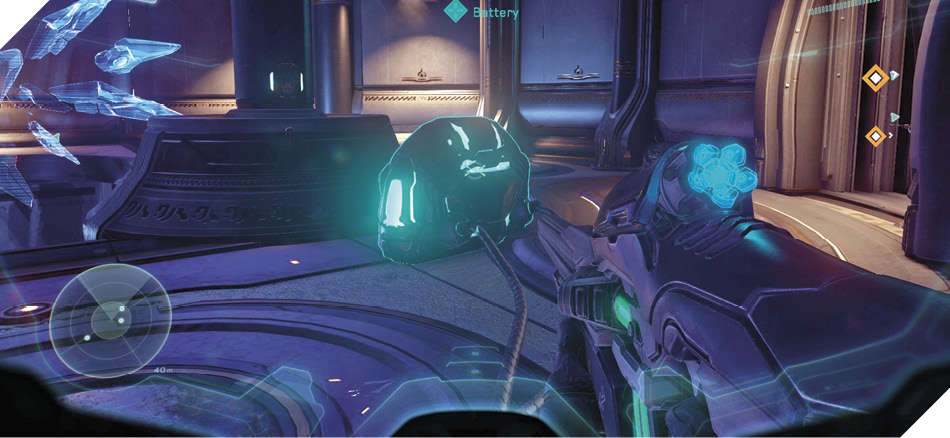
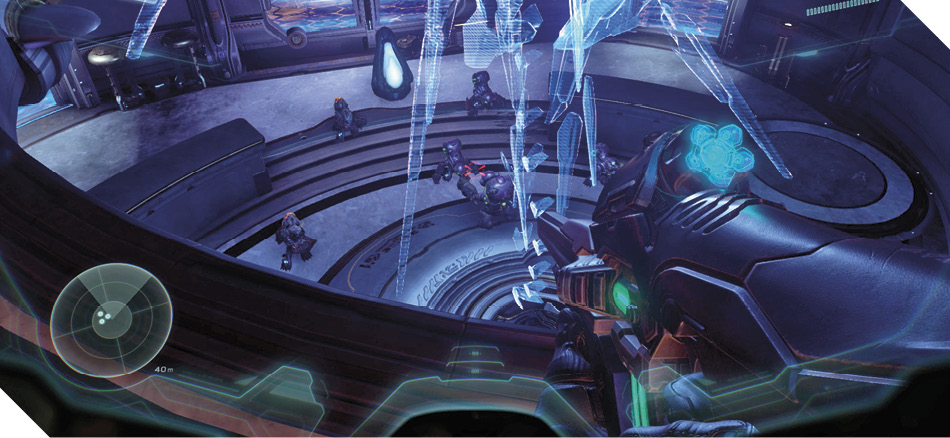
The eerie chanting of Grunts you’re hearing stems from the building’s ground floor 19. Get the drop on the chanting Grunts with a Ground Pound or grenade, then move downstairs and secure the building’s first floor, which is enveloped by a shield. Destroy the projector to drop the shields, then exit the building and move to disable the final anti-air turret.
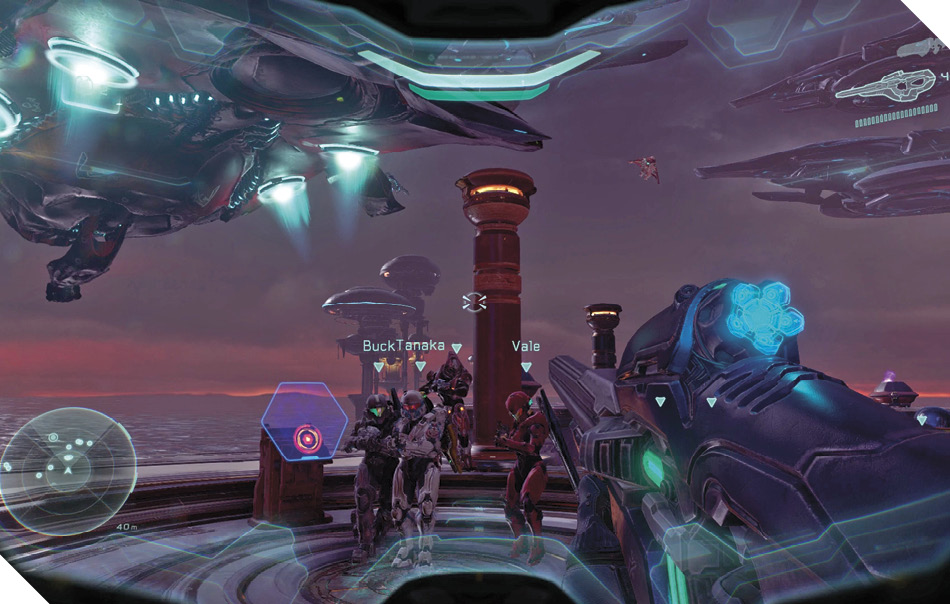
With all three anti-air turrets out of commission, the Arbiter is at last able to deploy reinforcements. Wait for his Swords of Sanghelios brethren to land, then use Artemis to locate a nearby elevator platform 20. Step up and activate the control console to ride down to Sunaion’s undercity. The Swords won’t be joining you, unfortunately; they must remain topside to fight to the Covenant forces up here.
Objective: Proceed to Guardian
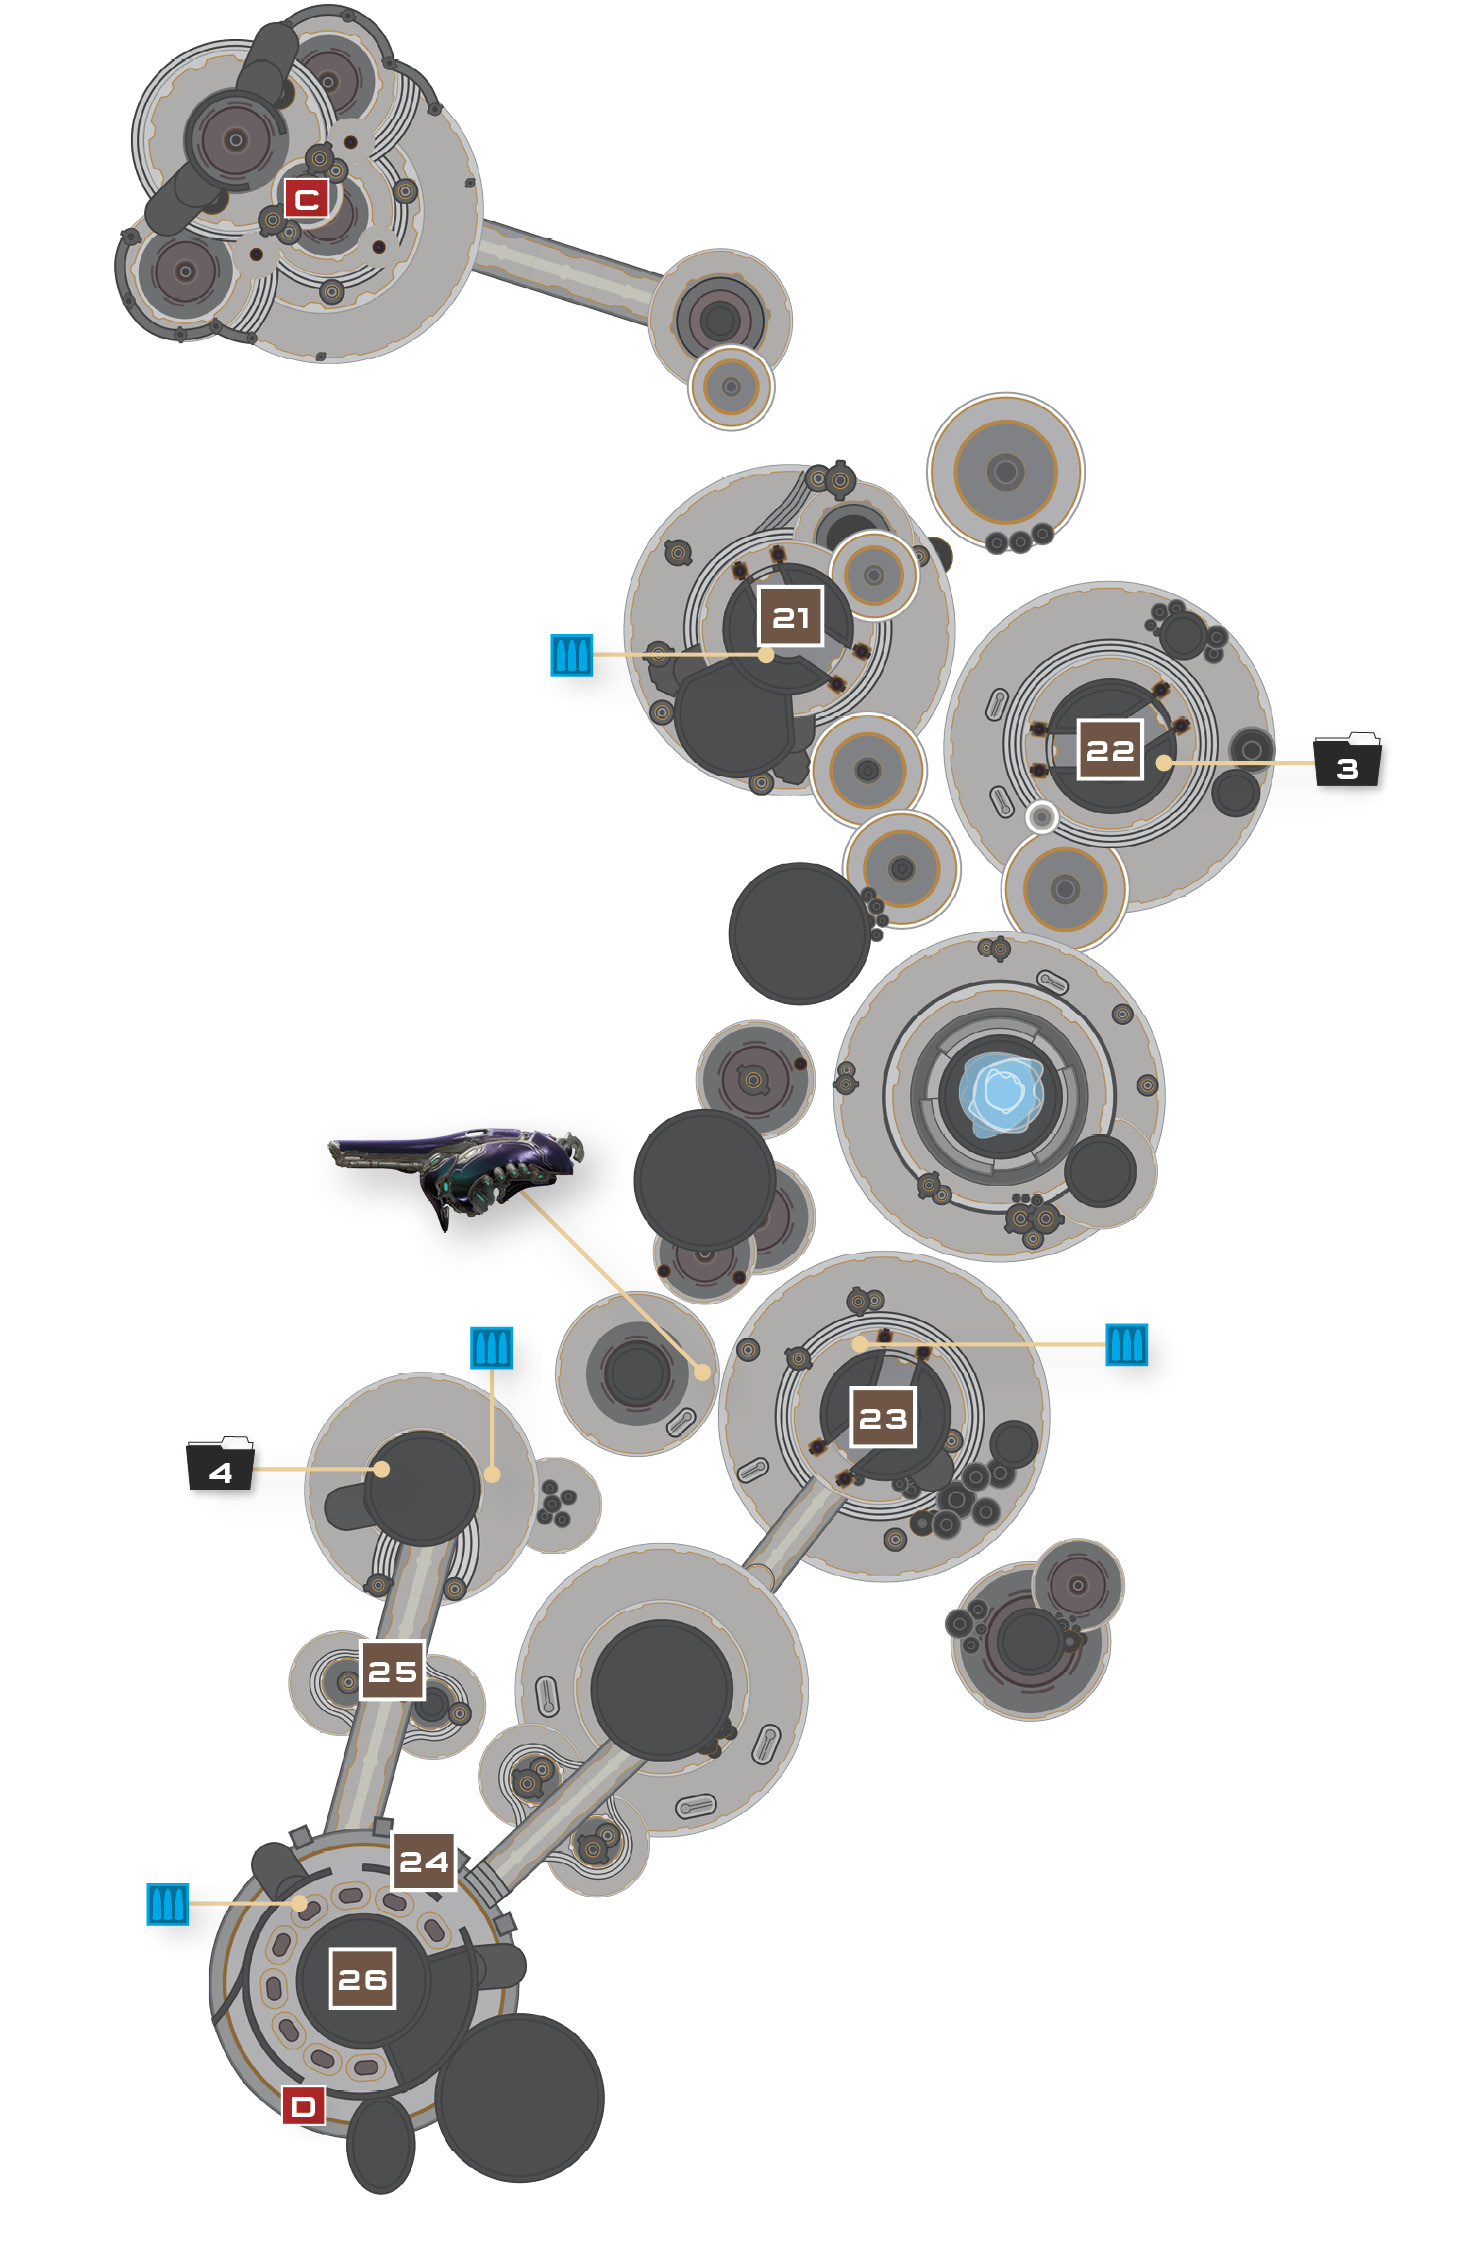
You’re closing in on the Guardian, but you no longer have the Swords of Sanghelios at your back. Advance with caution, Spartan, for Sunaion’s spacious undercity is crawling with Covenant.
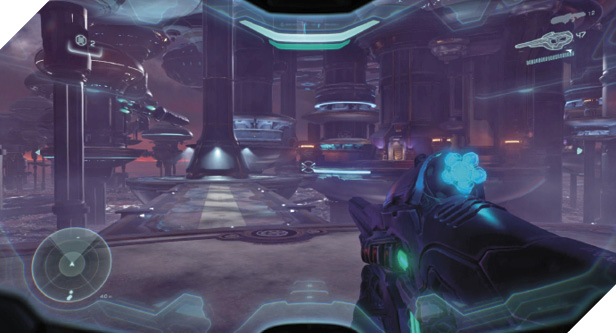
Cross a long walkway on your way to the next structure ahead 21. Leap across and smash through the shuttered door with a Spartan Charge to access a small room filled with Carbines, Plasma Pistols, and Needlers. Unleash these firearms against the Covenant forces lurking just outside the building’s other door.
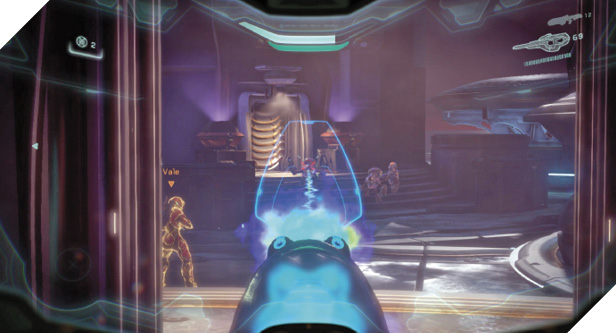
After securing the vicinity, look around and spy another nearby structure with a shuttered door 22. Charge through this shutter as well and then pass through to reach the structure’s opposite side. Once there, use Artemis to detect an object of interest above the rear doorway. Jump from the nearby braziers to reach wyour discovery: a data pad.
Mission 12 Intel Acquired (3/8) |
Press forward after scanning the data pad, leaping across a series of circular platforms as you follow Artemis toward your objective. More Covenant forces await near the next shuttered structure 23, including an Elite armed with a Plasma Caster. Eliminate the Elite with your own Plasma Caster or Fuel Rod Cannon, then advance and claim its Plasma Caster as your own. Use the weapon’s devastating charged shots to bombard the Covenant near the Plasma Cannon Turret on the right.
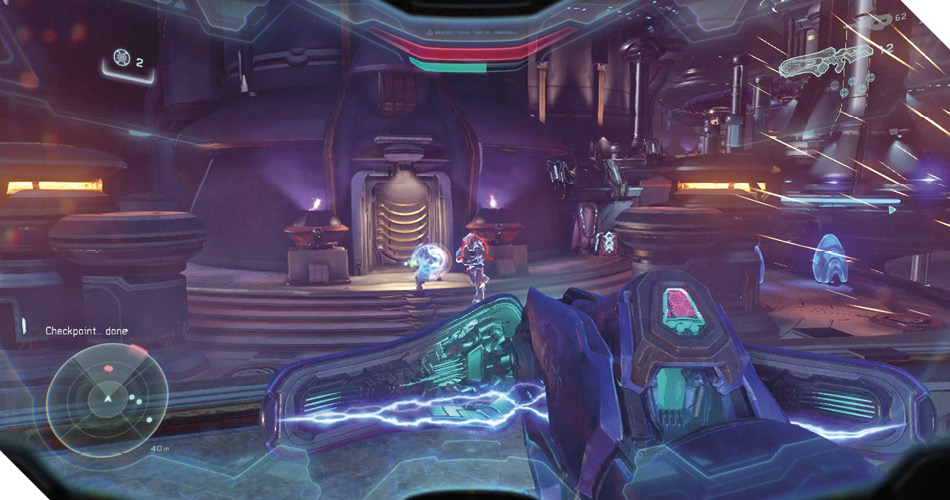
Legendary StrategyFalling back is a key tactic when fighting through Sunaion’s undercity on Legendary. Bait the Covies into advancing, then pick them off as you retreat to safety. This is especially important when you begin to draw heavy fire from the Spirit hovering in the distance. |
The large structure ahead is guarded by a Shade Turret 24, while a Spirit deploys more troops on the bridge on the right 25. Take out the Shade Turret with charged Plasma Caster blasts, then work at securing the area. Send some of your teammates across the bridge on the right to assault the Covenant from multiple angles.
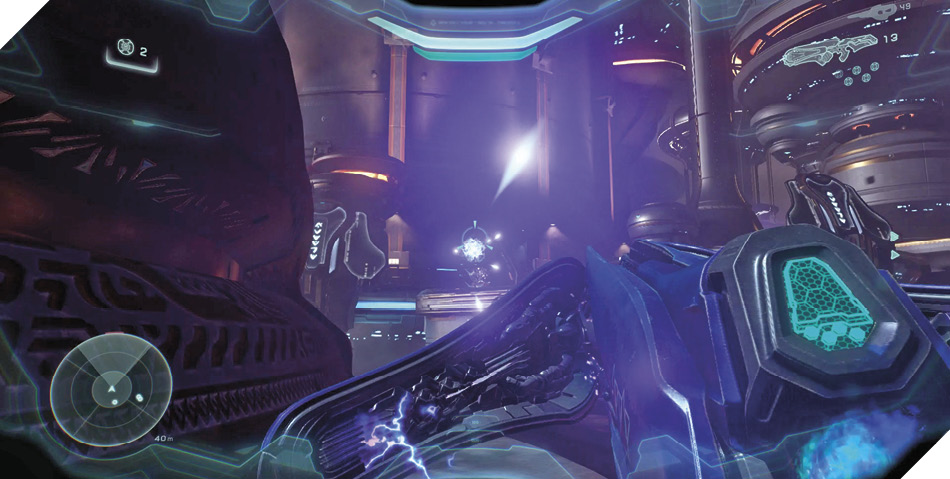
After securing the vicinity, take a moment to backtrack across the bridge 25, moving away from your objective. Circle around the structure at the bridge’s end and use Artemis to detect a data pad perched on a tiny eave. Climb up and scan it for intel, then drop and raid the nearby weapon cache for Storm Rifle and Carbine ammo. Resume your forward advance afterward, crossing the bridge again and passing through the large structure beyond 26.
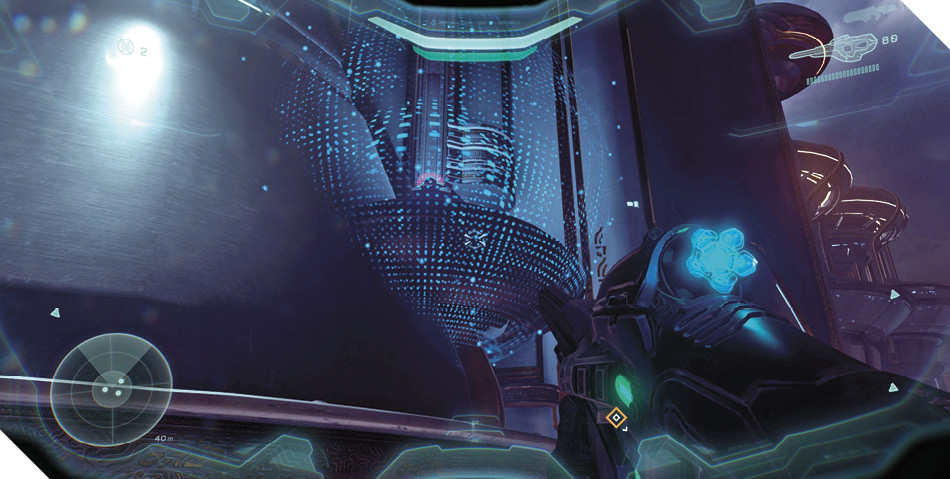
Mission 12 Intel Acquired (4/8) |
The next bridge is too heavily defended to safely cross; toss grenades or lob charged Plasma Caster shots at the bridge’s defenders to thin them out from afar, and beware of the nearby Elite armed with a Plasma Caster (the Elite often flees up the side ledges; don’t lose track of it). Keep to the circular entry platform 27 until you’ve picked off most of the bridge’s defenders.
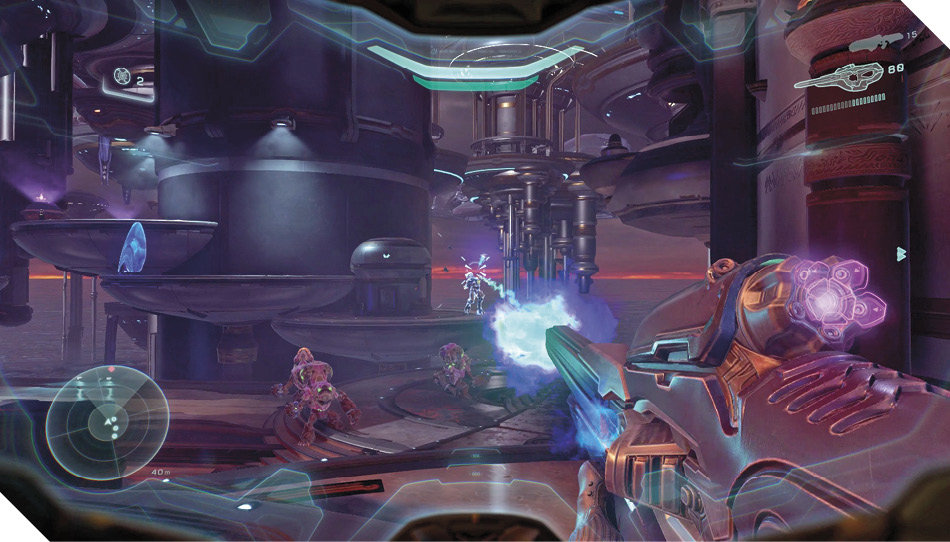
When you’re ready to advance, hop across the right-side ledges to reach a Jackal Sniper’s perch that features a Beam Rifle and a Plasma Cannon Turret 28. Unleash these powerful weapons against the enemies ahead, especially any Elites you see in the distance. You can pick off several threats from this excellent vantage.
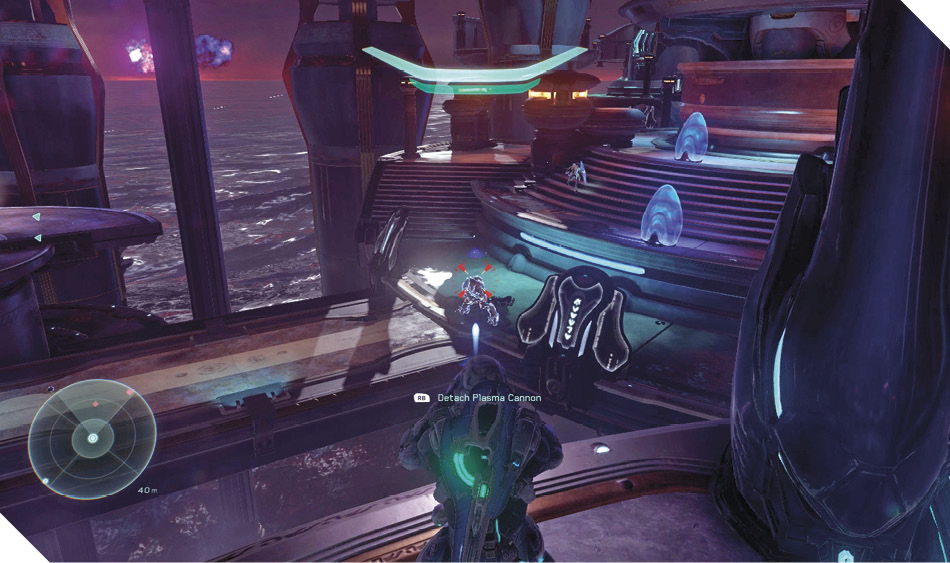
Legendary StrategyThis bridge is far more heavily guarded on Legendary difficulty, with many more Elites to contend with—including one that’s concealed by Active Camouflage. Pick off the Plasma Caster Elite right away, then remain near the circular entry point for most of the effort 27, looping around the giant column to draw angles on the Covies ahead. Continue to use your Plasma Caster to cripple enemy groups and Elites; fire charged shots up to the Jackal Snipers’ perch and the Plasma Cannon Turret at the bridge’s far end. Fall back to the previous area for more ammo if need be, and don’t advance until you’re certain it’s safe to do so. |
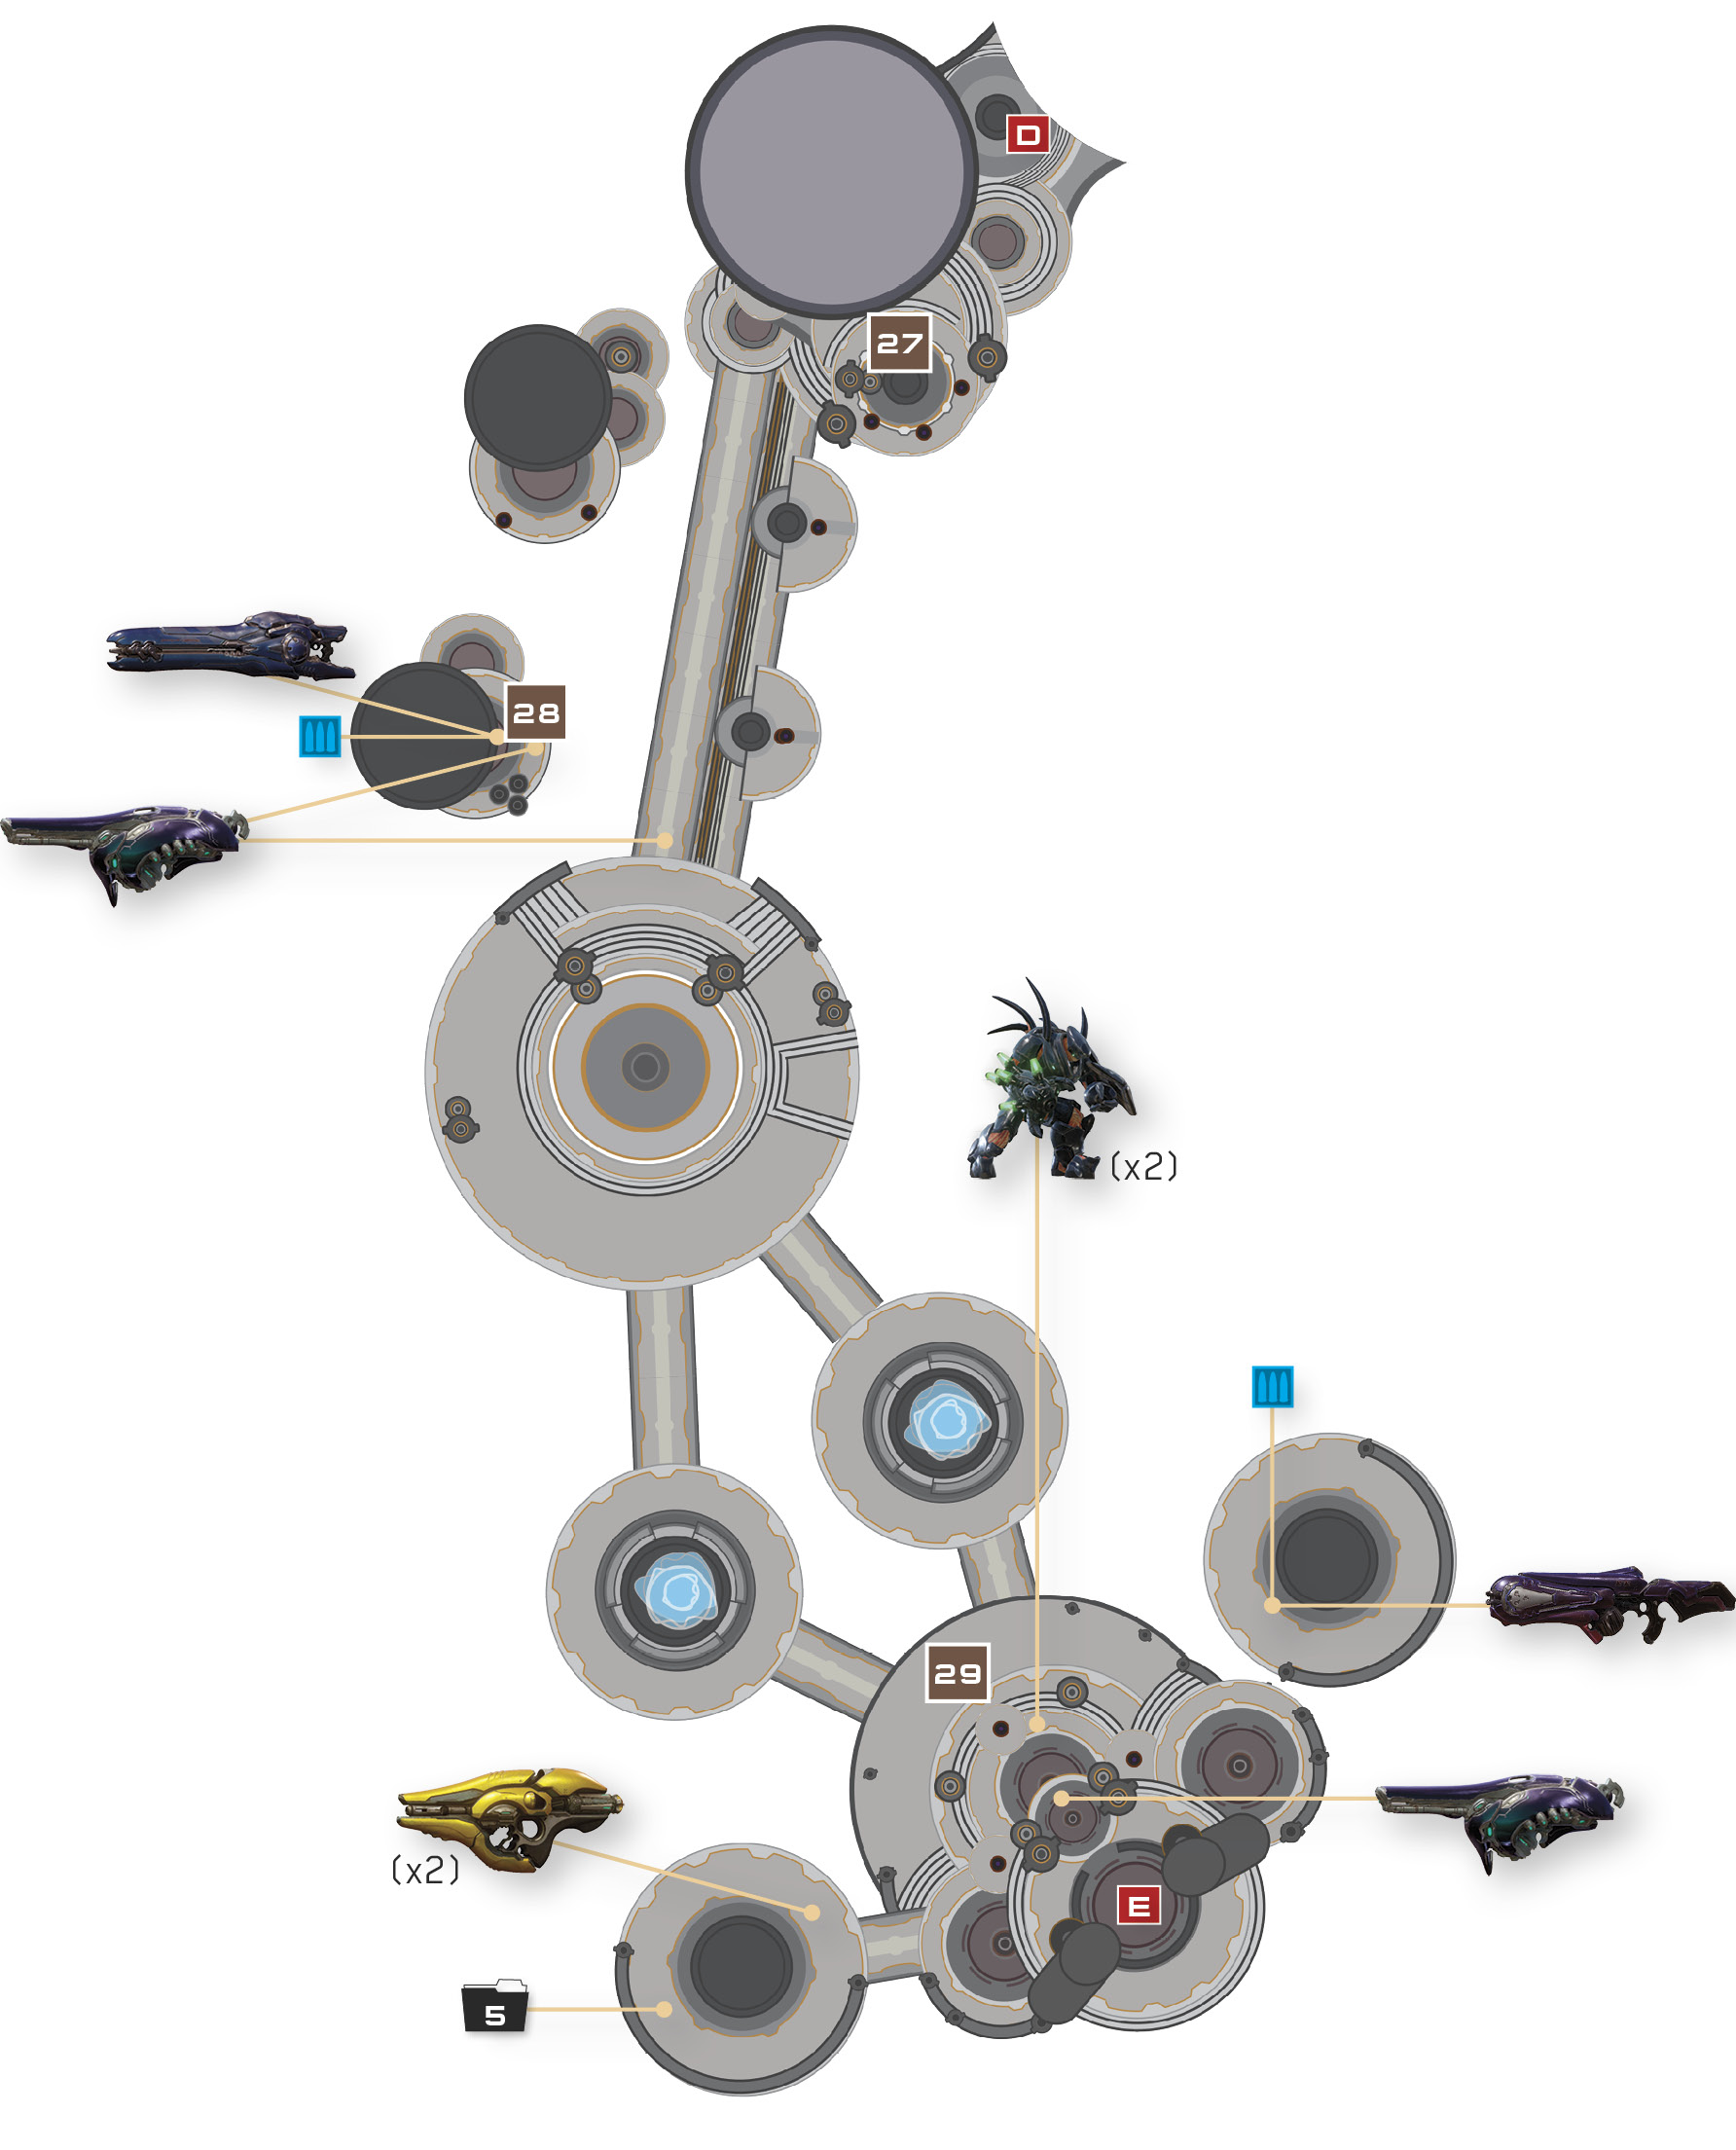
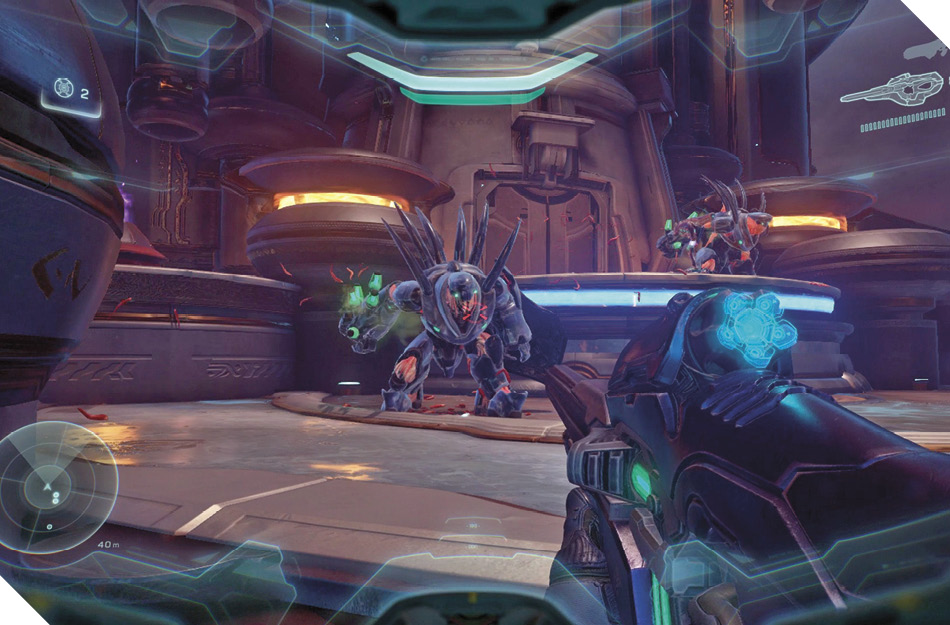
As you near the far elevator, two hulking Hunters rise up to challenge you 29. Unload on them with your Plasma Caster, charging up shots to cripple the Hunters with devastating blasts. Circle around the platform’s large braziers to give the Hunters the slip as needed.
Achievement: Worms Don't SurfThis may be the toughest Campaign Achievement of all, for it involves luring both Hunters into Sunaion’s surrounding waters. Play on Easy difficulty to give yourself a fighting chance, then fall back after rousing the Hunters, luring one of them close to the platform’s edge. Trick a Hunter into attacking you with a melee blow, then jump and thrust to the side or backward, aiming to land on one of the two ramps that lead up to the platform. If you do it right, the Hunter will plummet into Sunaion’s watery depths while you land safely on the ramp. Now you just have trick the other Hunter into doing the same! 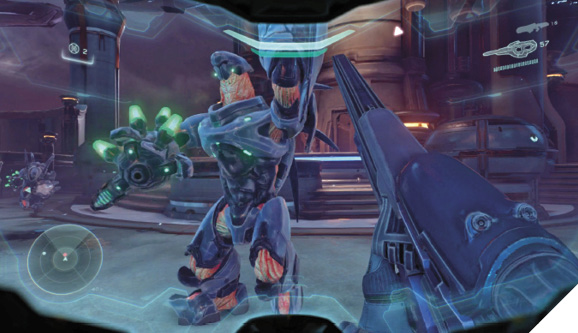
|
Don’t relax after besting the Hunters, for a group of Grunts soon arrives via the nearby elevator. Blast them to bits, but don’t board the elevator just yet. Instead, search the nearby side platform (the one with the Fuel Rod Cannons) to discover a Covenant data pad on the platform’s far side. Scan it for intel and then use the elevator to return to Sunaion’s embattled surface.
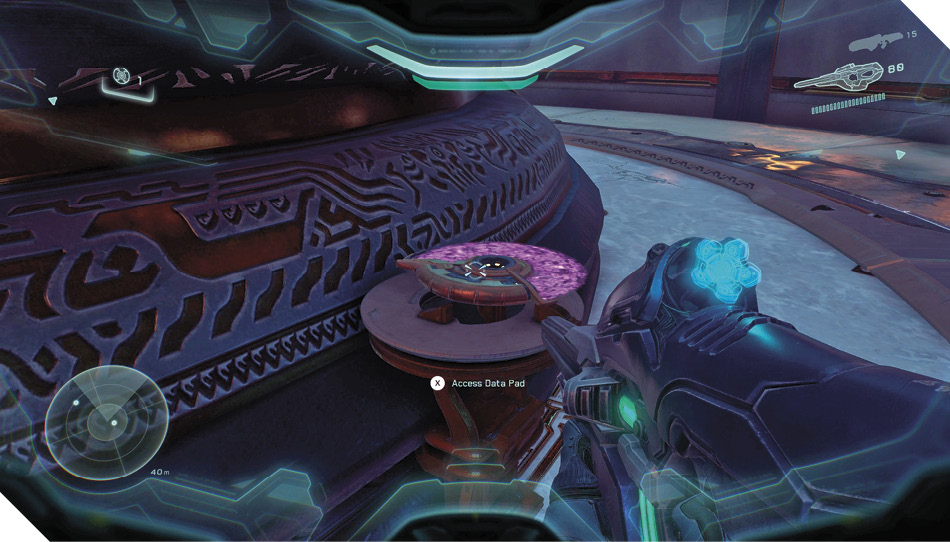
Mission 12 Intel Acquired (5/8) |