Halo 5: Guardians Guide Campaign Walkthrough Mission 2: Blue Team
That Fair and Warlike Form
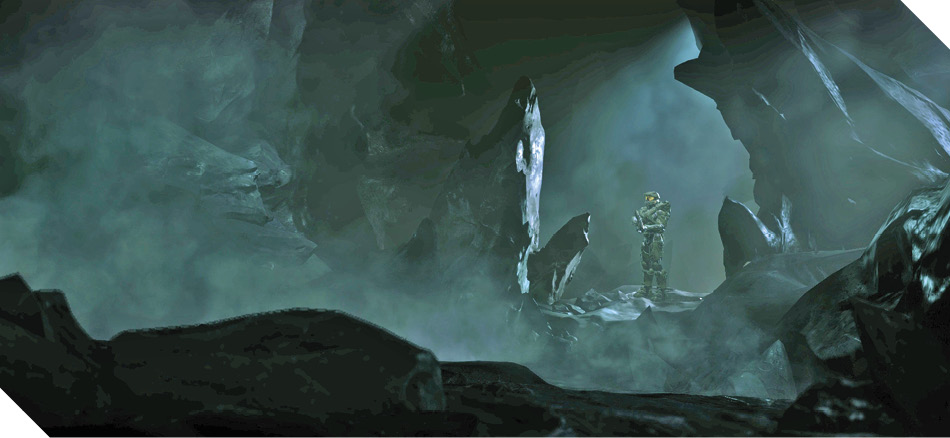
The fall may have shaken up Master Chief a bit, for he suddenly has visions of his longtime AI companion, Cortana. She mentions the planet Meridian, and says that the Chief has only three days before the Reclamation begins. It’s all very disturbing, considering that Cortana sacrificed herself to save the Chief and destroy the Didact’s flagship above Earth. Shaking off the visions, Master Chief orders Blue Team to advance through Argent Moon’s dark access tunnels en route to central control.
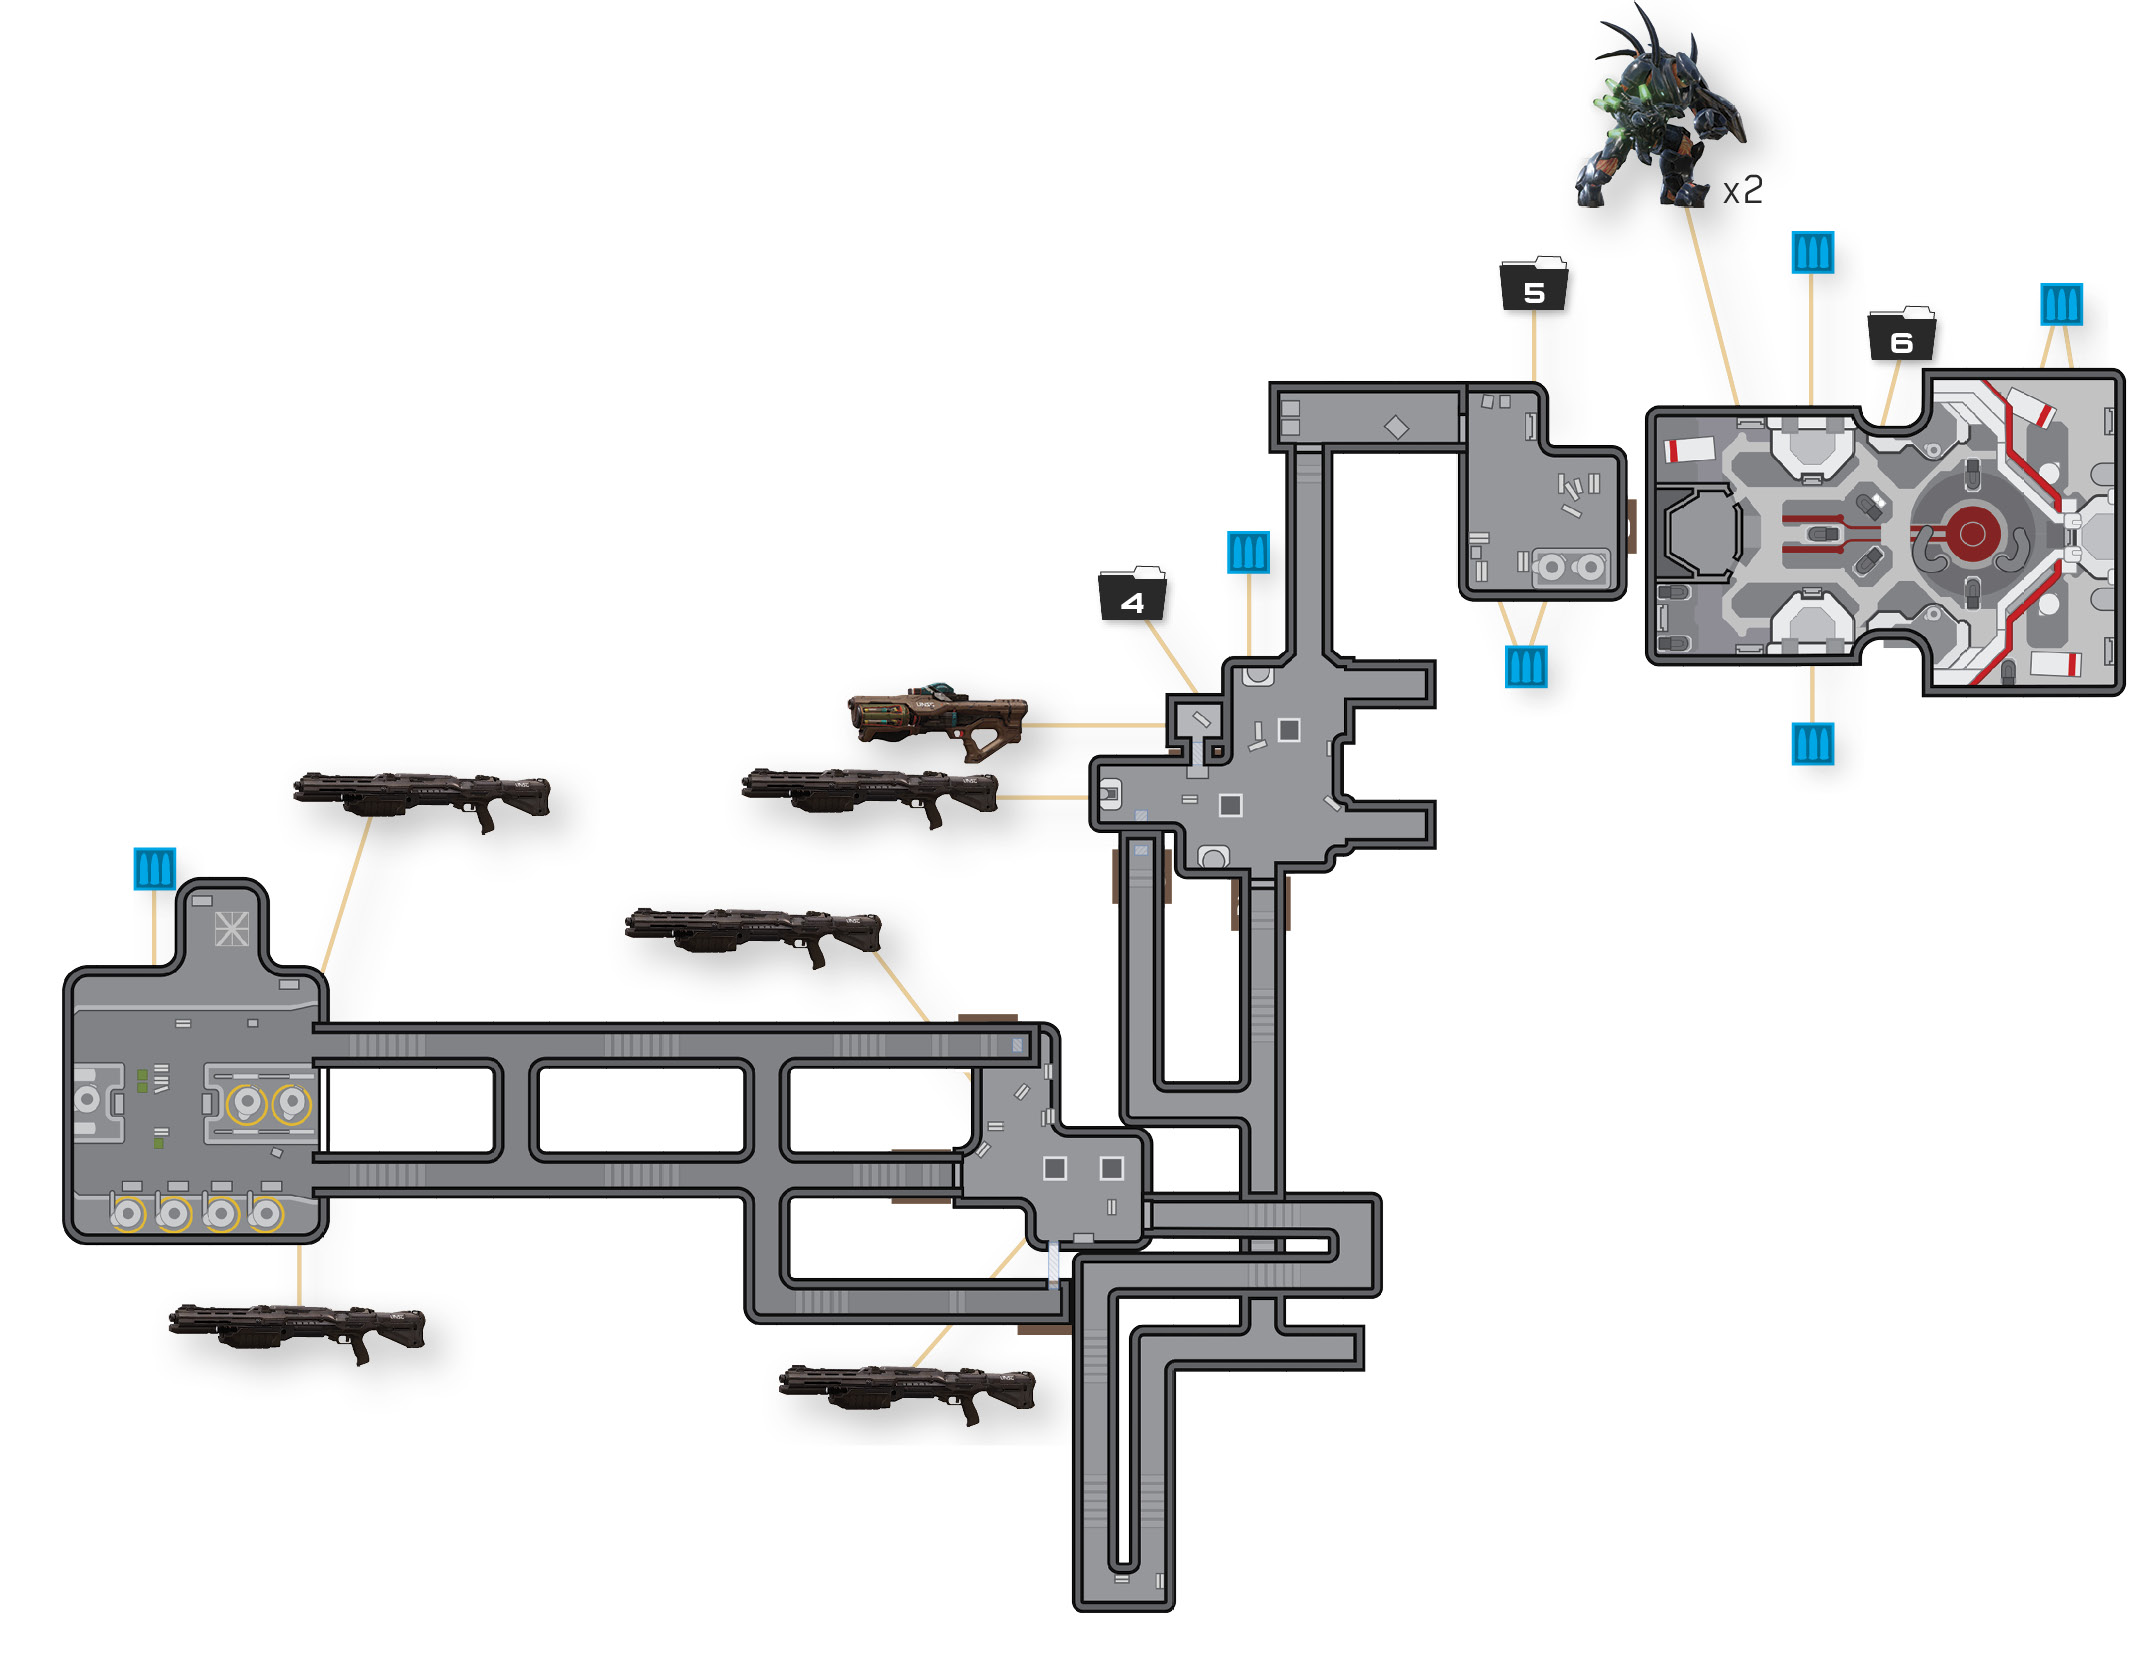
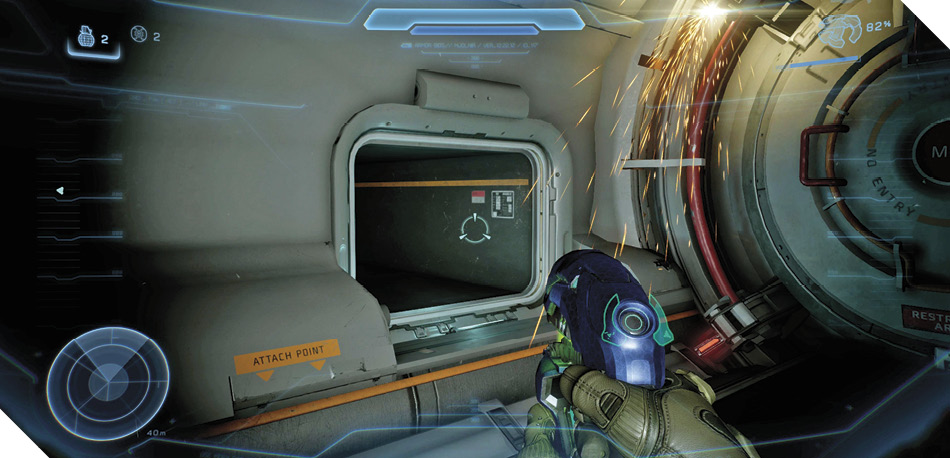
There are two entrances to the access tunnels: one on the left and one on the right. Both lead to the same network of dark tunnels. Keep to the right and dispatch a few Grunts on your way to 22, where you discover a crawlspace that leads to the next room. You could also enter the room from its main door 23 or from a ceiling hatch over on the left 24, but the crawlspace is best, because it provides you with a means of escape if need be. (The door seals behind you and you cannot climb back up through the ceiling hatch.)
Six Grunts are snoozing soundly in the room beyond the crawlspace. Carefully kill them all with melee attacks to clear the room without raising the alarm.
After dispatching all six Grunts, whip out a Storm Rifle or the Blaze of Glory and advance on the far door. It opens as you approach, sending more Grunts and two Elites into the room. The Elites are concealed by Active Camouflage, making them nearly impossible to spot in the dark. Fall back until you detect them, then unload.
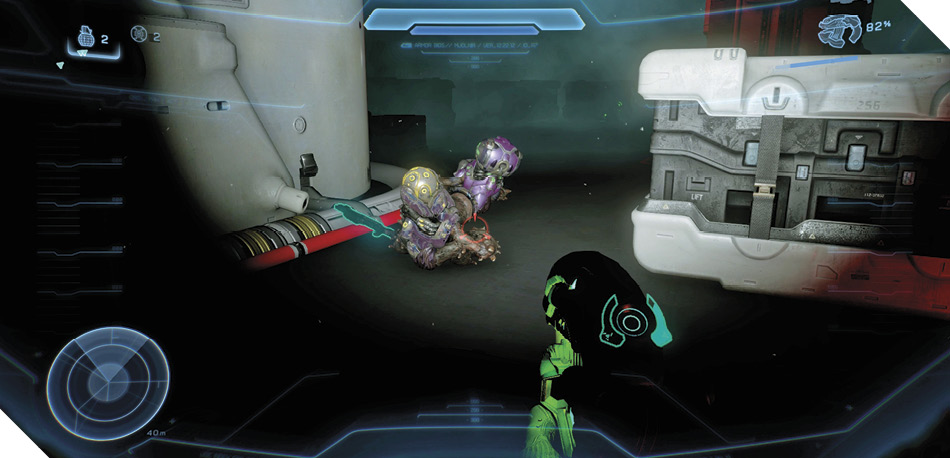
Legendary StrategyThe camouflaged Elites can withstand much more damage on Legendary difficulty, so it takes longer to bring them down. This means they have more time to melt you with their Storm Rifles. The Elites are also more apt to hurl Plasma Grenades on Legendary, making them even more deadly. Thrust to one side to evade any grenades headed your way. |
With the room secured, advance into the next series of dark tunnels. A Hunter hammers the walls as you go, yet it doesn’t appear. Instead, dangerous suicide Grunts rush you with lit Plasma Grenades in their hands. Use your radar to spot these deadly Grunts coming around corners, then fall back and drop them from a safe distance.
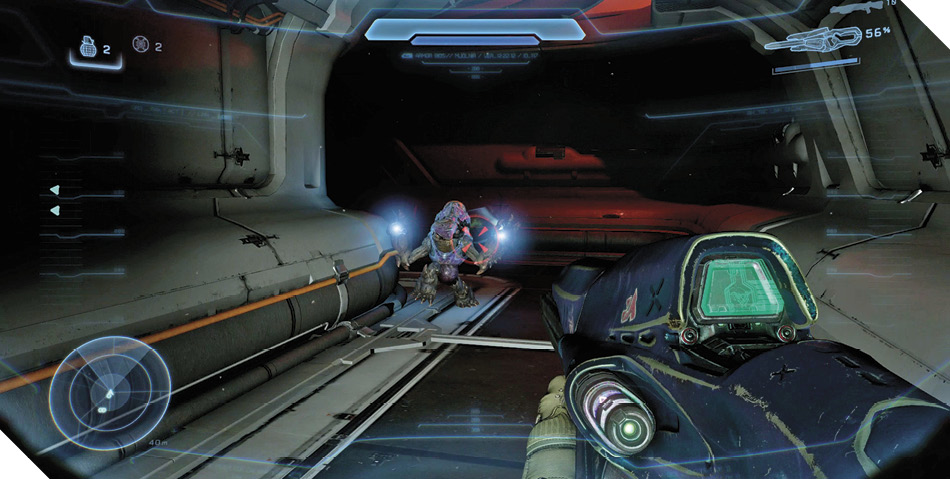
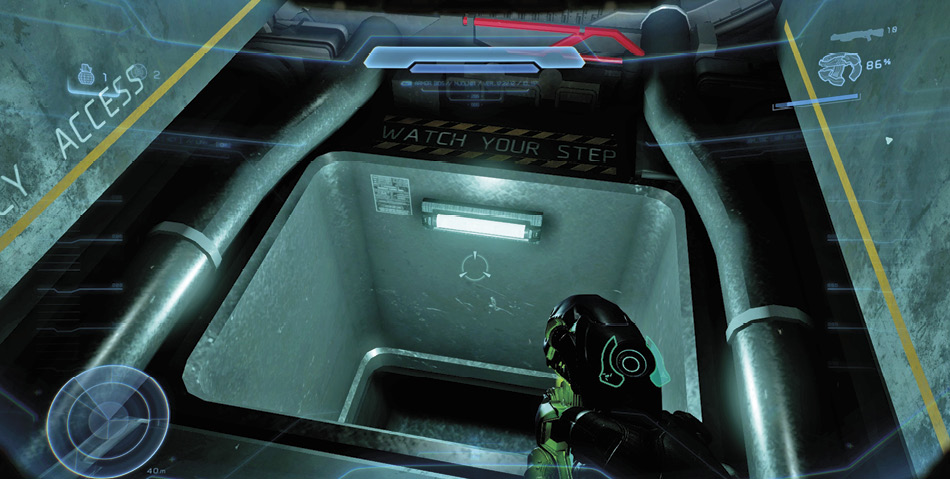
Go left after battling a few Jackals, and you’ll eventually come to a hatch in the floor 25. This hatch leads to a small, dark storage room that’s filled with Grunts and Jackals. Going straight instead of to the left leads to the storage room’s main access door 26, but this approach isn’t as stealthy.
Drop through the hatch to sneak into a storage room that’s guarded by Grunts and Jackals. Toss a grenade at the nearest Jackals, then start blasting away.
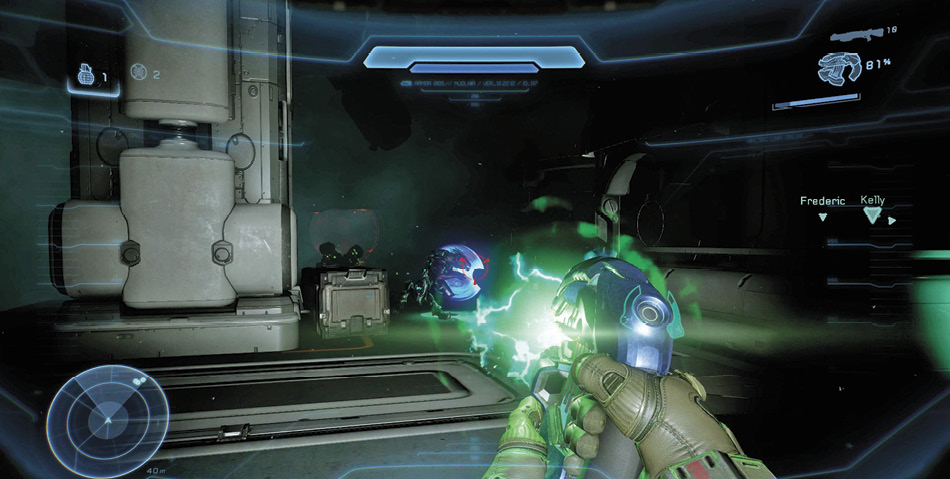
Don’t advance too far, for an Elite Zealot that’s cloaked in Active Camouflage and armed with a lethal Energy Sword soon enters the fray. Fall back and dispatch the Zealot with a Storm Rifle or the Blaze of Glory before it rushes forward and cleaves you in two.
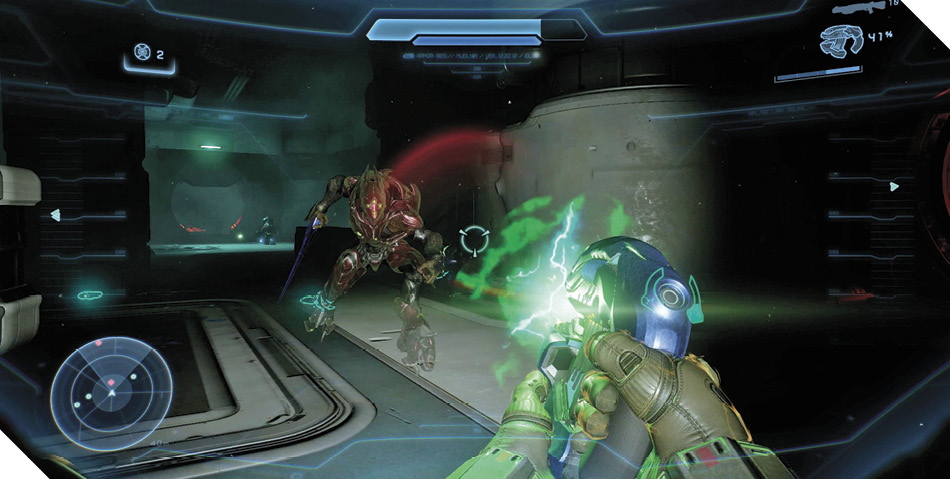

Energy SwordIn addition to their beloved Storm Rifles, many Elites also carry Energy Swords, which they whip out to cleave apart enemies that foolishly move too close. Some Elites even prefer the Energy Sword over the Storm Rifle, choosing to wield the blade as their primary weapon. These Elites are commonly sheathed in Active Camouflage, helping them advance undetected to deliver their fatal strikes. The Energy Sword is absolutely lethal; do everything in your power to keep Elites that wield them at bay. |
Legendary StrategyBlaze of Glory is your best bet against the Energy Sword Zealot on Legendary difficulty. Two solid blasts is enough to bring the big bruiser down. |
With the room cleared of Covenant foes, check around to find a crawlspace in the wall near a pile of small crates 27. Enter this crawlspace to reach a tiny side room, where you discover a Hydra Launcher and a UNSC data pad on the floor. Take the Hydra or give it to a teammate, then scan the data pad to unlock a new Mission Intel entry. Backtrack through the crawlspace and proceed to your objective afterward.
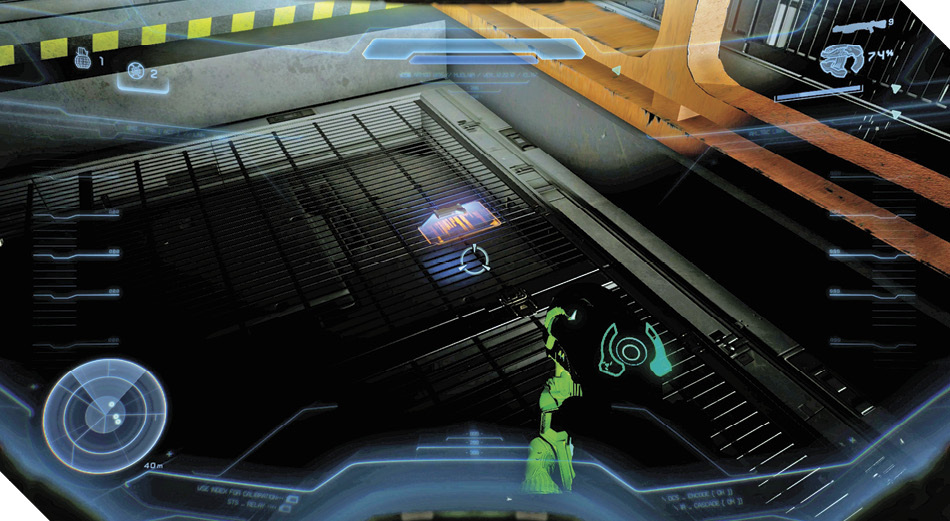
Mission 2 Intel Acquired (4/8) |
Objective: Scuttle the Station
You soon come to a windowed corridor, where you bear witness to an entire fleet of Covenant ships entering the area from slipspace 28. Salvaging the station is no longer an option; you need to scuttle it now. Central control is no longer your objective; you must now find your way to the station’s reactor core and trigger an overload that will obliterate Argent Moon—along with any Covenant ships in the vicinity.
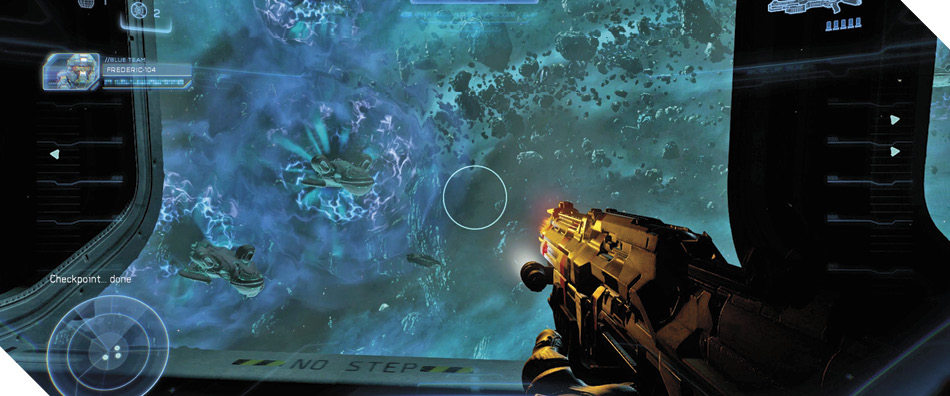
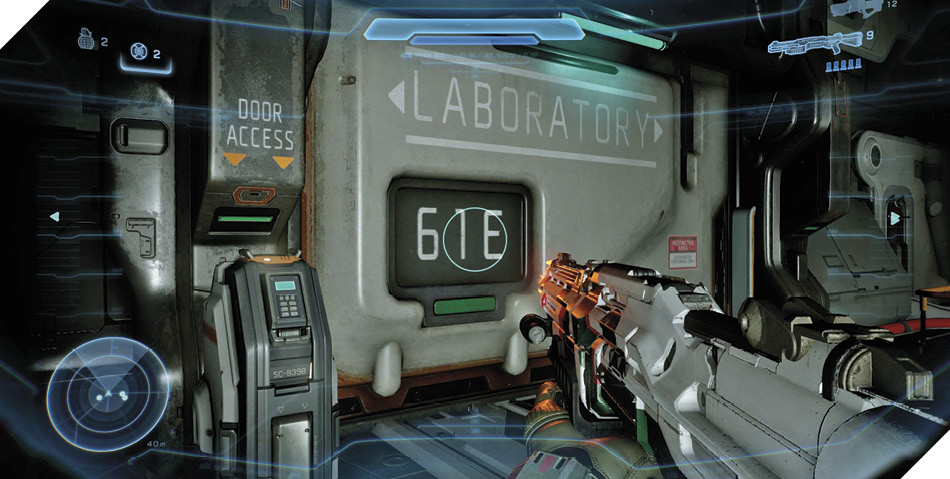
The Reactor Core lies beyond Argent Moon’s laboratory. Go through the nearby door to advance toward the lab, and inspect the computer station on the other side to obtain new intel.
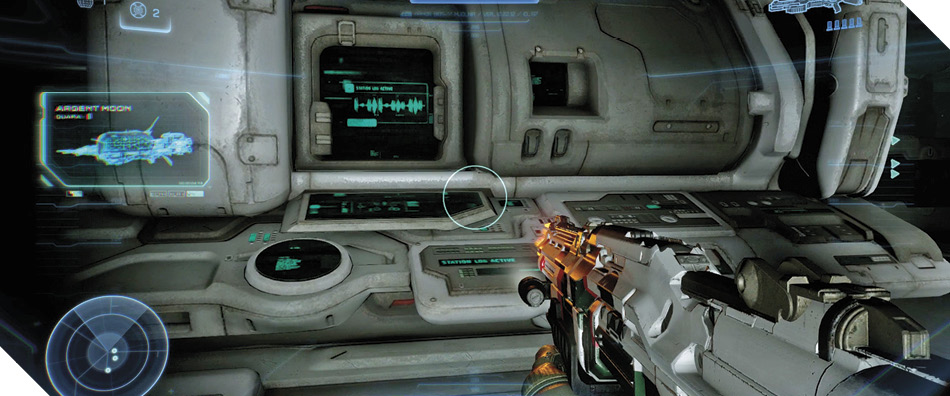
Mission 2 Intel Acquired (5/8) |
After scanning the computer station, raid the nearby supply crates for weapons, but keep your newfound Hydra Launcher and trusty Blaze of Glory (unless it’s low on ammo; in that case, swap it for a Battle Rifle). Activate the control panel near the door afterward 29 to access an elevator that delivers you down to the lab.
At last, you finally get your chance to exact revenge on the Hunters that have been troubling you around Argent Moon. Two of them stalk the lab, posing grave danger. Order Blue Team to target one of the Hunters, then sprint out of the elevator and climb onto the platforms to the right or left 30 once they open fire.
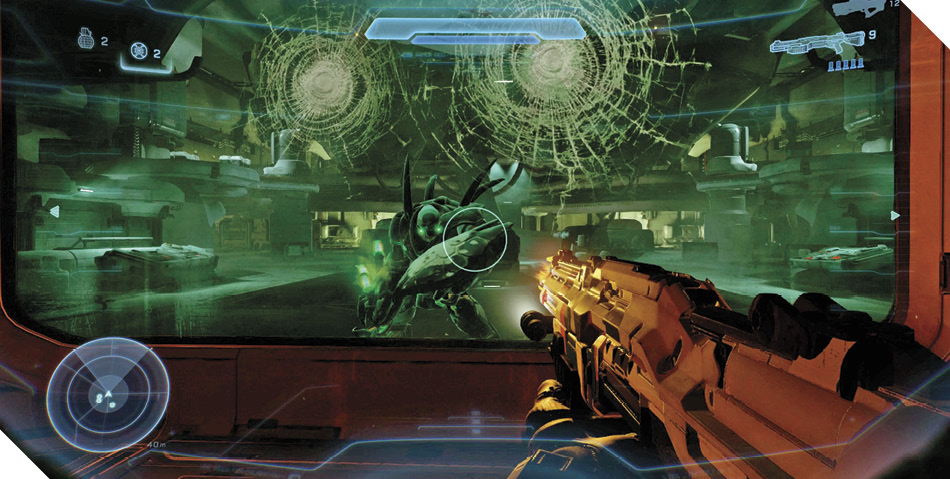
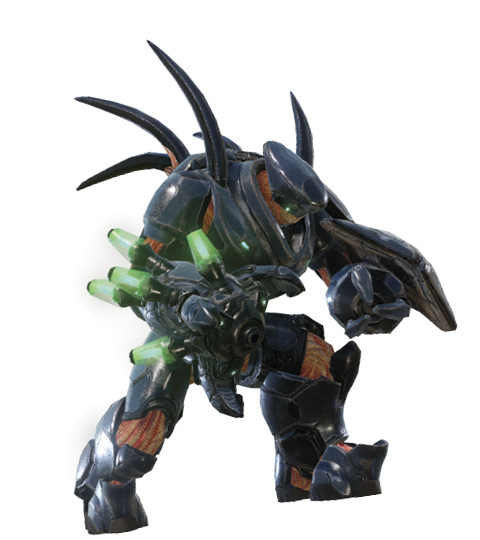
HunterThe big boys of the Covenant army, Hunters are hulking, heavily armored warriors equipped with state of the art weaponry. Hunters ceaselessly stalk their prey, unloading their Fuel Rods to annihilate threats from afar. Battling Hunters up close is ill advised, for the swiftness of their crushing blows defies their size. Instead, use stealth and teamwork to flank Hunters and assail their vulnerable backsides. |
You have a better angle on the Hunters from the height of the platforms. Work at flanking the one that Blue Team is attacking by sneaking around the platforms and the thick pipes beyond. There are plenty of weapons on the platforms, and you can circle all the way around the room without ever touching the floor. Find the perfect angle on the Hunters’ vulnerable backs and wipe them out with the help of Blue Team.
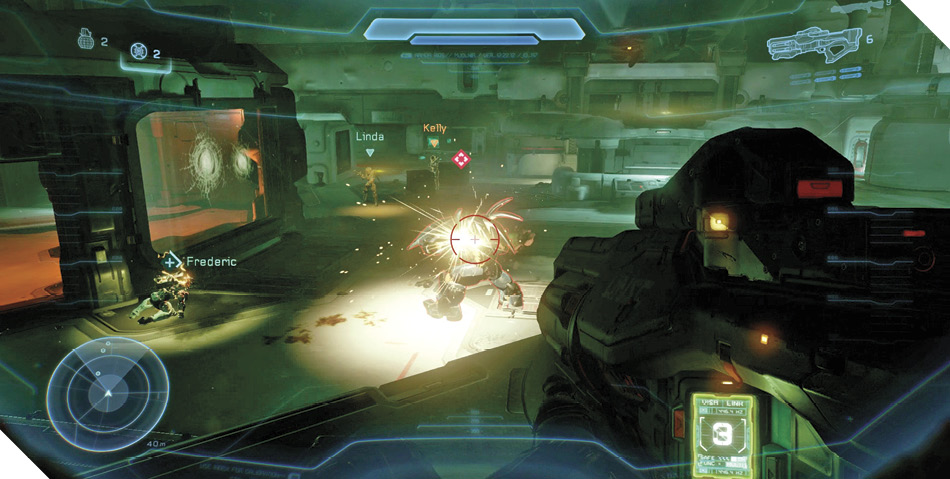
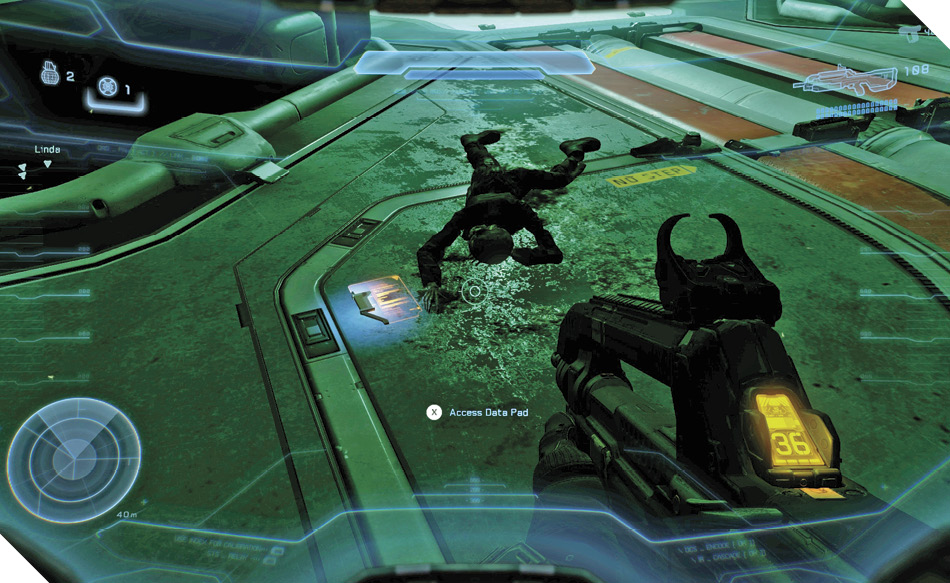
After dropping both Hunters, search the room and swap your weapons for a fully stocked Battle Rifle and Magnum (you can find these weapons in cases around the room). Examine the floor afterward to find a tough-to-spot UNSC data pad lying near a decomposed corpse 31. Scan it for Mission Intel that would have been too risky to obtain while the Hunters were lurking about.
Legendary StrategyHunters are absolutely lethal on Legendary—one melee blow or blast from their Fuel Rod will bring you to your knees. They can also withstand far more damage before falling. Try to drop the nearest Hunter without using the Hydra Launcher. Simply duck out of the elevator’s side doors and toss grenades at it. Hunters knock away grenades thrown directly at them, so skip them along the ground, aiming to have them detonate next to them or behind them. Defeat the first Hunter from the safety of the elevator, then advance and use the Hydra to wipe out the second Hunter. Flank it and sight it with Smart-Link to establish a target lock. Batter it with missiles, but don’t stray from cover for long. |
Achievement: I Thought I'd Lost You (Part I)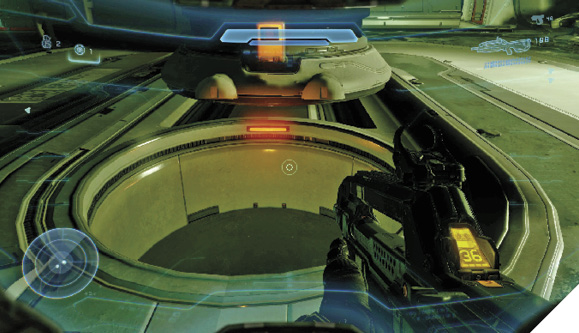
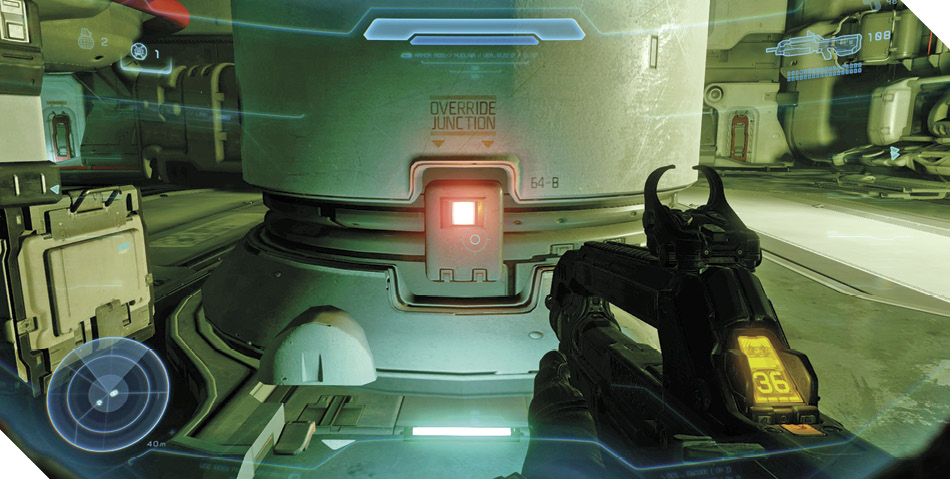
Rather than battling the Hunters, use the side ledges to safely reach the room’s far side. Hurry and open the override junction 32, then drop down the hole before the Hunters can stop you. The monsters are too large to follow you through the hole, but rest assured they’ll be back again soon… |
Next, check the back of the lab to locate an unassuming override junction 32. Activate the panel with the red light to open a passage through the floor that leads down to the reactor core. Drop down and then smash through a shutter with a Spartan Charge to reach the reactor core.