Halo 5: Guardians Guide Campaign Walkthrough Mission 8: Swords of Sanghelios
Major Firefight: Sanghelios Canyon
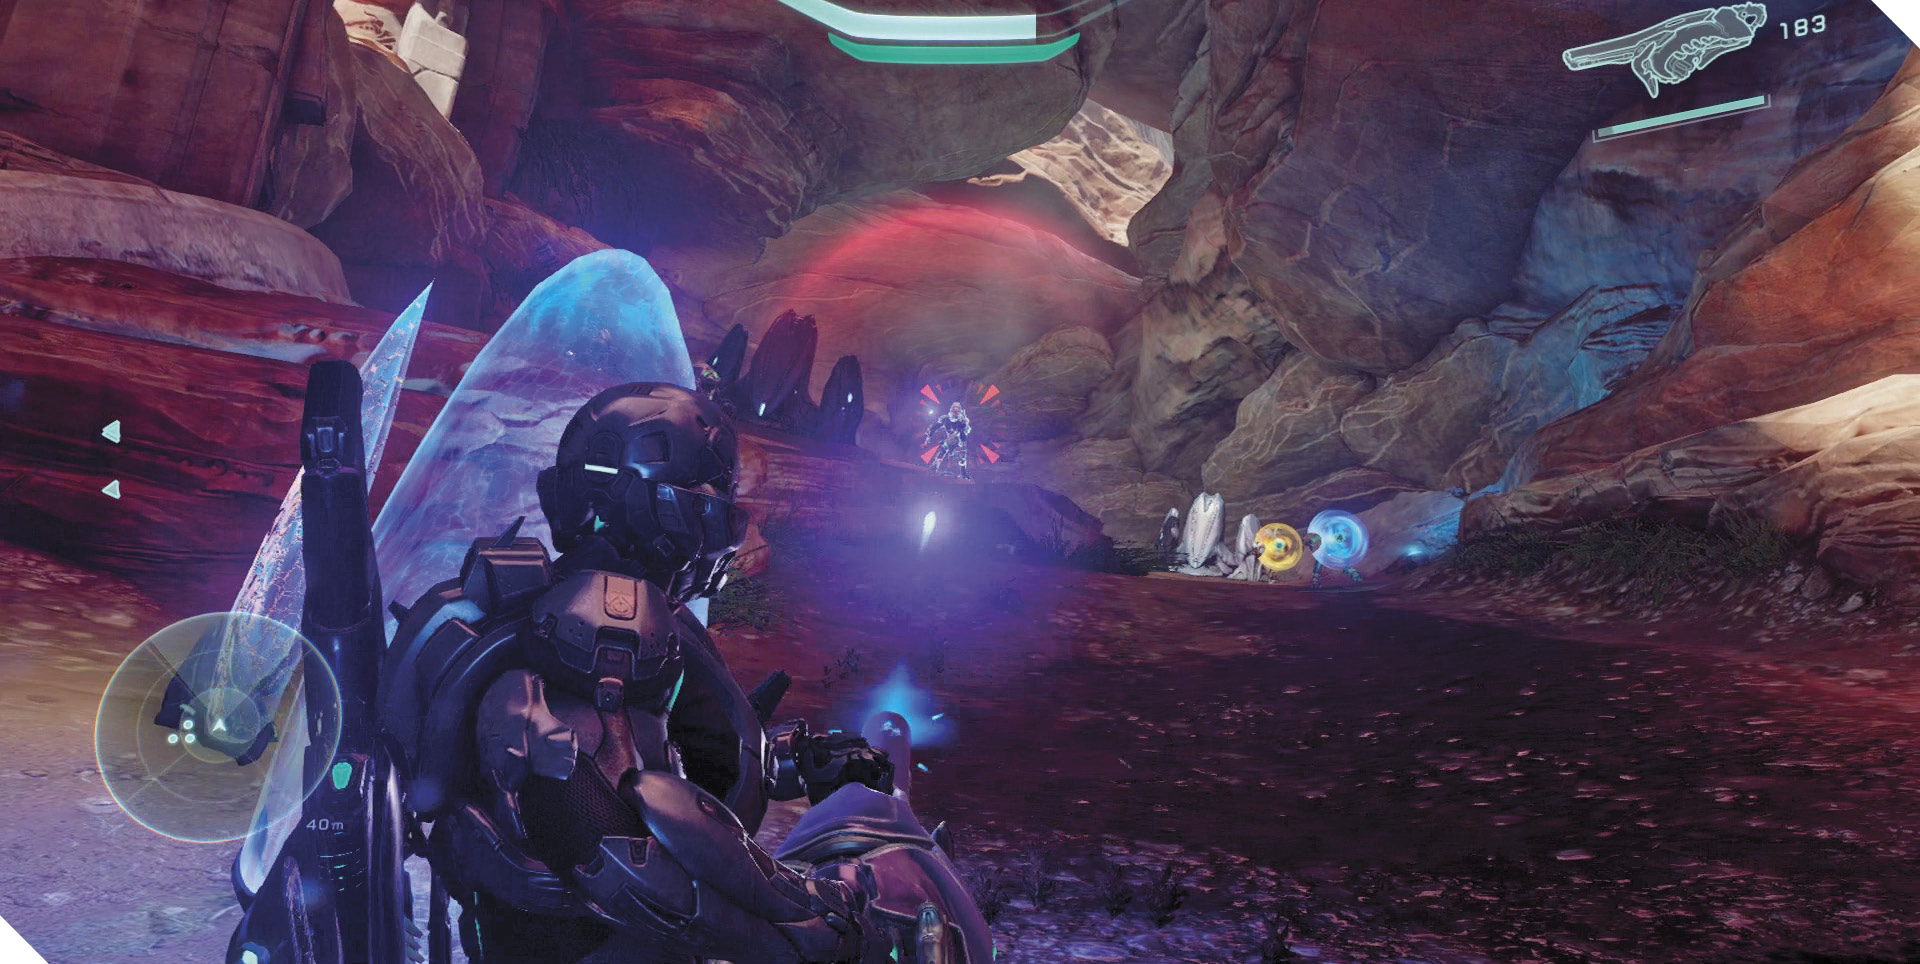
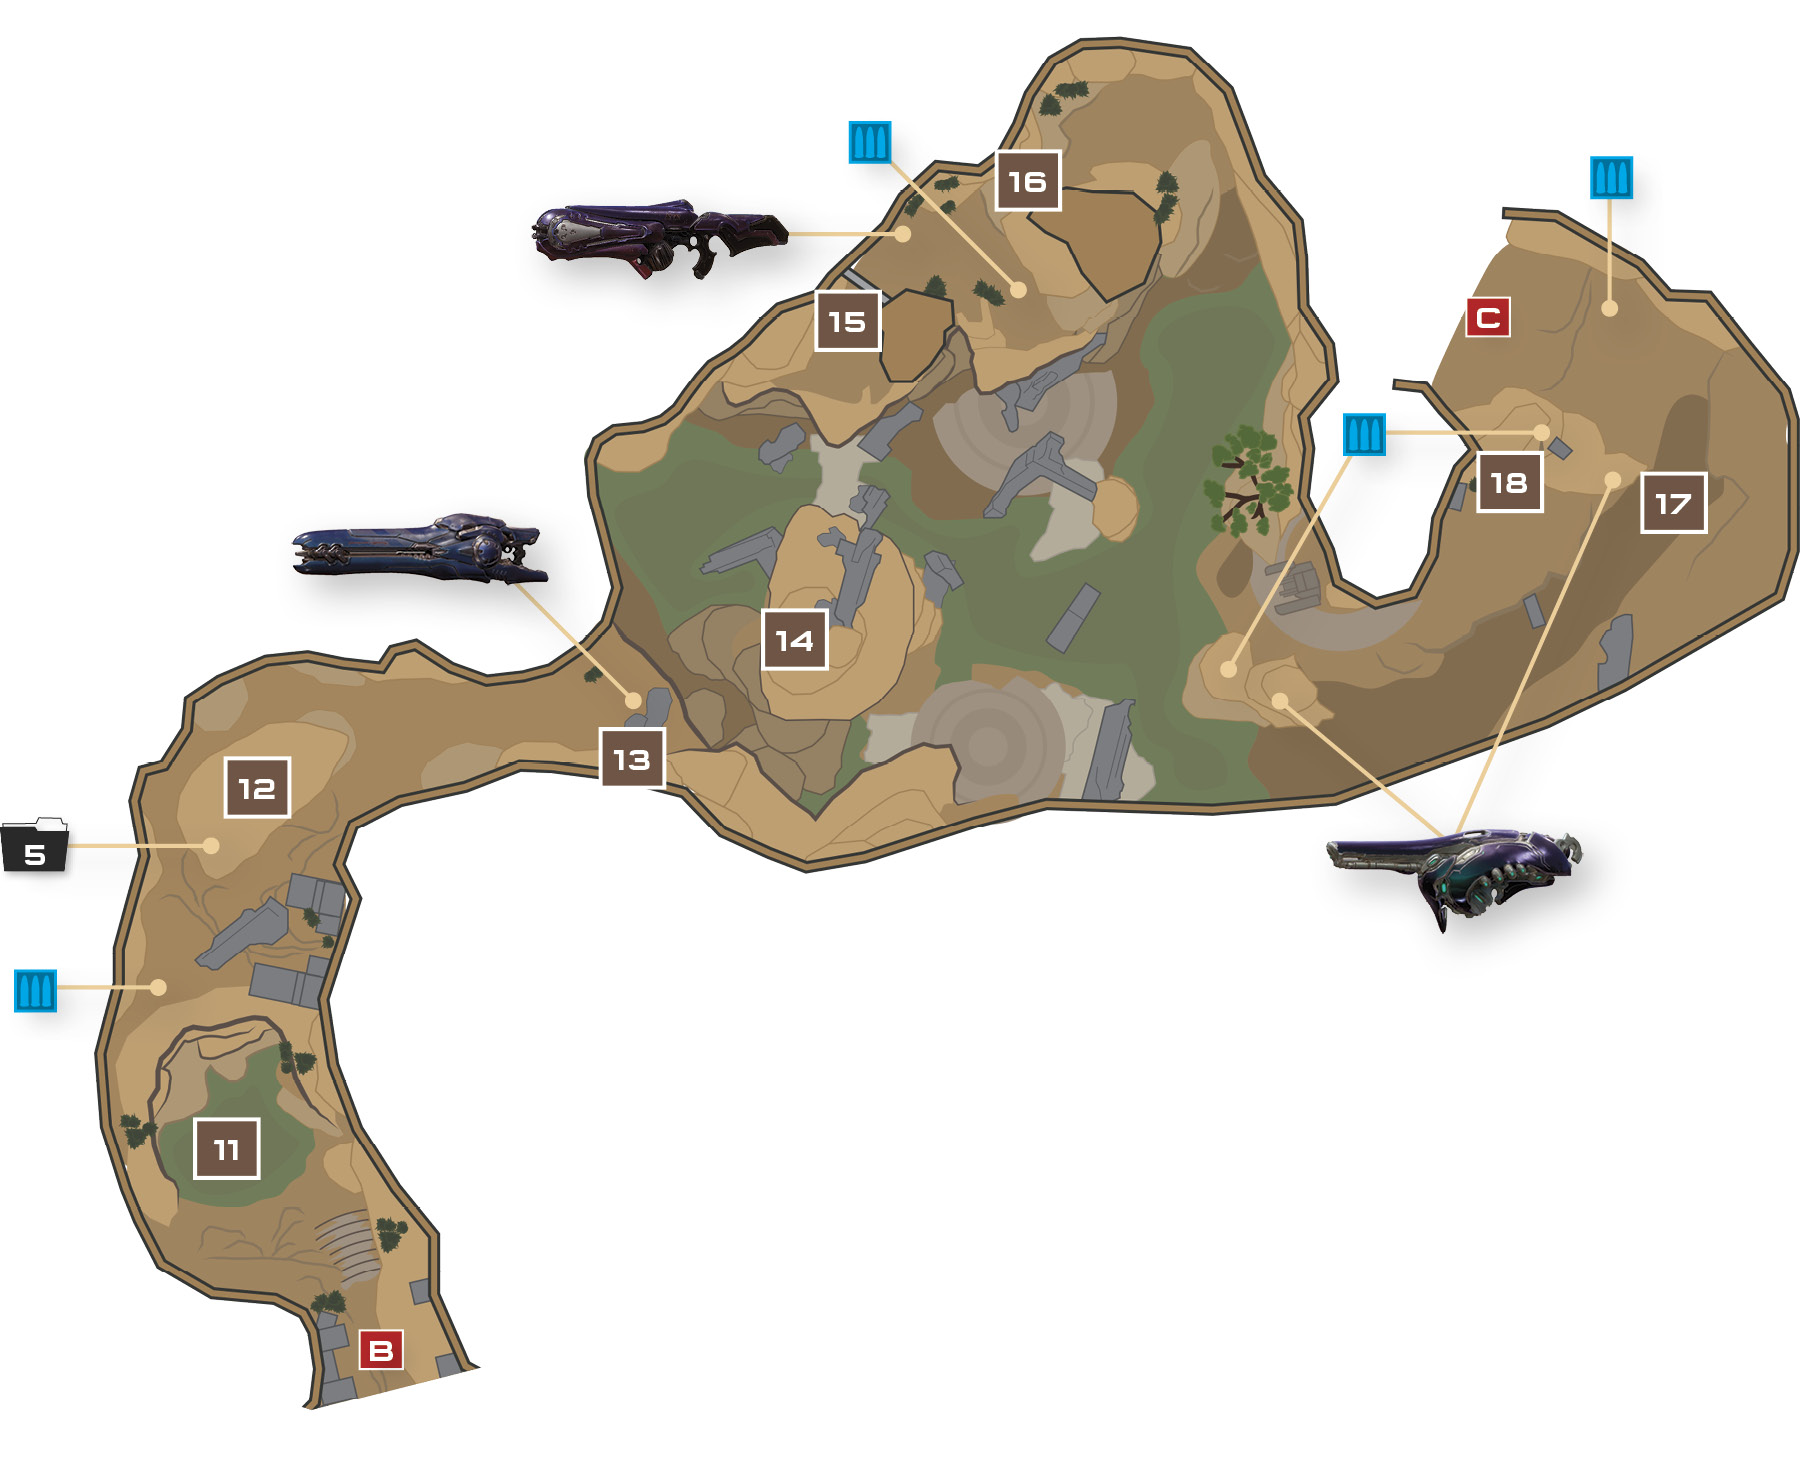
Covenant forces have set up a fortified position along one of Sanghelios’s rocky canyons. The canyon’s crawling with Grunts, Jackals, and Elites, and the Covies have stationed a Shade Turret near the far end. Picking off Grunts and Jackals with long-range headshots helps you conserve ammo and reduces your exposure as you steadily advance.
Recommended Loadout
Your starting Magnum and Battle Rifle will serve you well at first; use them to score clean headshots on Grunts and Jackals. When you’re ready to tackle the Elites, trade one of your weapons for a Plasma Pistol or Storm Rifle, then use it to quickly break their shields and expose them to headshots as well.
Achievement: No Knock RaidEarn an Achievement in this mission by smashing through 10 walls and floors with Spartan Charges or Ground Pounds. This is the first wall you can smash through; read on to discover the rest! We’ll count them out as they’re encountered to help you keep track of your progress. |
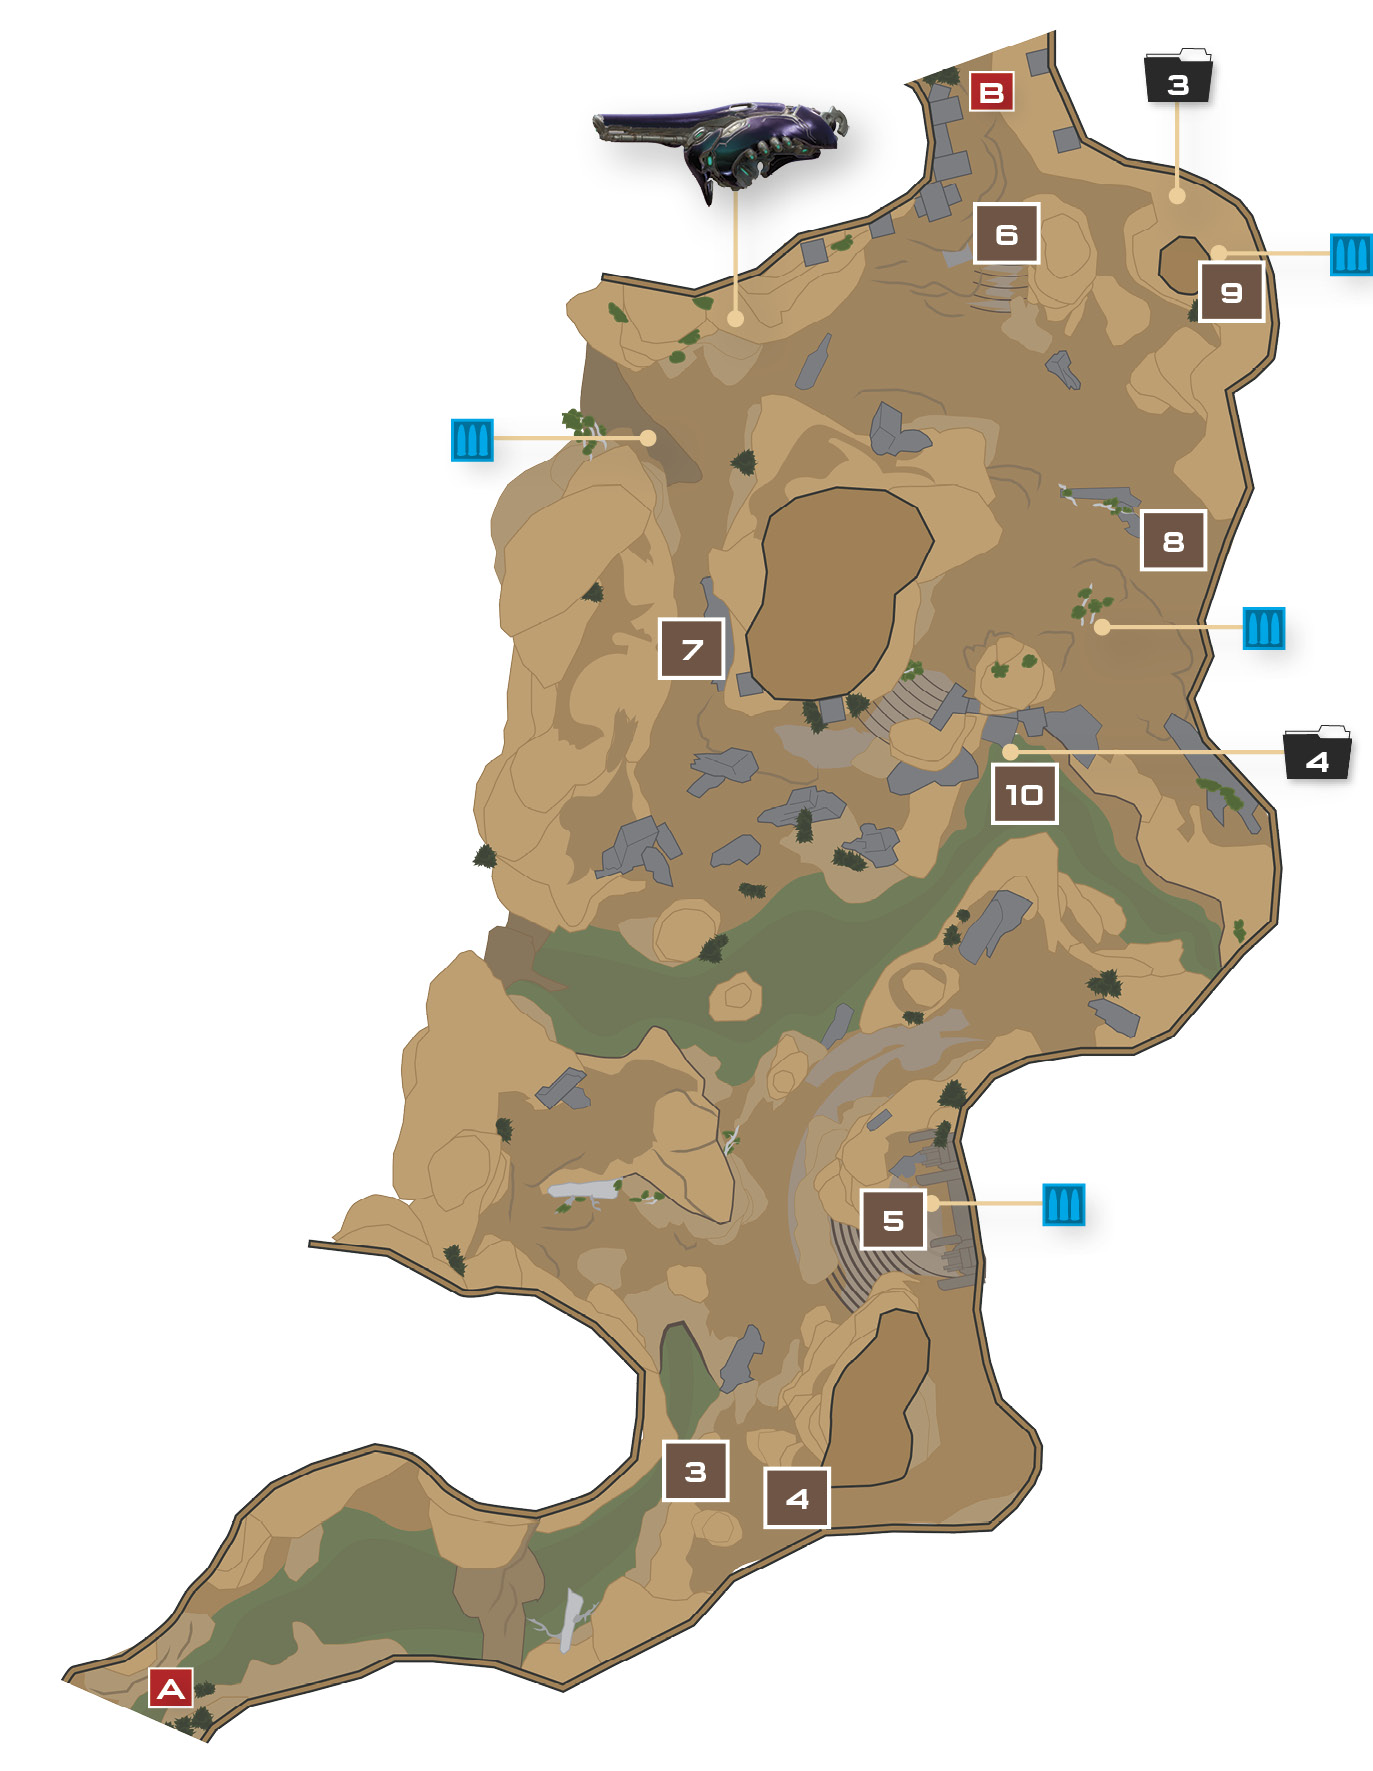
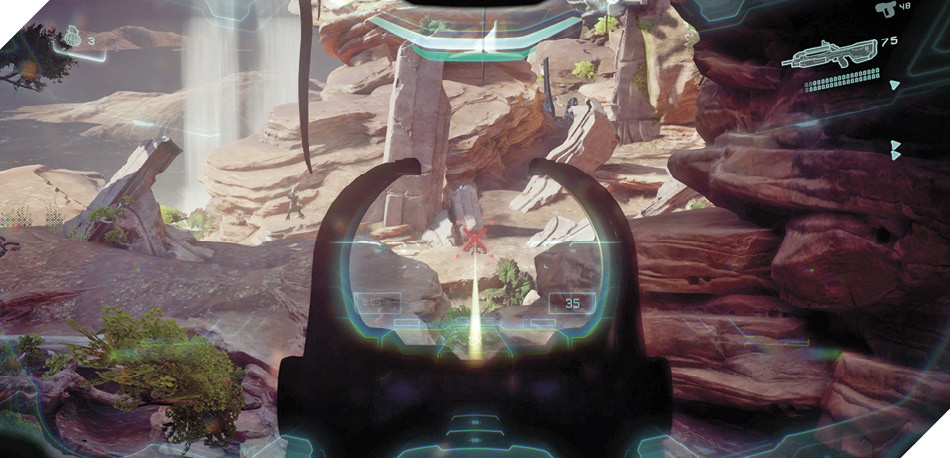
An Elite’s voice rings out as you near the canyon. Climb atop the flat rock ledges on the right 3 to gain good firing angles at the Covenant forces ahead. Pick off as many enemies as possible with ranged headshots before advancing any farther.
When you’re ready, drop from your perch and spy a nearby weak wall 4. Smash through this wall with a Spartan Charge to access a side passage that leads to a small ruin 5.
Make use of the Plasma Pistols, Storm Rifles, Needlers, and Carbines you discover in the weapon racks near the ruin 5. Hold this position as you fire on the Covies, using charged Plasma Pistol blasts to break the Elites’ shields and set them up for headshots. Don’t advance until you’ve eliminated all possible threats.
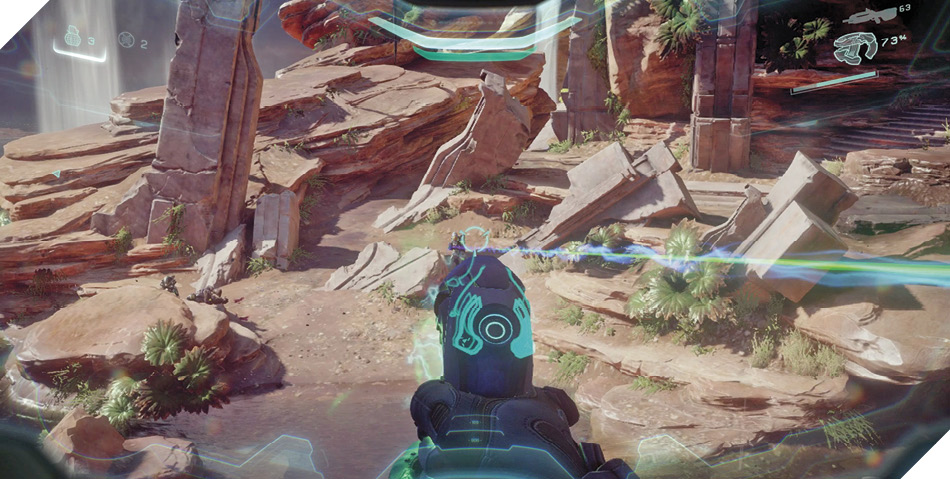
Shield-toting Jackals pour down from the hill ahead as you press deeper into the canyon. Toss grenades or unleash charged Plasma Pistol shots to break their defenses, or simply fall back and pick shots around their shields.
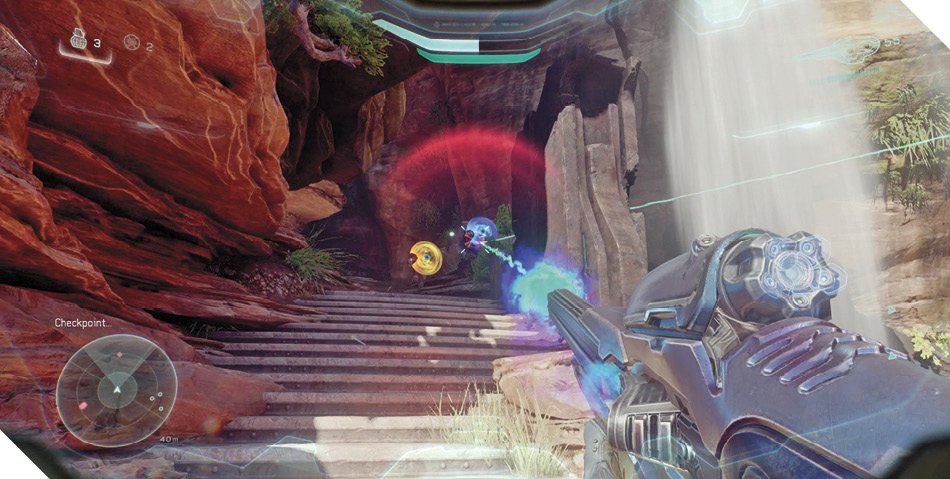
More Grunts and Elites make their stand beyond the Jackals, and they’ve got a Shade Turret and a Plasma Cannon Turret ready to cut you down 6. Keep out of sight and try to eliminate some of the Grunts from afar if you can. Then try to flank the turrets by sprinting along the canyon’s right or left edge. Going to the left 7 is a bit safer, and it sets you up to take out the Plasma Cannon Turret.
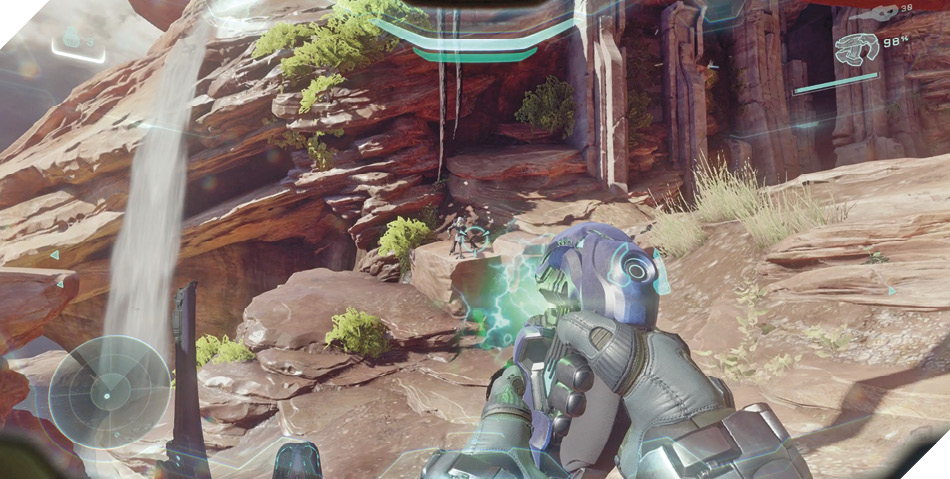
On the other hand, going to the right 8 briefly exposes you to the Shade Turret but also lets you reach excellent cover 9, from which you can easily take out the Shade Turret by sticking it with a Plasma Grenade. Toss grenades at the remaining Elites afterward, or simply melt them down with furious Plasma Pistol or Storm Rifle fire from your superior vantage. When the smoke clears, scan the nearby Covenant data pad for some intel.
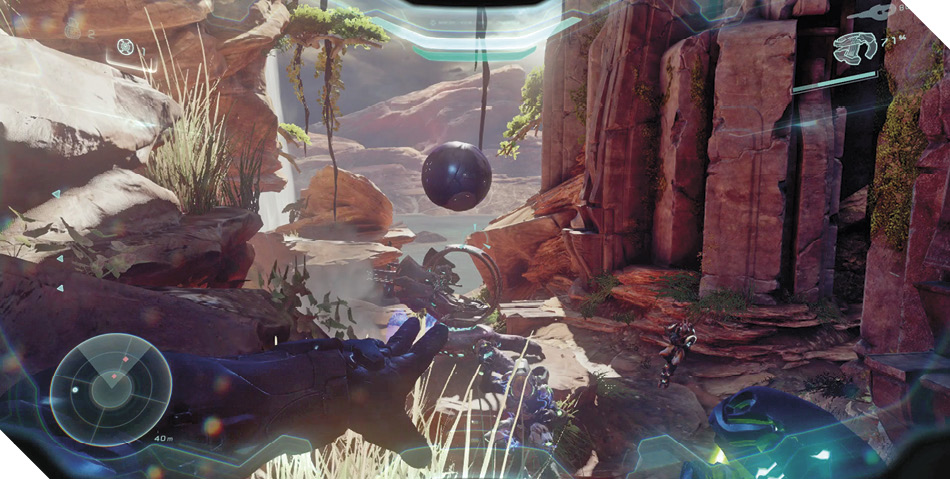
Mission 8 Intel Acquired (3/12) |
Legendary StrategyTackling the Shade Turret is tough on Legendary. Hit it with a charged Plasma Pistol shot to disable it before racing to 9. If rushing to 9 isn’t working for you, try being more tactical and eliminating threats from a safer range with Carbine, Plasma Pistol, and Storm Rifle fire. |
You passed another intel item not far back. Now that things have settled down, double back to the central waterfall 10 and check around with Artemis to discover another ancient Sangheili sword lying in a nook near its base. Scan it for intel before advancing into the cave that lies beyond the Shade Turret.
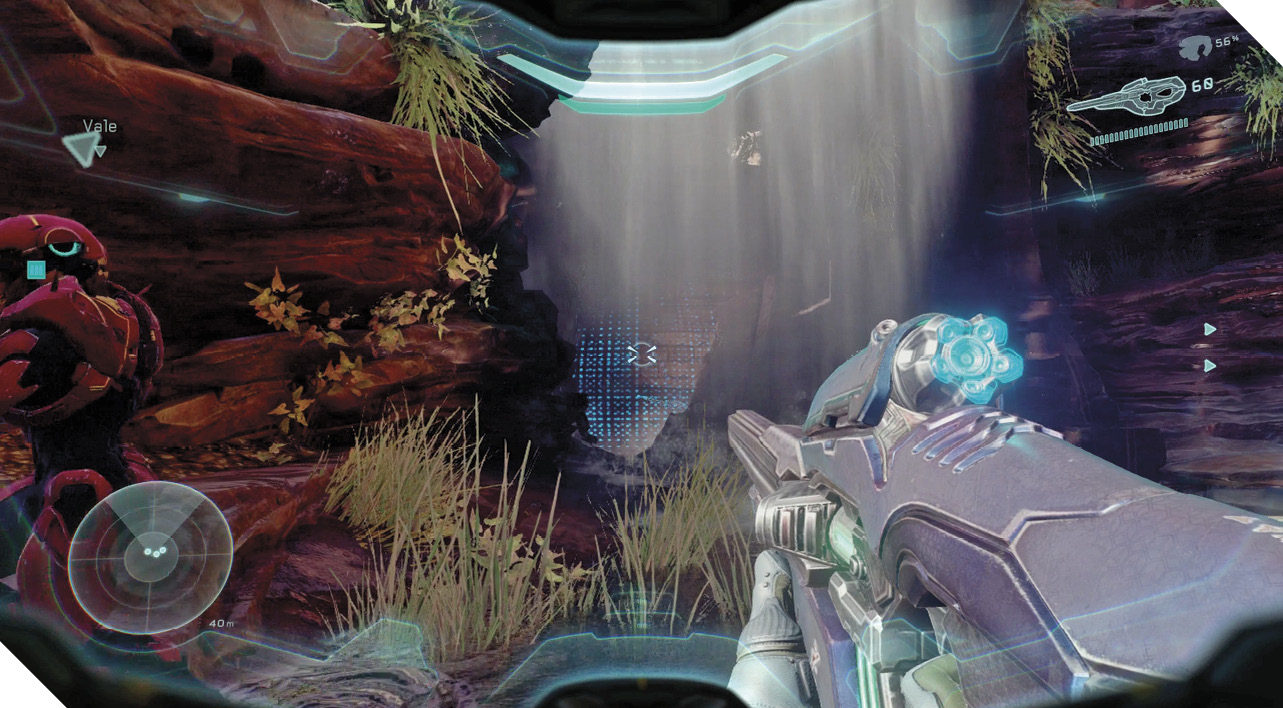
Mission 8 Intel Acquired (4/12) |
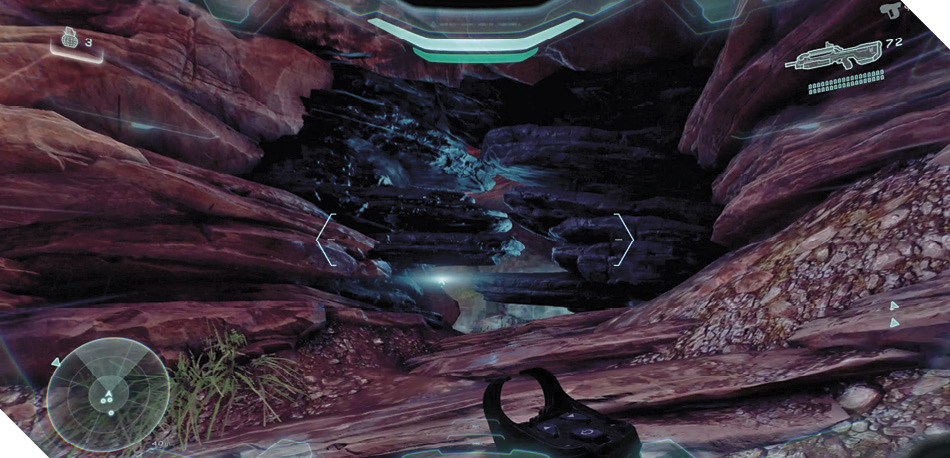
The cave beyond the Shade Turret is littered with the gruesome remains of several Elites 11—fallen brothers of the Swords of Sanghelios. Their deaths must be avenged!
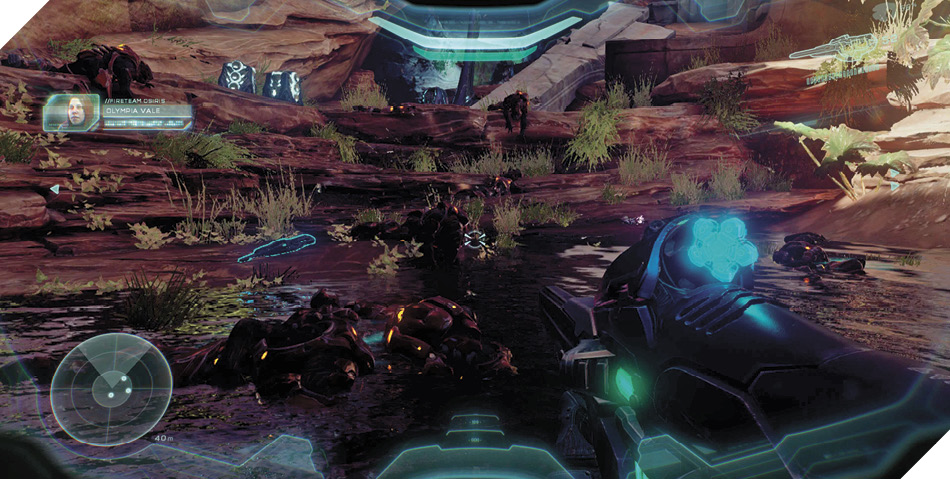
Climb to the top of the cave’s central rock 12 to discover to a dead Elite that’s been impaled by an Energy Sword. The Elite dropped a data pad; scan it before advancing into the next Covenant-filled canyon.
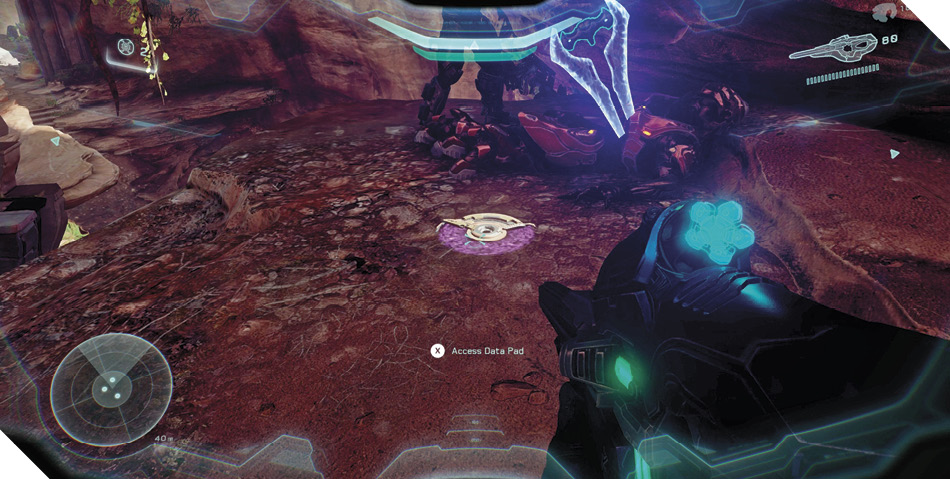
Mission 8 Intel Acquired (5/12) |
Keep to the right as you enter the canyon to reach an excellent sniper’s perch with a well-stocked Carbine 13. Use the weapon to pick off the Jackal Snipers on the canyon’s high ledges, along with the Grunts guarding the nearby plateau below you 14. The Snipers on the right can be tough to sight from the perch; advance a bit and grab the nearby Beam Rifle, which will help you pick them off.
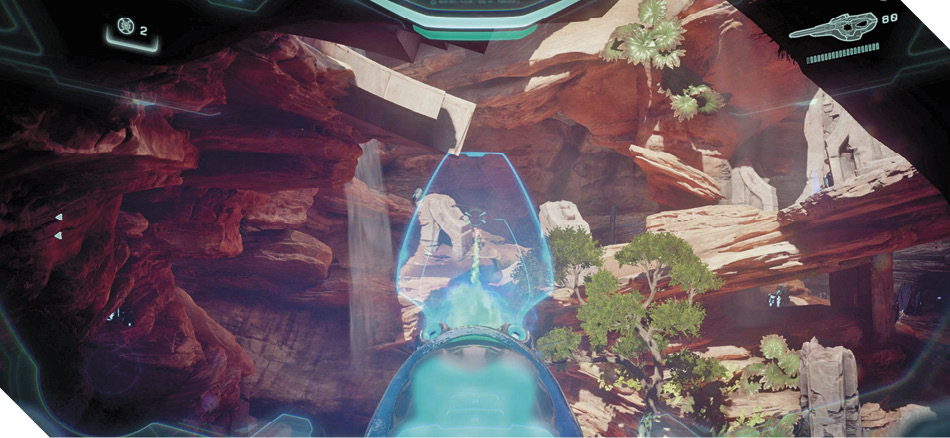
Legendary StrategyTaking out the Snipers is vital on Legendary difficulty; don’t advance until all three have been neutralized. When advancing, be sure to exploit the side passage on the left 15—the Plasma Caster you discover there will make short work of the Covenant reinforcements. |
After neutralizing all three Snipers, sprint forward and leap to the plateau that the Grunts were guarding 14. Maintain this position as additional Covenant forces pour out from the left cave and the far path. Even more Covies will soon arrive via insertion pods, adding to the threat level.
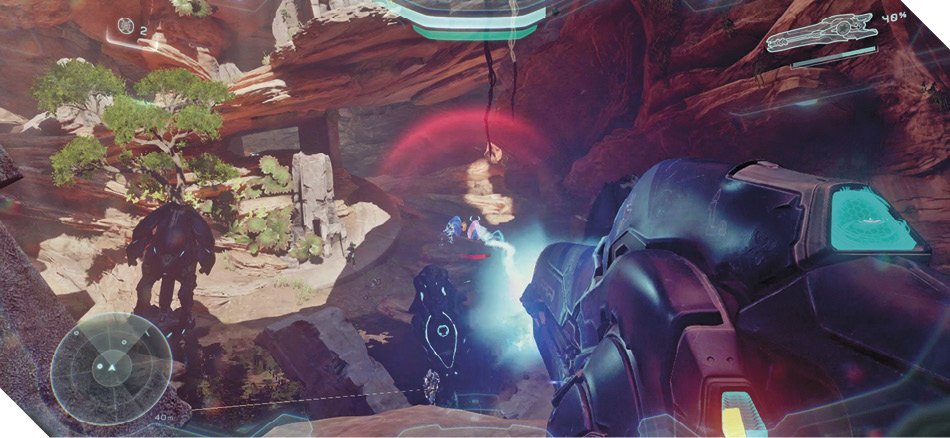
When you’re ready to advance, turn left and make a sprinting leap from the plateau, aiming to land on the left ledge. Keep sprinting after you land and perform a Spartan Charge to smash through the weak wall ahead 15.
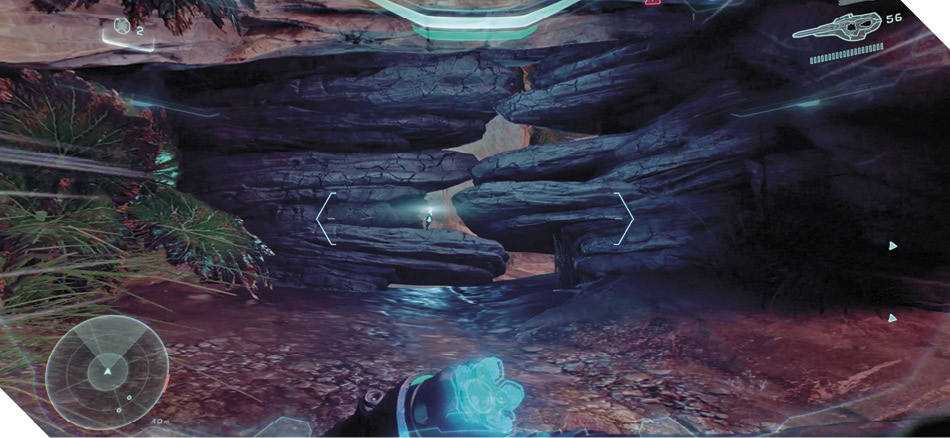
The passage beyond the wall features a Plasma Caster. Advance and use the weapon to annihilate the remaining Covenant in the Canyon. Smash through the next weak wall ahead 16 to advance even farther.
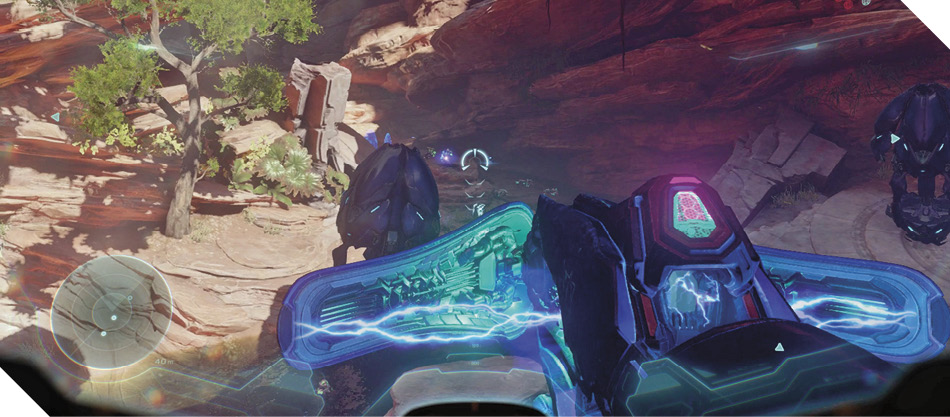
Farther ahead, the canyon makes a sharp left turn and rises steeply, leading you to greater heights. Beware: The Covenant forces have set up another Plasma Cannon Turret at the bend 17. Restock your weapons before advancing on it, potentially detaching the previous Plasma Cannon Turret from its mount and bringing it along. (It may have already been knocked loose from its mount during the battle.)