Halo 5: Guardians Guide Campaign Walkthrough Mission 8: Swords of Sanghelios
Major Firefight: Arbiter Approach
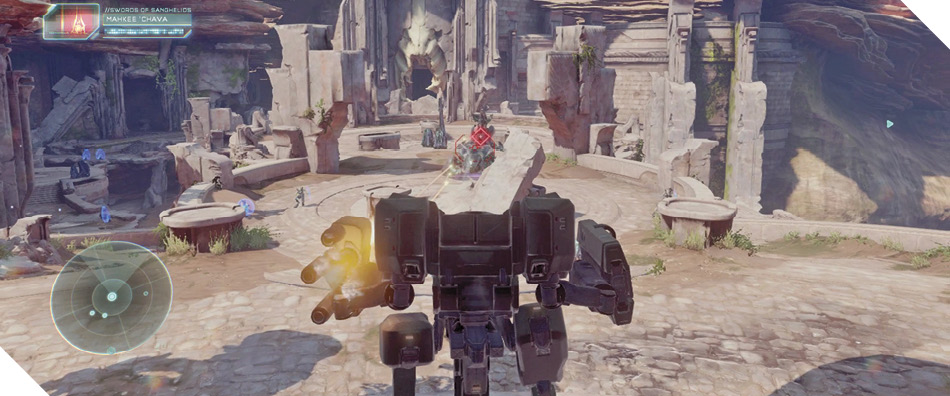
A vast army of Covenant forces stands between you and the Elder Council Chamber, where the Arbiter is being held. Reaching the Arbiter won’t be easy, but your newfound Mantises make the effort possible. Do everything in your power to preserve your precious vehicles until the mission is complete.
Recommended Loadout
Not every member of Fireteam Osiris can bring a Mantis into this battle; two are left to figure things out on foot. The heavy weapons you recently found (namely the Fuel Rod Cannons and Plasma Casters) certainly help, but expect the Mantises to do most of the heavy lifting. If you managed to commandeer the Wraith, its mighty cannon and gunner turret will be invaluable.
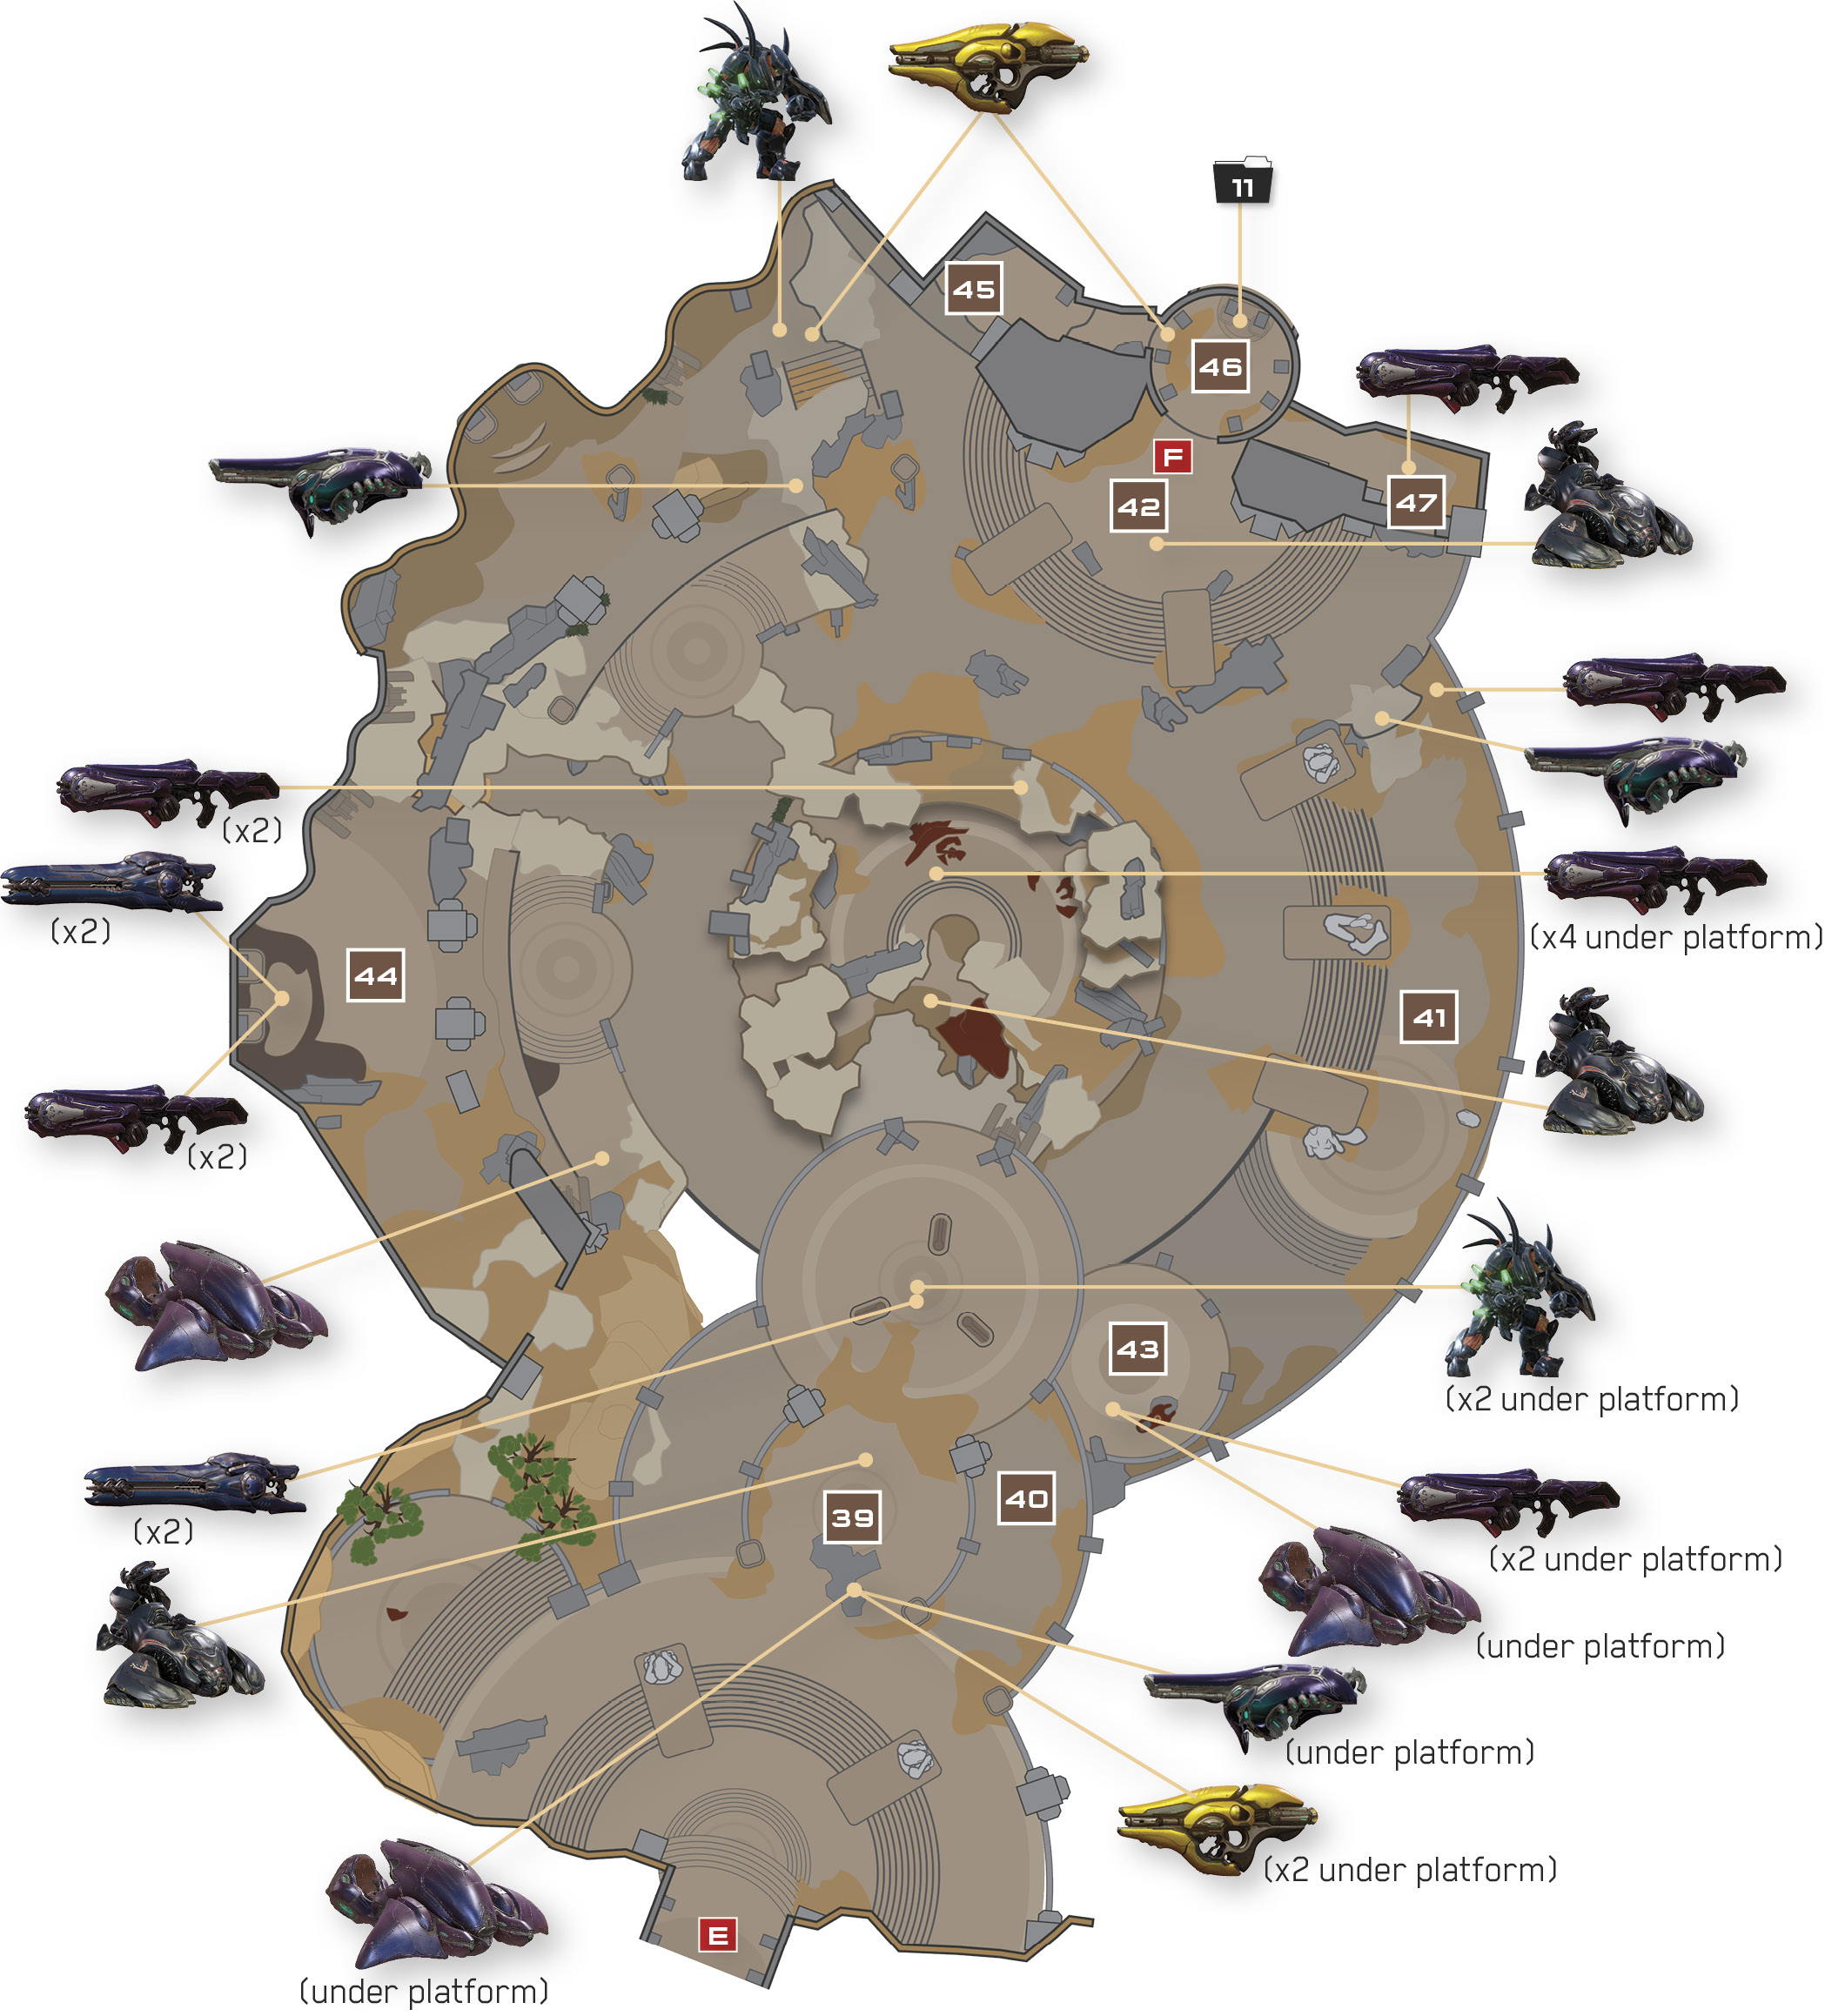
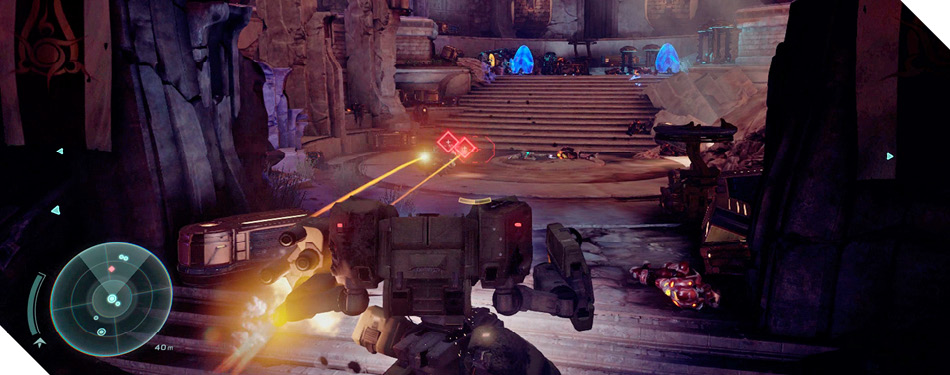
Your first target during this intense battle is the Wraith that lobs huge cannon blasts at you as you enter. Focus fire and unleash your Mantis’s explosive volleys on the Wraith to destroy it with all speed. Once the Wraith is down, turn your attention to the Elites and other hostiles guarding the entry platform 39.
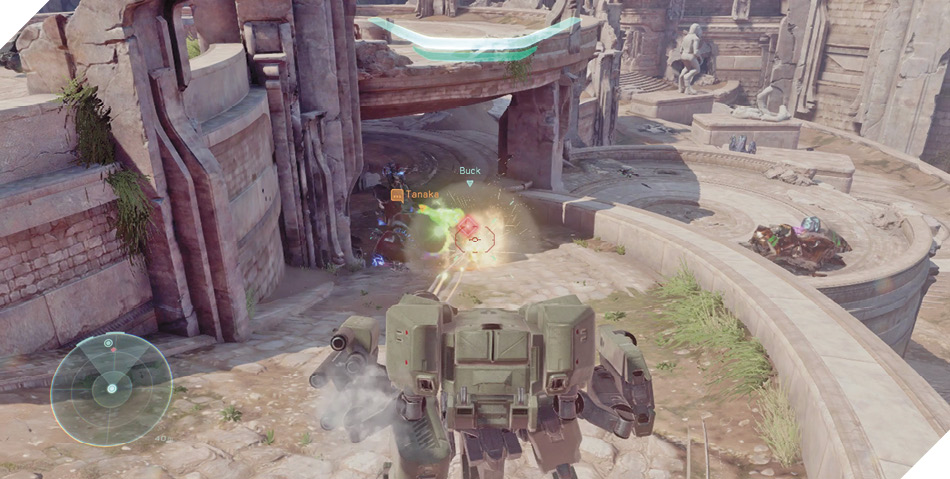
Legendary StrategyYour Mantis won’t last long on Legendary difficulty if you’re not careful. Advance slowly and cautiously, launching missiles and then falling back to safety while you wait for the next volley to arm. Let your Mantis’s shields recover as often as needed, for it’d be a shame to lose such a powerful offensive vehicle during this final push. |
With the entry platform free of hostiles, descend the ramp on the right 40 to move beneath the platform, where two Hunters lurk. Annihilate them with the Mantis’s missiles, backing off to recover shields as needed. Don’t advance until both Hunters are down.
Continue advancing to your right after dropping the Hunters. Spirits deploy more Covenant troops on your right 41, including a dangerous Elite armed with a Fuel Rod Cannon. Wipe out all of the Spirit’s passengers before pushing toward the far stairs 42.
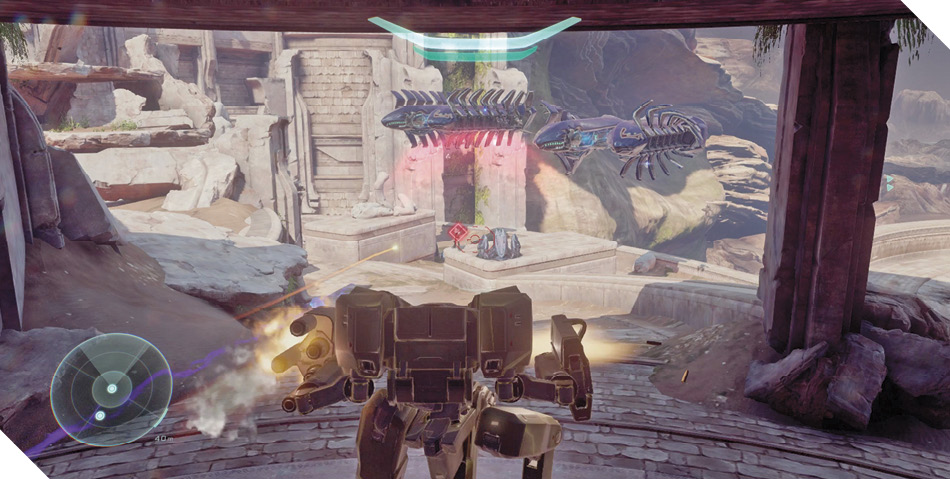
Fight your way toward the far stairs 42, continuing your steady advance on the Elder Council Chamber. Another Wraith guards the stairs, along with a vicious Elite armed with a Fuel Rod Cannon. There are two more Hunters about, so continue to use the Mantis’s missiles and machine guns to obliterate threats from a safe range, advancing only as far as needed to sight new targets.
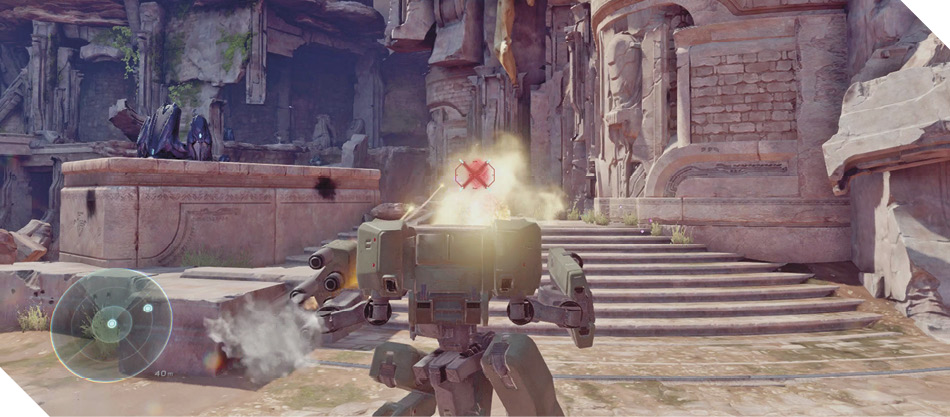
Alternate ApproachIf you lose your Mantis, or if you’re traveling on foot to begin with, perform a Ground Pound on the entry platform’s weak, cracked floor 39 to smash down and land near two Fuel Rod Cannons, two Carbines, and a Ghost. Two Hunters lurk down here, however, so don’t smash through unless you’re prepared to fight them. 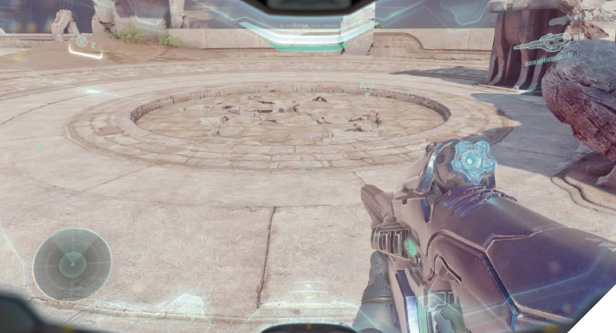 Go to the right and Ground Pound through another patch of weak ground 43 to land in an even lower area with some Storm Rifles and another Ghost. Hop into the vehicle and then destroy the nearby shield generator to escape captivity. 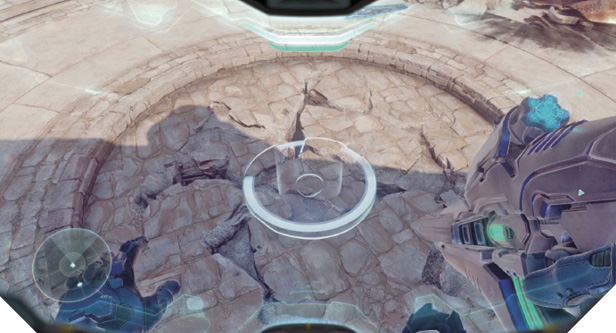 The area’s left side is another good location for on-foot Spartans to secure 44. You’ll find plenty of cover there, plus powerful weapons such as Beam Rifles and Plasma Casters. Use these weapons to neutralize the various turrets on this side of the area. 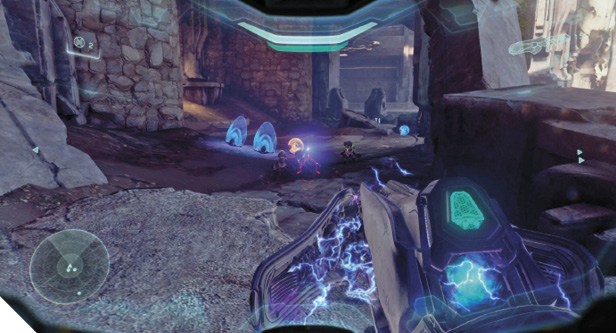 |
Alternate ApproachKeep moving along the left ledges and you’ll eventually reach a gaping hole in the far wall 45. Sprint and jump over, then climb through the hole to reach an interior passage. 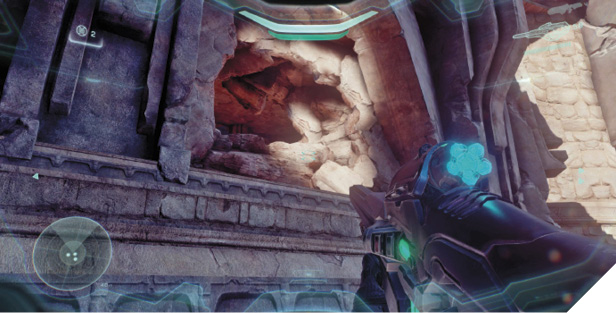 Follow the interior passage to a high overlook with a Fuel Rod Cannon, a Plasma Caster, and a data pad 46. Scan the pad for intel and then put the nearby power weapons to use against the Covenant below. Ground Pound through the weak floor when you’re ready to rejoin your team. 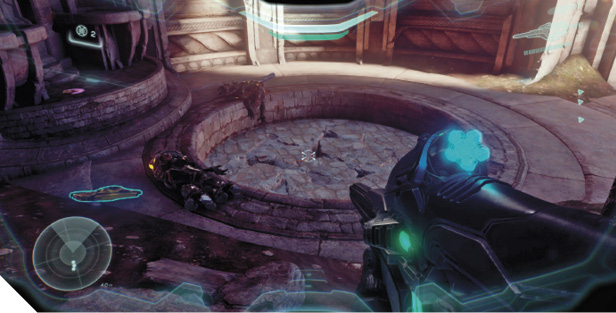 |
Mission 8 Intel Acquired (11/12) |
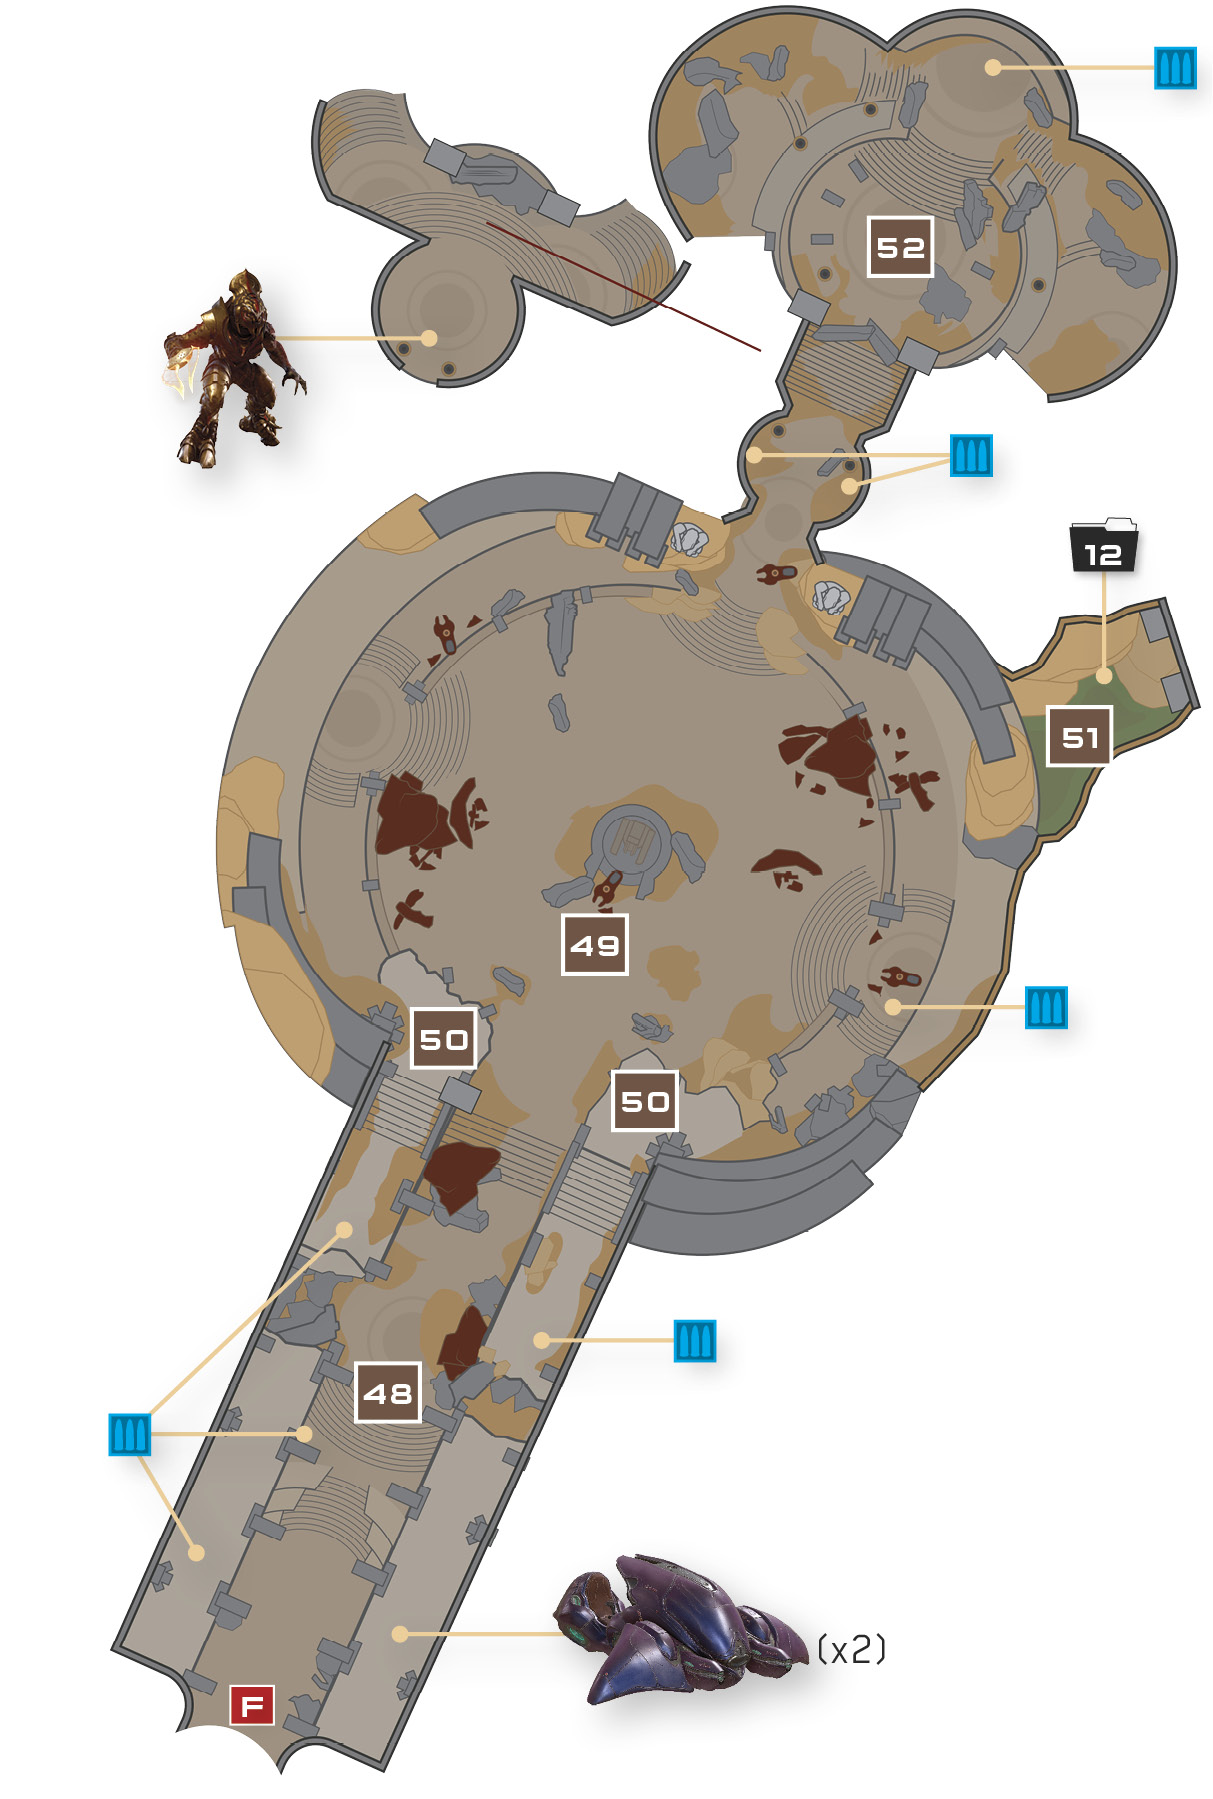
A few more Covenant foes guard the hallway that leads to the next plaza 48. There are more Ghosts to exploit in the hall; grab one if your Mantises haven’t survived the trip.
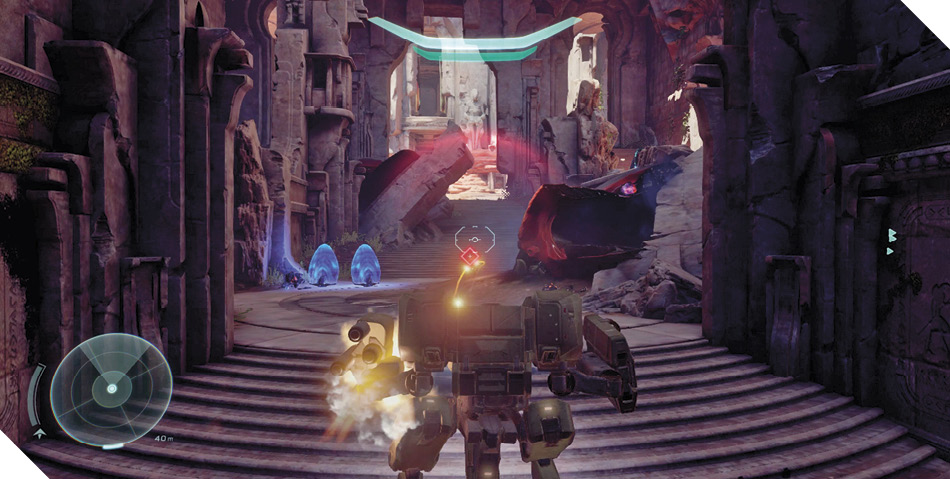
Alternate ApproachIf you don’t have a vehicle, or if you simply prefer to fight on foot, don’t enter the plaza via the main stairs (as you must do with a vehicle). Instead, climb up to the hallway’s left- or right-side ledge to reach overlooks with Shade Turrets 50 (there are two of them). The Shade Turrets’ firepower and positioning help you cut down the inbound Covenant, and for extra mayhem, there’s also a Plasma Caster near the Shade Turret on the right. |
Press forward into the plaza ahead, where many more Covenant troops suddenly arrive via insertion pods 49. Back up and open fire, cutting down the Covies as quickly as possible. Fall back as needed to replenish your Mantis’s shields.
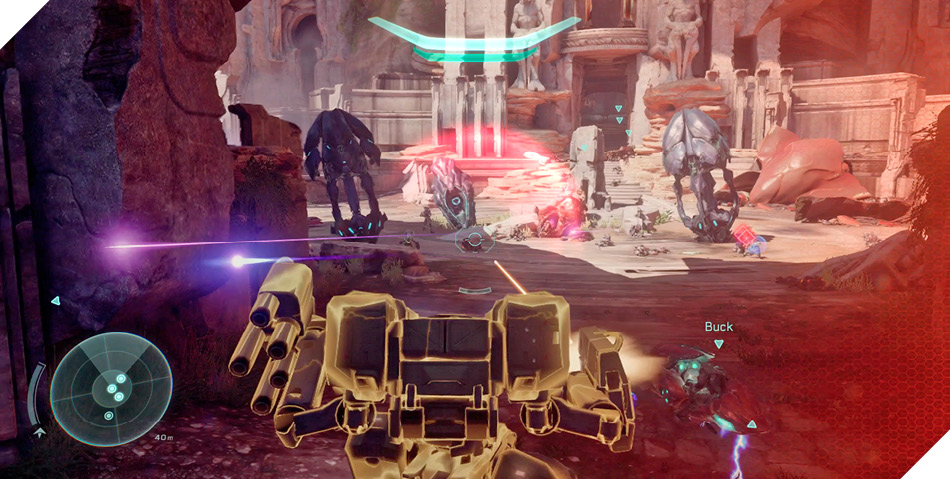
Don’t stop fighting, because more insertion pods soon deploy additional Elites, two are armed with Fuel Rod Cannons. Unleash your most powerful arms to drop these dangerous foes as fast as possible.
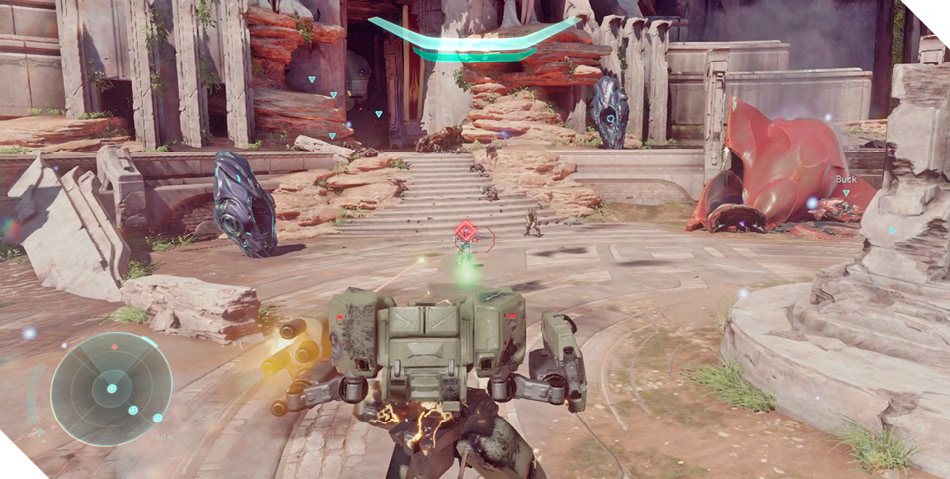
The Arbiter is just ahead, but there’s one more item of interest nearby. Exit your Mantis and scale the stairs on the right to discover a low pool near the Elder Council Chamber building 51. Drop into the pool and search with Artemis to discover a data pad. Scan it to unlock the mission’s final piece of intel, then climb out, return to your Mantis, and stomp into the Elder Council Chamber.
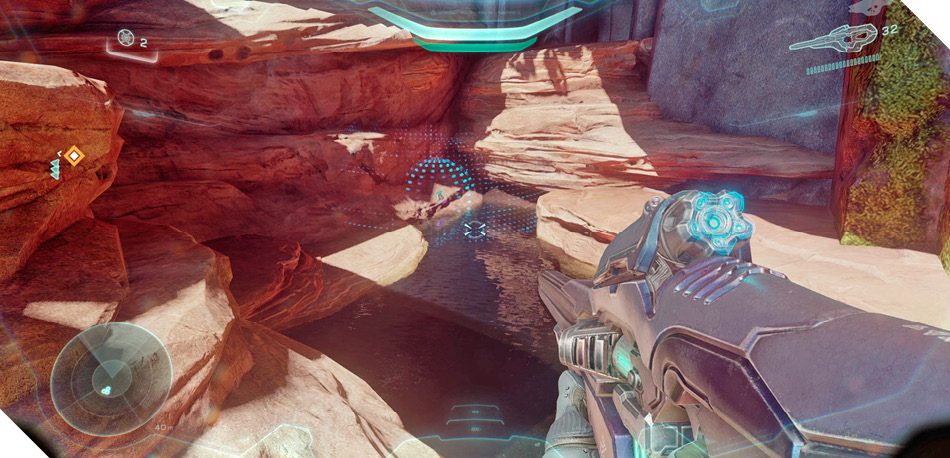
Mission 8 Intel Acquired (12/12) |
Objective: Extract with the Arbiter
You’ve reached the Elder Council Chamber 52; the Arbiter must be close! Battle your way upstairs, assisting the Swords of Sanghelios as they struggle to eradicate the attacking Covenant.
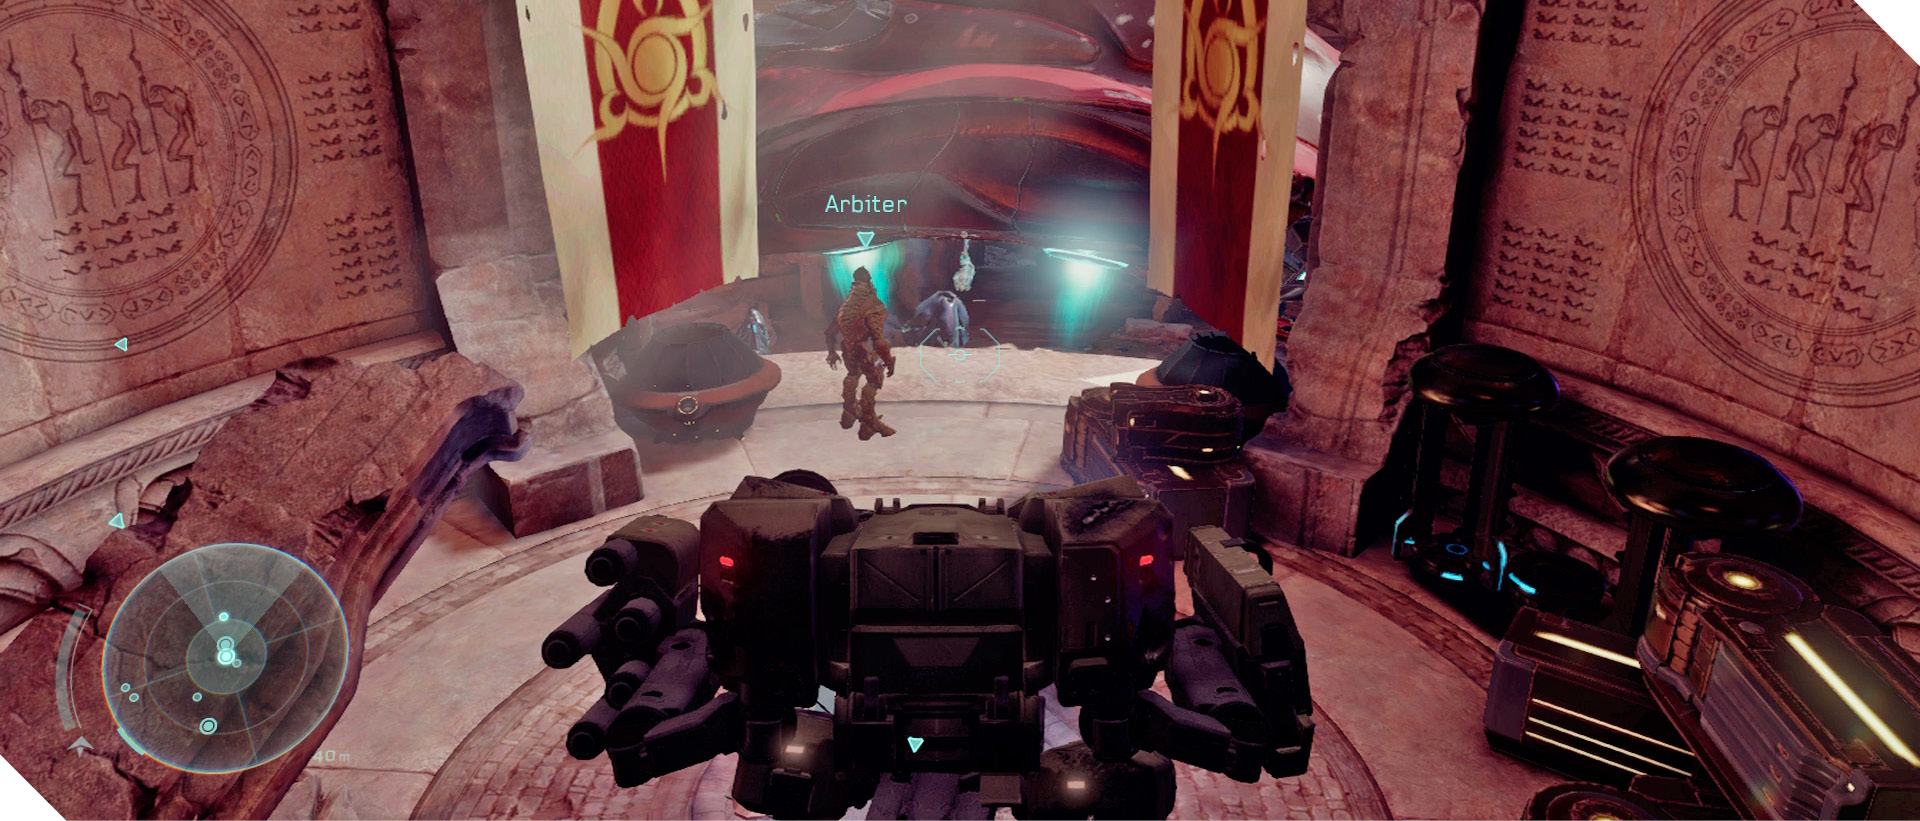
Upstairs, watch the Arbiter deftly dispose of the last few enemy Elites just as Mahkee ’Chava swoops down in a Phantom. You’ve completed your mission, but there’s no time for small talk. Hop aboard the Phantom and make good your timely escape with the Arbiter.