
Halo 5: Guardians Guide Warzone
Raid on Apex 7
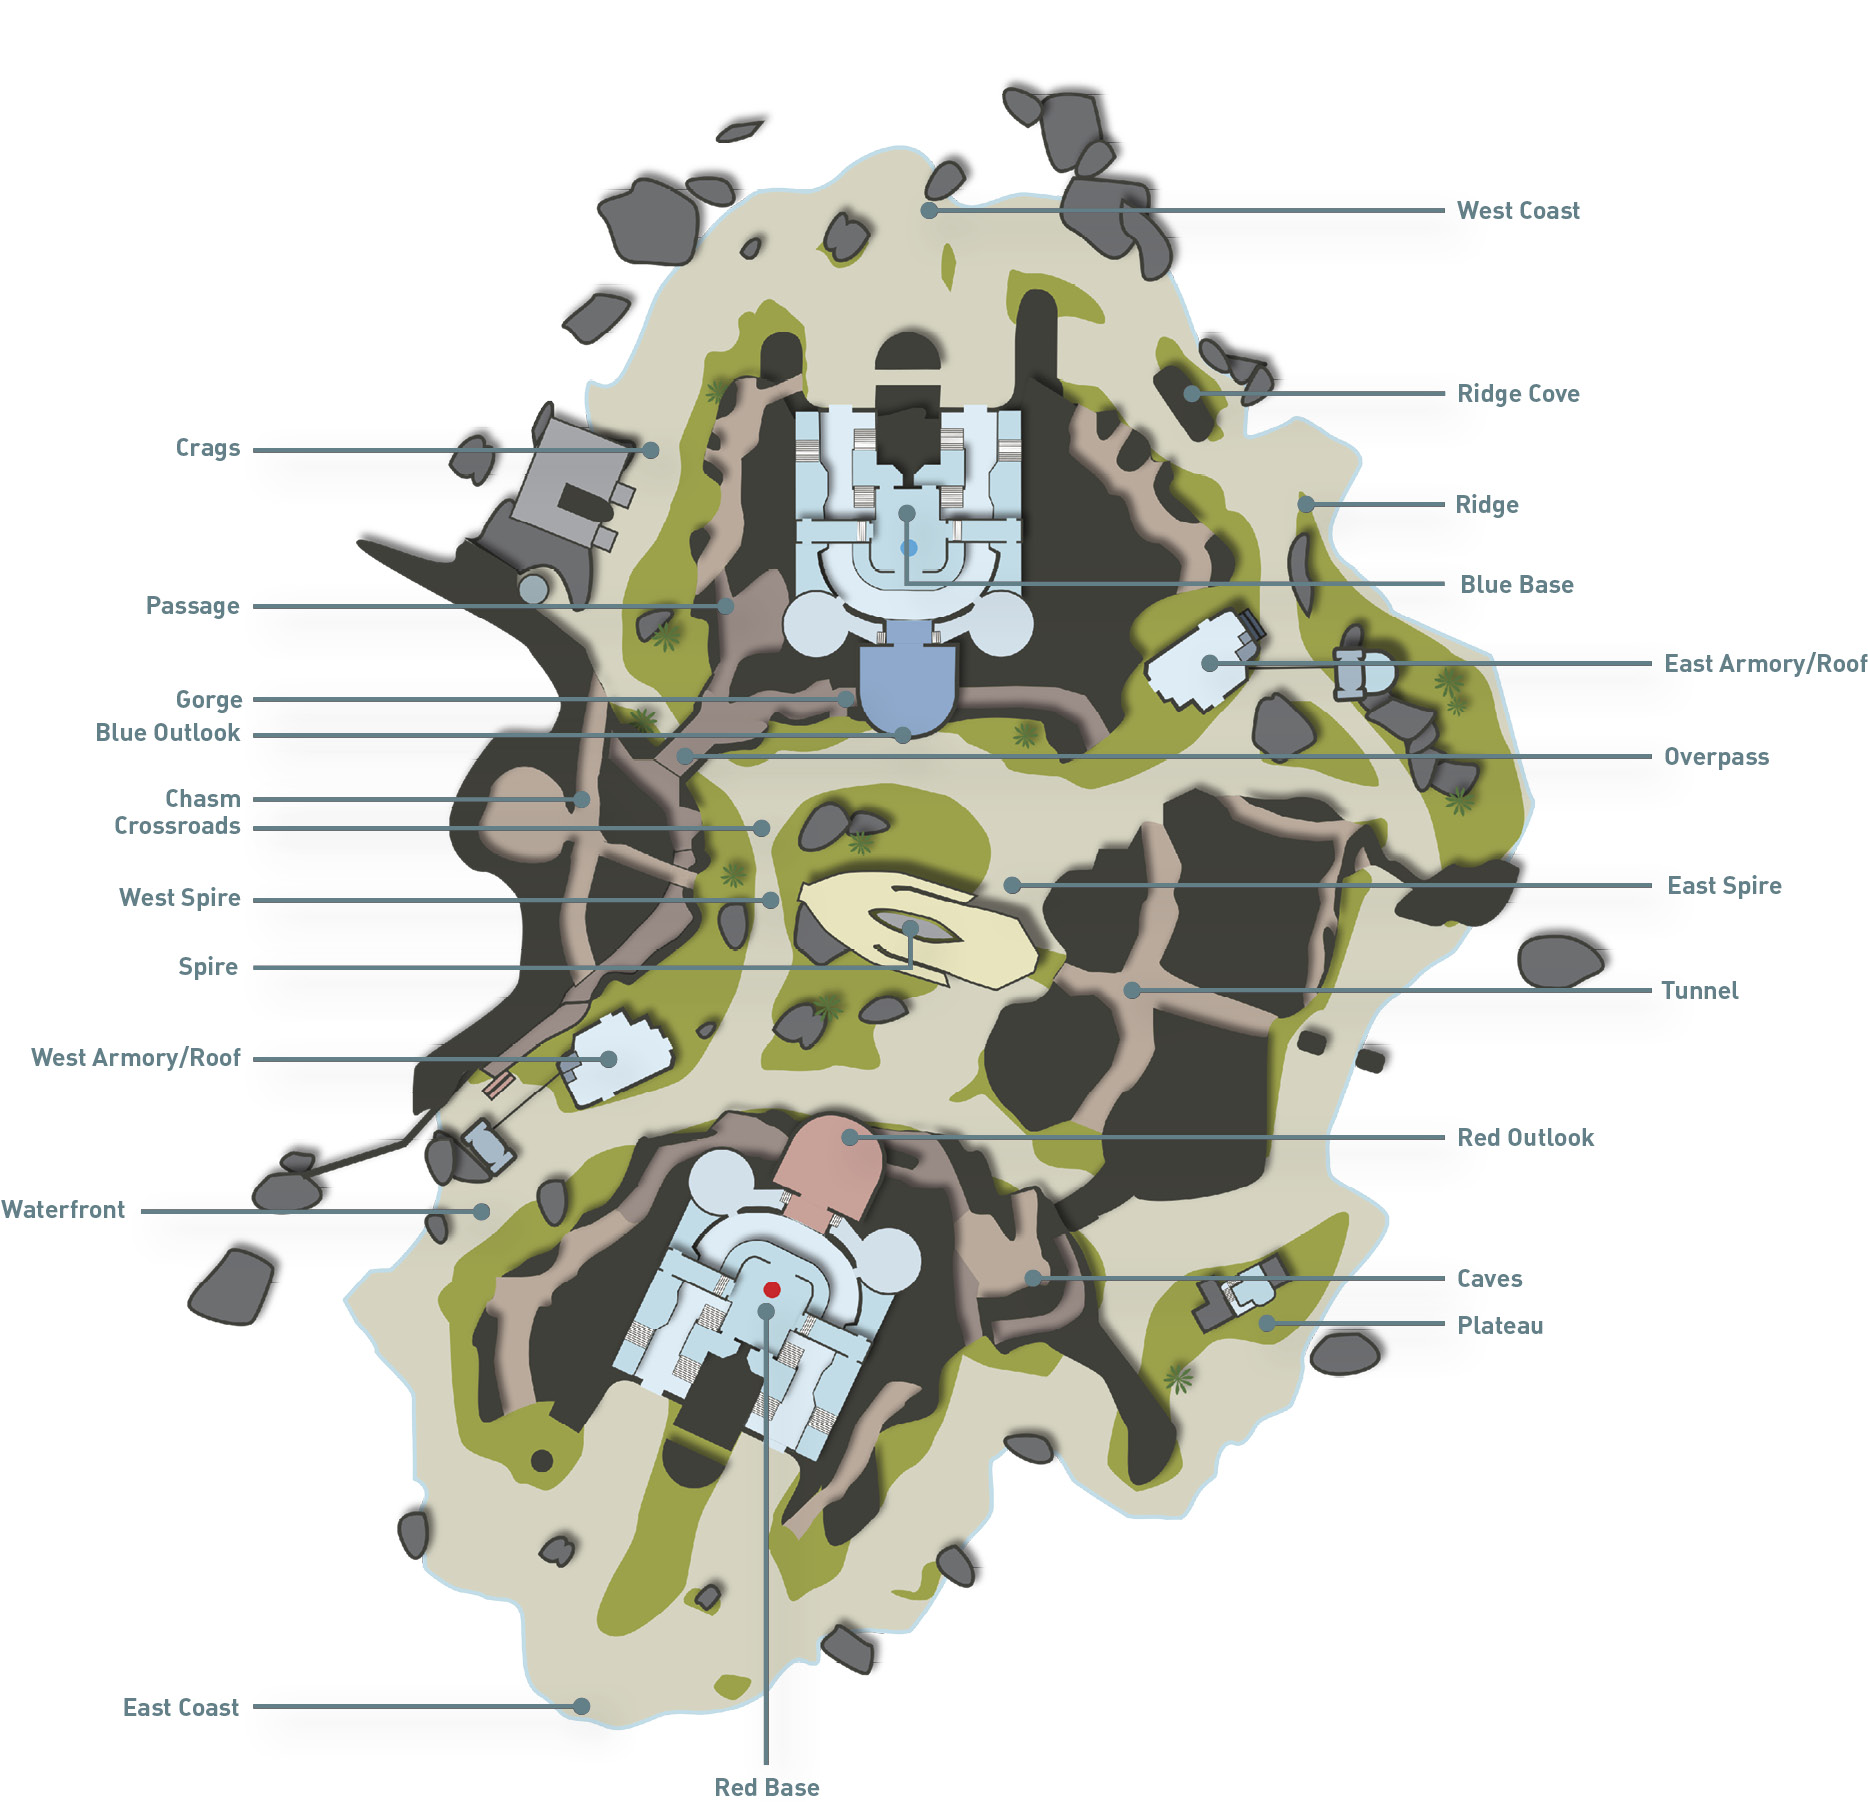
Description: This unbroken ring is a symbol of the discovery that shook the galaxy and changed the course of both human and Covenant destiny.
Game Mode: Warzone
Boss Lineup
| Boss | Location | Bounty | Time Active |
|---|---|---|---|
|
Hunter Elders |
Spire | 25 VP | 0:00 |
|
Zealot Assassin |
Passage | 25 VP | 2:00 |
|
Zealot Assassin |
Caves | 25 VP | 2:00 |
|
Elite Ultra |
Plateau | 25 VP | 4:00 |
|
Elite Ultra |
Crags | 25 VP | 4:00 |
|
Ghost Marauder |
Ridge | 25 VP | 6:00 |
|
Ghost Marauder |
Waterfront | 25 VP | 6:00 |
|
Tankmaster Rok |
Beach | 150 VP | 8:00 |
|
Banshee Raider |
Ridge | 25 VP | 10:00 |
|
Banshee Raider |
Waterfront | 25 VP | 10:00 |
|
Captain Hestro |
Beach | 150 VP | 12:00 |
|
Soldier Guard |
Tunnel | 25 VP | 14:00 |
|
Soldier Guard |
Chasm | 25 VP | 14:00 |
|
Knight Champion |
Crossroads | 25 VP | 16:00 |
|
Warden Eternal |
Crossroads | 150 VP | 18:00 |
Team Strategy
This battle takes place on a large island dominated by a towering Forerunner Spire. The Red and Blue Teams begin on opposite ends of the island with the three Bases located in the center. Even before they secure their Home Bases (occupied by Jackals and Elites), Spartans can use the Mongooses found on the East and West Coasts to rush the Bases. The Spire is the central and most tactically advantageous location, particularly during the closing moments of the battle. But don’t neglect the significance of holding the two Armory Bases—if you can’t hold down the Spire, try to maintain control of the Armories in an attempt to outscore your opponents. When you’re not fighting over the Bases in the center of the island, branch out and take out the various bosses to boost your team’s score. There are a number of vehicle-based bosses, so be ready to respond with some vehicles of your own. If your team can secure all three Bases, make a push toward the opposing team’s Home Base and attack their Core. But the outward orientations of the Home Bases and their rear Overlook exits make it difficult to trap opponents inside. The best strategy is to lock down at least two Bases while hunting down as many bosses as possible.
Bases
West Armory
Initial Opposition: Elites
» While both teams have a good chance of capturing the West Armory, the Red Team has a slight edge. Using the Mongooses that spawn on the East Coast, the Red Team can make an early-round push to the West Armory via the Waterfront. This can be accomplished at the outset, while the rest of the team secures Red Base.
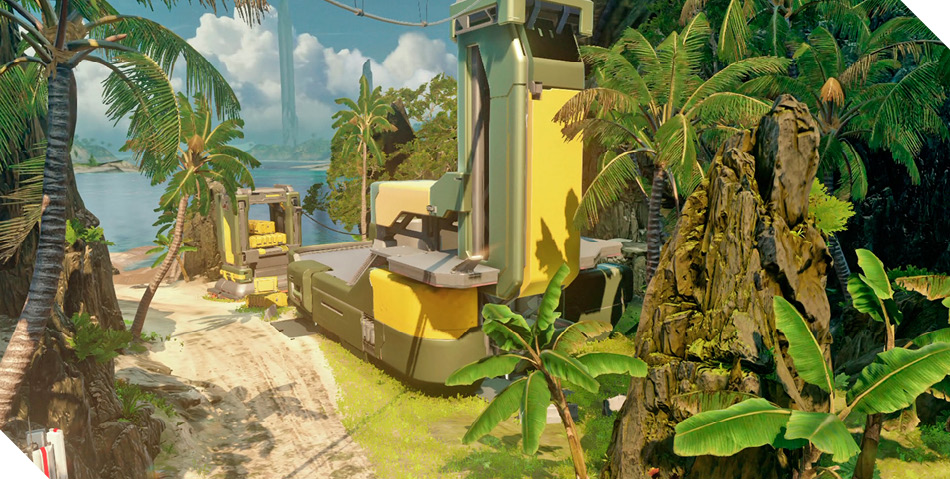
» At the start of the battle the West Armory is defended by a small squad of Elites. These enemies are mostly gathered on the ground floor, but they will come charging up the ramp if you gain access to the Roof. Try to lure these enemies onto the Roof, then back off and engage them from long range, where their weapons and grenades are less effective. When you’re working together with a few teammates, the Elites aren’t much of a threat, but don’t charge into this battle alone.
» The center of the map is chaotic. The West Armory’s interior provides some welcome cover, particularly from vehicles. Duck inside when you come under fire and need a safe spot to let your shields recharge. The REQ Station allows you to swap out weapons. But this confined setting is best utilized as a temporary refuge. Defending the Base from within the interior leaves you vulnerable to grenades flying in through the doorways or Roof.
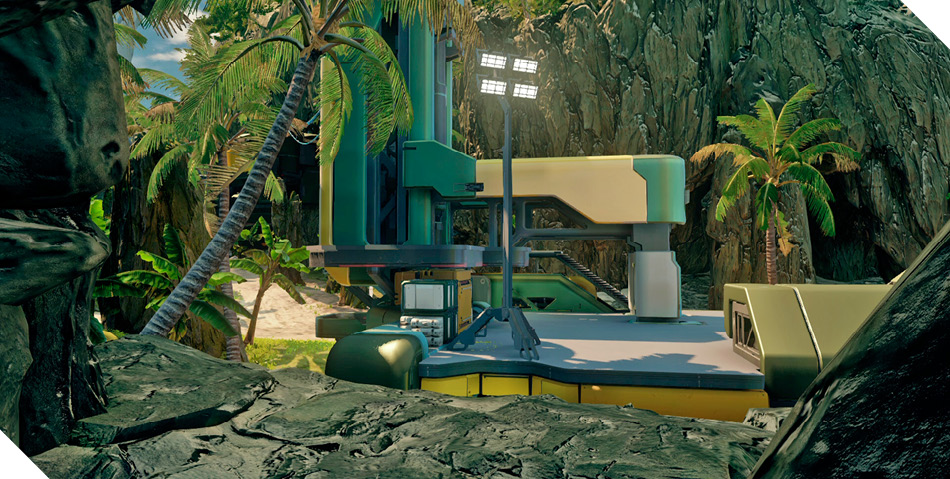
» The West Armory’s Roof provides good lines of sight on the Spire, Waterfront, and Crossroads—all high-traffic areas. Take to the Roof when the Ghost Marauder or Banshee Raider appears at the Waterfront. The height advantage and cover offered by the Roof makes it the ideal location for taking down these bosses. An accelerator pad on the Roof is ideal for launching yourself toward the Spire.
» Entering the West Armory is easy from the ground level—just rush through one of the doors to begin contesting or capturing the Base. But the Base can also be captured from the Roof. The easiest way to reach the Roof is by jumping and clambering onto the rock behind the Armory. From there you can jump and thrust over to the Roof. The Roof can also be accessed from the cliff-side ledge leading out of the Chasm— the Chasm route is a popular approach for the Blue Team.
Spire
Initial Opposition: Hunter Elders, Elites, Grunts
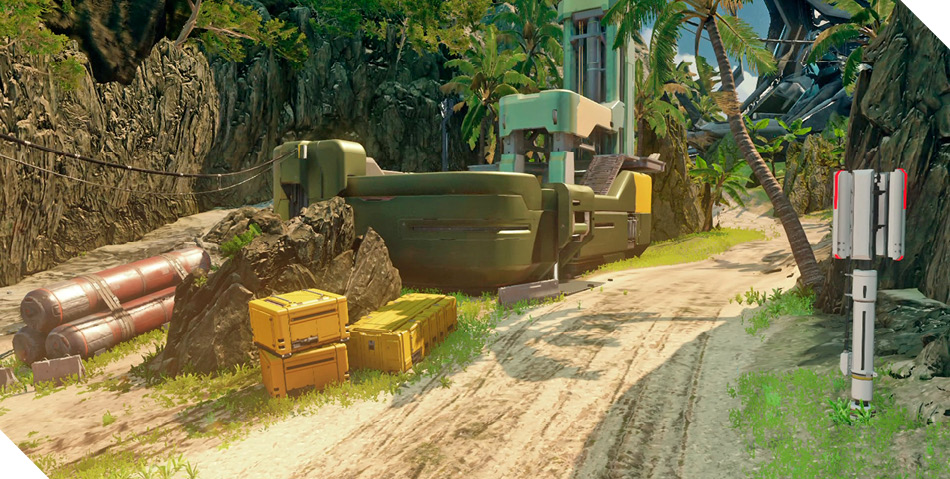
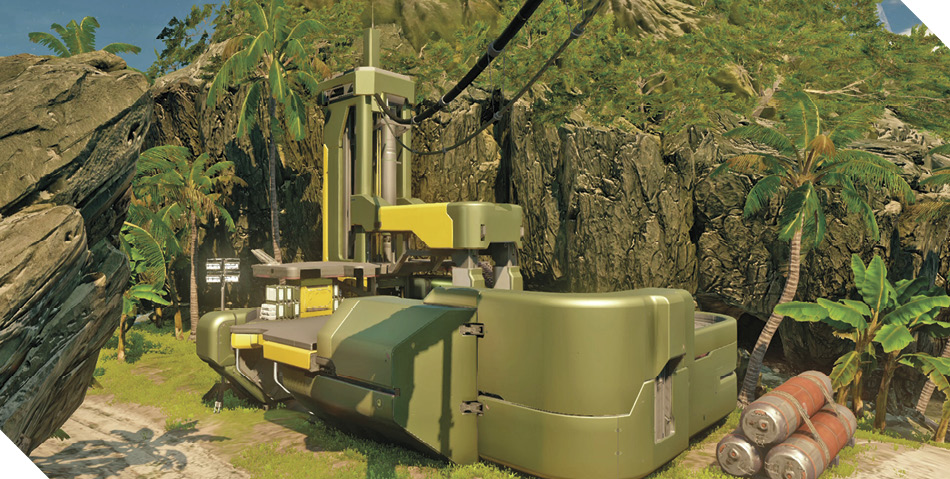
» The massive Spire, jutting out of the center of the island, is the focal point of this battle. It’s equidistant between the East and West Coast, so both teams have a fair chance of reaching the Spire first. Even before their respective bases are secure, the Red and Blue Teams can make a push for the Spire by racing toward it with the Mongooses provided near their initial spawn locations. Make sure you bring help—securing the Spire isn’t easy.
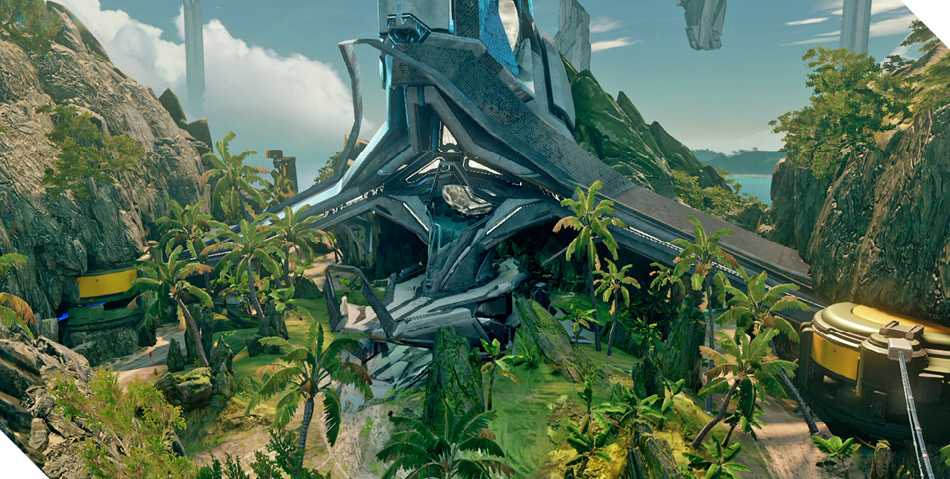
» Initially, the Spire is heavily defended by Elites, Grunts, and two Hunter Elders. All of these enemies are grouped on the Spire’s upper level, making for some intense close-quarter firefights. Always approach the Spire with the help of at least two teammates. Focus on taking out the Grunts and Elites first. Eliminating these enemies allows you to begin the capture process—the Hunter Elders are not considered defenders. Once the Spire is captured, your team can use the Base as a spawn point, allowing you to apply greater pressure against the durable Hunter Elders. Or leave the Hunter Elders in place to deter attacks by the opposing team.
» The Spire is a unique structure, consisting of various ramps all leading to the upper level. However, you don’t have to access the upper level to capture or contest this Base. The central interior ramp is within the Base's capture radius. If the Base is unoccupied, instead of exposing yourself on the upper level, hold back inside the Spire, near the REQ Station. However, avoid hiding here if the Spire is occupied—you’re better off rushing up the ramp to the upper level and engaging opponents.
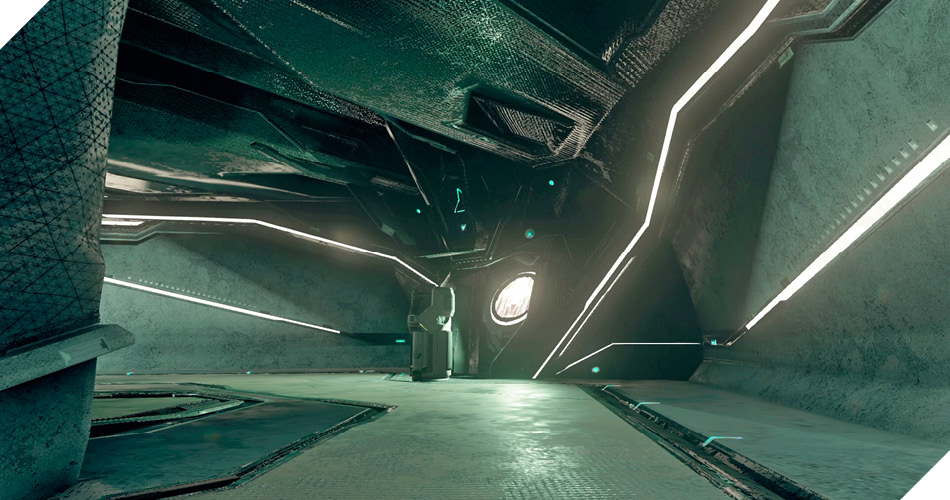
» The Spire’s upper level offers a commanding view of several key locations, including the heavily traveled Crossroads. This makes the Spire a critical location during the final moments of the battle, when the Knight Champion and Warden Eternal appear. Use the height advantage offered by the Spire to fire down on these bosses from long range.
» Given the heavy traffic around the Spire, approaching directly from the East or West Armory is dangerous—you’ll be exposed to incoming fire from the upper level, not to mention the two Outlooks. For a sneaky approach, advance through the Tunnel behind the Spire. This gives you direct access to the internal ramp system without exposing yourself to fire and vehicle
East Armory
Initial Opposition: Elites
» Like the West Armory, the East Armory is completely up for grabs at the start of the battle. But given its close proximity to the Blue Base, the Blue Team stands the best chance capturing it first. When spawning at the West Coast, hop on one of the Mongooses and race along the Ridge to reach the East Armory before the opposition—you can even make this push before your base is secured.
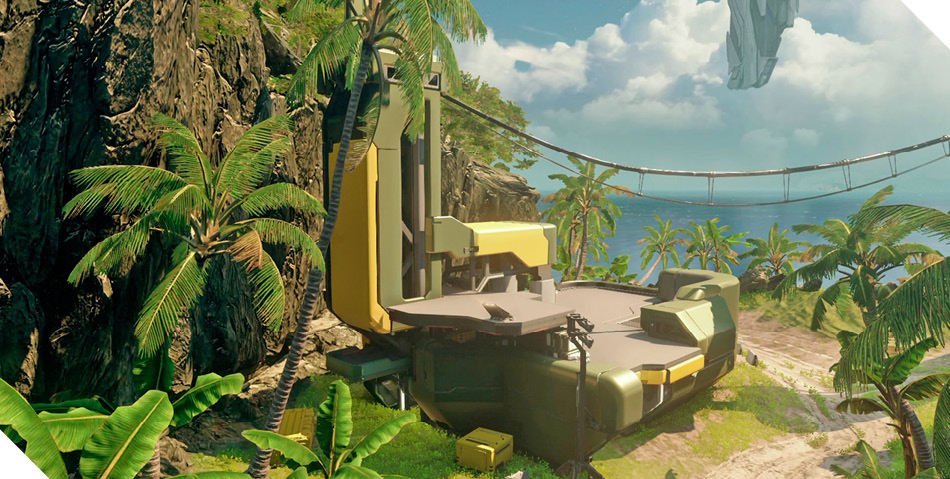
» When you arrive at the East Armory, prepare for a fight. The Base is defended by small group of Elites, mostly clustered within the Armory’s ground-level interior—lob grenades through the doorways to soften them up. But instead of rushing inside, contest the Base from the Roof in an attempt to lure the Elites outside. Once the Elites are on the Roof, retreat to a safe distance and pick off these enemies from long range. If you assault the Base with multiple teammates, a more aggressive approach is advisable.
» While the Base can be captured and contested from within, the cramped interior is best utilized for cover. Duck inside when you’re attempting to escape incoming fire or enemy vehicles. From the interior you can access the REQ Station as well as a ramp leading to the Roof.
» The West Armory’s Roof offers great views of surrounding locations like the Spire, Crossroads, and Ridge. This is a good place to engage bosses from, like the Ghost Marauder and Banshee Raider appearing at the Ridge. Use the Roof’s cover to engage these bosses from long range. There’s also an accelerator pad on the Roof—use it to launch yourself toward the Spire.
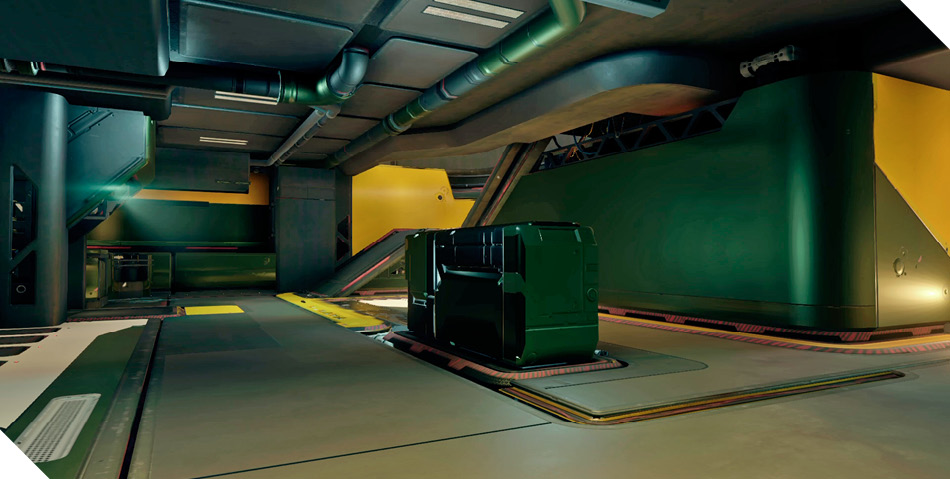
» With three ground-level entrances, gaining access into the Armory is easy. But it’s best to access the Base from the Roof, where you’re less likely to be ambushed by defenders hiding inside. The easiest way to reach the Roof is via the stack of orange pipes behind the Armory. Jump atop this stack of pipes, then jump and clamber onto the Roof.
Boss Tactics
 Hunter Elders
Location: Spire at 0:00
Minions: None
Bounty: 25 VP
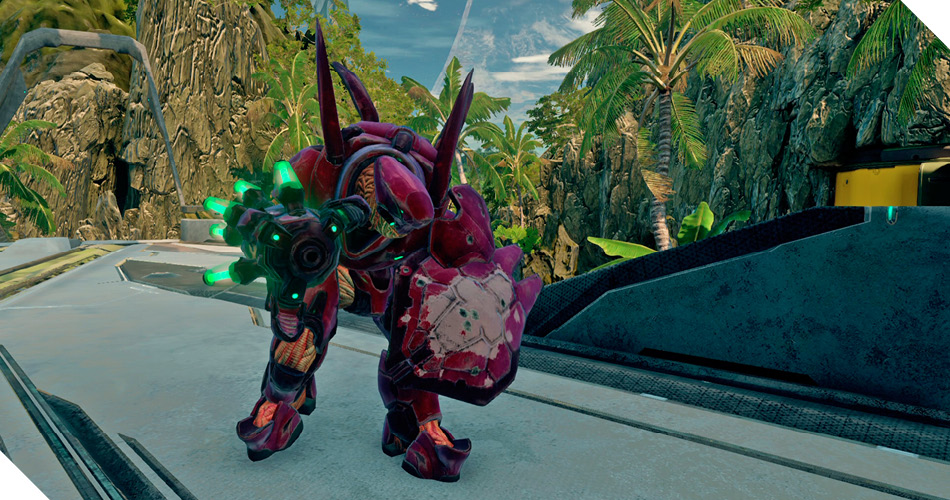
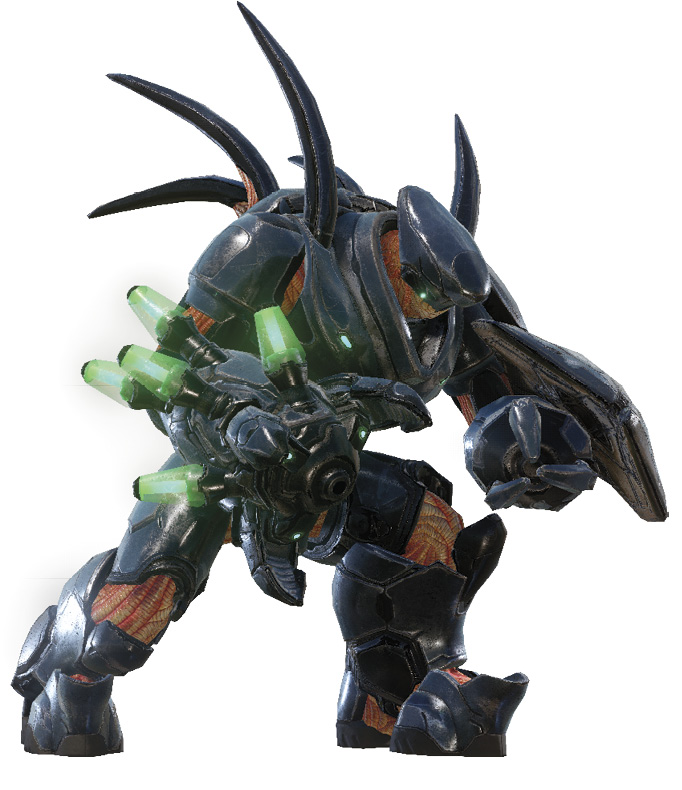
Two Hunter Elders appear on the upper level of the Spire at the start of the battle. The Elites and Grunts here aren’t minions—they’re simply present to guard the Spire. Still, eliminate the Elites and Grunts first so your team can begin capturing the Spire. Establishing a spawn point at the Spire makes it easier to confront the Hunter Elders. Keep your distance from these bosses, circling around the upper level of the Spire to avoid their incoming Fuel Rod Cannon shots. High volumes of grenades and rapid fire work well against the Hunters—use an Assault Rifle or one of the Storm Rifles dropped by an Elite. But teamwork is essential, as these bosses can absorb a ton of damage. Look for opportunities to hit them in the back, where they’re unarmored. Scoring hits on their rear weak spot with power weapons like the Sniper Rifle or Rocket Launcher inflicts massive damage. But you’ll need teammates to distract them before they expose their backs.
Zealot Assassin
Locations:
» Passage at 2:00
» Caves at 2:00
Minions: Stealth Elites
Bounty: 25 VP
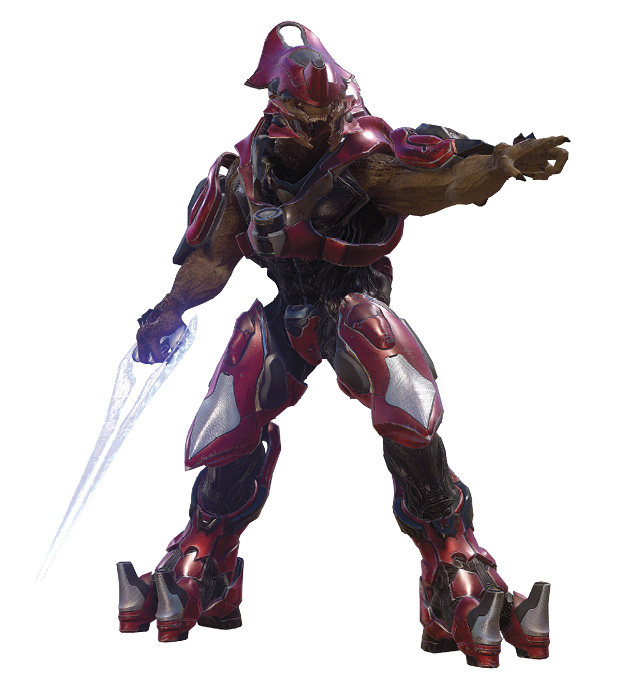
The Zealot Assassins and their minions appear in the Passage and Caves adjacent to the Red and Blue Bases. After securing their respective bases, both teams should make a move on these bosses during their advance toward the map’s center. Both the Passage and Caves are cramped, enclosed spaces offering little room to maneuver. Use the crates and rocky walls to take cover form incoming plasma fire. Focus on the Stealth Elites first, taking them down with sustained Assault Rifle fire—but keep your distance to avoid their Energy Sword attacks. With the Stealth Elites down, focus your fire on the Zealot Assassin, hammering away at him until his shields are down. Once his shields are depleted, he can be eliminated with a single headshot from the Magnum. Before moving on, don’t forget to grab Energy Swords off the fallen Stealth Elites and the Storm Rifle from the Zealot Assassin.
Elite Ultra
Locations:
» Plateau at 4:00
» Crags at 4:00
Minions: Jackals
Bounty: 25 VP
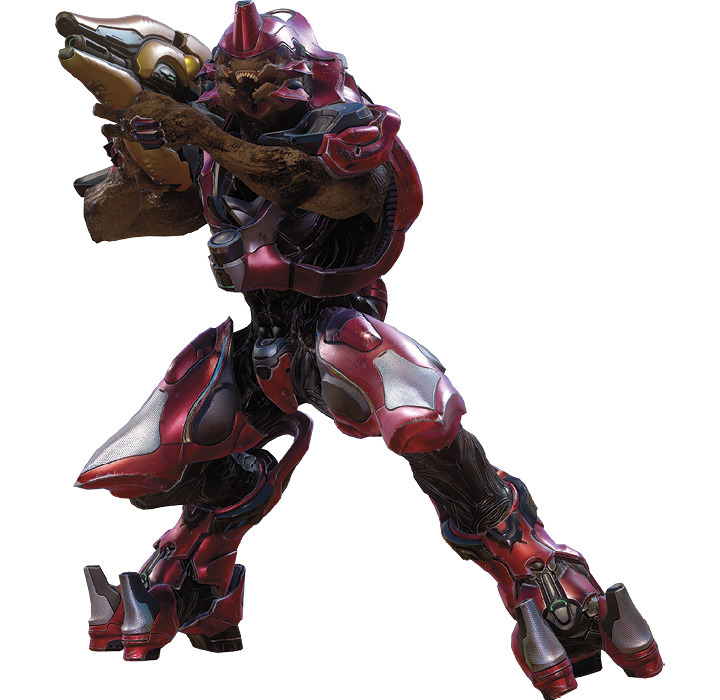
The Elite Ultra and his Jackal minions are best dealt with from long range. Mid- to long-range weapons like the Battle Rifle and DMR work well—even better if you have access to a Sniper Rifle. Hold back and pick off the Jackals first; try to score headshots to drop them quickly. With the Jackals eliminated, turn your attention to the Elite Ultra. Armed with a Scattershot and Fuel Rod Cannon, the Elite General is extremely dangerous at close range, so keep your distance to avoid taking retaliatory fire. There is very little cover at the Plateau or Crags for this boss to hide behind, so you should have a clear shot. The Elite Ultra’s shields are very durable and recharge quickly, so keep up the attack with the help of at least one teammate. Heavy weapons like a Sniper Rifle or Rocket Launcher help deplete his shields faster. Once his shields are down, score headshots to drop him before his shields can regenerate.
Ghost Marauder
Locations:
» Ridge at 6:00
» Waterfront at 6:00
Minions: None
Bounty: 25 VP
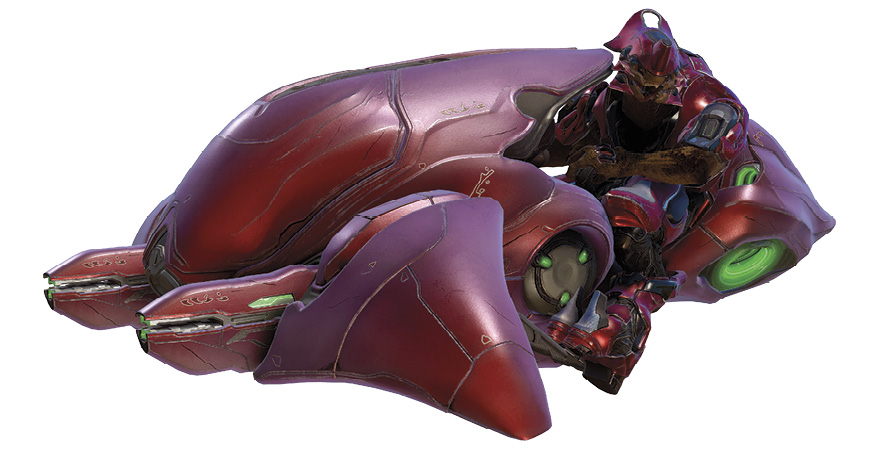
Appearing at the Ridge and Waterfront, the Ghost Marauders are a constant nuisance unless dealt with soon—avoid moving through these areas on foot until these bosses have been eliminated. If you’re on foot, take to the Roof of the East or West Armory and try to get a line of sight on the nearby Ghost Marauder. Scoring hits on the Ghost Marauder will draw it toward the Armory, giving you opportunities to attack the operator—always aim for the boss instead of his vehicle. Explosives work well against the Ghost Marauder, but the vehicle’s speed can make it tough to score hits unless you’re using a weapon capable of tracking the target, like a Hydra Launcher. It’s best to avoid toe-to-toe fights with the Ghost Marauder, so try to counter with a vehicle of your own. While Banshees and Phaetons are ideal for taking down the Ghost Marauder, you can also have success with a Scorpion, Wraith, or heavily armed Warthog.
 Tankmaster Rok
Location: Beach at 8:00
Minions: None
Bounty: 150 VP
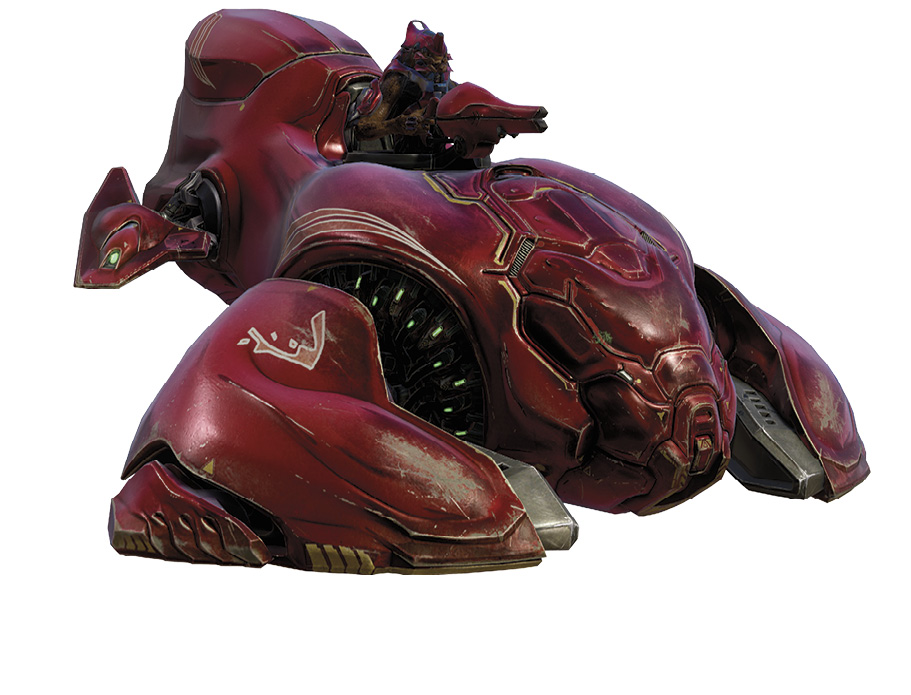
Arriving in a Wraith at the Beach, Tankmaster Rok is the first legendary boss available, and is likely to draw a lot of attention from both teams thanks to his generous bounty. The Beach is a large open area, with very little cover. Attacking Tankmaster Rok directly while on foot is extremely dangerous. But if you can get close enough to attack, toss grenades and use explosive weapons to inflict damage on this tough boss. For best results, hold back near the Plateau or Ridge and use homing weapons like the Hydra Launcher to score hits from a safe distance. But Tankmaster Rok is best countered with tanks of your own—try to attack with at least a couple of Wraiths. Don’t get into a close-quarter duel—keep your distance and lob explosive rounds toward Tankmaster Rok while strafing to avoid his incoming shots. If your team has access to air support, pour it on with strafing runs by Banshees and Phaetons; their rocket attacks are very effective.
Banshee Raider
Locations:
» Ridge at 10:00
» Waterfront at 10:00
Minions: None
Bounty: 25 VP
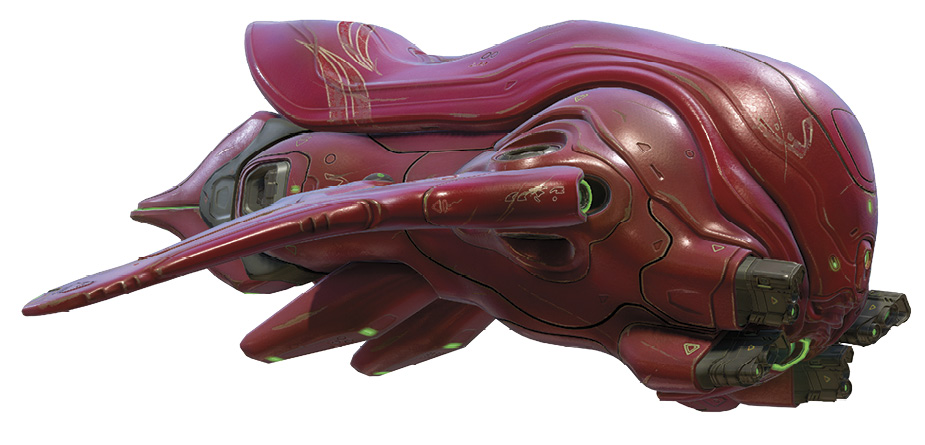
If the Ghost Marauders have been eliminated at the Ridge and Waterfront, Banshee Raiders are the next bosses to arrive at these locations. Both the Ridge and Waterfront provide minimal cover, so avoid rushing through these areas once the Banshee Raiders have been deployed. Instead, seek cover at the West or East Armory before initiating an attack. The Banshee Raider is most vulnerable when it is flying away from you, so when the vehicle turns away, peek out of cover and open fire with a rapid-fire weapon or a homing explosive warhead. Hitting the Banshee Raider draws its attention and wrath, so immediately seek cover before it can begin a strafing run on your location. Once the attack has subsided, peek out of cover and resume your attack. Alternatively, take down the Banshee Raider with a vehicle of your own. However, even when attacking with a Banshee or Phaeton, expect to take heavy damage. So unless you have aerial vehicles to spare, try to shoot down the Banshee Raider from the ground.
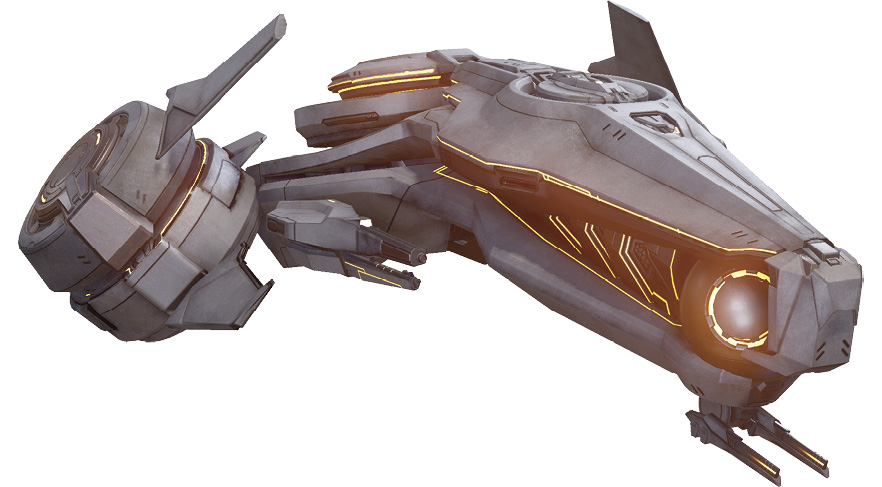
Captain Hestro
Location: Beach at 12:00
Minions: Soldier Officers
Bounty: 150 VP
Captain Hestro only appears once Tankmaster Rok has been defeated. This boss patrols the area above the Beach in a Phaeton—avoid moving through this area on foot once the Captain arrives. The Beach offers very little cover from the Captain’s devastating strafing runs. In a pinch, you can take cover beneath the Spire’s arch above the Beach. Depending on Captain Hestro’s angle of attack, the arch can block some incoming rockets. It’s best to hold back near the Ridge or Plateau and attack this legendary boss with rapid-firing weapons. The Warthog’s chaingun turret is ideal for damaging the Captain’s Phaeton. If your team has access to aerial vehicles, consider engaging with Banshees and Phaetons. But never attack Captain Hestro alone. Even if you’re in an aerial vehicle, make sure your team provides support from the ground. Otherwise you’ll just be wasting a vehicle. Also, watch out for opponents on the ground and in the sky—you don’t want them to steal your bounty.
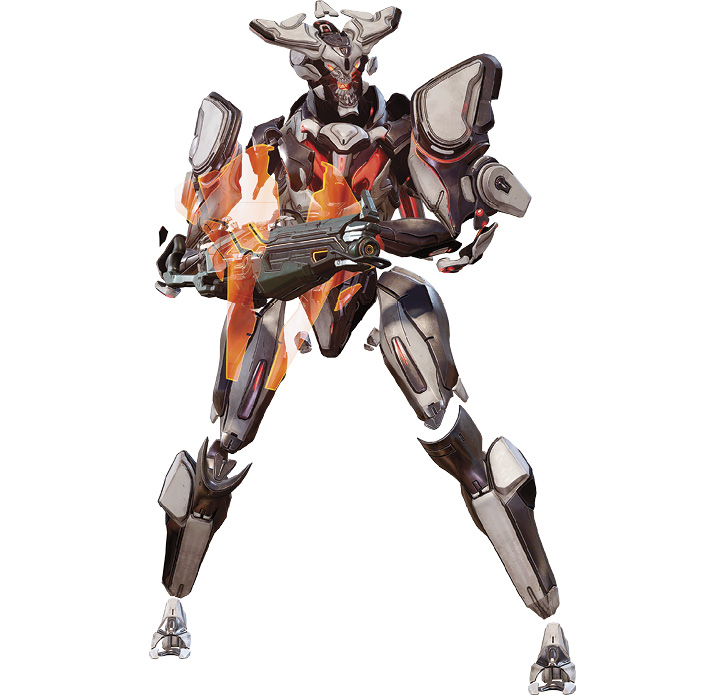
Soldier Guard
Locations:
» Tunnel at 14:00
» Chasm at 14:00
Minions: Soldiers
Bounty: 25 VP
Late during the match, Soldier Guards and the their Soldier minions appear in the Tunnel and Chasm. Both locations are narrow and cramped, offering little room to maneuver. Try to engage these threats from outside the Tunnel or Chasm, scoring hits from long range with a Battle Rifle or DMR. At the very least, try to pick off the Soldiers from a distance before closing in to attack the Soldier Guard. The boss is armed with a Splinter Turret, so you need to use cover to avoid getting mowed down. In the Tunnel, use the long stretches to your advantage while engaging with a long-range weapon. The Chasm’s rocky walls offer a bit more cover, allowing you strafe in and out of cover while exchanging fire with the Soldier Guard. The Splinter Turret dropped by the Soldier Guard can come in handy for fighting other bosses.
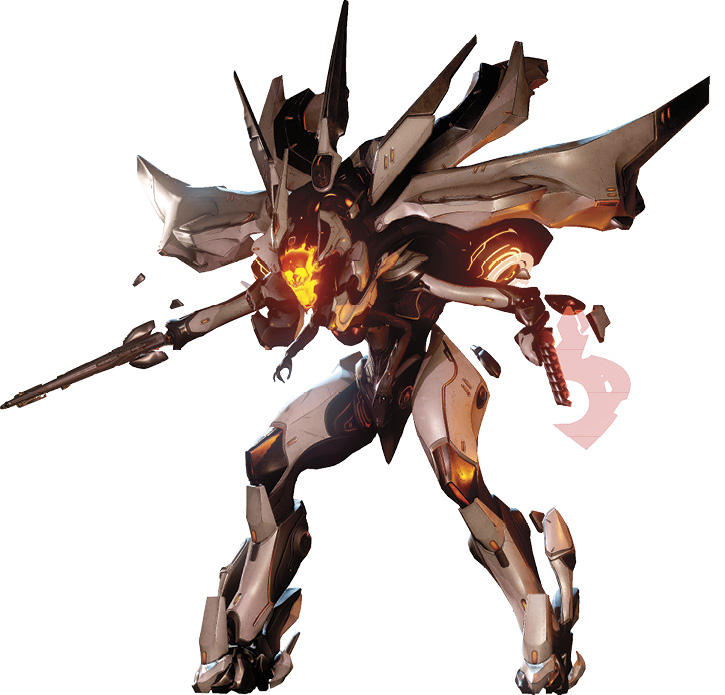
Knight Champion
Location: Crossroads at 16:00
Minions: Soldiers
Bounty: 25 VP
The Knight
Champion’s appearance at the Crossroads is likely to draw attention from both teams as they fight over the nearby Bases. If your team occupies the Spire, use the structure’s upper level to engage this boss and his minions from long range. Otherwise, seek cover among the rocks inside the Gorge. Using a Battle Rifle or DMR, engage the Soldiers first. Once the Soldiers are down, open fire on the Knight Champion, targeting his orange, glowing weak spots to inflict critical damage. As long as you keep your distance, the Knight Champion isn’t much of a threat—he’s most deadly at close or midrange. If the Knight Champion is distracted by other Spartans, you can sneak up behind him and perform an assassination.
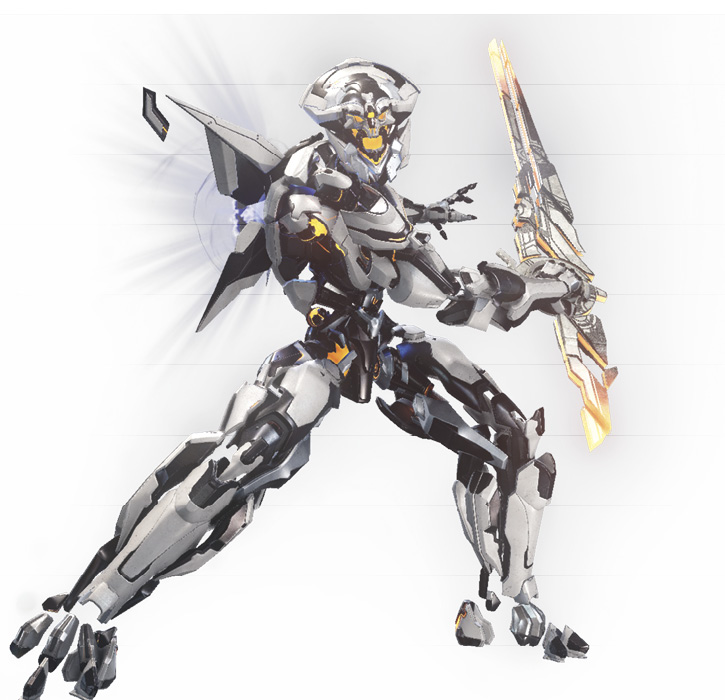
Warden Eternal
Location: Crossroads at 18:00
Minions: Knights
Bounty: 150 VP
Defeating the Knight Champion paves the way for the Warden Eternal’s arrival at the Crossroads. The Warden’s high bounty and central location make for a frantic fight as both teams attempt to score the final kill shot. In close matches, killing the Warden can decide the winner of the battle. The Warden is accompanied by his own contingent of Knights—target their weak spots to take them down fast. As with the Knight Champion, it’s best to keep your distance, firing down on these enemies from the Spire’s upper level or the Red or Blue Overlook. But watch out for the Warden’s devastating orb attack—retreat behind the Spire or other forms of heavy cover to avoid being taken out by this attack. When his minions are eliminated, focus your fire on the Warden, hitting him with all the heavy weapons (and vehicles) your team can muster. When the weak spots on his back and face are exposed, use high-damage precision weapons like the Sniper Rifle, Railgun, LightRifle, and Beam Rifle to inflict massive damage— use the REQ Station in the Spire to adjust your loadout. Once the Warden has sustained heavy damage, he can be taken down with an assassination. Attempt an assassination only if the Warden is distracted by teammates or opponents. Sometimes an assassination is the best way to guarantee your team secures the Warden’s game-winning bounty. Otherwise, one lucky shot by an opponent may result in an upsetting loss.