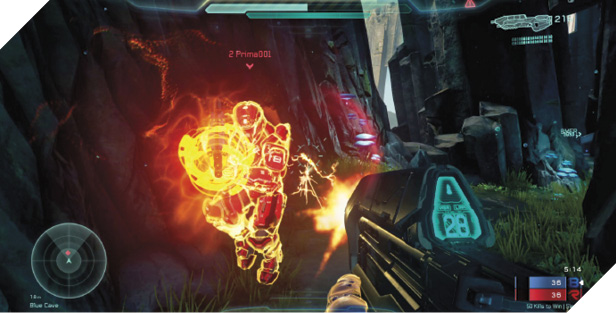
Coliseum
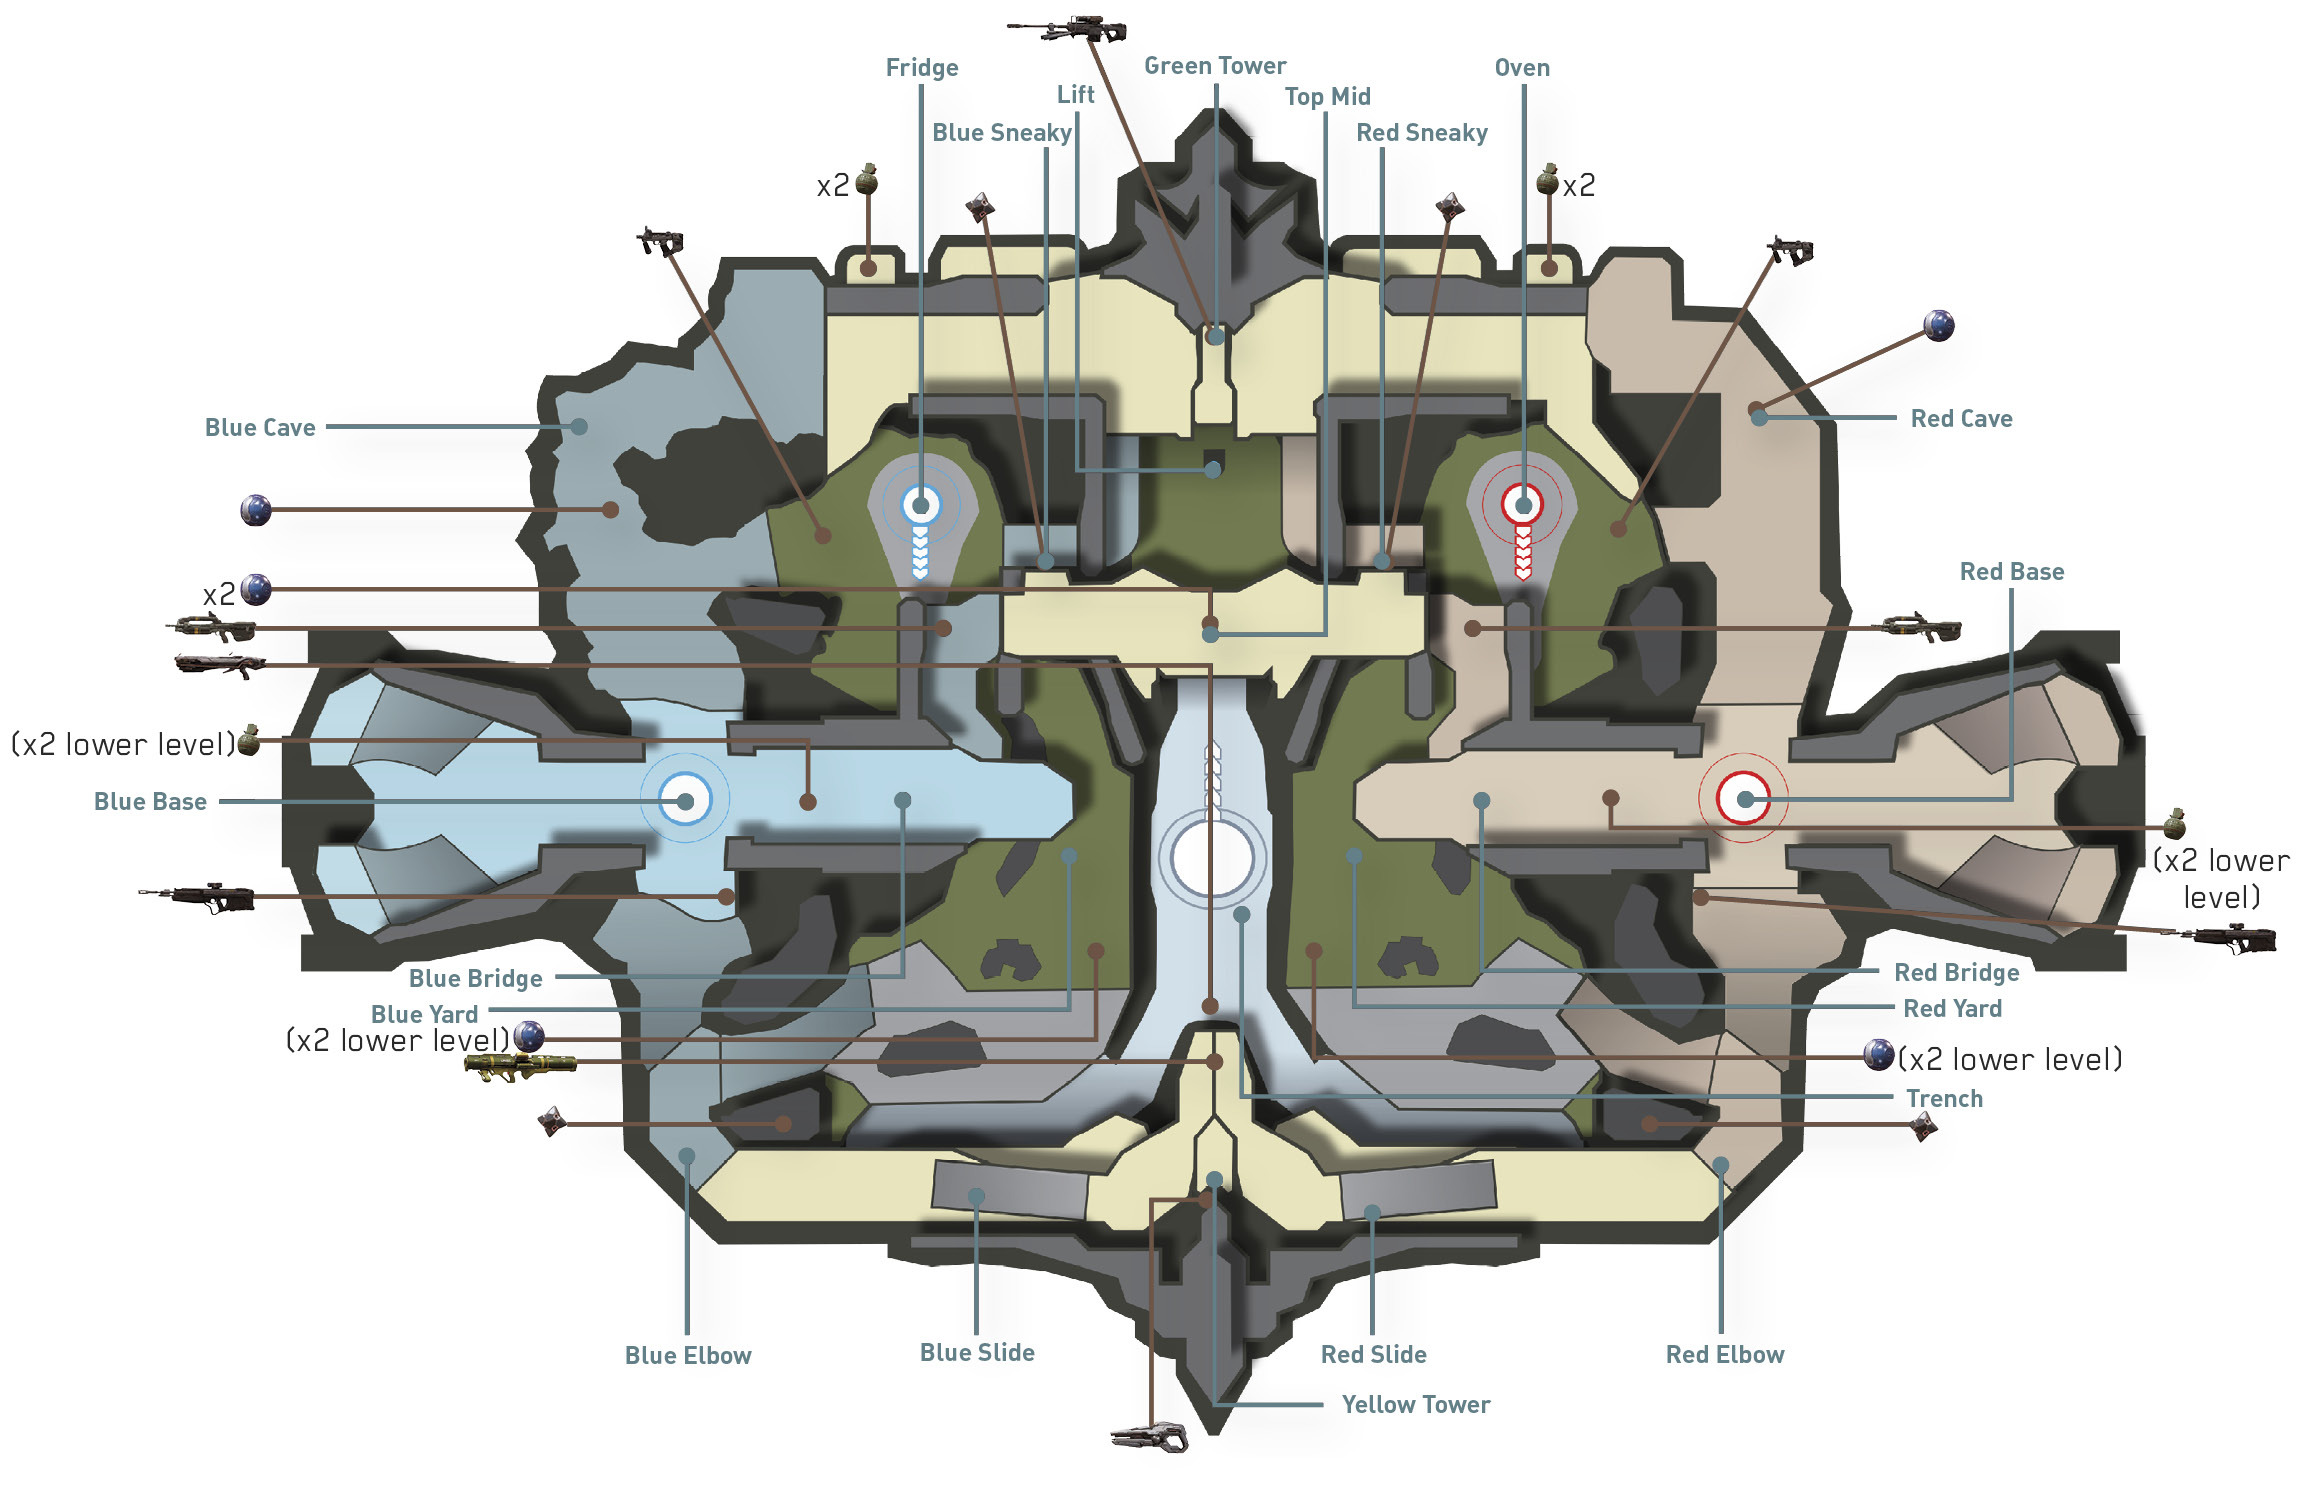
Description: Forerunner Warrior-Servants tested themselves in this arena before facing the Flood.
Game Modes: Slayer, Capture the Flag, Strongholds
Coliseum is a symmetrical map reminiscent of Sanctuary from Halo 2 or The Pit from Halo 3. Its easily distinguishable bases allow for fortified setups and safe spawning, making this map an instant classic during competitive Slayer and Capture the Flag matches.
Featured Weapons and Power-Ups
| Item | Name | Location | Respawn Time |
|---|---|---|---|
|
|
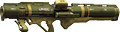
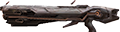
Rocket Launcher | Yellow Tower | 2:00 |
|
|
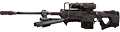
Sniper Rifle | Green Tower | 3:00 |
|
|
Scattershot | Trench | 0:10 |
Starting Moves
- Make a quick push for the Rocket Launcher at the start of the match to give your team an offensive advantage. Equipped with four rockets, this weapon practically guarantees four kills. Pay close attention to when the Rocket Launcher is picked up, and be ready to grab it as soon as it respawns—it respawns every two minutes after it’s picked up. Controlling the Rocket Launcher is the best way to secure a victory in any game mode.
- If you can’t reach the Rocket Launcher, make a move for a key weapon like the Sniper Rifle or Scattershot. Thanks to Coliseum’s long sight lines, the Sniper Rifle is ideal for picking off unsuspecting opponents at long range, particularly as they leave their base. Or grab the Scattershot and patrol the area around Top Mid.
Power Position: Top Mid
How to Leverage
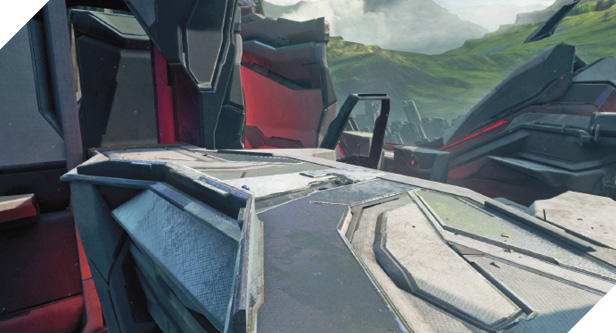
Holding the area around Top Mid is key because it provides great lines of sight into each team’s base and adjacent locations like the Green and Yellow Towers—this is ideal for controlling access to the Rocket Launcher. Also, multiple elevations and clamber routes allow you to escape incoming attacks.
How to Counter
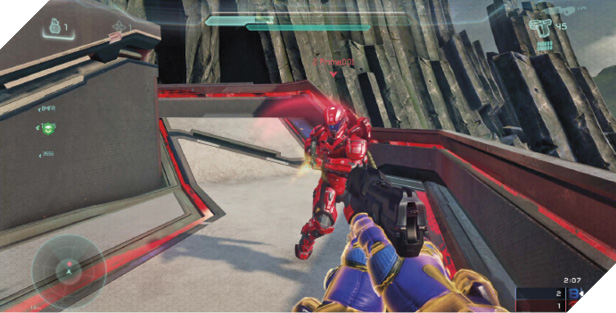
If the opposing team holds Top Mid, grab a DMR near your team’s base and flank toward the Green or Yellow Tower to get a good line of sight. While you provide long-range suppressive fire, have a teammate push from your team’s Cave or Oven to assault Top Mid. Coordinated attacks are important, so make sure at least one teammate is working with you.
Tactics
Be wary of Coliseum’s perimeter. If you’re not careful you may inadvertently jump or get knocked off the side of the map.
Get familiar with the various jumps you can make in the Fridge and Oven locations. Various clamber spots work for getting onto or around Top Mid.
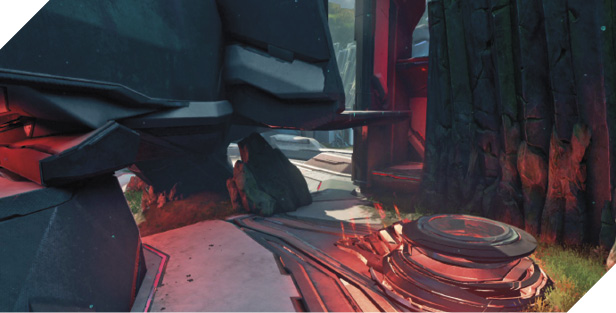
Try running up the ramp-like wing of the bridge near your team’s base. If you sprint and jump off this feature, you can clamber your way up onto Top Mid. If you sprint, crouch, jump, thrust, and stabilize, you can launch yourself across the map, landing on the opposing team’s bridge.
In Capture the Flag, once you’re familiar with thrusting and throwing the flag forward, advance along or around Top Mid. This area offers multiple routes as well as decent cover for the flag carrier. Speedy, direct routes along Top Mid are the most successful. The flanking routes may leave you exposed or vulnerable to grenades.
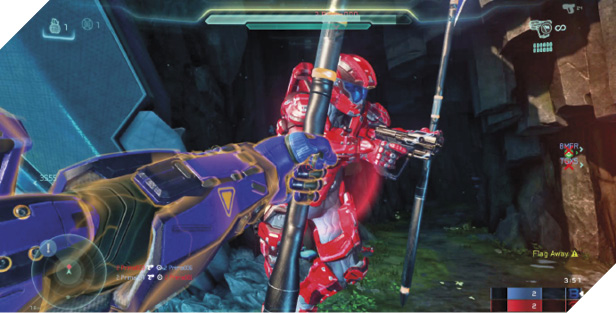
Learn how to maneuver around (or over) the various rocks and irregular geometry on the map. Make note of which features you can jump over, clamber onto, or skirt around. Getting caught up on one of these features can put you at a serious disadvantage during a firefight.