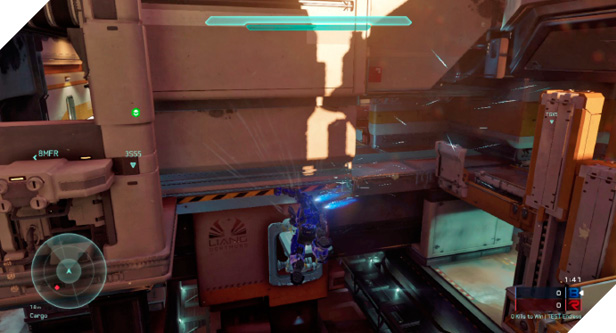
The Rig
Description: Humanity’s ravenous engines of industry require salvaging vast amounts of rare metals from Meridian’s vitrified surface.
Game Modes: Slayer, Strongholds
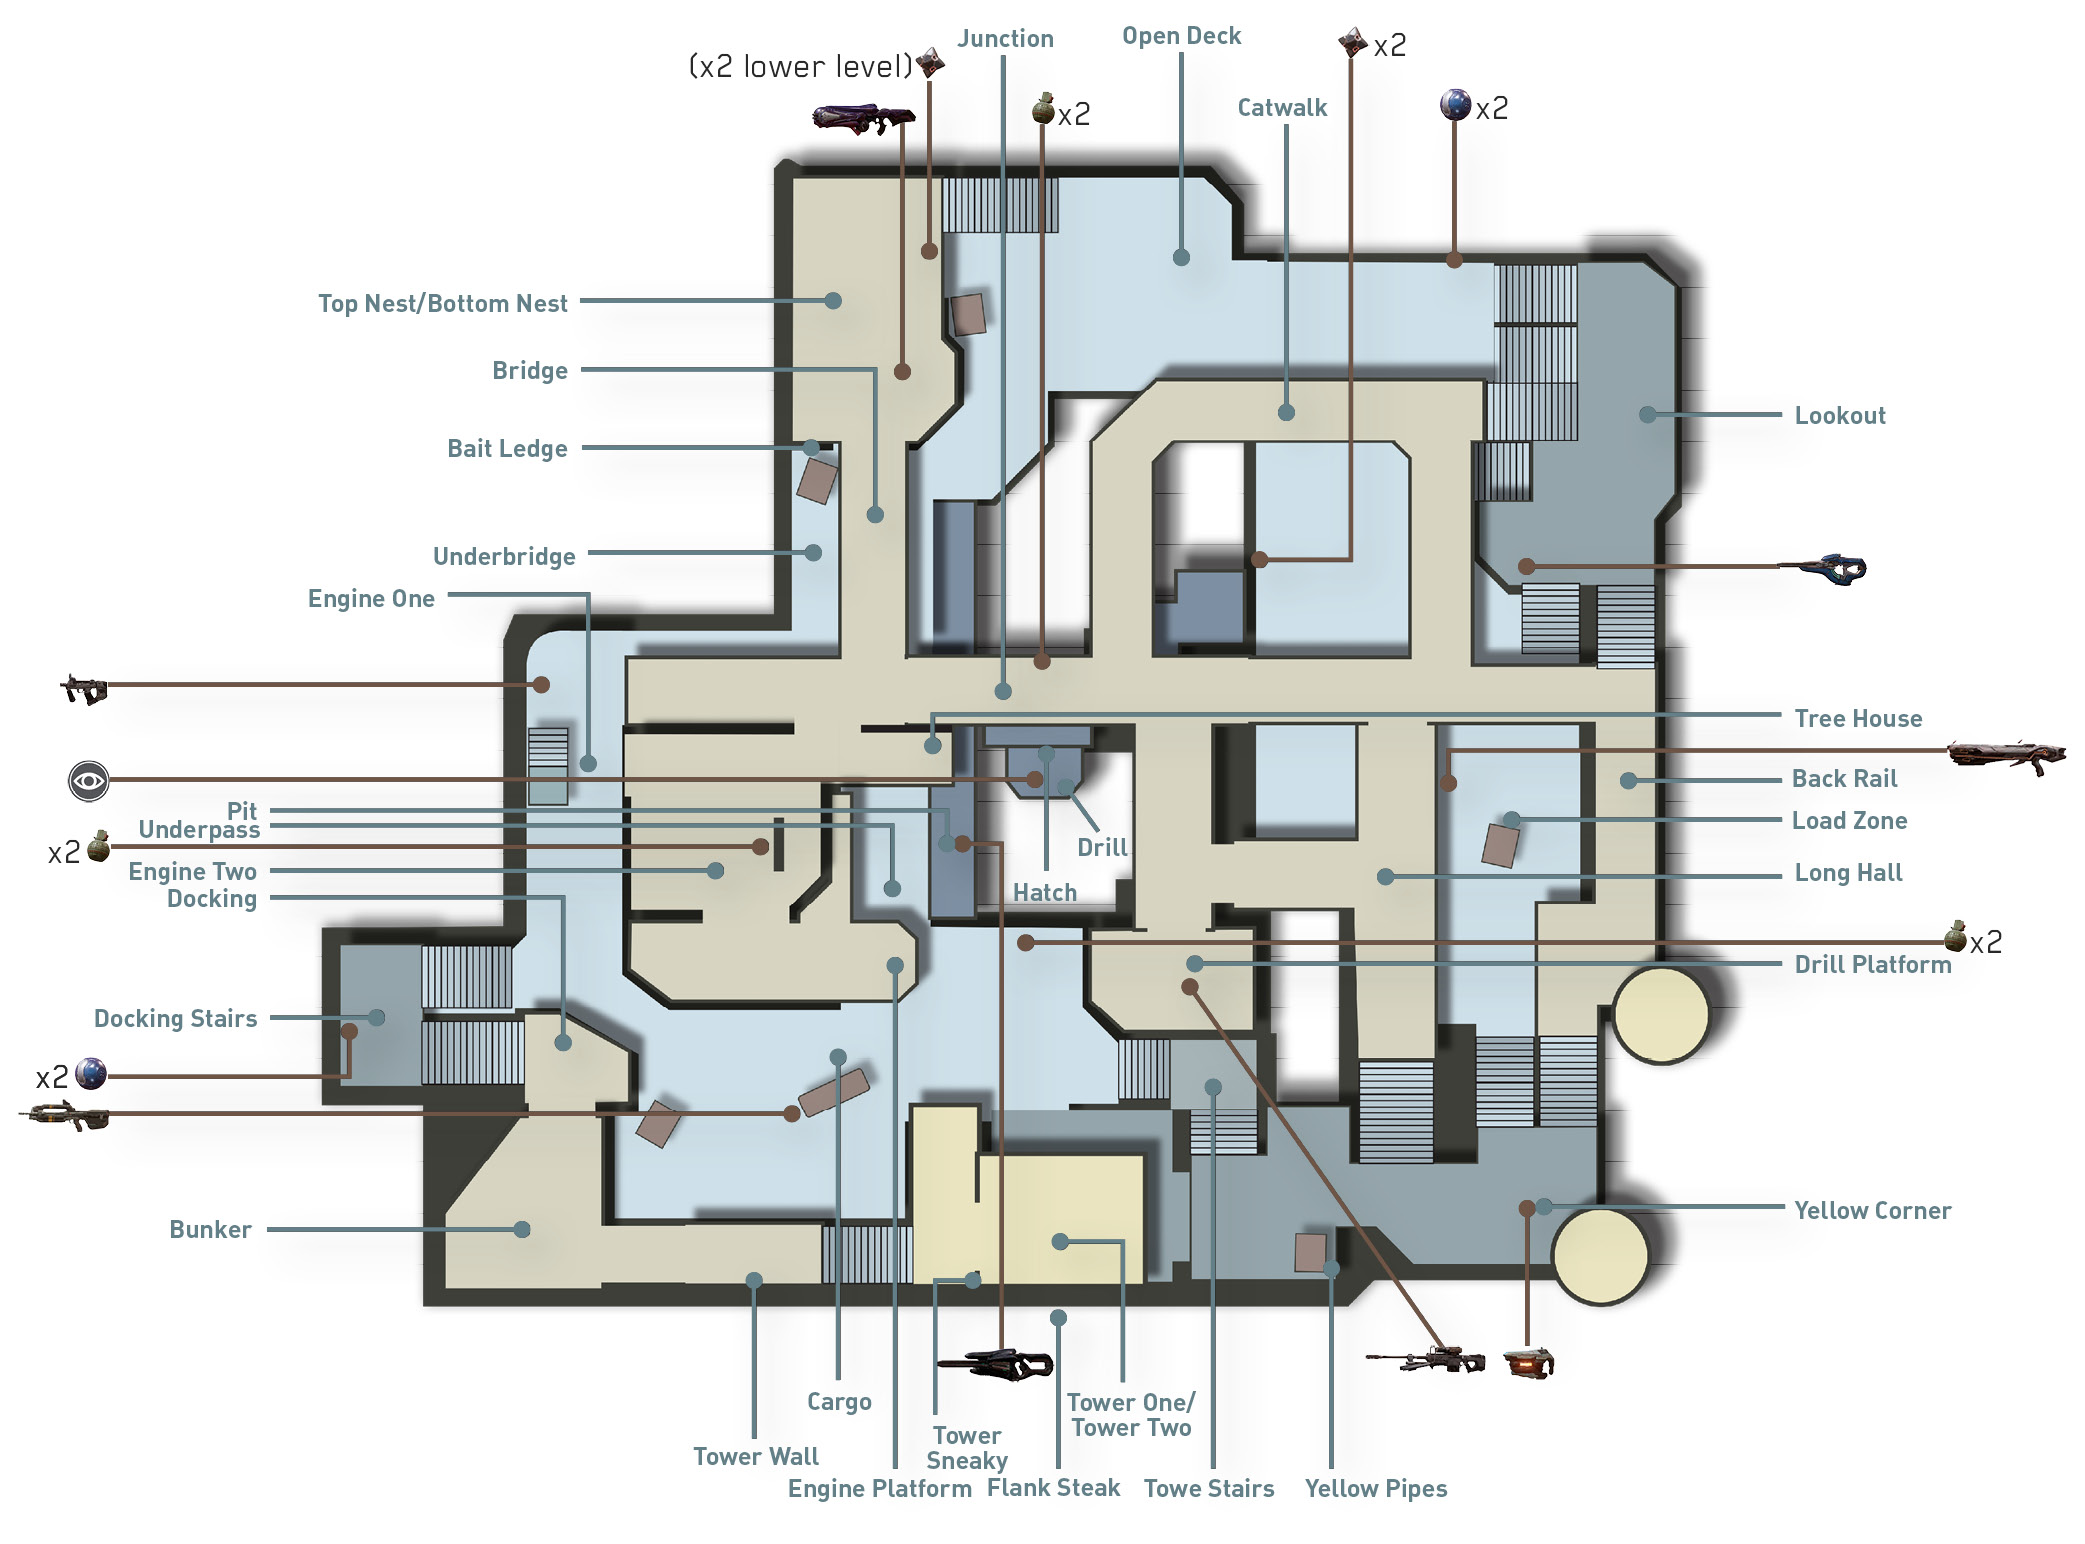
The Rig is a vaulted asymmetrical map where mastering the verticality is key. This mining facility is dominated by a large central pit—watch your step or else you may fall to your death.
Featured Weapons and Power-Ups
| Item | Name | Location | Respawn Time |
|---|---|---|---|
|
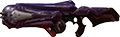
Plasma Caster | Top Nest | 2:00 |
|
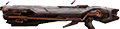
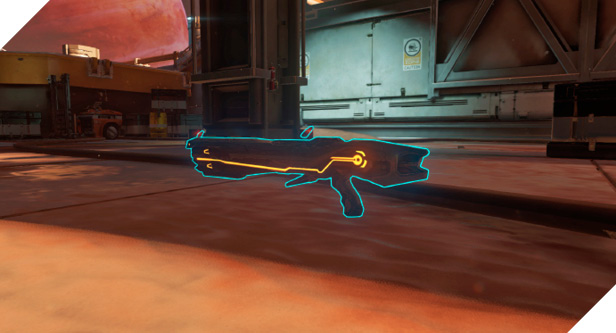
Scattershot | Load Zone | 0:10 |
|
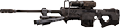
Sniper Rifle | Drill Platform | 3:00 |

|
Active Camo | Hatch | 2:00 |
Starting Moves
- Red Team: Since you spawn on the inside of the map, make an early-round push for Tower Two—you have a good chance of reaching it before Blue Team. From Tower Two you have a good line of sight on the rest of the map—watch out for Blue Team pushing from the Drill Platform or Yellow Corner.
- Blue Team: After spawning on the outside of the map at Lookout, grab the Scattershot at the nearby Load Zone and then rush to Tower One or Tower Two—use the Scattershot to clear out any opponents on both floors, then use Tower Two’s height advantage to engage distant opponents with your Magnum.
Power Position: Tower Two
How to Leverage
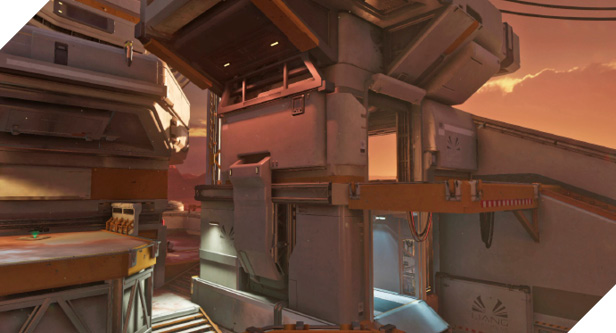
Given its height advantage, Tower Two is one of the most advantageous locations on the map—expect heavy fighting here. From its doorways and ledges, Tower Two has a clear view of the surrounding locations, ideal for engaging traffic around the Pit and Hatch. Use the Sniper Rifle, Plasma Caster, and grenades to rain down fire from this elevated perch. But always be ready to fend off attackers at close range.
How to Counter
Your best bet for taking control of Tower Two is to acquire the Active Camo on the Hatch, located in the center of the map. Active Camo allows you to roam the map while invisible, making it easy to sneak up on opponents in Tower Two. Alternatively, grab the Plasma Caster from Top Nest and lob shots into Tower 2 from Engine Two. Even if you don’t kill the occupants, the exploding plasma rounds usually cause enough fear to chase opponents out of Tower Two.
Tactics
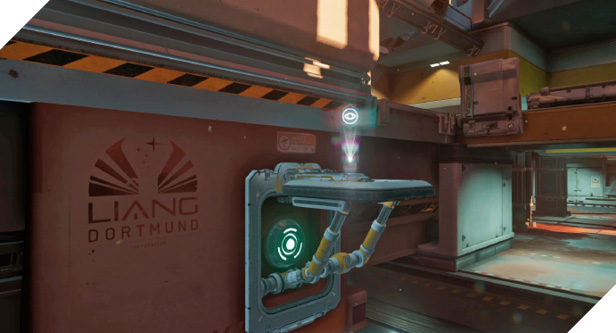
The Active Camo is on the Hatch, a small platform above the Pit—shoot the white target-like sign beneath the Hatch to make it collapse, dropping the Active Camo onto the Drill below. From the Underpass or Load Zone, jump, thrust, and clamber onto Hatch. But don’t linger long—grab the Active Camo, activate it, and escape as quickly as possible.
During Strongholds, focus on controlling two points instead of all three. The Strongholds at Top Nest and Load Zone give you good lines of sight, allowing you to consolidate your defensive efforts near the Catwalk and surrounding perimeter areas.
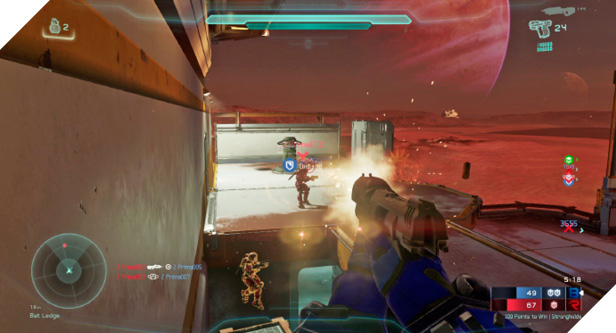
Use the Tower Sneaky ledge to quietly infiltrate Tower Two. Jump and clamber onto the Tower Wall, then simply walk into Tower Sneaky, firing down on unsuspecting opponents inside Tower Two. The Tower Sneaky ledge is also a good perch to snipe from. If you fall off the outside of Tower Sneaky, try thrusting in through the outer windows of Tower Two or Tower One to avoid falling off the map.
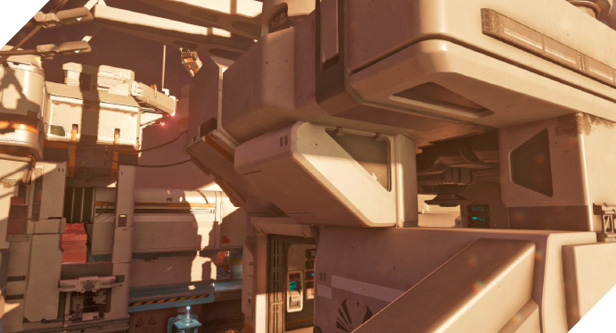
Active Camo and the Scattershot make for a deadly combination. If you can acquire both, you can effectively stalk your prey and one-shot them at point-blank range.
Given the map’s verticality, consider using Ground Pound to quickly reach distant locations. For example, if you’re in Tower Two, you can Ground Pound toward the Hatch to grab the Active Camo.