
Halo 5: Guardians Guide Campaign Walkthrough Mission 1: Osiris
Major Firefight: Security Checkpoint
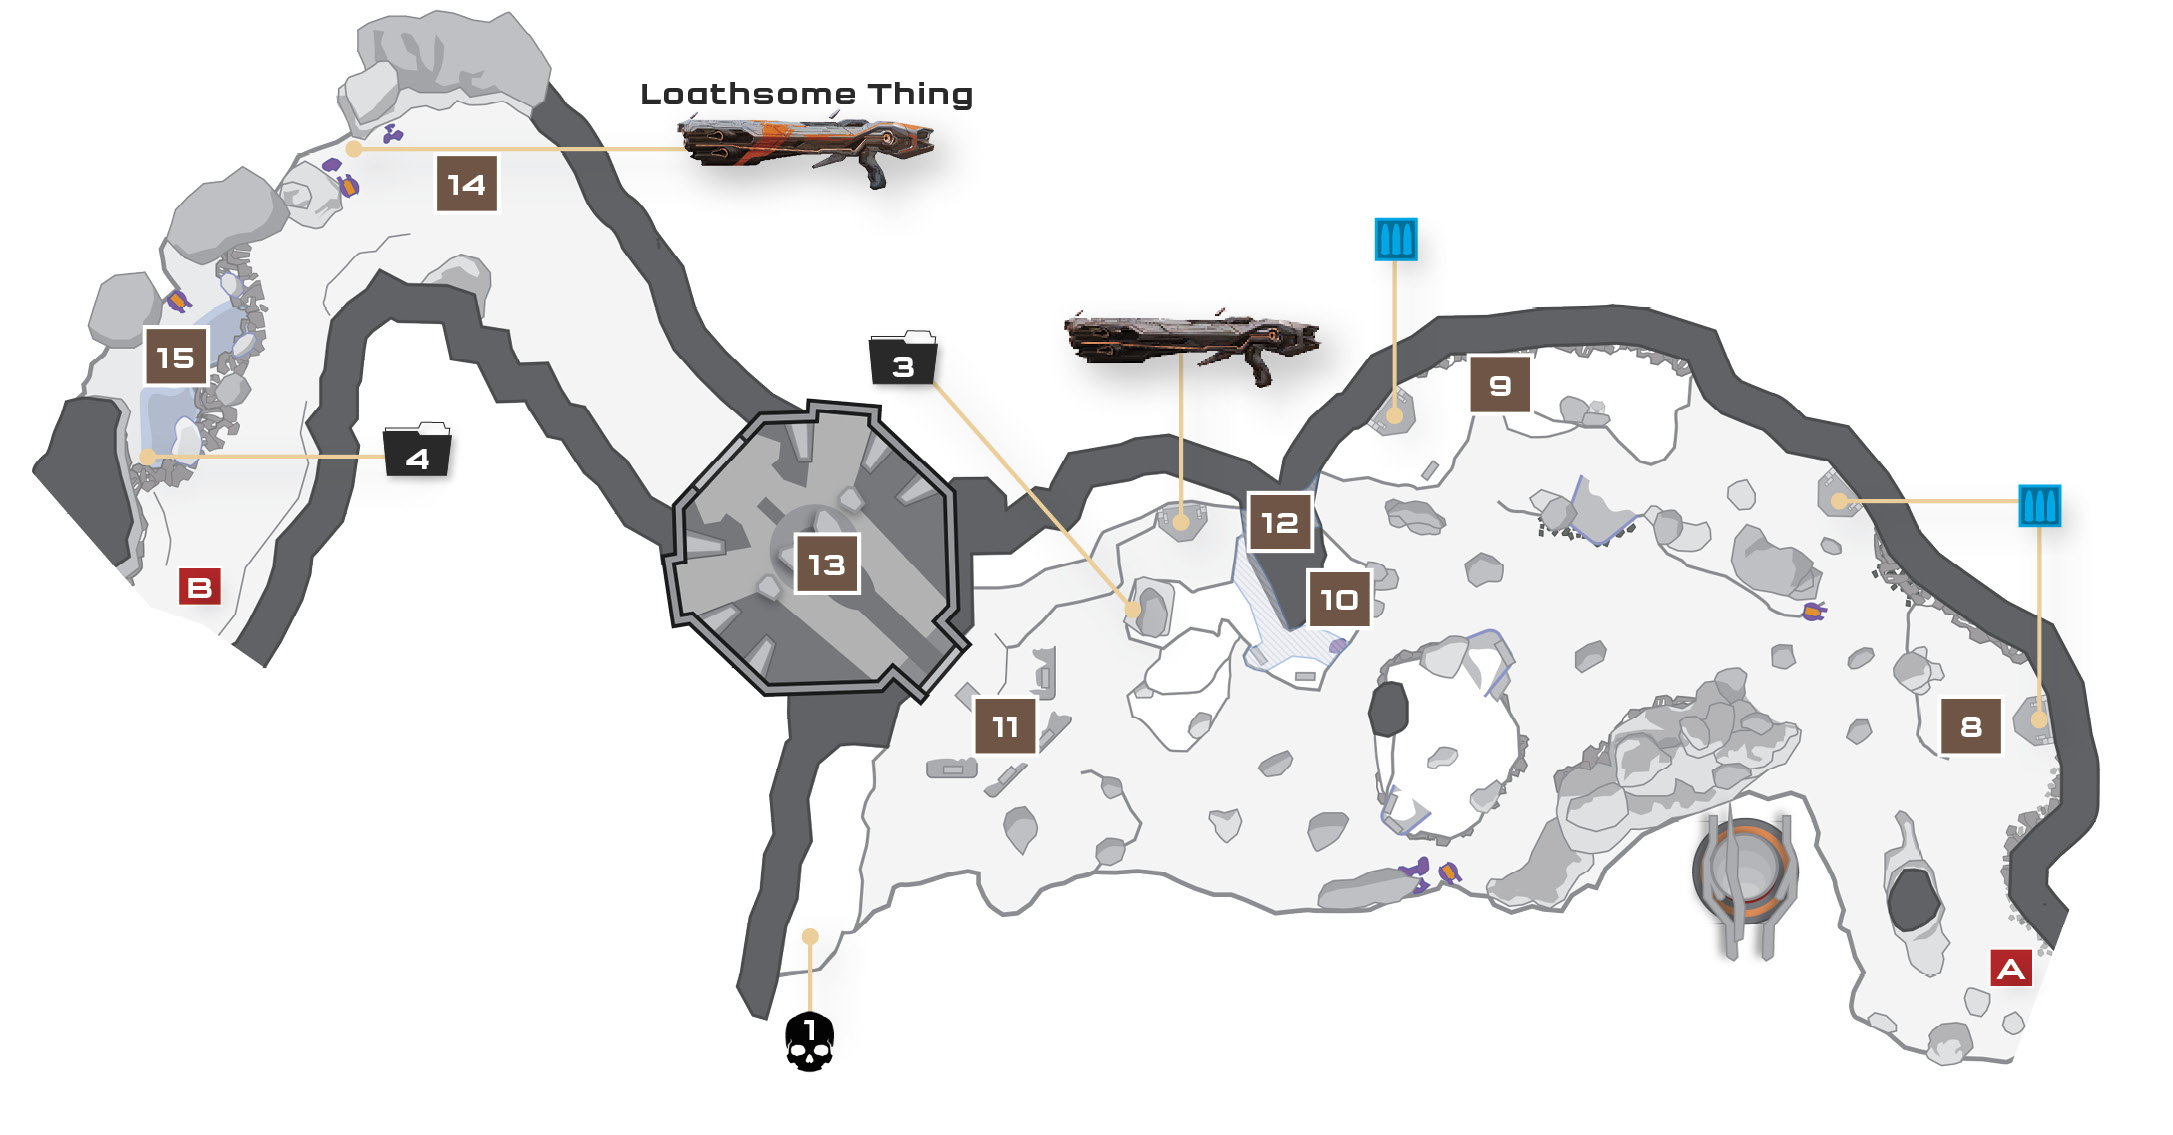
Your first real battle unfolds on the winding trail that leads toward a distant Forerunner security station. Here you face a vast number of Promethean Soldiers and Crawlers, who are busily fortifying their position along the cliffs. Sound strategy will take you far in this intense firefight!
Recommended Loadout
Ditch any Covenant energy weapons you might be carrying and go with Promethean arms (especially Open Hand); they’ll serve you better at dispatching the teeming constructs you face here. The Suppressor is especially useful at close to medium range, while the LightRifles you’ll soon be acquiring will fare better against more distant threats. Until then, a Boltshot is a good backup to your Suppressor.
You could charge straight down the main trail, but that route is extremely dangerous. Keep to the high ground instead by exploiting the ledges on the right. Secure the first ledge on the right, which is guarded by a few Soldiers 8. After defeating the Soldiers, raid the nearby weapon rack to top off your Suppressor ammo and trade your other weapon for a LightRifle.
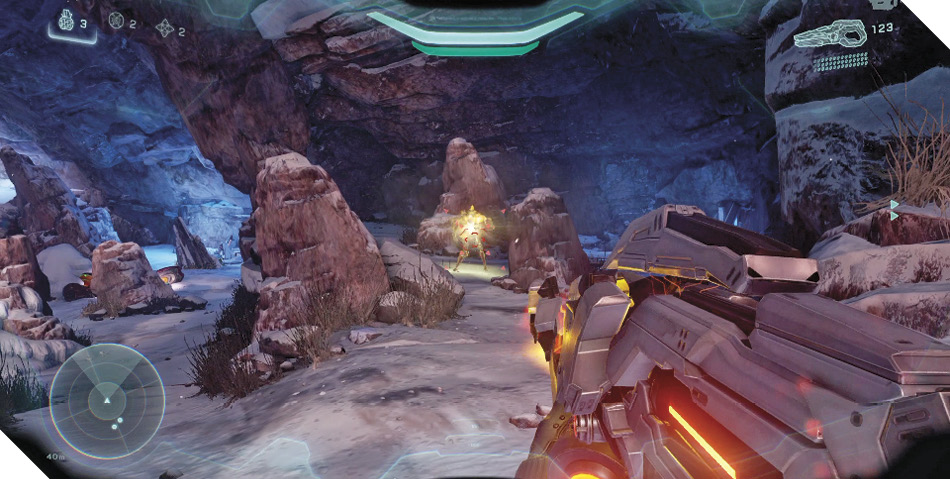
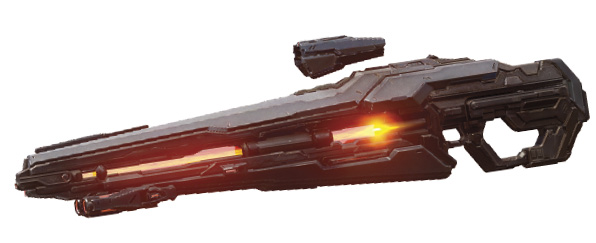 LightrifleThis powerful rifle is frequently wielded by Promethean sharpshooters. Its scope lets the user zoom in for a clear view of remote targets, and its light mass particles find their mark at the speed of light. Picking off threats from a safe distance is always a good idea, and the LightRifle helps you do just that. Use it to hit Promethean cores from afar after blasting off their protective armor. |
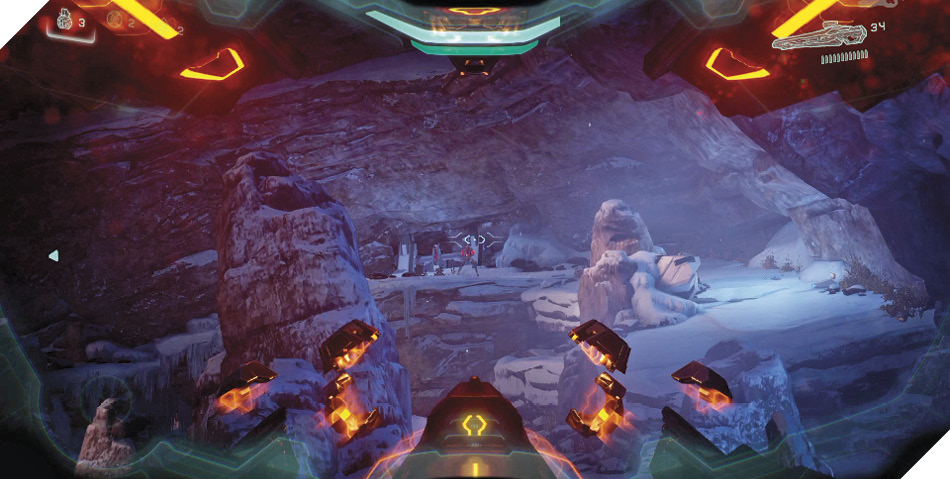
After securing the ledge, level your newfound LightRifle against the enemies below and the Soldiers on the distant cliff 9. Zoom in and chip away at each Soldier’s armor until their vulnerable cores are exposed, then finish them off. Beware of Crawlers that suddenly rush you; switch to your Suppressor to cut them down fast.
When you’re ready to advance, keep close to the wall on the right and head directly for the next ledge 9. This one’s a bit high, but you can reach it by jumping and then pressing the Jump button again to clamber up. Once you’re on the ledge, fire on the distant Soldiers guarding the next ledge 10 with your Boltshot, Suppressor, or LightRifle, but keep an eye on your radar to spot any threats that move into close range. Take cover whenever your shields drop below half strength, and give them time to recharge.
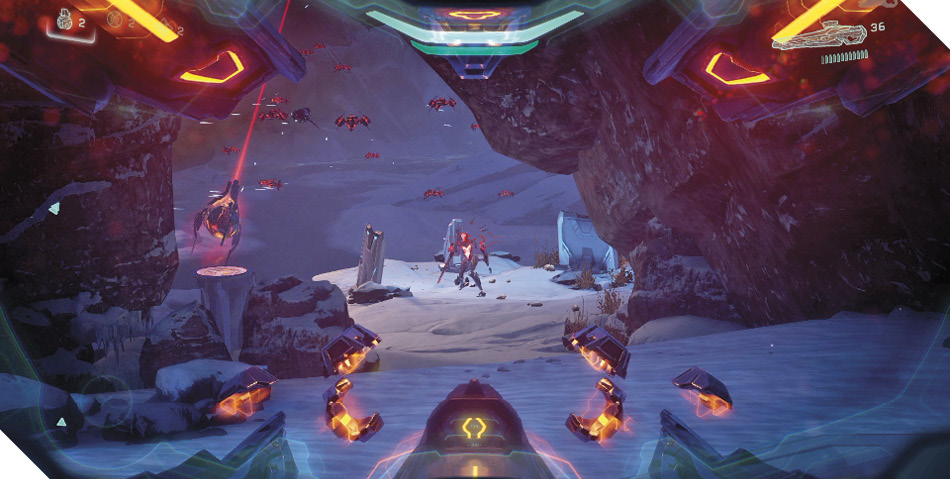
Legendary StrategyUsing the LightRifle and side ledges to maximum effect is vital when playing on Legendary difficulty. The lower trail is suicide, so avoid it and take out the Soldiers and Crawlers from a safer vantage. Promethean armor isn’t self-repairing, so don’t worry if it takes time to get the job done. Remember: Every shot you land moves you one step closer to victory! |
Jump over to the next ledge 10 when it’s safe to do so, then continue picking off Prometheans with the LightRifle. The Soldiers near the far facility 11 wield LightRifles, making them most dangerous, but you have a clear shot at them from the ledge’s highest point. You’ll also discover another Carbine and data pad up here; put the Carbine to use if you run out of LightRifle ammo, and scan the data pad for more Mission Intel.
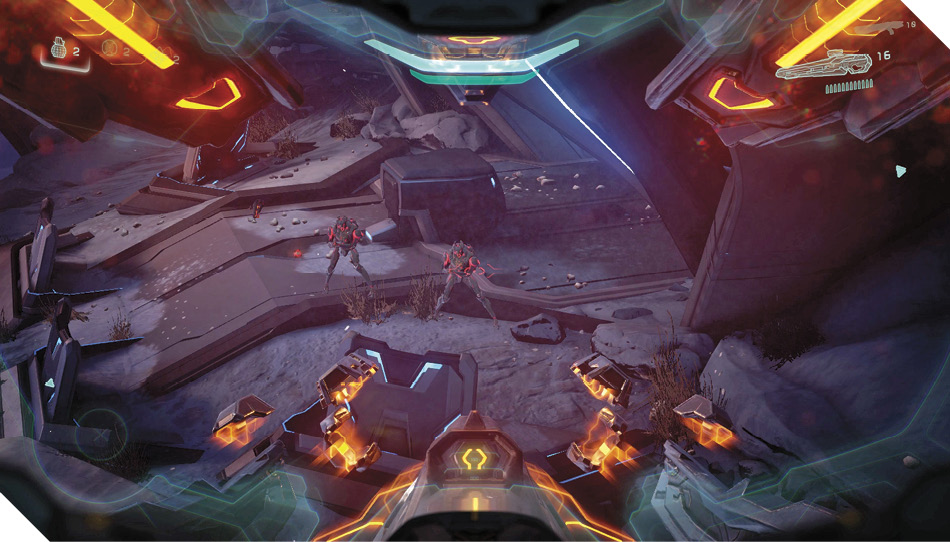
Mission 1 intel Acquired (3/7) |
Alternate ApproachIf you prefer a more direct (and dangerous) approach, try performing a Ground Pound from the ledges. Jump into the air and hold the Melee button, then aim where you’d like to land and release the Melee button. You’ll slam down at that location with tremendous impact, knocking away enemies and defeating weaker ones outright. You’ll be exposed after the Ground Pound, so have your Suppressor ready and find some cover. 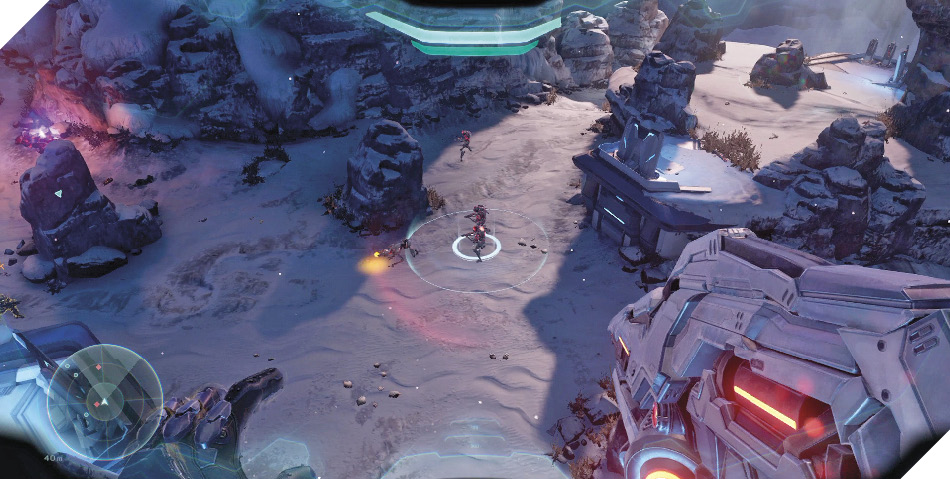 |
The low ground has other advantages. Perform a Spartan Charge (sprint and press the Melee button) and smash through the ice wall between the ledges on the right 12. You’ll enter a small cave with a Scattershot. This powerful close-range weapon is just what you need when those Crawlers start to swarm!
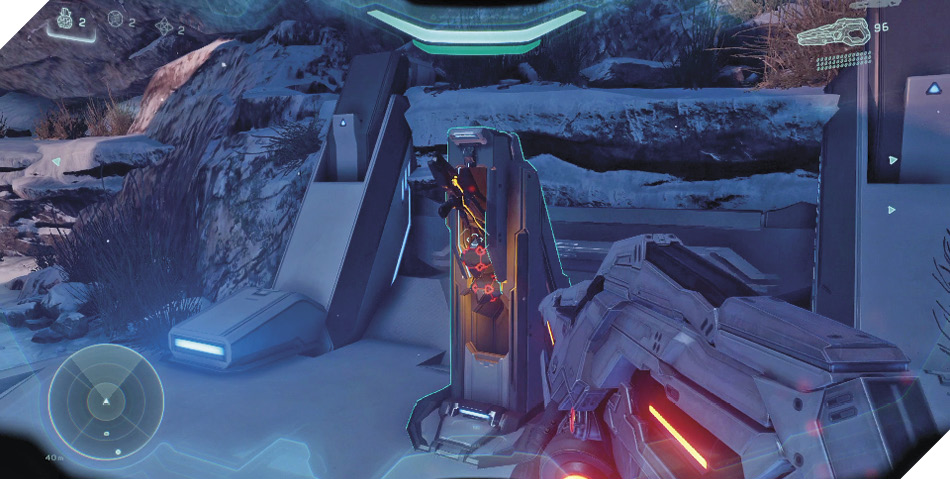
Skull 1 of 13: IWHYBD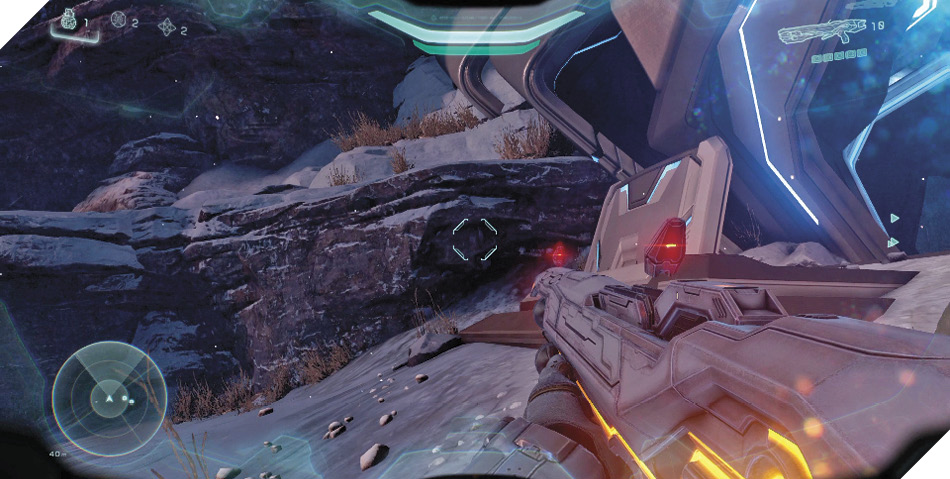 With the area secure, advance on the Forerunner structure that the constructs had been guarding 11. Don’t go inside, but carefully jump and climb onto the ledge that’s just to the left of the facility’s door. 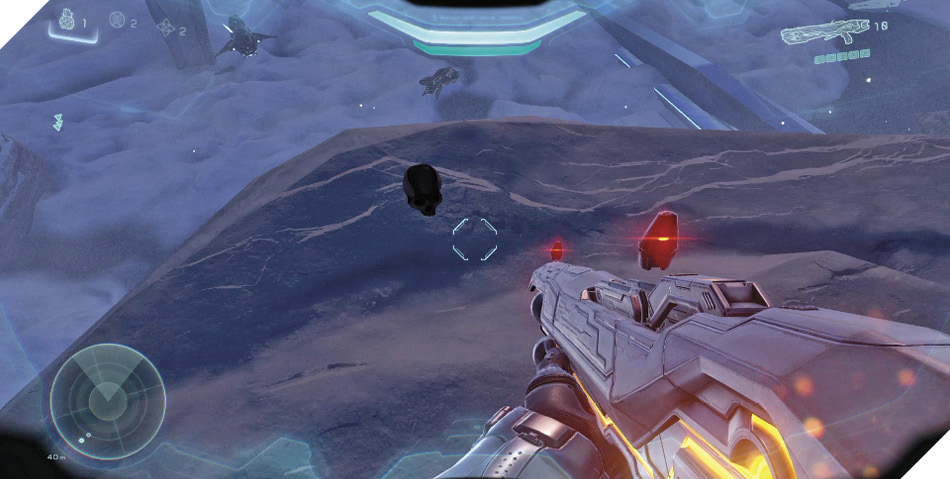 Follow the ledge to its end to discover a tiny Skull in the snow. It may look unassuming, but this little Skull is a rare collectible in Halo 5: Guardians. There are only 13 Skulls like this to find in the entire Campaign, and each one lets you activate a special gameplay modifier that can dramatically change your Halo experience. See the Appendix to learn all about Skulls!  |
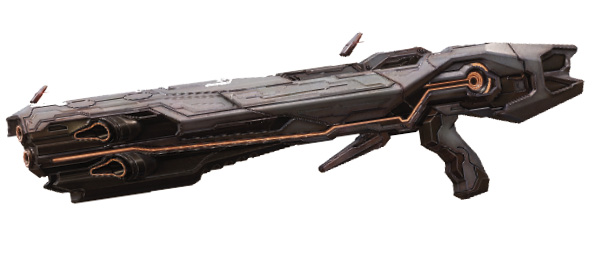 ScattershotThe Prometheans’ equivalent of a shotgun, the Scattershot is the construct army’s ultimate up-close weapon. Its generous spread of ionized particles decimates anything unfortunate enough to bear the Scattershot’s full brunt. If for some reason the first shot doesn’t succeed, the second one often does, and the Scattershot’s quick rate of fire reduces the time you’ll spend exposed between blasts. Scattershots hold just five shells, and each shell must be individually loaded, so always reload between skirmishes to ensure you aren’t caught without ammo. When a spread from a Scattershot bounces off of a floor or wall, it deflects toward nearby targets, allowing for creativity when drawing firing angles. |
Objective: Exit the Security Station
The structure that the Prometheans had been guarding is a Forerunner security station, and the door ahead is sealed tight. Hit the Tracking button to engage Locke’s Artemis system and scan the area. You discover a control mechanism on the platform above the door 13. Sprint, jump, and grab the platform’s edge to climb up, then hold the Action button to trigger the control mechanism and open the door.

Objective: Retrieve Dr. Halsey (Continued)
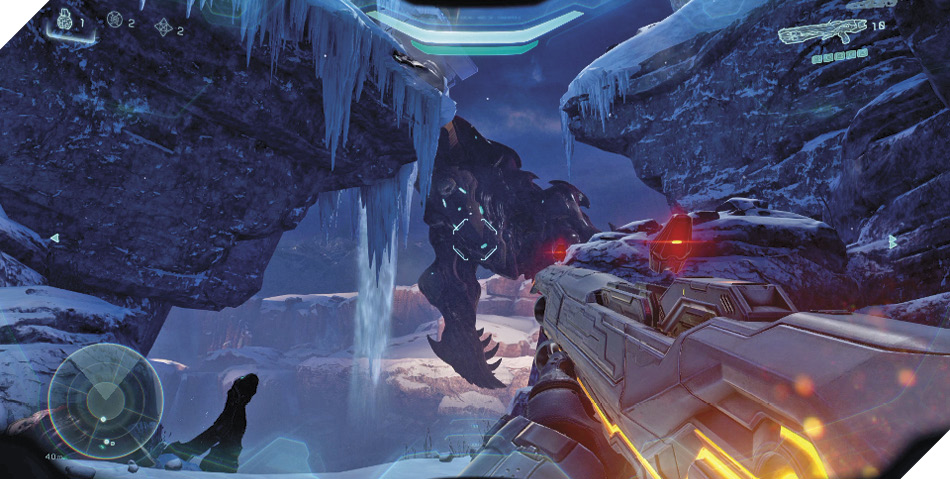
In the cave-like passage that follows, you get your first glimpse of the Covenant’s mighty battle station, the Kraken 14. Well, you get a glimpse at one of the battle station’s massive legs, anyway. Whatever it’s attached to must be enormous! The Covenant certainly isn’t messing around.
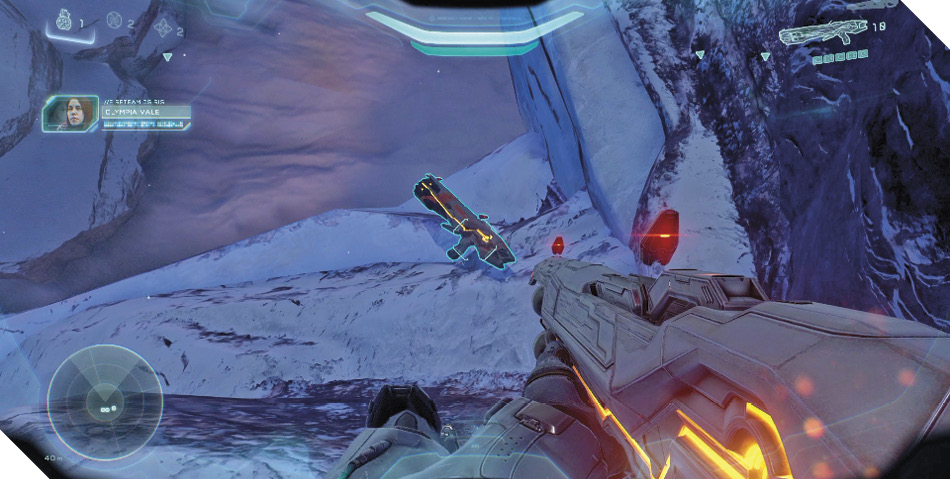
Carefully inch out to the edge of the overlook where you glimpsed the Kraken. Look down to spy a Scattershot stashed on the very edge of the ledge. This is no ordinary Scattershot; it’s Loathsome Thing, another special weapon. Grab it before moving on.
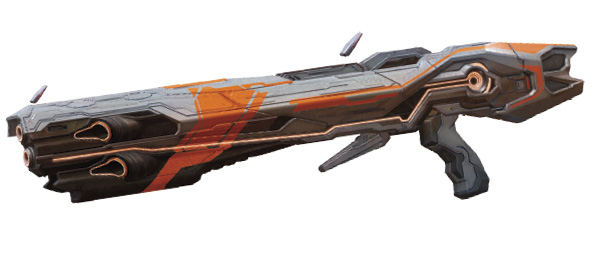 Loathsome ThingStained in the ichor of uncountable foul parasites slain in a hundred thousand wretched hives, Loathsome Thing is an improved Scattershot with increased damage, a faster rate of fire, and an extended magazine. |
Proceed into the ice cave that follows and look for some low ground to the right 15. Drop down and search the lower area to discover a Plasma Grenade and another data pad next to a fallen Elite. Scan the data pad to unlock a new piece of intel.
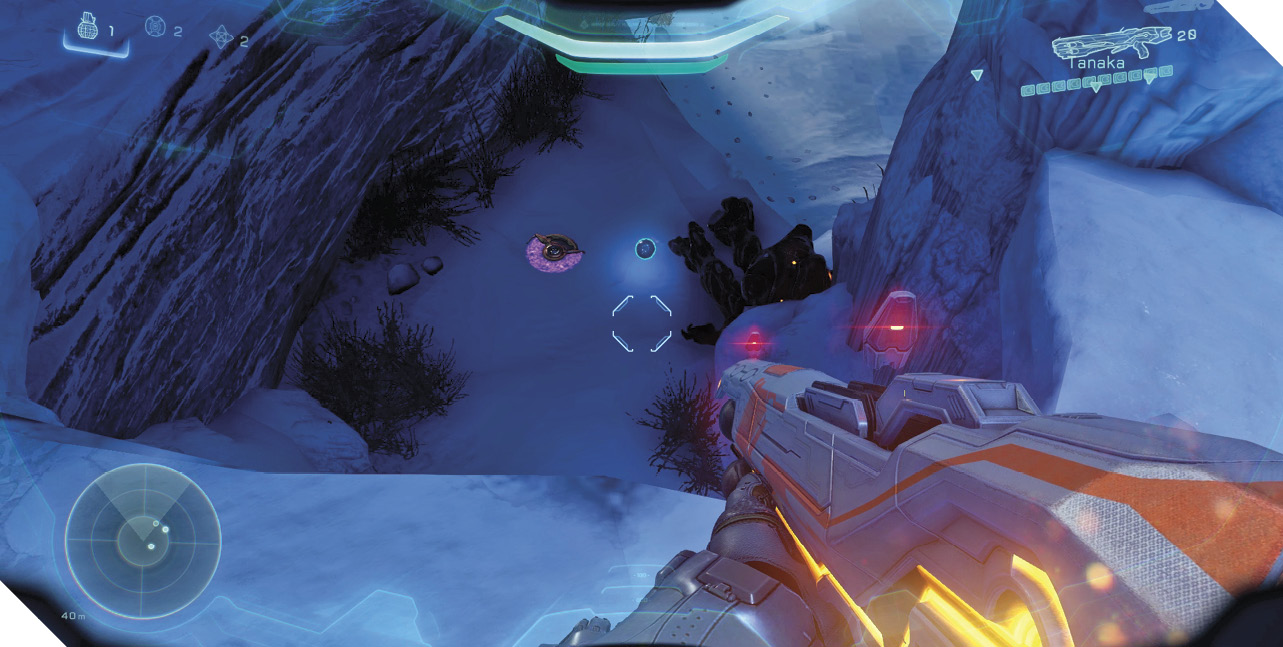
Mission 1 intel Acquired (4/7) |