
Halo 5: Guardians Guide Campaign Walkthrough Mission 7: Reunion
Major Firefight: Warden Eternal
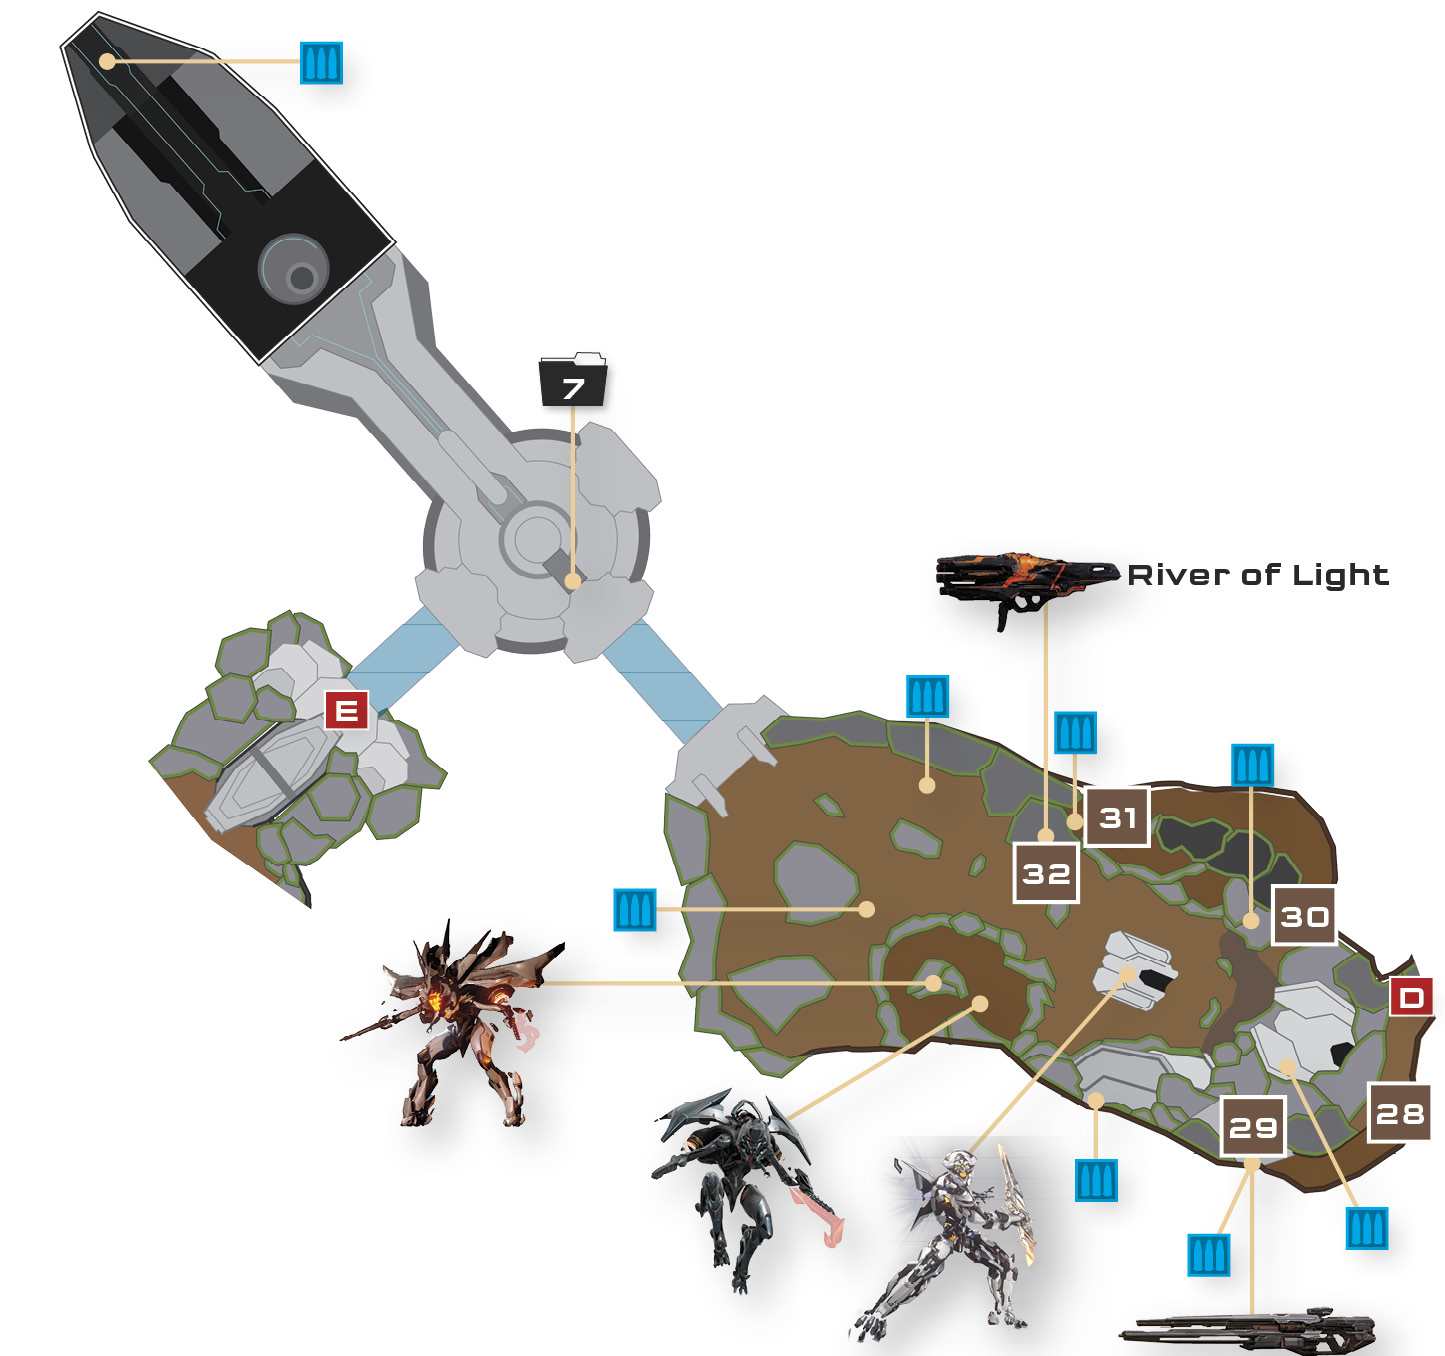
Fresh air lies beyond the Soldier Captains, but so does a major firefight against multiple Soldiers, two Knights, and the fearsome Warden Eternal. This is a challenging battle, so take full advantage of the ample weaponry and cover afforded.
Recommended Loadout
Ranged weaponry will serve you well in this battle, so you can’t go wrong with a well-stocked LightRifle. Depending on where the Soldier Captains fell, you may also be able to carry one of their Splinter Turrets into this battle by taking the left tunnel out of the cavern, which features a gradual grade. If you found Pool of Radiance earlier (the souped-up Fuel Rod Cannon), now’s the time to unleash it against your foes.
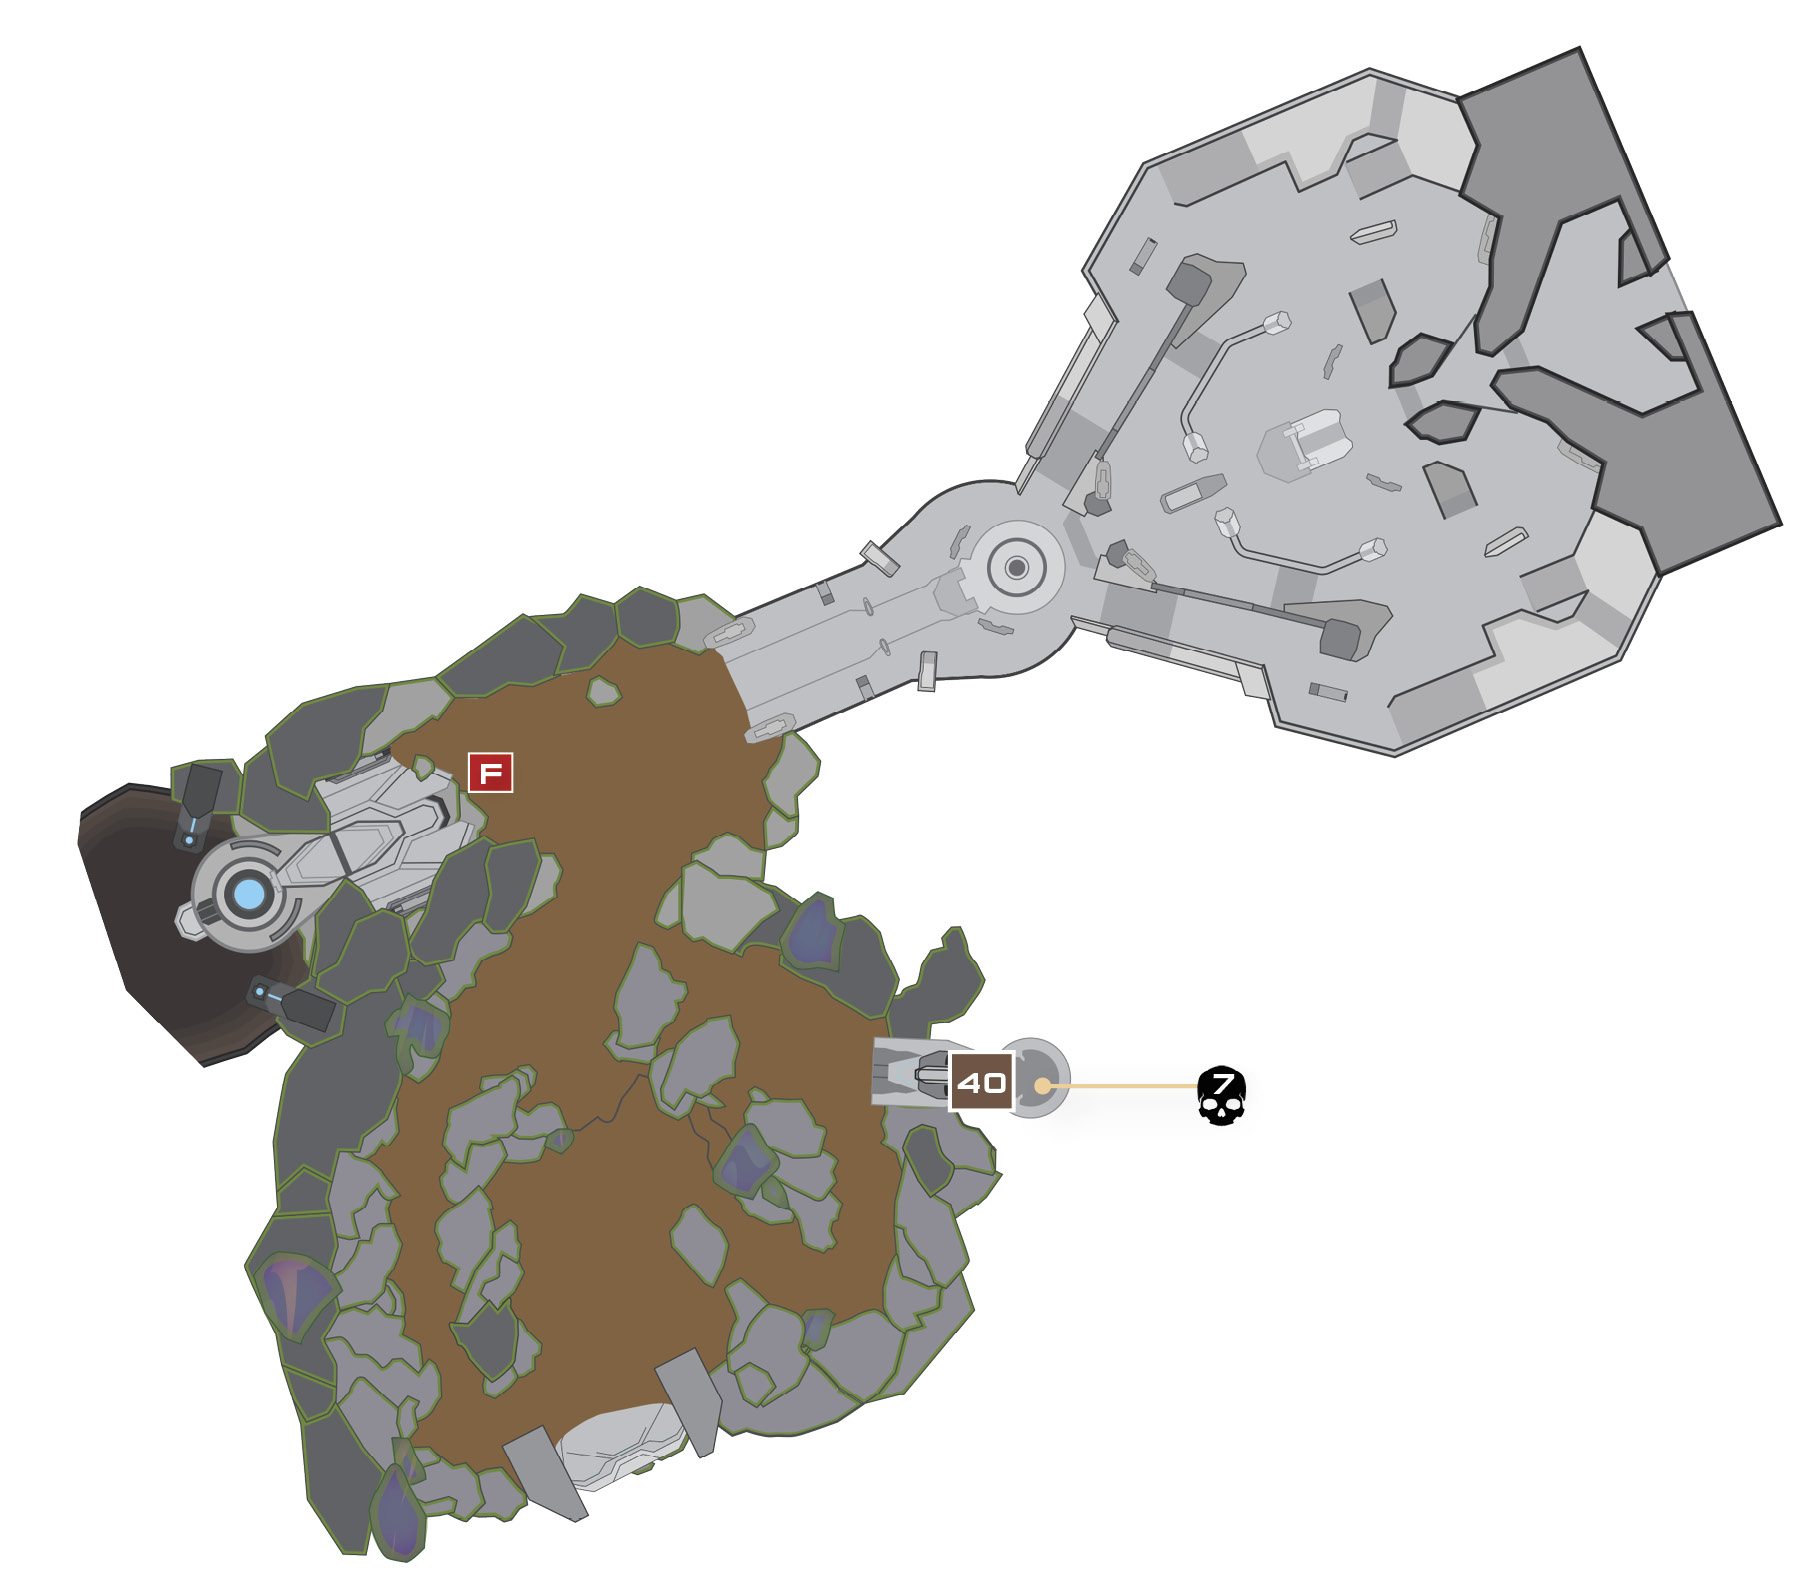
The cavern’s final passage leads out to fresh air. Drop from the cliff to prompt a host of Crawlers and Soldiers to spawn ahead, along with two Knights and the towering Warden Eternal. Unload your Splinter Turret if you’ve brought one, then immediately turn left and charge through a nearby weak wall 28 to reach a side passage that leads up to an excellent sniper’s perch 29.
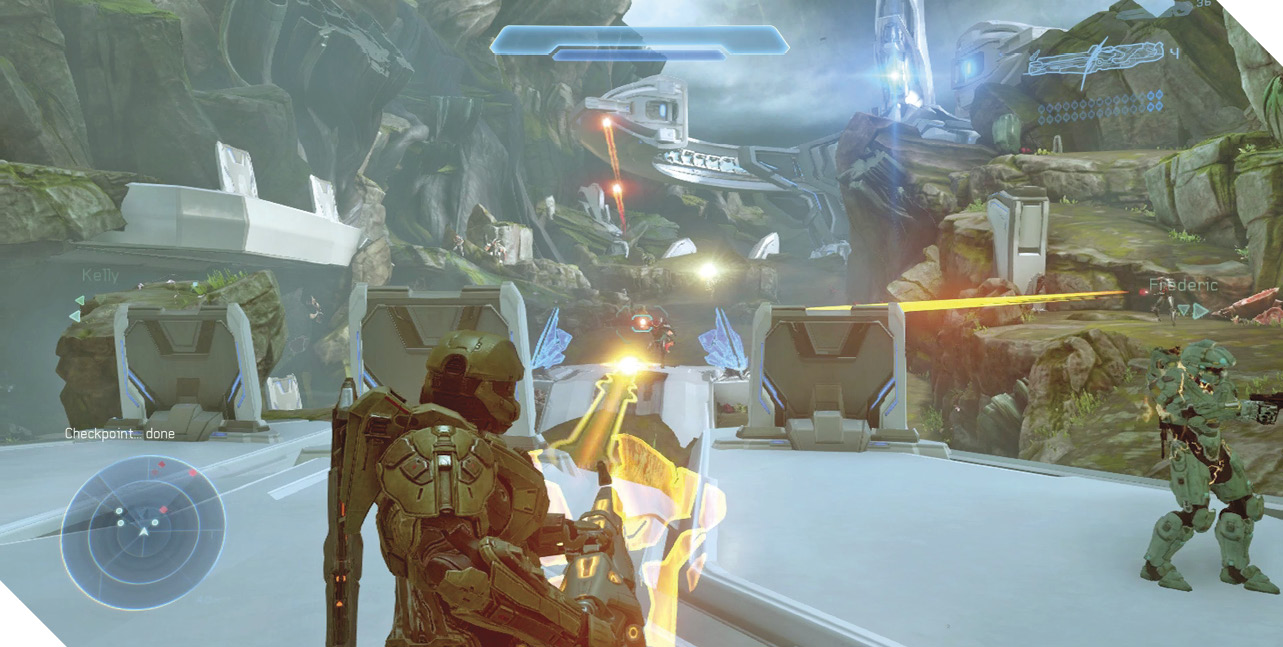
Alternate ApproachAggressive Spartans can advance into the central trench and then smash through the weak wall on the right 30 to reach a forward side passage that sets them up to flank the enemy at 31. This approach comes with greater risk, so consider attempting it only after you’ve exploited the aforementioned sniper perch 29. 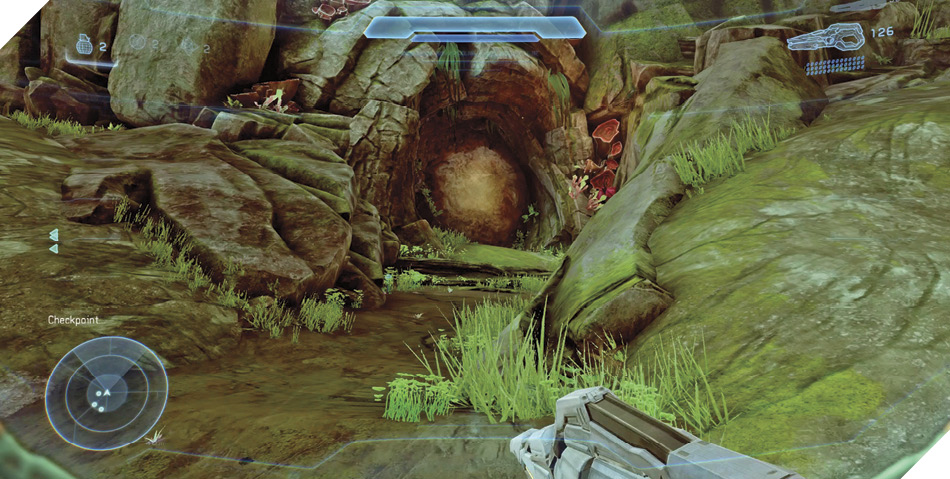
|
The sniper’s perch 29 is stocked with a mighty Binary Rifle, a LightRifle, and a Suppressor. If you’re still carrying Pool of Radiance, empty it now on the surrounding hostiles. Swap it for the Binary Rifle afterward and score headshots on the Warden. Use a LightRifle to finish off the Warden after draining the Binary Rifle, along with any lingering hostiles. Fall back into the side passage as needed to avoid inbound barrages from the Knights and Warden.
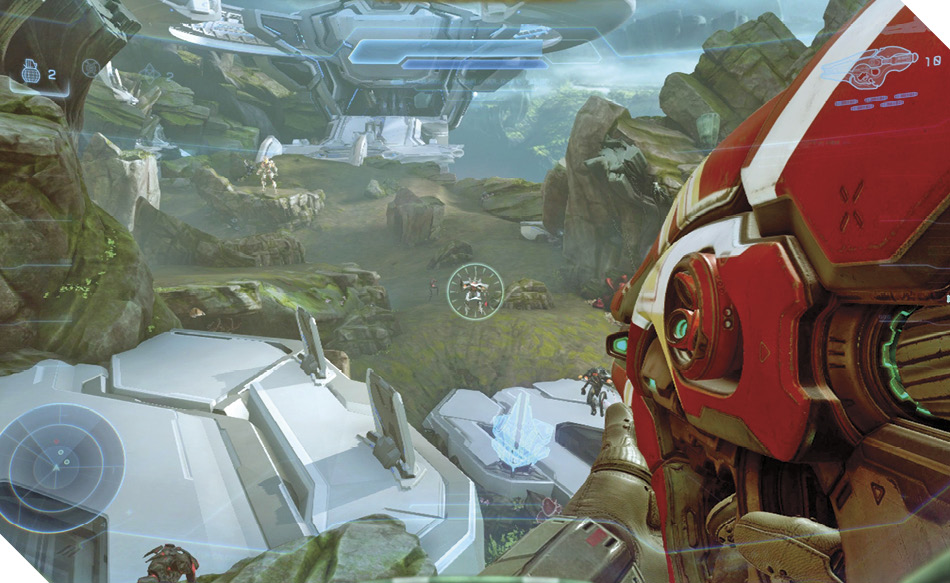
Legendary StrategyThe sniper’s perch 29 remains advantageous during Legendary play, but you’ll run out of ammo before long. Empty the Binary Rifle on the Warden (aim for the head), then finish him off with a LightRifle. Drop from the ledge’s right side afterward to land near some Forerunner weapon racks stocked with Suppressors and LightRifles. Ammo up and then loop back around to the sniper perch to resume firing on the Soldiers and Knights. |
With the Warden defeated and the area secured, Blue Team is suddenly contacted by a familiar voice. It’s Cortana! The AI is indeed alive and well, and she explains that you’re currently exploring a Forerunner planet called Genesis. Cortana warns you that the Warden will soon return, and she urges you to hurry into the facility ahead. Restock your LightRifle and Suppressor (or Scattershot) ammo and then hurry up the hill.
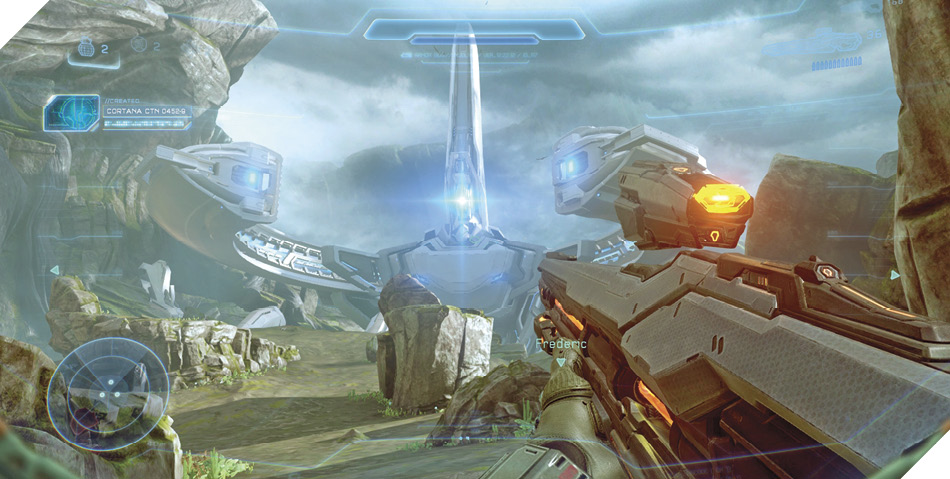
While heading uphill, look to your right to spy a tiny recess in the rocks on the right 32. Jump and climb into this tiny nook to discover a special Incineration Cannon called River of Light. Grab this mighty firearm before moving on.
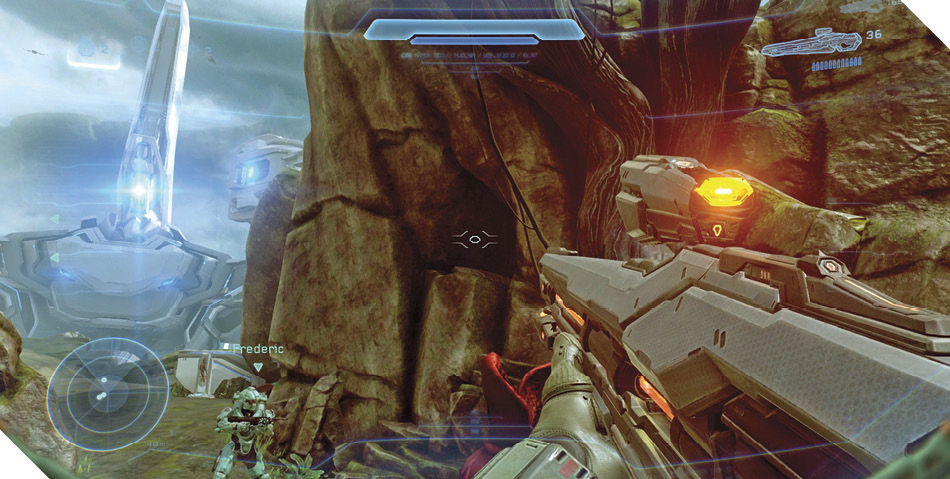
Scale the facility’s ramps to reach another Forerunner console 33. Activate it to ride down a lift and cause yet another change in the Forerunner structure on the horizon, to Cortana’s delight.
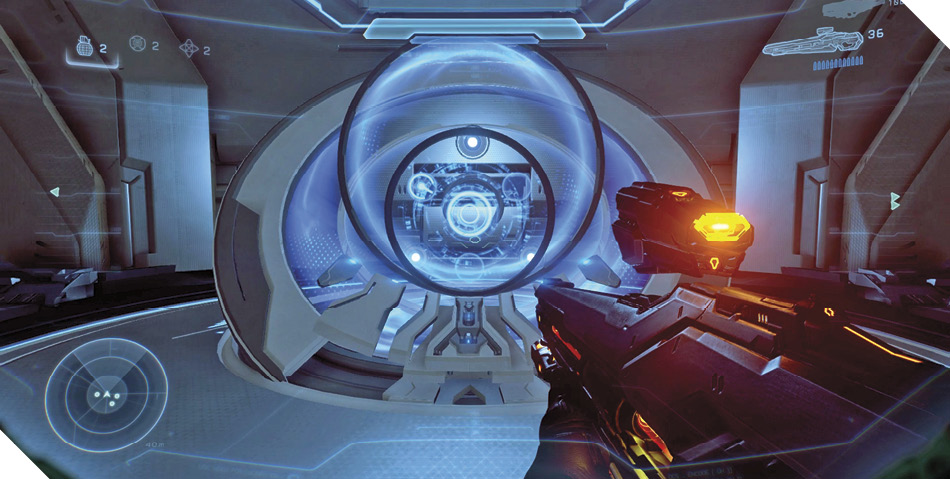

River of LightThe war against the Flood led to many technical advances. All proved fruitless. This improved Incineration Cannon will unleash a long burst of energy blasts if allowed to charge up by holding the firing trigger. |
A lift lowers you after you activate the console. Descend the ramp ahead to locate a smaller console. Scan it to acquire the mission’s final bit of intel, then turn right and cross the Light Bridge that has activated.
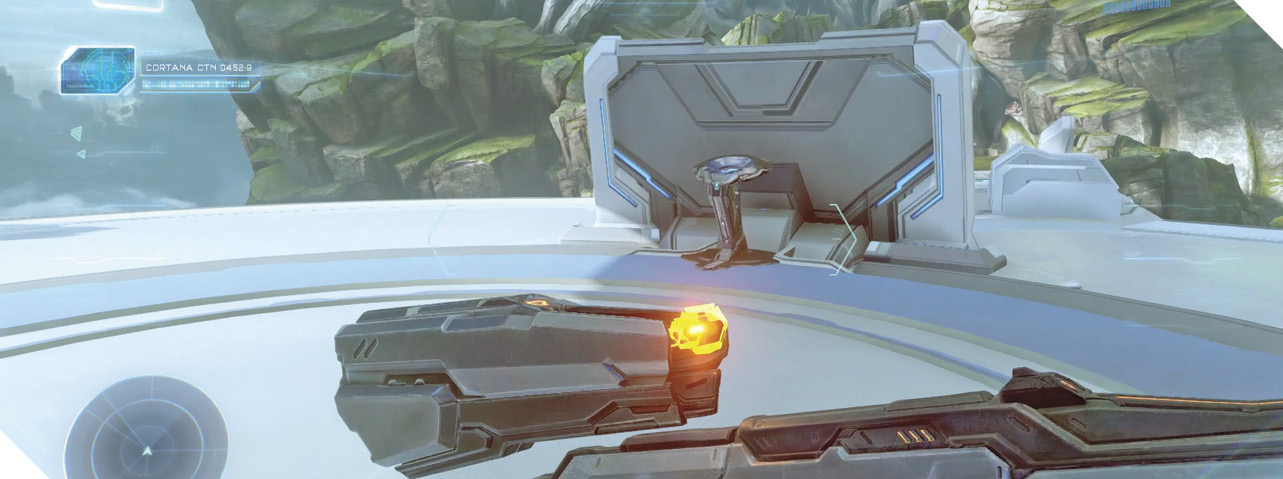
Mission 7 Intel Acquired (7/7) |
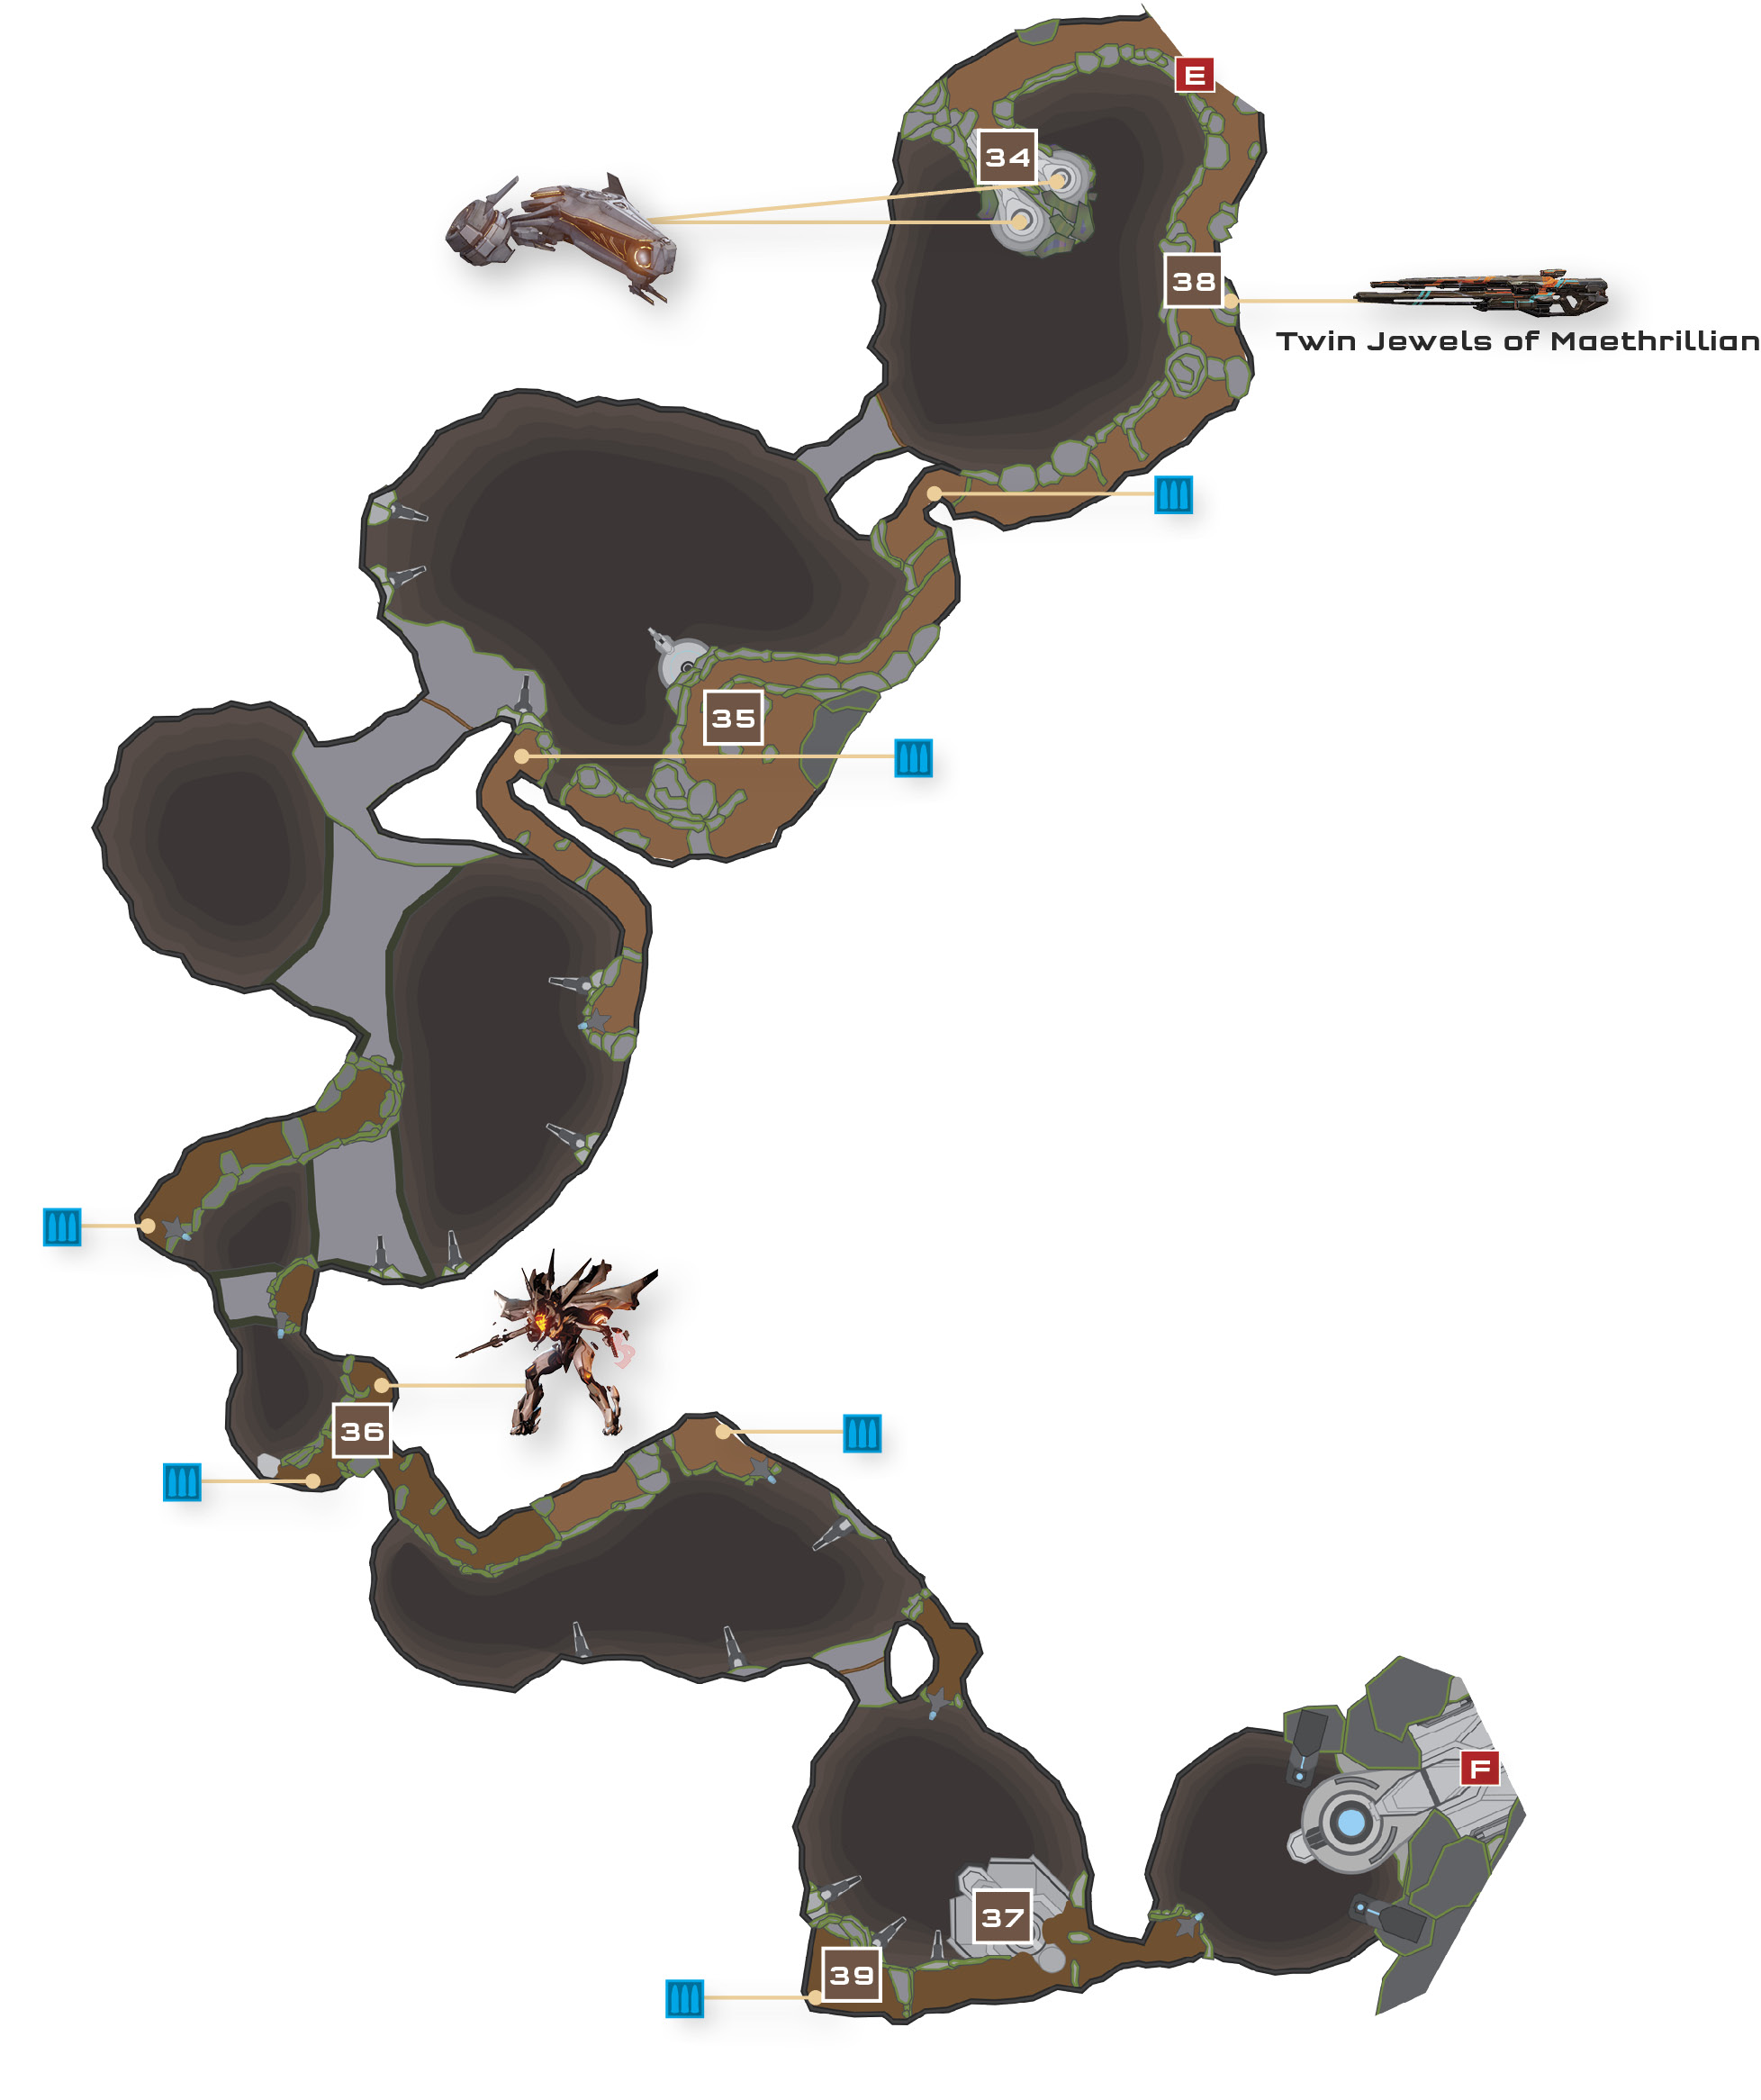
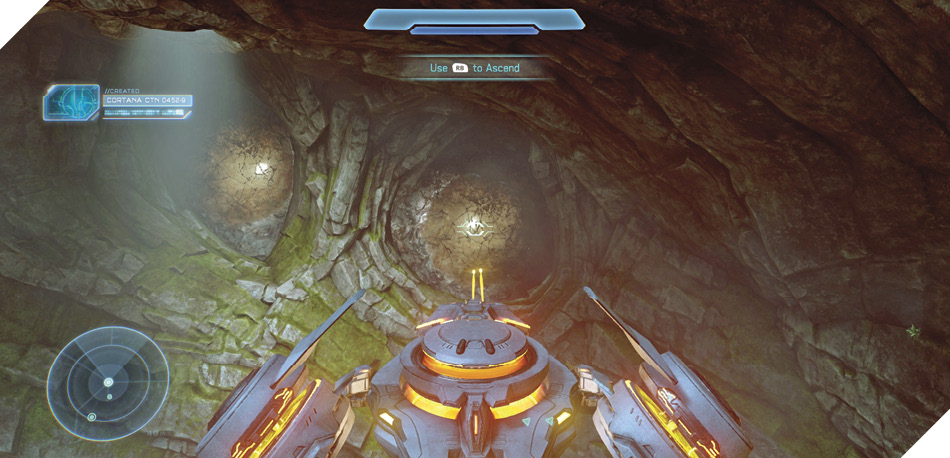
The Light Bridge leads to a spacious subterranean canyon. Go to the right to find a pair of Phaetons 34; pilot one of them to hasten your explorations. Or, if you prefer to keep your feet on the ground, go left to pick up a side trail that will lead you through the canyon on foot. Phaetons can’t accommodate passengers, so at least two members of Blue Team will need to traverse the footpath. Read on for the Phaeton approach, and skip ahead to the “Footpath Approach” section if you’re going that route.
Achievement: Take a HikeIf you’re playing on Heroic or Legendary difficulty, and if you really like earning Achievements, then don’t pilot a Phaeton. Instead, take the footpath through the canyon; you’ll earn an Achievement when you reach the mission’s end. See the “Footpath Approach” section for a helpful walkthrough. |
Phaeton Approach
Hop into a Phaeton and follow the onscreen instructions to familiarize yourself with the ship’s controls. When you’re ready, fire on one of the weak sections of the far wall to blast into the next cavern. The members of Blue Team who are still on the ground will take a roundabout route to join you there on foot.
As you fly into the second cavern, two Beam Turrets spawn on the far wall. Multiple Soldiers defend a plateau in this cavern as well 35. Press the Switch Weapon button to toggle to your Phaeton’s explosive ordnance, then target and obliterate the Beam Turrets. Switch back to the Phaeton’s standard guns afterward and assist Blue Team in cutting down the Soldiers on the plateau 35. After securing the area, blast through another weak wall to advance to the third cavern.
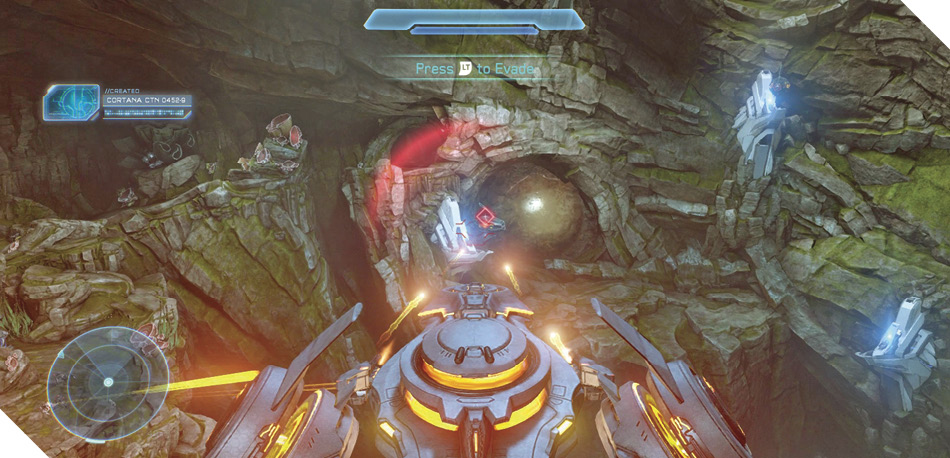
Legendary StrategyTreat your Phaeton with respect when playing on Legendary, or it won’t last long. Advance with caution, using its tracking missiles to sight and eliminate Beam Turrets from a safe range. Don’t advance into a cavern until you’ve neutralized all of its Beam Turrets, and be sure to avoid bombardments from Knights and Soldier Captains as well, again using missiles to neutralize these threats with all speed. |
Continue to fire on Beam Turrets and Prometheans as you maneuver your Phaeton through the third cavern’s twists and turns. Remain elevated to avoid becoming a target of the Soldiers and Crawlers, and to gain a superior firing angle on all targets. Your teammates on the ground will periodically leap from accelerator pads to keep pace with you; assist them by flying ahead and annihilating threats, especially the dangerous Knight that guards one of the cavern’s ledges 36.
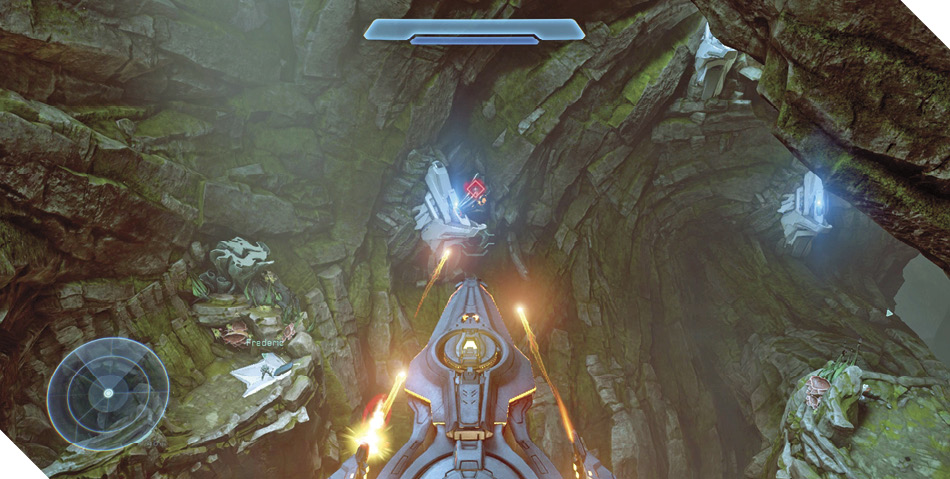
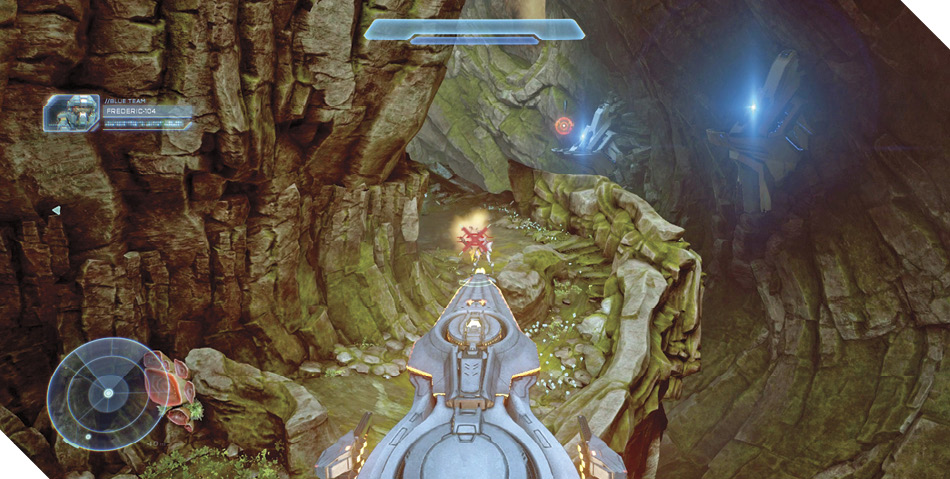
Pass through the gap above the Knight’s ledge and then open fire on the Soldier Captains armed with Splinter Turrets below. Fly onward and destroy more Beam Turrets to secure the area, then blast through another weak wall to access the fourth cavern.
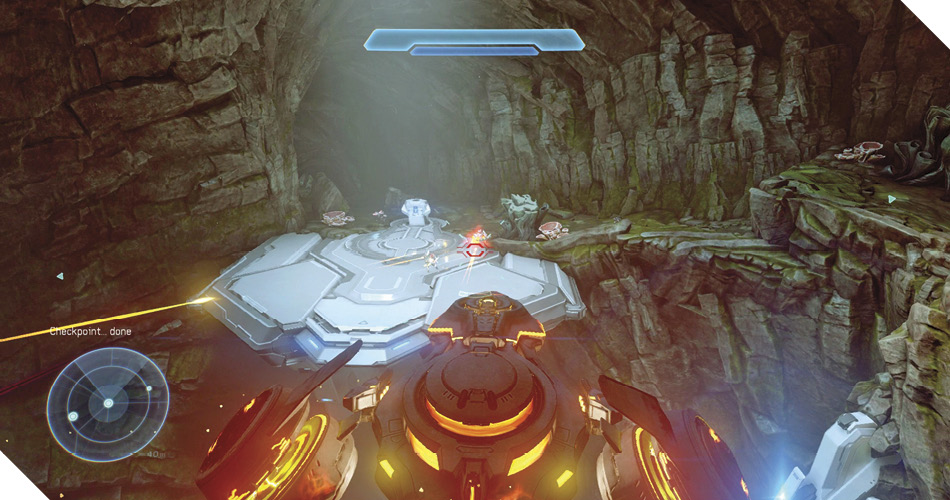
Rain death and destruction down on the fourth cavern’s Beam Turrets and Soldier Captains as your grounded teammates launch from an accelerator pad to reach a higher vantage. Phaetons can’t make it through the narrow tunnel that follows, so land on the large platform 37 after securing the area and press the Action button to climb out of your vehicle. You don’t have far to go; follow Blue Team on foot the rest of the way.
Footpath Approach
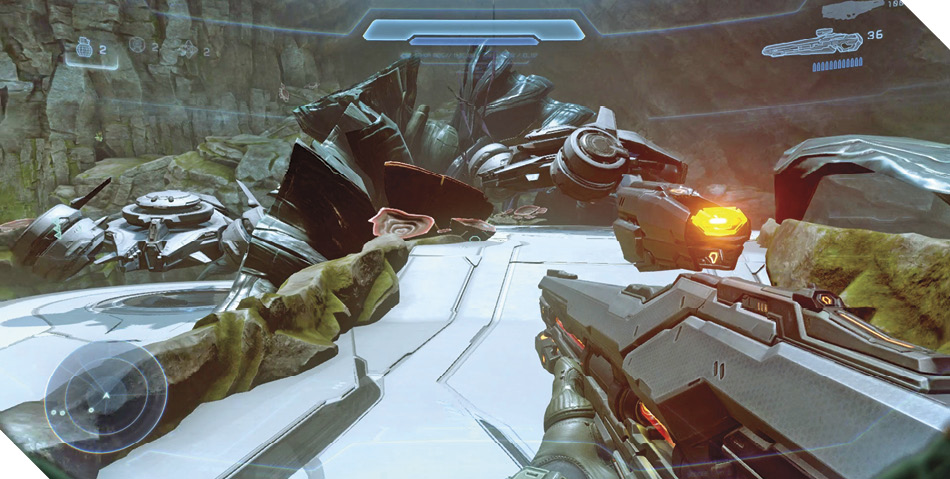
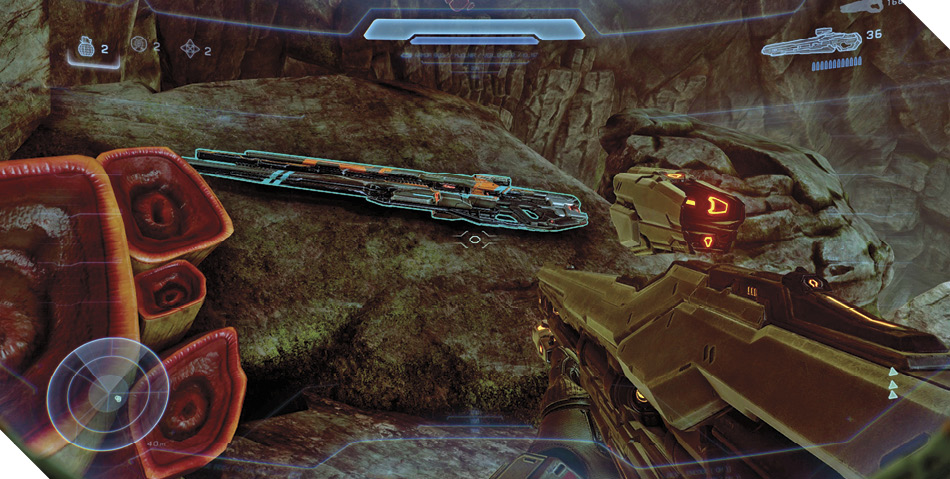
Those not piloting Phaetons must advance through the cavern via a long, winding footpath. Order your AI teammates into the Phaetons, then backtrack and take up the narrow trail that encircles the cavern. Look for the pictured rock formation as you go 38, and carefully climb to its top to discover another special weapon
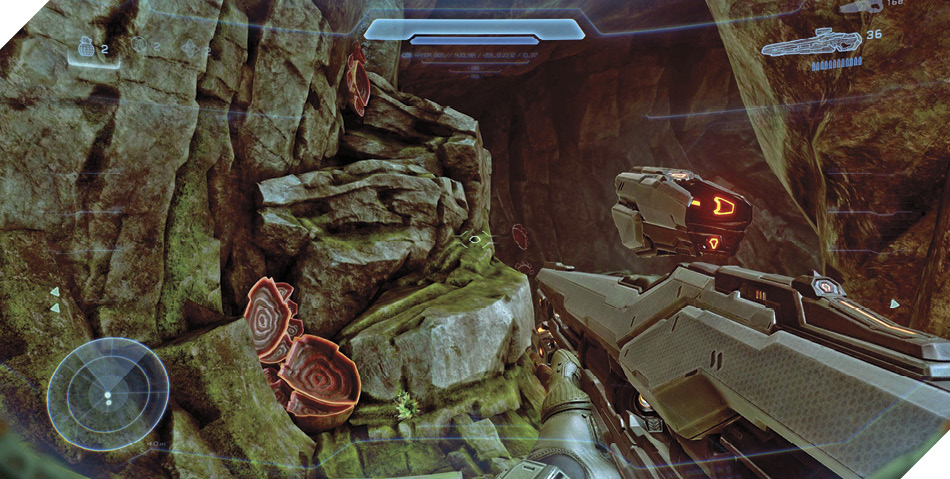
The special weapon you find atop the rock is a Binary Rifle called Twin Jewels of Maethrillian. It’s ideal for destroying the many Beam Turrets that lie ahead, so be sure to bring it with you. Drop from the rock and proceed along the footpath until you reach a short tunnel that leads into the next cavern.
Legendary StrategyLet the Phaetons do the heavy lifting during Legendary play. Follow behind them but don’t advance until they’ve neutralized all Beam Turrets in a cavern. Pick shots at foes with a LightRifle if you like, but avoid exposing yourself to danger. |

Twin Jewels of MaethrillianA twin missing its sibling. This advanced Binary Rifle is modified with dual beam emitters that enhance the rifle’s anti-armor utility. |
Wait for your friends in Phaetons to destroy the distant Beam Turrets before hiking up to the second cavern’s plateau 35, which is guarded by Soldiers. Secure the plateau, firing on the volatile blue containers to create lethal explosions.
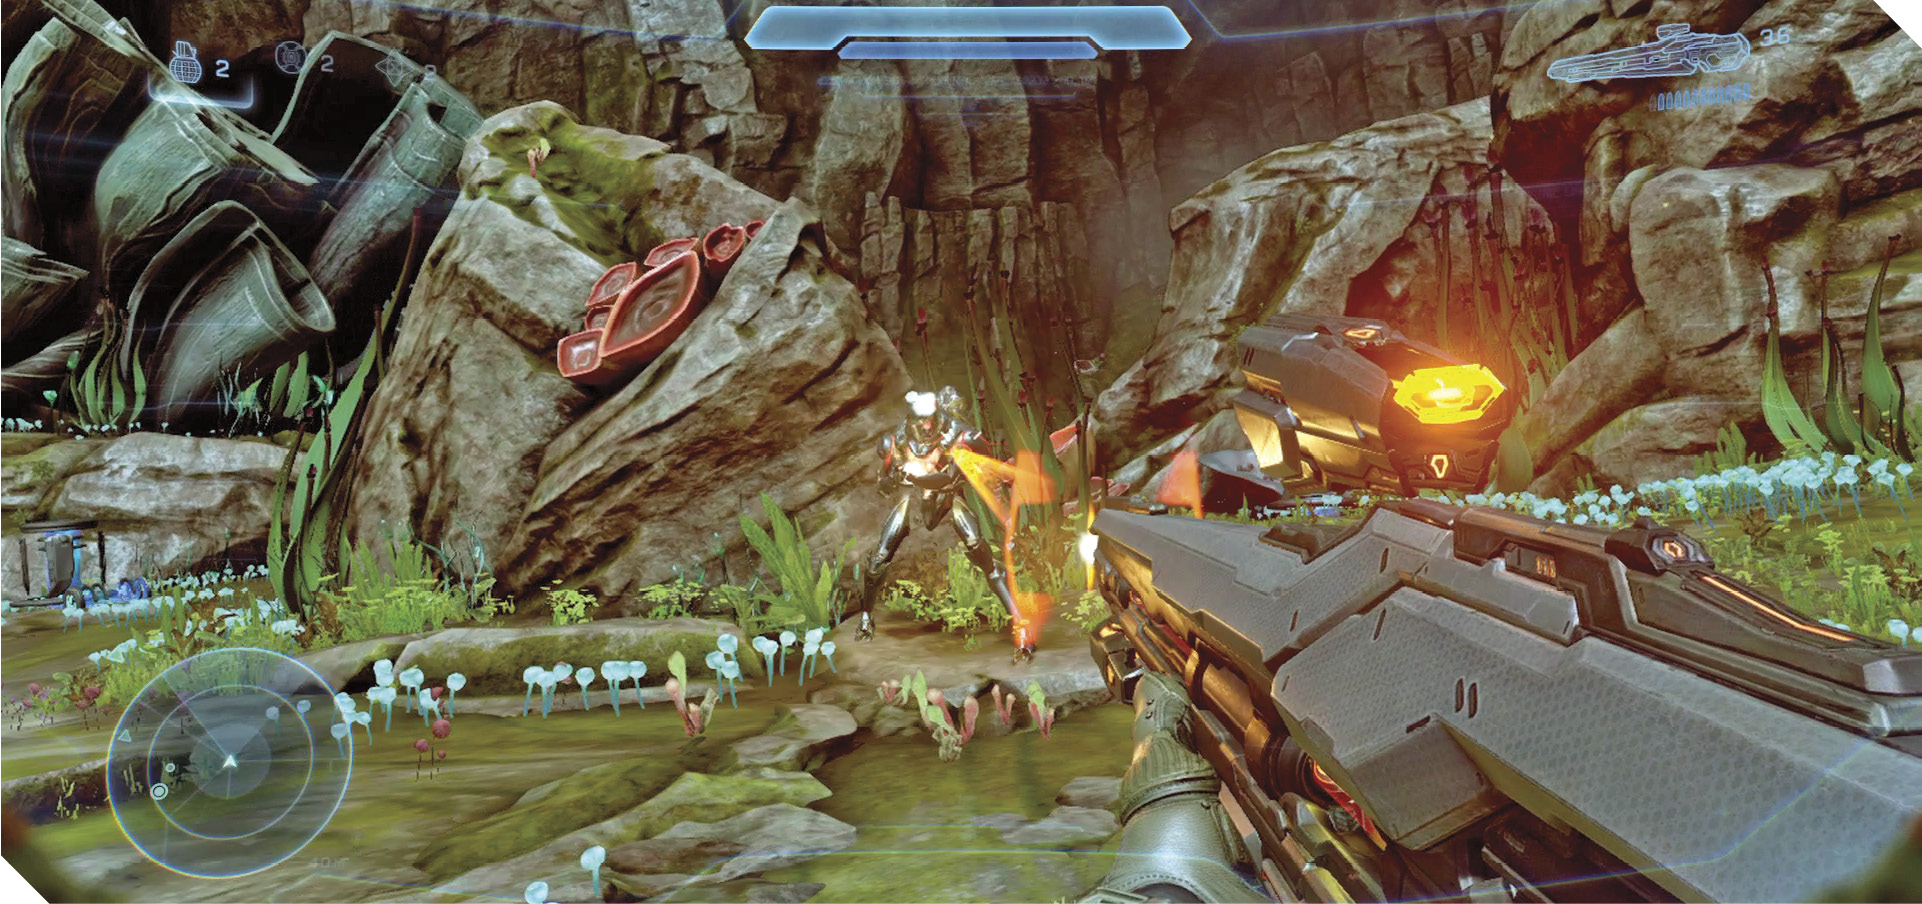
Continue your ascent after securing the plateau, picking up a high trail that leads to a Forerunner weapon rack. Load up on LightRifle ammo before advancing into the next cavern, dispatching a few Soldiers in the tunnel along the way.
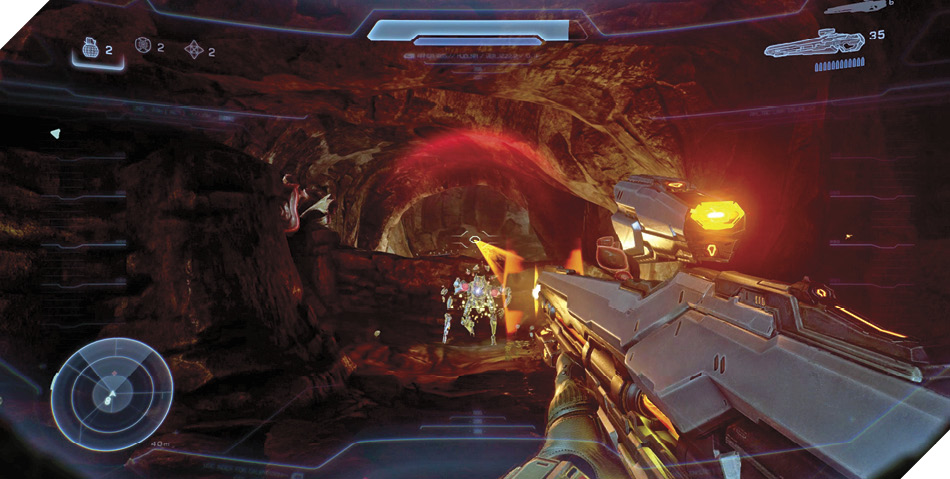
Wait in the next cavern for your friendly Phaetons to take out more Beam Turrets along the left wall, or put your LightRifle and Twin Jewels to use and help them blast the Beam Turrets to bits. Once both turrets are down, use the nearby accelerator pad to launch across a wide gap. Cut down a few Soldiers after you land and then use another accelerator pad to reach the next ledge.
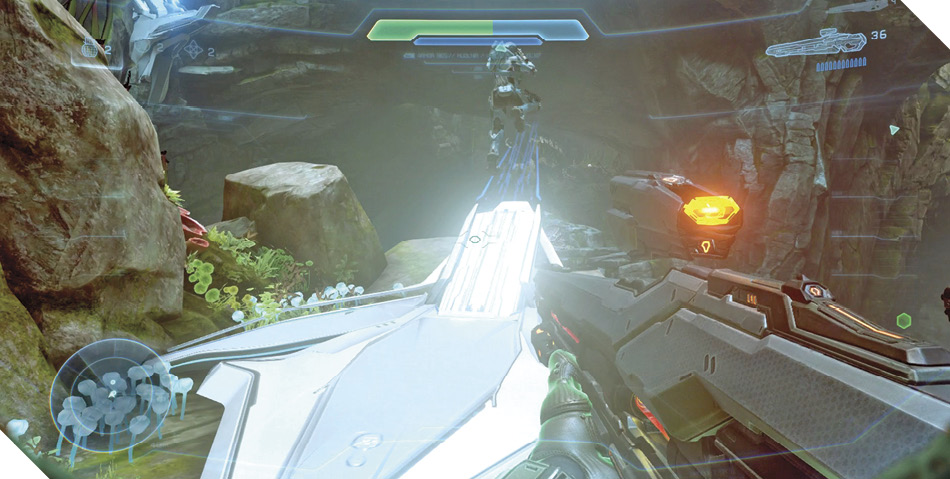
As you approach the third accelerator pad, a hulking Knight materializes on the far ledge 36. Take shots at the Knight with your LightRifle or Twin Jewels, or simply wait for your Phaetons to obliterate the Knight for you.
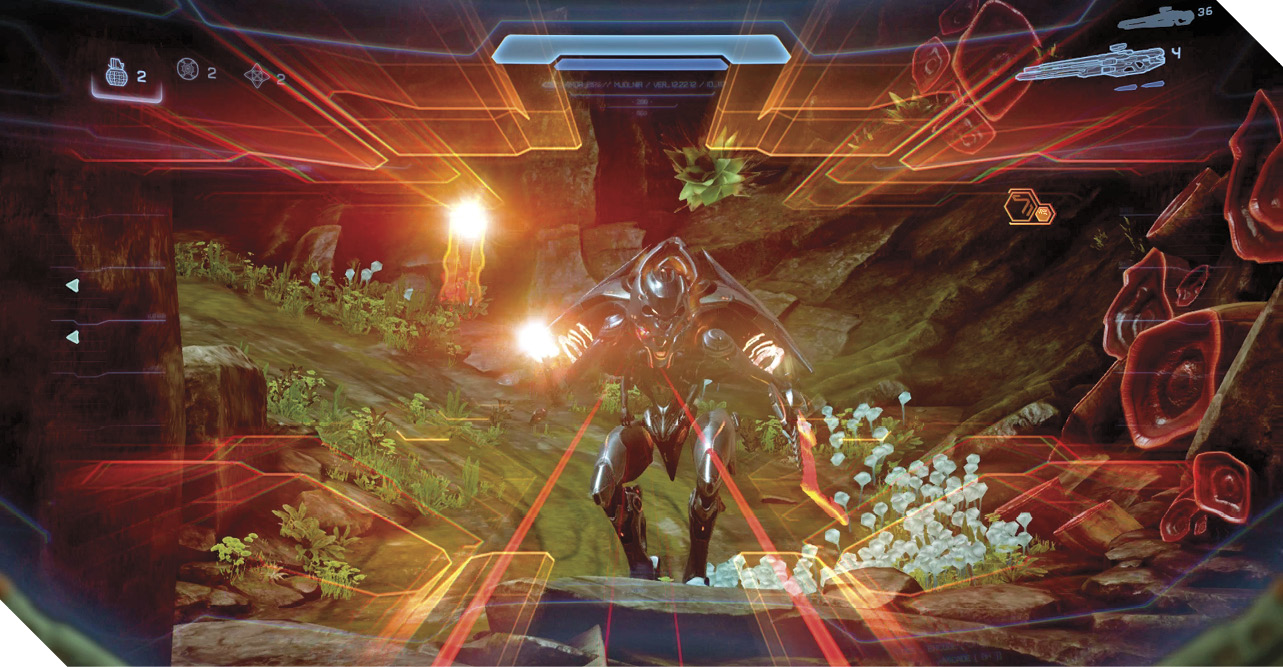
After the Knight has fallen, launch over to its ledge and then advance through a short passage to reach the third cavern’s final area. Cut down a Soldier Captain armed with a Splinter Turret as you enter, then launch from the nearby accelerator pad and proceed into the fourth cavern.
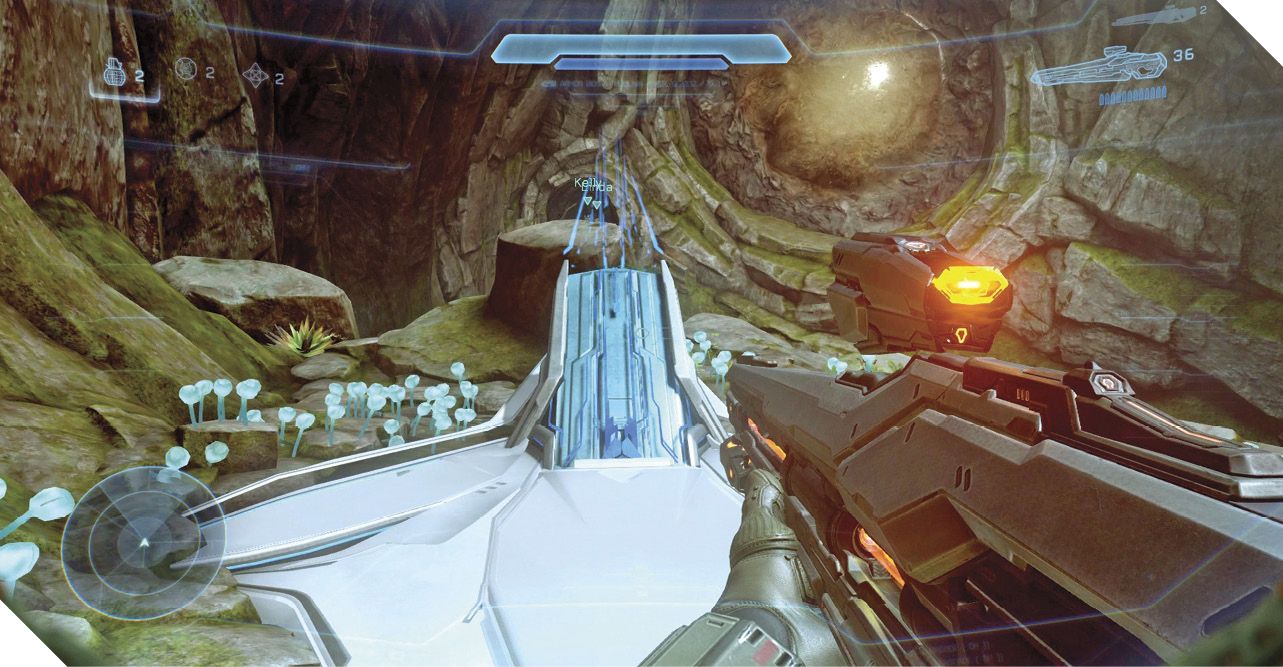
As you enter the fourth cavern, immediately use the nearby acceleration pad to launch over to higher ground 39. The Beam Turrets can’t target you up here, and you have a better angle on the nearby Soldiers. Wipe them out with the help of your allies in the sky, and then wait for both Phaetons to land before advancing through the nearby tunnel to reach the final cavern.
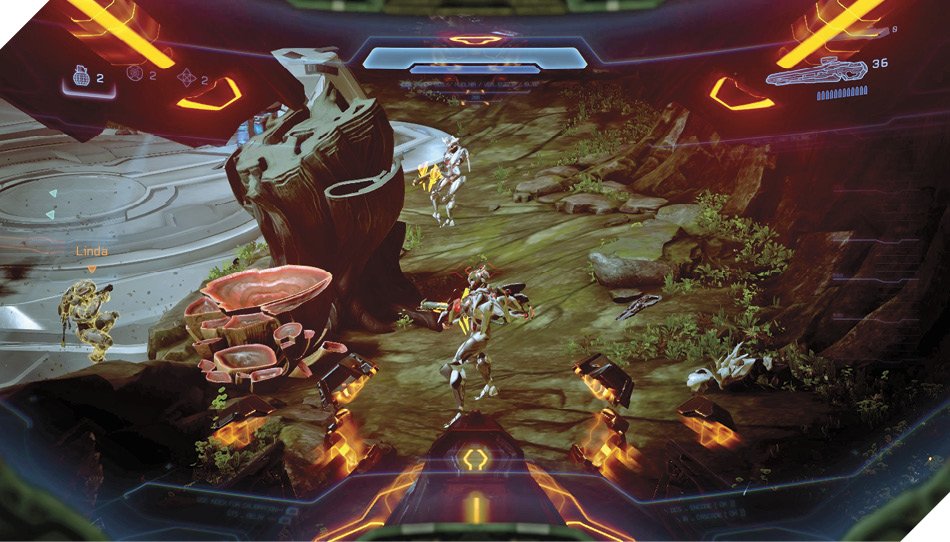
Cortana offers words of encouragement as you enter the last cavern: The Gateway to the Forerunner Domain is just ahead! Launch across the acceleration pad and then step through the following door to venture back outside.
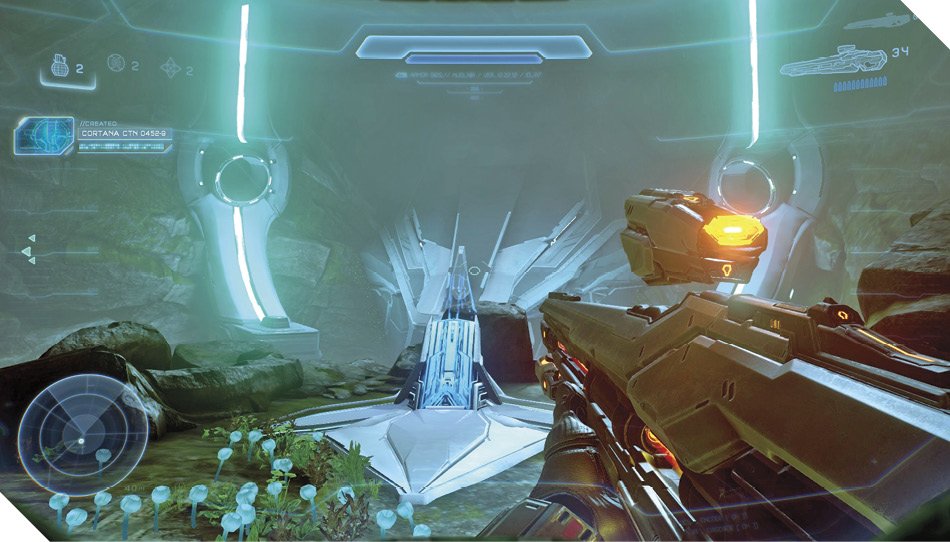
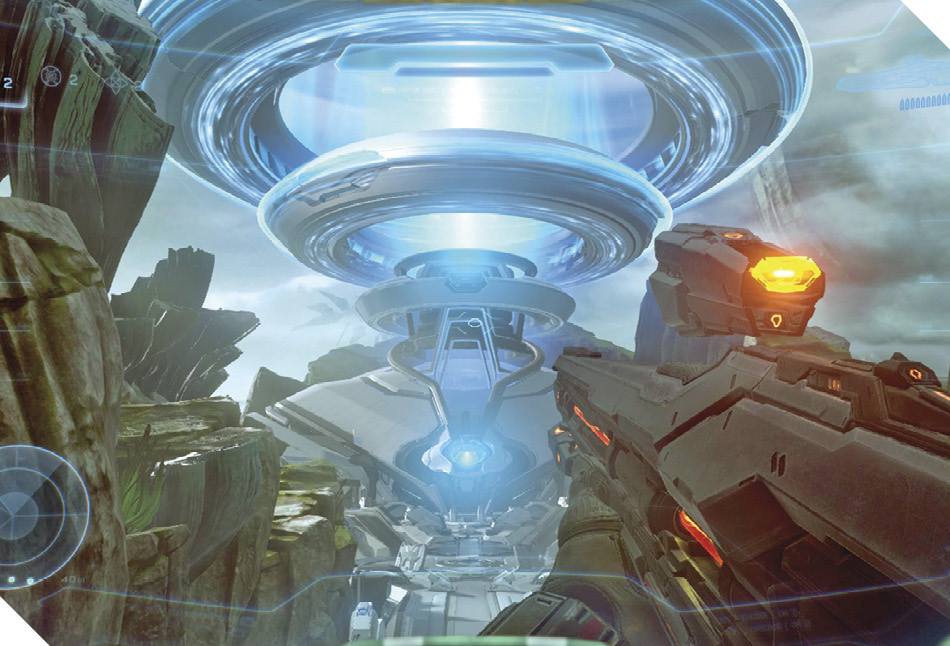
Through the blinding light of Genesis’ sun, Blue Team catches their first view of the Gateway to the Forerunner Domain. It turns out to be the very structure that Blue Team had been activating while exploring Genesis. Approaching the mysterious structure, the team is struck by its awesome majesty. What mysteries might lie within its ancient halls?
Skull 7 of 13: Cloud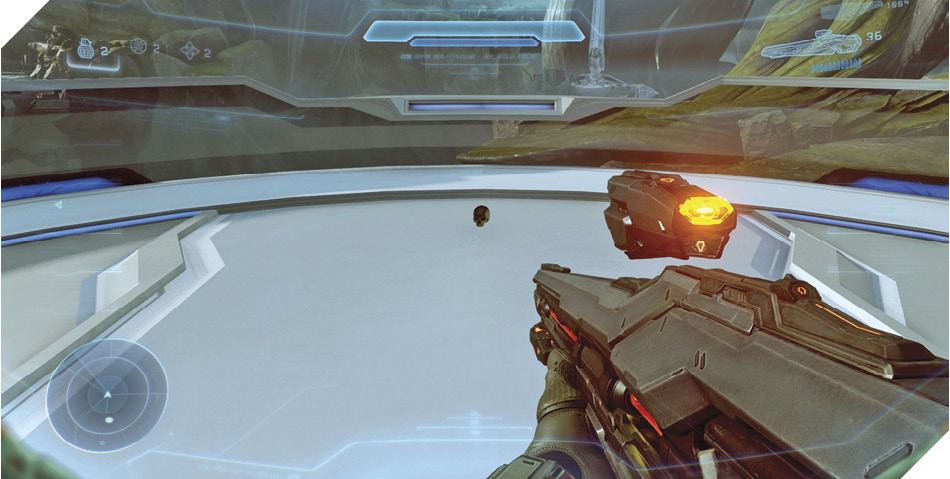
The mission ends when you advance toward the Gateway. Rather than doing so, turn right the moment you emerge from the canyon and take a side path to an overlook 40. A Skull rests on the platform here; collect it to add it to your growing collection. 
|