Halo 5: Guardians Guide Campaign Walkthrough Mission 15: Guardians
Leave No Spartan Behind
Objective: Reach the Cryptum
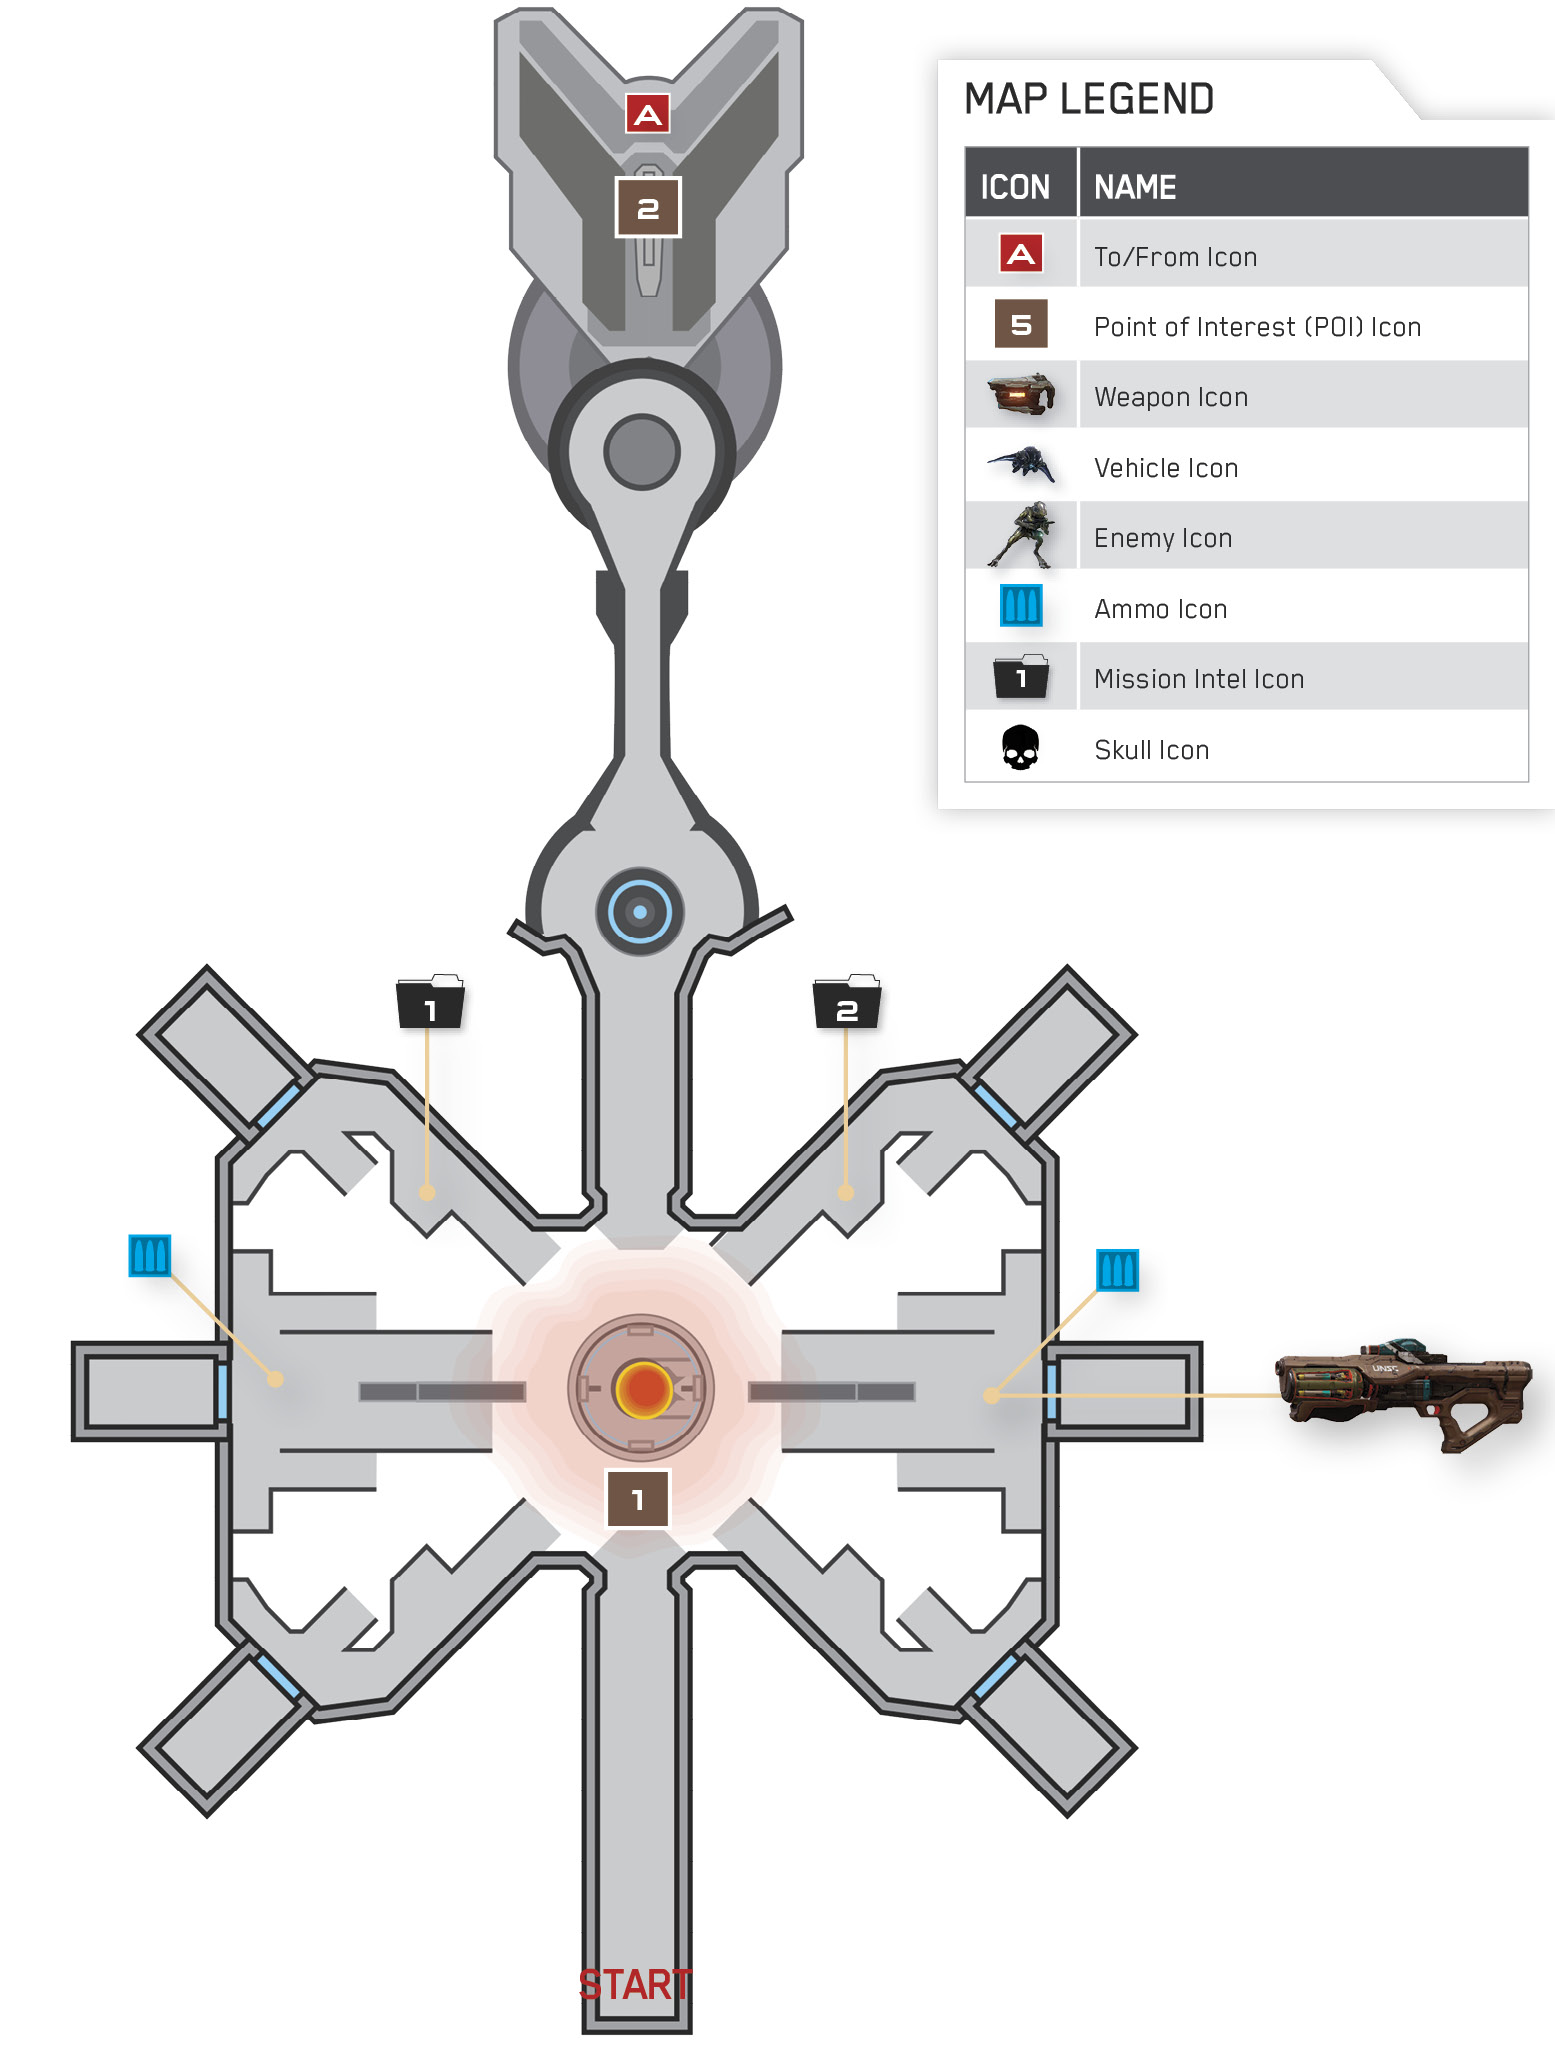
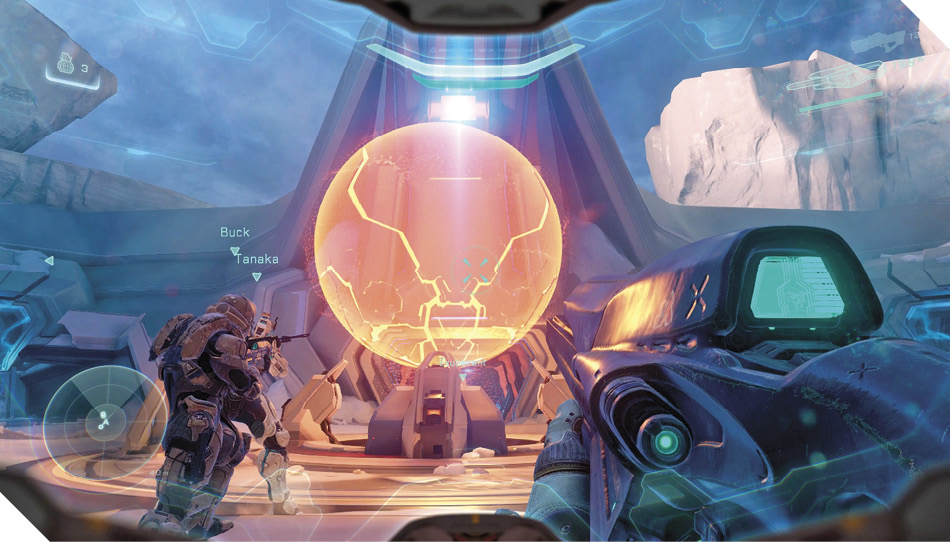
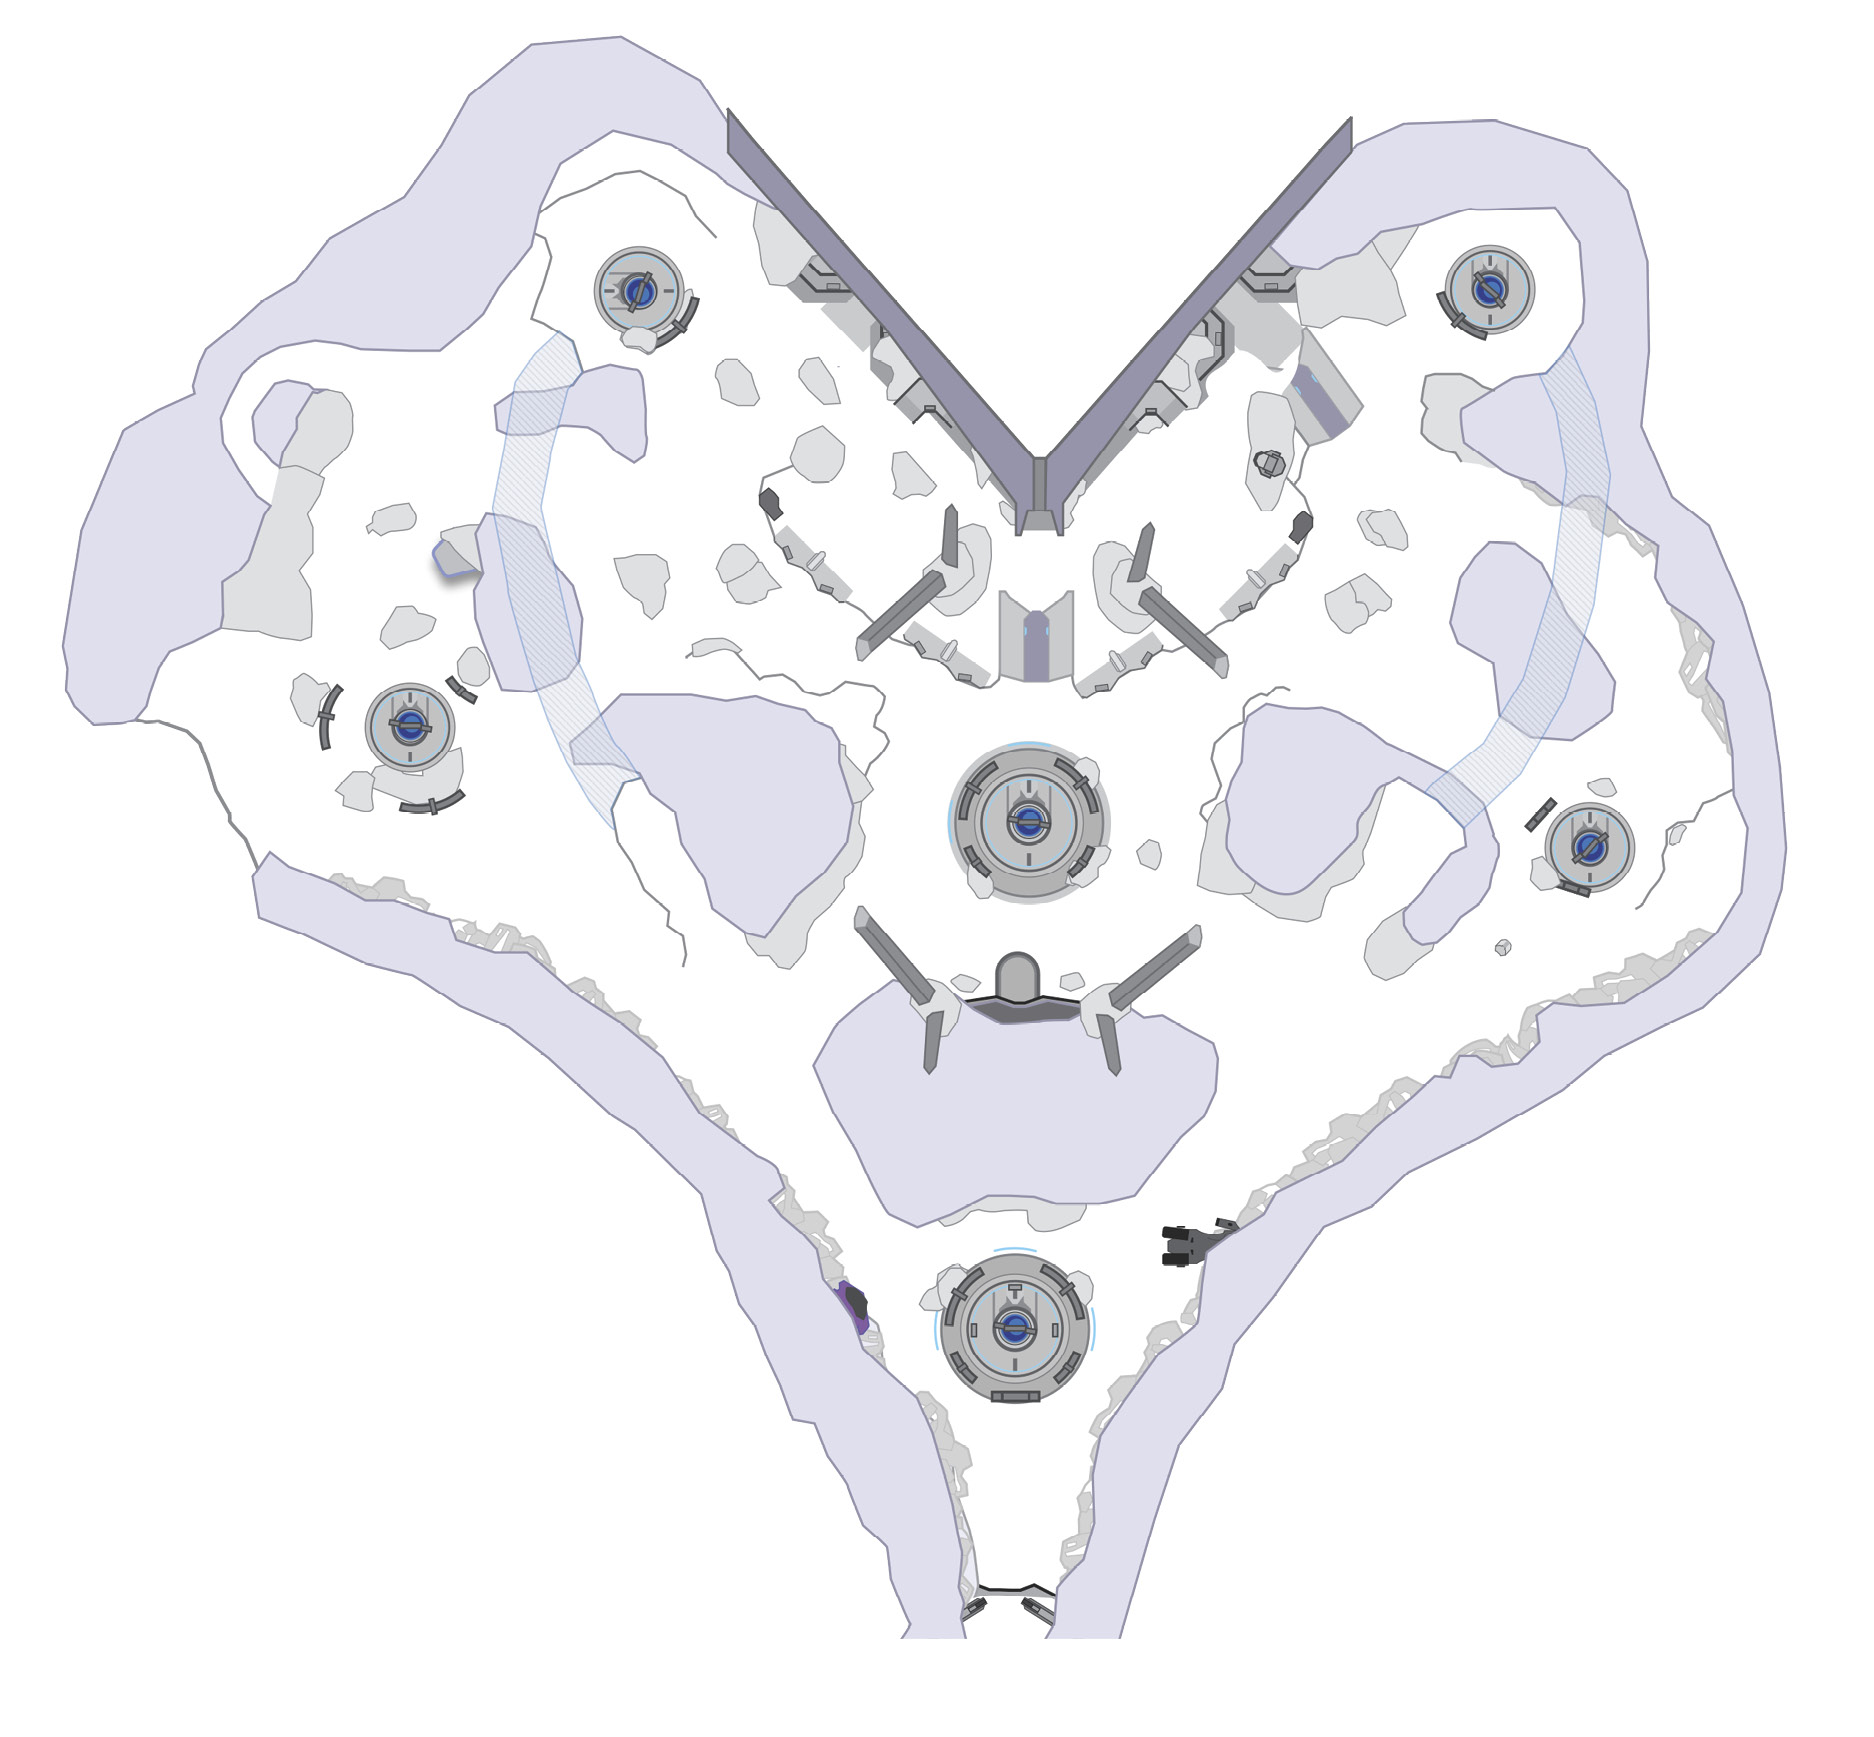
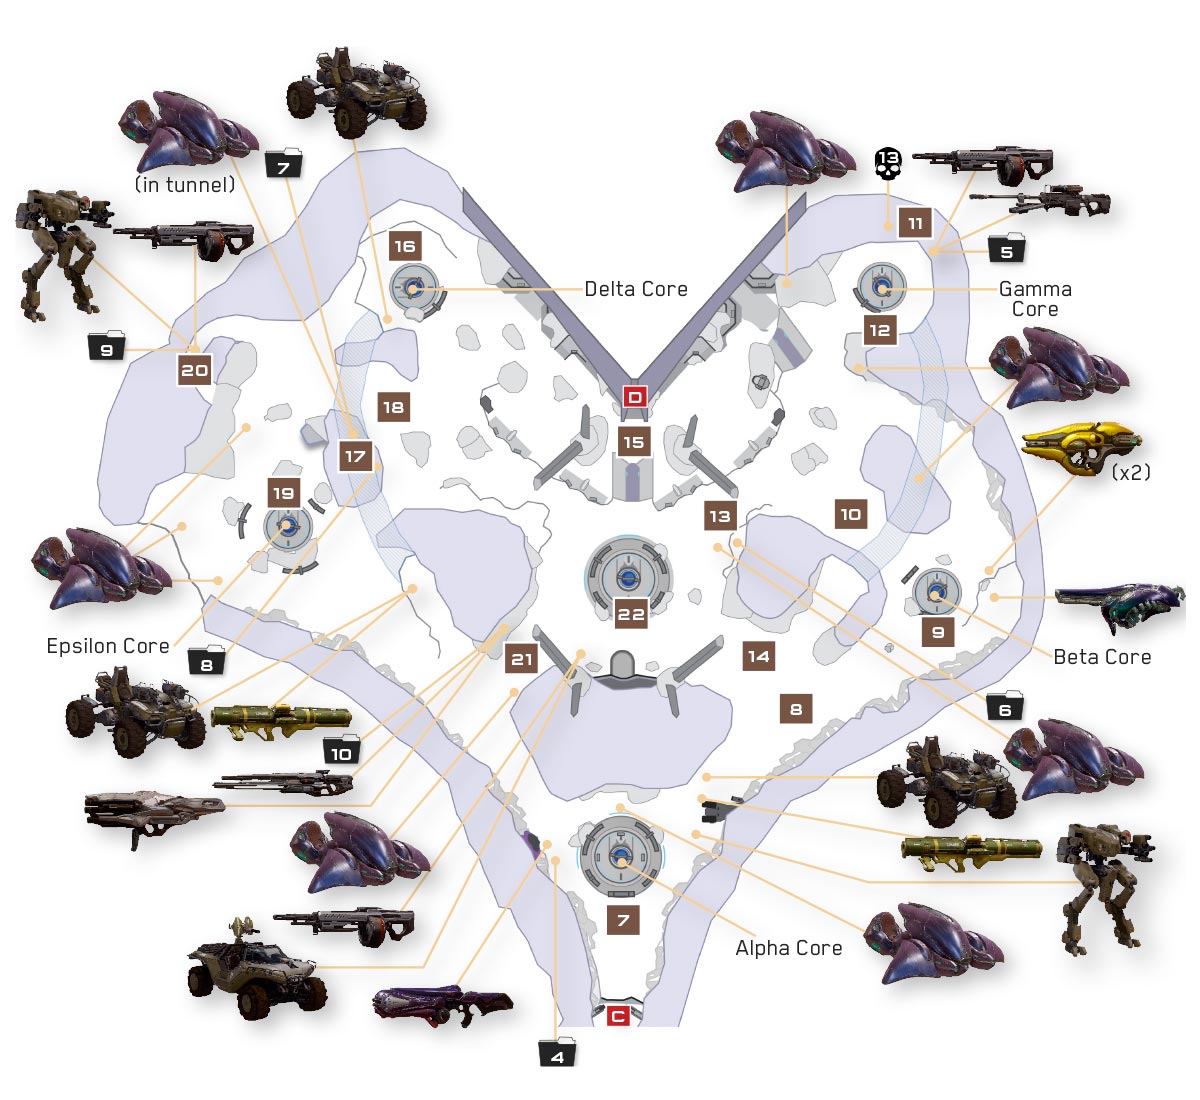
Blue Team can’t be far. Follow 031 Exuberant Witness to a hologram of a glowing sphere, which the monitor identifies as a model of a Cryptum 1. Exuberant says that Cortana has activated the Cryptum, placed the “other humans” inside, and is preparing it for slipspace travel. Could it mean Blue Team is inside that ball?
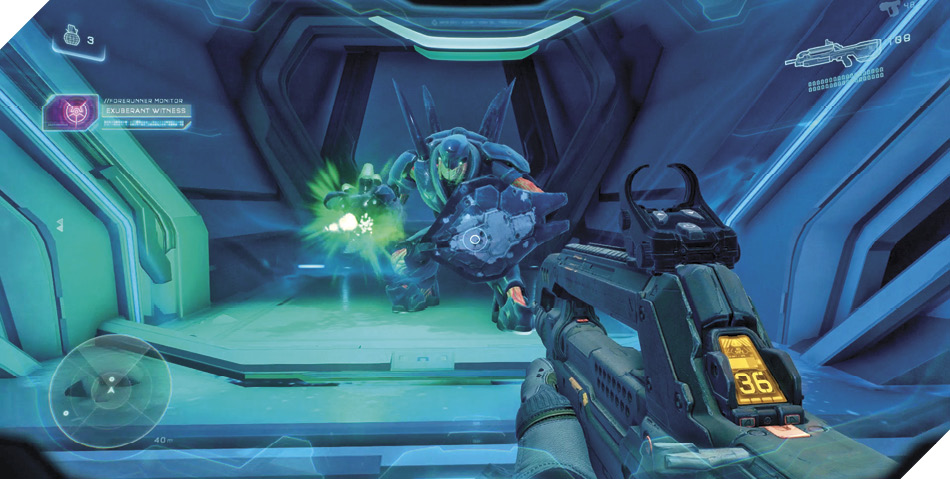
Before rushing off to find the Cryptum, take a moment to explore the room. Exuberant has imprisoned several enemies in holding cells here, including Grunts, Crawlers, a Soldier, an Elite, a Hunter, and a Knight. Approach each cell for special dialogue between Exuberant and Osiris.
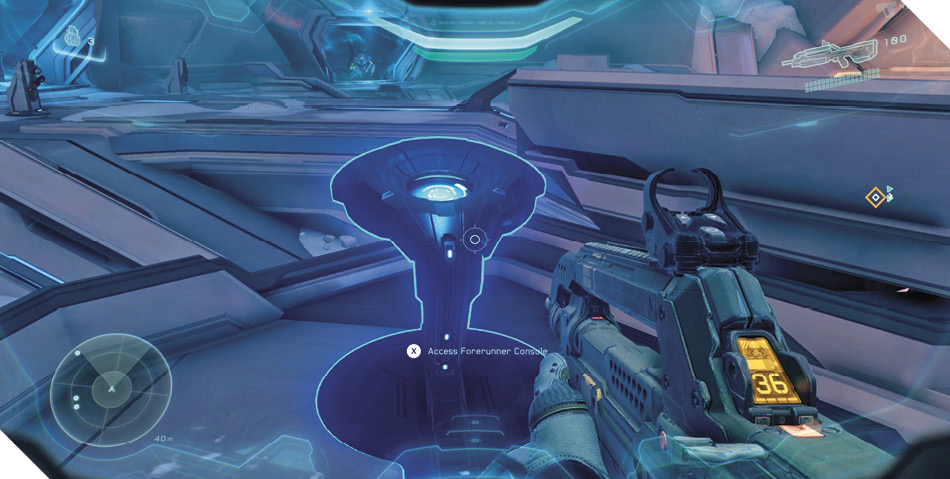
After inspecting the cells, use Artemis to reveal some supply stations around the room, along with two Forerunner consoles. Scan the consoles for two pieces of intel, then take stock of the available weapons. The Storm Rifles and Hydra Launcher are particularly useful for the battles ahead.
Mission 15 Intel Acquired (1/10) (2/10) |
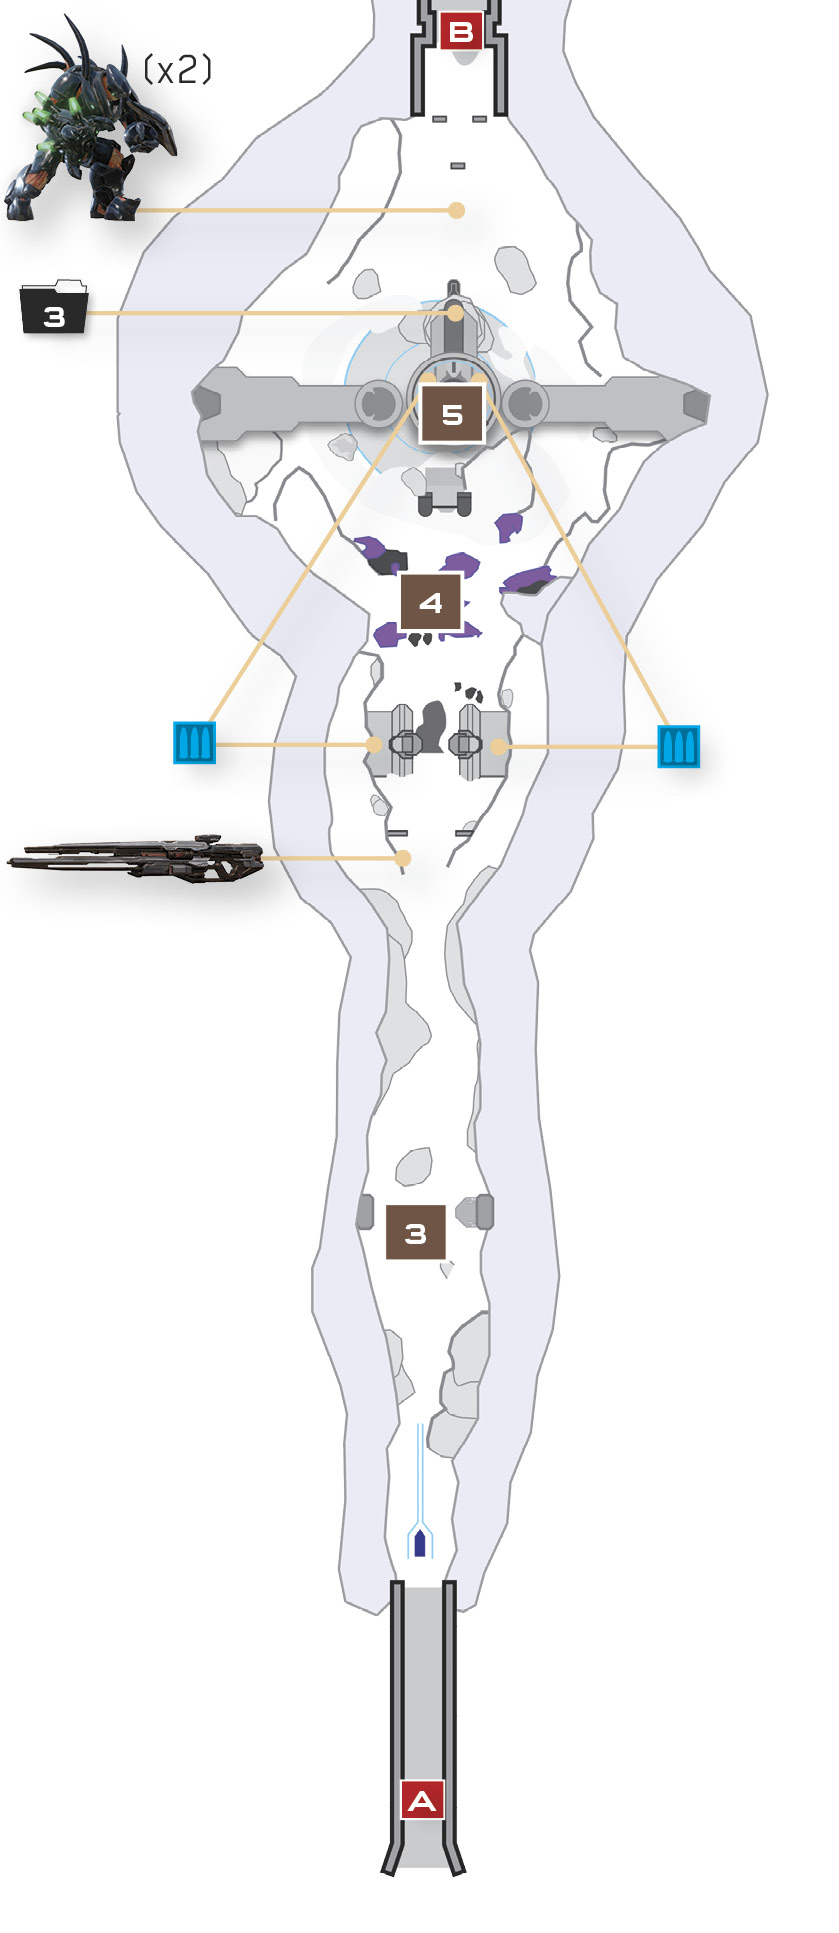
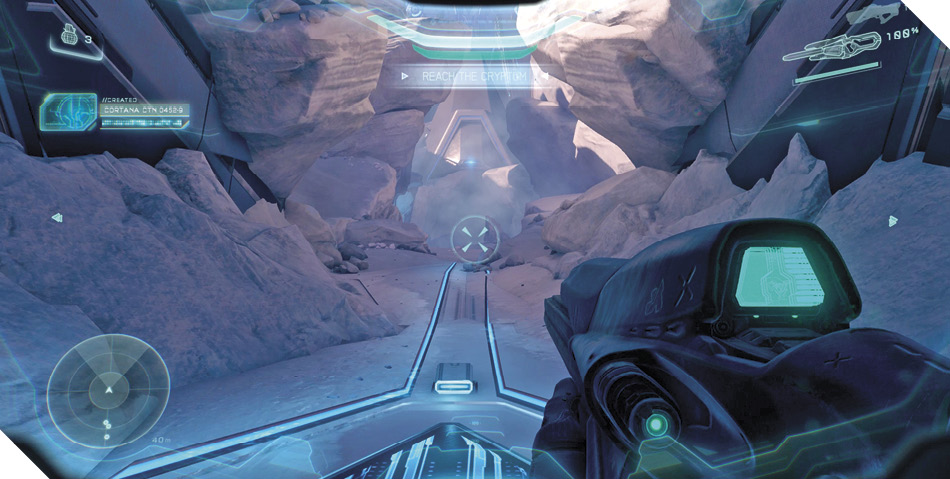
When you’ve finished exploring the room, follow Exuberant down a passage to reach a transport platform overlooking the distant Cryptum 2. The site is surrounded by Guardians, and one of them suddenly vanishes into slipspace, prompting Exuberant to inform you that the Reclamation has begun. Cortana also contacts you, insisting that her cause is just. She can’t be reasoned with, and the platform eventually comes to a halt near the edge of the Cryptum facility.

Step off the platform and trek through a frigid path 3. AIs contact you along the way, voicing their support of Cortana’s plan. Even Governor Sloan joins the chorus, despite the destruction that the Guardian caused to his people on Meridian. Cortana certainly seems to have their full support.
The path leads to an intense firefight between Promethean defenders and Covenant invaders 4. The Covies are intent on breaching the Forerunner defenses, while the Prometheans struggle to defend the compound. Toss a grenade at the group of Covies ahead, then use one of the Storm Rifles you found back near the holding cells to mop up what’s left.
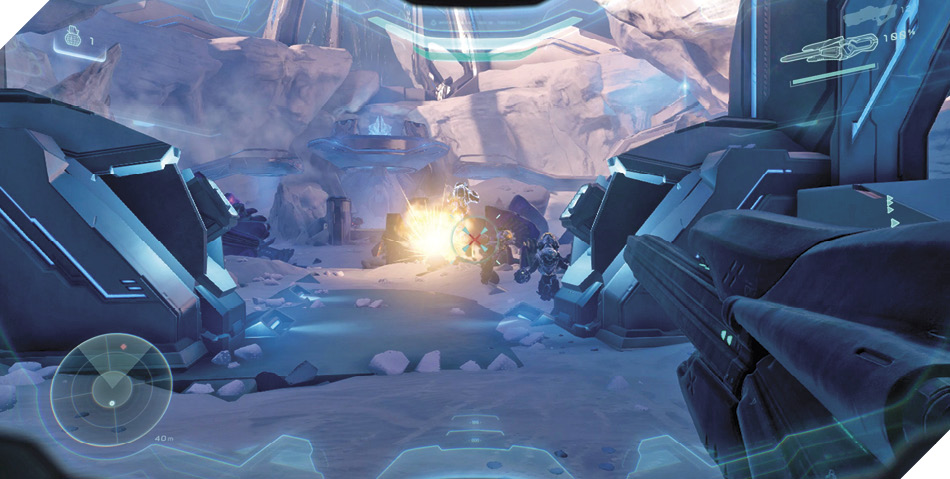
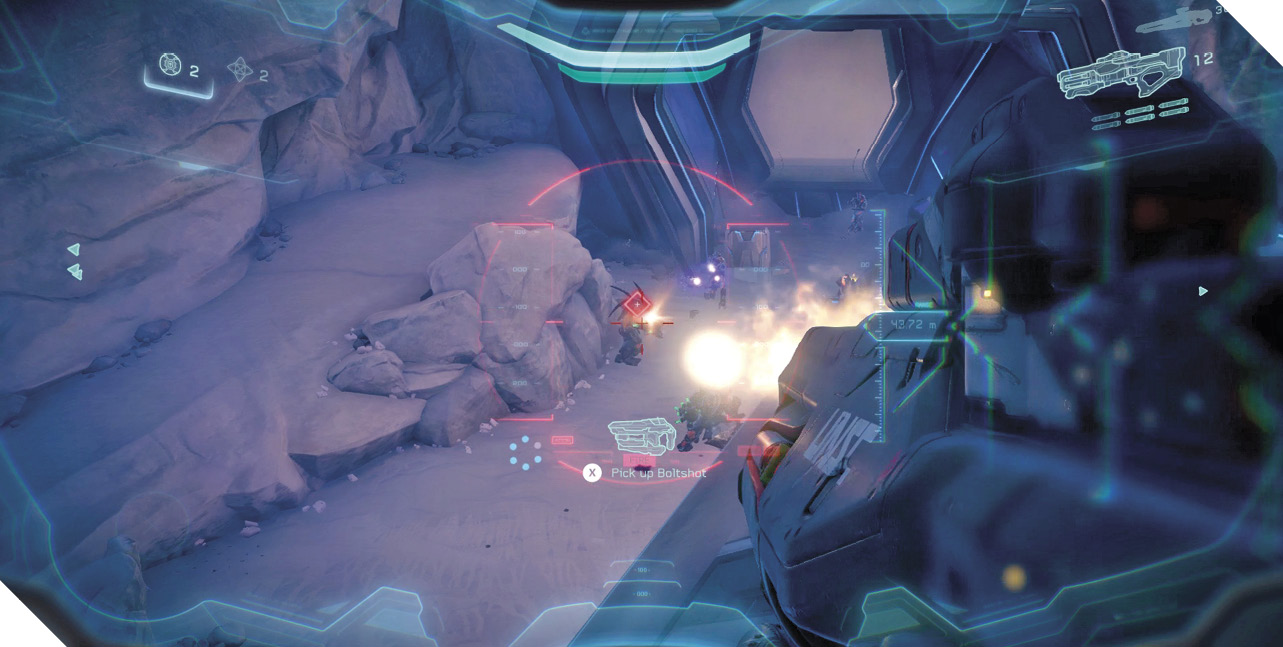
Trade your Storm Rifle for the nearby Binary Rifle and then press forward. Pick off the Soldier Snipers on the high central platform 5. Beyond them is a mixture of Soldiers, Elites, Hunters, and Knights, all locked in fierce combat. Exploit the chaos of the situation and unload on targets of opportunity with your Binary and Hydra.
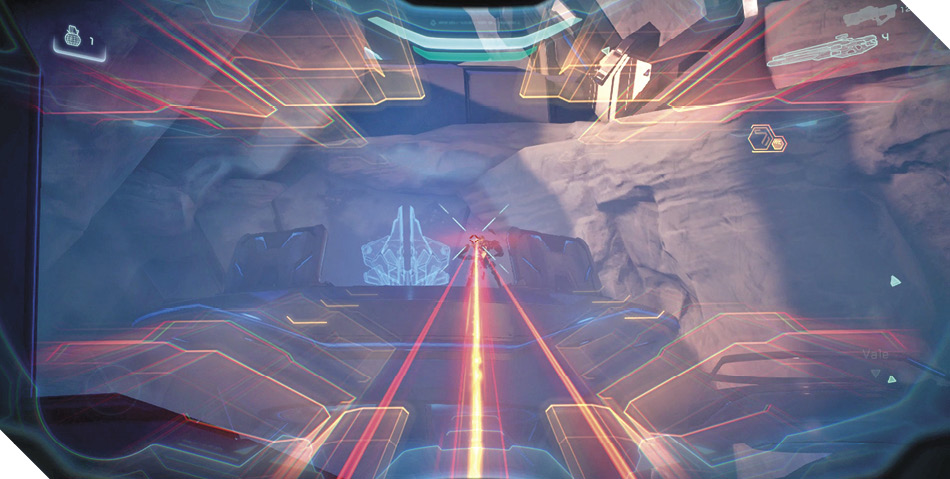
When a chance permits, climb up to the central platform 5 to gain a superior firing vantage. You’ll find useful weapons up here, including Binary Rifles dropped by the platform’s former occupants. Move to the platform’s narrow end to discover a Covenant data pad as well. Scan it for intel, and ammo up before advancing through the far door.
Mission 15 Intel Acquired (3/10) |
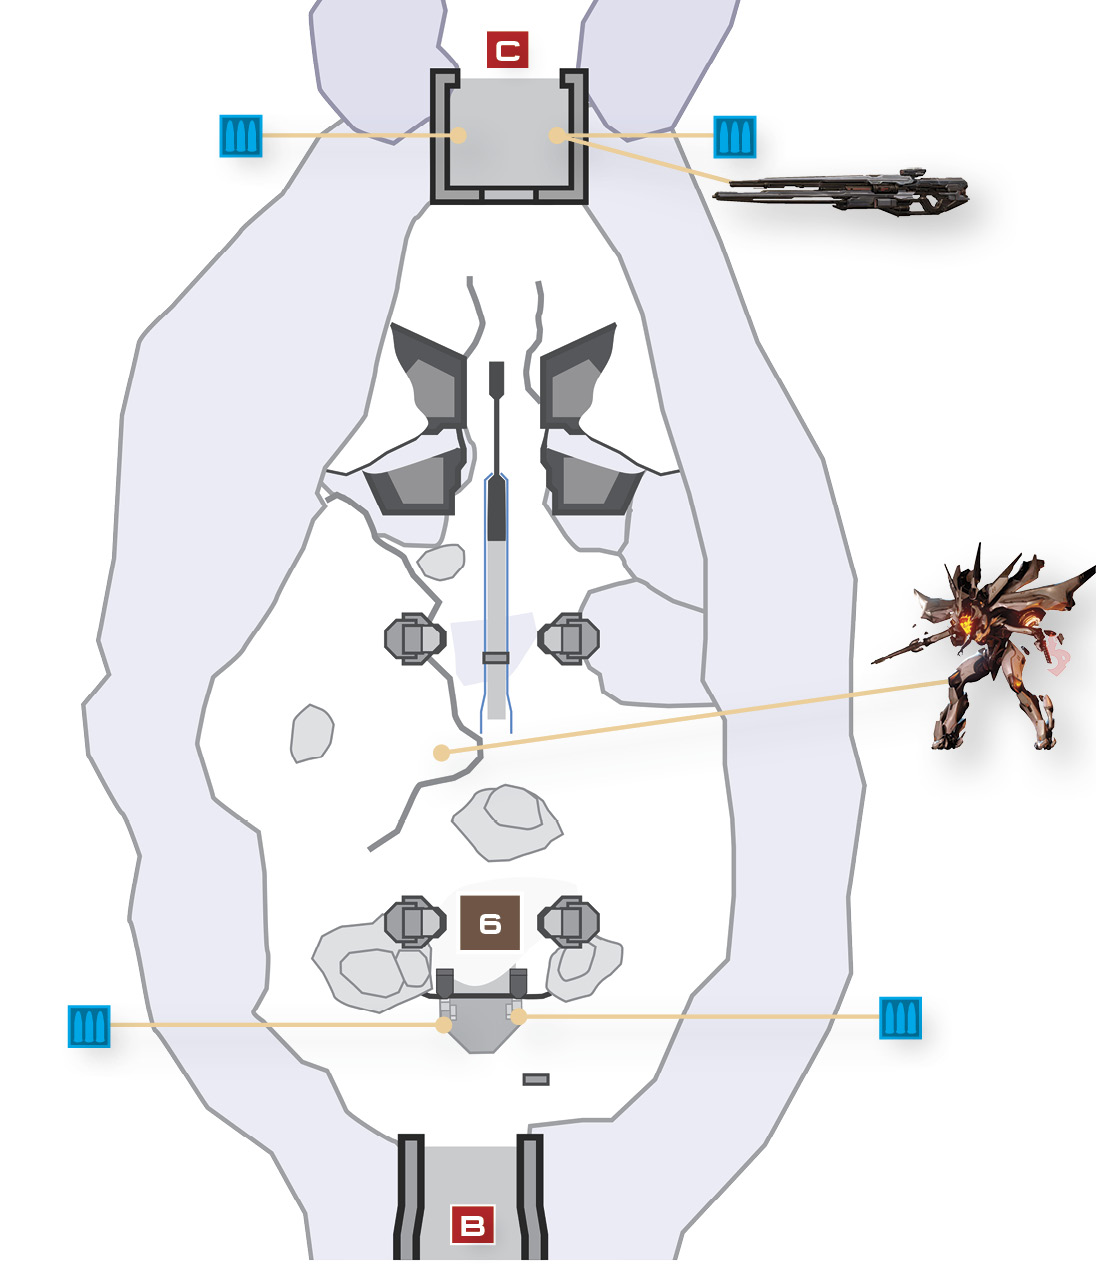
Soldiers, Crawlers, and Watchers spawn as you pass through the door 6. Obliterate them with your Splinter Turret before advancing on the supply stations they were guarding. The weaponry you secure there will come in handy.
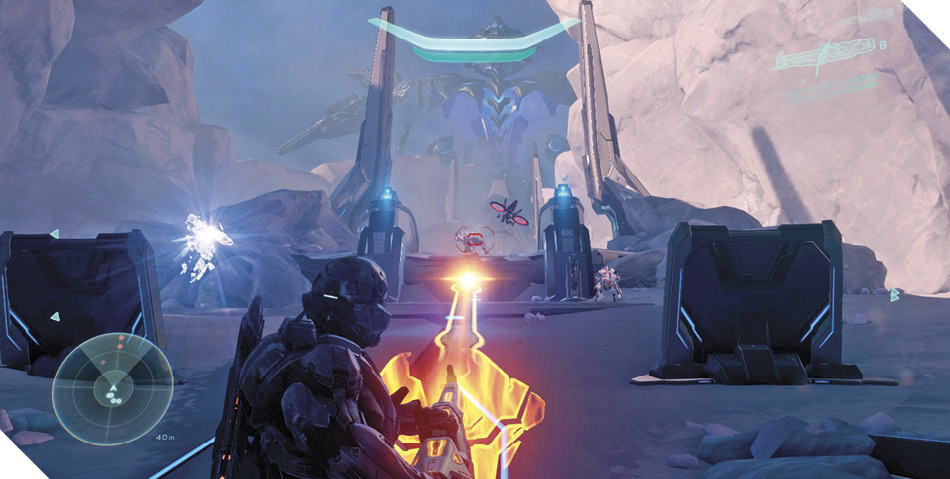
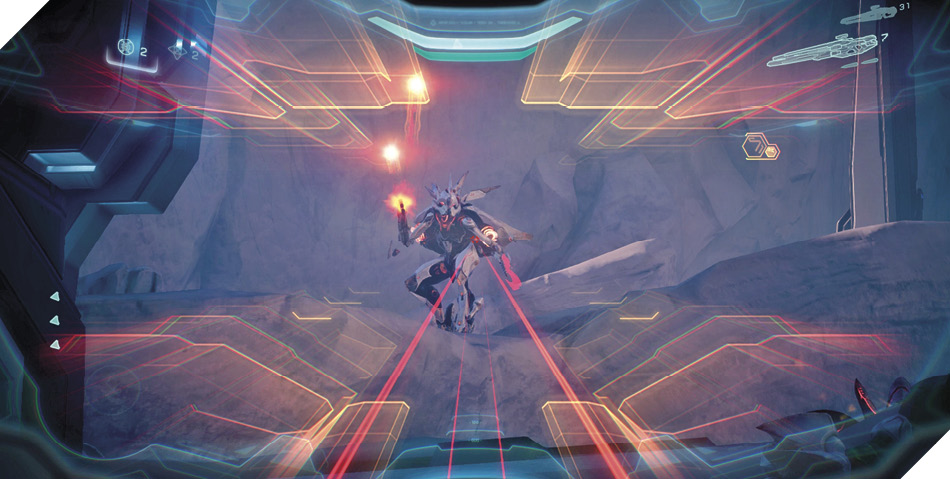
Many more Prometheans spawn up the hill ahead, including a dangerous Knight that bombards you with an Incineration Cannon from on high. Prioritize the Knight, blasting its cores with a Binary Rifle, Hydra Launcher, or LightRifle at every chance—but beware of Crawlers and Soldiers that rush you. Switch to a Scattershot or Suppressor and cut down the rushers.
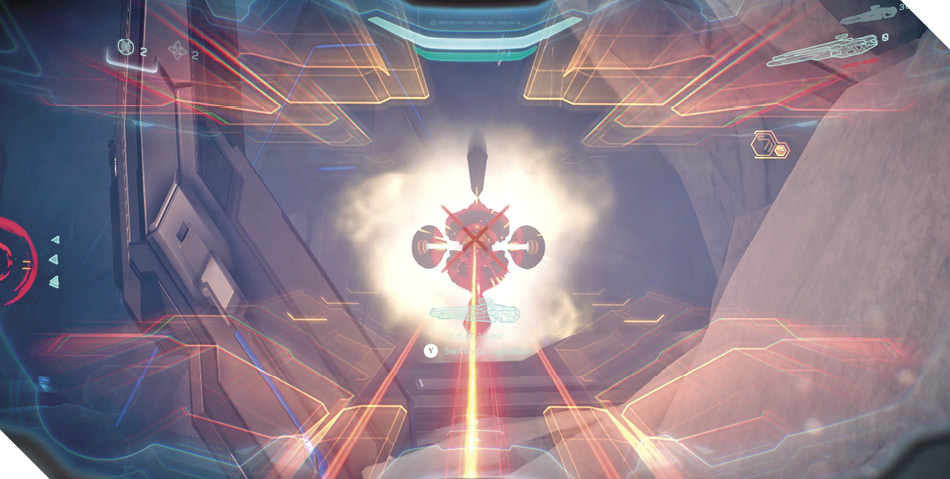
Two distant Beam Turrets also fire from the far side of the area. Keep out of their sights until you’ve defeated the Knight. Once the Knight and Soldiers are down, turn your attention to the Beam Turrets. Destroy them both to secure the area, then grab more ammo as you follow Exuberant through the door at the top of the rise.
Objective: Destroy the Cores
The Cryptum is just ahead, but it’s suspended by several gravitational cores. You’ll need to destroy all of the cores to bring it down.
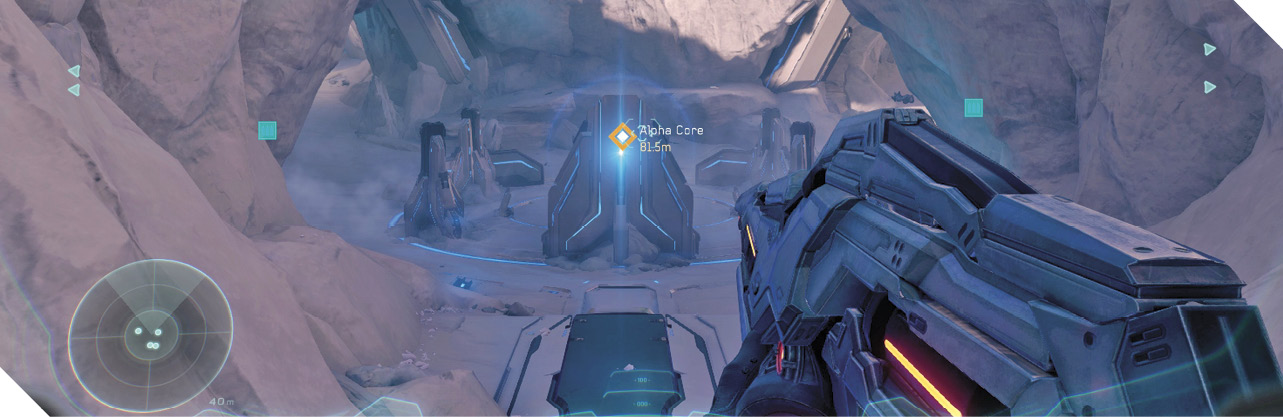
Alpha Core
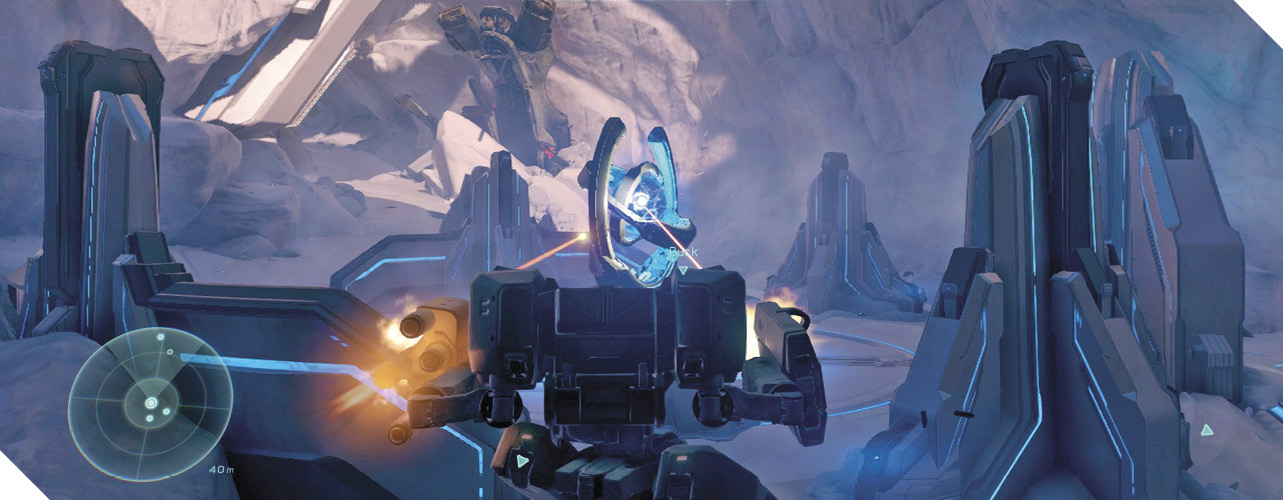
As you advance on the nearby Alpha Core 7, a Phantom swoops in and deploys some Covenant forces over on the right. Prometheans then spawn over to the left, and battle is quickly joined. Race to the right and hop into the Mantis parked near the wall.
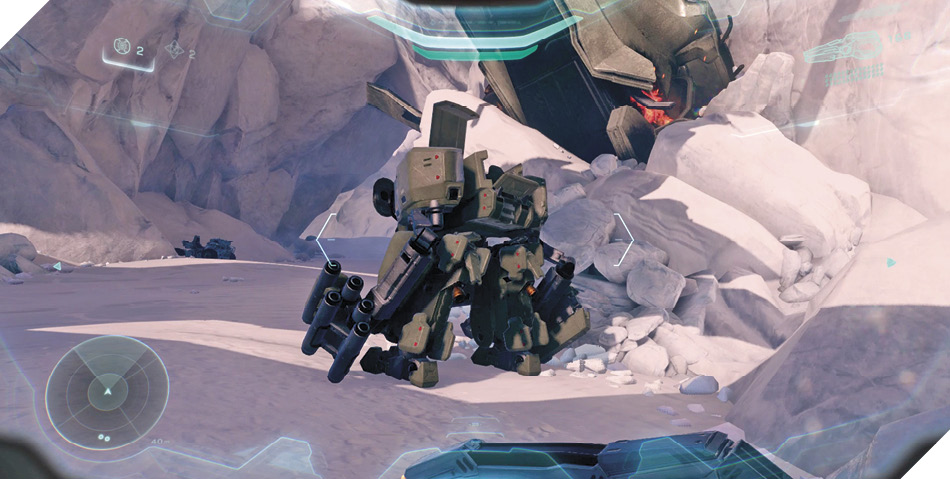
The Mantis makes short work of the enemies around the core. Use its machine gun and missile launcher to eradicate Soldiers and Elites, and fire its rockets to obliterate the Ghosts deployed by the Covenant. Fall back to recover the Mantis’s shields as needed during the effort.
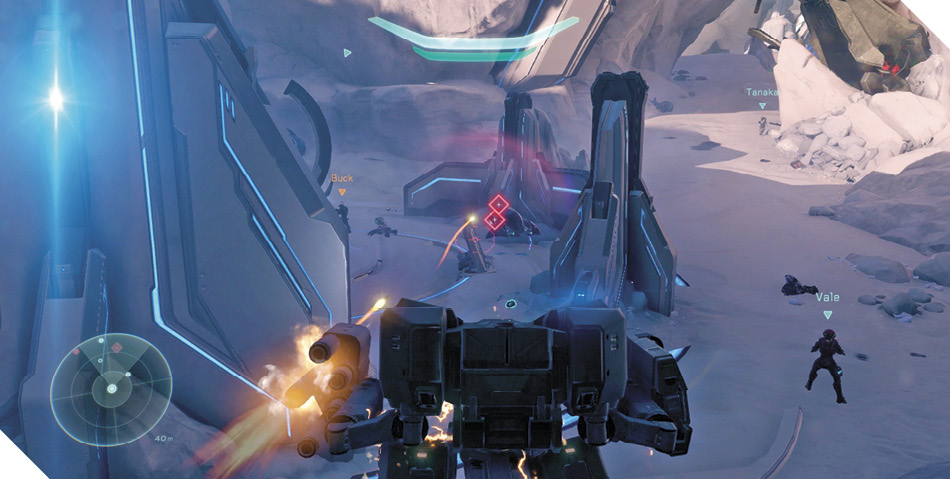
Alternate ApproachIf a teammate grabs the Mantis before you, or if you simply prefer not to use it, there are many other options. Among the wreckage to the left you’ll find a Plasma Caster, while a Ghost is parked just behind the Alpha Core. Search ahead of the Mantis’s position on the right to find a Rocket Launcher on the ground and a Gungoose parked just ahead. All of these assets will serve you well as you tackle the cores, but the Mantis is the major asset. |
When nothing is left to shoot you, search the wreckage of the downed Phantom on the left with Artemis to discover a Covenant data pad. Scan it for intel before moving to disable the Alpha Core.
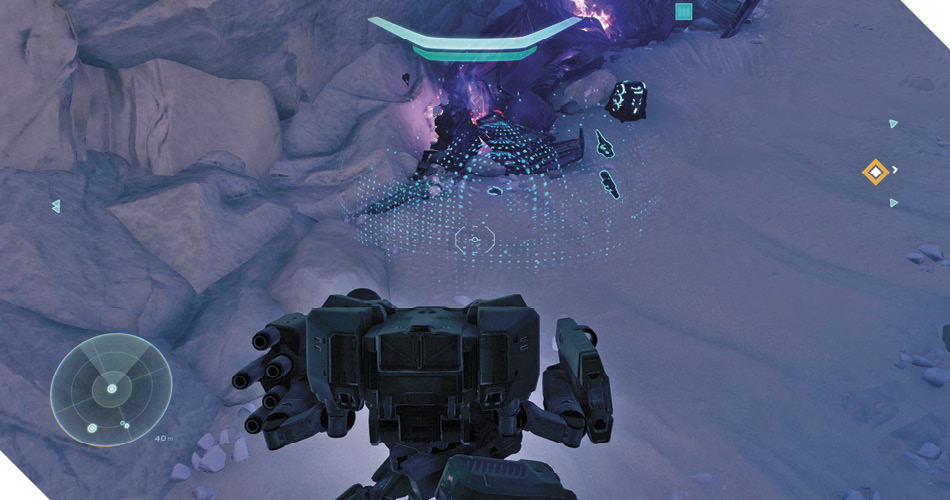
Mission 15 Intel Acquired (4/10) |
Turn your Mantis’s weaponry loose on the Alpha Core. Keep firing until the core explodes, then stomp up the path on the right 8, following Artemis toward the Beta Core 9.
Achievement: Double STuffDuring Co-op play on Heroic or Legendary difficulty, you can earn an Achievement by coordinating with friends to destroy two cores at the same time. Split up and secure two core sites, then coordinate and fire on both cores simultaneously, ideally using the same weapon to ensure that both cores go boom at the same time. |
Beta Core
A shield 8 blocks access to the Beta Core. Destroy it with a missile barrage and a bit of sustained fire from your Mantis, then enter the cave beyond.
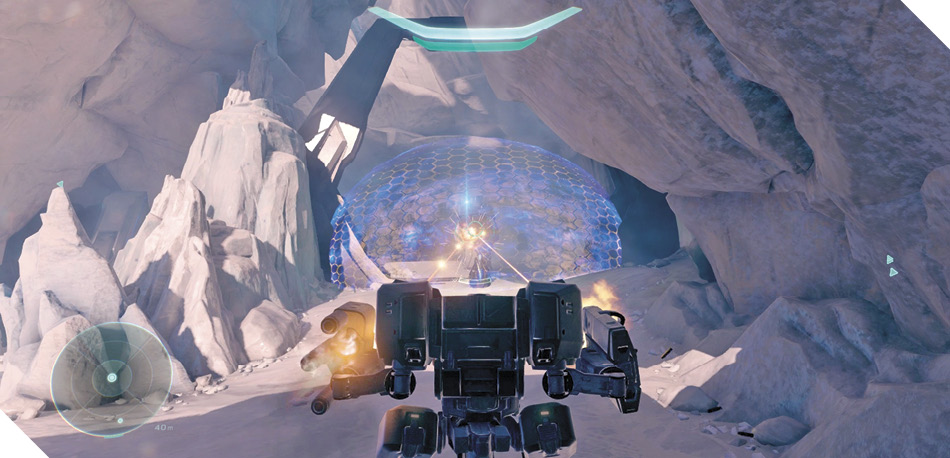
Two Hunters guard Beta Core, and several Elites also drop in to join the effort. One of the Elites wields a Fuel Rod Cannon, so be on your guard. Eliminate the Elites first, then bombard the Hunters with relentless fire from your Mantis. Fall back to recover shields as needed, but don’t relent until the cave is secure.
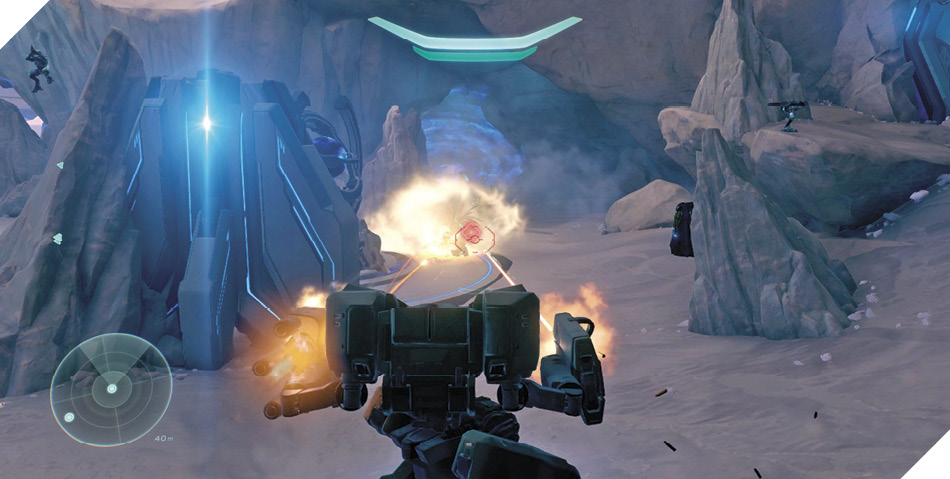
If you like, grab one of the nearby Fuel Rod Cannons before annihilating the Beta Core. With the core destroyed, fire on the remaining shield generators to open two more exits from the cave. The Cryptum can be seen from one of these exits; leave the cave through that exit 10, heading toward the Cryptum.
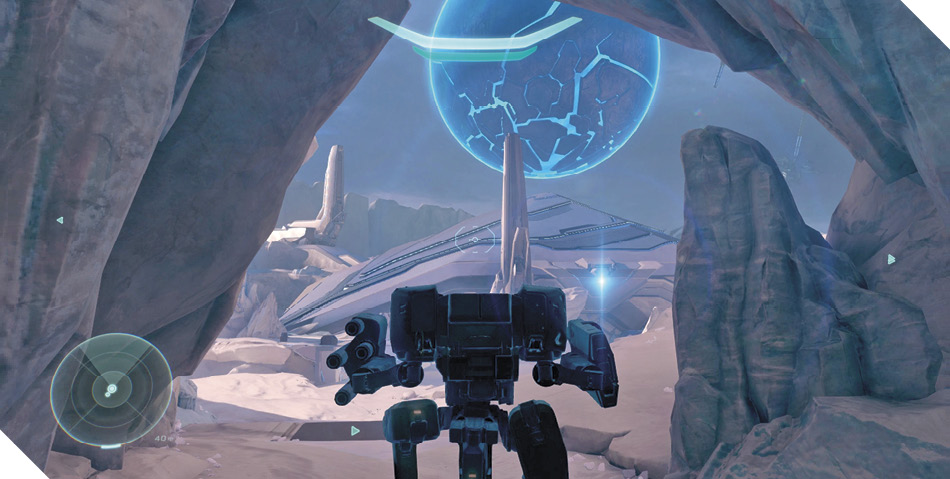
Achievement: Icy CoolIf you’re playing on Heroic or Legendary difficulty, you can earn an Achievement by destroying the Beta Core with a Ground Pound. Leap from the nearby ledge with the Plasma Cannon Turret, then execute the Ground Pound and obliterate the core. You can Ground Pound any core to earn this Achievement; Beta Core is just an easy mark. |
Gamma Core
The moment you exit the Beta Core cave, turn right and march your Mantis up a snowy slope, heading toward the wreckage of a downed Pelican 11. Obliterate the Shade Turret on your left as you go, along with any hostiles Ghosts that move to intercept you.
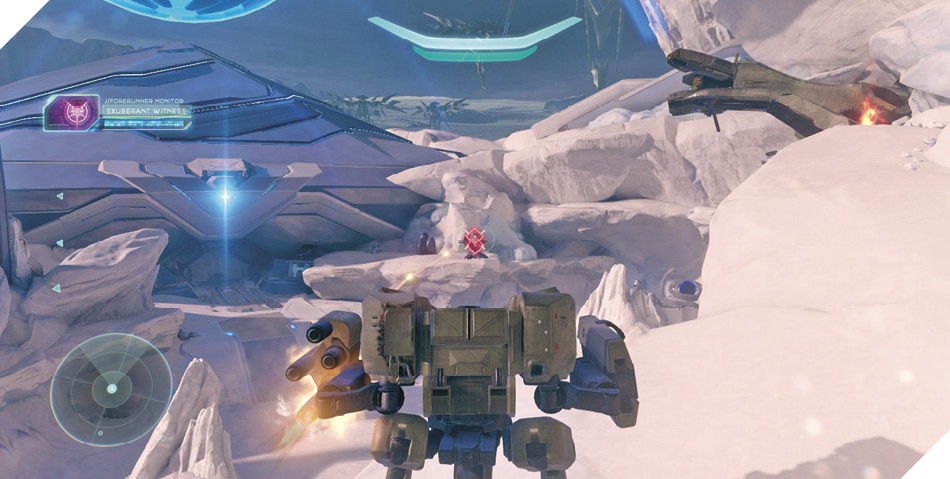
The slope leads to a high ledge with a downed Pelican 11. Neutralize another Shade Turret below you, then hop out of your Mantis and scan the nearby UNSC data pad for intel. Grab or give away the SAW and Sniper Rifle you discover nearby.
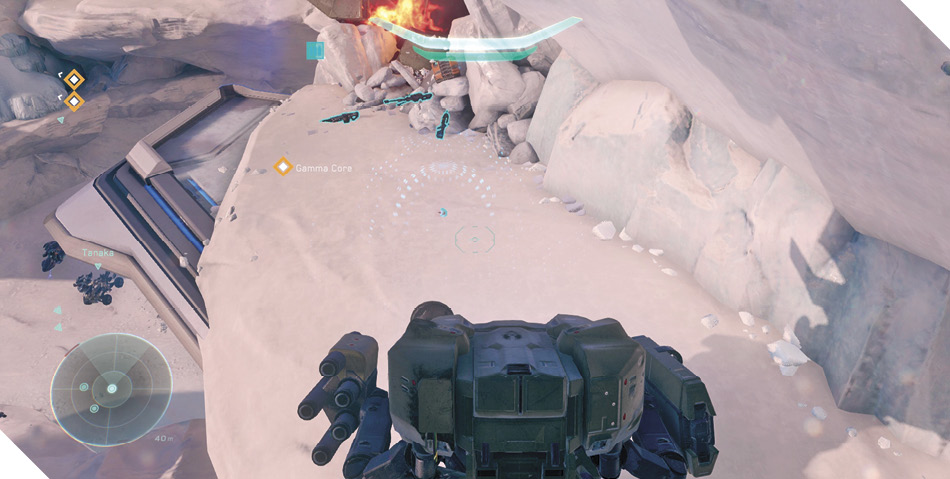
Skull 12 of 13: Famine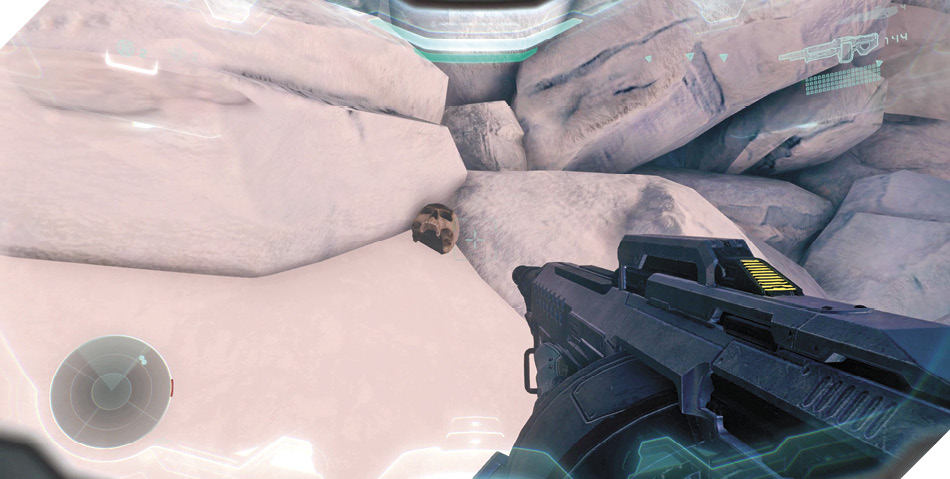 After scanning the data pad, carefully jump and climb over the wreckage of the downed Pelican, moving to its far side. Search the snowy ledge here to discover a tiny Skull—the last one there is to find!  |
Now for the Gamma Core 12. Return to your Mantis and destroy the core as you march back down the slope, heading toward Delta Core.
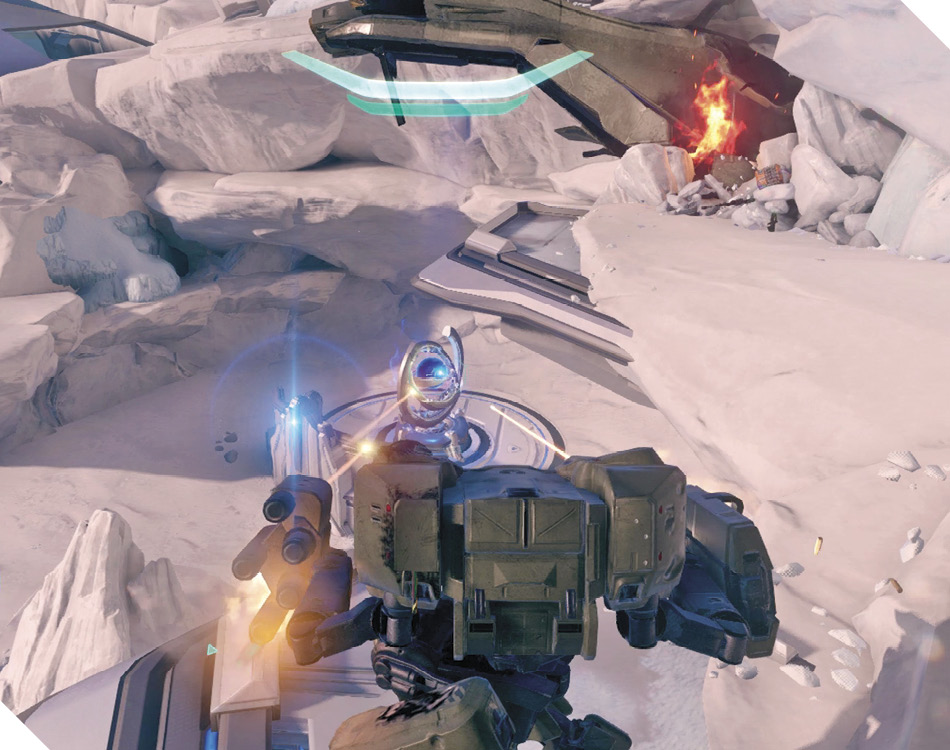
Delta Core
Obliterating Gamma Core prompts a Phantom to deploy more Covenant troops near the center of the yard, including a dangerous Wraith. Your trek to Delta Core takes you through the compound’s central yard, so you’ll have to battle them. There are more Shade Turrets to destroy out here and likely a few Ghosts to gun down. Bring down the Shade Turrets first, being wary of inbound mortars from the Wraith. Advance on the Wraith and destroy it, strafing to avoid its fire.
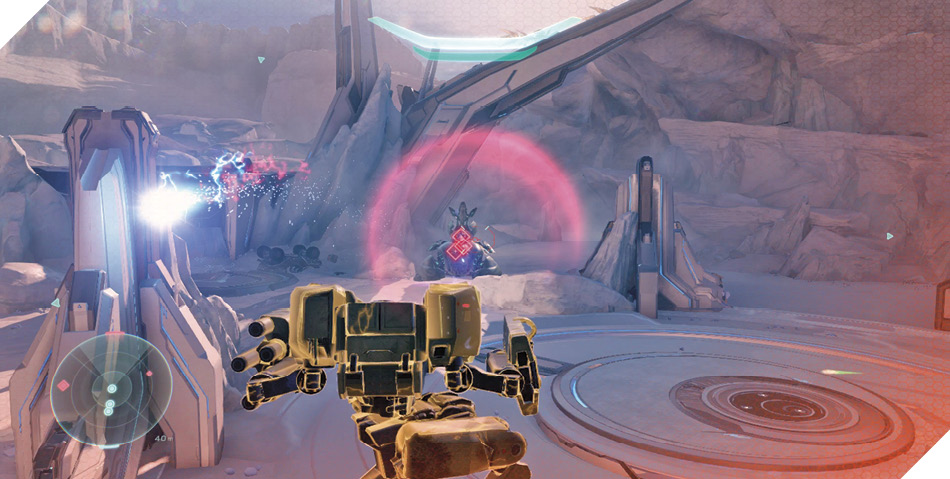
Secure the yard, then use Artemis to detect an item of interest on the snowy ledges that were on your left as you advanced from Gamma Core 13. Climbing these ledges is tricky from this side of the yard; loop around as if you’re heading back to Beta Core, then climb the ledges on that side 14 to reach the item: a Covenant data pad.
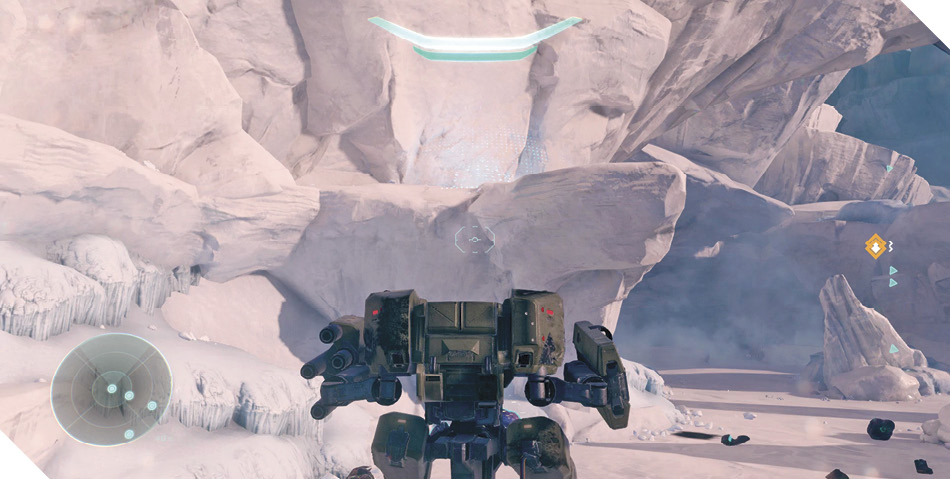
Mission 15 Intel Acquired (6/10) |
Return to your Mantis and march up to the Cryptum 15. Turn left and then follow Artemis toward Delta Core 16, but beware: Beam Turrets materialize as you approach. Soldier Snipers spawn on the far ledge as well. Fall back and use the large nearby Forerunner spire as cover from these lethal beams, ducking out to unload your Mantis’s missiles on the nearest threat. Retreat behind cover as you reload, and repeat this process until the site is secure. Destroy the Delta Core afterward to move one step closer to lowering the Cryptum.
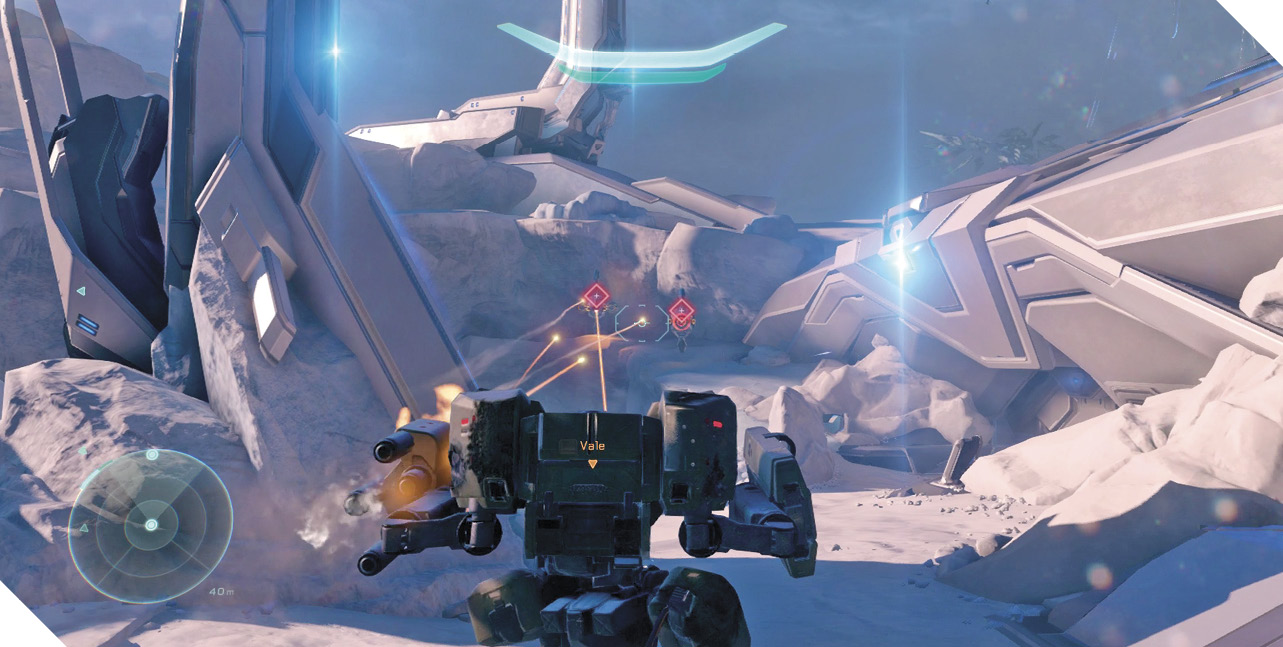
Alternate ApproachIf you like, you can loop around to the left and get the drop on the Soldier Snipers. This is a great way to flank the Delta Core’s defenders and secure the site in short order. |
Mission 15 Intel Acquired (5/10) |
Epsilon Core
The final core isn’t far, but there are a few stops to make along the way. First, enter the low tunnel near Delta Core and search the tunnel with Artemis to discover a Covenant data pad lying near a parked Ghost 17. Scan it for intel, then double back to the Delta Core site.
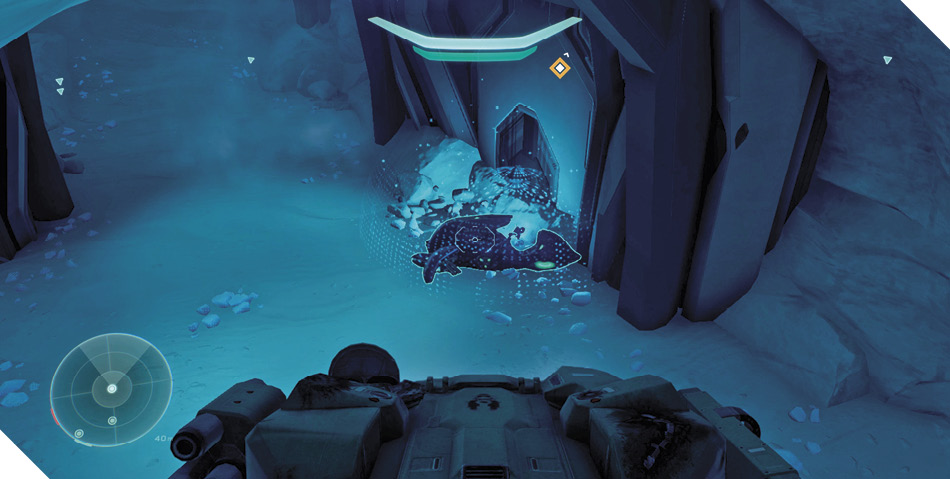
Mission 15 Intel Acquired (7/10) |
Loop around to the right as you emerge from the tunnel, moving as if you were heading to the Soldier Snipers’ perch 18. Engage Artemis along the way to detect a broken Constructor resting atop the nearby ledges. Exit your Mantis and scale the ledges, then scan the Constructor for intel.
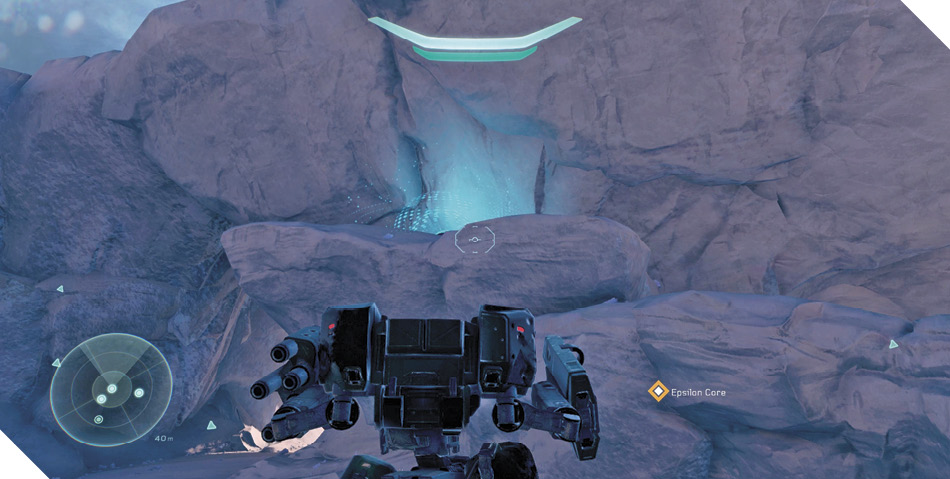
Mission 15 Intel Acquired (8/10) |
Return to the Mantis and continue toward Epsilon Core 19. Duck into a side tunnel 20 on your right along the way to discover another Mantis, along with a SAW and UNSC data pad. Hop out and scan the pad, then grab the fresh Mantis and give your old one to a teammate.
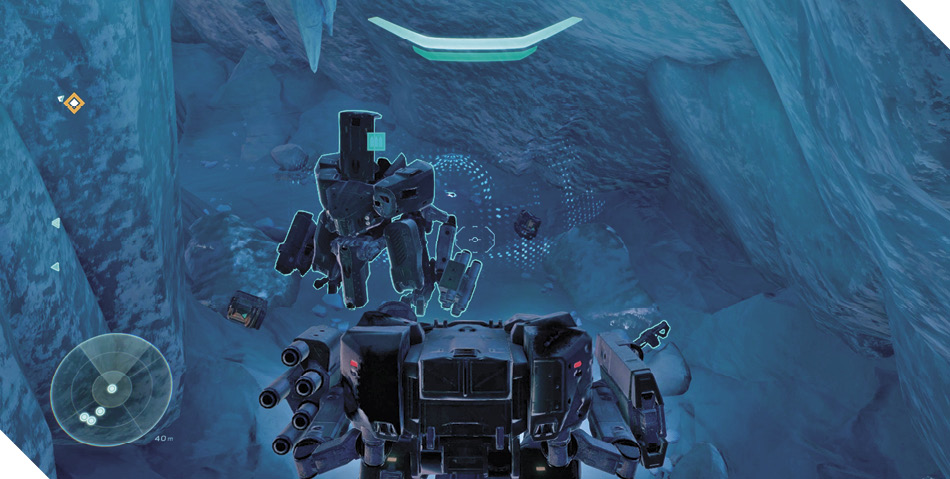
Mission 15 Intel Acquired (9/10) |
Epsilon Core is just ahead 19. Neutralizing it should be short work with two Mantises at your disposal. Wipe out the Prometheans that stand in defense of the core, prioritizing the Knight. Blast the core afterward to break Cortana’s grip on the Cryptum.
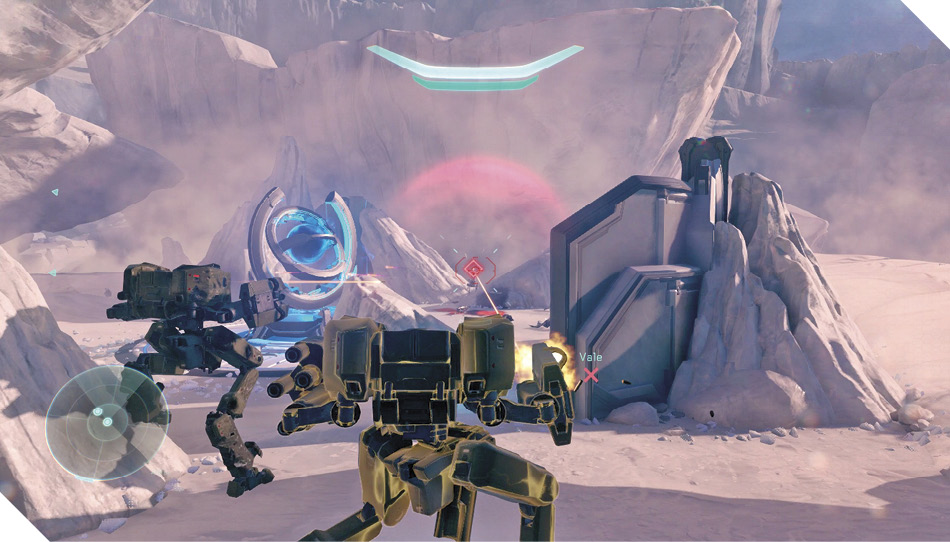
Objective: Rescue the Chief
Soldiers, Crawlers, and two Knights spawn as you circle back toward the Cryptum 21, along with a Beam Turret that appears on the right. Keep your distance to avoid being targeted by the Beam Turret, and wipe out all threats with your Mantises’ superior firepower. Any teammates not in vehicles can use the ledges on the left as a sniper’s perch—they’ll find a Binary Rifle and an Incineration Cannon up there, along with a broken Constructor that provides the mission’s final bit of intel.
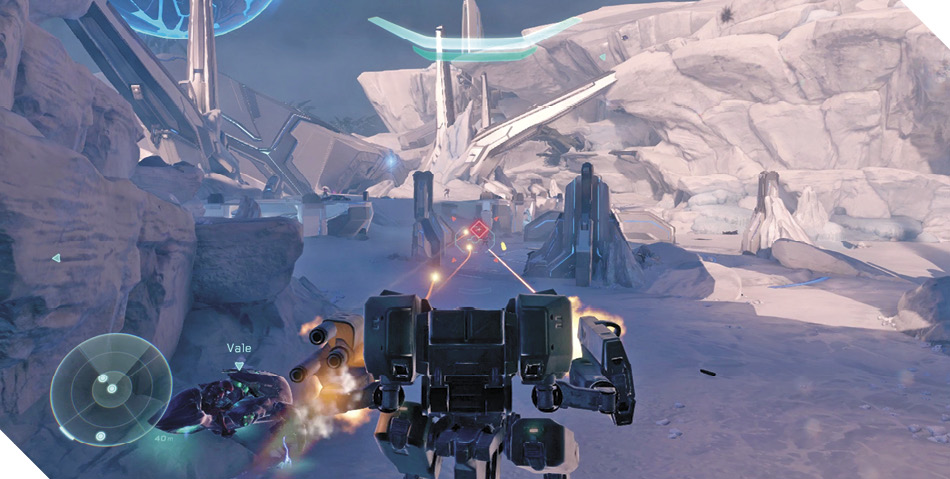
Mission 15 Intel Acquired (10/10) |
Fight hard to secure the area, then move to the very center of the yard 22. An override mechanism has appeared here; exit your vehicle and activate the mechanism to gain access to the Cryptum.
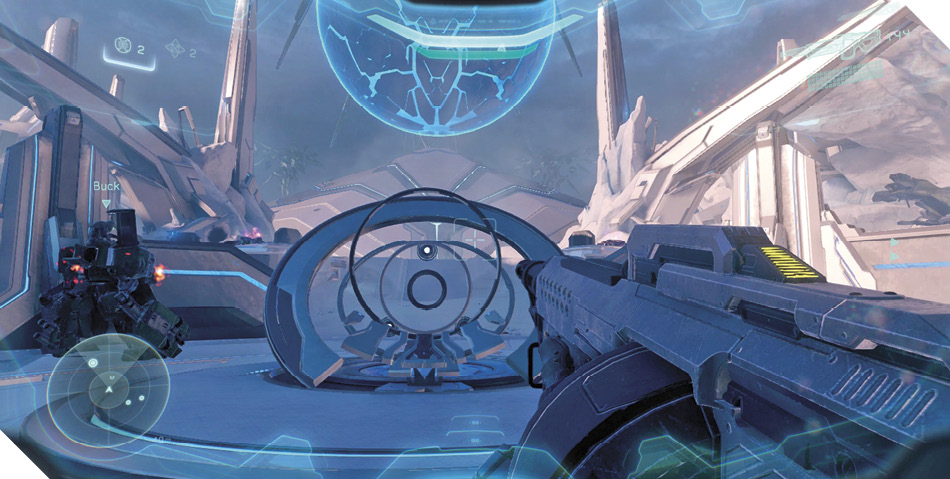
You’re close to rescuing Blue Team, but Cortana has other plans. Now that the Cryptum is free of its gravitational bonds, Cortana uses her Guardian to steal it. Time’s running out; it won’t be long before Cortana’s Guardian enters slipspace and flees the scene with Blue Team!
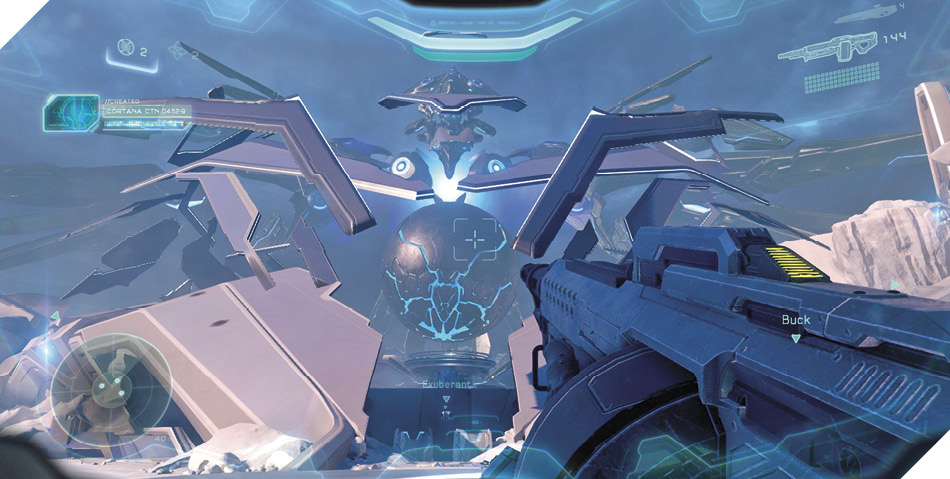
Vehicles can’t fit into the Cryptum facility, so you’ll have to venture inside on foot. Ensure that you’re carrying plenty of ammo before heading inside.