Halo 5: Guardians Guide Campaign Walkthrough Mission 6: Evacuation
Evacuation Plan
Objective: Reach the Space Elevator
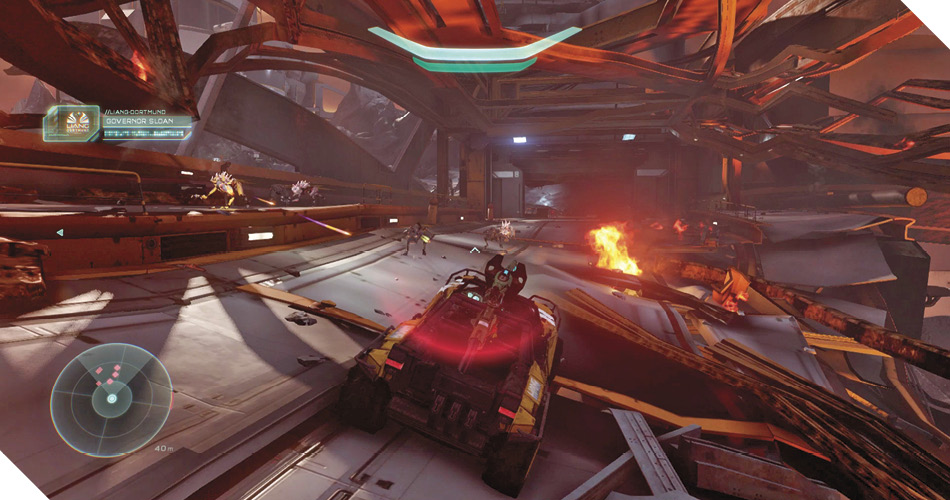
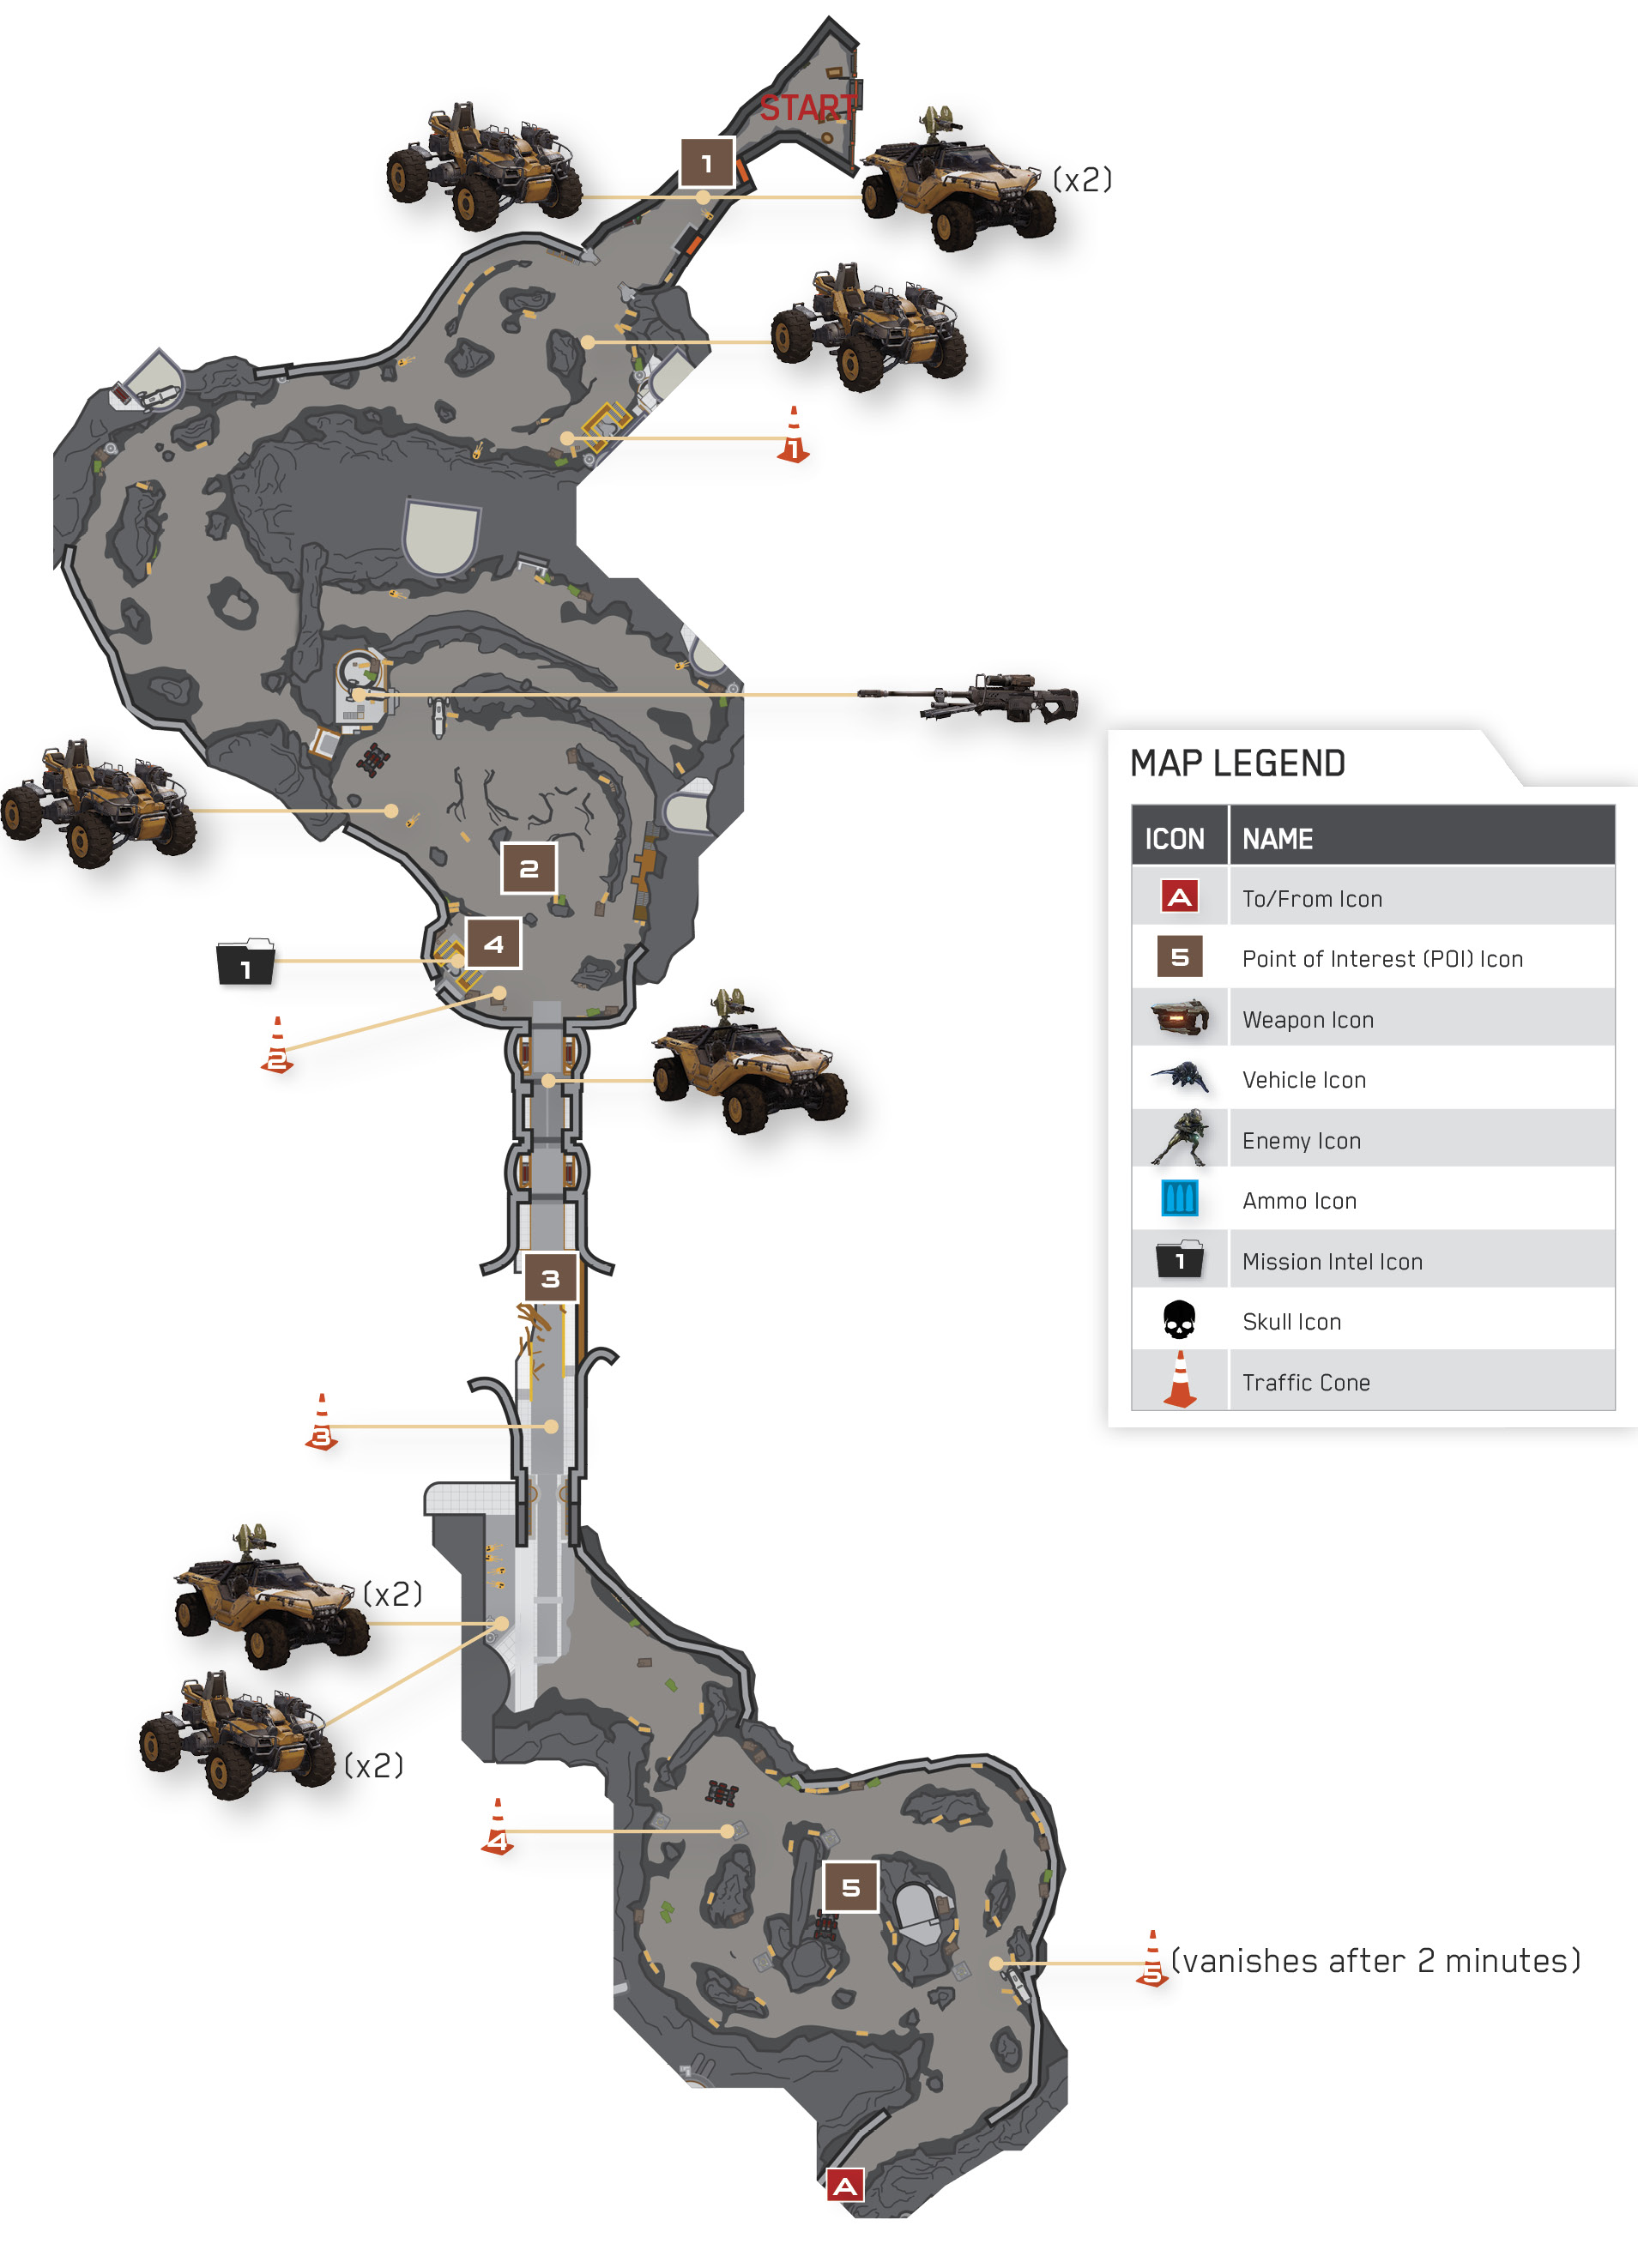
Everyone’s fleeing from Meridian Station, and Fireteam Osiris must do the same, for the Guardian is awakening. Sprint downhill to find a couple of Warthogs and a Gungoose 1 , and watch in awe as the massive Guardian begins to rise in the distance. There’s no way you’re fighting that thing! Hop into a Warthog and motor downhill.
Achievement: Fire DrillAs if you needed more motivation to hastily vacate Meridian, you can earn an Achievement if you manage to complete the mission in 18 minutes or less on Heroic or Legendary difficulty. This means you need to really motor to the Space Elevator, and you can’t get caught up in lengthy battles once you get there. It’s tough to earn this Achievement while playing solo; team up with some friends and work together to end battles faster. Consider setting a timer to keep track of your progress. |
The Pelican that Osiris used to reach Meridian is still parked atop the Space Elevator, and it’s your ticket home. Don’t bother fighting the Prometheans that spawn as you race back to the Space Elevator; just avoid them or run right through them.
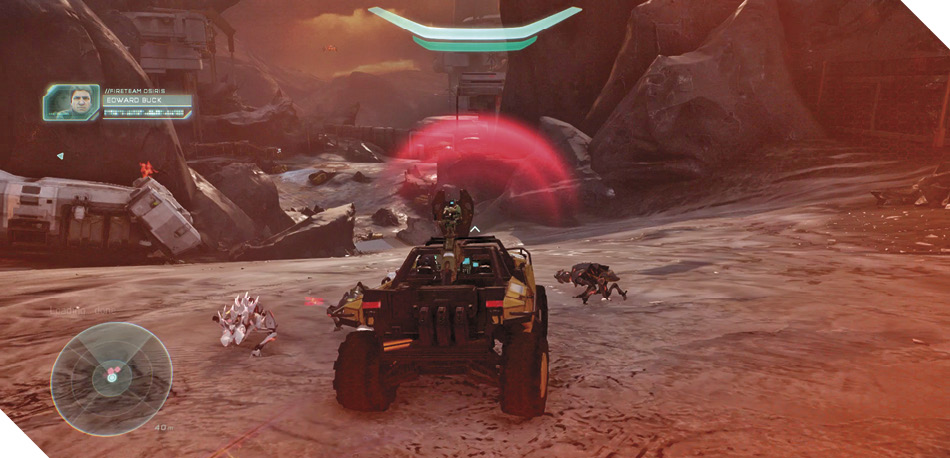
Legendary StrategyRolling your vehicle is tantamount to death during a Legendary escape run. Keep your ride upright as you speed toward the Space Elevator. |
Skull 5 of 13: Thunderstorm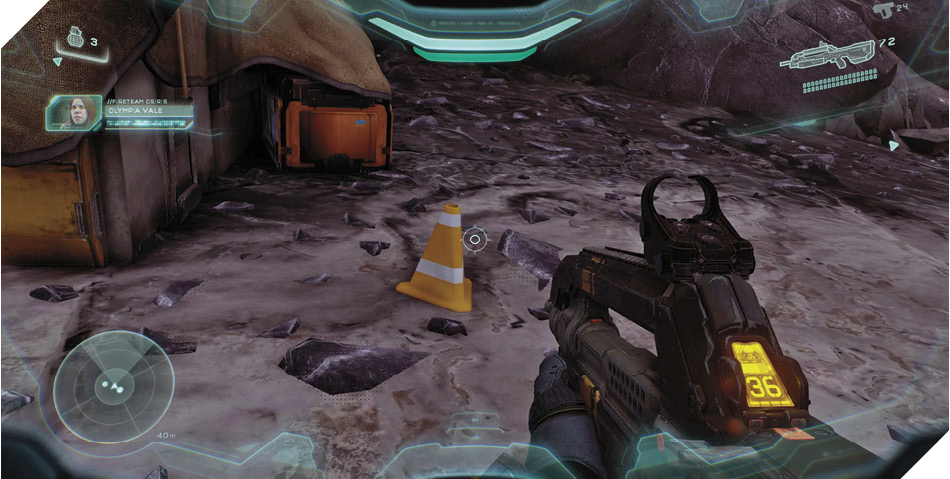
Earning this Skull takes some effort. During the mission’s opening segment, in which you’re fleeing Meridian Station on vehicles, you have approximately two minutes to destroy five special traffic cones on your way to the Space Elevator outpost. The last cone vanishes if you run out of time, so you’ve got to be quick! Check the maps for their locations. 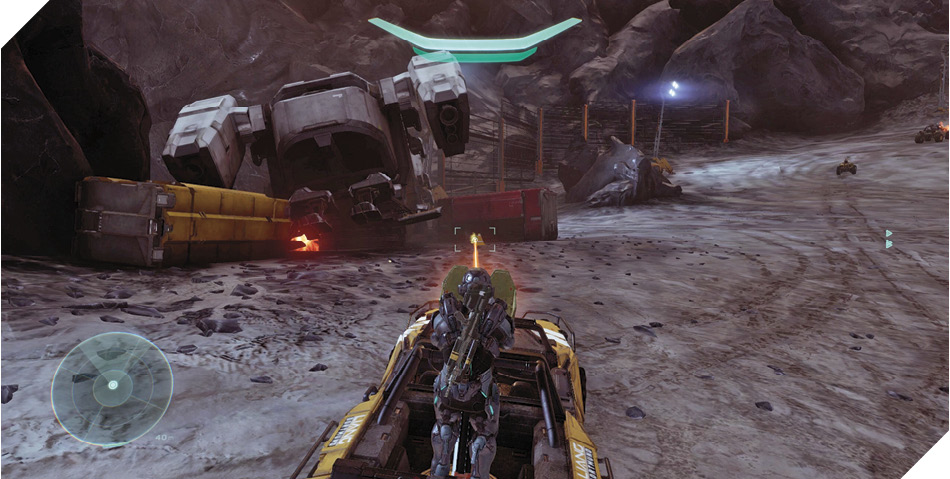
To destroy cones quickly, either use a Gungoose’s front-mounted grenade launchers or hold the Jump button to switch from a Warthog’s driver seat to its mounted turret, and then fire away. 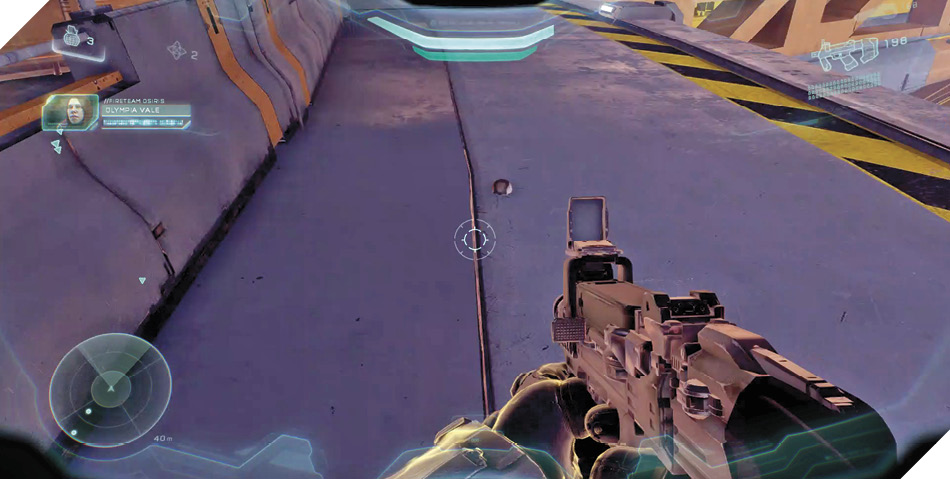
Destroy all five cones within the allotted time, and the Skull will be waiting for you at the mission’s end. You’ll see it in plain view, resting on the edge of the Space Elevator’s dock. Grab it just before you make your escape. 
|
The spacious service garage yard 2 is a hot spot full of Prometheans, and a couple of formidable Phaetons rain death from the sky here. Race through the yard without delay, heading for the bridge 3—but don’t cross the bridge just yet.
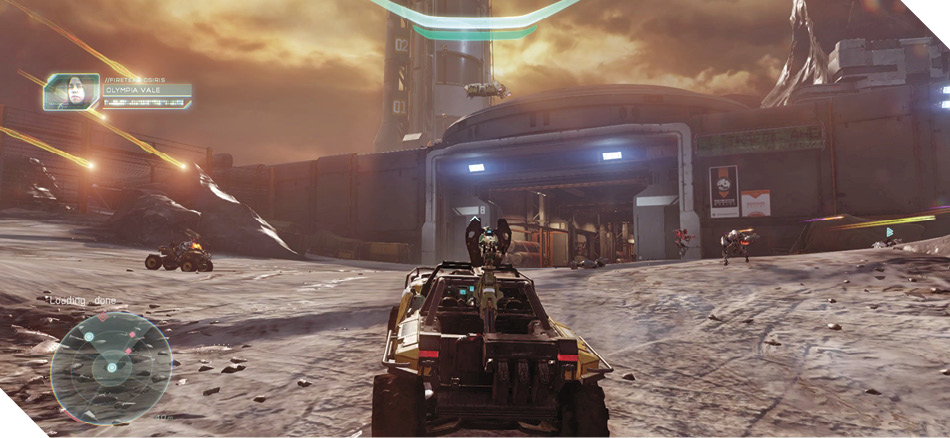
Instead, before you reach the bridge, park near the platform on the right 4 and sprint upstairs to find a UNSC data pad on the walkway. Use Artemis to pinpoint the data pad and then quickly scan it for intel before hurrying back to your vehicle and motoring onto the bridge 3.
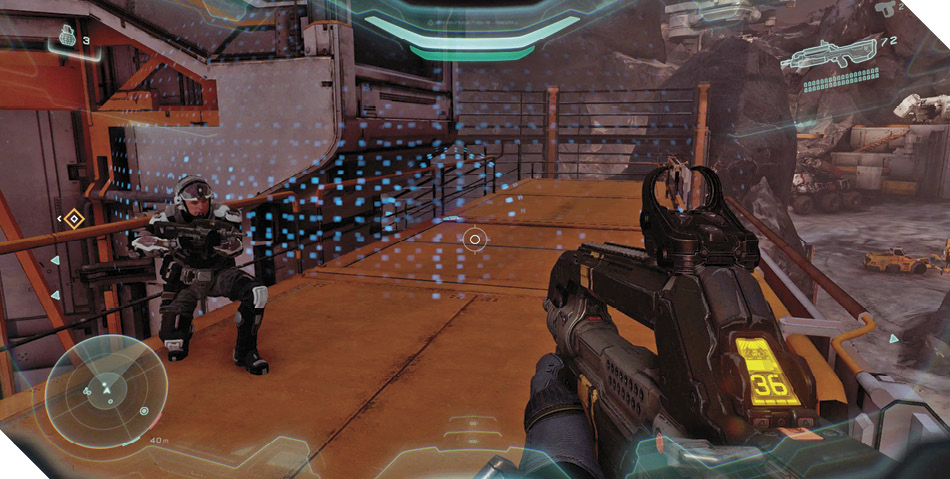
Mission 6 Intel Acquired (1/6) |
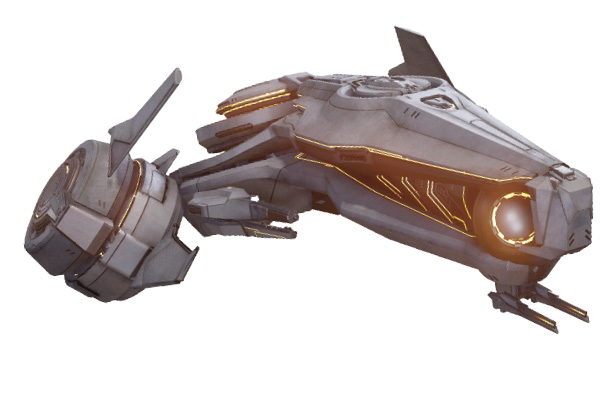
Phaeton CannonPhaetons are fast Forerunner fliers designed to dominate the skies. Like the Covenant’s Banshee, a Phaeton has two weapon systems: its primary guns, which can shred lighter targets, and its secondary missiles, which are quite powerful and will track elusive prey. Also, like Banshees, Phaetons are capable of midair maneuvers that help them evade inbound fire. And while Phaetons feature thicker armor than Banshees, they don’t have the advantage of the Banshees’ regenerative shields. |
The bridge is a mess of twisted metal and burning debris. Race through, keeping to the left to avoid tumbling into the worst of the damage. Soldiers on Warthogs will take shots at you, but don’t slow down, even for them. Hurry across the bridge and navigate the looping road that follows 5 on your way back to the Space Elevator outpost.