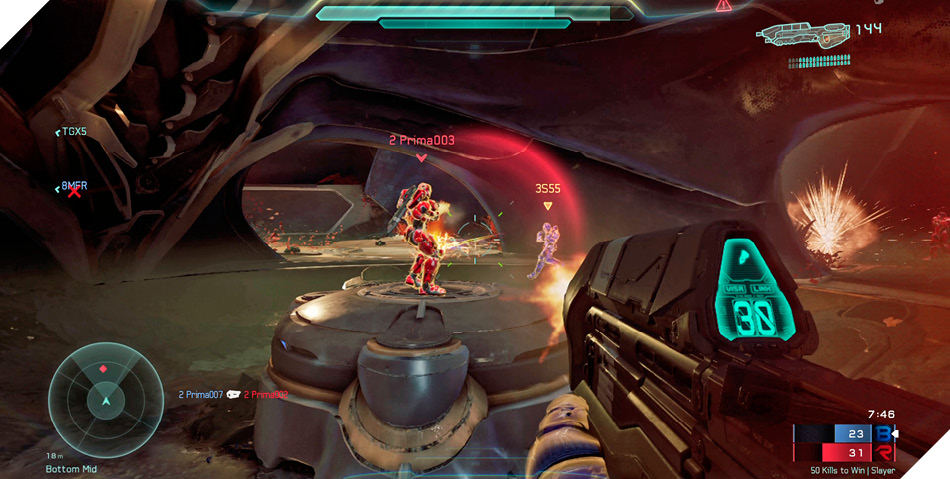
Regret
Description: Artifacts collected from across Alpha Halo remain concealed within the Undiminished Entelechy’s shattered hull.
Game Modes: Slayer, Capture the Flag, Strongholds
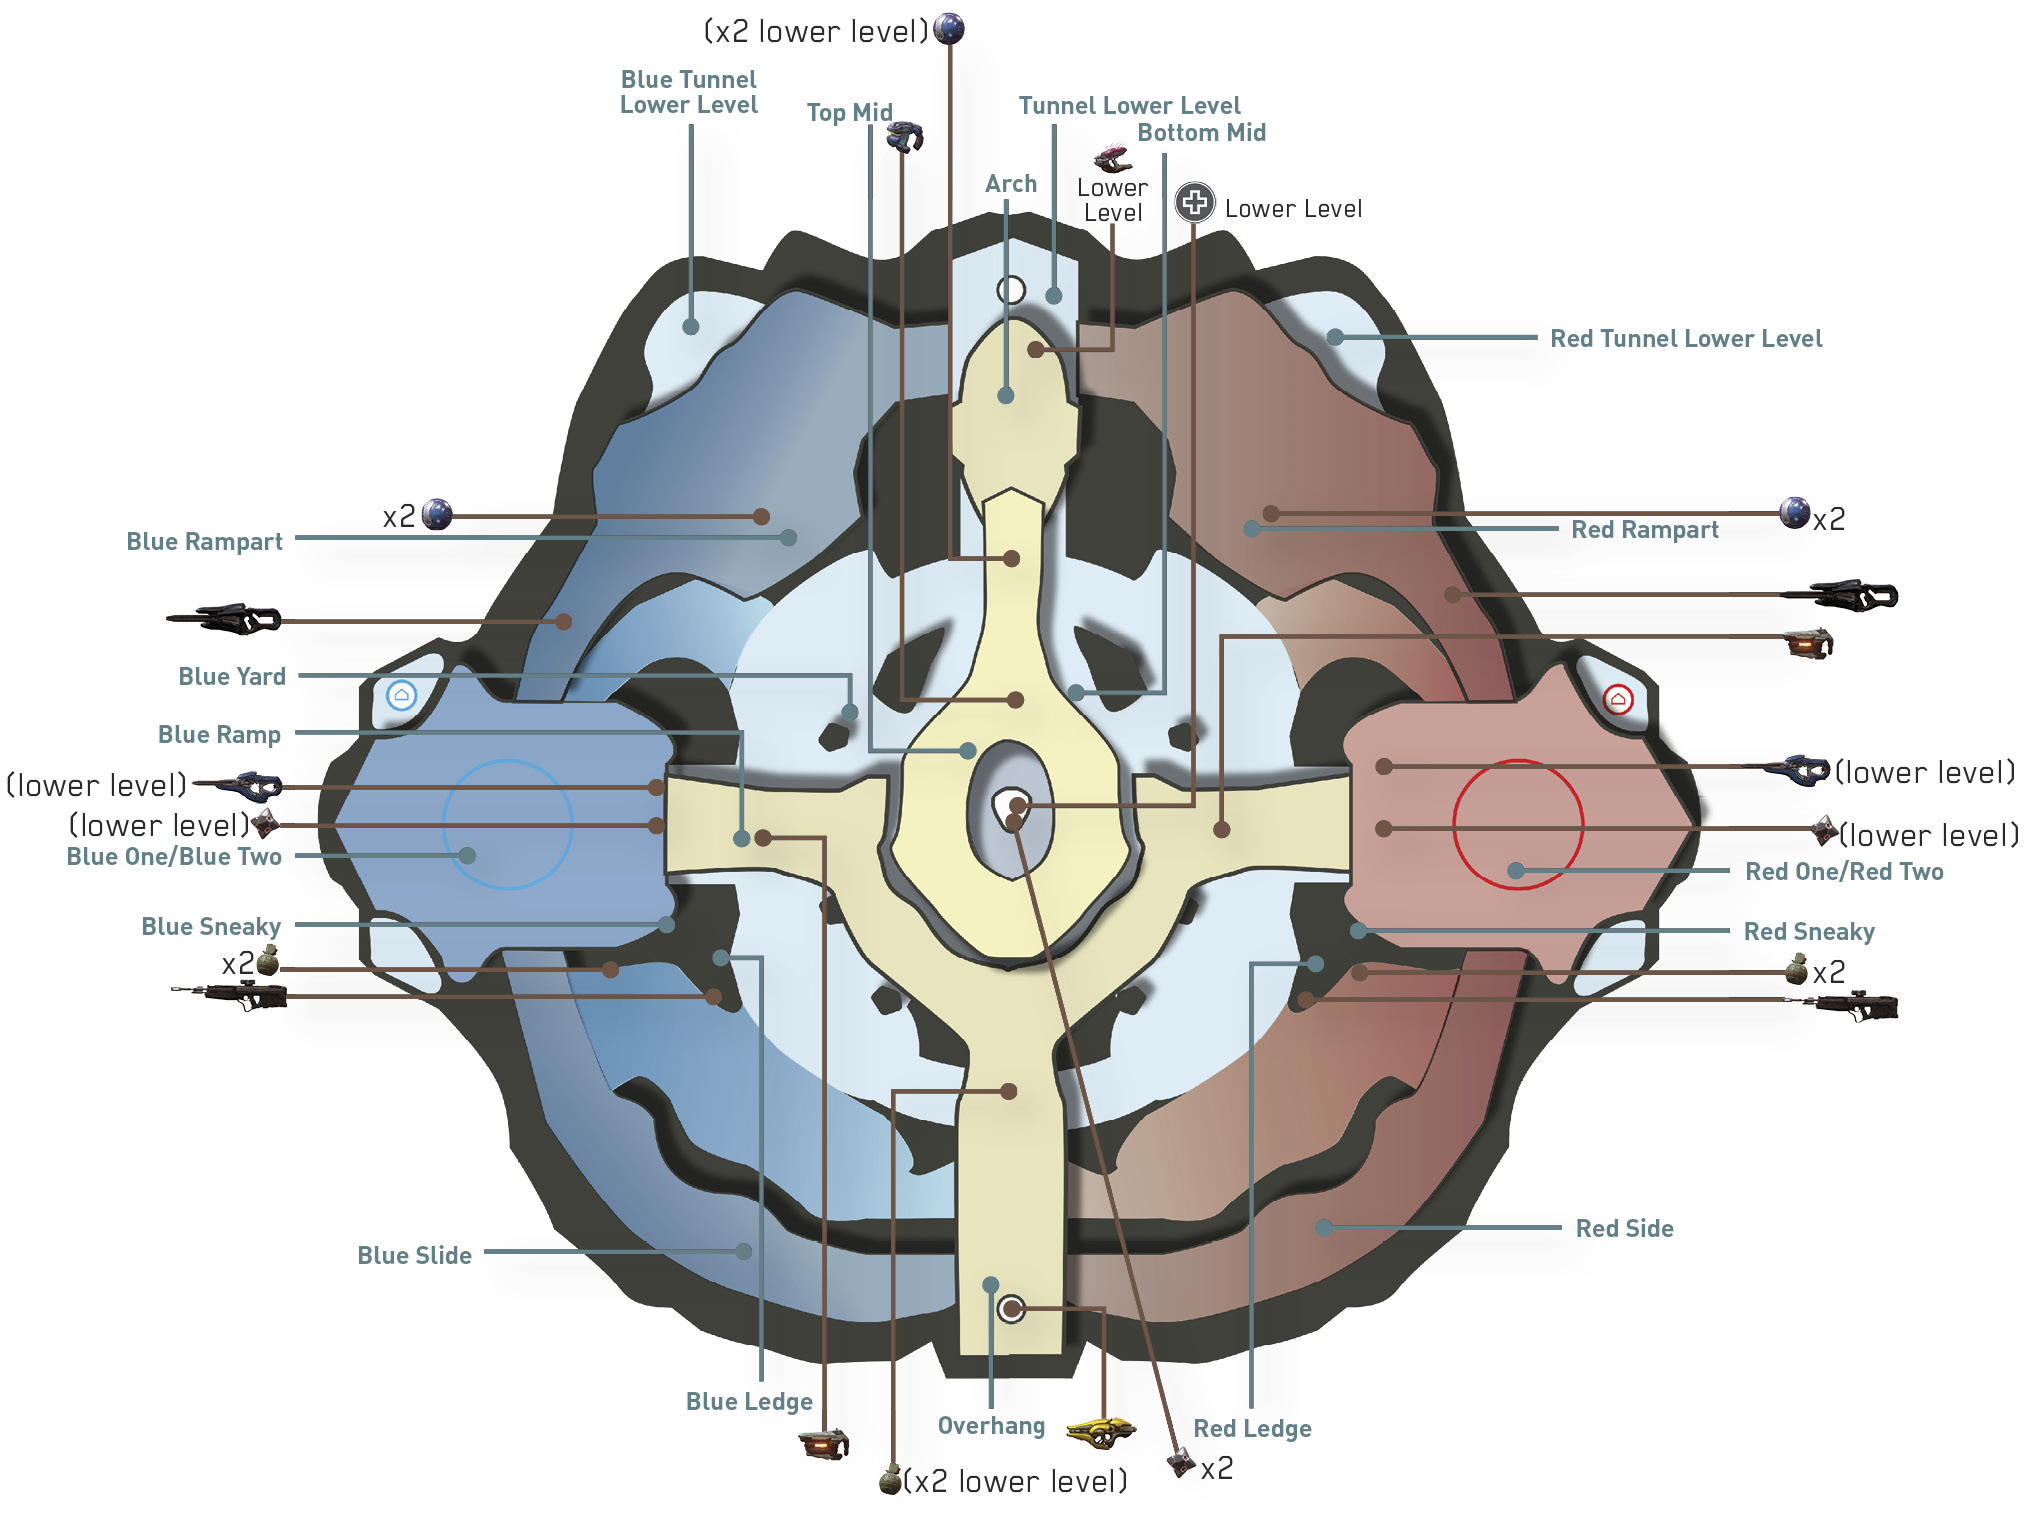
Inspired by Midship from Halo 2, Regret is a balanced symmetrical map where fundamental skills and teamwork are more important than control of the two key pick-ups. Work to control Top Mid, and stay in constant communication with teammates to identify and counter enemy spawns and movement.
Featured Weapons and Power-Ups
| Item | Name | Location | Respawn Time |
|---|---|---|---|
|
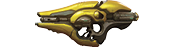
Fuel Rod Cannon | Overhang | 2:00 |

|
Overshield | Bottom Mid | 2:00 |
Starting Moves
- Along with your teammates, make an aggressive push for the Overshield at Bottom Mid. Since the opposing team is likely to make the same move, be ready for a fight, lobbing grenades into Bottom Mid’s entrances in an effort to keep opponents from acquiring the Overshield.
- If you’re not making an early-round play for the Overshield, try to grab the Fuel Rod Cannon at Overhang. While not a game changer, the Fuel Rod Cannon’s explosive firepower is a welcome asset to your team, particularly if the opposing team acquires Overshield.
Power Position: Top Mid
How to Leverage
When it comes to spotting and calling out enemy movement, few locations are better than Top Mid. Using eyes and radar it’s easy to detect what sides the opposing team is approaching from, giving you adequate time to counter, preferably with a LightRifle. Top Mid also offers plenty of cover—its elevation makes it hard for opponents to deploy grenades from the surrounding bases. Controlling Top Mid also gives your team easy access to the nearby Fuel Rod Cannon on the Overhang.
How to Counter
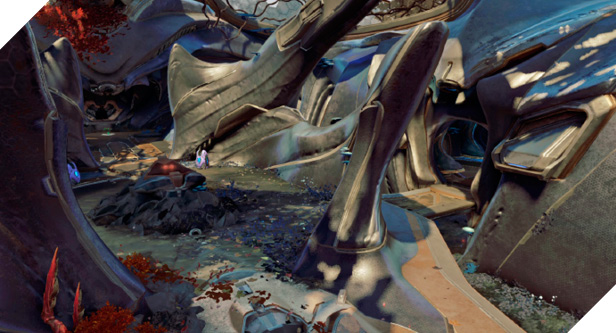
If the opposing team holds Top Mid, it’s really difficult to challenge this position directly. Instead, move to Bottom Mid in an effort to draw opponents off Top Mid—they’ll likely spot you on radar and give chase. You have a much better chance of winning engagements in the lower areas of the map than staging a frontal assault on Top Mid. If you succeed in drawing opponents off Top Mid, make a move to occupy it before they regroup.
Tactics
The DMRs at Red Ledge and Blue Ledge come in handy for engaging opponents at Top Mid and Overhang. If the opposing team has you pinned down in your base, the DMR is your best option for fighting your way out.
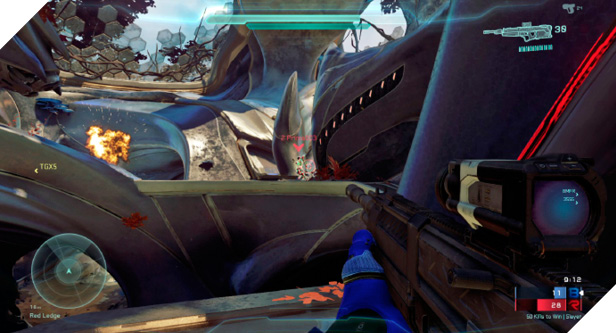
During Capture the Flag, make an effort to carry the flag across Top Mid—this is the most direct route. But before running the flag here, occupy Top Mid to secure the route. Teammates posted here can easily counter opponents chasing the flag carrier. Even if you can’t make a quick advance across Top Mid, this central location gives you more options for pushing the flag in various directions.
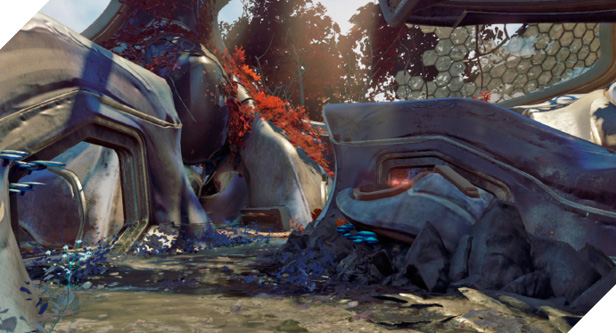
At Top Mid you can jump and clamber onto the two vertical structures, offering an even better height advantage. These perches also allow you to quickly jump and thrust great distances, ideal for getting the jump on unsuspecting opponents at Blue or Red Ramparts.
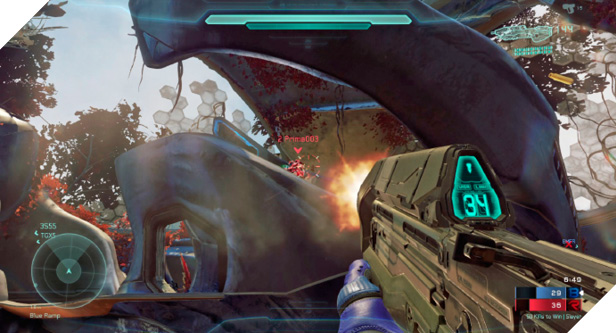
In most matches, engagements come down to one-on-one firefights. By roaming the map with a teammate you can greatly increase your chances of winning these fights, using combined firepower to drop isolated opponents. Teamwork is essential for countering an opponent equipped with the Overshield.
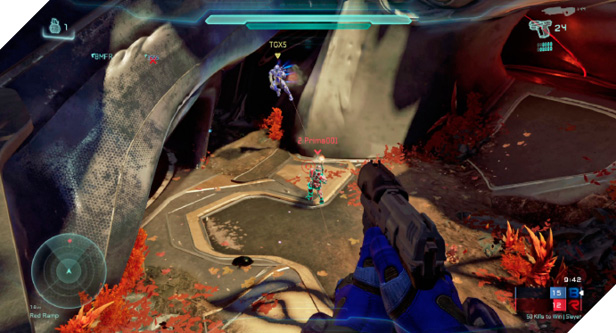
While most players like to occupy the high ground, don’t overlook the importance of roaming the lower areas of the map. Controlling traffic in Bottom Mid is crucial for locking down the Overshield. Rapid-fire weapons like the Assault Rifle and Storm Rifle are ideal for firefights in these cramped quarters.