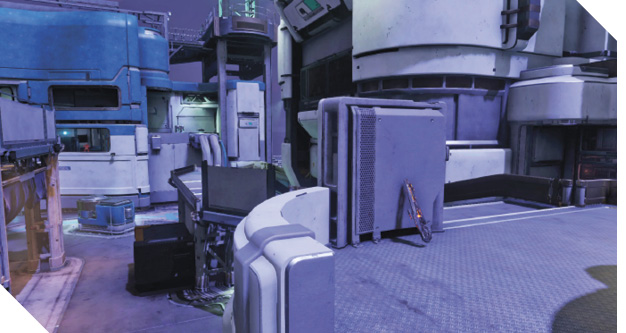
Eden
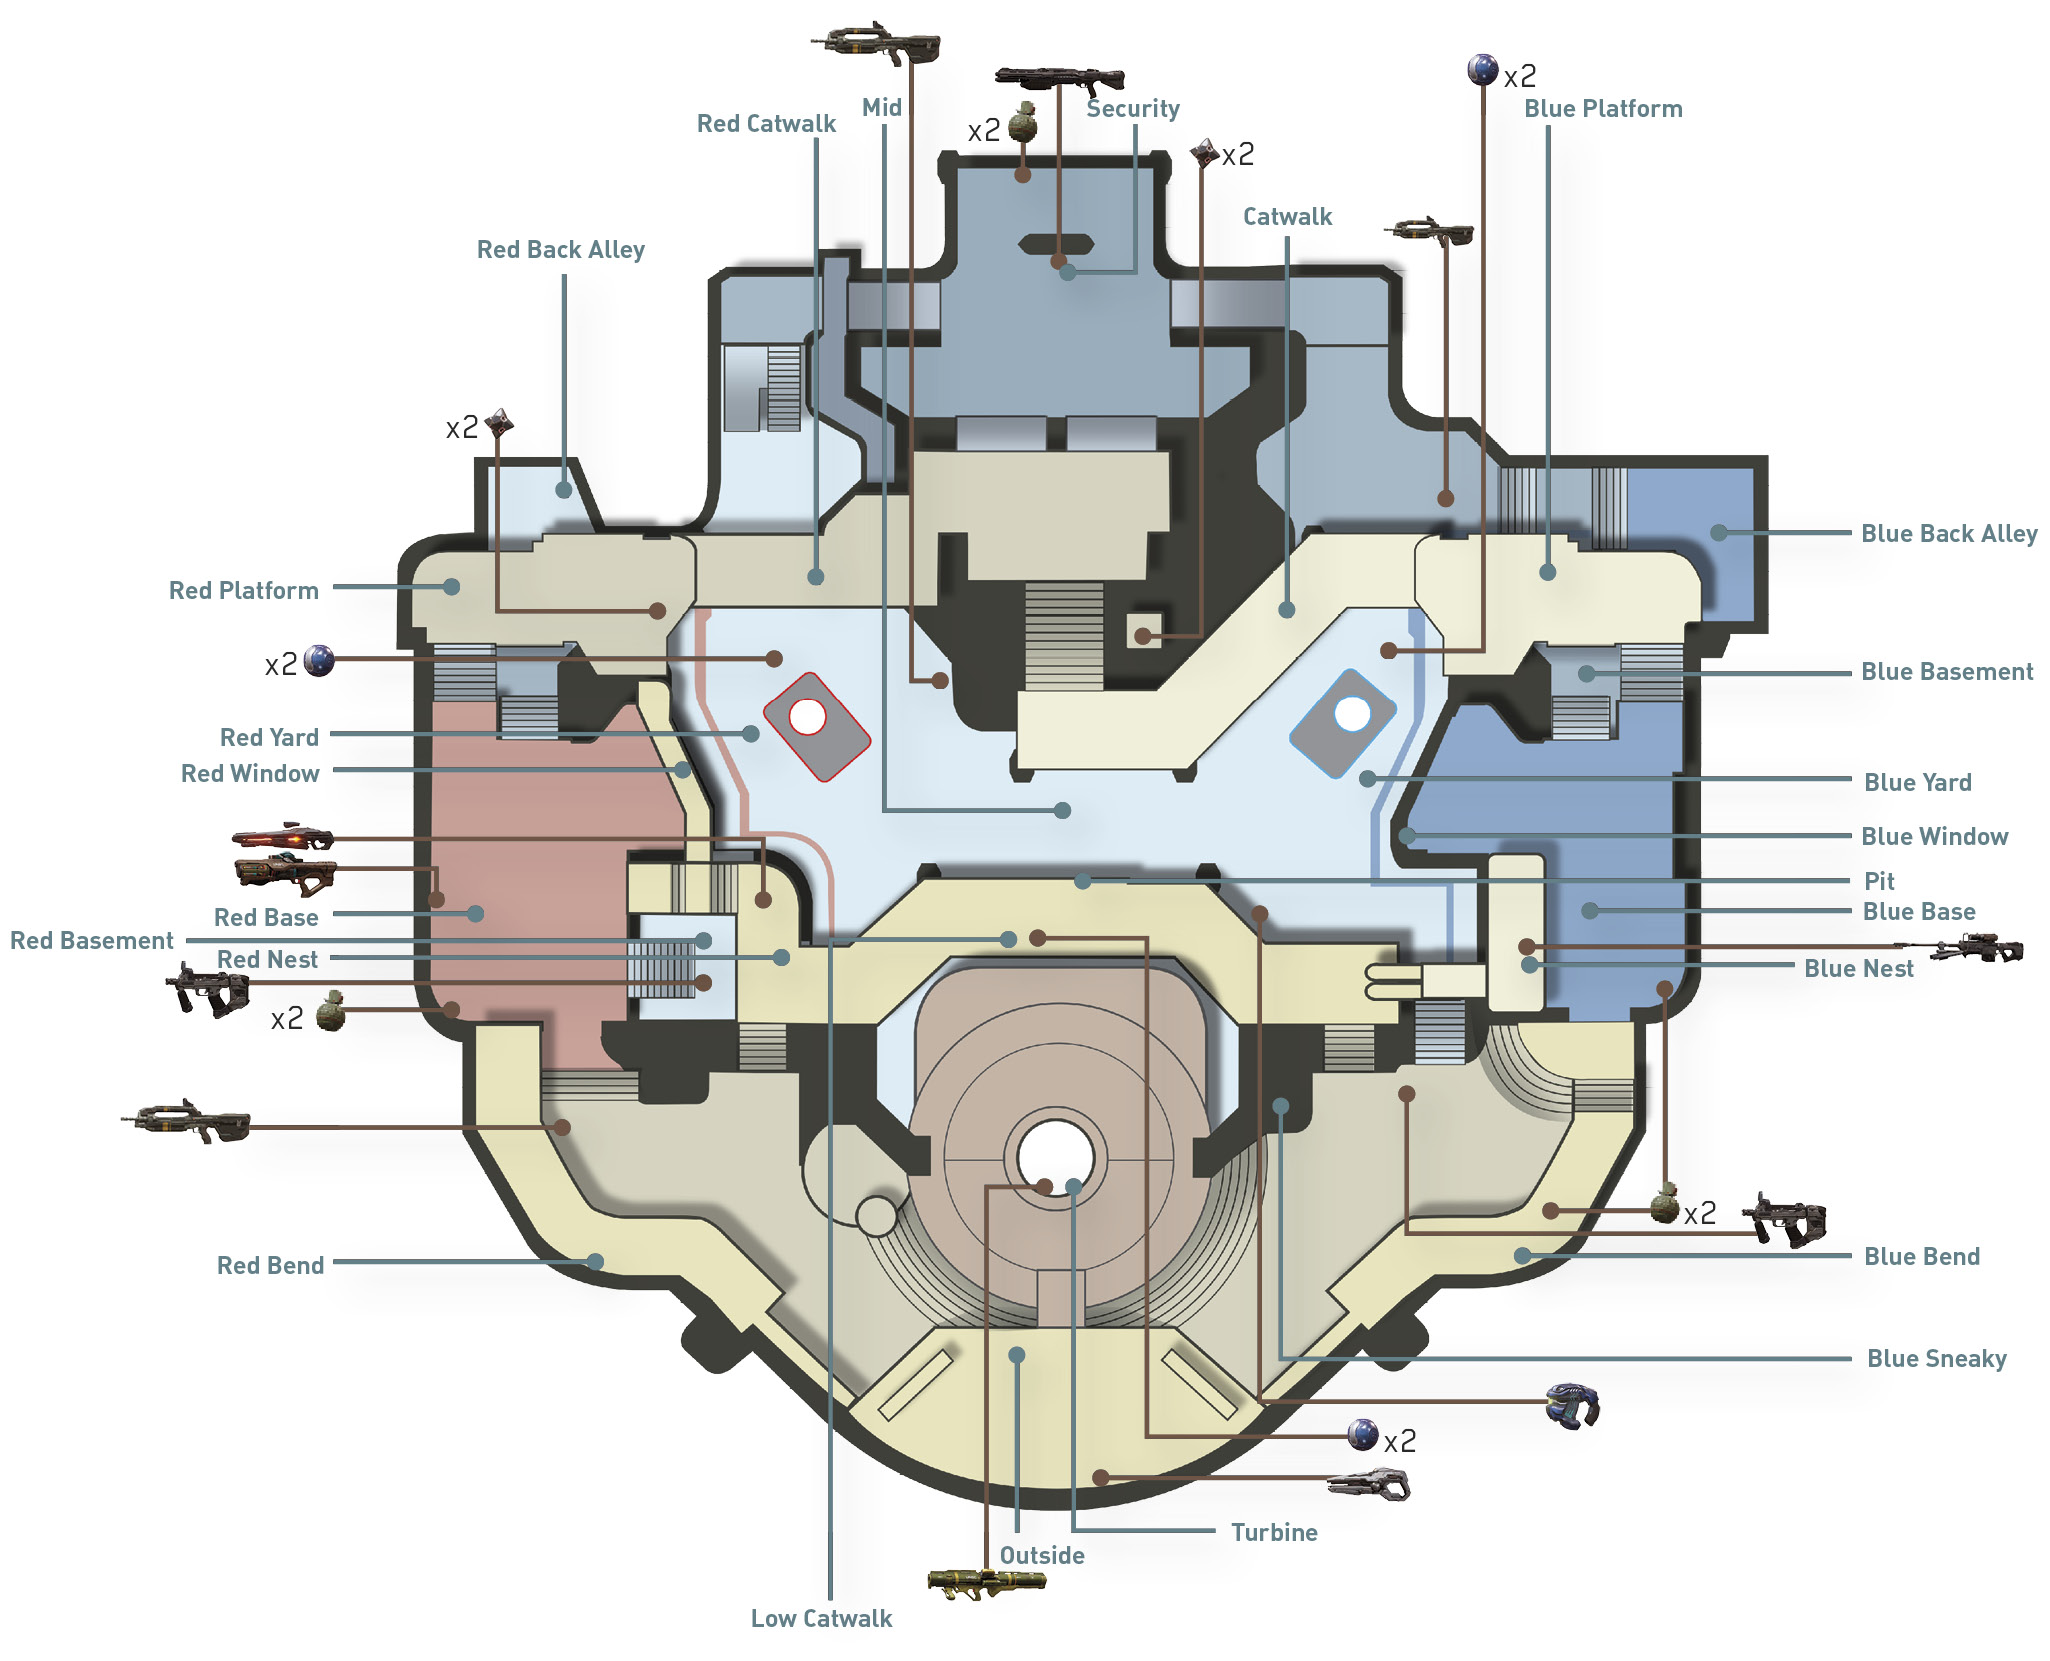
Description: Only now—years after the Human-Covenant War—do many Andesian citizens feel secure enough to return to the metroplex centers.
Game Modes: Slayer, Strongholds
This map is a remix of Empire utilizing a similar environment and art style. However, Eden plays much differently due to the map’s asymmetrical layout and verticality. Eden’s larger size also opens up more sight lines, so be mindful of opponents wielding the Sniper Rifle.
Featured Weapons and Power-Ups
| Item | Name | Location | Respawn Time |
|---|---|---|---|
|
|
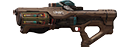
Hydra Launcher | Red Base | 0:10 |
|
|
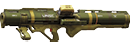
Rocket Launcher | Turbine | 2:00 |
|
|
Shotgun | Security | 0:10 |
|
|
Sniper Rifle | Blue Nest | 3:00 |
Starting Moves
- Red Team:Make an early push for the Shotgun at Security. Thanks to its close proximity to Red Base, the Red Team has the best chance of reaching the Shotgun first, but speed is key. If you can’t make it to the Shotgun, grab the Hydra Launcher (at Red Base) and engage the Blue Team as they exit their base.
- Blue Team:Use the Sniper Rifle at Blue Nest to score quick kills on the Red Team as they rush toward the Shotgun or Rocket Launcher. Alternatively, use the Blue Sneaky hole in Turbine to reach the Rocket Launcher and hoof it back to Blue Nest to help manage traffic at Security.
Power Position: Blue Base
How to Leverage
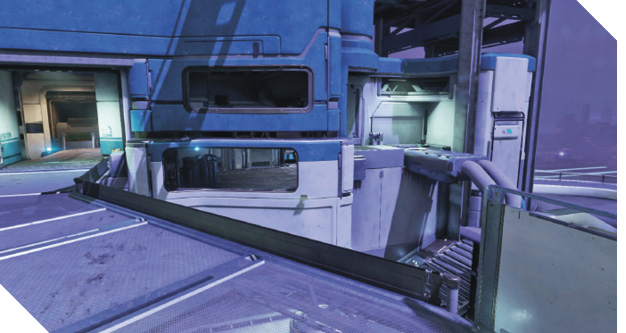
Due to its height advantage, the blue side of the map is a popular area to lock down, particularly for those equipped with the Sniper Rifle. From positions like Blue Nest, Blue Window, and Blue Platform you can engage traffic along the catwalks as well as rain down grenades into the Blue Yard and Pit.
How to Counter
If the opposing team has taken control of the blue side of the map, avoid moving through the center, where you’re most likely to be spotted and picked off. Instead, hook around the perimeter of the map, moving through Outside to flank. Such maneuvers are most successful when a teammate provides cover fire from Red Nest using the LightRifle.
Tactics
Expect heavy resistance in Security as both teams vie for control of the Shotgun. Holding down this room with the Rocket Launcher all but guarantees your team’s access to the Shotgun. However, watch out for grenades flying in from the doorways.
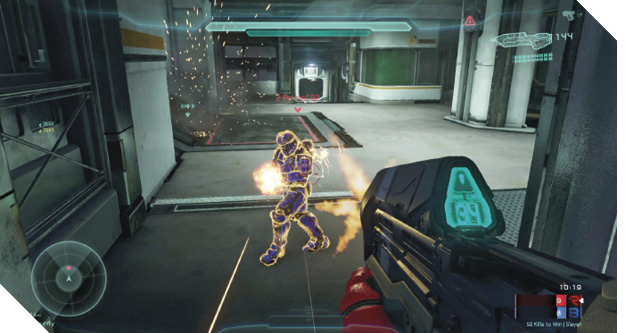
Try to keep a precision weapon in your loadout at all times to take advantage of the map’s long sight lines. If you can’t gain access to the Sniper Rifle or a LightRifle, use one of the Battle Rifles to reach out and hurt someone.
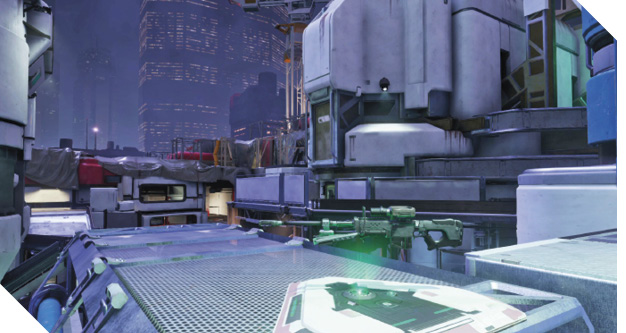
When entering Security from the Blue Yard, jump on the caged box and then jump and clamber onto the nearby pillar by the Catwalk—there are Pulse Grenades on top of the pillar. Use this pillar as a transition point between the Blue Yard and Security. This is a popular route when trying to secure the Shotgun.
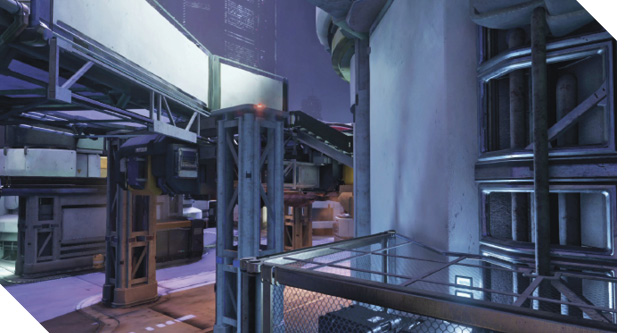
Use the Hydra Launcher spawned at Red Base to score indirect hits on targets. Aim and lock on to your target first, then look away, firing the weapon just before the lock is broken. Firing the Hydra indirectly causes the rockets to curve toward the target, which is perfect for hitting opponents obscured by cover.
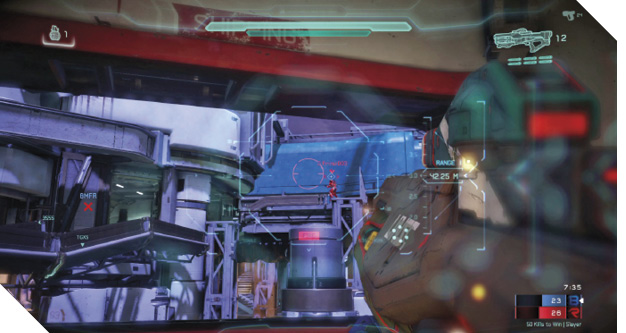
Don’t overlook the LightRifle located at Red Nest. Its high magnification and three-shot-kill capability make it a good option for engaging opponents at Blue Base. Use it as a counter-sniper weapon to pick off opponents wielding the Sniper Rifle. Peek around the gray wall at Red Nest to take shots, then strafe back into cover to avoid incoming fire.