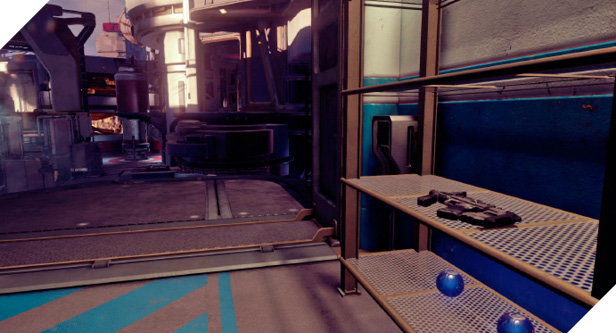
Empire
Description: Military-industrial concerns that power the UNSC war machine are prime targets for Insurrection factions.
Game Modes: Slayer, Capture the Flag, Strongholds
A symmetrical variant of Eden, Empire is one of the smallest arena maps in Halo 5: Guardians, making for some intense close-quarter firefights—grab the Shotgun and go to work! Add the new Spartan abilities (like thrust and clamber) to the mix and you’re in for a fast-paced, chaotic match on any game mode.
Featured Weapons and Power-Ups
| Item | Name | Location | Respawn Time |
|---|---|---|---|
|
|
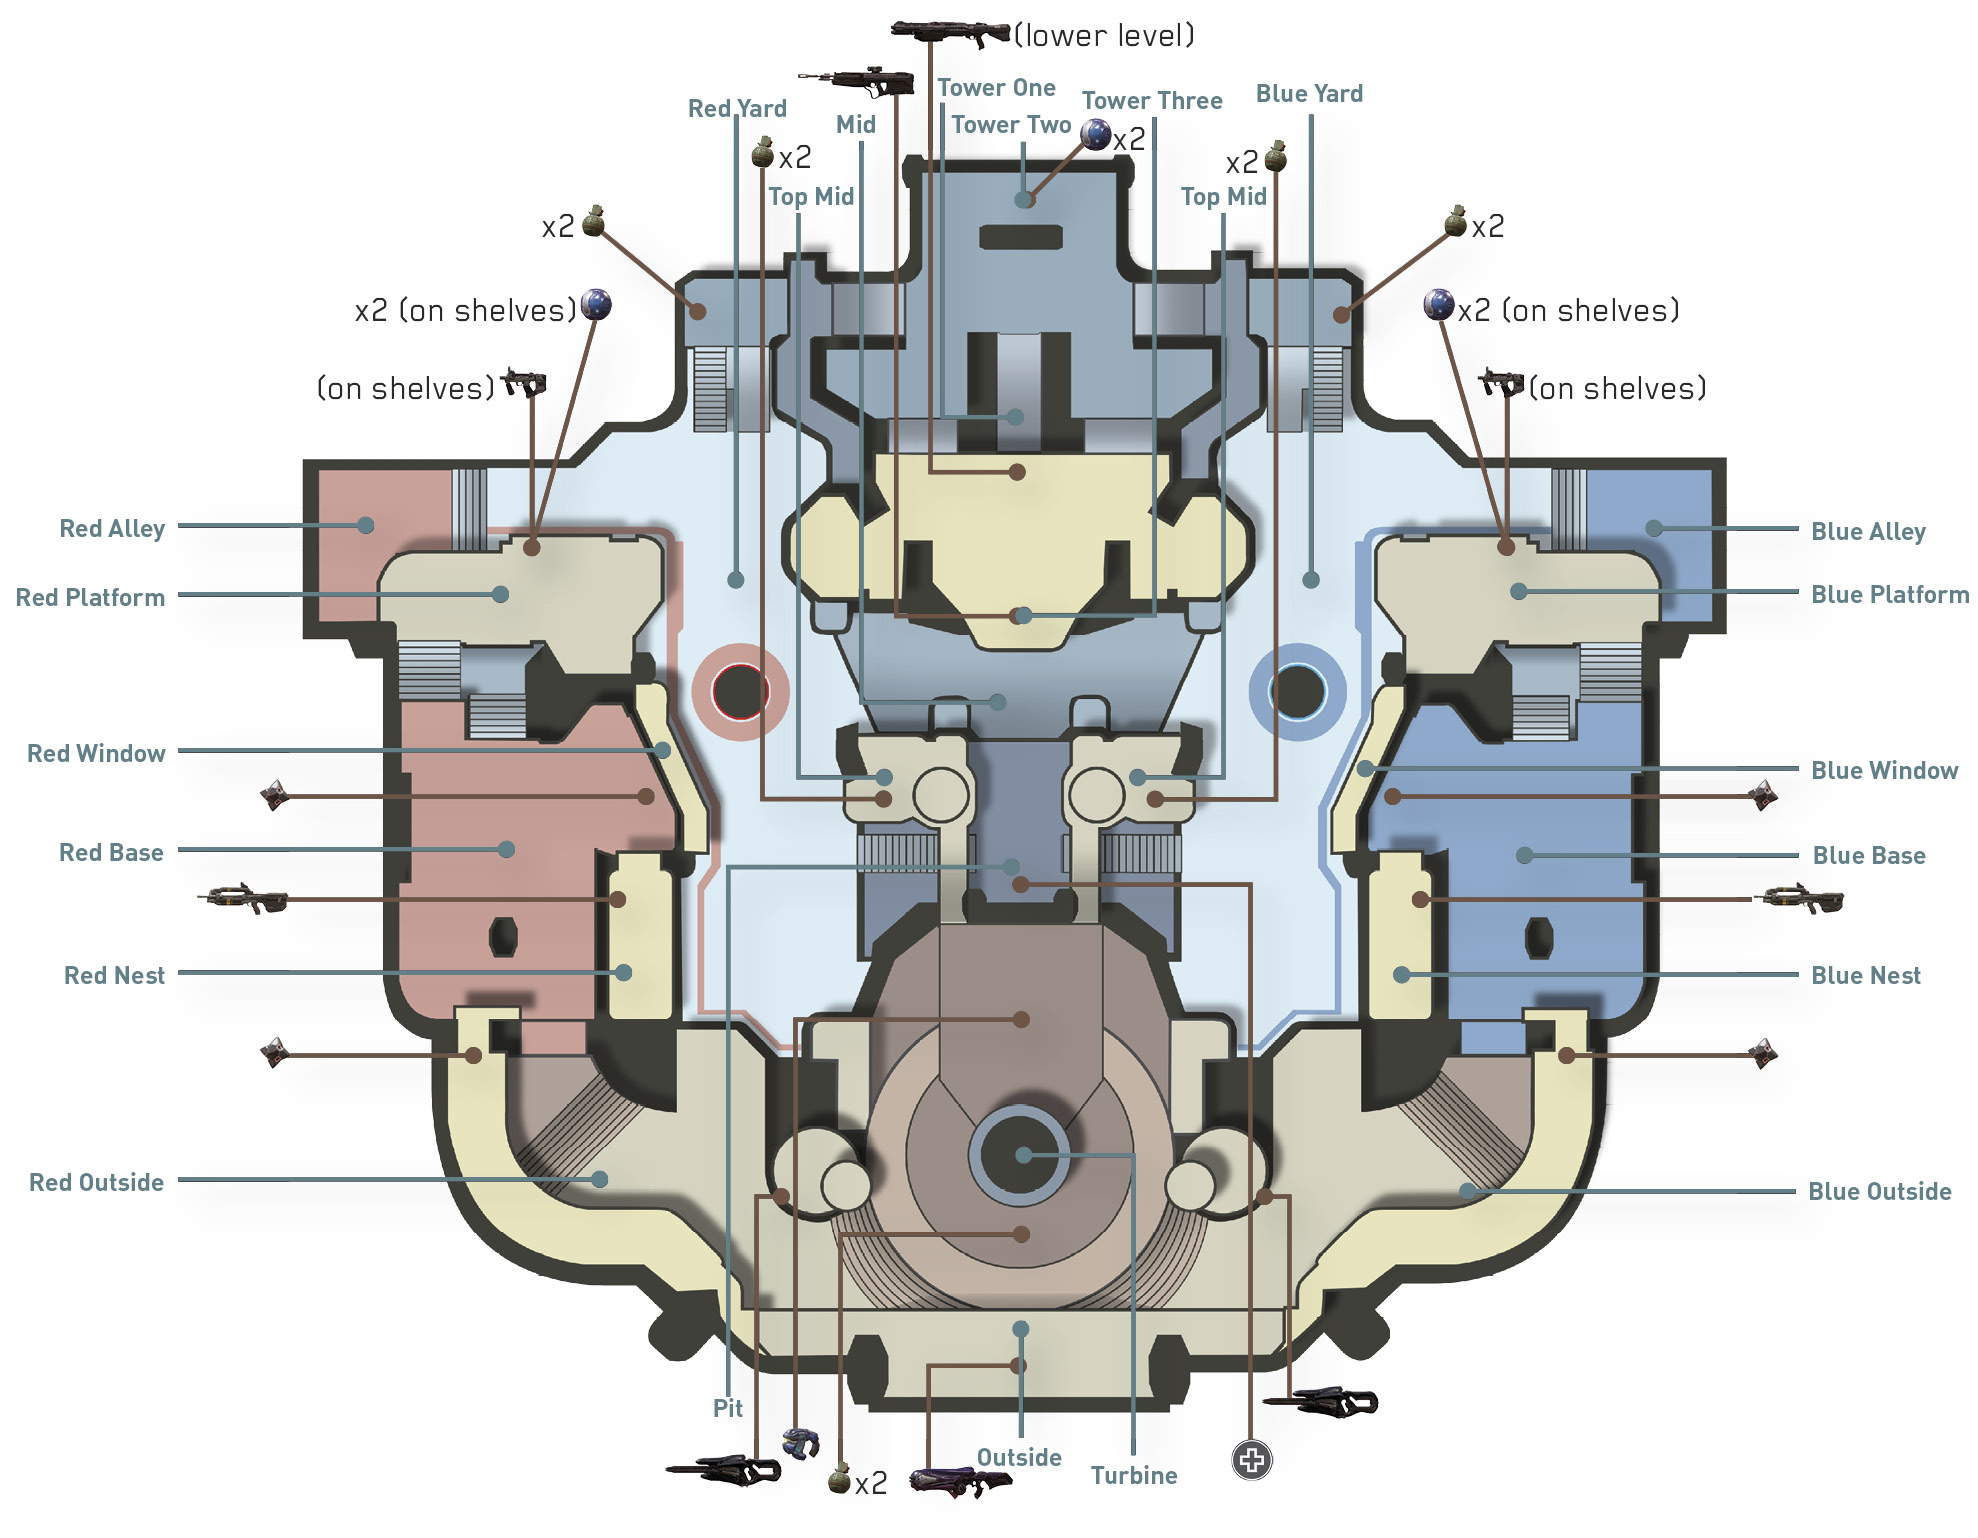
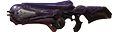
Plasma Caster | Outside | 2:00 |
|
|
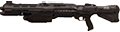
Shotgun | Tower One | 0:10 |
|
|
Overshield | Pit | 2:00 |

Starting Moves
- Don’t waste any time before making a move for the Overshield. To reach it before the competition, sprint out your team’s Window, do a Spartan Charge, then thrust toward the Pit. Doing a Spartan Charge followed by a quick thrust gives you the speed necessary to reach the Overshield before anyone else—unless they do the same thing. As usual, controlling the Overshield is crucial to dictating the flow on this map, particularly during Slayer.
- Alternatively, swap out your Assault Rifle for a Plasma Pistol, located at Turbine. In the event the opposing team secures the Overshield, the Plasma Pistol is the best way to counter it. A fully charged shot from the Plasma Pistol can instantly drain the shields of an opponent, even if they have Overshield equipped. Once you have the Plasma Pistol, rush to Tower One and exchange your Magnum for the Shotgun—then use it to defend Tower One.
Power Position: Top Mid
How to Leverage
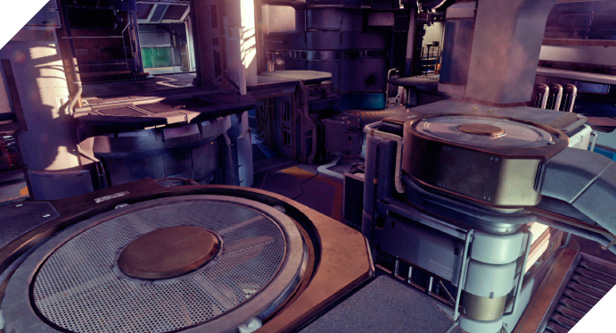
For reconnaissance purposes, Top Mid is one of the most advantageous positions in Empire. From here it’s possible to monitor the entire map. But instead of camping here, see where the enemy team is moving, then move out to counter while calling out enemy positions to your teammates. Lingering on Top Mid too long leaves you exposed.
How to Counter
Due to the lack of cover at Top Mid, countering opponents at this position is relatively straightforward—open fire, toss grenades, or open fire with the Plasma Caster. Even if you can’t score a kill, chasing opponents off Top Mid prevents the opposing team from monitoring your team’s movements.
Tactics
The Plasma Caster comes in handy for hindering enemy movement in key areas like the Pit and Tower One. Bombard these areas to maintain control of the Overshield and Shotgun. Or if being pursued, use the Plasma Caster to cut off routes, allowing you to escape.
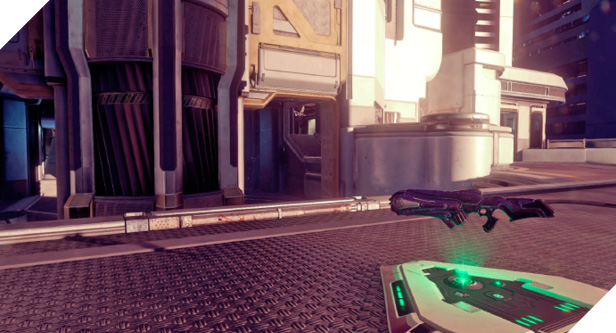
During Capture the Flag it’s best to carry the flag through the center of the map, pushing directly through the Red or Blue Window. Drop the flag in the opposing team’s Yard to draw out opponents, then continue through Mid before carrying the flag into your base through the alley stairway.
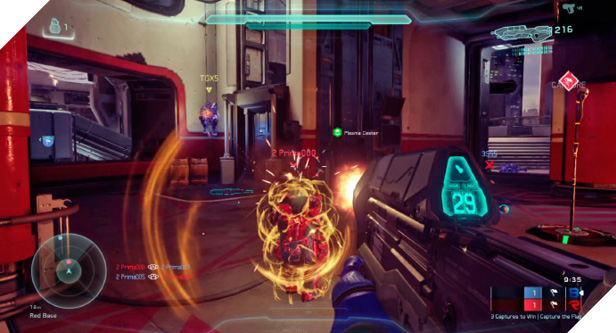
Want to reach Top Mid fast? Run out onto the Red or Blue Nest balcony (where the Battle Rifle spawns) and then sprint and thrust to climb onto Top Mid.
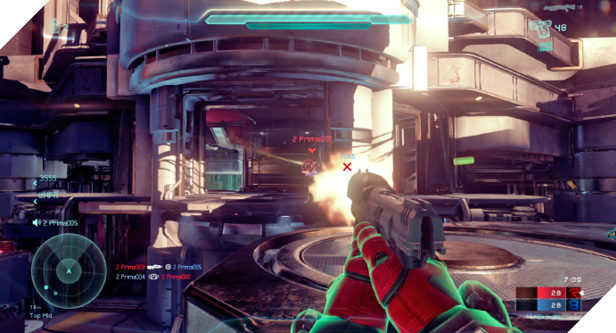
When it comes to jumping on Empire, instead of always relying on clambering, simply crouch jump. This gives you the necessary altitude to reach most ledges—like jumping into the Red or Blue Window from the respective Yard. While crouch jumping you can still aim and fire your weapon—something you can’t do while clambering.
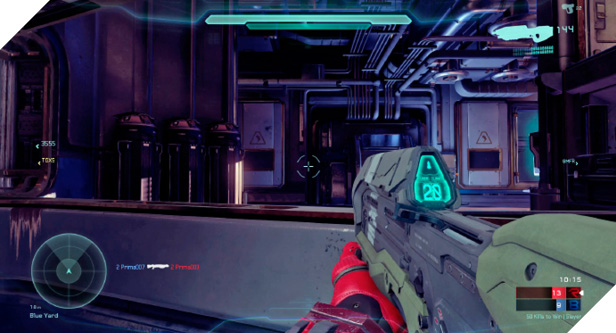
Close-quarter weapons are a must on Empire. If you can’t get the Shotgun, consider grabbing an SMG from the Red or Blue Platform. The SMG’s high rate of fire is great for chewing up opponents at close range.