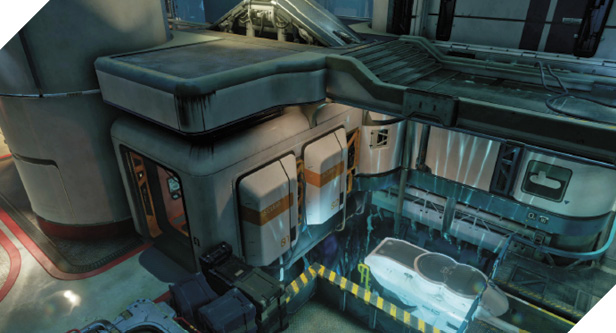
Fathom
Description: The UNSC explores Beta Gabriel’s vast oceans in hopes of recovering wreckage hidden in the crushing depths.
Game Modes: Slayer, Capture the Flag, Strongholds
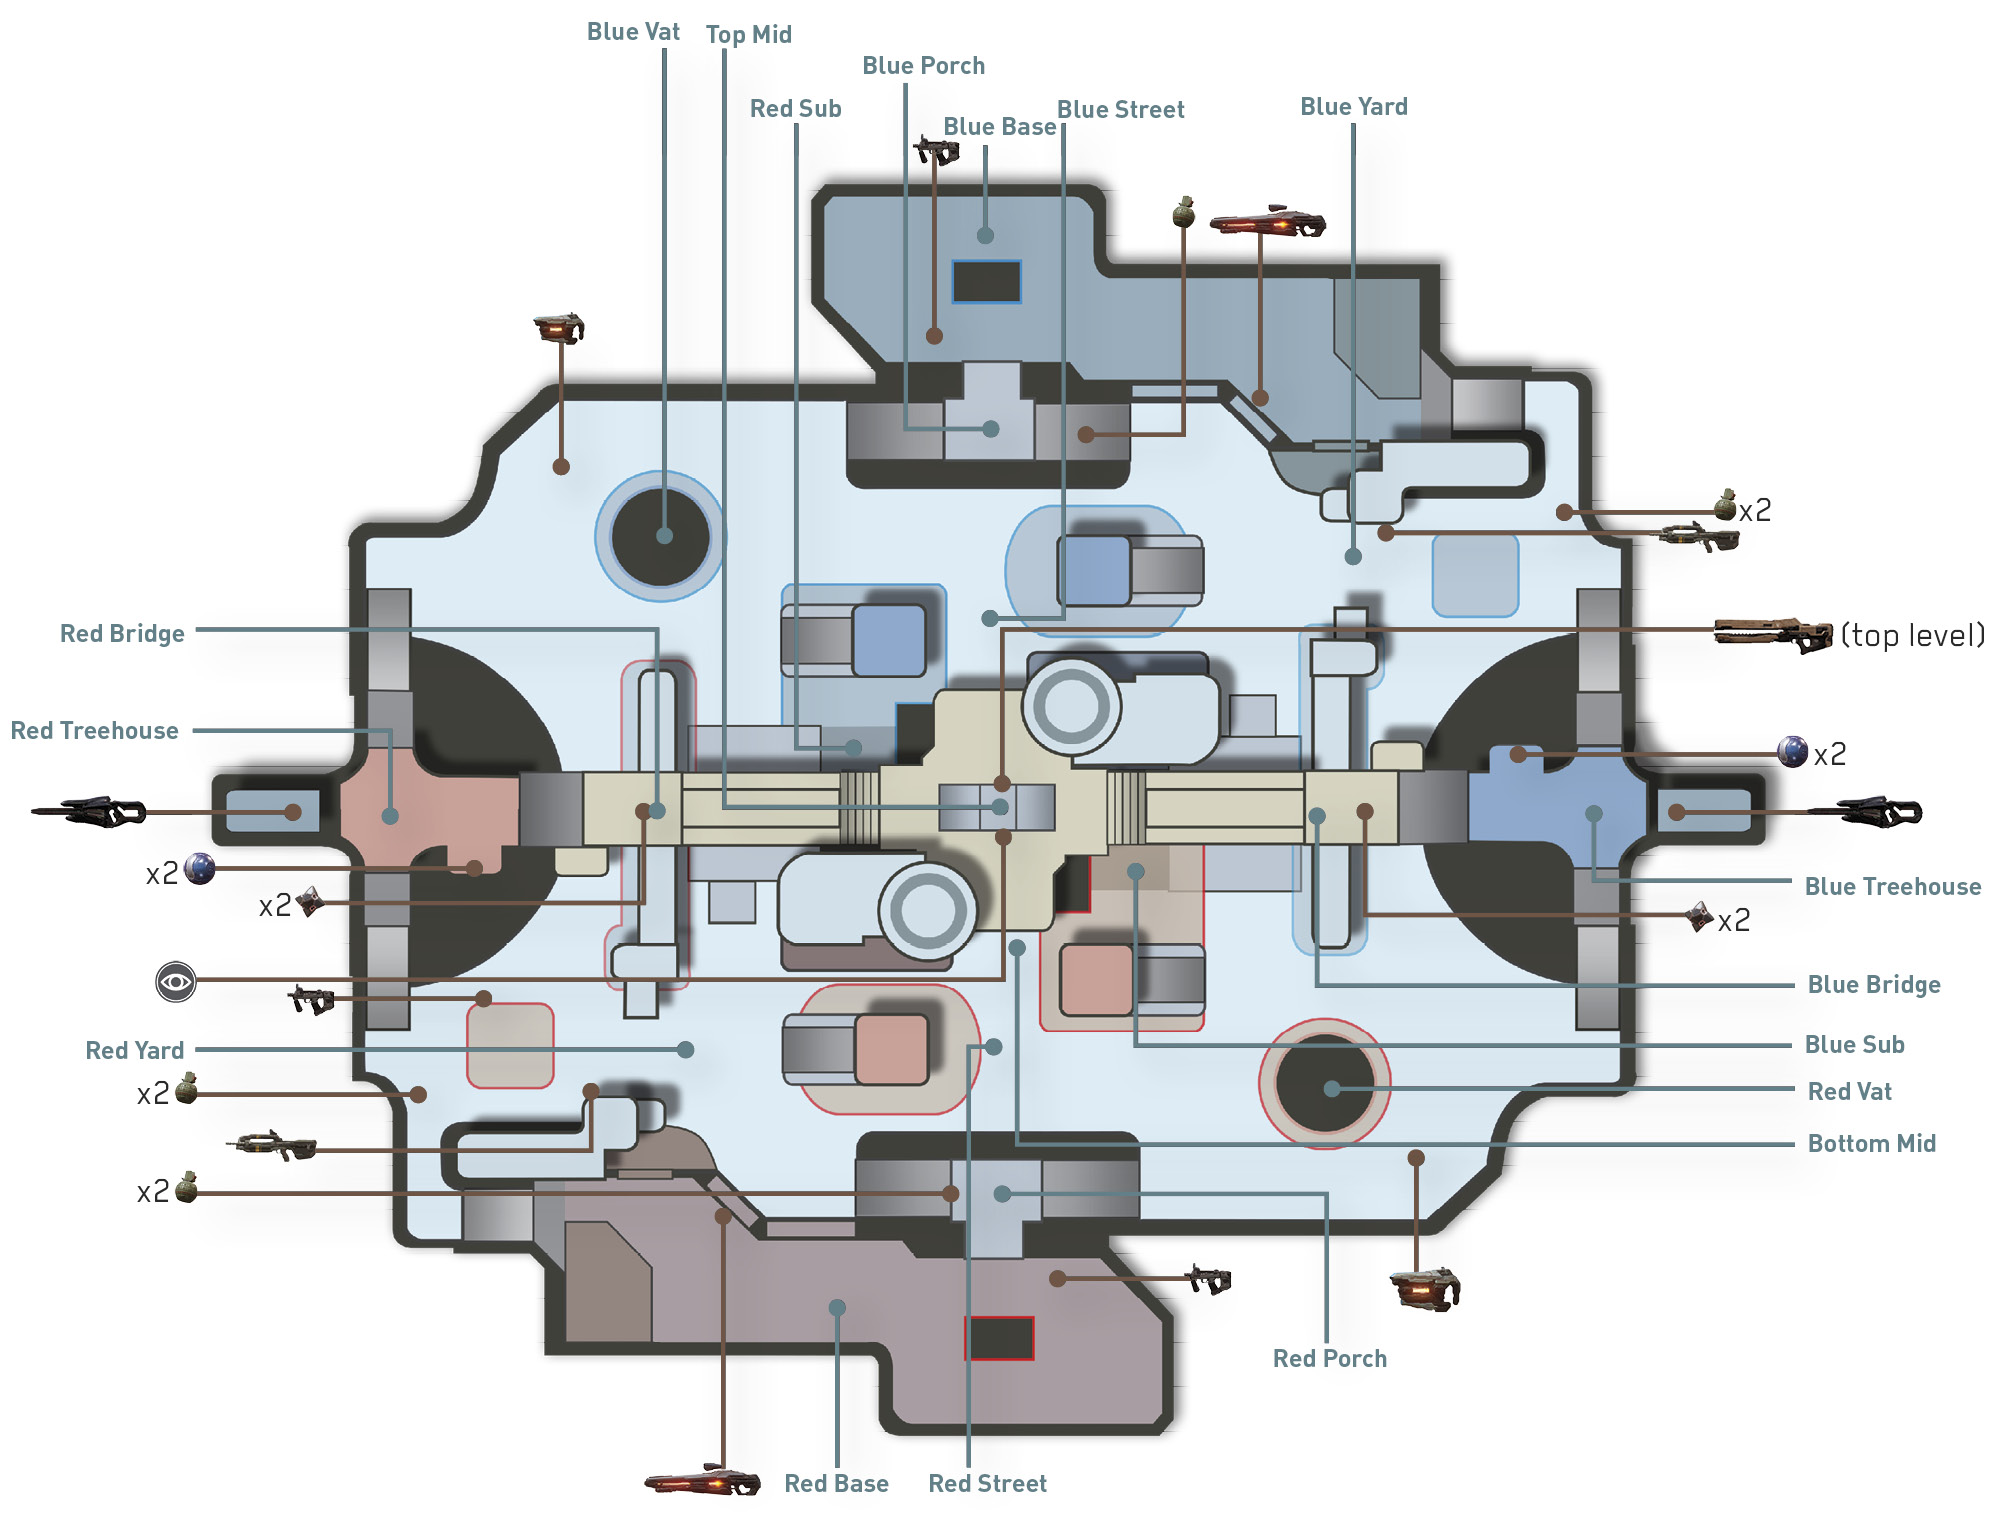
Fathom is a symmetrical map with a solid mix of close and long-range sight lines—maintain a versatile loadout to deal with threats at any range. This underwater facility features two submarine bays in the center—watch your step here to avoid falling in the water.
Featured Weapons and Power-Ups
| Item | Name | Location | Respawn Time |
|---|---|---|---|
|
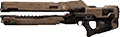
Railgun | Top Mid | 2:00 |

|
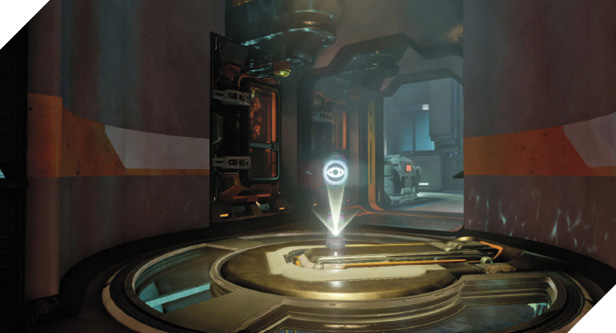
Active Camo | Bottom Mid | 2:00 |
Starting Moves
- Rushing the center of the map is key to grabbing the Railgun or Active Camo. To quickly reach the Railgun, run through your team’s Yard toward the Red or Blue Sub. Jump onto the sloped ledge above the Sub marked “Scuba.” From this ledge you can jump and clamber onto Top Mid to reach the Railgun, giving your team an early advantage.
- If you’re not making a push for the Active Camo or Railgun in the center, flank out toward the opposing team’s Vat or Treehouse and engage opponents rushing toward Bottom Mid—this can help your team acquire the Active Camo.
Power Position: Red/Blue Treehouse
How to Leverage
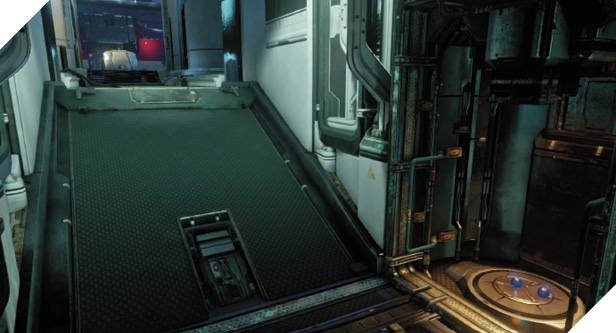
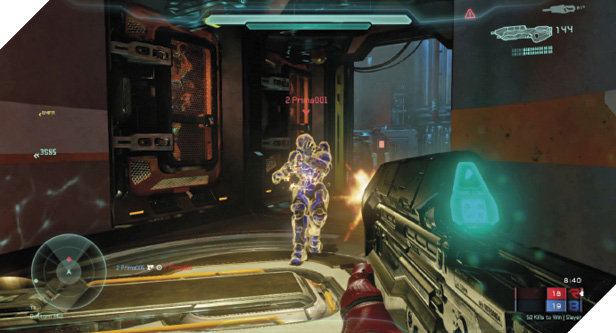
Given the flurry of activity around Top Mid, it’s a good idea to watch this area from a distance and pick off opponents making a play for the Railgun. Both Treehouses offer a good view of the Red and Blue Bridges as well as Top Mid. Grab a LightRifle and score hits on opponents moving through Top Mid. If you can’t get a LightRifle, a Battle Rifle is a competent alternative.
How to Counter
If the opposing team holds one of the Treehouses, engage with a LightRifle or Battle Rifle, preferably from the Treehouse on the opposite side of the map—long-range duels between the two Treehouses are common. Or take the fight to close range by flanking the enemy-held Treehouse and lighting up opponents with an SMG or Storm Rifle. Crouch jump through the opening at Red or Blue Sneaky to take opponents by surprise.
Tactics
When wielding the Railgun, hold near Top Mid and fire down on opponents scurrying about in Red or Blue Yard. This is a stand-off weapon best deployed at long range—swap to a rapid-firing weapon when moving through high-traffic, cramped locations like the Treehouses.
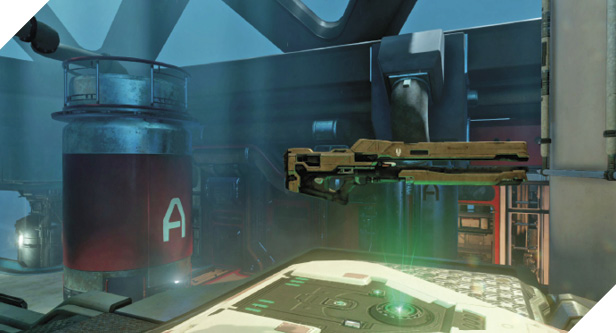
The Railgun along with Active Camo makes for a deadly combination allowing you to sneak around the map and score kills with impunity. For best results, blast opponents when their backs are turned and then quickly move out to avoid being spotted—when firing the Railgun (or any weapon) you’ll be visible for a moment. Hit-and-fade tactics are essential for remaining undetected.
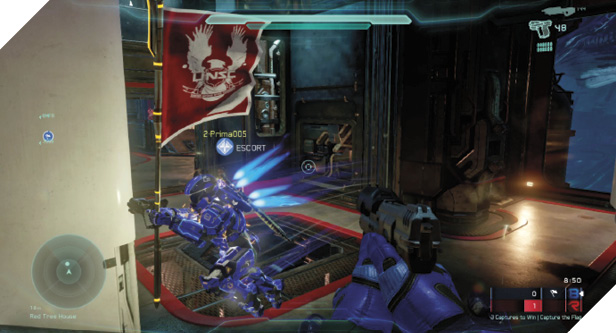
During Capture the Flag, run the flag out the opposing team’s Window toward the Vat or Bottom Mid, then make a move for your team’s base. Jump, thrust, and toss the flag while advancing, pushing it closer to your team’s base while your teammates contain your opponents in their base.
With only two power-ups on the map, it’s important to keep tabs on when the Railgun and Active Camo will reappear at Top Mid and Bottom Mid. But approach these items with caution, as opponents are probably waiting for you to take the bait.
When jumping up to Top Mid near the Red or Blue Sub, be careful not to fall in the water. If you miscalculate the jump to Top Mid, be ready to thrust away from the water.