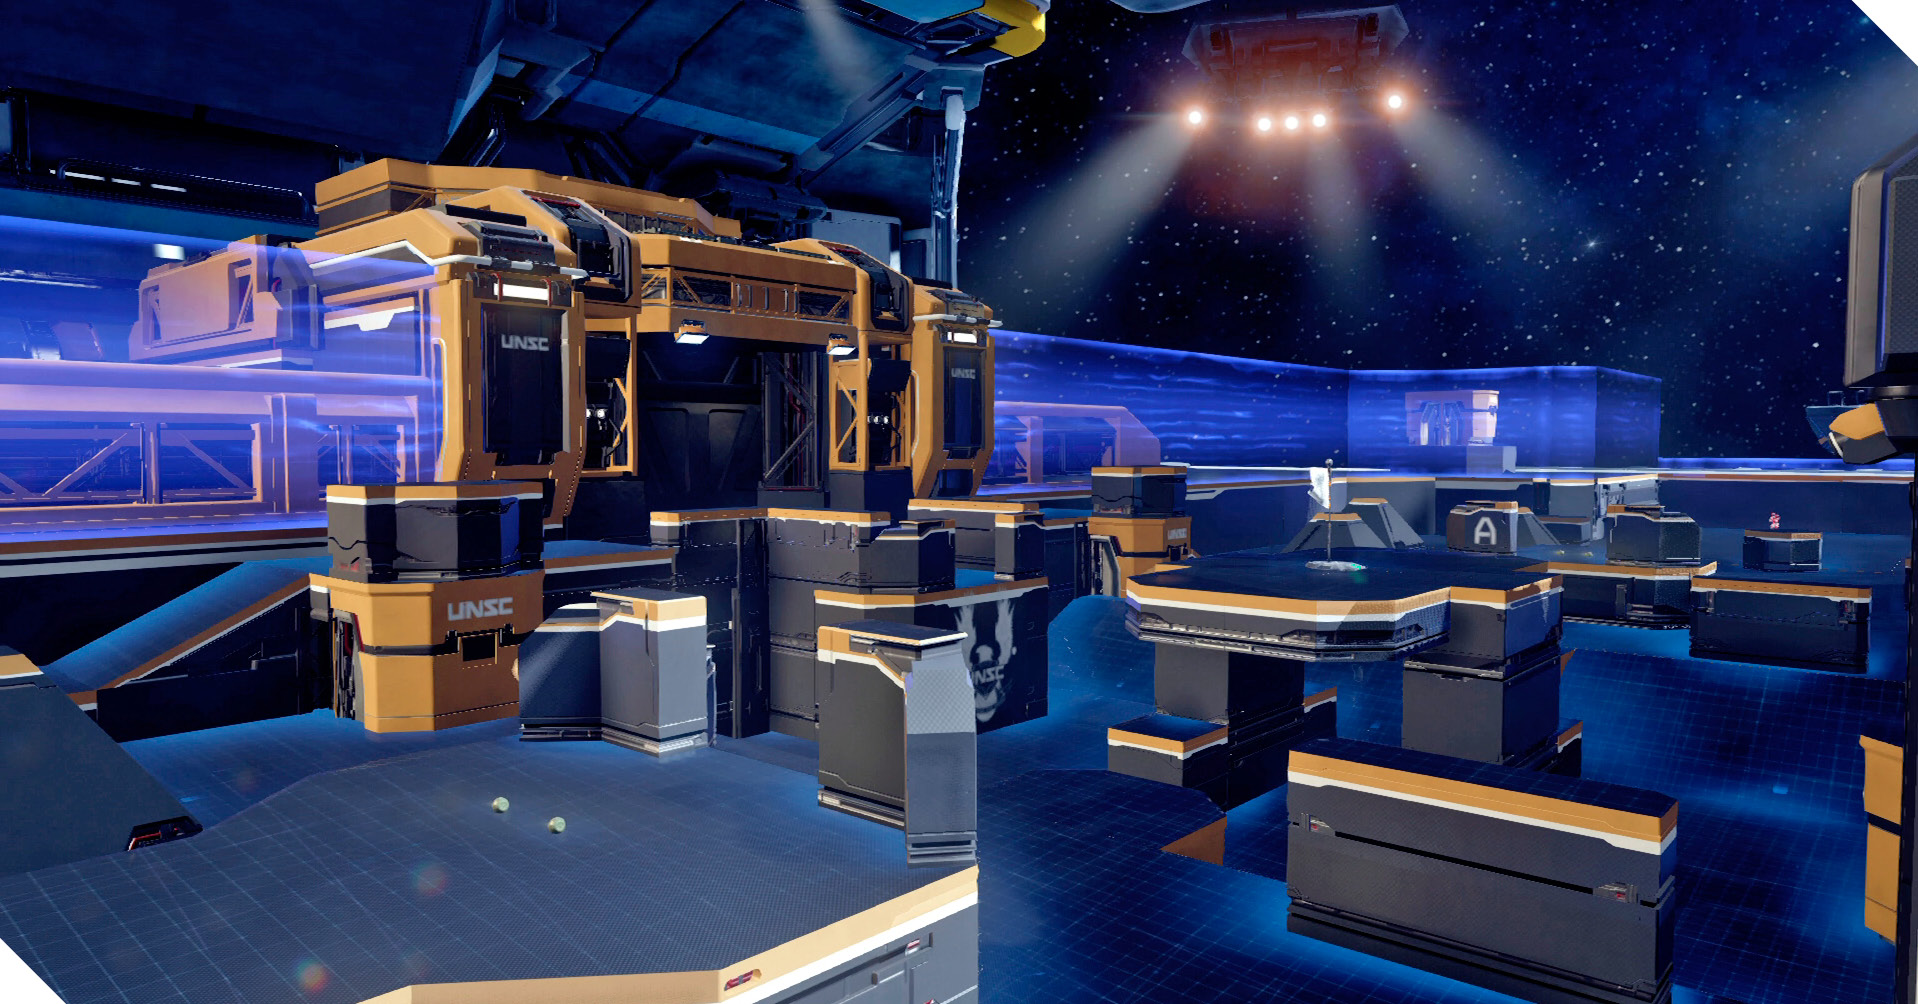
Crossfire
Description: The broadcast of Breakout matches has proven immensely popular with the UNSC Infinity crew.
Game Modes: Breakout
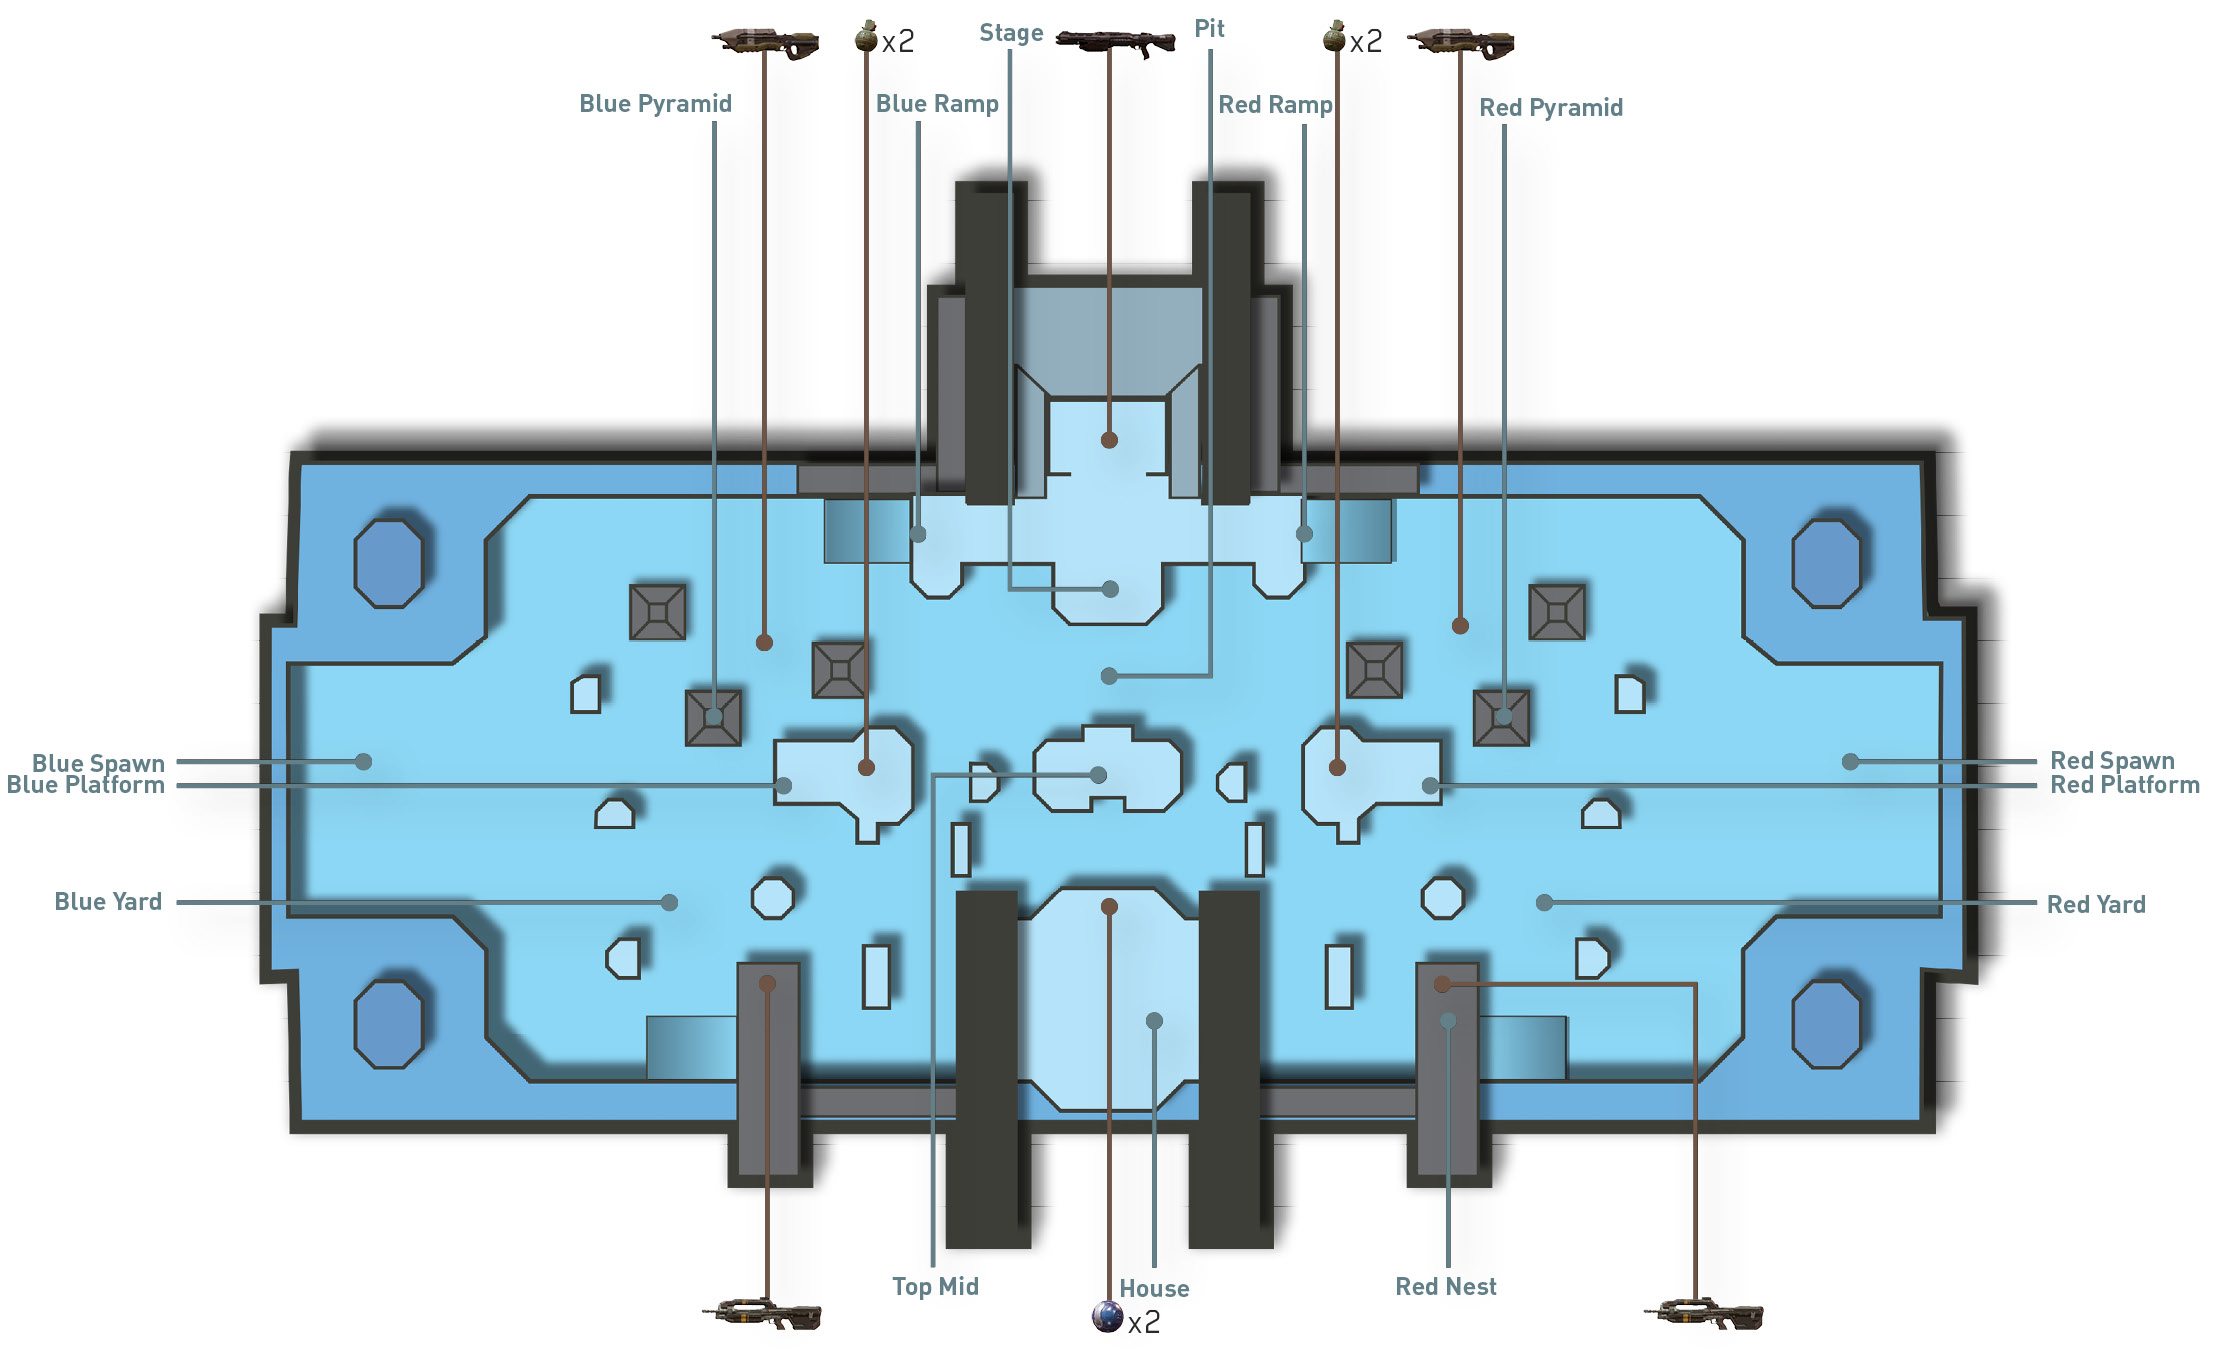
Due to the map’s open lines of sight, matches on Crossfire usually turn into a stand-off as both teams rush to cover and exchange fire from a distance. While there is a Shotgun on the map, long- and mid-range weapons like the Magnum and Battle Rifle are most effective here.
Featured Weapons and Power-Ups
| Item | Name | Location | Respawn Time |
|---|---|---|---|
|
|
Shotgun | Stage | 0:10 |
Starting Moves
- As soon as you drop into the arena, rush toward the Red/Blue Nest and grab the Battle Rifle. The Nest has lines of sight on most of the map, making it the ideal position for scoring at least one early-round kill. Use the pillar for cover, peeking around the left and right sides to line up shots. In Breakout, if your team can go up one player, you can initiate a push. But always keep a teammate in the Nest to provide covering fire.
- If you’re not perched in the Nest, take cover in the Pyramid area. Don’t worry about grabbing the Assault Rifle here. Instead, peek around the pyramid-shaped obstacles and engage opponents with your Magnum.
Tactics
Initiating any kind of advance can be risky, but if you do push forward, do so through the Pit while hugging the wall of the House. The low terrain of the Pit offers adequate cover and concealment, giving you the opportunity to flank unsuspecting opponents.
While the House may look like a good source of cover, it is often bombarded by incoming grenades. So exercise extreme caution when moving here—grab the Plasma Grenades that spawn inside and then get out.
As with the House, advancing through the Stage can be risky. But the Shotgun inside may be too enticing to pass up. Hold off on pushing into the Stage until your team has at least a 4-3 advantage. This will give you the opportunity to sneak in, grab the Shotgun, and attempt a flanking maneuver near the opposing team’s Pyramid area.
There is no shortage of grenades on this map, so don’t forget to use them—they respawn every 30 seconds. At the start of a round, toss your two Frag Grenades toward known high-traffic areas like the opposing team’s Nest, Pyramid, or Platform. You can always replenish your grenades from either Platform. Even if you don’t score a kill with your opening tosses, the explosions may be enough to force an opponent out of cover, leaving them vulnerable to your team’s fire.
In Breakout, the flag is completely exposed at Top Mid. This makes flag capture attempts extremely dangerous. On this map it’s much better to win a round by hunting down the opposing team. Only attempt flag captures if you know where the surviving opponents are hiding out; have your teammates contain them while you run the flag.