Halo 5: Guardians Guide Campaign Walkthrough Mission 15: Guardians
Major Firefight: Cryptum Facility
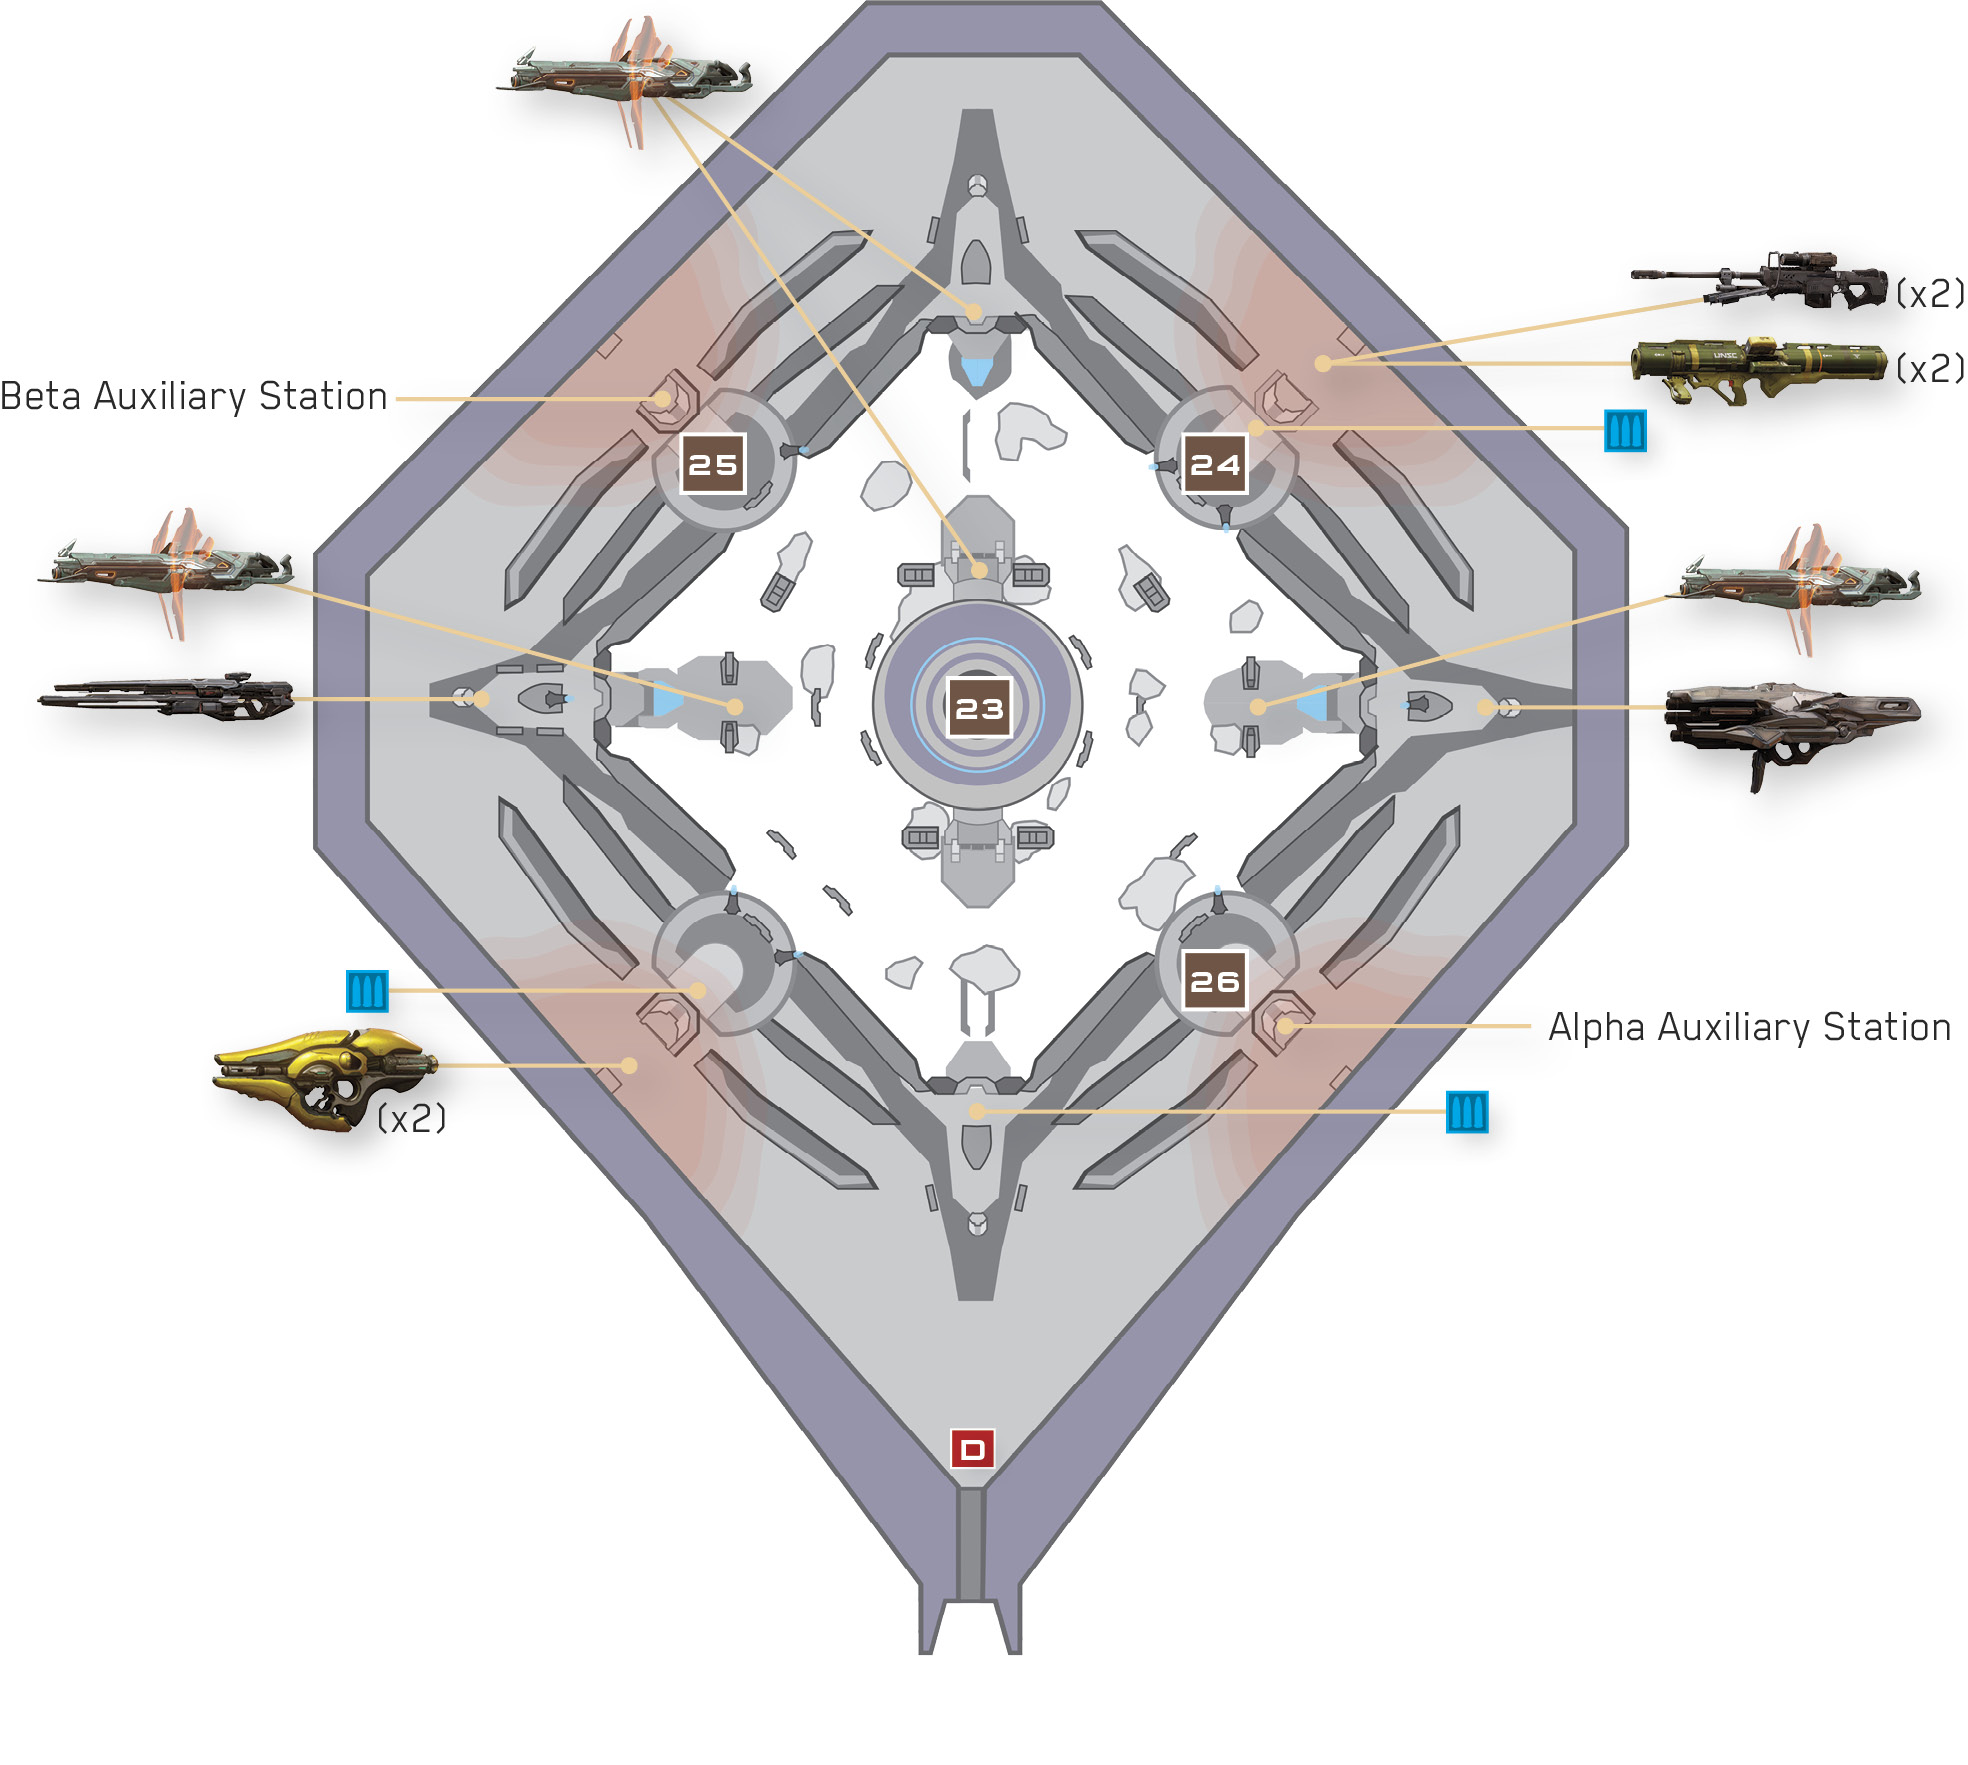
The structure that previously housed the Cryptum serves as the site of your final major firefight. Its spacious interior features side ledges around a large central mechanism. Here you face wave after wave of constructs; the latter waves feature several Knights. Use the accelerator pads to soar across the room and escape dangerous situations, and exploit the ample weaponry to cut down the constructs as quickly as possible.
Recommended Loadout
A broad array of Prometheans spawn inside the structure, so any weaponry can be effective. Power weapons are a plus; you can’t go wrong with a Plasma Caster, Incineration Cannon, Sniper Rifle, or Binary Rifle for ranged assaults. A SAW, Scattershot, or Suppressor is a good backup to have handy when the constructs rush you. Plenty of weapons can be found inside the facility; use Artemis to quickly locate Forerunner weapon racks chock-full of arms, including Scattershots, Incineration Cannons, and Binary Rifles.
Objective: Defend the Monitor
Exuberant notices that something’s amiss as you enter the Cryptum facility—Cortana has sealed off the central passage 23. Undeterred, the little monitor sets about resolving the problem, but the process will take time. Soldiers spawn on the far side of the spacious chamber, and you must defend Exuberant from them while it works at completing the task.

Advance up the ramps on your right to reach a forward sniper perch that’s stocked with two Sniper Rifles and two Rocket Launchers 24. Use these powerful weapons to obliterate the Soldiers, starting with the Captains armed with Splinter Turrets. Use the ledges’ accelerator pads to quickly cross the room and escape from danger.
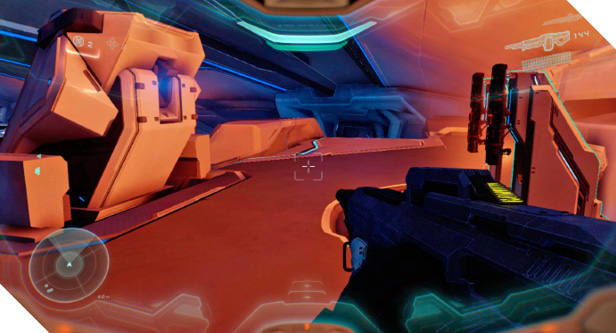
More Soldiers spawn as the first wave begins to thin out, including more Splinter Turret Captains. These Soldiers are more brazen than the previous bunch, and they’ll likely try to rush you. Remain evasive and use your radar to detect nearby threats. Keep close to cover and use accelerator pads to soar away to safer spots.
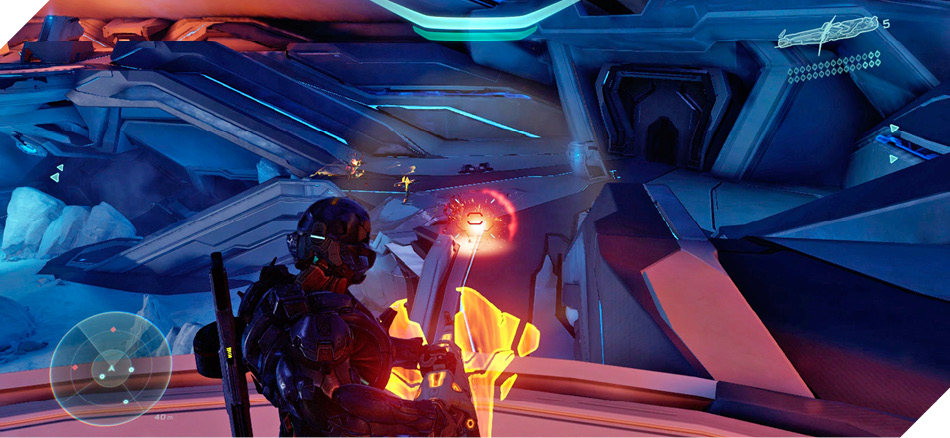
Eventually, Exuberant asks you to assist by activating two Auxiliary stations 2526. There’s one at either side of the room, up on the highest ledges. Use Artemis to find them, then mosey over and activate both stations, using the accelerator pads to quickly soar between them.
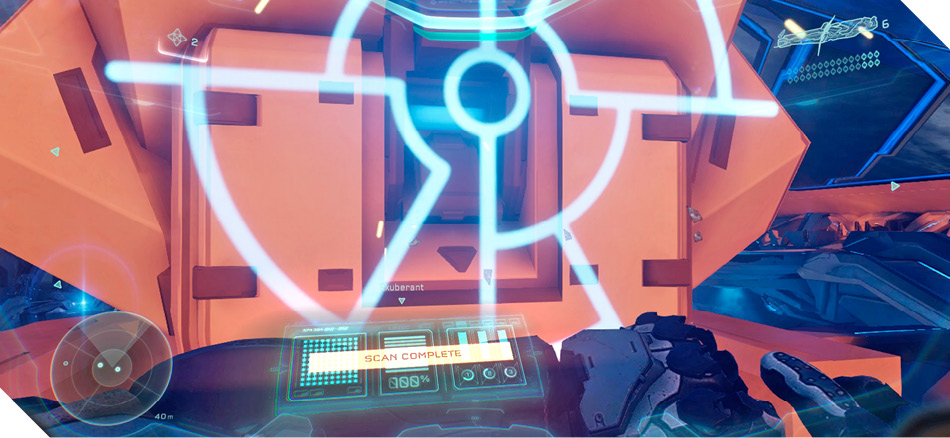
Vast numbers of Crawlers and Watchers spawn after both Auxiliary stations have been activated. The Crawlers quickly rush you; track them with your radar and blast them to bits with a SAW, Scattershot, or Suppressor. Mark the Watchers for Osiris to take down. A second wave of Crawlers and Watchers spawns after the first group begins to dwindle, so be prepared.
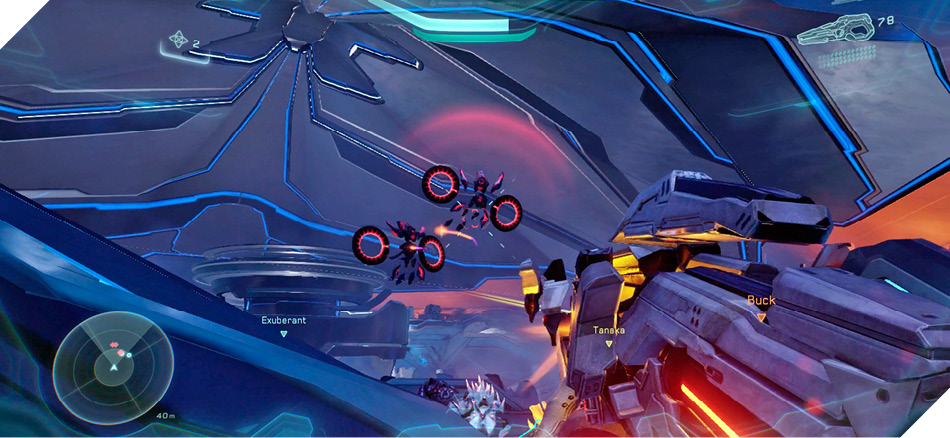
The third wave of enemies that spawns features more Crawlers and Watchers, plus two dangerous Knights. The Knights spawn on the Auxiliary station platforms 2526, so move away or be prepared to battle them up close. You can make short work of the Knights with a Scattershot if you’re good at thrusting and dodging.
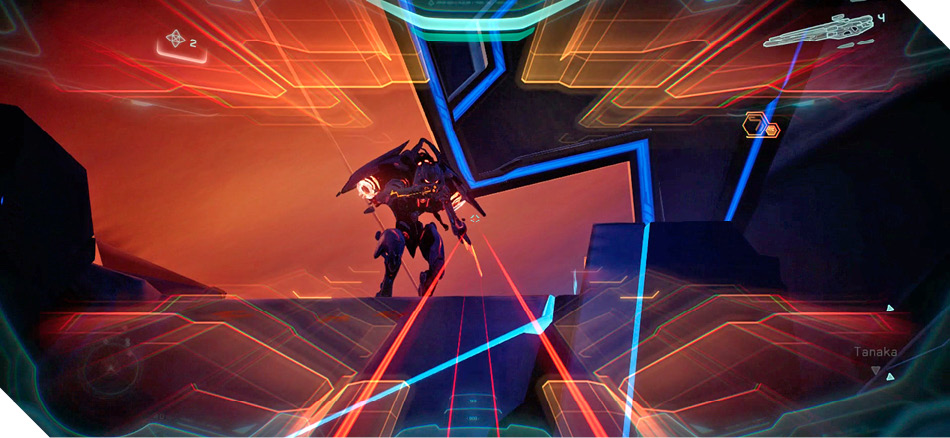
Four more Knights materialize after the first two have fallen. These spawn all around the ground floor, and they’re the last enemies you face in this battle. Remain elusive as you concentrate fire on each Knight in turn, dropping each one as quickly as possible.
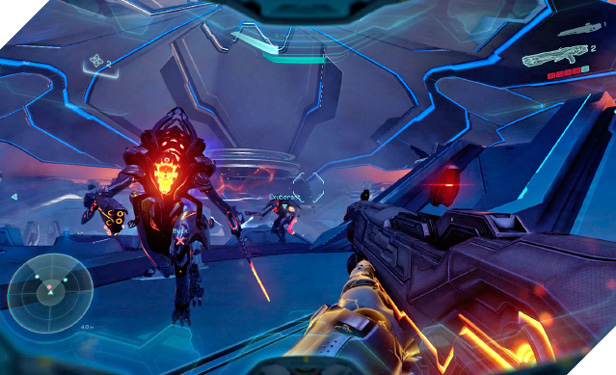
After all threats have been neutralized, an objective appears in the room’s center 23. Move there and try to remain calm as a vast army of Knights spawns all around you. The situation seems grim until Exuberant raises a shield that saves you from certain doom. Exuberant then activates a lift that transports you to the facility’s underbelly.