Halo 5: Guardians Guide Campaign Walkthrough Mission 3: Glassed
Major Firefight: Beyond the Bridge
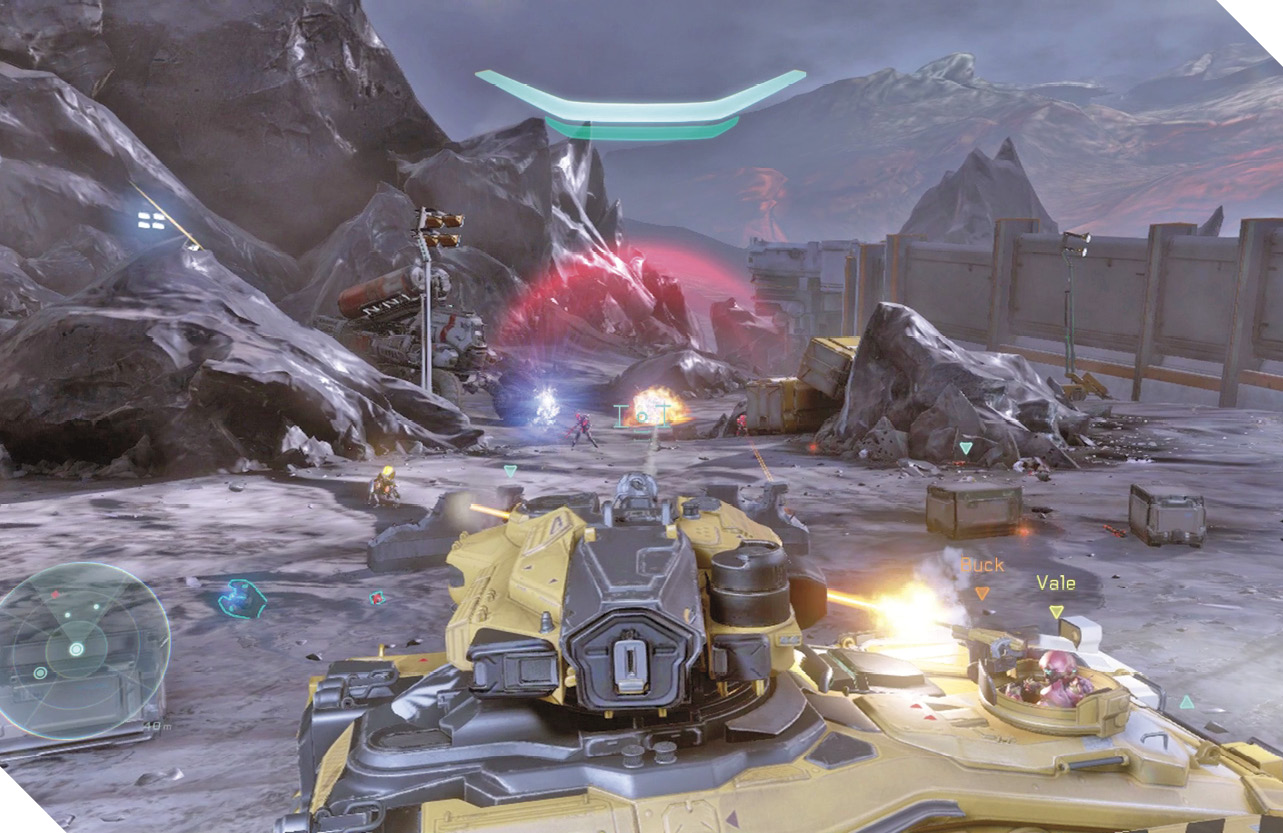
Crossing the bridge leads to a spacious yard where many more Prometheans await, including a formidable Knight. There are more Warthogs and Mongooses here, and also a few Chaingun Turrets stationed on the higher platforms. The real prize is the Scorpion Tank stashed in the service garage; the battle’s a breeze once you climb into that beast.
Recommended Loadout
Using vehicular firepower to maximum benefit is the way to go in this battle. Should you be forced to fight on foot, a DMR works well as your primary weapon in this spacious yard. If you grabbed the Spartan Laser and/or Hydra Launcher on your way here, level their awesome power against enemies in vehicles, along with the fearsome Knight.
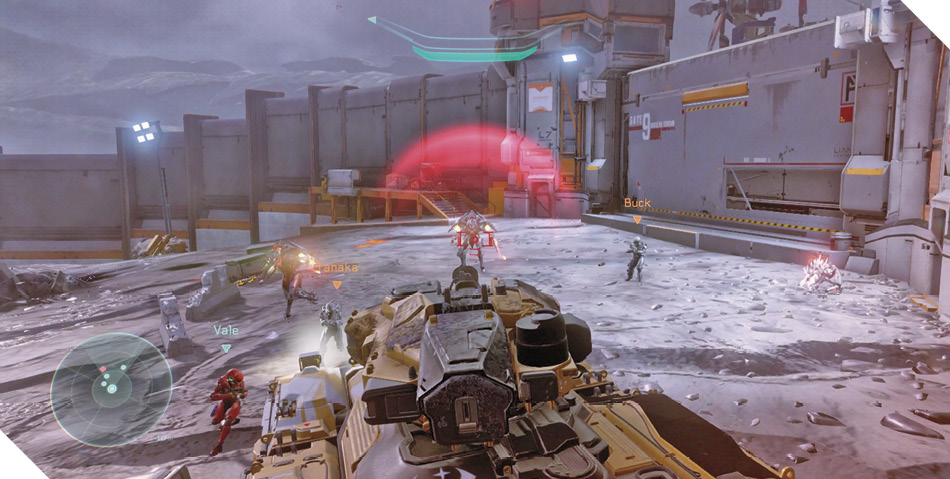
As you cross the bridge, a Warthog suddenly fires at you. It’s being driven by Promethean Soldiers! Mark this as a priority target for Fireteam Osiris, and see if you can eliminate the Soldiers without harming the vehicle. If you’re successful, another Warthog will be at your disposal.
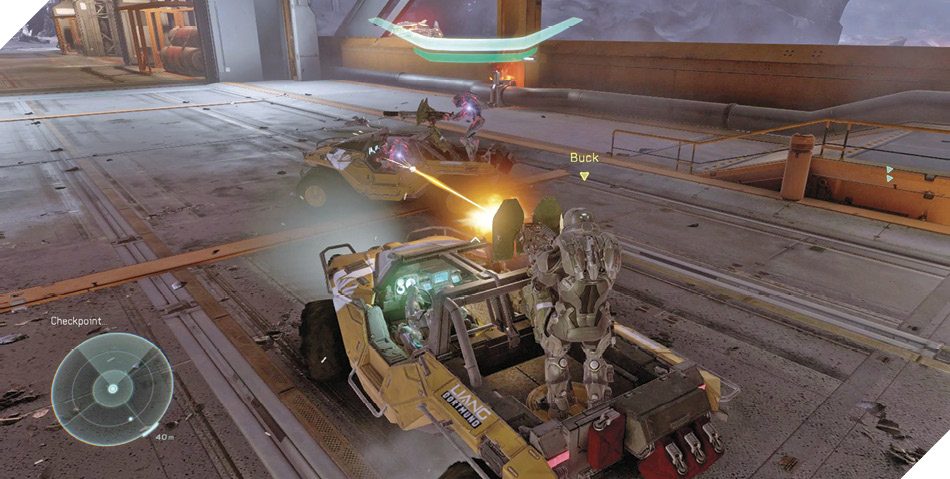
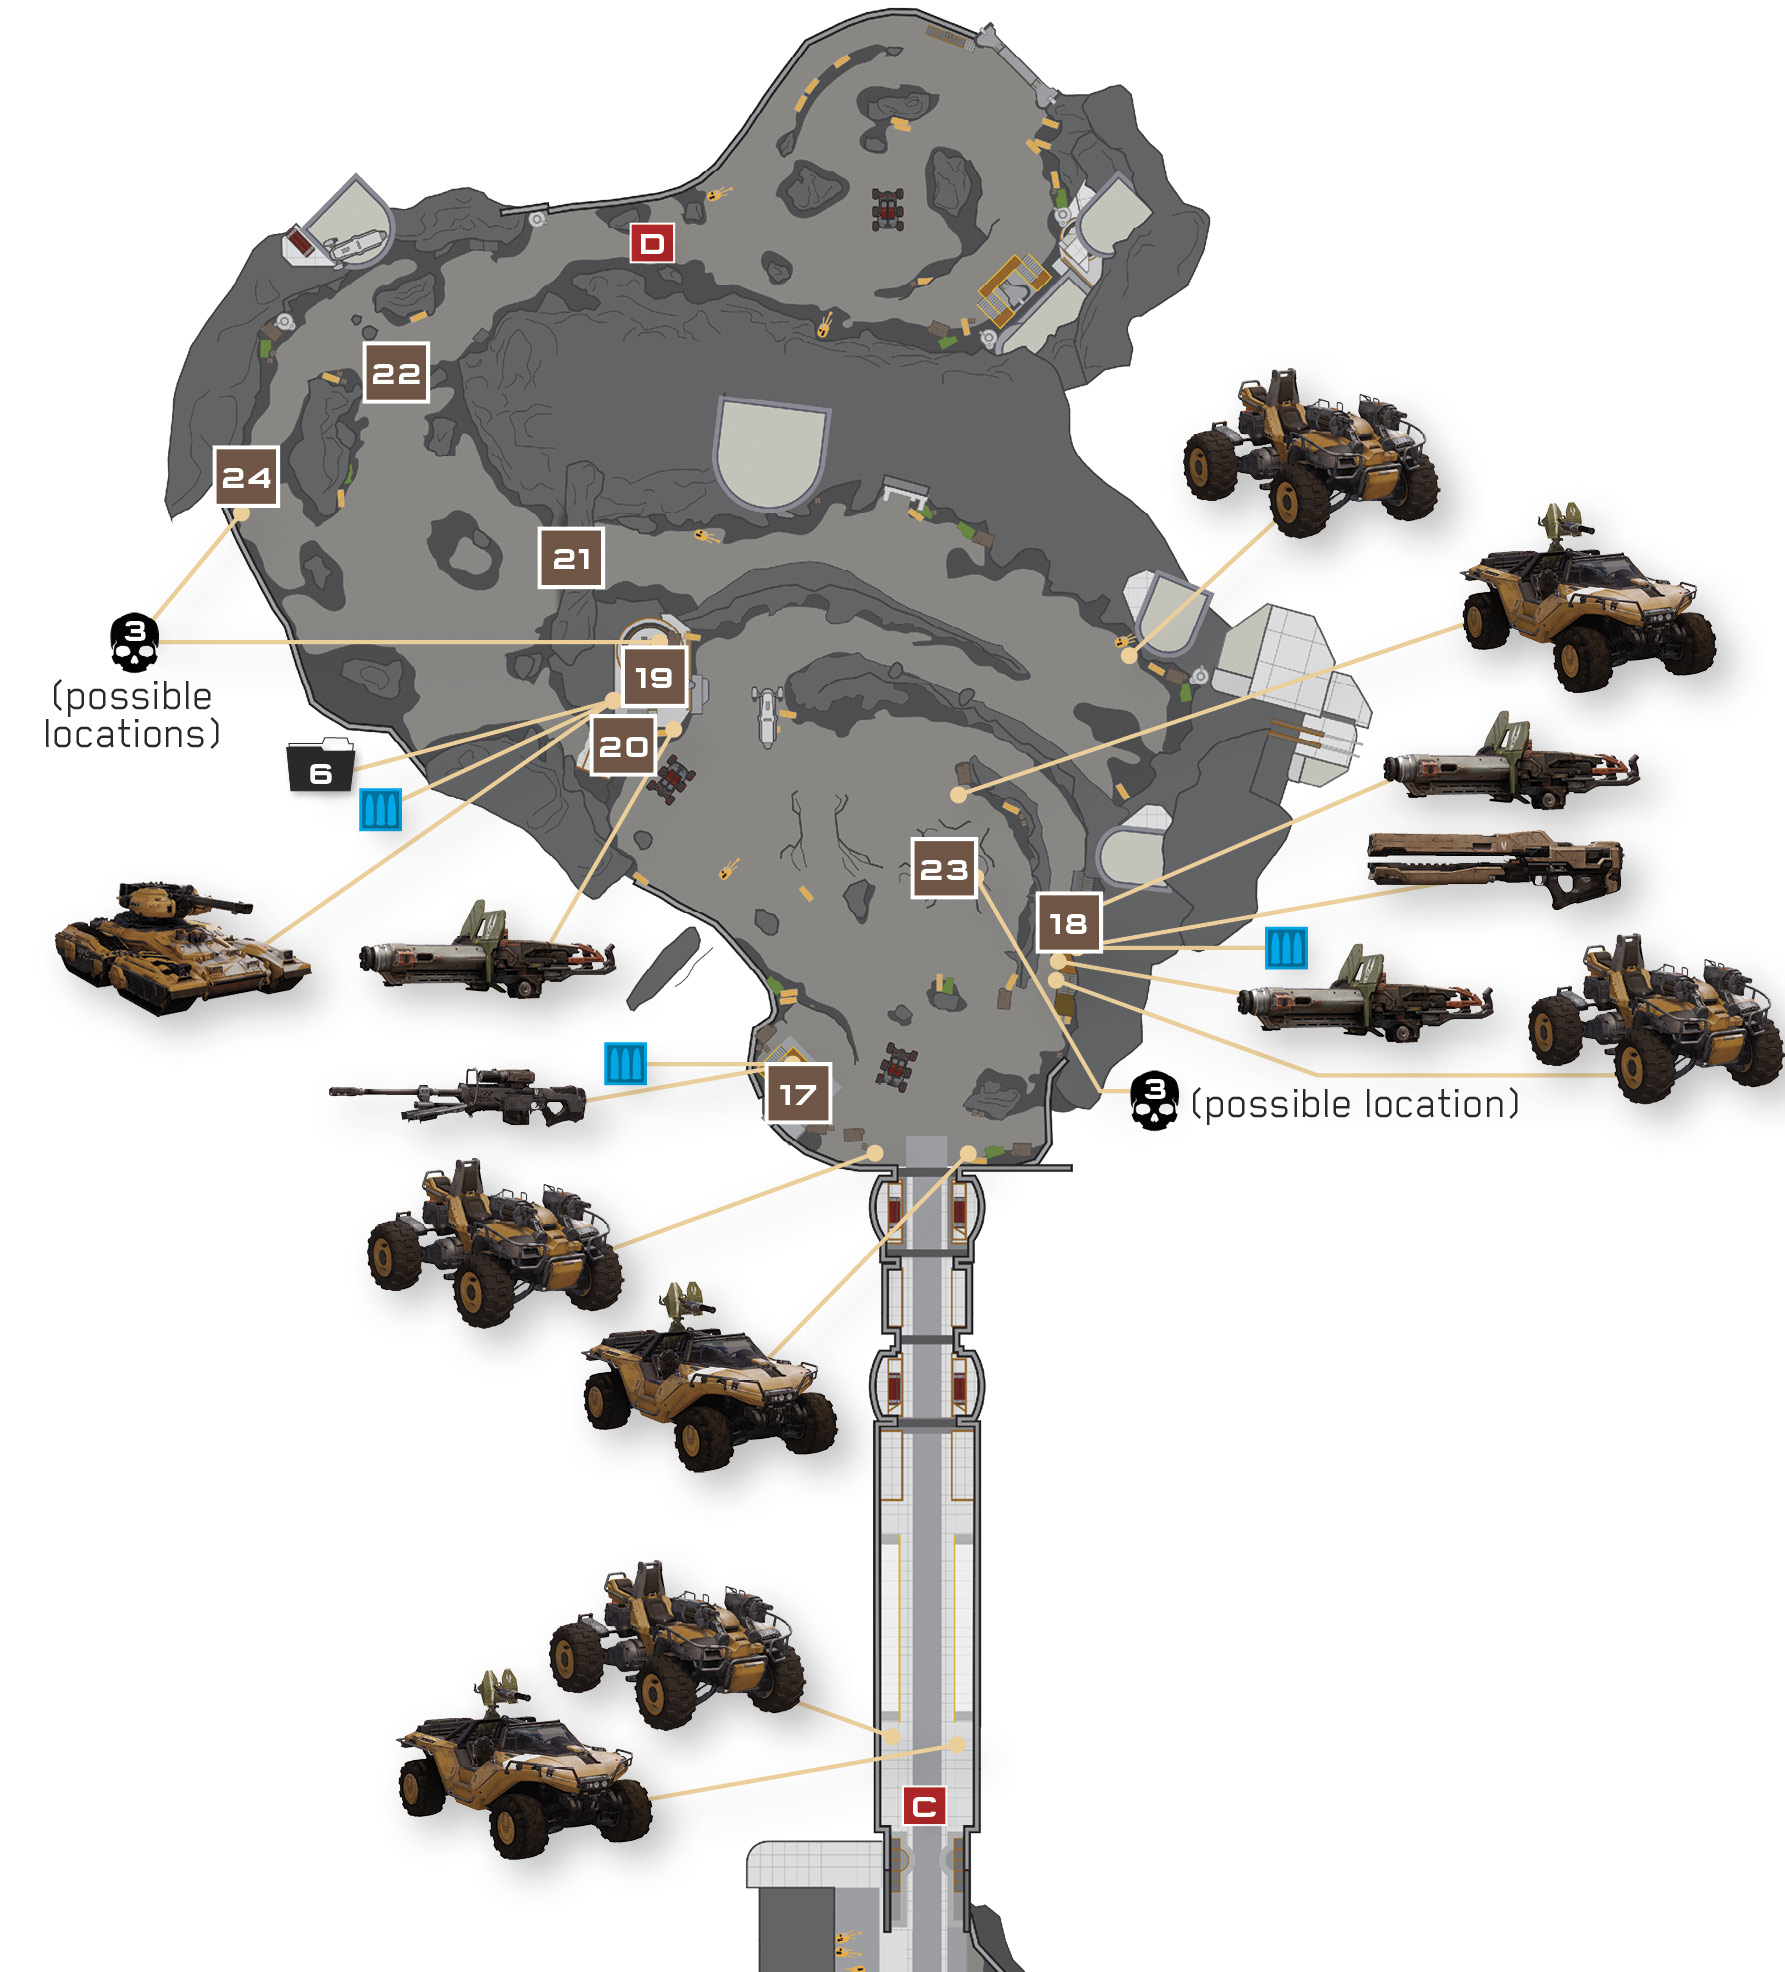
More Warthogs and Mongooses are parked around the large yard beyond the bridge, and many more Prometheans are itching for a fight. Remaining on a vehicle is too risky with so many hostiles and so little cover; hurry over to the platform on either the left 17 or right 18 to reach a defensible, elevated vantage.
The left platform 17 features a Battle Rifle, Sniper Rifle, and DMR, while the right platform 18 features two Railguns and two Chaingun Turrets. Both platforms offer ammo kits and excellent views of the enemies in the central yard. Priority targets include any vehicles driven by Soldiers, along with the Soldier Captain armed with a detached Splinter Turret and the hulking Knight armed with a Scattershot. Eliminate as many threats as you can from these vantages, then return to a vehicle and head for the service garage 19.
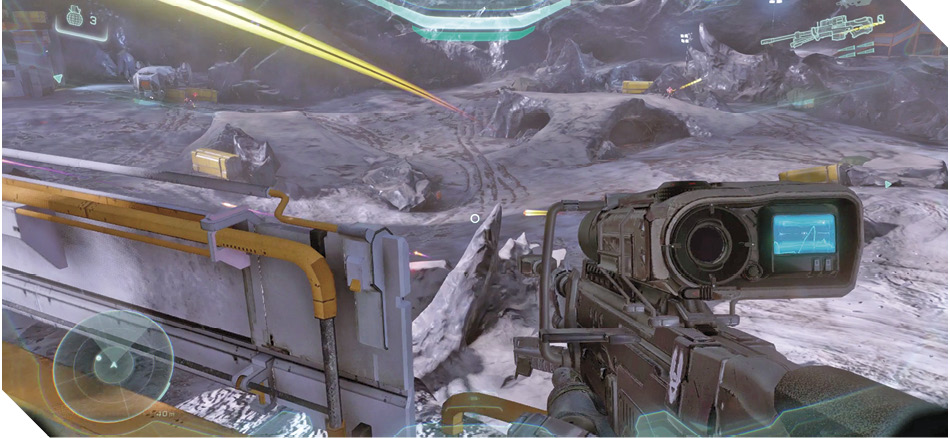
Legendary StrategyReaching a safe, defensible position is vital when playing on Legendary. Neither your team nor your vehicles have a hope of surviving in the middle ground, so hurry to the platforms at 17 and 18 to find cover, along with crucial sources of weaponry and ammo. |
Alternate ApproachIf you’re feeling daring, you can rush straight to the service garage 19 and grab the Scorpion Tank before securing the area. The garage is well defended, so use a Mongoose or Warthog to race over to it. Climb the crates on the side 20 to reach the stairs that lead up to the roof. You must hurry, or you’ll be picked off by the surrounding Prometheans. Once you’re on the roof, you’ll have access to a Chaingun Turret. Use these if you like, or simply perform a Ground Pound through the roof’s vent to smash into the garage and land near the Scorpion. Hop into the tank and the garage door will open—now those vile constructs are in trouble! 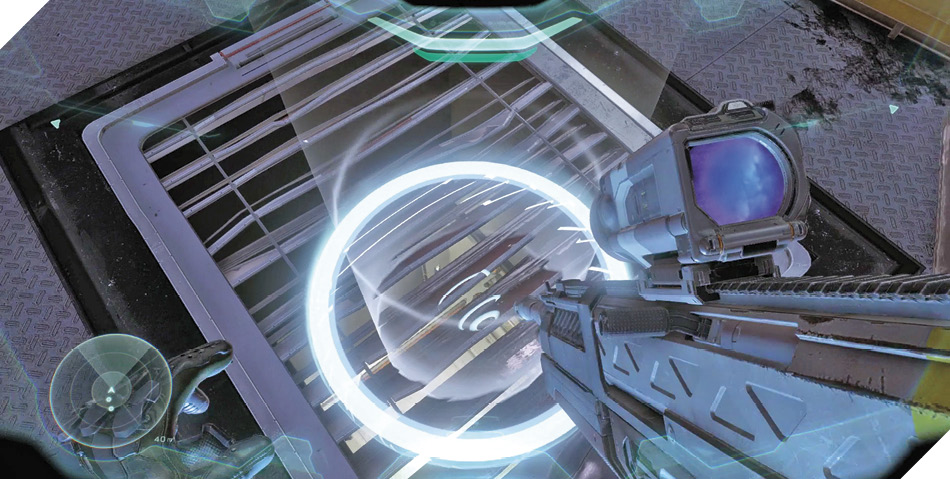
|
A garage opens after you secure the area 19. Go there to find a pair of DMRs in a case, along with a Scorpion Tank. Restock your DMR ammo and then use Artemis to locate a nearby UNSC data pad. Inspect the data pad for another Mission Intel entry before climbing into the tank and proceeding up the road directly ahead.
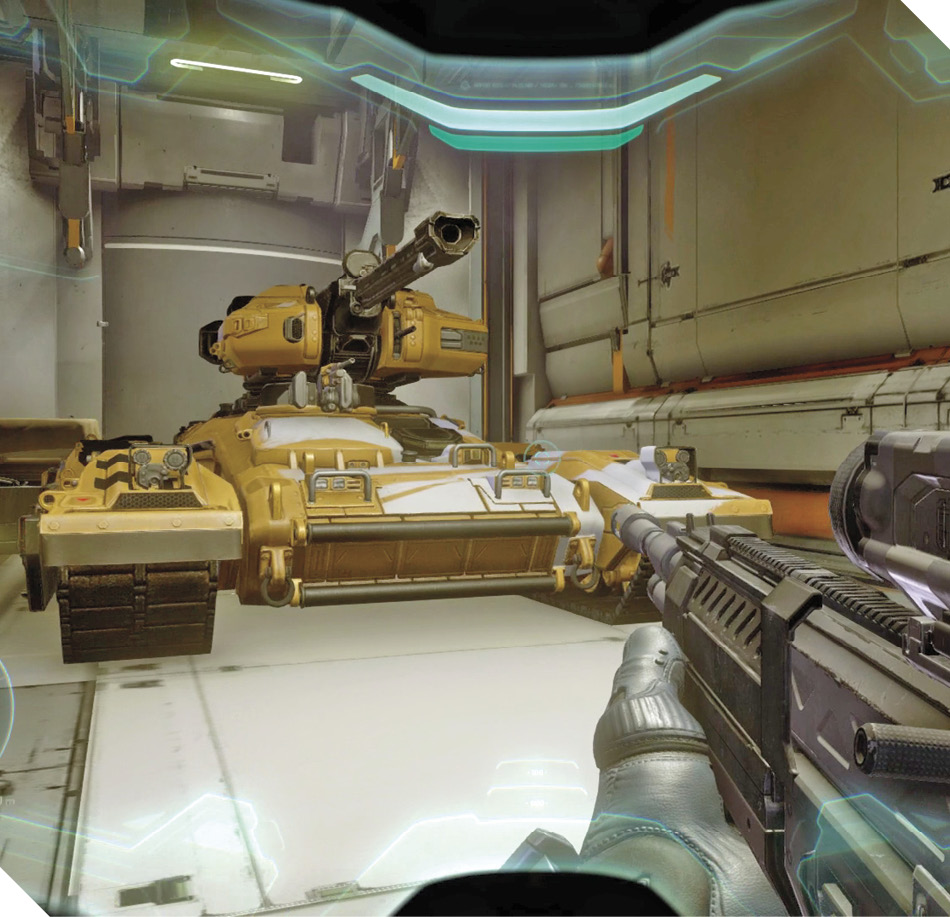
Mission 3 Intel Acquired (6/6) |
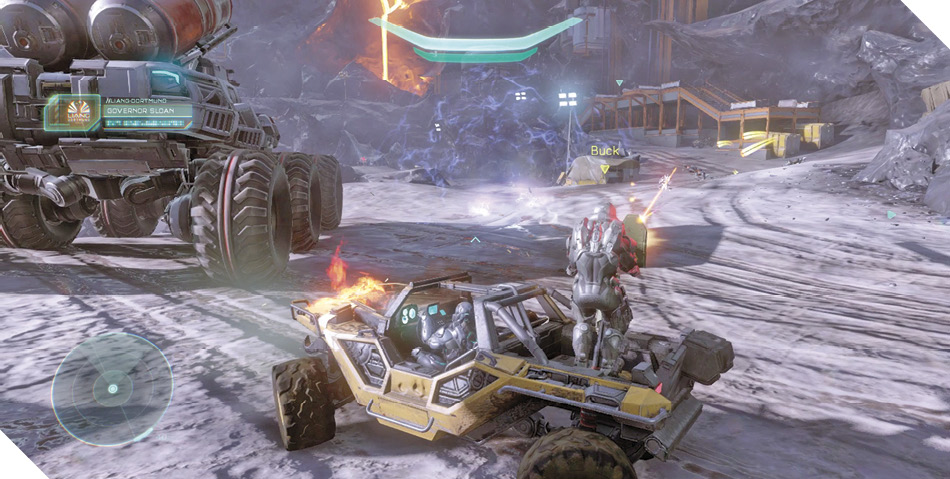
Beware: The Prometheans have fortified the road leading to Meridian Station with powerful Beam Turrets and additional forces, including a Knight. None of these are a match for your Scorpion Tank, however. Level the tank’s cannon at each Beam Turret in turn (each takes two hits, and there are two on the left and one on the right), and blast the Knight as well to bring him down fast. Governor Sloan is sure to appreciate the help.
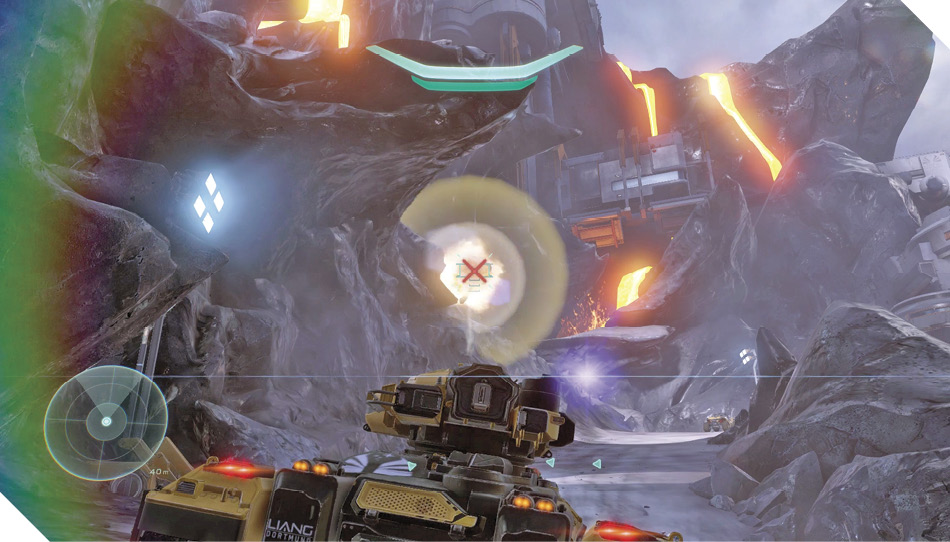

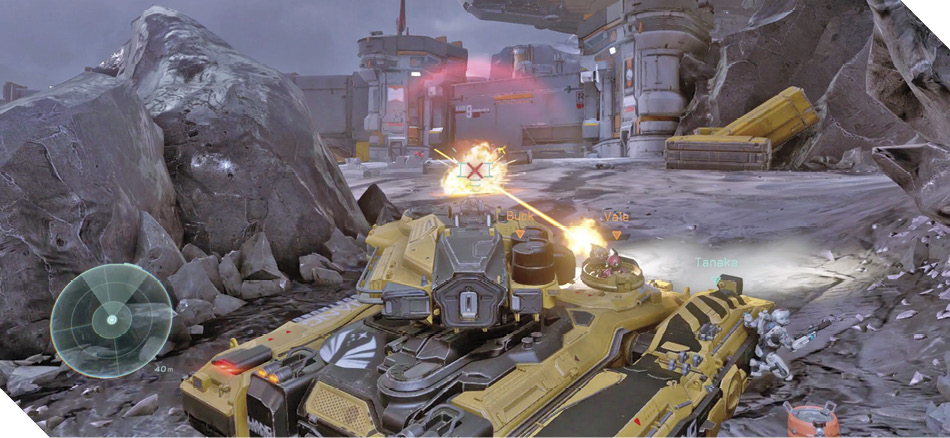
Scorpion TankOne of the UNSC’s most fearsome combat vehicles, the Scorpion Tank is a heavily armored war machine. Its sting is supplied by its massive cannon, which the tank’s driver uses to deliver an unlimited amount of explosive shells to threats clear across a battlefield. A teammate can hop in and man the Scorpion’s top-mounted machine gun, which can be rotated around to fire on closer threats that the tank’s primary cannon can’t sight. Up to four additional allies can ride on the tank (two per side), where they are highly exposed but also free to return fire with whatever weapons they’re carrying. |
Skull 3 of 13: Iron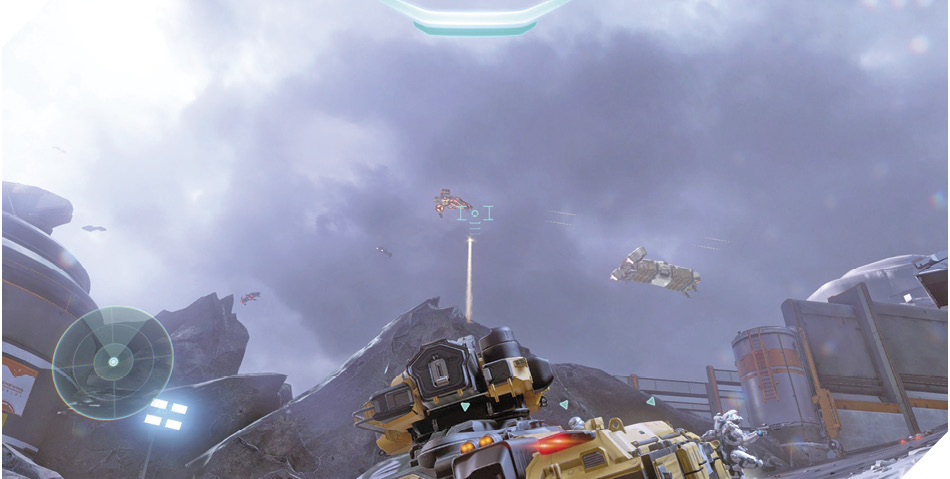
Ready to tackle the toughest Skull of them all? While playing on Legendary difficulty, roll your Scorpion uphill beyond the Beam Turrets, passing under a large rocky arch 21. Keep an eye on the sky to the left as you round the corner that follows 22, and look for a cargo transport that’s being pursued and shot at by a Forerunner Phaeton. It isn’t easy, but you must blast the Phaeton from the sky with your Scorpion’s cannon before it destroys the cargo ship. Restart from the last checkpoint if you miss, and keep trying until you destroy the Phaeton. 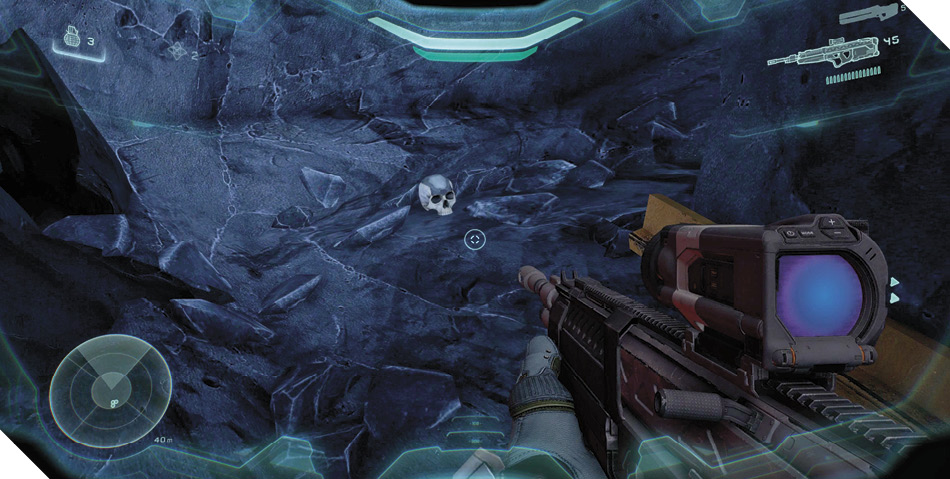
Although it isn’t obvious, destroying the Phaeton has caused a Skull to appear nearby. The Skull will appear in one of three places: beneath a rocky arch back in the previous yard 23; atop the Scorpion garage (move a barrel) 19; or along the side of the road just behind you, back near the fence 24. Check the map for these possible spawn locations, and backtrack a bit to claim your reward! 
|
The gate to Meridian Station lies at the end of the road. Unfortunately, so do more Prometheans. Loose the Scorpion Tank’s cannon against the lingering constructs, annihilating all threats from afar as you slowly roll toward the gate.
Objective: Defend Meridian Station
Reaching the gate isn’t especially difficult—defending it proves to be another matter. Many more Prometheans materialize all around you, sending wave after wave of Crawlers and Soldiers crashing against your tank. Remain on the high ground near the gate and unleash the Scorpion’s lethal turret against the Promethean horde. Prioritize Knights and any Soldiers armed with Splinter Turrets, for they are the greatest threats to your tank’s armor.
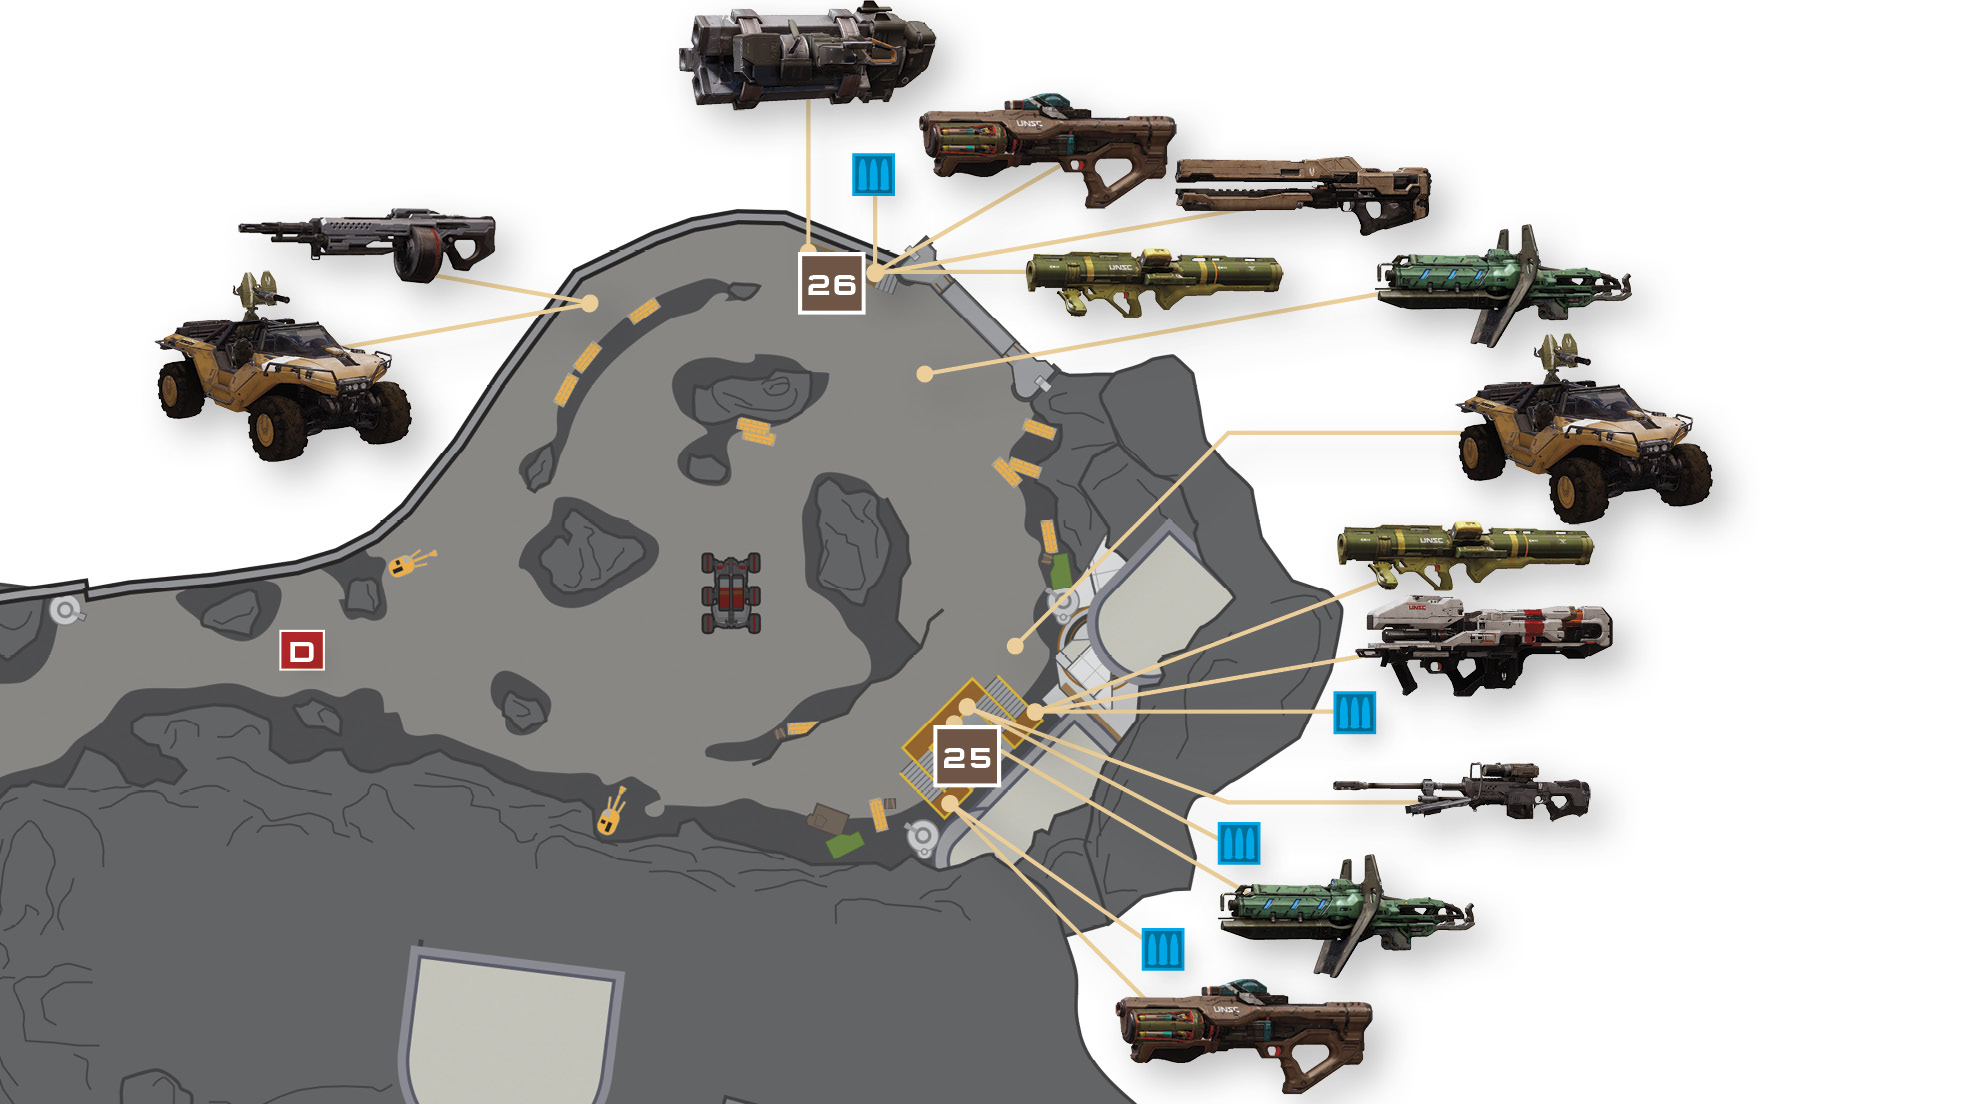
Alternate ApproachThere’s only one Scorpion, and this battle is a lot more challenging if you aren’t the one driving it. When fighting on foot, you’ll find the tall side platform 25 an ideal spot to camp out. Here you’ll discover a Rocket Launcher, Spartan Laser, Sniper Rifle, Hydra Launcher, two DMRs, and a Gauss Turret—plenty of firepower to help you turn the tide. There’s also a smaller platform near the gate 26—this one less defensible, but it features a Rocket Turret, a Rocket Launcher, and a weapon rack that’s stocked with a Railgun, Hydra, and several Shotguns. 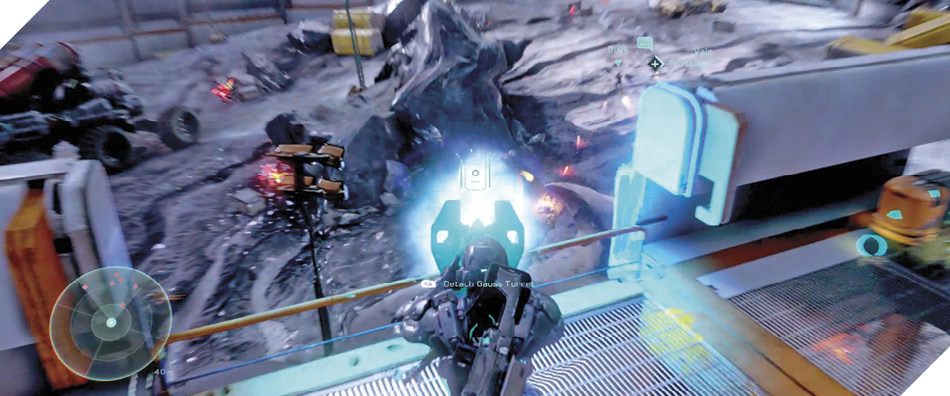
|
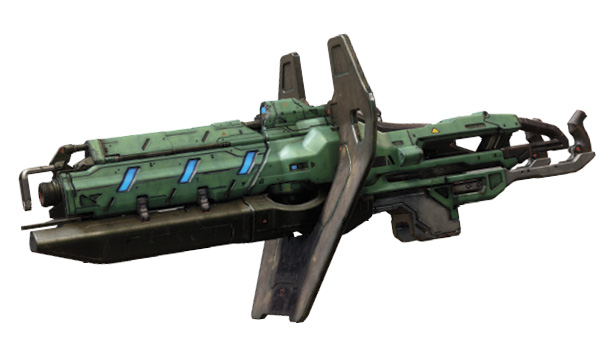
Gas TurretGauss Turrets are powerful weapons capable of annihilating hardened targets. Their colorful blasts can be delivered across great distances to decimate foes, and the Gauss can be fired quickly enough that a second shot is usually an option if the first one doesn’t get it done. Like other turrets, the Gauss features unlimited ammo for as long as it’s affixed to its mount. Detach the Gauss from its mount to carry it around as a third weapon—one so big and powerful it hampers your mobility. |
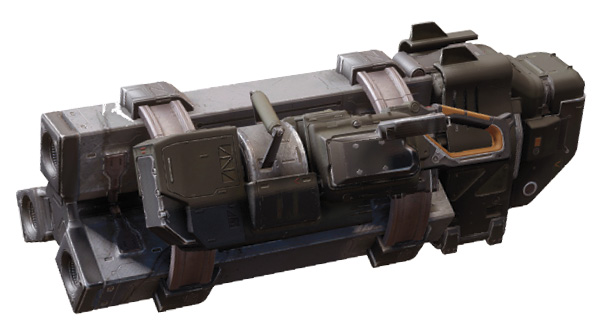
Rocket TurretRocket Turrets are formidable stationary weapons designed to annihilate advancing enemies. The weapon features no tracking system, but its volleys of explosive rockets are lethal to ground troops and can obliterate vehicles if multiple hits are scored. Like many turrets, the Rocket Turret features unlimited ammo until the weapon is detached from its mount. Once detached, the Rocket Turret’s lethal ammo becomes limited, but you gain the advantage of mobility while wielding this potent weapon. |
Wave after wave, the constructs just keep coming. Stick to a defensive position and keep cutting them down. The battle is nearly over when two Knights enter the fray; hammer the pair with your most powerful weapons to secure the yard and at last gain Governor Sloan’s approval to enter Meridian Station.