
Halo 5: Guardians Guide Campaign Walkthrough Mission 3: Glassed
Major Firefight: Space Elevator Outpost
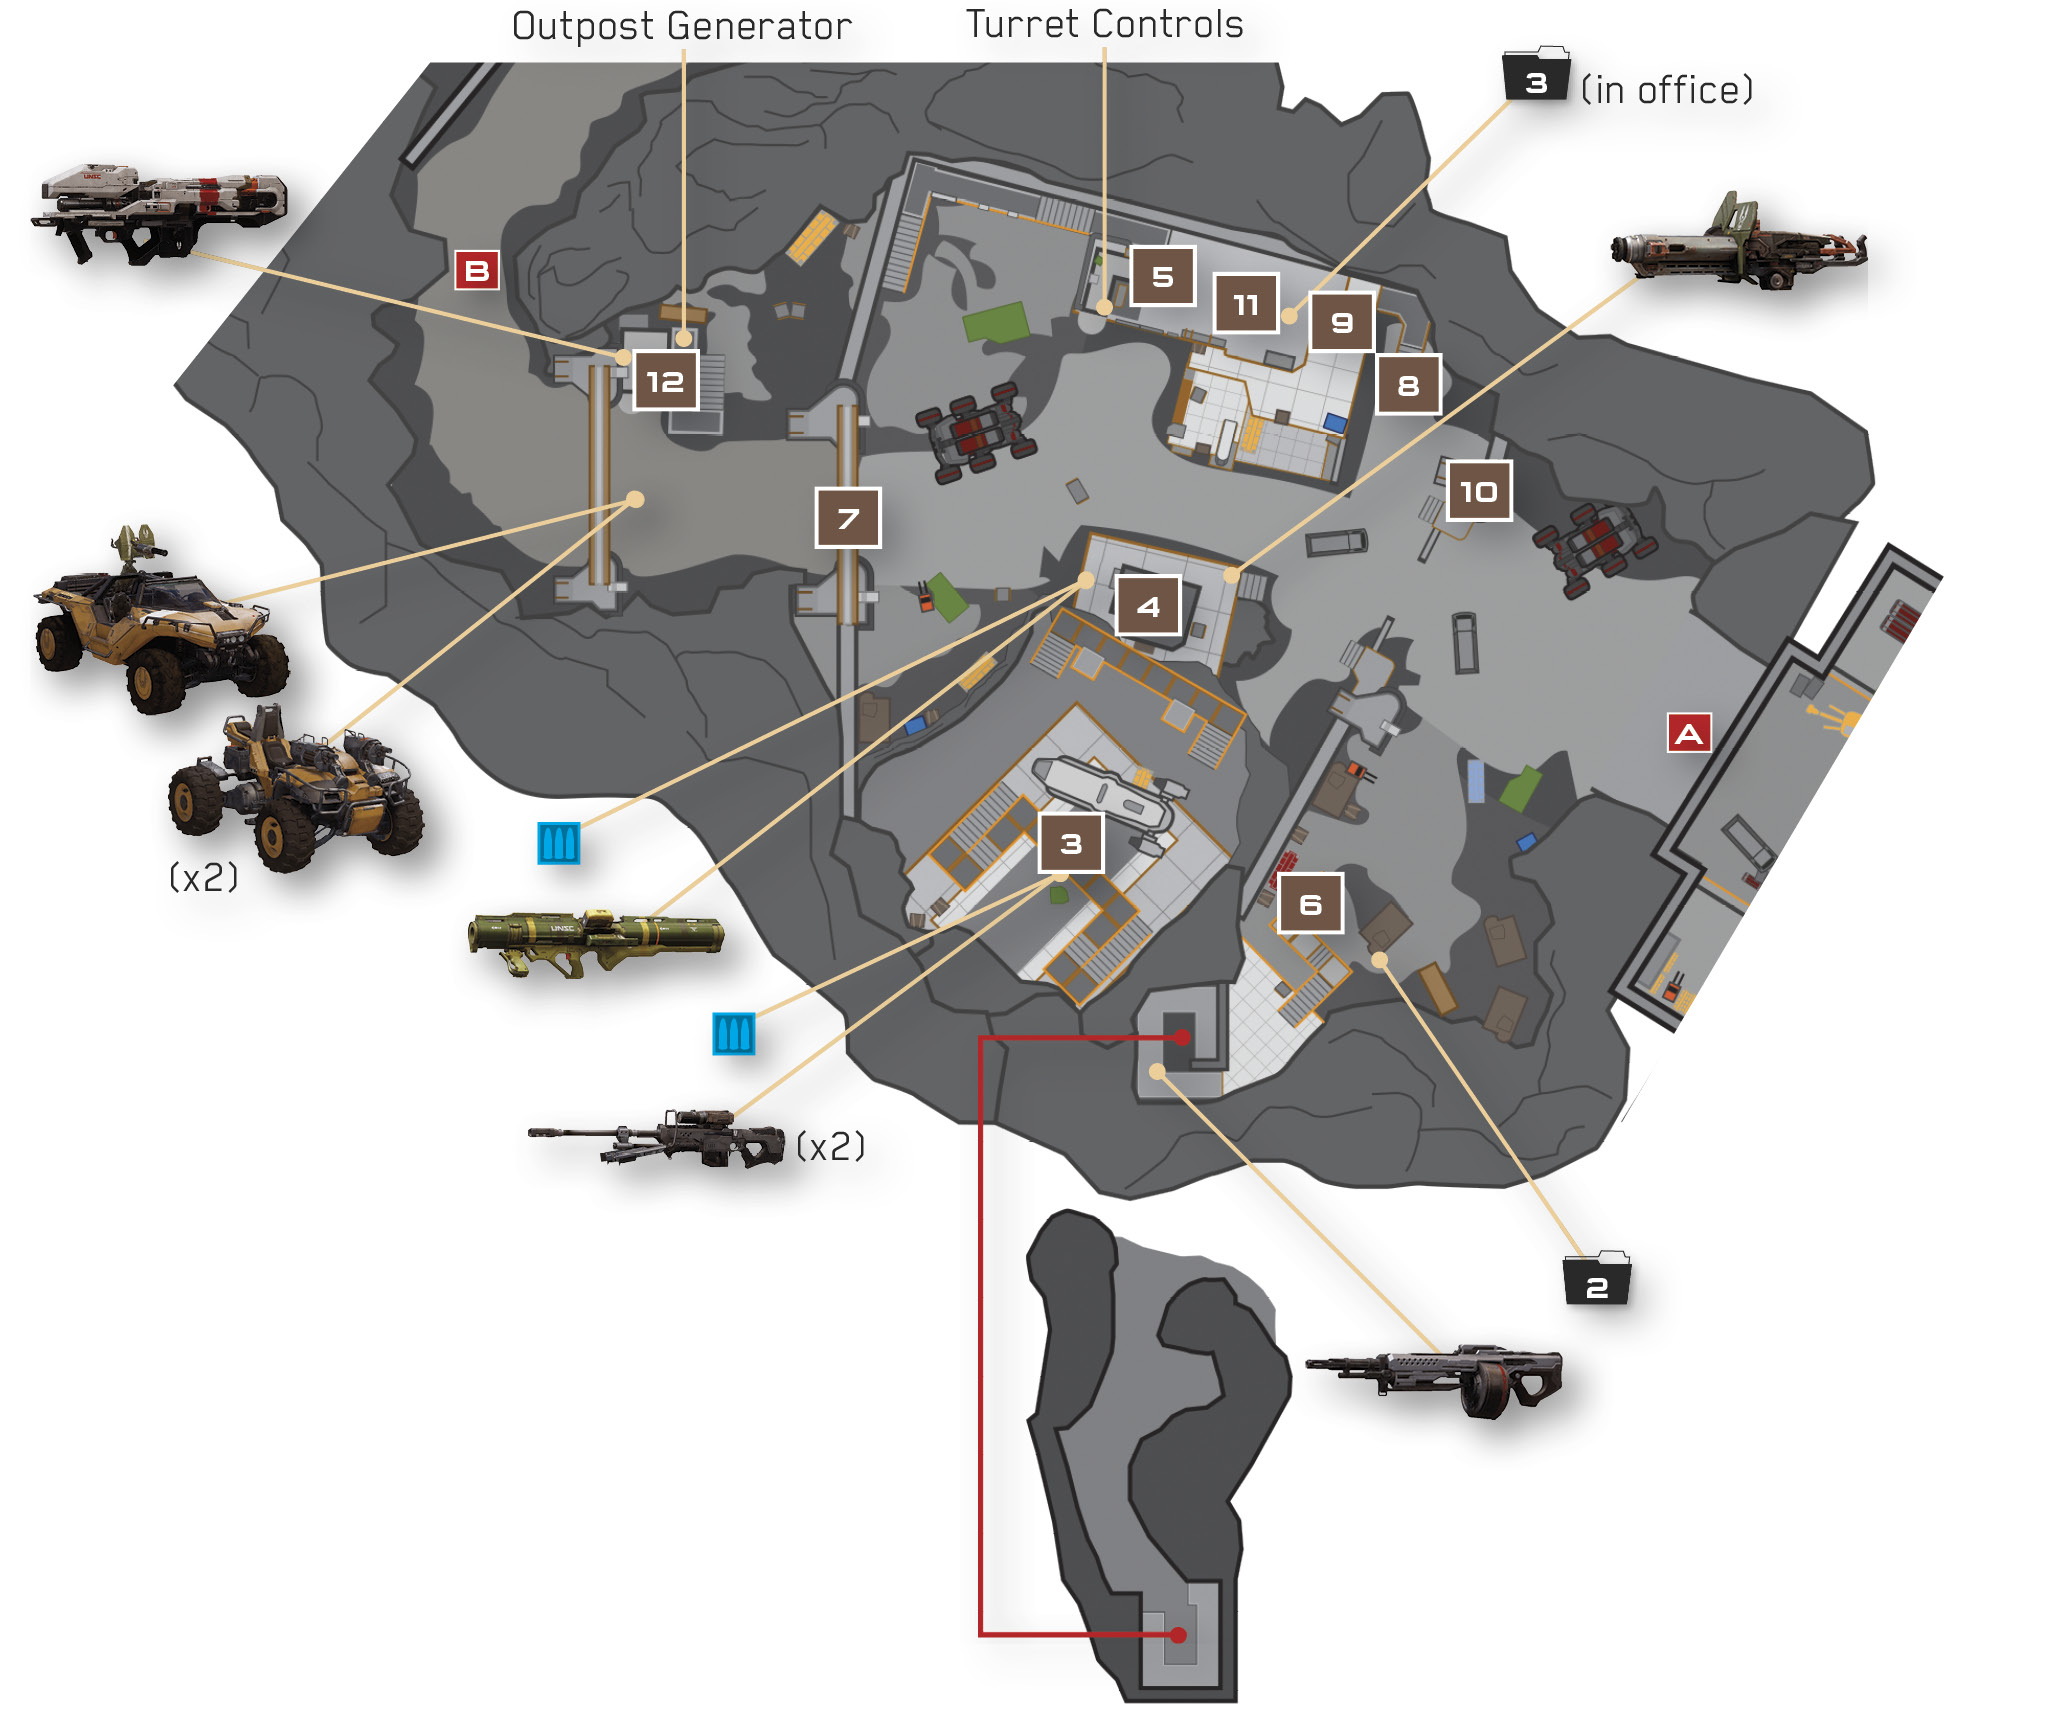
Crawlers and Soldiers have overrun the outpost that lies on the other side of the space elevator’s security door. This has forced Governor Sloan to institute a lockdown, which is preventing Osiris from advancing beyond the outpost. You can’t advance until you’ve brought down the outpost’s security gate. Neutralize all threats to end the security lockdown, or simply destroy the generator that powers the outpost’s security gate to end the lockdown in short order. Sniper Rifles and heavy weapons can be found on the left, while controls for the outpost’s auto-turrets are on the right.
Recommended Loadout
Locke’s starting Battle Rifle and Magnum will serve you well in the spacious yard beyond the security door. If you prefer the run-and-gun approach, grab one of the Shotguns found in the space elevator lobby. Once you’re out in the thick of it, you’ll have access to Sniper Rifles, DMRs, Chaingun Turrets, and even a Rocket Launcher.
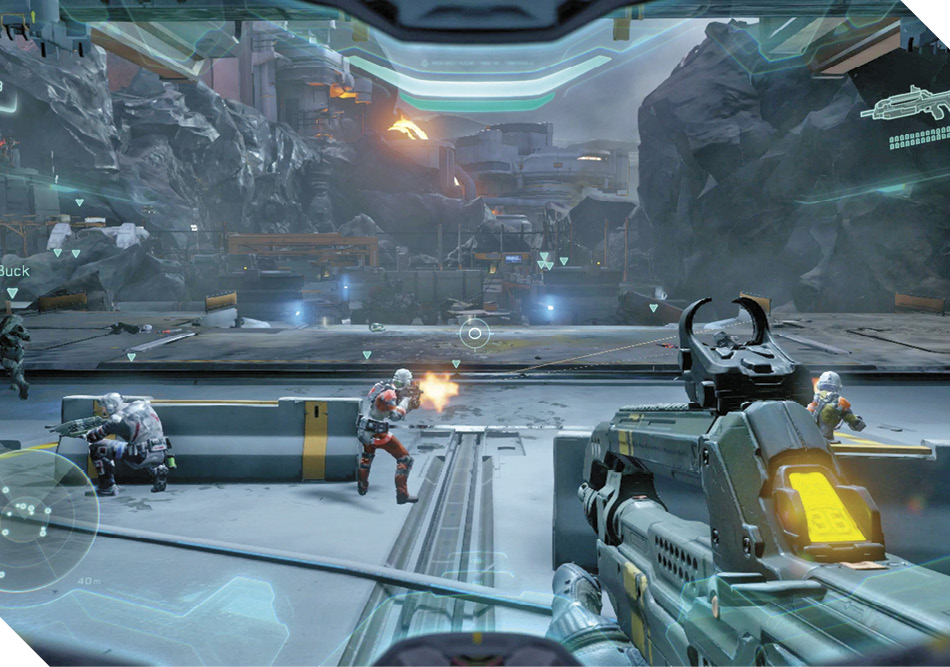
Cut down the first few Crawlers that rush you as you exit the space elevator lobby. You face a choice after that: Go left to reach an elevated vantage with two Sniper Rifles 3 and easy access to a heavy weapons shed 4, or go right to reach the outpost’s automated turret controls 5, which you can activate to help you cut down the constructs. We recommend starting with the sniper perch on the left 3; see the “Alternative Approach” section to learn more about activating the auto-turrets.
Achievement: Shoot from the HipComplete this mission without ever using Smart-Link to sight enemies and you’ll earn an Achievement at the end! If you’re playing in Co-op mode, be sure to tell your friends not to use Smart-Link, either; if anyone does, none of you will earn the Achievement. |
Go left to reach the sniper perch, heading for some stairs 6. Before you reach them, fire up Artemis to detect a radio on a crate to your right. Scan the radio to unlock new Mission Intel, then go upstairs.
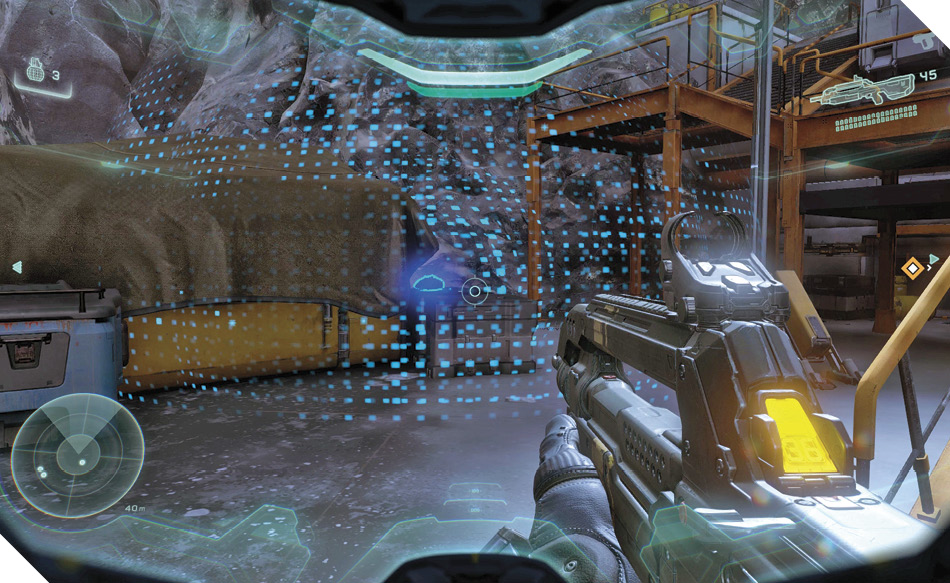
Mission 3 Intel Acquired (2/6) |
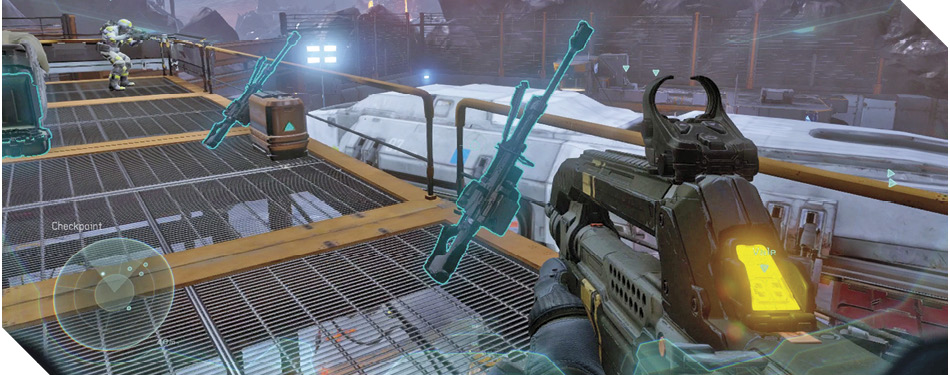
Keep going up until you reach the outpost’s highest walkway, where you discover an ammo crate and two Sniper Rifles 3. Crouch behind the walkway’s low railing and fire at the Promethean forces below. Prioritize Soldiers with the Sniper Rifle; switch to the Battle Rifle or Magnum to pick off Crawlers.
Legendary StrategyIt pays to take out the generator during Legendary play. This not only allows you to leave the area sooner, but also prevents some of the Prometheans from spawning—including the deadly Knight that arrives with the final wave. |
After thinning the enemy ranks from the sniper perch, drop to lower ground and run through a small cargo ship. Drop to a lower walkway and trade your empty Sniper Rifle for the DMR you discover there. Pick off some more Prometheans, then perform a Ground Pound to smash through the vented roof of the nearby supply shed 4. Simply jump, hold the Melee button in midair to initiate a Ground Pound, and then aim at the vent and release the Melee button to execute the Ground Pound and smash through.
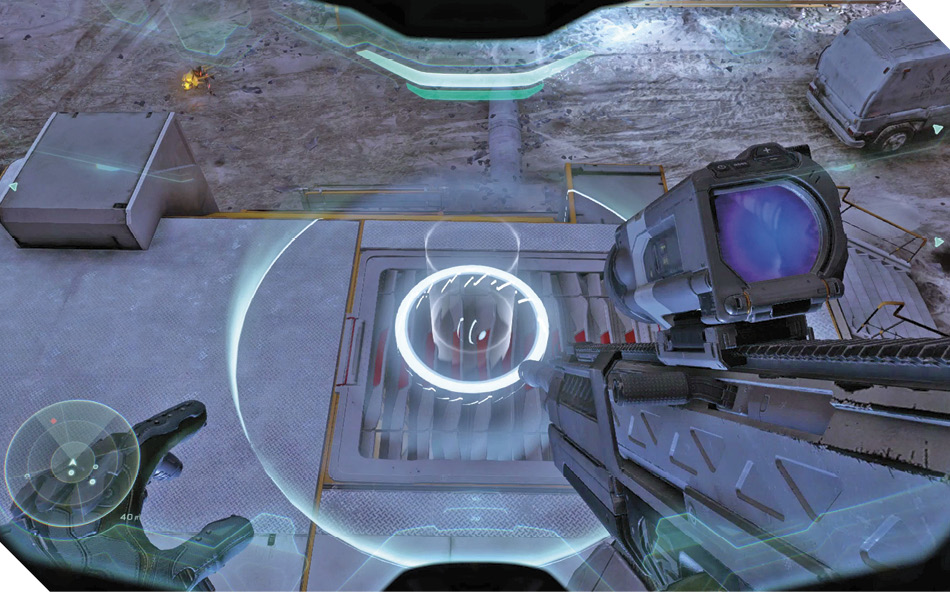
The supply shed is a secure shelter that’s stocked with a Rocket Launcher and several Frag Grenades. Ammo up before pressing the panel on the wall to open the door and return to the action. If you like, use the nearby Chaingun Turret to cut down more Prometheans before sprinting across the yard and heading for the stairs that lead up to the opposite platform 8.
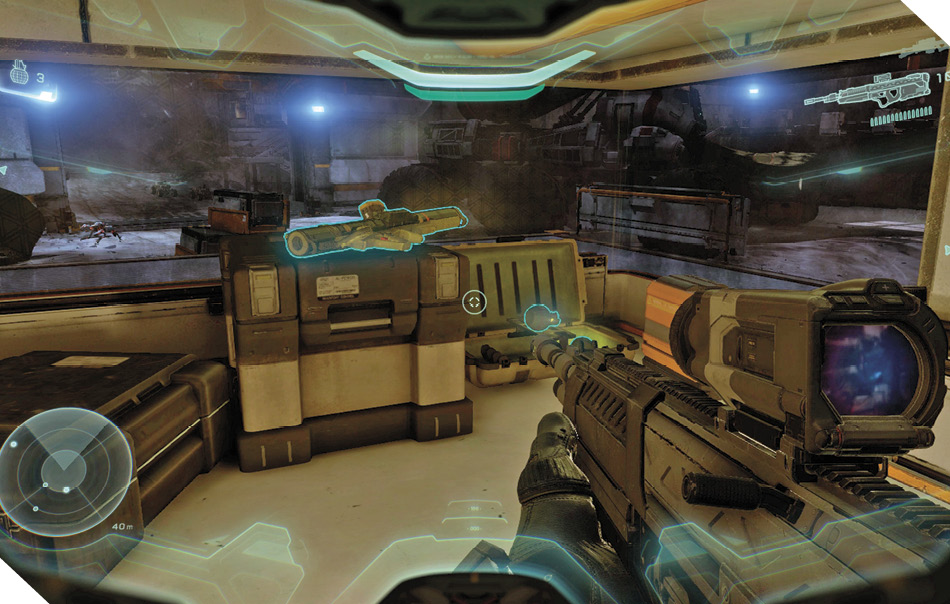
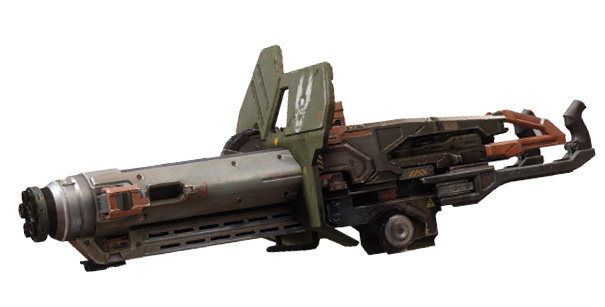
Chaingun TurretWhen human troops need to defend vital terrain, they often deploy Chaingun Turrets. The powerful Chainguns affixed to these turrets rapidly pump out high-caliber rounds, making them ideal for shredding through ground troops. Like other turrets, Chainguns never run out of ammo as long as they’re affixed to their mount. Detaching the Chaingun from its mount allows you to wield the weapon while on the move; however, the Chaingun’s ammo supply becomes limited once it has been detached. |
Go upstairs and climb some covered crates 9 to quickly reach the top of the outpost’s right platform. Here, you discover a small security office that’s sealed by a shutter 5. Perform a Spartan Charge and smash through the shutter, then activate the panel you discover in the small room beyond to fire up the auto-defense turrets around the yard. Grab more DMR and Magnum ammo before leaving the room.
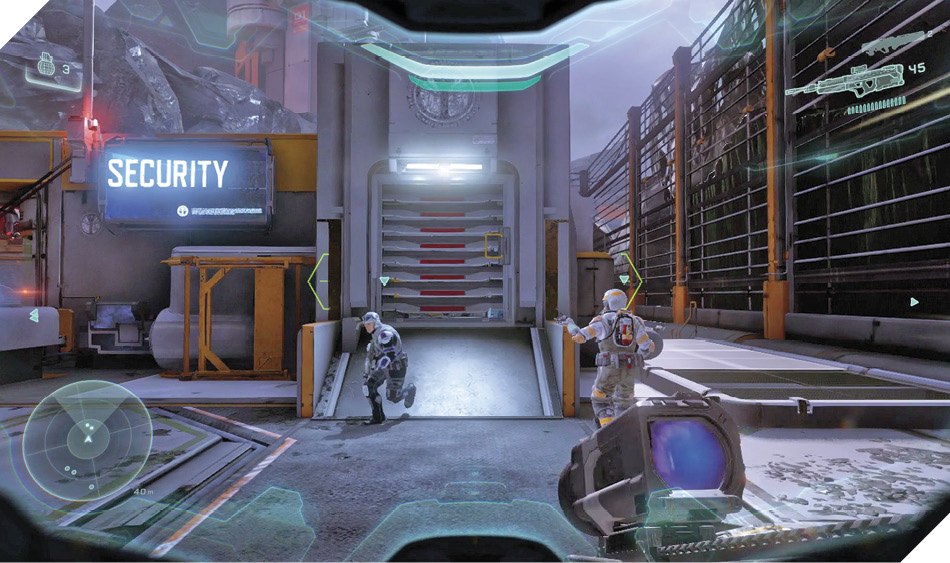
With the defense turrets firing on the Prometheans, the battle sways in your favor. Remain on the platform (climb up to the security station’s roof if you like) and pick shots at the lingering hostiles. A formidable Knight joins the battle when reinforcements arrive; unleash your Rocket Launcher on the Knight, then finish it off with smaller arms.
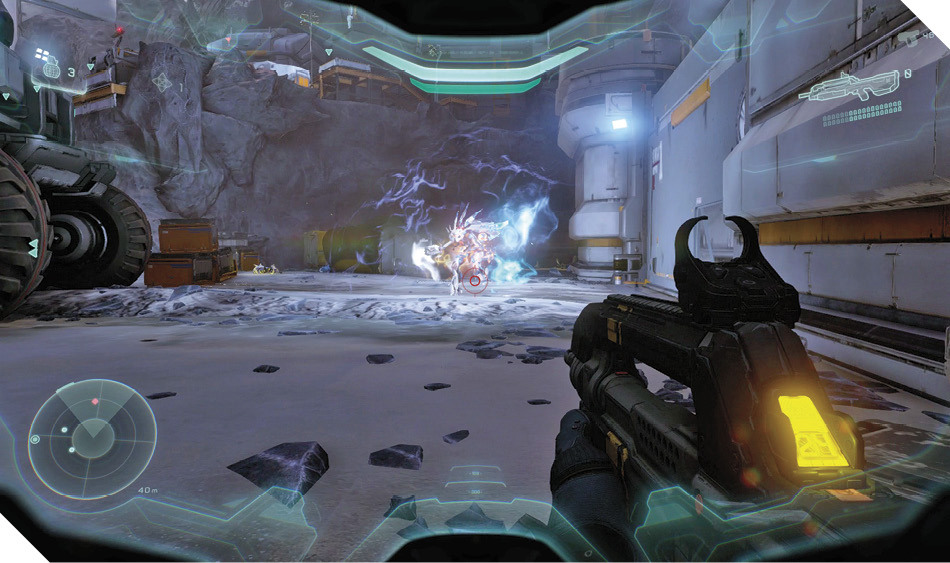
Alternate ApproachIf you prefer, you can start this battle by going to the right and smashing into the security office to activate the auto-turrets. You can crouch through a small hole in the wall at 10 to reach the stairs on the right 8 quickly and safely. After climbing the crates 9 and activating the auto-turrets 5, you’ll then want to work your way over to the left to reach the sniper perch 3 and heavy weapons shed 4. There’s no wrong way to do it, as long as the lockdown is ended. |
The security lockdown ends after all Promethean threats have been neutralized. Before rushing onward, take a moment to pop into the control room on the right platform’s middle level 11, where you discover a UNSC data pad resting on the arm of a chair. Inspect the data pad to unlock new intel.
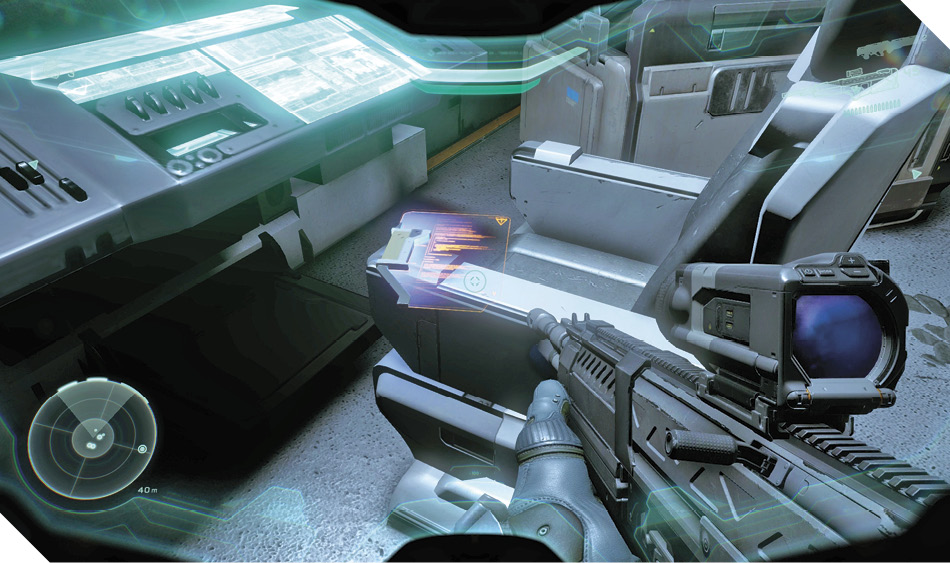
Mission 3 Intel Acquired (3/6) |
When you’re ready to advance, proceed through the now-open gate to find a Warthog and two Mongooses deployed just ahead. The Mongooses have grenade launchers affixed to their fronts—Mongooses like these are affectionately known as Gungooses. Hop into any vehicle and allow the rest of Fireteam Osiris to do the same. (Press the Issue Orders button to direct them to specific vehicles if you like.)
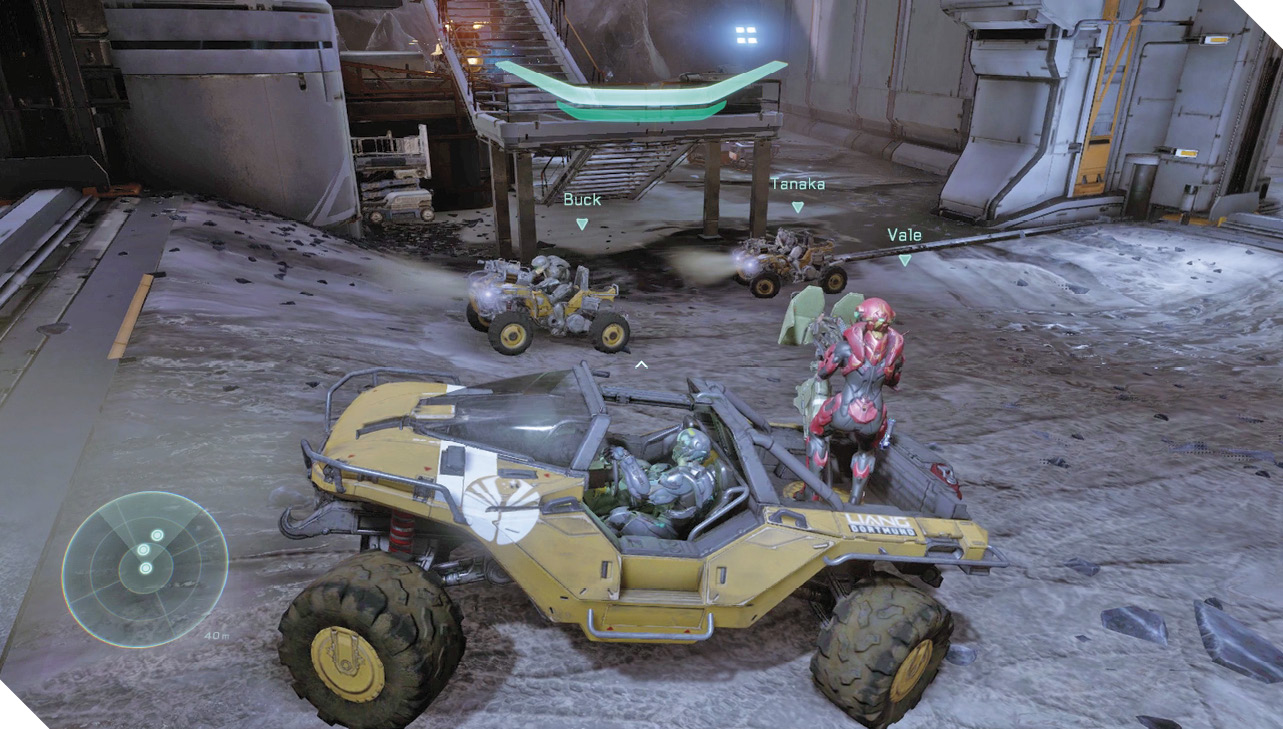

WarthogWarthogs are swift, sturdy military jeeps designed to transport troops across rough and dangerous terrain. Many Warthogs feature a powerful mounted turret that a teammate can man by hopping into the back of the vehicle. Another teammate can ride up front next to the driver and unleash whatever weaponry they happen to be brandishing. Warthogs are fast and maneuverable, but they won’t last long when pitted against superior firepower. Use its speed to present a challenging target, and immediately abandon the vehicle if it sustains heavy damage and catches fire. |

MongooseSimilar to (but smaller than) Warthogs, Mongooses are compact four-wheelers used to whisk troops to key positions on the field. They can support up to two occupants: a driver and a passenger, who can hop on the back. The driver has no form of weaponry, unless the Mongoose has been outfitted with twin grenade launchers; then the driver can fire grenades at will. (Mongooses with grenade launchers are known as Gungooses.) A Mongoose’s passenger can unleash personal firearms to pepper pursuers with whatever weaponry he or she happens to be wielding. |
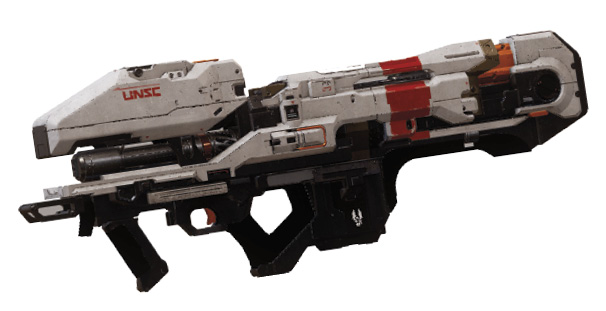
Spartan LAserThe Spartan Laser is one of the few UNSC directed-energy weapons. While this means extra ammo can’t be collected for the Spartan Laser, the four devastating blasts that can be unleashed from a fully charged Spartan Laser are likely enough to annihilate any target. Like Railguns, Spartan Lasers must charge briefly prior to firing. This gives the enemy a chance to seek cover or dodge the shot, causing you to waste precious energy. Level the Spartan Laser at stationary threats or at larger, slower targets, such as Hunters and Knights, to ensure that its devastating shots find their mark. |
Achievement: Going the DistanceVehicular combat plays a large roll in this mission from this point forward. However, if you wish to earn this Achievement, you must avoid using vehicles for the entire mission. Don’t drive any vehicles, and don’t use any of their attached weapon systems. Remain on foot, exploiting stationary turrets and power weapons, such as Rocket Launchers and Sniper Rifles, to see things through. It won’t be easy, so consider playing on a forgiving difficulty setting. |
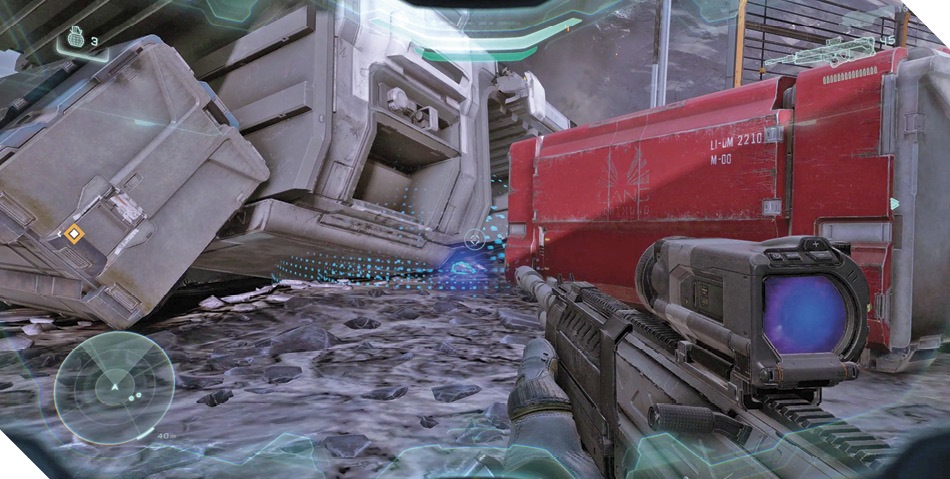
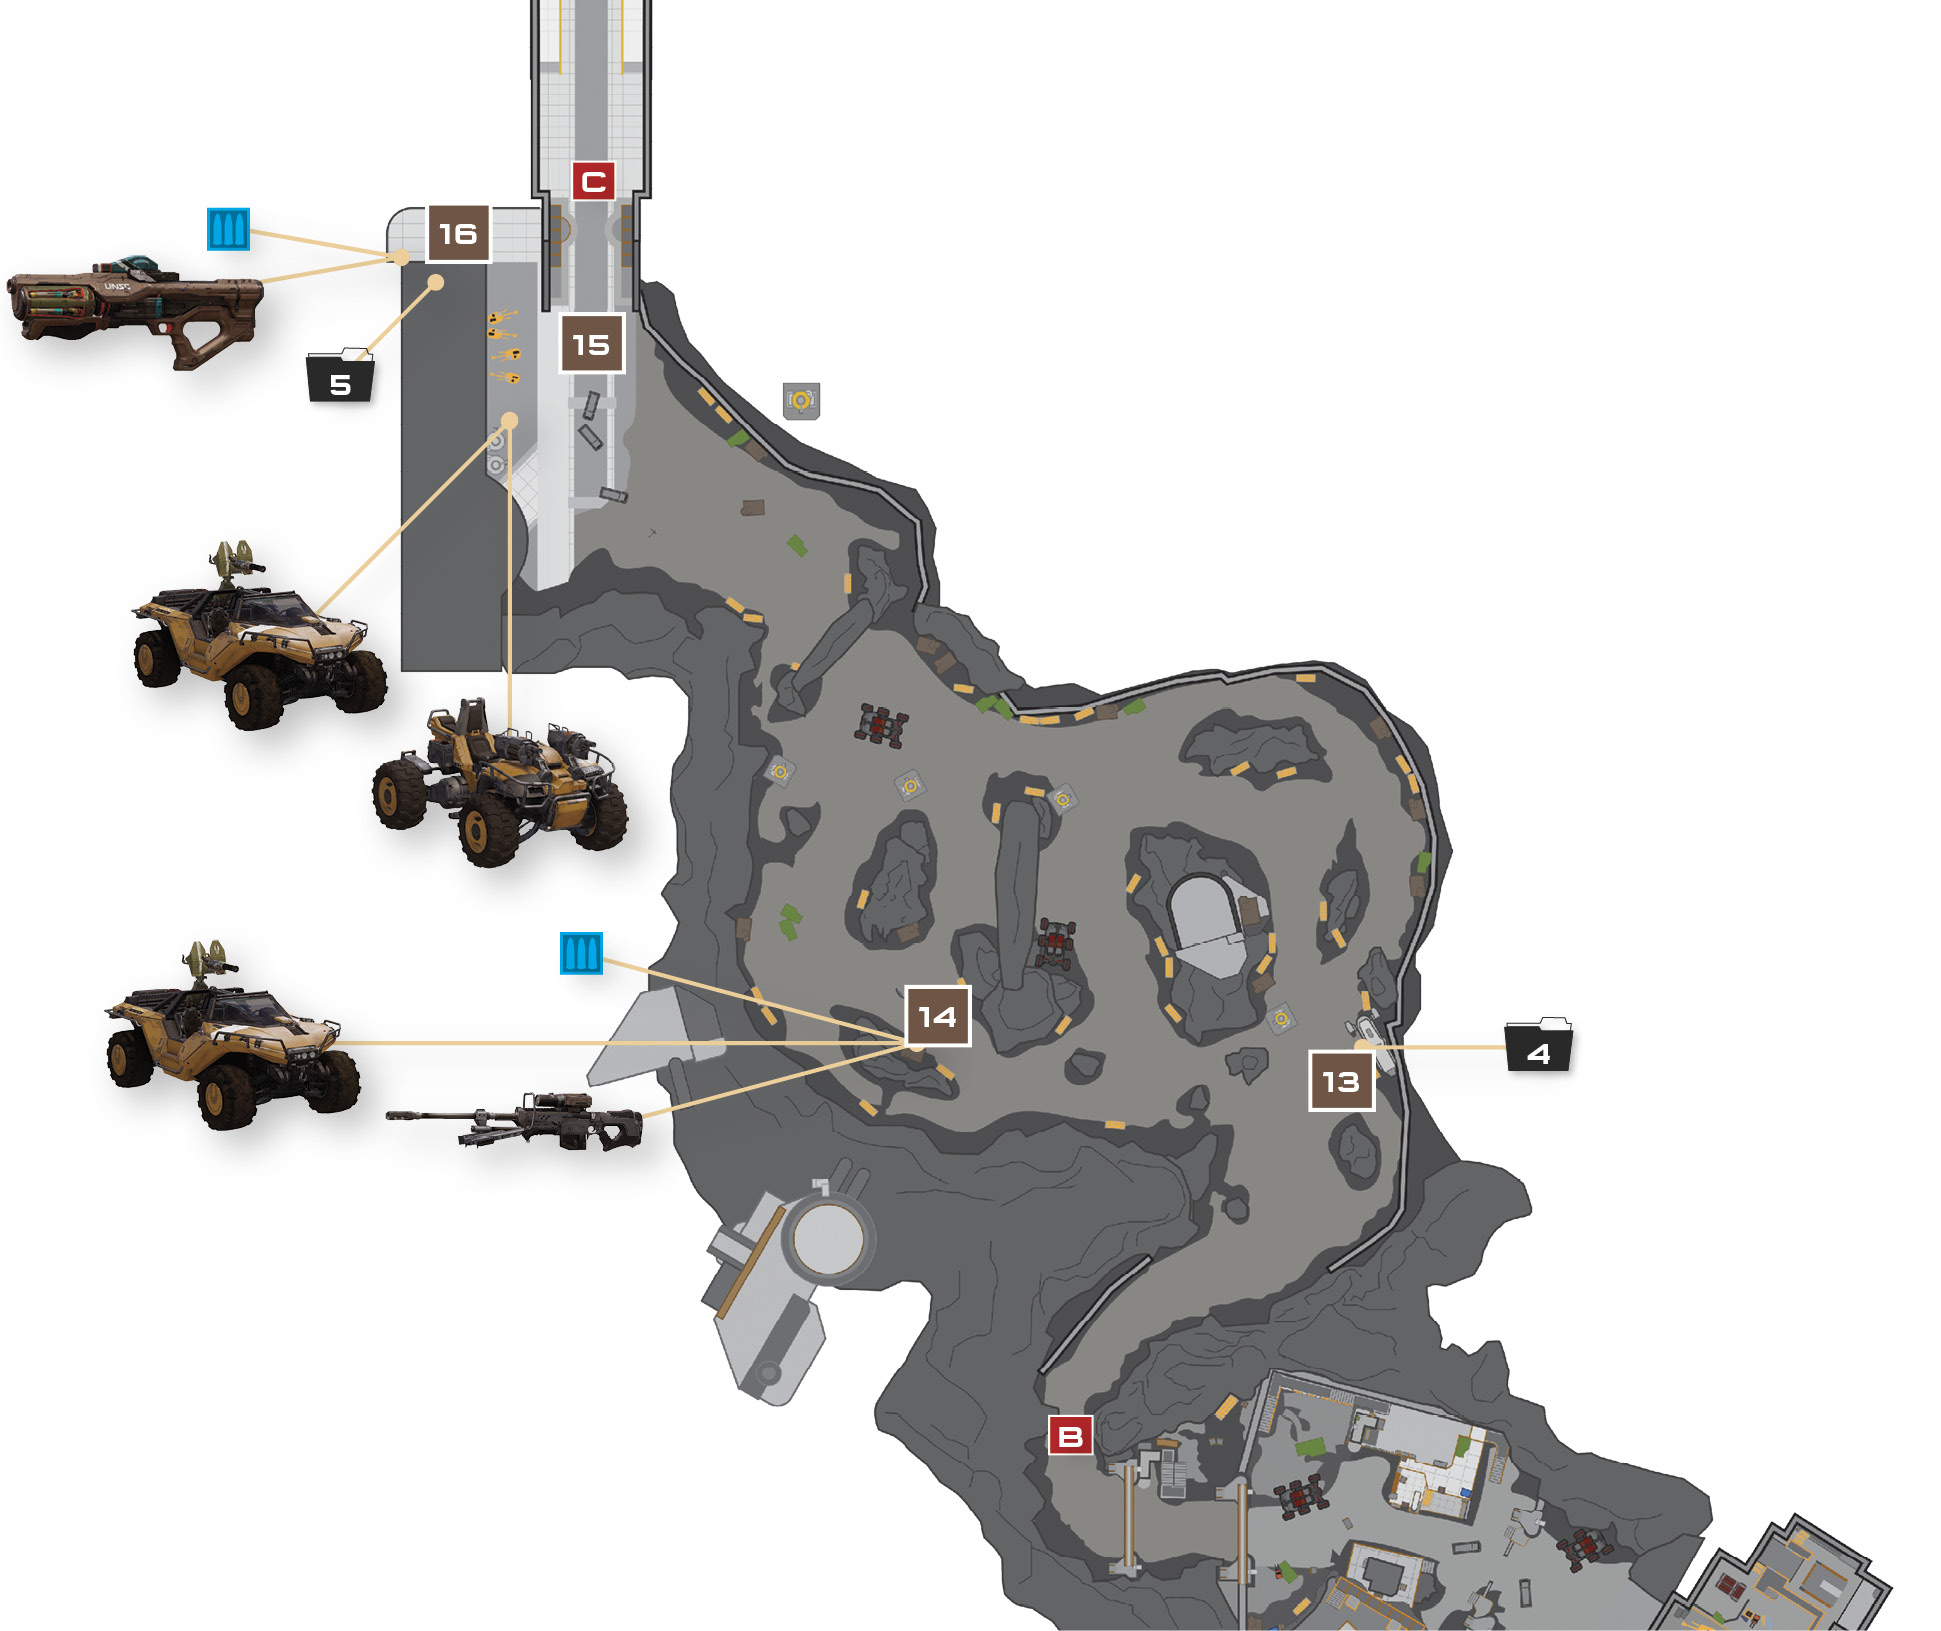
Motor down the road that follows, taking note of a downed Pelican on your right 13. Hop out of your vehicle for a moment and engage Artemis near the Pelican to pinpoint a radio that’s come loose. Scan the radio to unlock a new piece of Mission Intel, then return to your vehicle and roll onward.
Mission 3 Intel Acquired (4/6) |
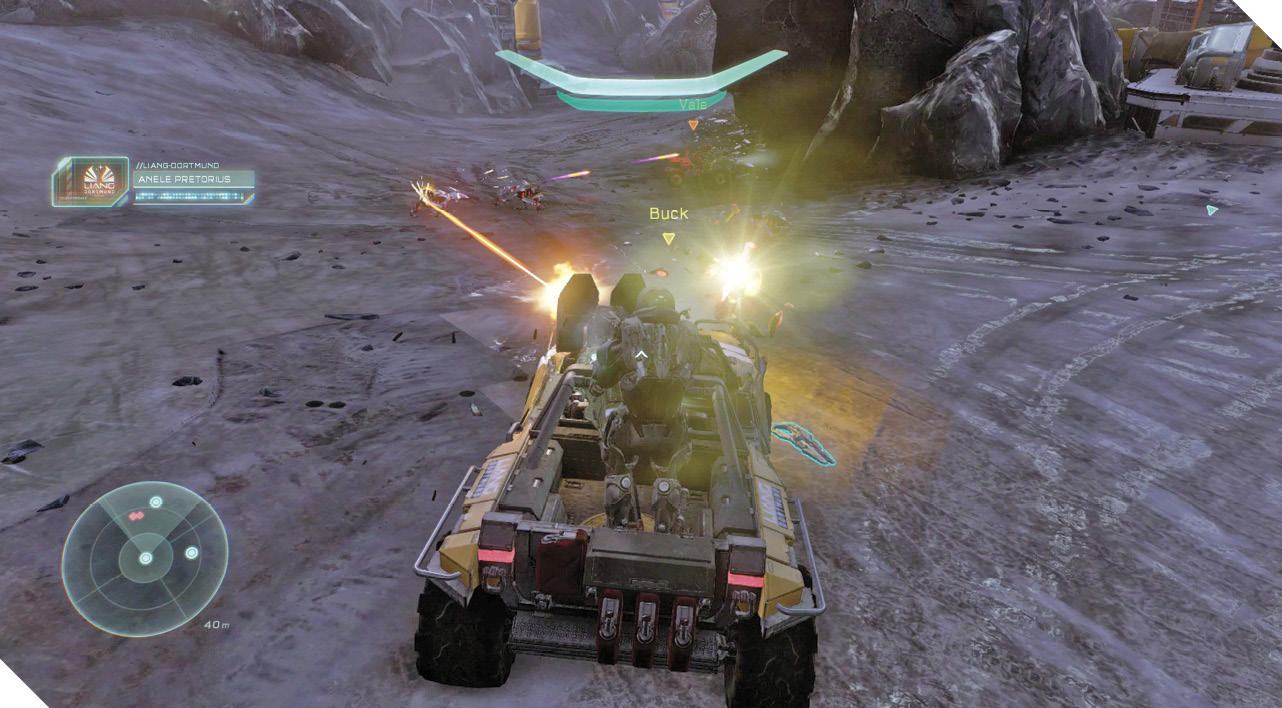
Battle more Prometheans as you advance along the looping roads that follow. Stay mobile to pose a difficult target, but don’t motor too far ahead or you risk being overwhelmed. Unload with your Mongoose’s grenade launchers, or simply maneuver your Warthog into position so that your gunner has a clear shot at the constructs. If any vehicles become damaged, you can find a fresh Warthog parked at 14—plus a Sniper Rifle and DMR on the ground.
Legendary StrategyVehicles don’t seem to last very long on Legendary. Pay attention to the state of yours, and abandon it the moment it catches fire. Make use of the fresh Warthog and weaponry found along the road at 14 as you motor through this dangerous stretch. Also, beware of Splinter Turrets tossed by Soldiers along the road, and be sure to avoid the persistent death clouds they leave behind! |
Keep advancing until you approach a bridge that’s being assaulted by Prometheans 15. Meridian’s militant civilians have locked down the bridge, but communications with Governor Sloan indicate that they may open it for you if you help them secure it. Wipe out the surrounding Prometheans to secure the bridge, then wait until Governor Sloan opens it for you.
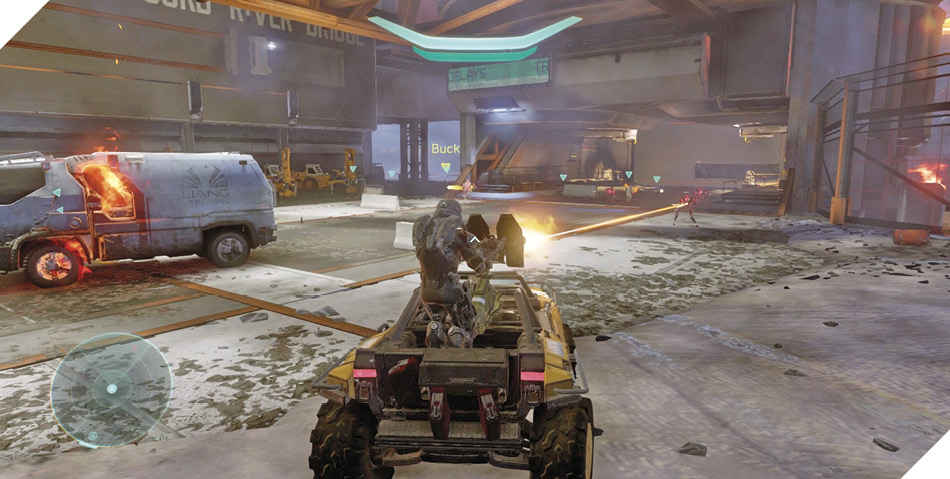
As you wait for Governor Sloan to open the bridge, hop off your vehicle and check the scenic viewing area to the left 16 to discover a DMR, Hydra Launcher, and Battle Rifle. Use Artemis to detect a UNSC data pad on the nearby table. Scan it for some intel, then return to your vehicle and speed across the bridge.
Mission 3 Intel Acquired (5/6) |