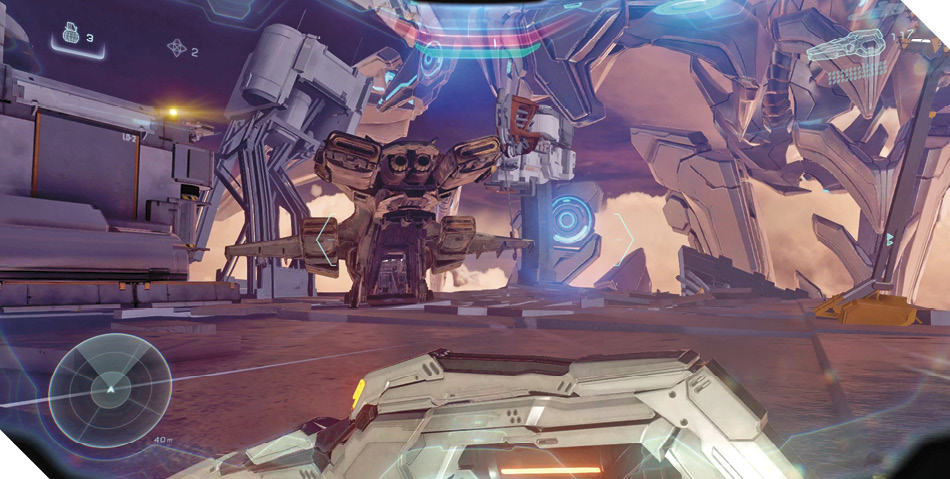
Halo 5: Guardians Guide Campaign Walkthrough Mission 6: Evacuation
Major Firefight: Space Elevator Platform
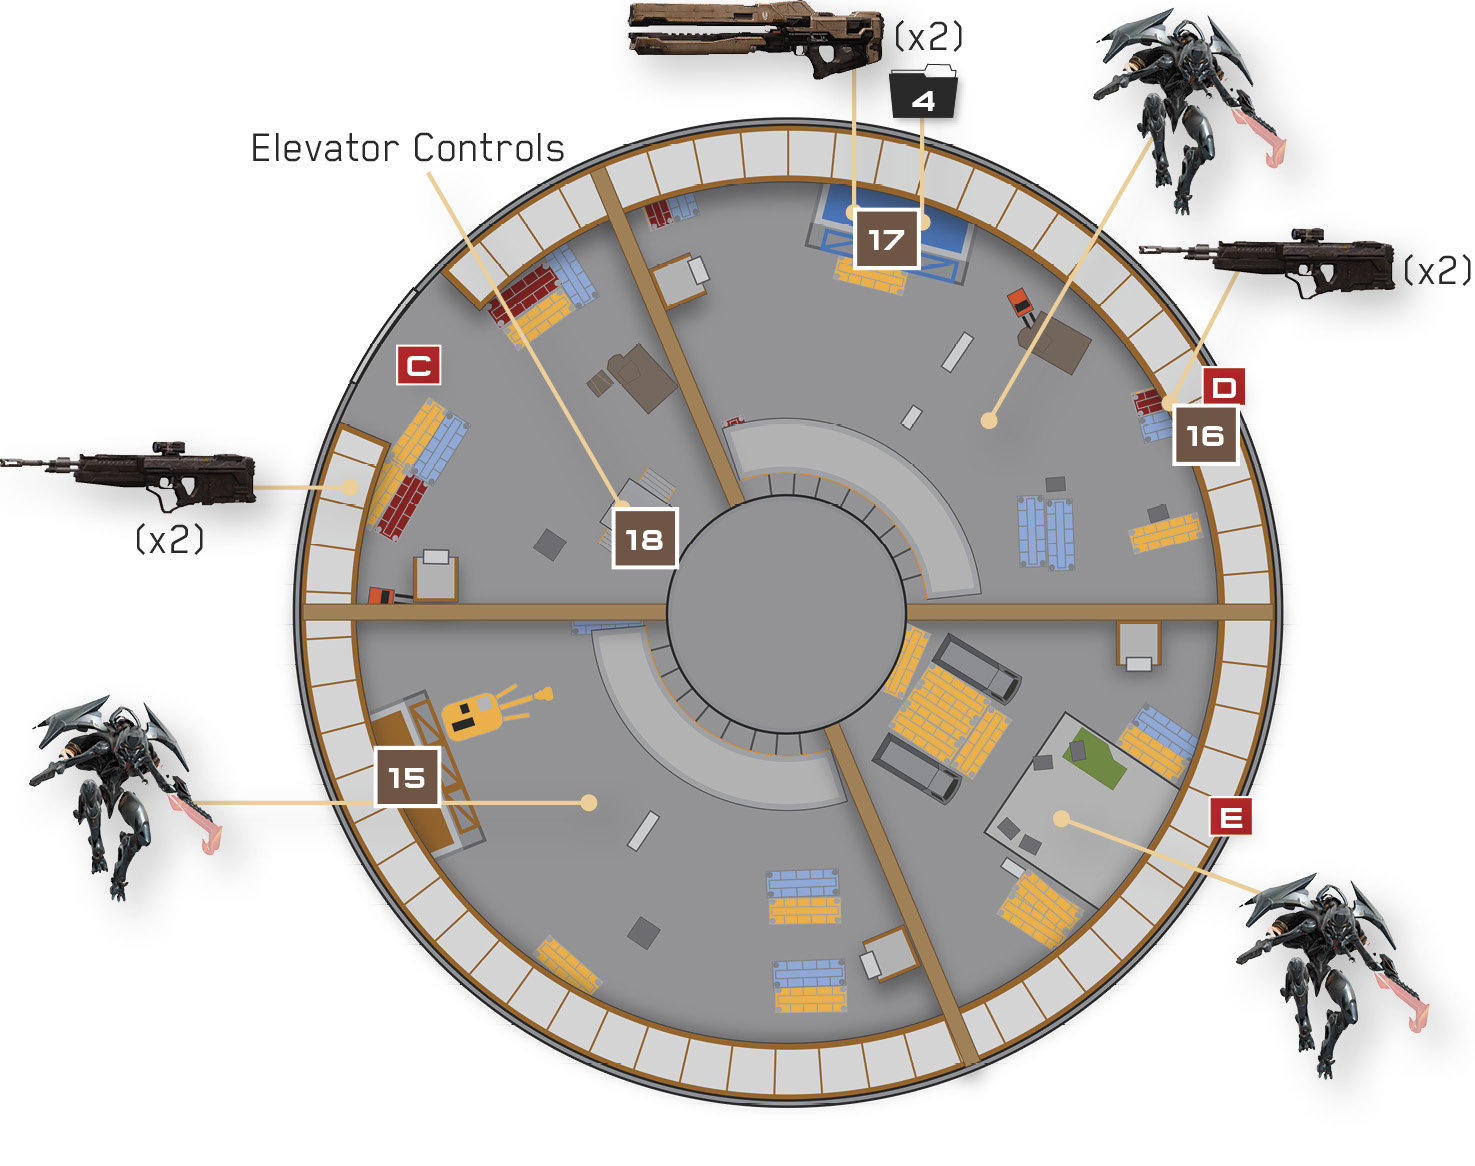
Osiris’s escape from Meridian is far from over, for the Space Elevator is packed with Prometheans. It’s a long, violent ride to the top, with three mighty Knights to face at the end of the ride. Fortunately, the platform is quite spacious, and also filled with powerful weapons.
Recommended Loadout
A Suppressor and practically any other weapon will suffice at first, but you’ll want to pick up powerful, long-range weaponry before the Knights arrive. The Railguns in the shuttered passenger station 17 are fantastic options to use against the Knights, and there are several DMRs on the elevated walkway that encircles the Space Elevator.
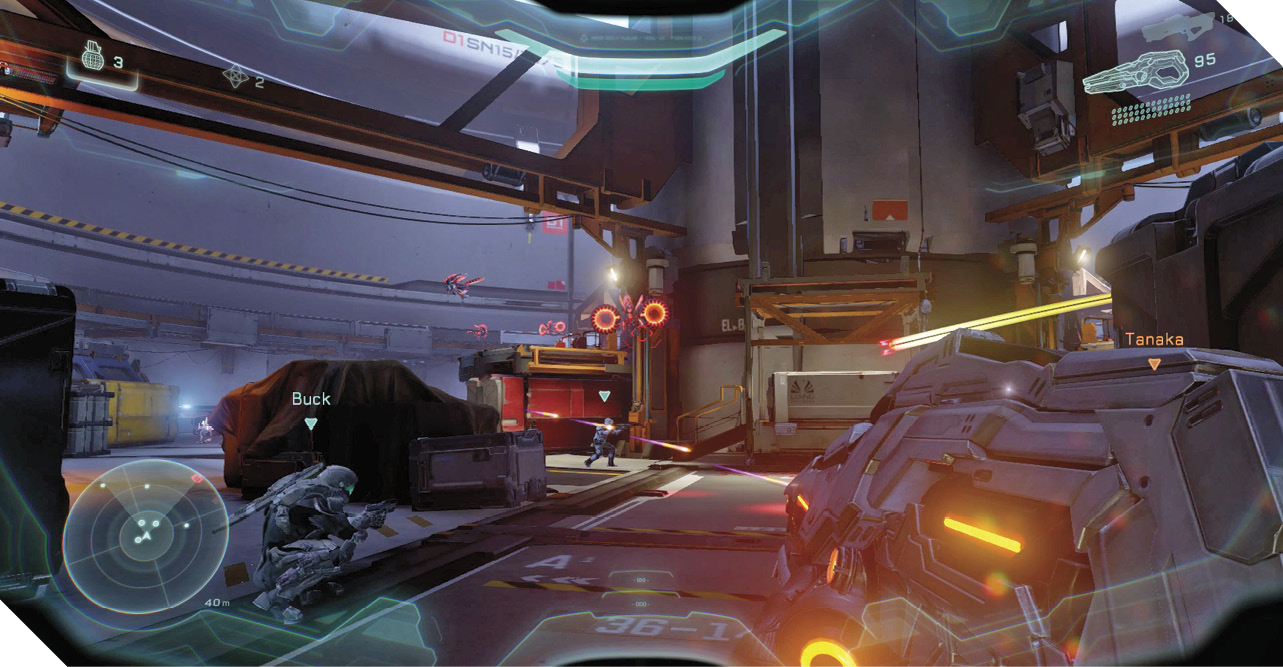
You need to secure the Space Elevator before you begin your trip up to the stars. Unleash your Suppressor on the hovering Watchers first, then turn it loose on the Soldiers and Crawlers. Stay mobile and stick close to cover, popping out to unload on nearby threats. Try to collect more Suppressor ammo dropped by fallen foes, and if the weapon runs dry, check the nearby passenger car on the right 15 to find some Battle Rifles and an Assault Rifle.
Take a moment to explore the platform after securing it. Climb onto the high outer walkway and run around to discover two cases of DMRs. Drop from the DMRs at 16, then go right to reach a shuttered passenger car 17. Perform a Spartan Charge to smash your way inside and discover a pair of Railguns. Leave these excellent weapons be for now but remember their location. Inspect the data pad on the chair for new intel before you leave.
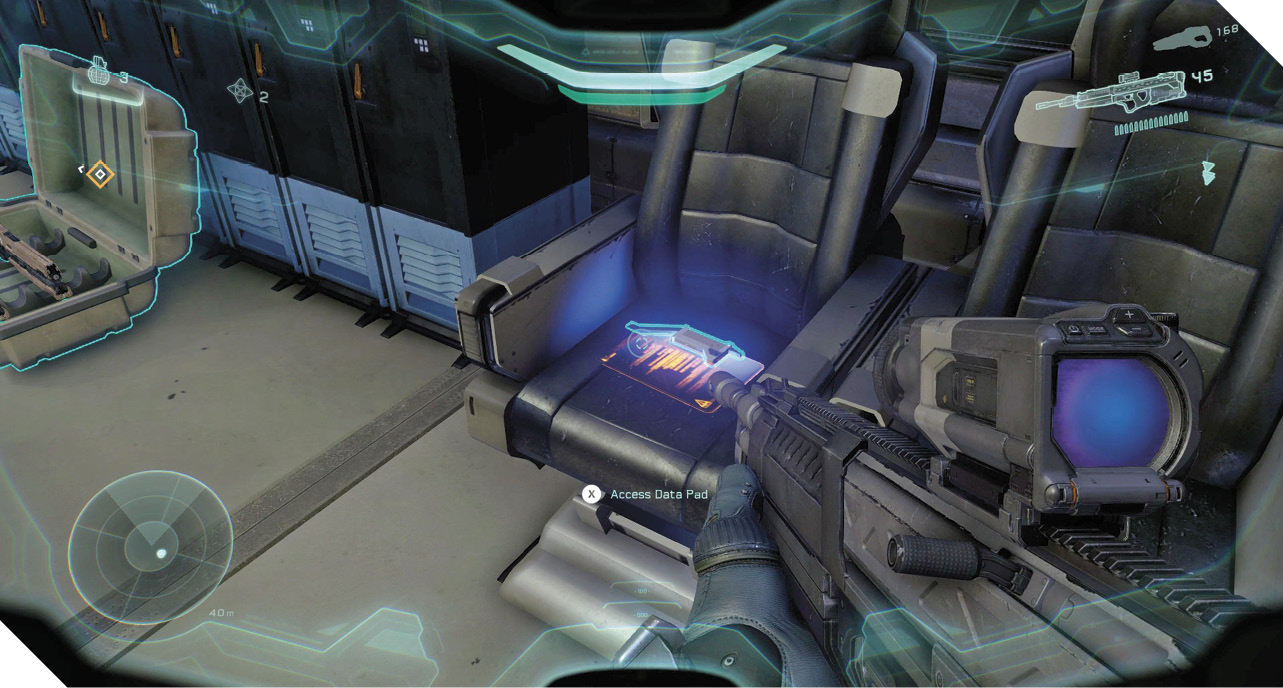
Mission 6 Intel Acquired (4/6) |
Once you’re armed to the teeth and ready to advance, use Artemis to locate a control station 18. Activate the controls to start the elevator in motion, then immediately move to the platform’s outer edge. Promethean forces are inbound, so seek a defensible position while you ascend. The elevated outer walkway is a sound option, as are the sheltered passenger cars (particularly the one that features the Battle Rifles and Assault Rifle 15).
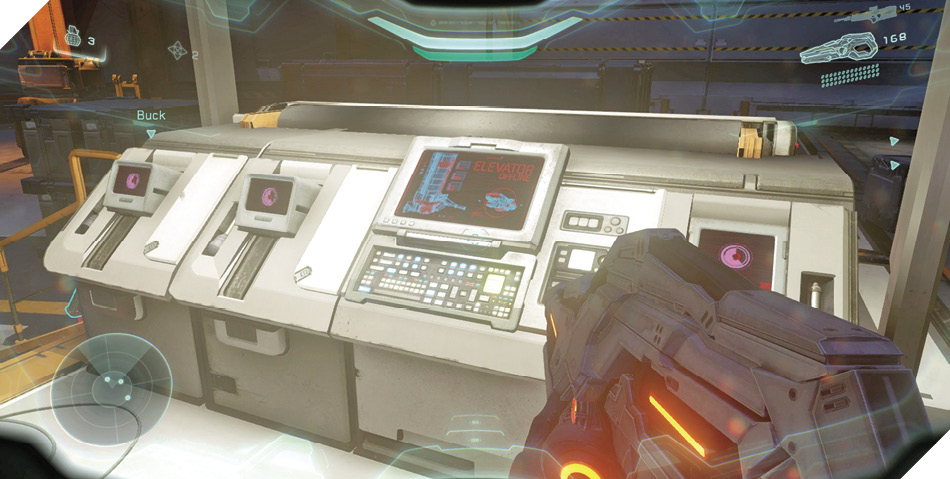
It’s not long before the platform comes to a halt—lockdown reinitiates when more Promethean forces spawn in. There are no Watchers this time, only Soldiers and Crawlers; continue to put them down with Suppressor and Battle Rifle or DMR fire. Secure the platform to start it moving again, but be ready to face more Soldiers (one wields a Hydra Launcher that you can collect after the fight; two others carry Splinter Turrets) and Crawlers when the platform grinds to a halt for a second time.
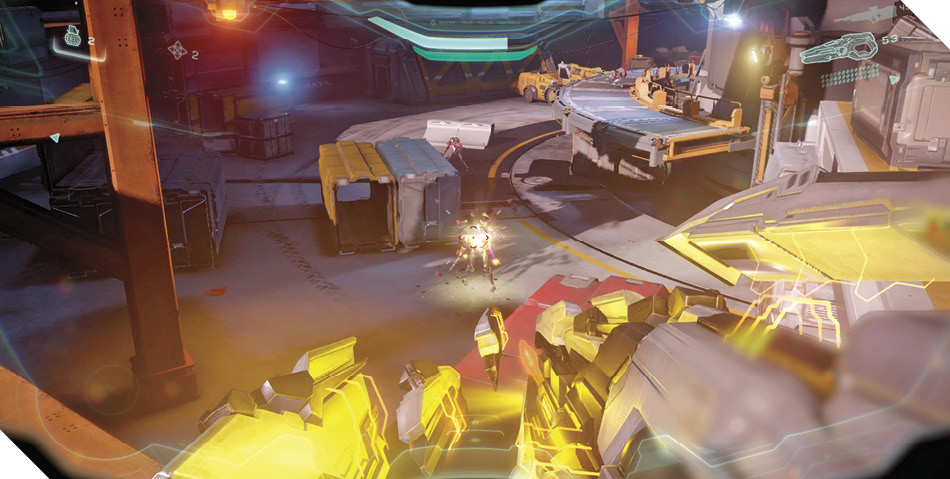
Legendary StrategyLingering on the elevated outer walkway is unwise during Legendary play. Although it’s a fantastic vantage on easier difficulty levels, you’re far too exposed up there on Legendary. Seek shelter in the passenger car that features the Battle Rifles and Assault Rifle 15. This is a fairly simple position to defend, and you’ve got plenty of extra ammo at your disposal. Duck out and grab more DMR and Suppressor ammo each time the platform starts moving again. |
When the elevator starts moving for a third time, you intercept a transmission from Evelyn Collins, a frightened Meridian civilian. This is your cue to grab a Railgun from the passenger car that you smashed into earlier 17. Remain in the passenger car in preparation for battle with a trio of Knights.
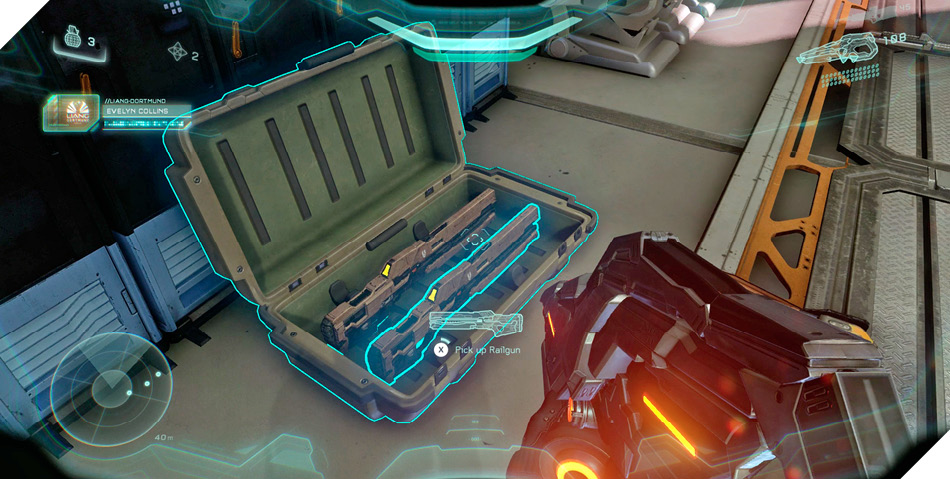
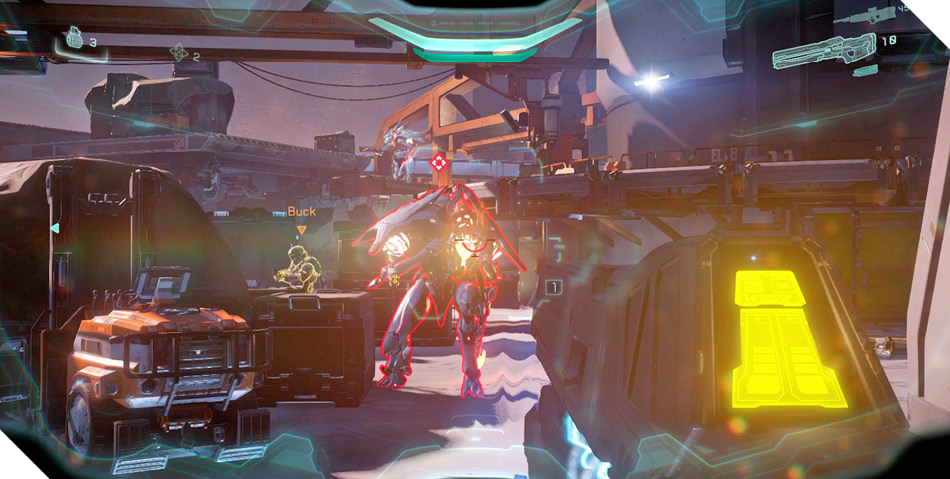
Battling three Knights at once is madness, so focus on bringing one of them down as quickly as possible. The Railgun must charge for a moment before it fires, so order your team to attack your targeted Knight and draw its fire away. You have 12 shots with the Railgun, which is enough to defeat all three Knights if your aim is true. Any Knights left standing when you run out of ammo should be crippled and easy prey for smaller arms.
The elevator starts up again once the Knights are no more. The ride doesn’t last long, however, because the entire platform suddenly falls apart. An emergency brake prevents you from plummeting all the way back down to Meridian, but you’re still a good distance from Osiris’s Pelican. Use Artemis to locate a pair of exit doors along the elevated walkway, and restock your Suppressor ammo before advancing.
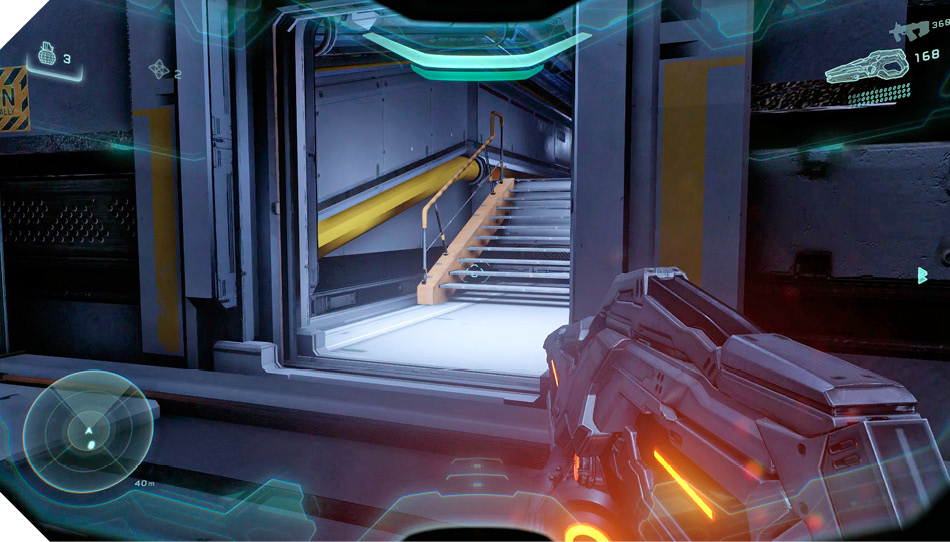
Objective: Climb to the Top
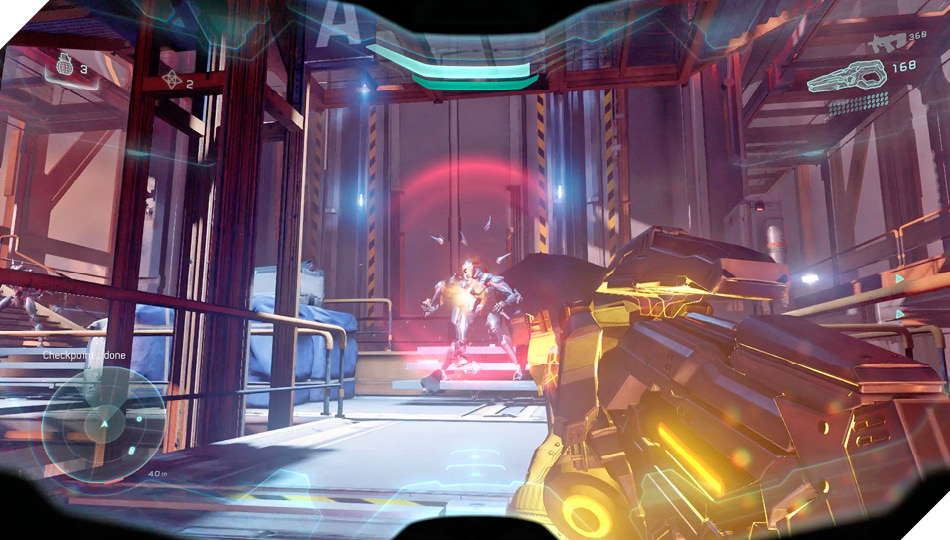
The Space Elevator brought you most of the way, but you’ve still got some climbing to do before you reach the Pelican. This final climb is extremely hazardous due to a trio of pesky Phaetons that fire at you from seemingly all directions. Cover is scarce, and there isn’t much you can do about the Phaetons at first, so just hurry upward, cutting down Soldiers that get in your way with your Scattershot or Suppressor.
After defeating the first few Soldiers near the crane 19, peer over the railing, looking down at a glowing “Liang Dortmund” sign. Engage Artemis while looking down at this sign, and you’ll detect a UNSC data pad resting near it. Carefully drop down and scan the pad for intel, then use the large covered crates to climb back up and continue your ascent.
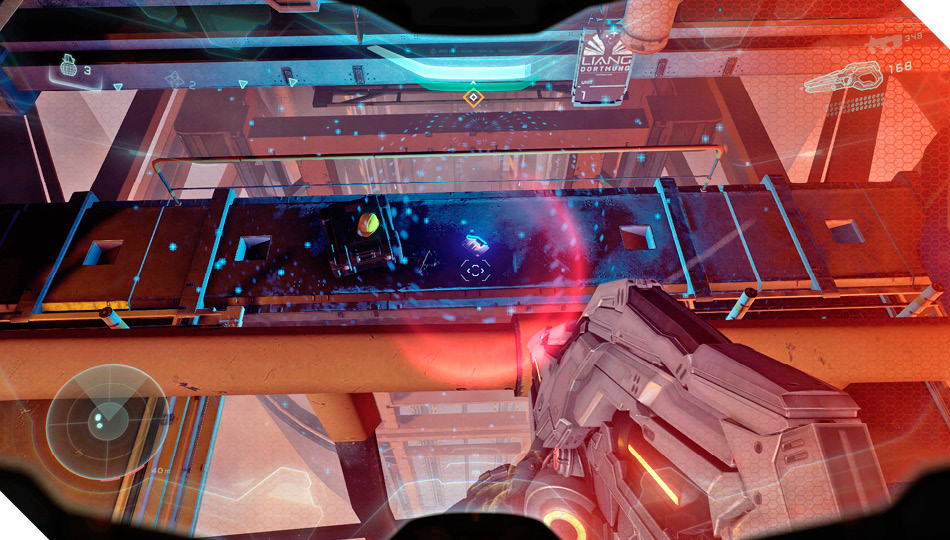
Mission 6 Intel Acquired (5/6) |
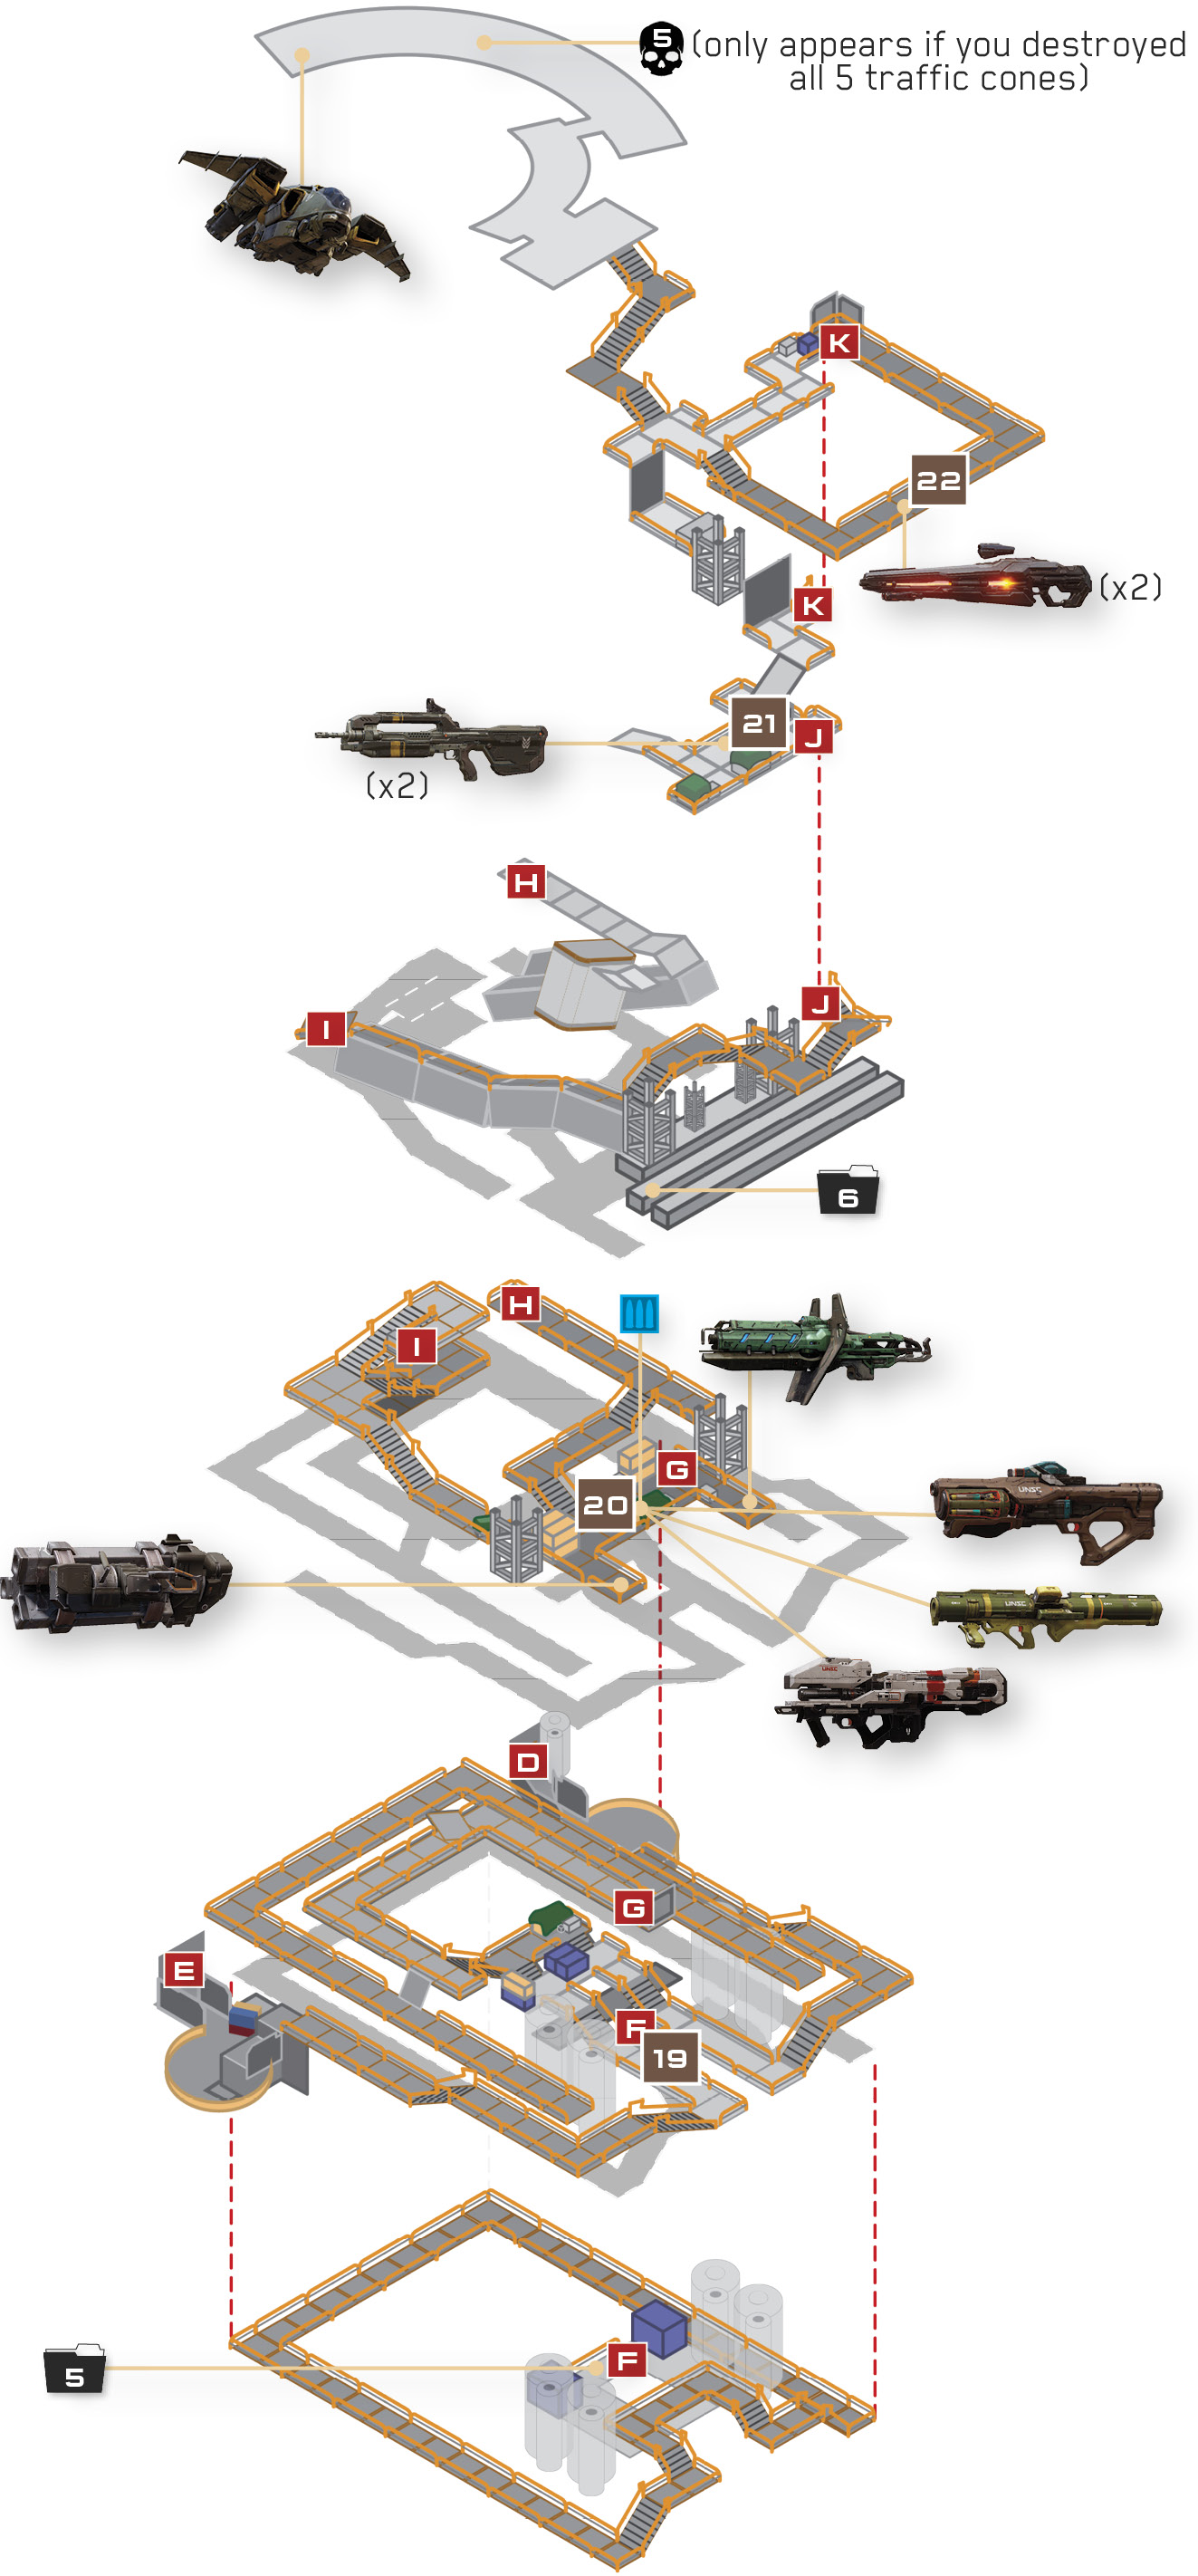
You soon come to a collection of heavy weapons stashed near some crates 20. Take cover behind the larger yellow crates on the right while you use these heavy weapons to bring down the Phaetons. The Spartan Laser can down a Phaeton in one or two hits; the Hydra and Rocket Launchers are all but guaranteed to hit once you establish a lock; and the Gauss Cannon is also effective, but its bulk limits your mobility. If there’s any ammo left for your Hydras after the Phaetons are gone, bring one with you into the next encounter.
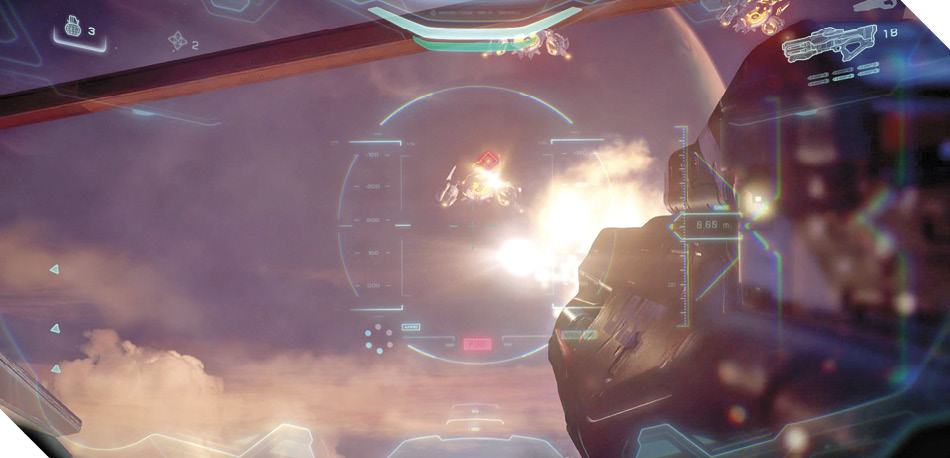
Legendary StrategyPhaetons are no fun on Legendary difficulty, as their powerful gunfire will cut you down even faster than before. To make matters worse, a few Soldiers guard the heavy weapons cache 20 and must be dealt with before you can focus on the Phaetons. Wipe out the Soldiers as quickly as you can, then work at downing the Phaetons with the heavy arms. Try to save the Hydras for later use, as they’ll come in handy during the next encounter. |
Continue your ascent after disposing of the three Phaetons. A massive shockwave emitted by the Guardian soon rocks the tower, causing scaffolding to fall all around you. Carefully make your way up the twisted metal and half-fallen walkways, moving ever upward.
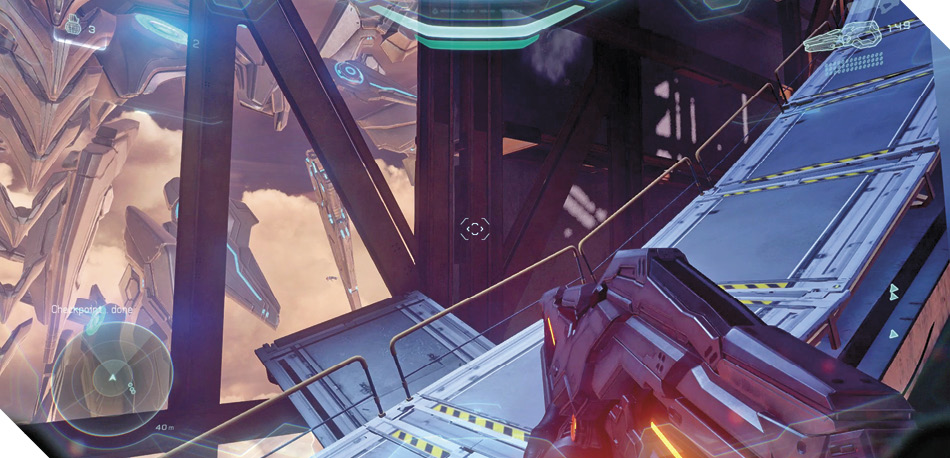
Keep your eyes peeled for a case of Battle Rifles as you climb . Grab one if you like, then descend the nearby stairs. When you reach the second landing, look ahead to spy a small glowing sign on the wall below. Carefully leap over the railing, aiming to land on the thick beam leading to the sign.
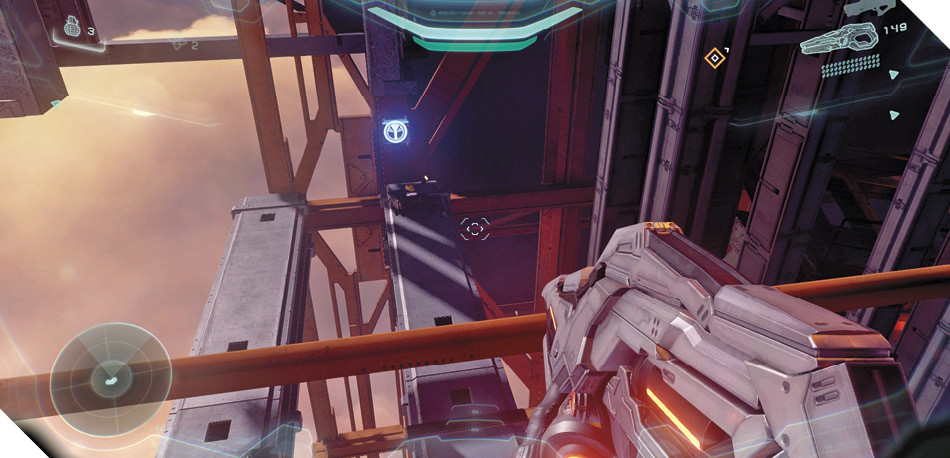
The sign isn’t important; the real find is the UNSC data pad nearby. Scan it to unlock the mission’s final piece of intel, then carefully make your way back up to the Battle Rifles and continue your ascent.
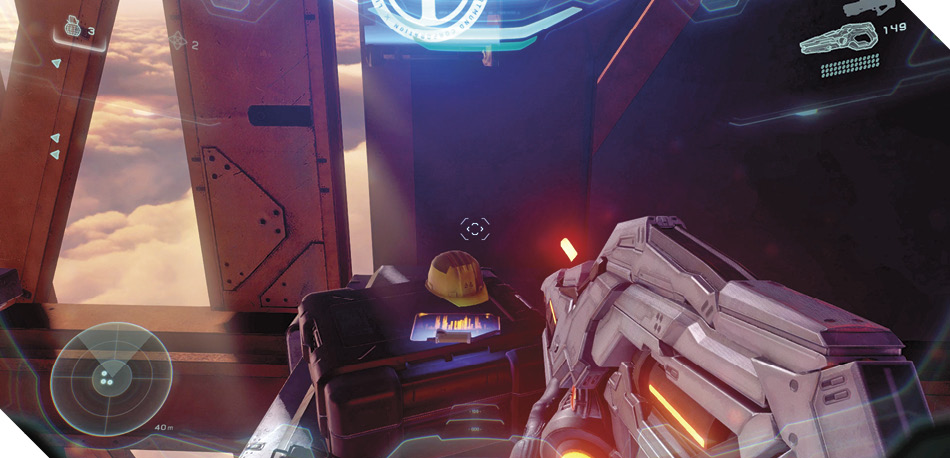
Mission 6 Intel Acquired (6/6) |
More Soldiers spawn above you as you climb, including a few Watchers. These Soldiers wield LightRifles, making them quite dangerous. Reach a walkway that’s opposite from the Soldiers 22 and you’ll have a fair chance at fighting back. The walkway features two LightRifles that will help you pick off the Soldiers across the way. (The previous Hydra Launchers and Battle Rifles are also quite useful.) As always, target the Watchers first to prevent them from healing and shielding the Soldiers.
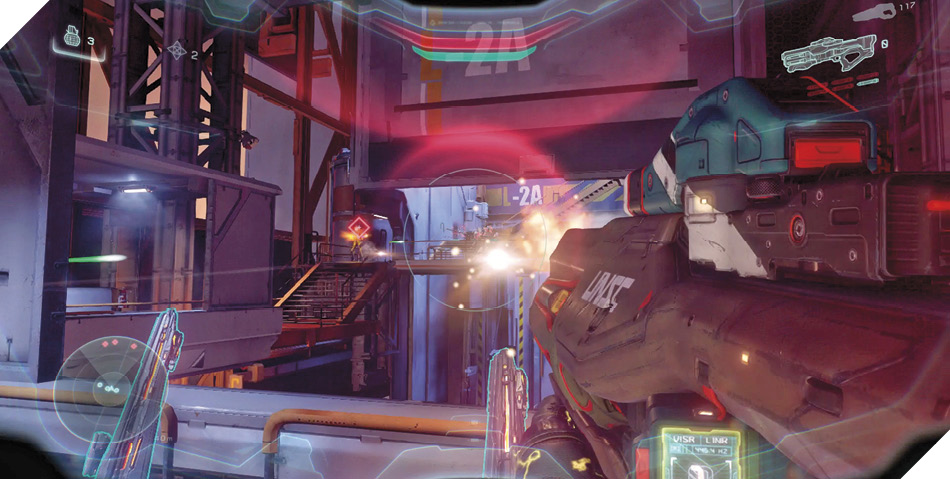
Continue your ascent after defeating the Soldiers, scaling a final staircase to at last reach the Space Elevator’s landing pad. Shockwaves emitted by the Guardian knock you for a loop several times during your dash toward the Pelican, but don’t stop sprinting or you risk being killed. Hurry to the Pelican and make good your daring escape from Meridian.