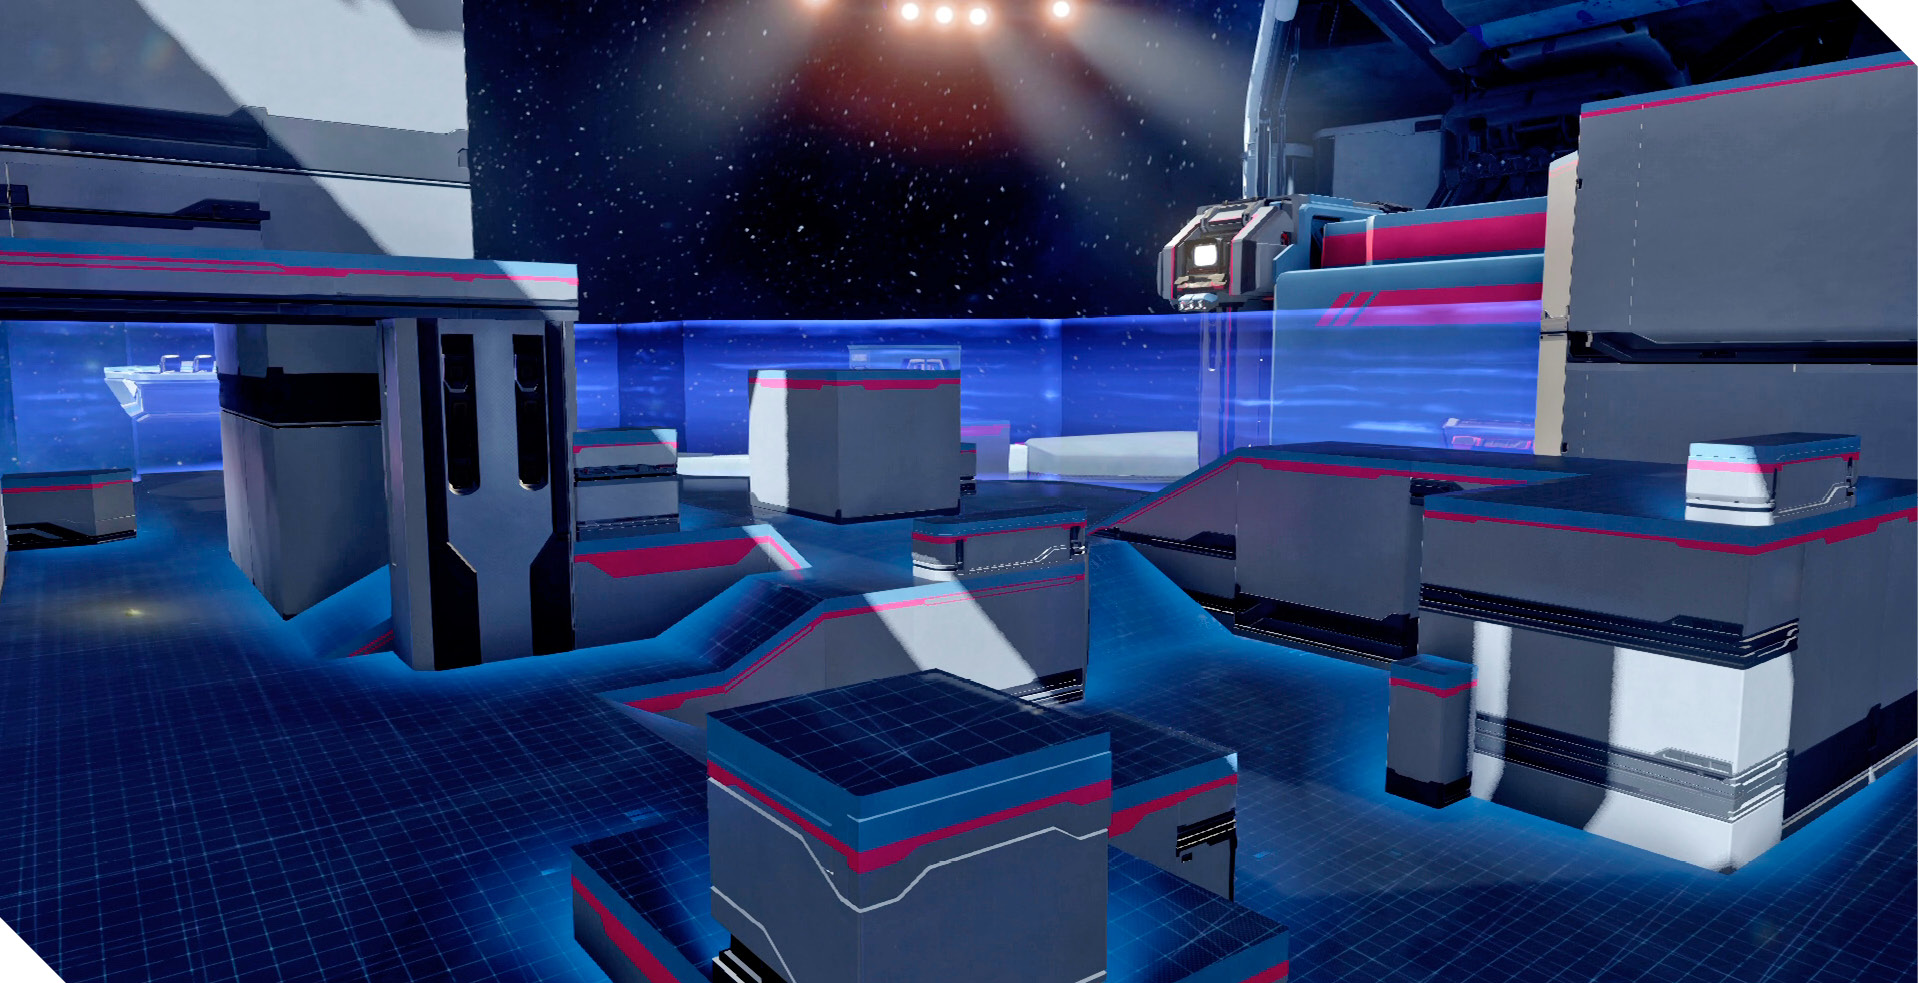
Trench
Description: Simulated combat environments such as this test the teamwork and tactics of newly inducted Spartans before deployment.
Game Modes: Breakout
Trench is one of the smaller Breakout maps, providing plenty of cover and sneaky flanking opportunities. This map can be played defensively or aggressively—use the cover to hold back and engage at long range, or sneak around the map to outmaneuver your opponents.
Featured Weapons and Power-Ups
| Item | Name | Location | Respawn Time |
|---|---|---|---|
|
|
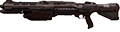
Shotgun | Trench | 0:10 |
Starting Moves
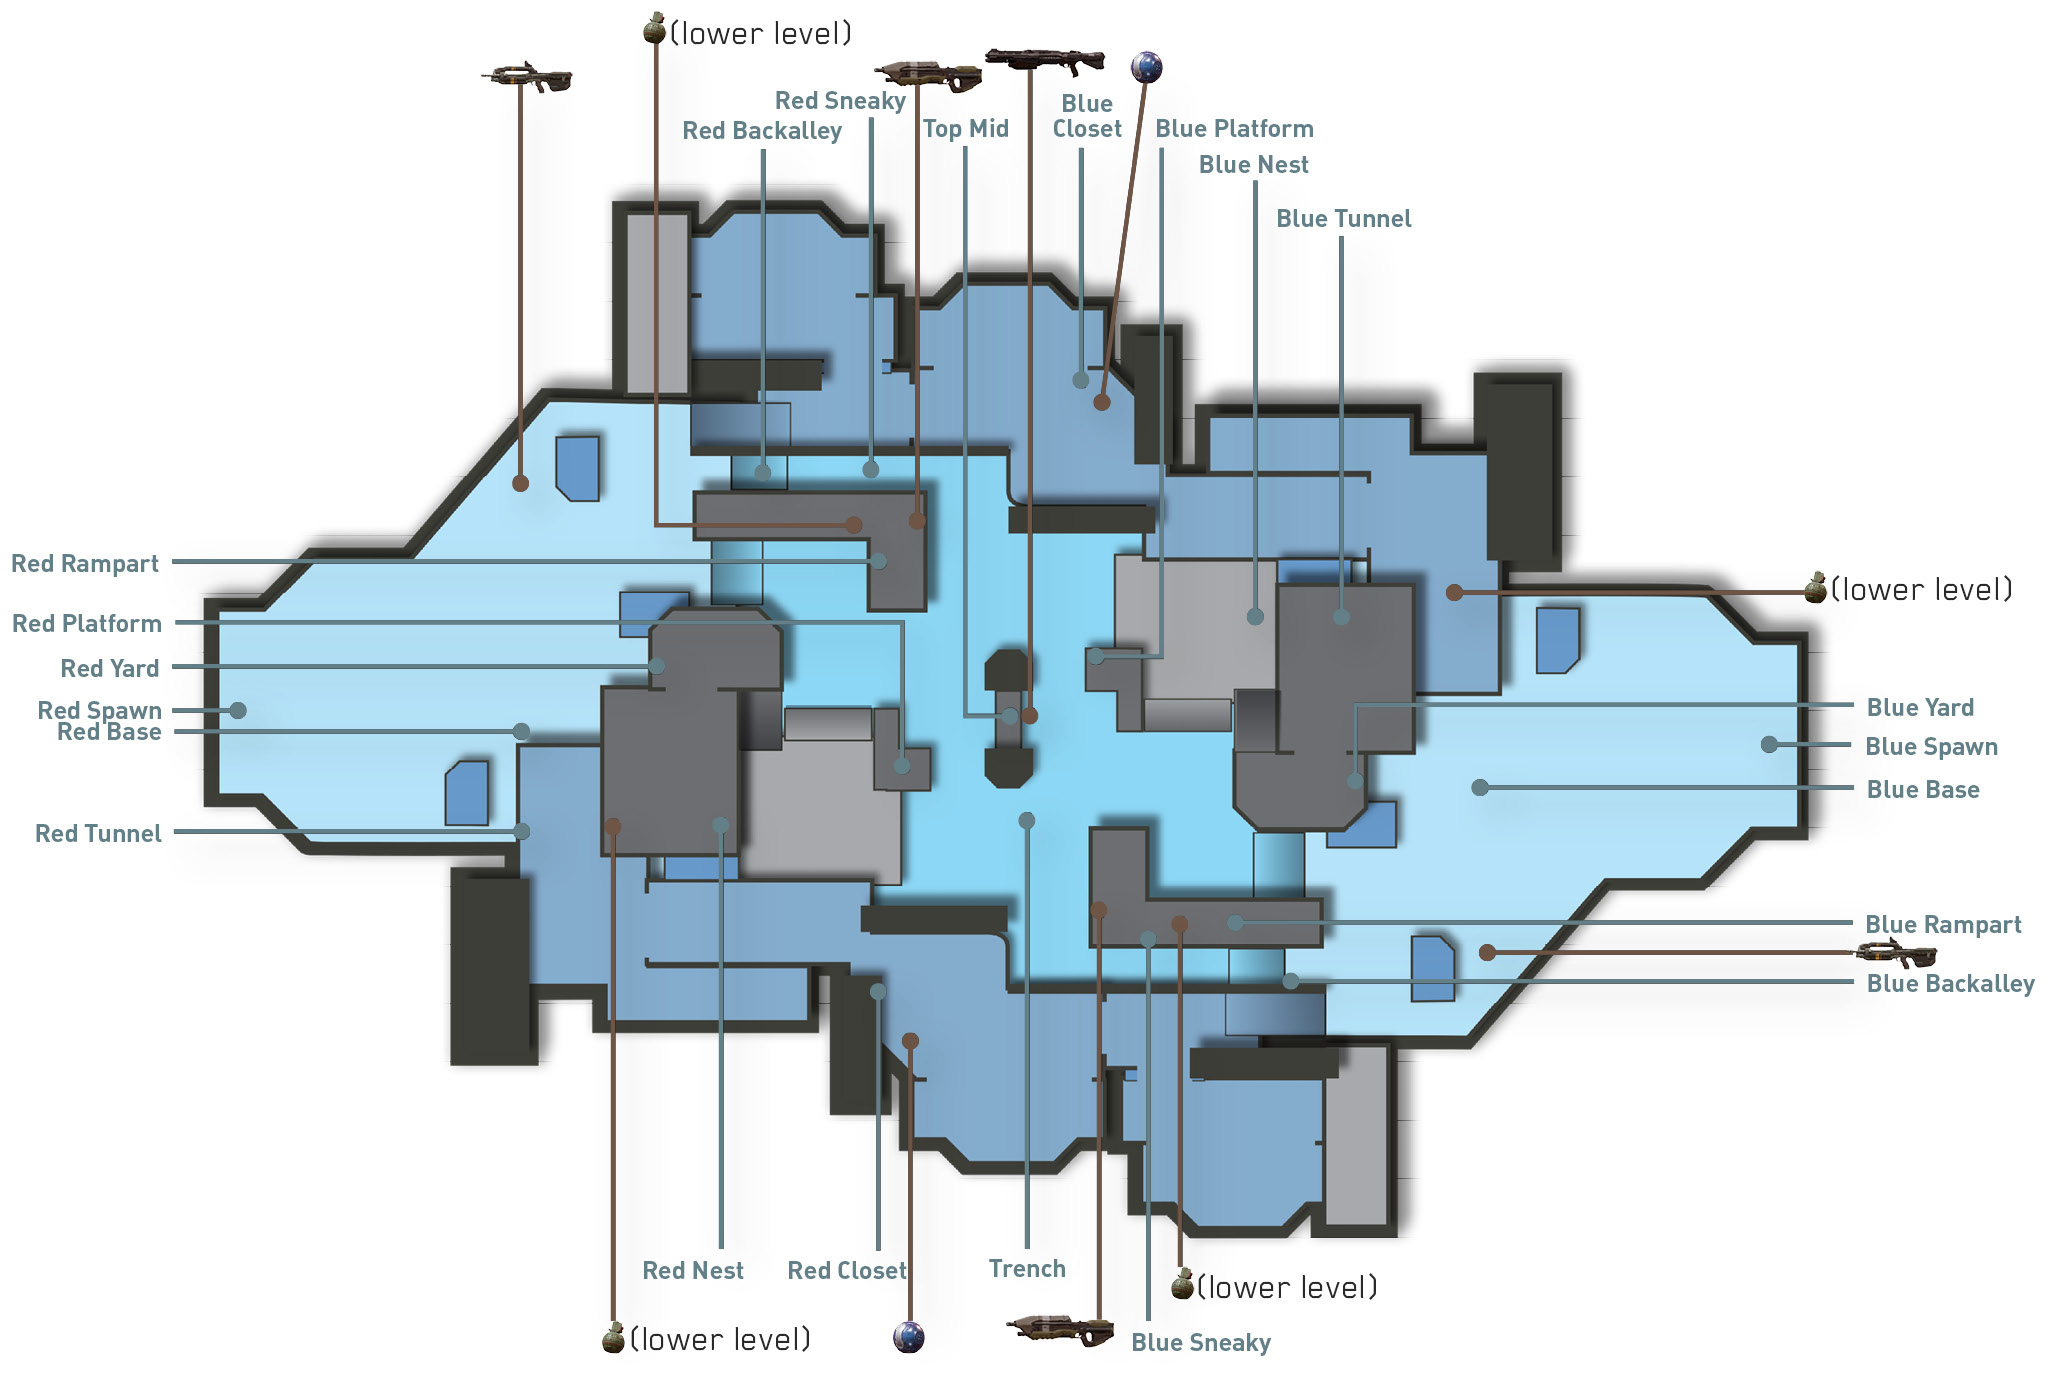
- At the start of the round, rush to the left side of your team’s Yard to grab the Battle Rifle. With the Battle Rifle in hand, inch up the Red/Blue Rampart’s ramp but don’t extend too far. Hang back on the ramp of the Rampart while scanning the far side of the map—make an effort to pick off the opponent who picked up the Battle Rifle on the other side.
- While a teammate provides cover fire with the Battle Rifle, push along the right side through your team’s Tunnel and Closet in an attempt to flank the opposing team’s Rampart. Here you can put fire on the opposing team’s Battle Rifle player, helping shut down their long-range game.
Tactics
The Shotgun, located in the Trench just below Top Mid, acts like bait, drawing players toward it. Don’t fall for this trap. Instead, hold back and pick off opponents rushing toward the Shotgun. If your team gains an advantage, grab the Shotgun and use it to help hunt down the opposing team’s remaining survivors.
Don’t swap out the SMG for another weapon. The weapon’s high rate of fire and large magazine capacity are essential when maneuvering through the cramped confines of the Tunnel, Closet, and Back Alley areas on the perimeter of the map.
Don’t be afraid to play aggressively on this map, particularly during the opening moments. While the other team finds their positions, sprint forward through the Trench toward the opposing team’s Rampart. If you jump, stabilize, thrust, then clamber, you can reach the top of the Rampart and surprise any player using this structure for cover.
If you’re the last player alive on your team, fall back toward your team’s base and go on defense, taking cover behind one of the blocks by the Red Yard. Instead of peeking out and exposing yourself to the map’s center, wait for opponents to come into view, then ambush them. Once the enemy pushes into your team’s base, they won’t have any cover, leaving them vulnerable.
There are narrow ledges along the perimeter of the map that can be accessed from the Platforms, Ramparts, and Nests. Jump, thrust, and clamber to take advantage of these high perches. However, these ledges are completely exposed. Still, these vantage points can come in handy during the final moments of a round when you’re hunting down the surviving opponents.