
Halo 5: Guardians Guide Campaign Walkthrough Mission 1: Osiris
Fireteam Osiris
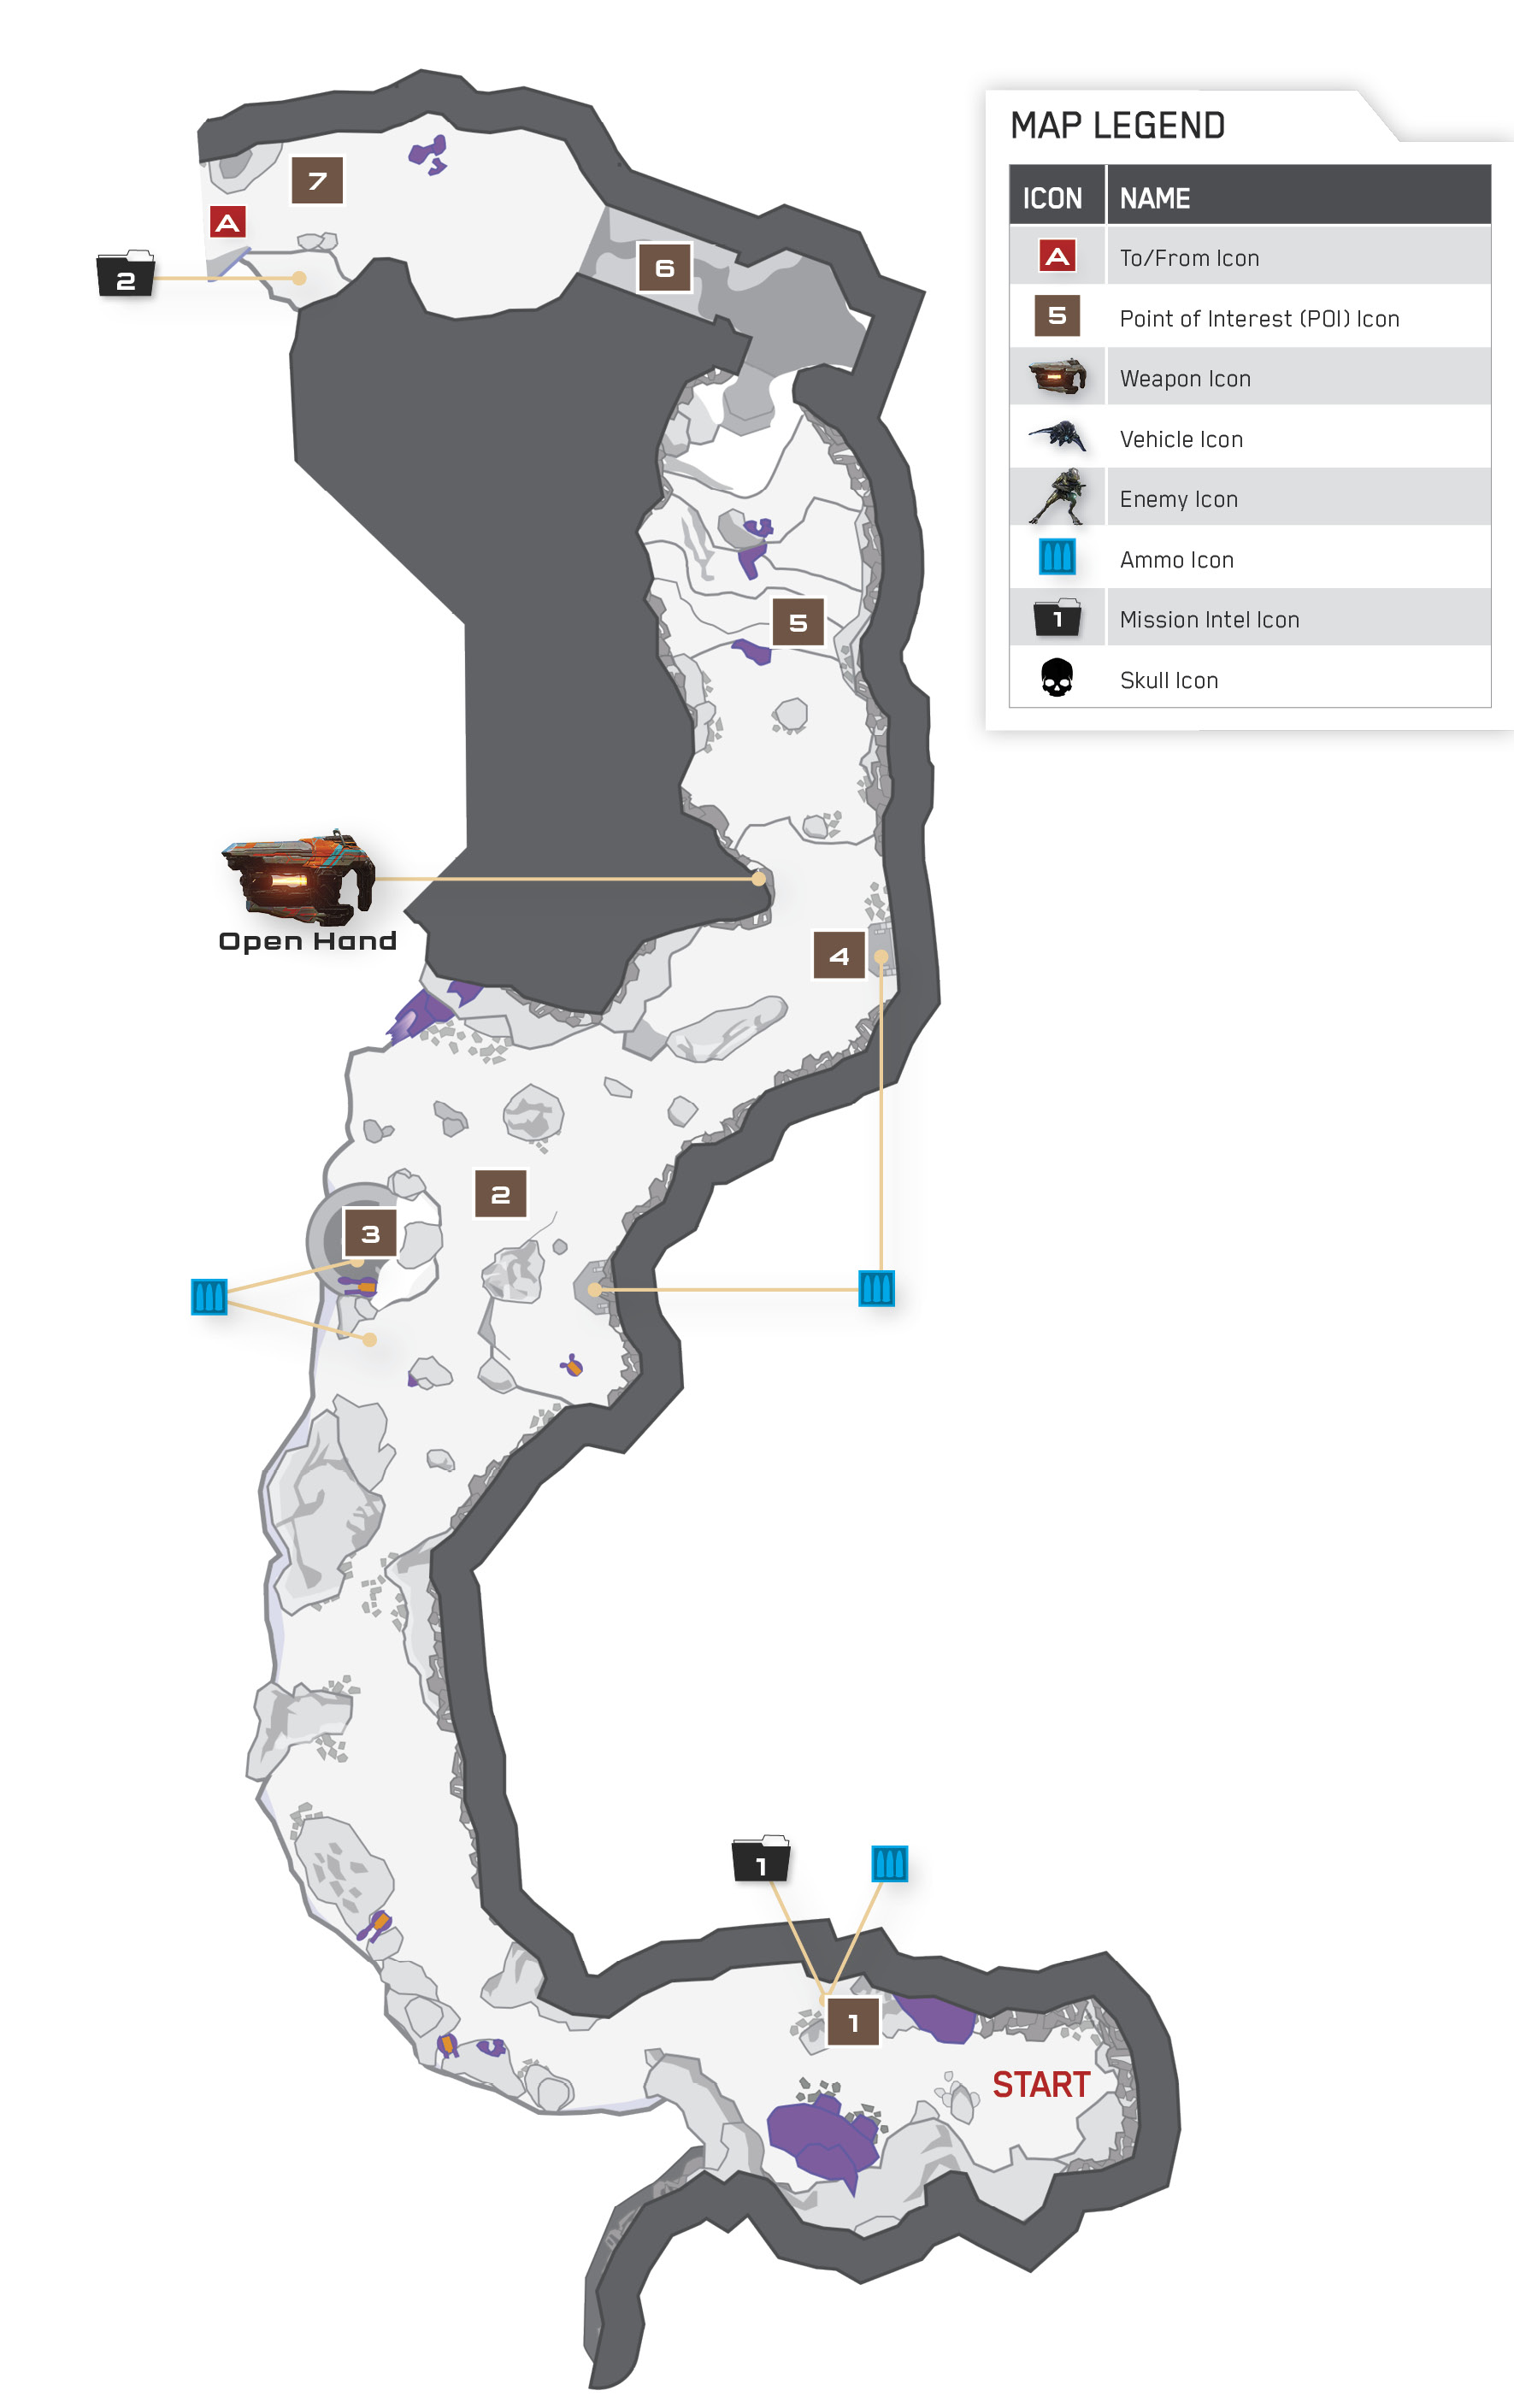
Objective: Retrieve Dr. Halsey
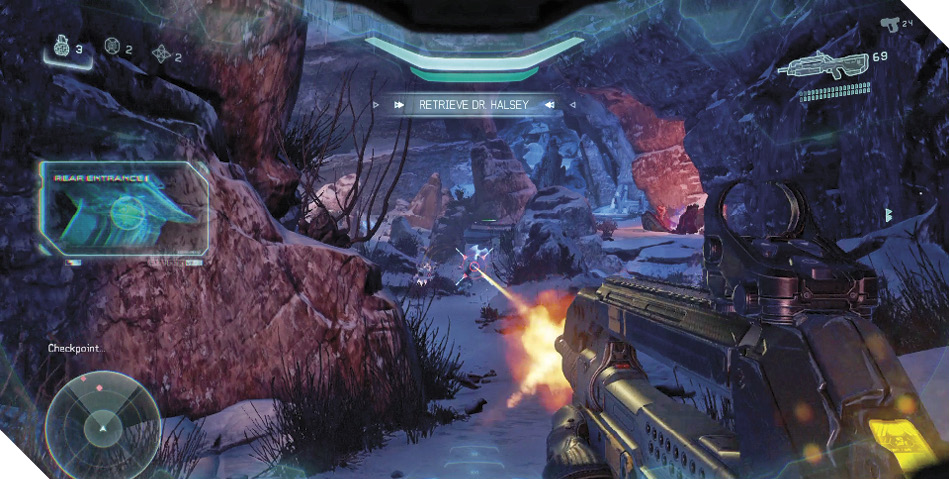
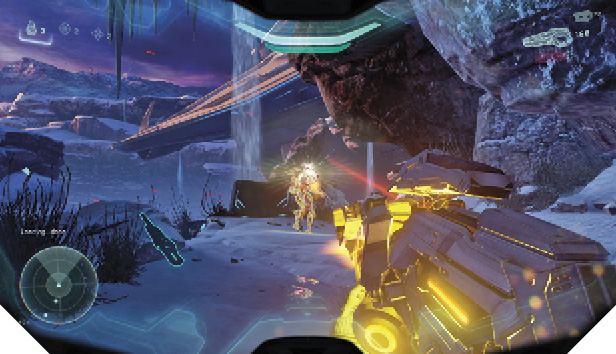
Things kick off with a bang when you touch down on Kamchatka. The Covenant and Prometheans are locked in furious combat—the very setting in which Fireteam Osiris thrives. Shoot or melee the dying Elite in front of you to end its suffering before advancing through the Covenant carnage ahead.
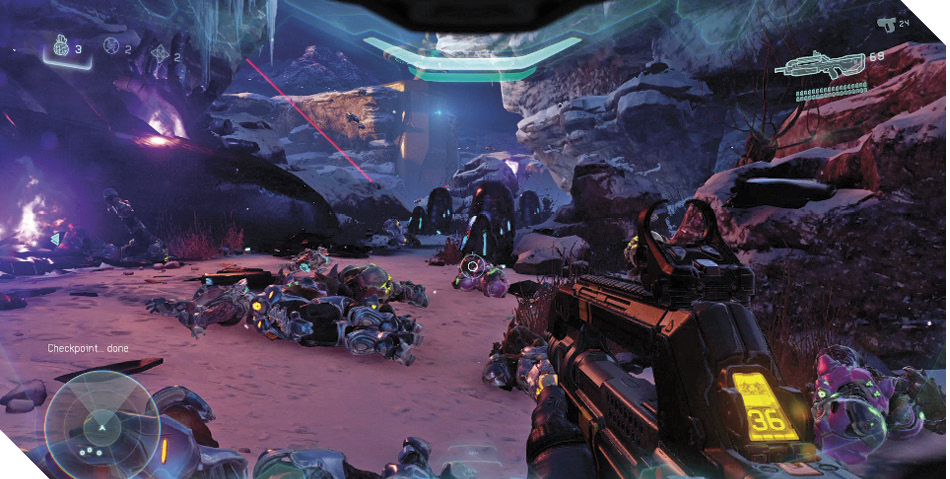
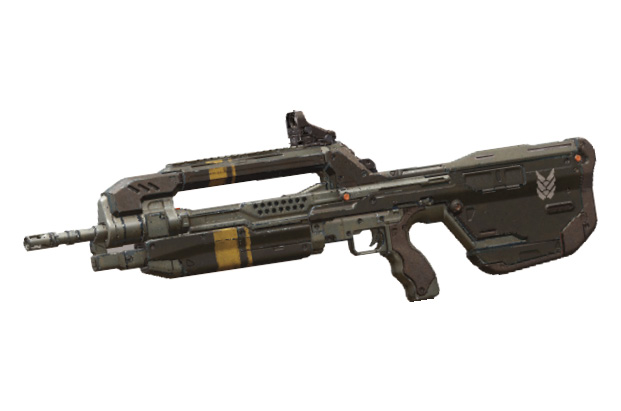
Battle RifleSpartan Locke begins this mission with a powerful Battle Rifle. Designed for optimum effectiveness at most any range, the Battle Rifle is an excellent weapon to employ in both medium- and long-range firefights. Its three-shot burst fire mechanic pumps plenty of lead into threats with each pull of the trigger, but this also means that the Battle Rifle’s magazine can quickly run dry if you’re not careful. |
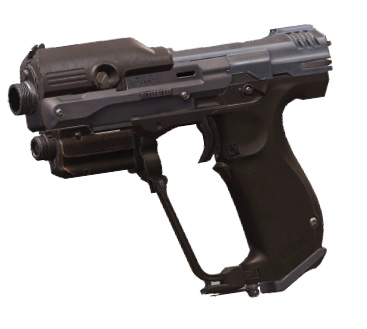
MagnumLocke has also brought a trusty sidearm into this mission. Magnums may be small, but they’re incredibly accurate and pack a decent punch. Magnums are great for scoring headshots against unprotected enemies, such as Grunts, Jackals, and Crawlers. Zoom in with the Smart-Link button and aim for the kill! |
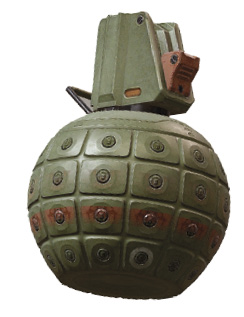
Frag GrenadeLastly, Locke also carries three UNSC Frag Grenades. These powerful explosives can be thrown quite far and detonate shortly after striking the ground (or anything else), obliterating anything nearby. Frag Grenades will bounce off of walls and other objects, allowing them to be thrown creatively at foes hiding behind cover. Their fuse is short and their blast radius is large, making them ideal for wiping out groups of foes. |
As you trudge through the carnage, press the Tracking button to engage Locke’s Artemis system and scan the area. You’ll detect a curious glowing object off to the right 1 , which turns out to be a Covenant data pad. Get close and hold the Action button to scan the data pad, and you’ll unlock a new piece of Mission Intel—one of seven entries that you can find in this mission. If you like, you can also trade one (or both) of Locke’s starting weapons for the Storm Rifle and/or Plasma Pistol found on the nearby Covenant supply crate.
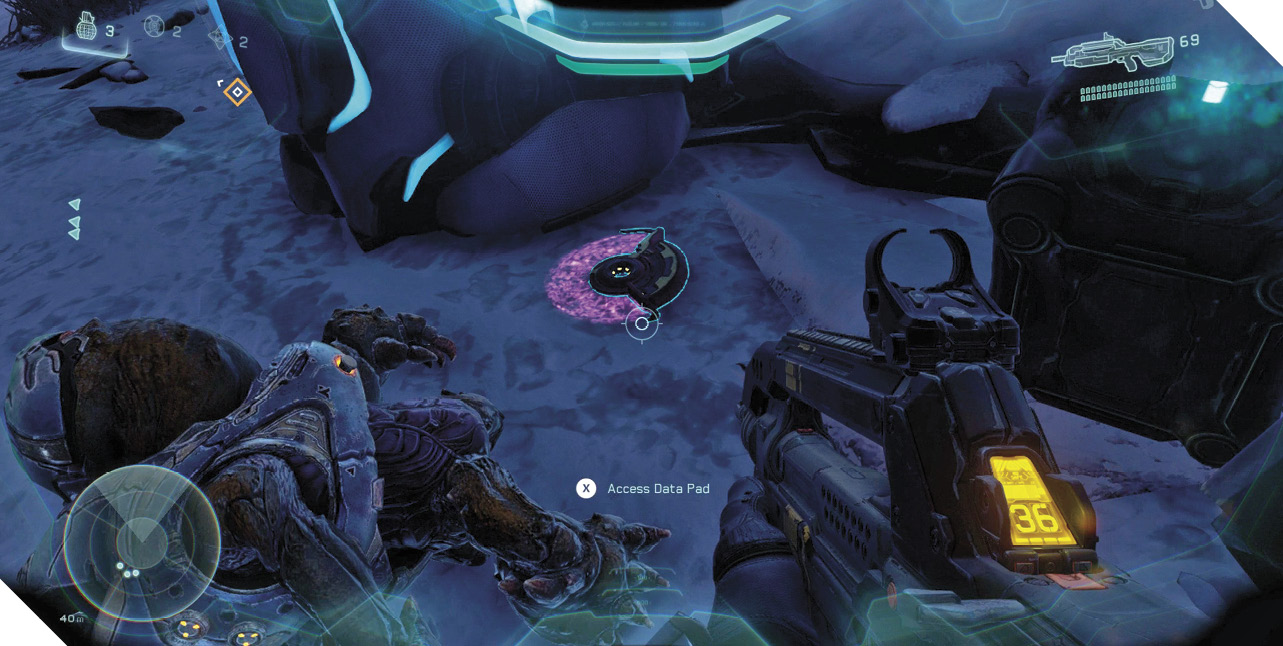
Mission 1 intel Acquired (1 /7) |
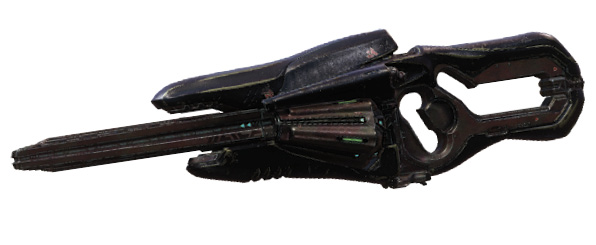
Storm RifleA favorite among Elites, Storm Rifles are powerful, fully automatic energy weapons designed to quickly strip a Spartan’s shields. Although their accuracy falls off over longer distances, few weapons can match the Storm Rifle’s ability to rapidly deplete shields at close and medium range. Storm Rifles never need to be reloaded, but their high rate of fire causes them to swiftly overheat if unleashed at full auto for more than a few seconds. Shoot in short, controlled bursts to ensure your Storm Rifles never overheat. |
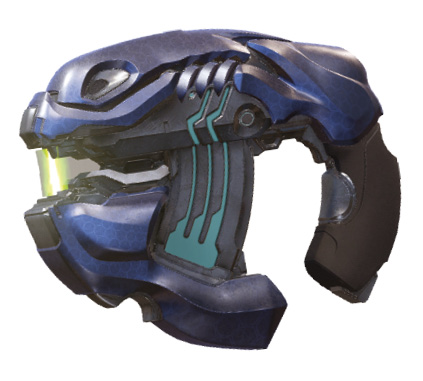
Plasma PistolPlasma Pistols are carried by many Covenant forces—and often dropped by them during their death throes. Though small and unassuming, Plasma Pistols are excellent at stripping energy shields and can be fired about as quickly as a Storm Rifle if you’re quick at pulling the trigger. Hold the trigger to charge up a powerful EMP (electromagnetic pulse) blast that can briefly disable vehicles or knock out an Elite’s shields in a single shot! This charged shot is the Plasma Pistol’s true strength, but unleashing it consumes significant energy. |
It isn’t long before you encounter enemy resistance 2. Covenant Grunts and Jackals, led by a formidable Elite, are locked in battle against a swarm of Promethean Crawlers. Eliminate all threats with the help of your team. Toss grenades at enemy groups, and aim for headshots with the Battle Rifle or Magnum to ensure quick, clean kills. Take cover to recharge your shields as needed, but don’t relent until the area is secure.
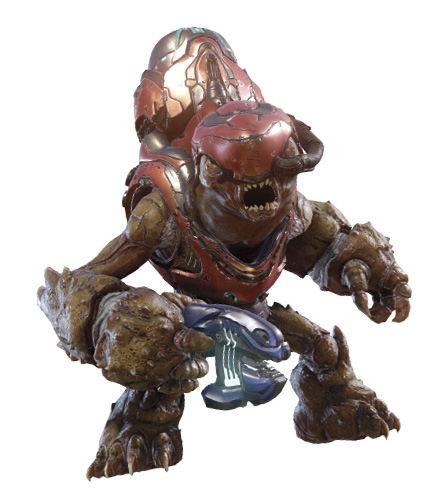
GruntThe bulk of the Covenant’s ground forces, Grunts form the frontline of many battles. Though weak and easily frightened, Grunts gain strength and confidence in numbers. They’re further bolstered by the presence of Elite leaders on the field, but Grunts will often run in terror if their Elite leader falls. Either that, or they’ll whip out two Plasma Grenades and charge you! Grunts are easy targets, so pick them off first. Headshots are best. |
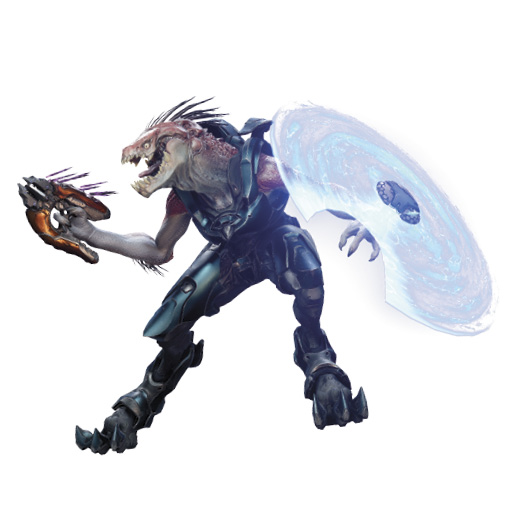
JackalIf Grunts form the bulk of Covenant’s ground troops, Jackals form the backbone. These stalwart sharpshooters never flee from a fight and often carry shields that protect them from most frontal attacks. Their shields can take quite a pounding, so try to flank Jackals, or toss a grenade to break their defensive stance. You can also shoot Jackals through the small hole in their shields’ outer edge to stagger them and expose them to further attacks. |
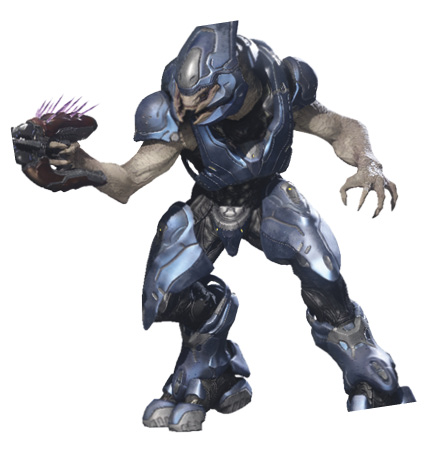
EliteElites are large, battle-hardened leaders that fearlessly command troops of Grunts and Jackals on the field. They are the only Covenant ground troops that feature regenerative shields for protection, similar to those of a Spartan. Use energy weapons, such as the Plasma Pistol or Storm Rifle, to quickly strip an Elite’s shields. They’ll regenerate before long, so immediately switch to a conventional weapon, such as a Battle Rifle or Magnum, and finish off the exposed Elite with a headshot. |
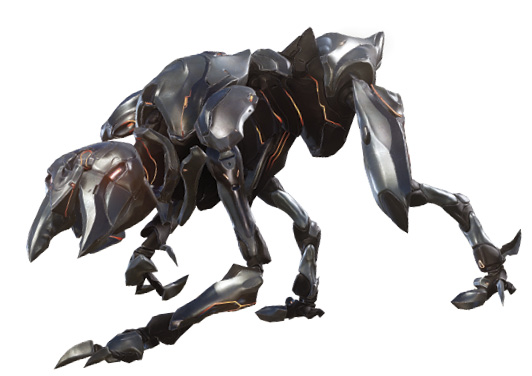
CrawlerCrawlers are construct quadrupeds that scamper across the battlefield on all fours, quickly closing on their prey. Like Grunts and Jackals, Crawlers aim to overwhelm their quarry with vast numbers and attacks from all sides. When not attacking up close, Crawlers commonly fire Boltshots and Suppressors from afar. Aim for the head to bring Crawlers to a halt. |
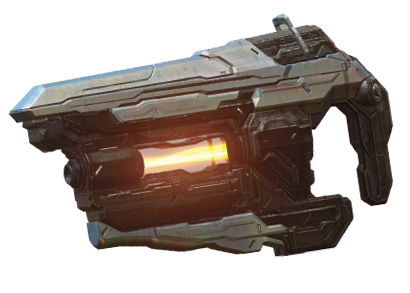
BoltshotMany Promethean troops wield a small, semi-auto sidearm called a Boltshot. This weapon fires bolts of energized particles quickly and accurately, making it effective at short- to midrange combat. Like the Battle Rifle, the Boltshot fires in bursts of three, allowing for maximum impact per trigger pull. Its particles have a limited tracking ability, helping them zero in on more distant and evasive targets. The Boltshot is designed to pierce armor, making it effective at weakening Prometheans and exposing their susceptible cores. |
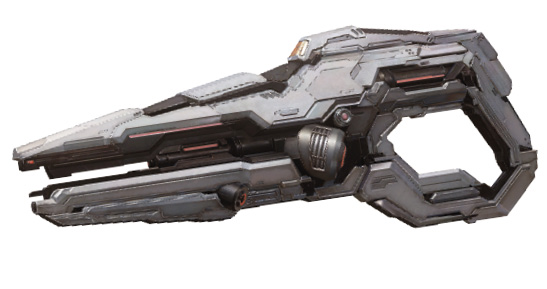
SuppressorCarried by Promethean Soldiers and Crawlers, the Suppressor is a powerful automatic weapon of great destructive capability. Its mighty light bolts quickly shred armor at close and medium range, making the Suppressor an ideal weapon for crippling constructs and revealing their vulnerable cores. As with the Boltshot, a Suppressor’s light bolts feature a limited tracking capability, curving through the air as they zip toward their prey. |
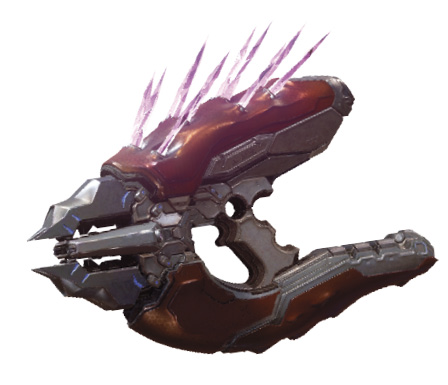
NeedlerThis fully automatic Covenant sidearm rapidly fires shards of crystals at swift velocity. The crystals track their target and embed directly (and painfully) into the victim. Should a target be stuck by several needles, a chain reaction will occur, causing the needles to detonate in a deadly explosion that’s similar in effect (and lethality) to a Plasma Grenade. This chain detonation makes the Needler very effective against tougher enemies such as Elites. |
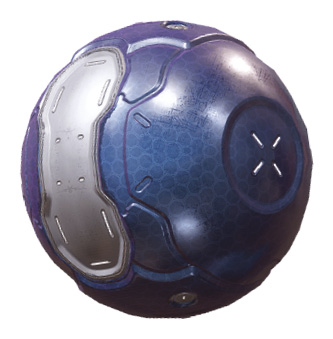
Plasma GrenadeThe Covenant’s brand of grenade is similar to the Frag Grenades employed by the UNSC. However, instead of bouncing around and quickly detonating, Plasma Grenades stick to enemies and vehicles, detonate after a brief delay, and annihilate their host. The blast radius is much smaller than the UNSC Frag Grenade, but the damage is far greater. This, coupled with the Plasma Grenade's ability to adhere, makes it one of the most devious explosives you’ll find. |
Legendary StrategyEverything’s a challenge when playing on Legendary difficulty, and this first skirmish is no exception. If it’s your first time playing on Legendary, you’ll be amazed at how quickly Locke can be shot down, even by small-arms fire. Keep close to cover and don’t emerge until your shields are fully restored. Squeeze off a few shots, then retreat to cover before you draw too much fire. Don’t advance until it’s safe to do so, and try to score headshots with the Magnum or Battle Rifle for clean, efficient kills. |
After securing the area, advance up the trail to find a Promethean weapon rack 4. Take the opportunity to grab a fully loaded Suppressor and a few Promethean Splinter Grenades. These will come in handy against the tide of constructs you’re soon to face.
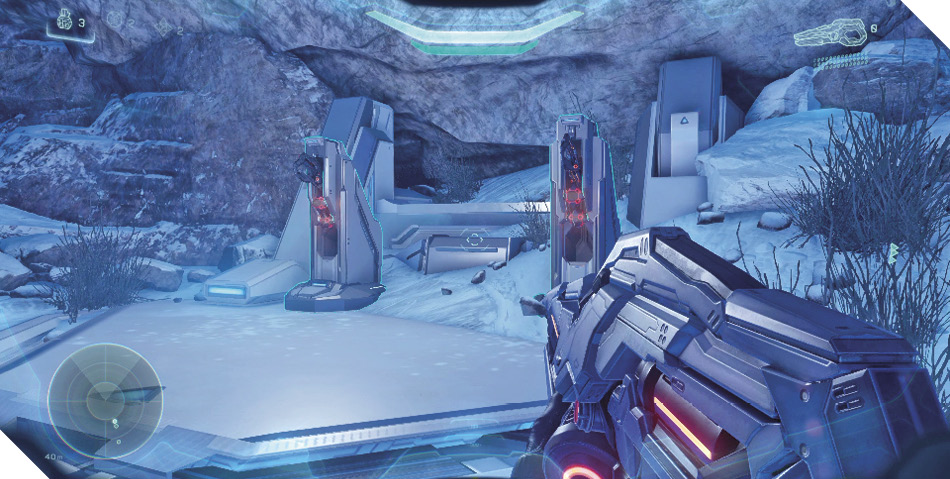
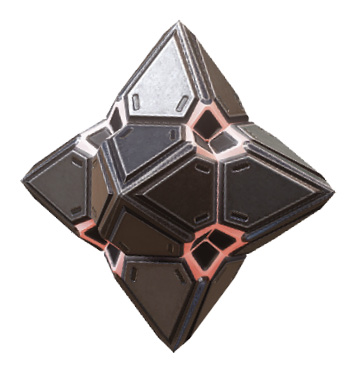
Splinter GrenadeEvery faction has its flavor of grenade, and the Prometheans are no exception. Their Splinter Grenade is cleverly designed to function as both an offensive and defensive weapon. After its initial detonation, a Splinter Grenade fragments into crackling particles that hang in midair for several seconds. Anything unfortunate enough to touch these lethal particles will likely be annihilated. This persistent “death cloud” left behind by Splinter Grenades makes them useful as defensive tools. Toss one or two at an area to impede the enemy’s advance, then turn your attention elsewhere. |
A bit farther ahead, you catch your first glimpse of the Prometheans’ latest threat: Soldiers 5. The agile combatants quickly teleport and flee up a tall cliff.
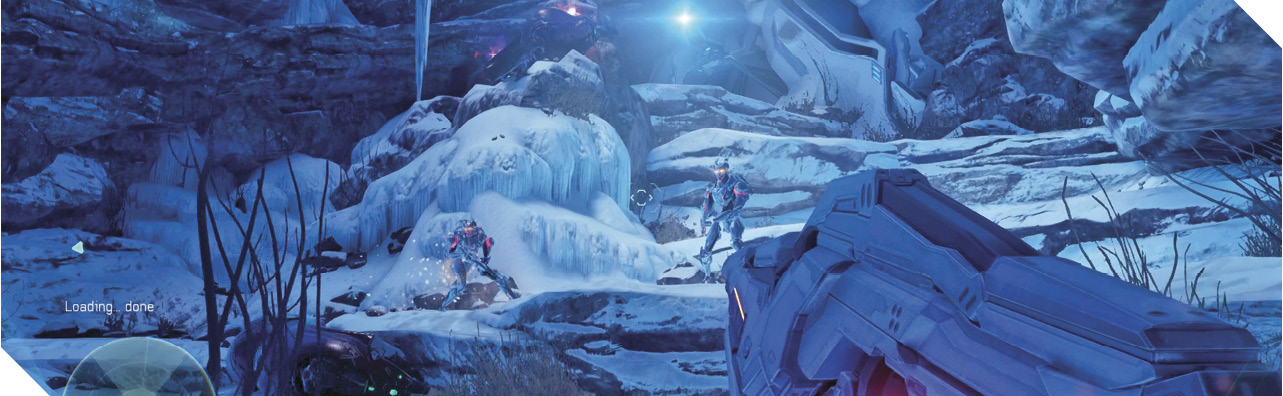
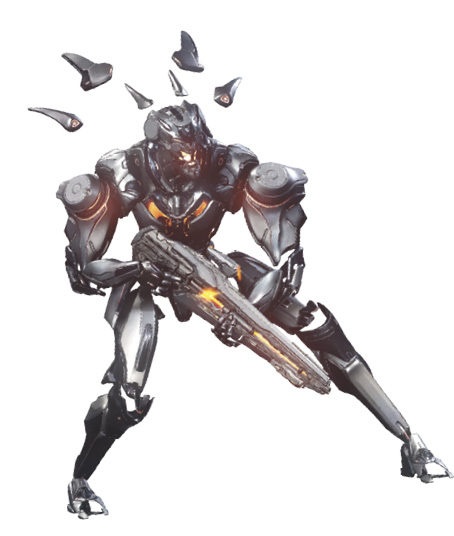
SoldierNew to the Halo universe, Promethean Soldiers are cunning, nimble construct warriors that you encounter in vast numbers throughout the Campaign. Soldiers do not utilize regenerative shields; instead, a suit of protective armor covers their vulnerable spots, which are known as cores. Blast away a Soldier’s armor to expose its cores at the head and chest—Suppressors and Boltshots work best for stripping armor. Target either of the exposed cores to quickly finish off the Soldier, but beware of their ability to teleport—they will use this to escape from a losing battle, or to quickly close in for a sudden melee strike! |
Before pursuing the Soldiers up the cliff, turn left and jump onto the large nearby snow pile near the left wall. From there, jump at the wall and press the Jump button again in midair to clamber onto its tiny lip.
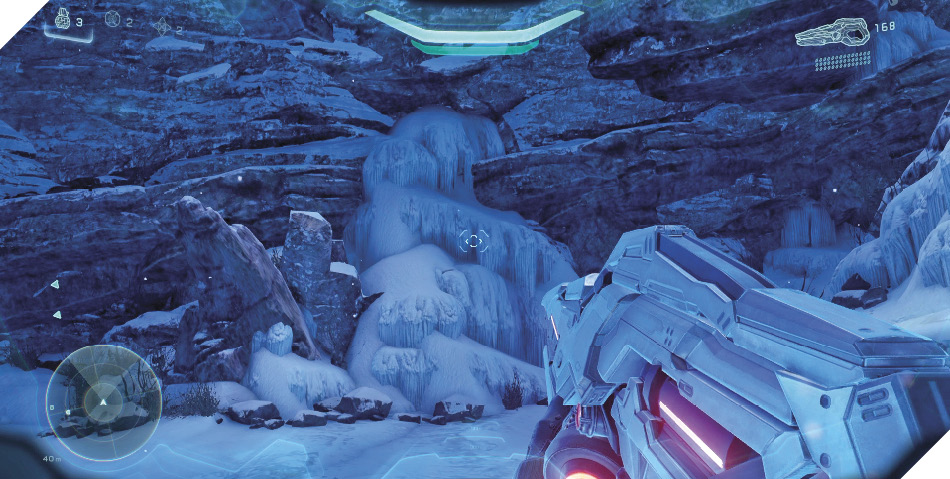
Carefully inch along the lip to reach a small, snowy ledge with a Boltshot. This is no ordinary Boltshot, however; this is Open Hand, one of two special weapons you can discover in this mission! Drop and pursue the Soldiers up the cliff afterward, jumping twice to clamber up the taller ledges.
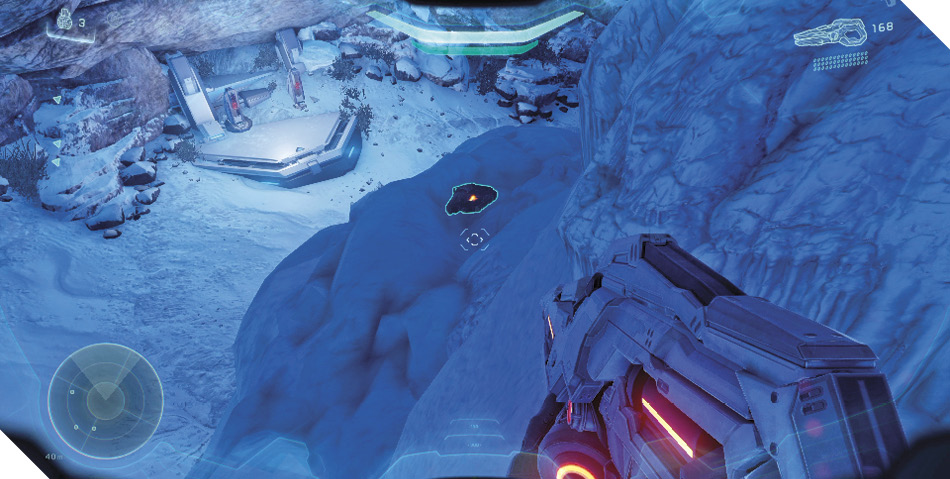

Open HandThis weapon is the right hand of Endurance-of-Will, the Didact’s loyal lieutenant. It’s an advanced Boltshot that fires a swarm of tracking bolts with each press of the trigger. |
Continue chasing the Soldiers into the tunnel that follows 6. This time, they teleport through a wall of solid ice. Raid the nearby weapon rack for more Boltshot and Suppressor ammo if you like, then begin a Spartan Charge by sprinting toward the ice wall. While sprinting, press the Melee button just before you hit the wall, and you’ll smash through the ice with a heroic Spartan Charge!
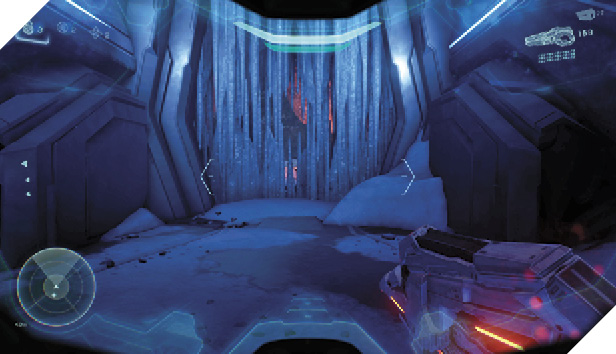
You finally catch up to one of the Soldiers after smashing through the ice wall 7. This lone wolf is easy pickings, so advance and destroy the Soldier with your Suppressor. The real battle is just ahead.
After shooting the Soldier, peer over the nearby cliff to spot a Covenant data pad and a Carbine lying on a low ledge next to a fallen Elite. Carefully drop down and scan the data pad for another piece of intel. Grab the Carbine as well, or use the Issue Orders button to give it to a teammate instead and improve their long-range firepower.
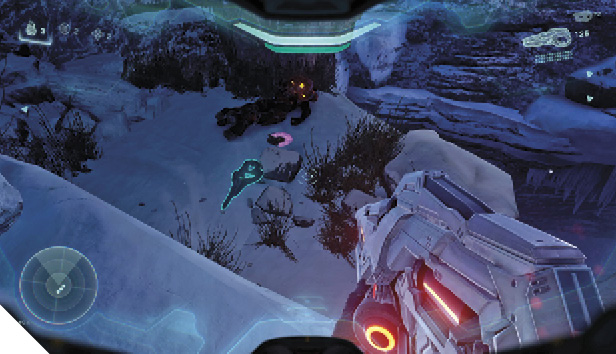
Mission 1 intel Acquired (2/7) |
Achievement: Your Team is Your WeaponUse the Issue Orders command at any point during this mission to complete this Achievement. It’s one of the easiest Achievements to earn, so be sure to get it! You can complete this Achievement by issuing your team any order, be it a movement order, an attack order, or a weapon swap. You can even earn this Achievement just by asking to be revived! |
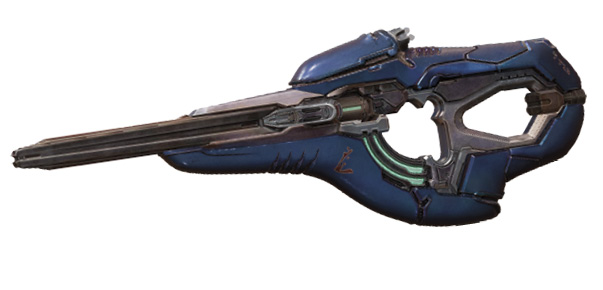
CarbineSimilar in functionality to the Promethean LightRifle, the Carbine delivers precision shots across long distances. Although not as powerful as the LightRifle, the Carbine holds more ammo and can be fired more rapidly, lending it greater value in the field of versatility. |