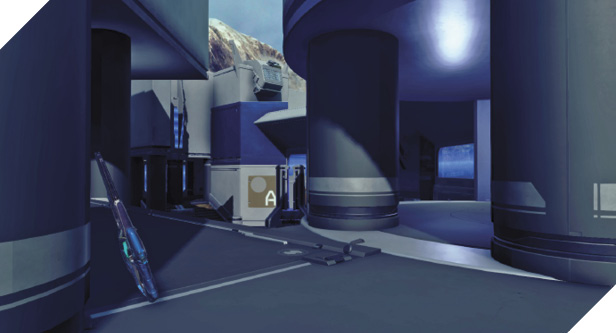
Pegasus
Description: Though this ravine appears benign, secrets best left forgotten lie just beneath the surface.
Game Modes: Slayer, Strongholds
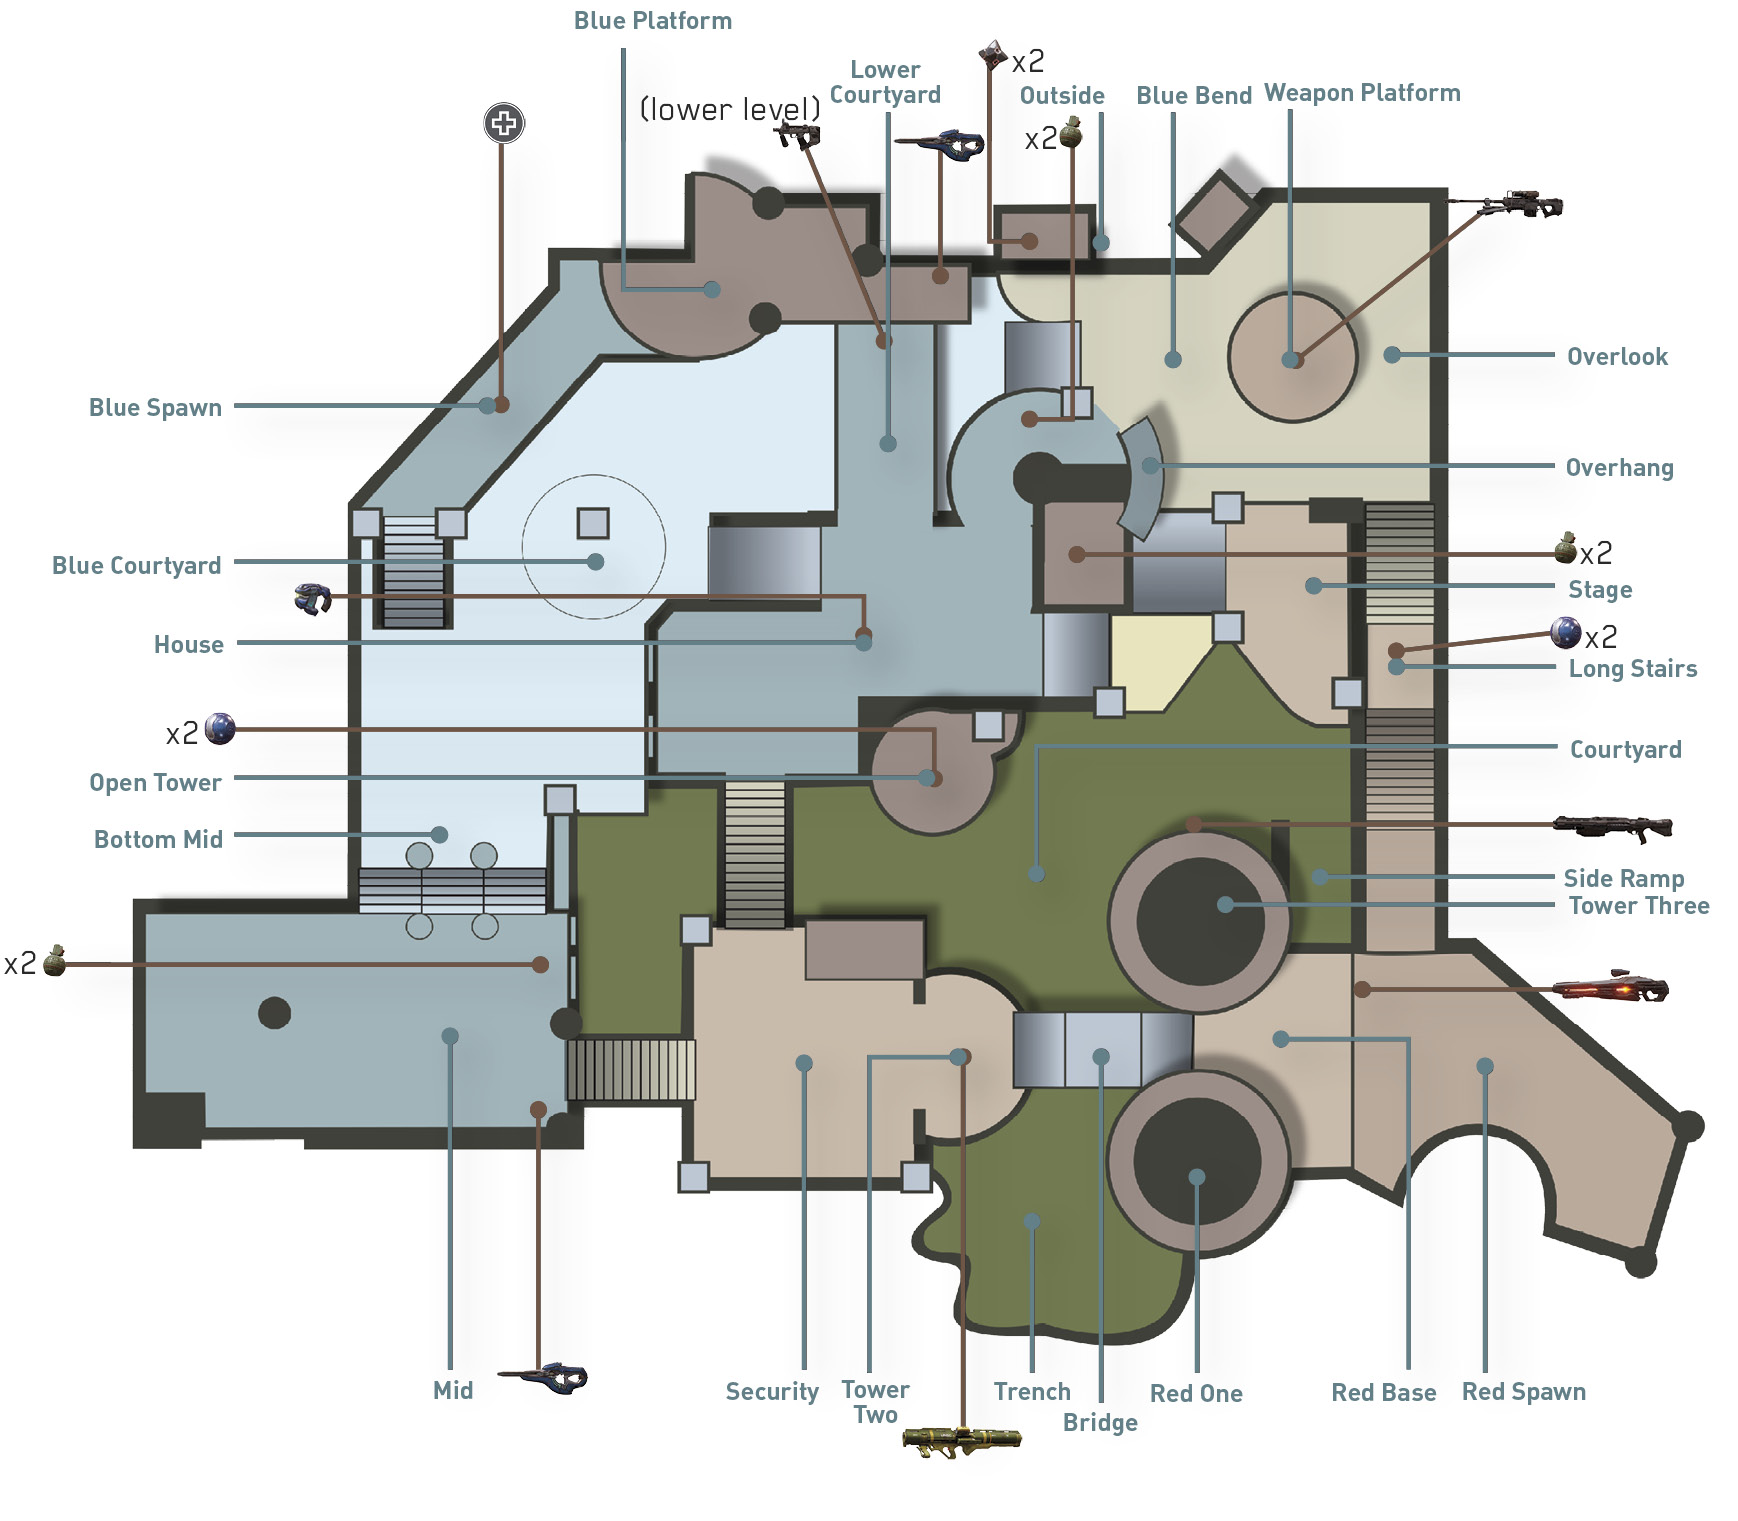
Pegasus is a large asymmetrical map with multiple angles, requiring players to stay on the move while attempting to leverage three powerful pick-ups. The map’s perimeter corridors and rooms are relatively open, offering little cover. Move to the map’s center for better concealment and close-quarter opportunities.
Featured Weapons and Power-Ups
| Item | Name | Location | Respawn Time |
|---|---|---|---|
|
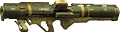
Rocket Launcher | Tower Two | 2:00 |
|
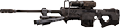
Sniper Rifle | Overlook | 3:00 |

|
Overshield | Blue Spawn | 2:00 |
Starting Moves
- Red Team: Grab the Rocket Launcher at Tower Two and head to the center of the map in an effort to hunt down Blue Team’s Overshield-equipped player—Overshield is out of reach for Red Team at the start. The Rocket Launcher is your best option for quickly eliminating this player.
- Blue Team: Located only a few meters away, the Overshield is an easy early-round grab for Blue Team. After acquiring the Overshield, make a push for the Sniper Rifle and use it to fend off opponents moving into the Overshield spawn area—the Outside windows and Overhang are good sniping perches.
Power Position: Outside
How to Leverage
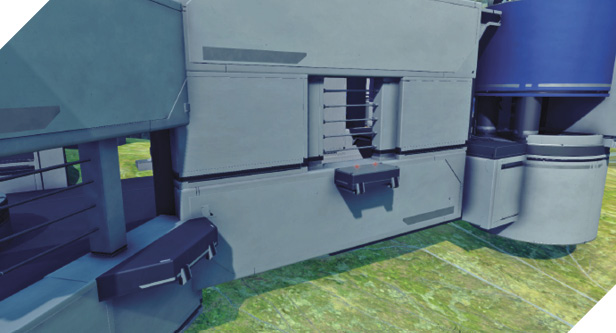
At Overlook there’s a small ledge on the outer window leading to Outside. After stepping out of the window, turn left to jump, thrust, and clamber onto another ledge located in front of a window obstructed by horizontal bars. From this isolated ledge you can fire through the bars in the window to hit opponents moving toward the Sniper Rifle or Overshield. Or continue moving along Outside (using jump, thrust, and clamber) to reach Blue Platform—this is a good way to sneak up on the Overshield at Blue Spawn.
How to Counter
Opponents on the Outside ledges are vulnerable to falling off the edge of the map. Explosive weapons like the Rocket Launcher or well-tossed grenades can either push or chase them off a ledge. It’s also possible to flank these ledges from the Overlook or Blue Platform sides. Since opponents here are usually focused on action in the center of the map, blindside attacks are often successful.
Tactics
Don’t take off on your own. The map’s large, open spaces make it difficult to fend off or escape attacks when you’re outnumbered. Traverse the map in groups of two to avoid getting overwhelmed.
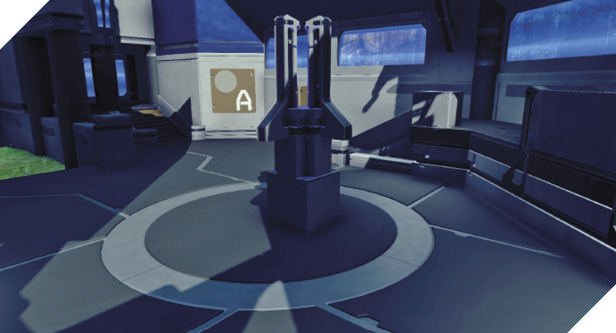
Take extra care when making a move for the Overshield at Blue Spawn. The routes leading to the Overshield are wide open and likely watched by opponents. Wait until at least two opponents are down before making a dash for this crucial power-up.
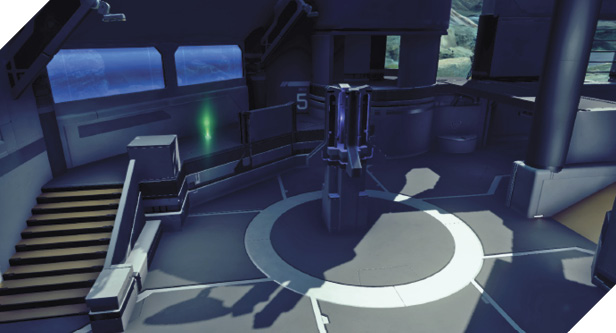
The Overhang is a great overwatch position for countering traffic in the middle of the map. From the Stage, jump, thrust, and clamber over to reach this semicircular ledge. Use the Overhang’s height advantage to fire down on opponents cutting through the Trench below.
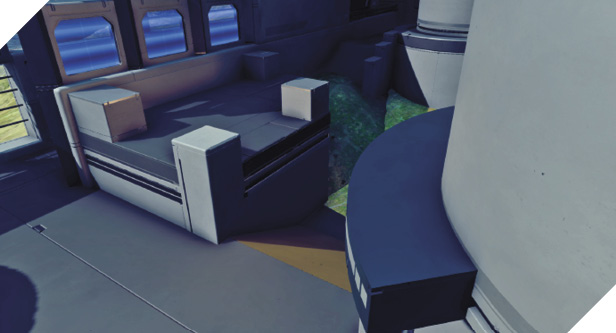
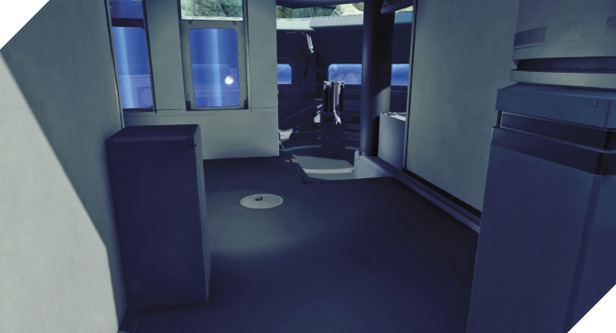
When moving between the Red and Blue sides of the map, utilize the central House corridor. This is a quick way to move between the Overshield and Rocket Launcher areas. The Plasma Pistol located in the House corridor comes in handy for countering an Overshield-equipped opponent—consider hiding in this corridor to ambush enemy cross-traffic.
Given the map’s long sight lines, keep a precision weapon in your loadout at all times. If you can’t get to the Sniper Rifle, Carbines can be found at Blue Platform and Mid. The LightRifle at Red Spawn is also effective for long-range engagements.