
Halo 5: Guardians Guide Campaign Walkthrough Mission 13: Genesis
Major Firefight: Gateway Approach
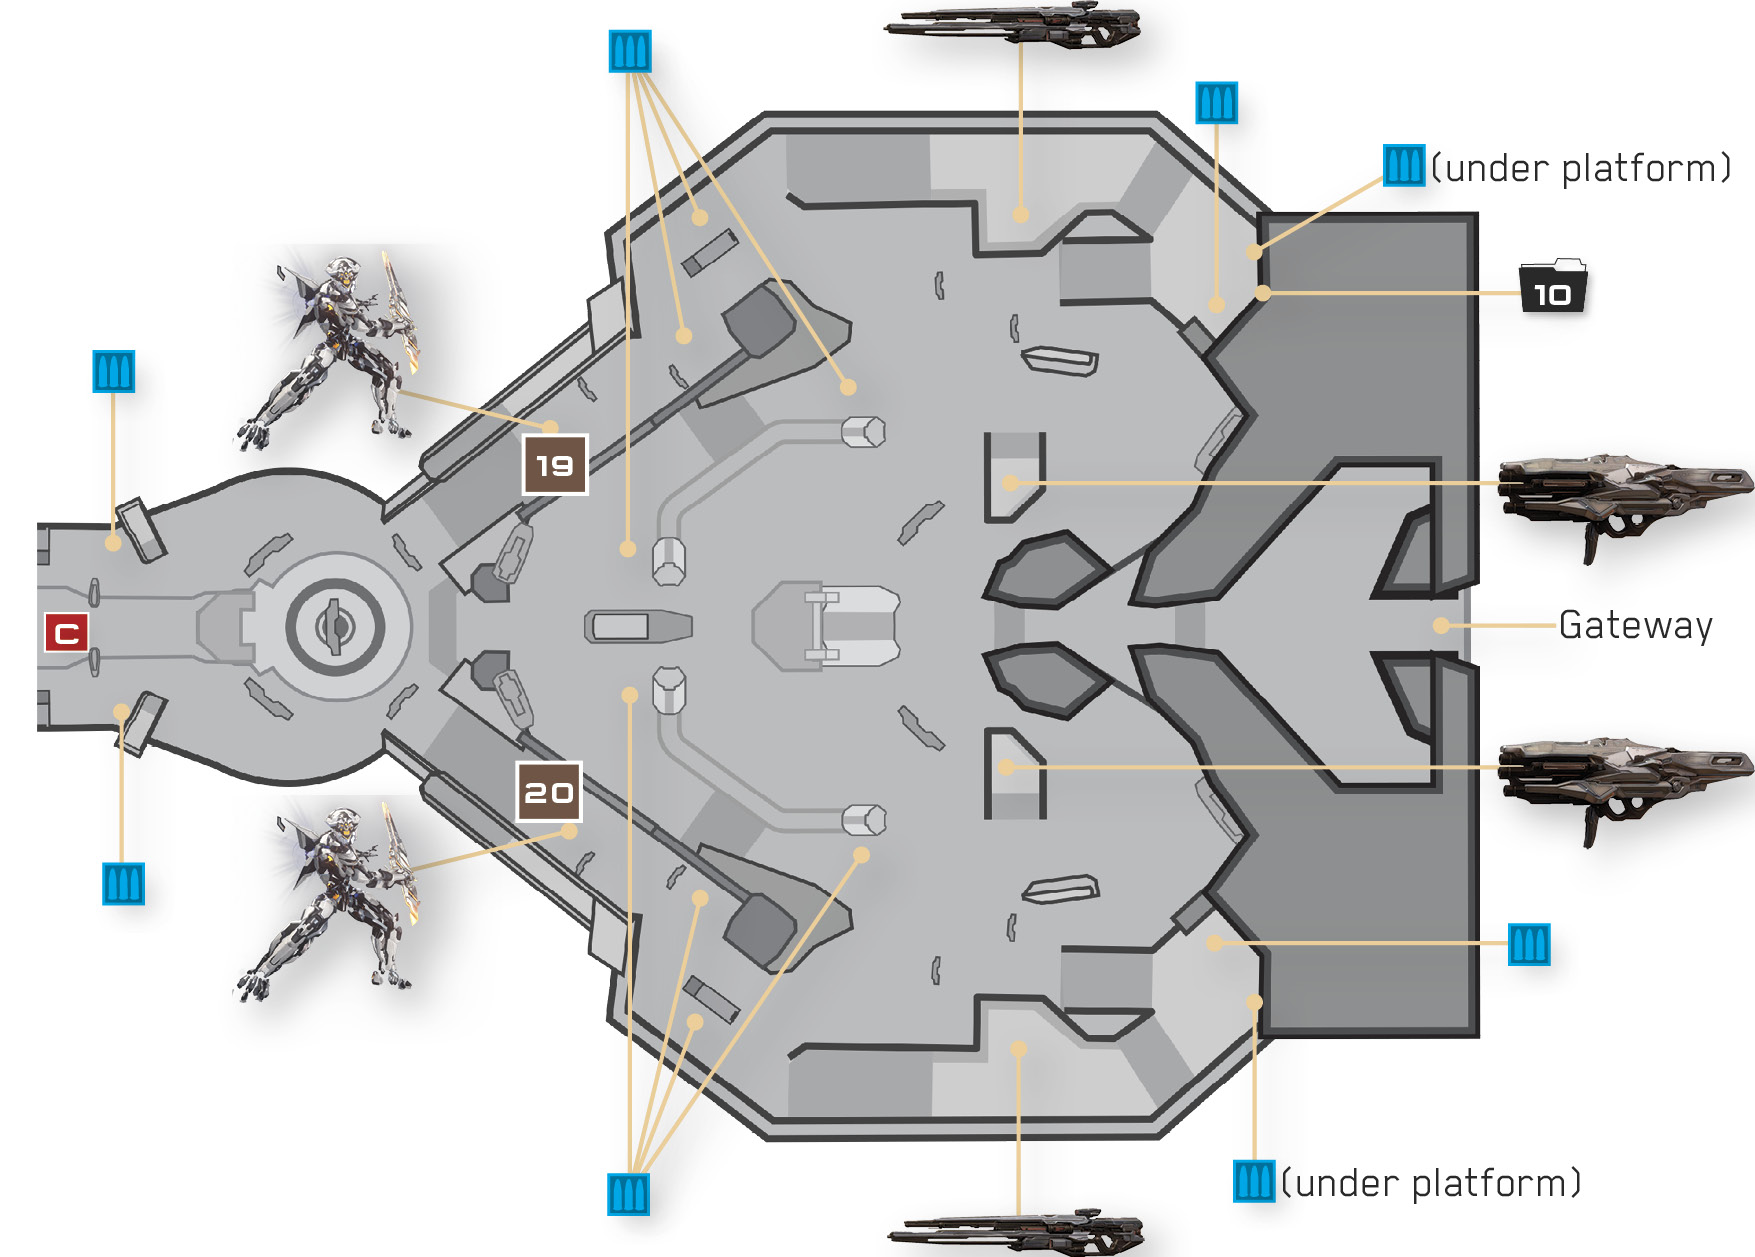
Reaching the Chief won’t be easy, for the Gateway’s spacious courtyard is defended by not one, but two Wardens Eternal. Additional hostiles include multiple Knights and Beam Turrets, and a host of vicious Crawlers. A Soldier Captain also bombards you with a Splinter Turret from the courtyard’s center, while distant Soldier Snipers take shots at you from the compound’s balconies. The battle ends after both Wardens have fallen—a task not easily met.
Recommended Loadout
Power weapons will serve you best in this intense and chaotic battle, and there are plenty near the downed Pelican to choose from. The custom SAW called “The Answer” is a fantastic weapon to grab, for it will quickly annihilate anything that moves into close or medium range. A powerful ranged weapon such as a Sniper Rifle, Railgun, or Spartan Laser pairs perfectly, for they’ll help you cripple (and potentially kill) the Knights and Wardens from afar.
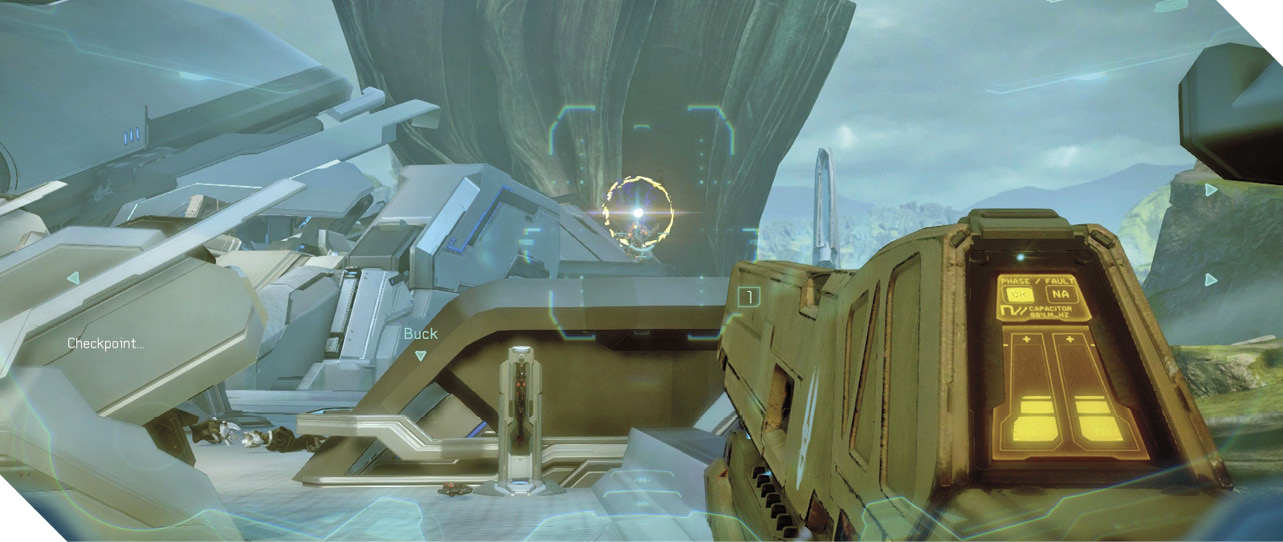
Blue Team is somewhere inside the Forerunner Gateway, but breaching the compound won’t be easy. A towering Warden appears on the ramps on either side of the yard 1920, and both quickly bombard you with devastating ranged attacks. Crawlers swarm forward as well; fall back and pepper them with The Answer, switching to a powerful ranged weapon, such as a Railgun or Sniper Rifle, to blast one of the Wardens at every chance.
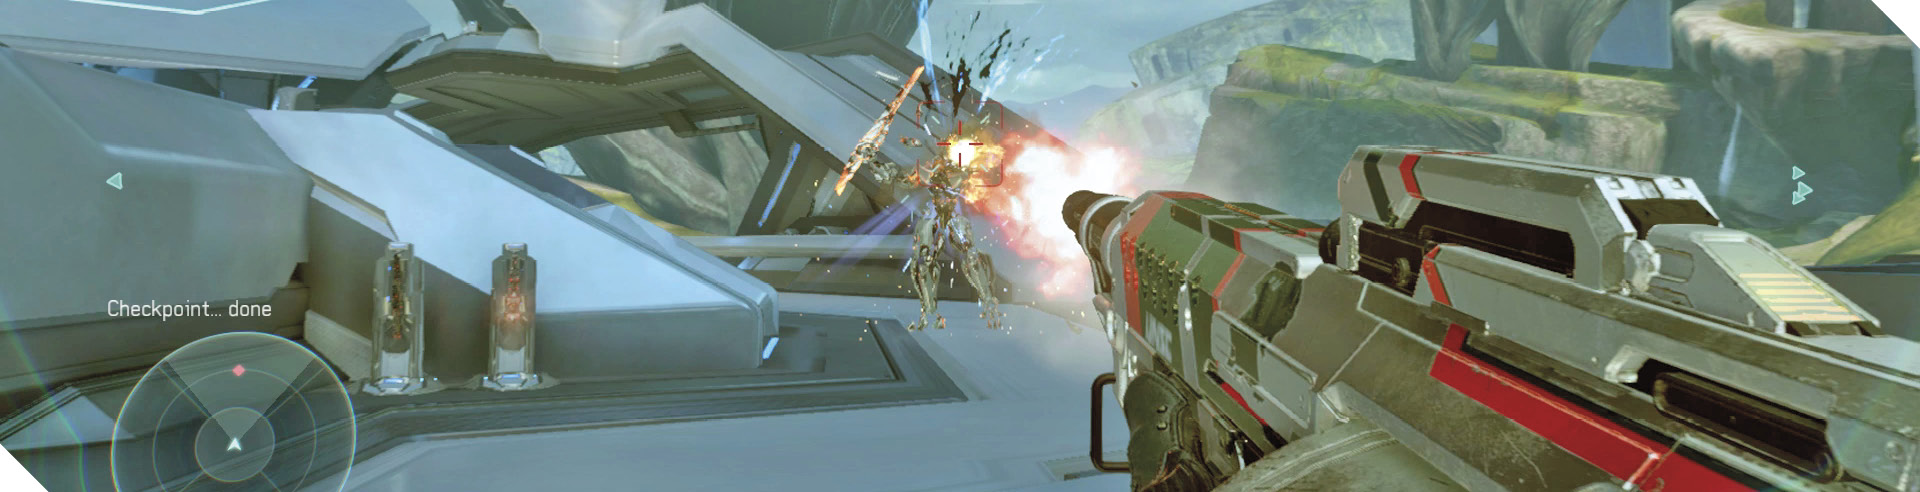
Eventually, the Wardens fall back just far enough that sighting them becomes problematic. Eliminate any other threats that you can sight from afar before switching to The Answer and advancing on the Warden that you’ve been attacking. Scale the side ramps to confront the Wardens, then unload on the targeted Warden’s face with The Answer the moment you enter medium range. See if you can bring down the Warden with sustained fire from The Answer, but fall back down the ramp to avoid incoming fire.
Defeating the first Warden causes more hostiles to spawn, including more Knights and Crawlers. Fall back to the entry ramp at this point and consider returning to the downed Pelican for more ammo. Allow the Knights to advance, and wipe them all out before moving on the remaining Warden.
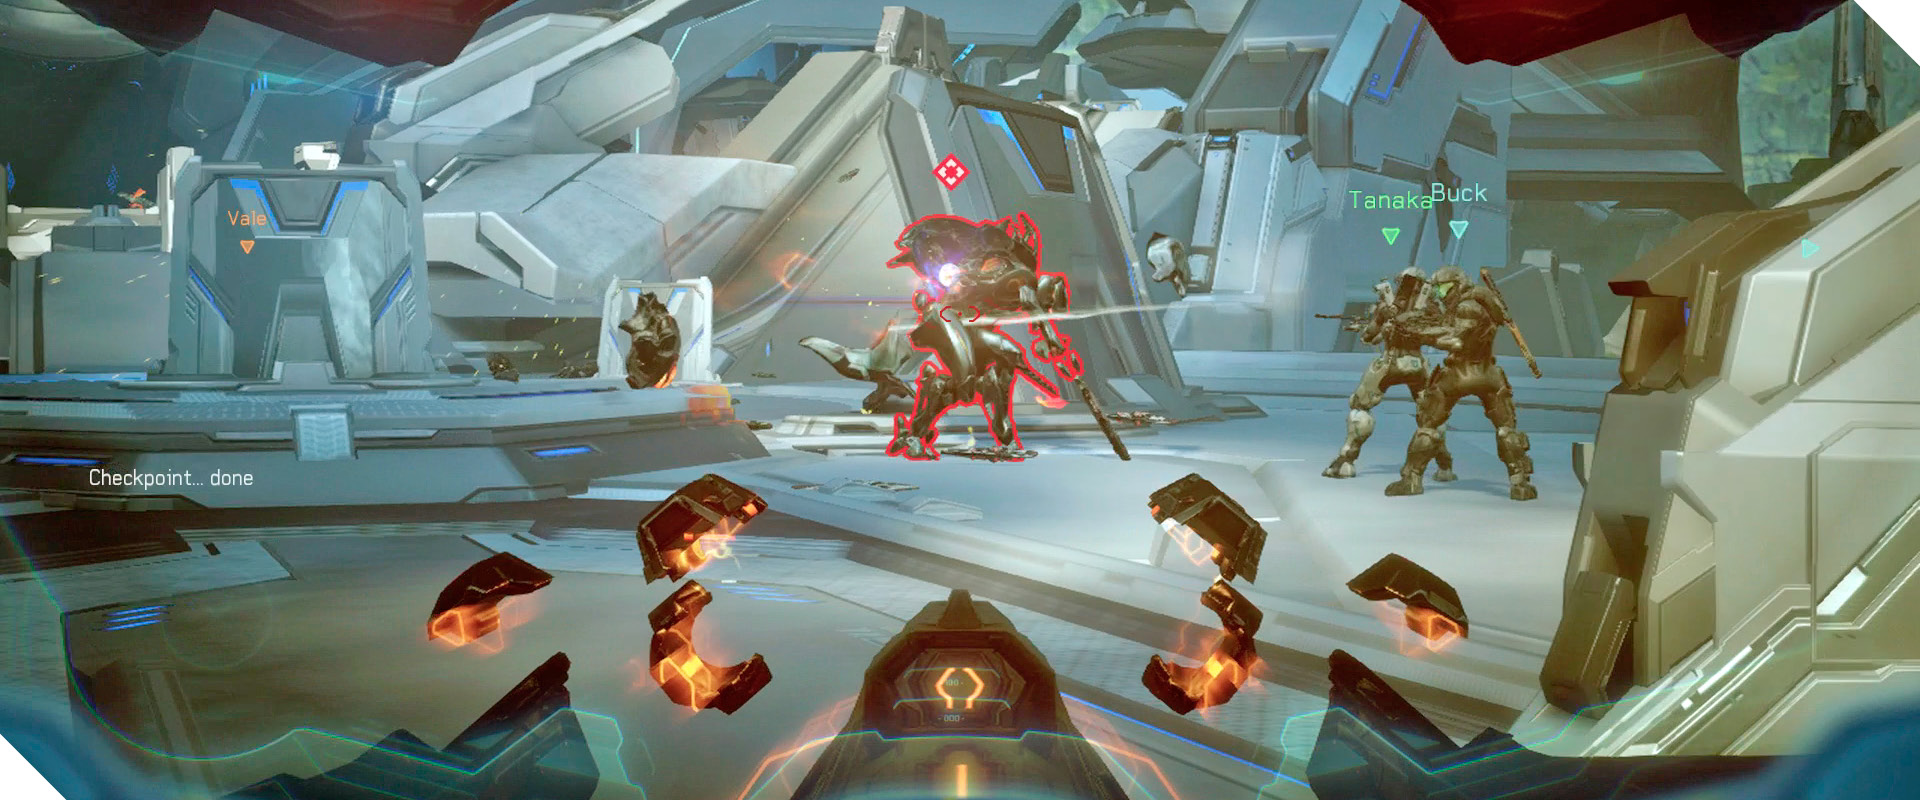
The remaining Warden may very well rush you at this point. Be ready with The Answer if it does, and look to flank it with the help of your team. If the Warden doesn’t rush you, simply remain tactical, picking shots at foes from afar and advancing on the Warden when you feel it’s safe to do so.
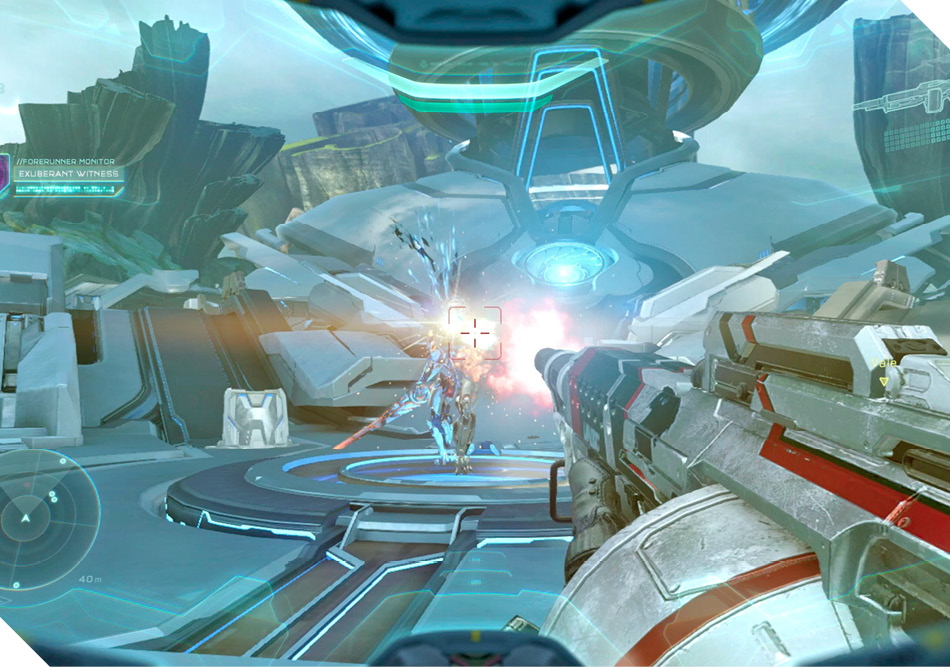
The battle ends the instant the second Warden falls. Take a moment to catch your breath and bask in the glory of your accomplishment. The Chief awaits inside the Gateway, but before you enter, scale the ramp to the left of the structure’s front door. Scan the Forerunner console you discover up there for one last piece of intel, then enter the Gateway to at last catch up to the Chief.
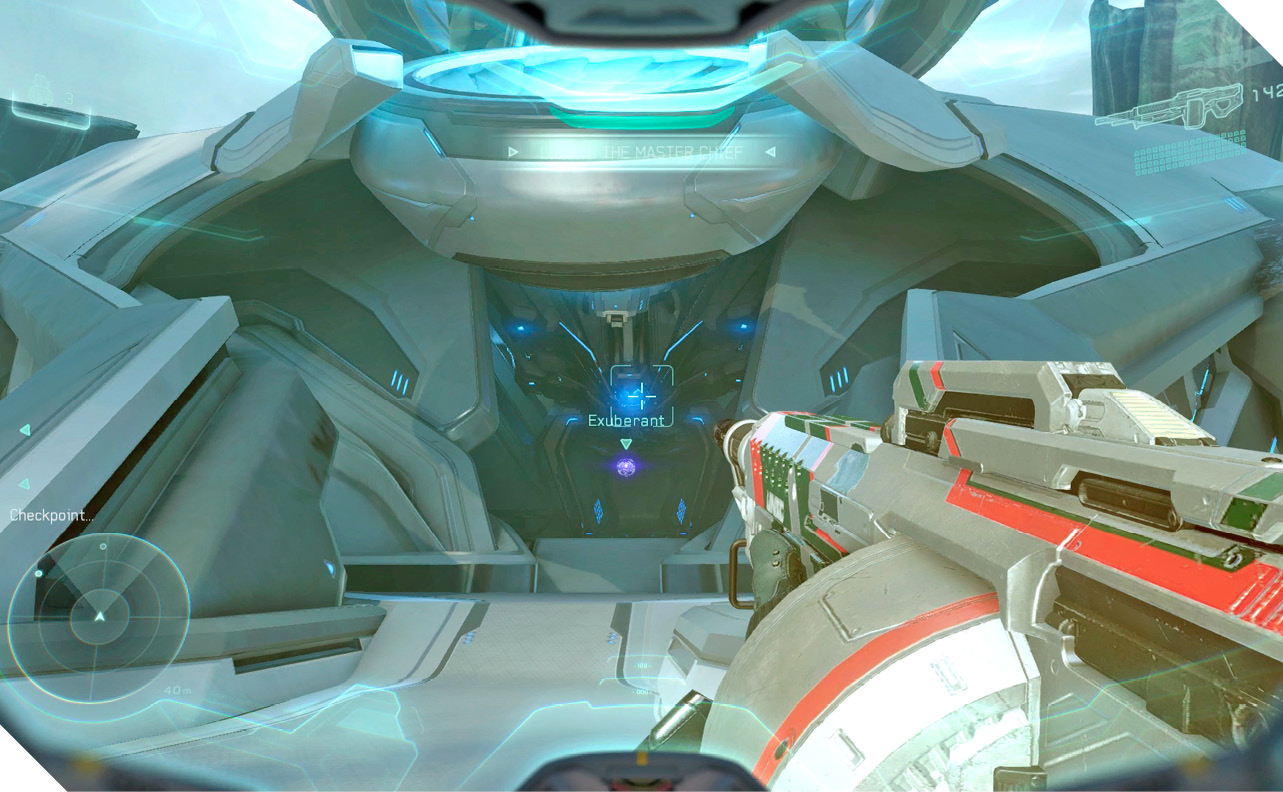
Mission 13 Intel Acquired (10/10) |
Legendary StrategyAdvancing on the Wardens is extremely dangerous during Legendary play. Do so to trigger the arrival of reinforcements, then immediately fall back and defeat them from a safe range, starting with the Soldier Captain that bombards you with Splinter Turret fire. Wipe out any advancing Crawlers and Knights as well, then press forward again when the enemy numbers dwindle. Work at defeating one of the Wardens with The Answer, which remains a highly effective weapon on Legendary. You’ll probably want to grab the Incineration Cannons near the center of the compound at some point; their charged shots will help you wipe out the Wardens as well. |