Halo 5: Guardians Guide Warzone
Array
Description: Halo erased a hundred billion possibilities to destroy a single inevitability.
Game Mode: Warzone Assault
Objectives
Objective 1: Spire
Attack
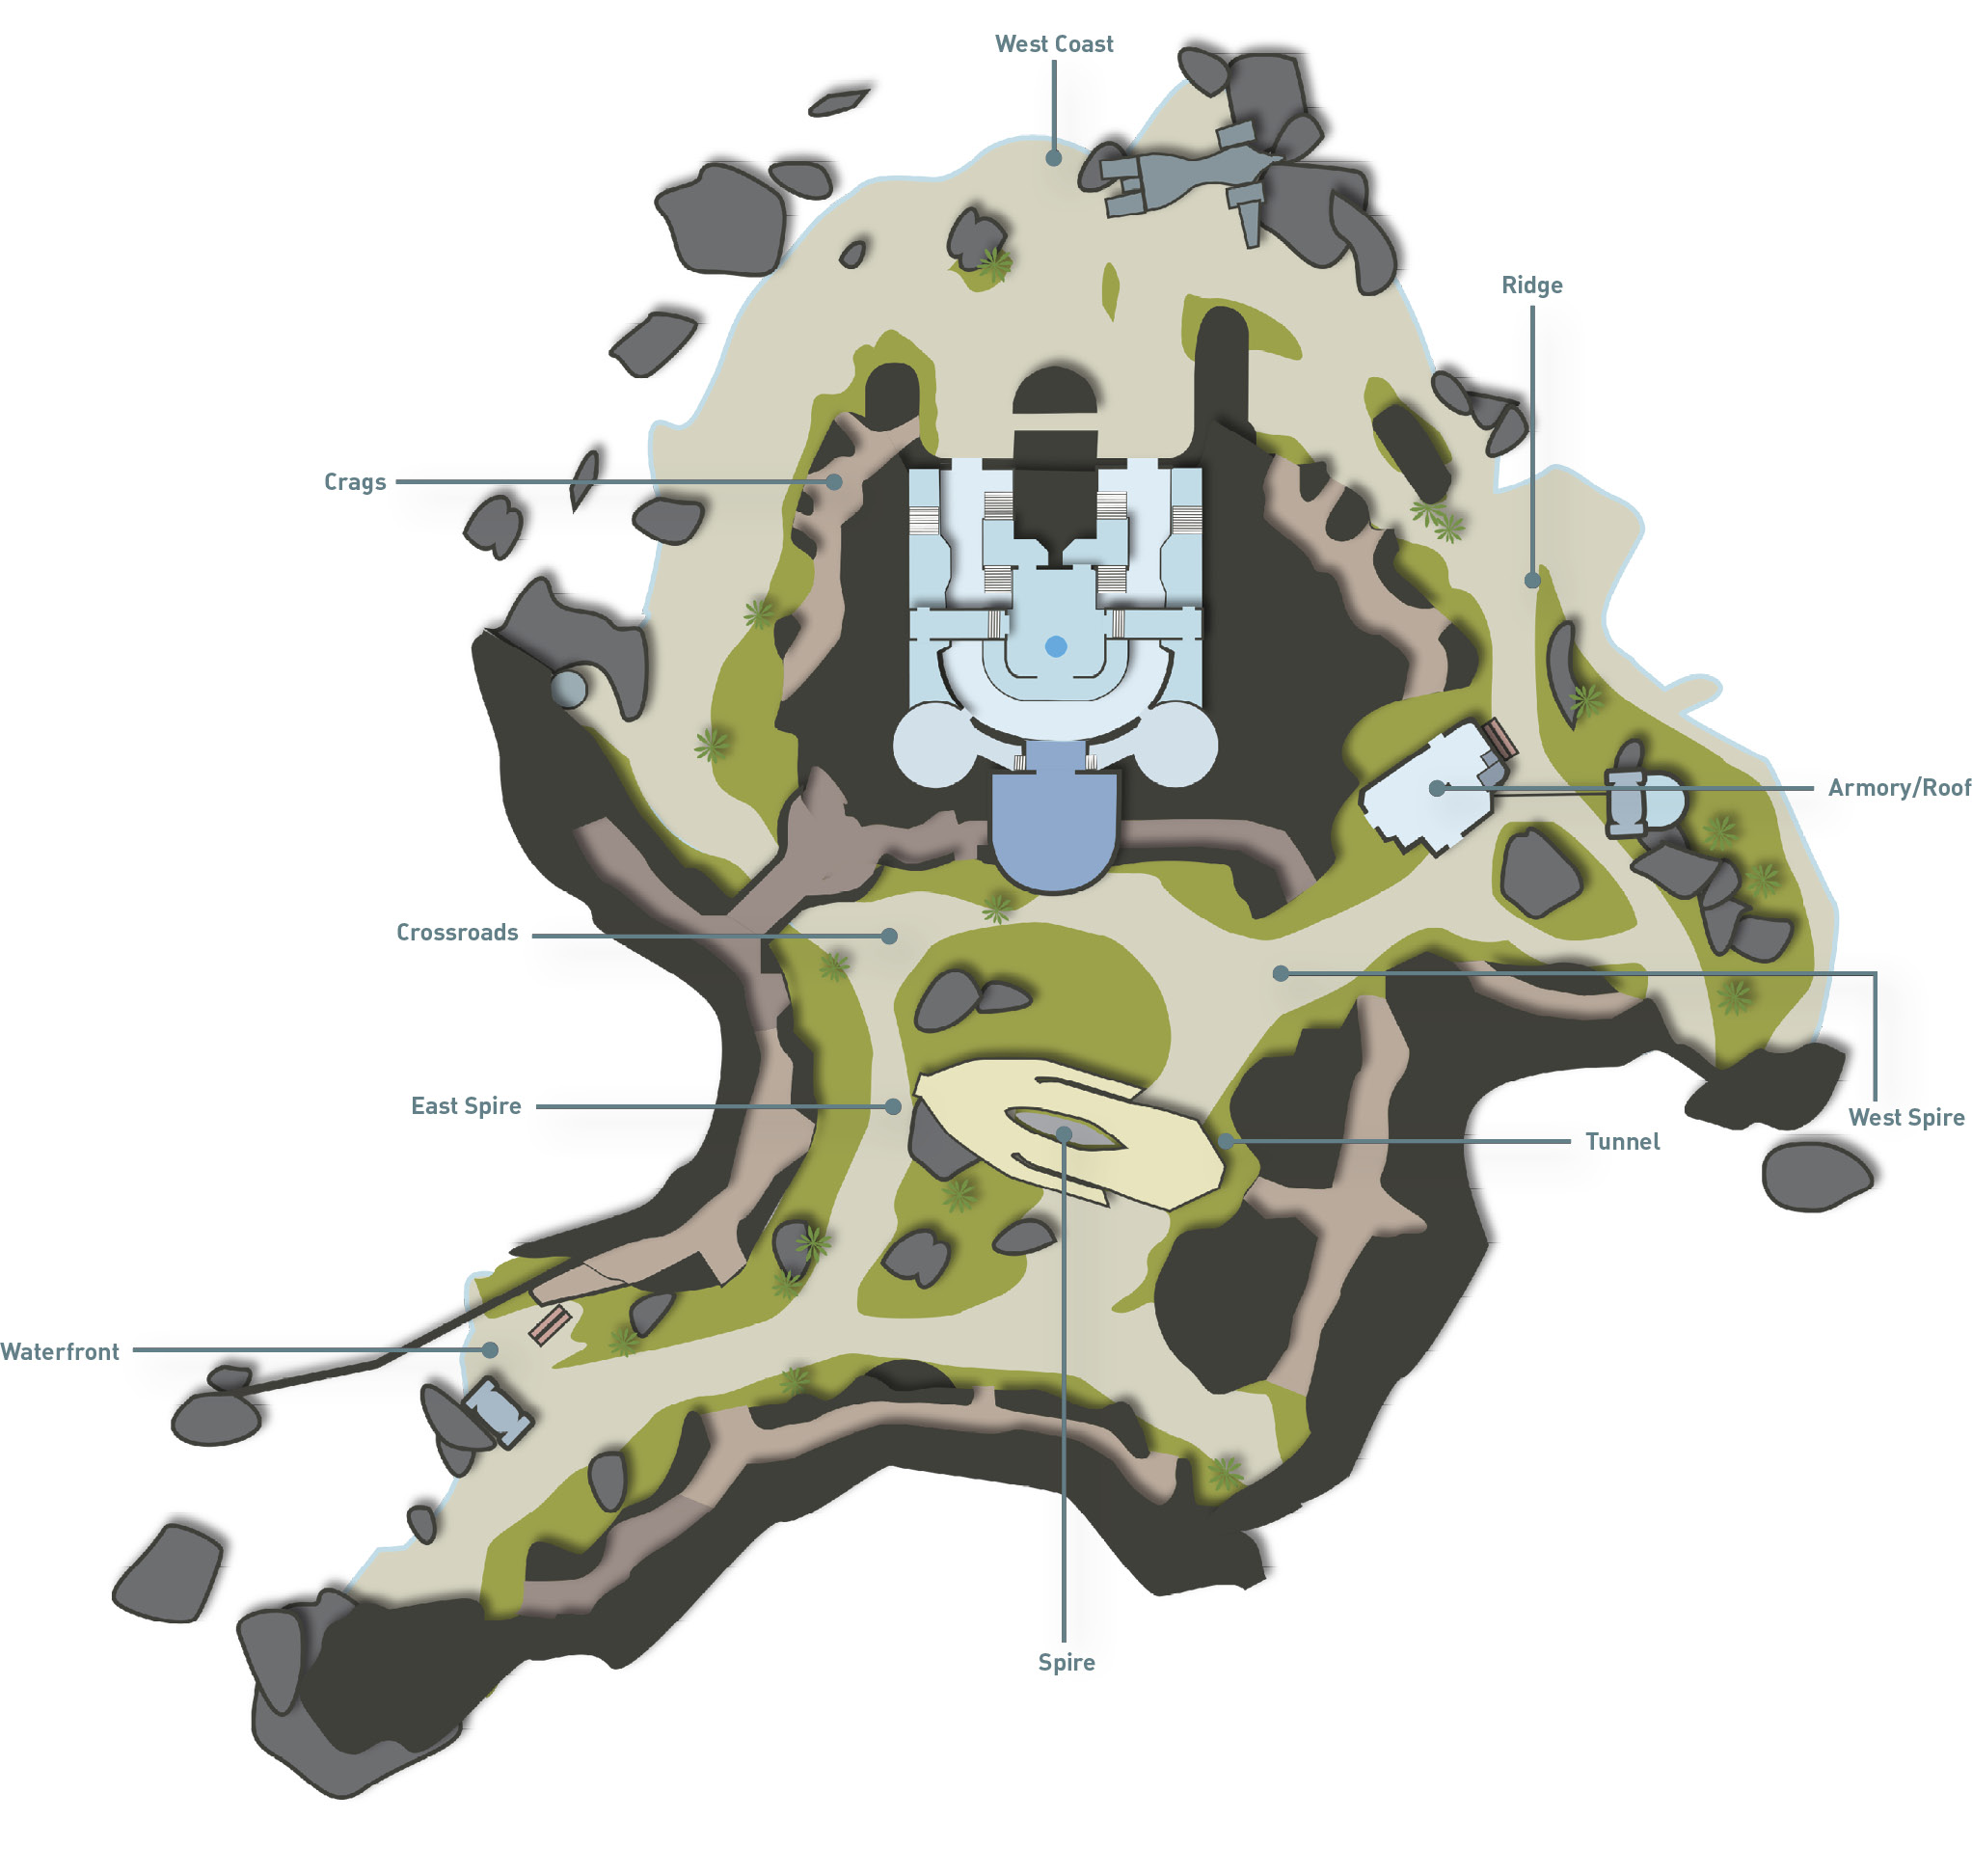
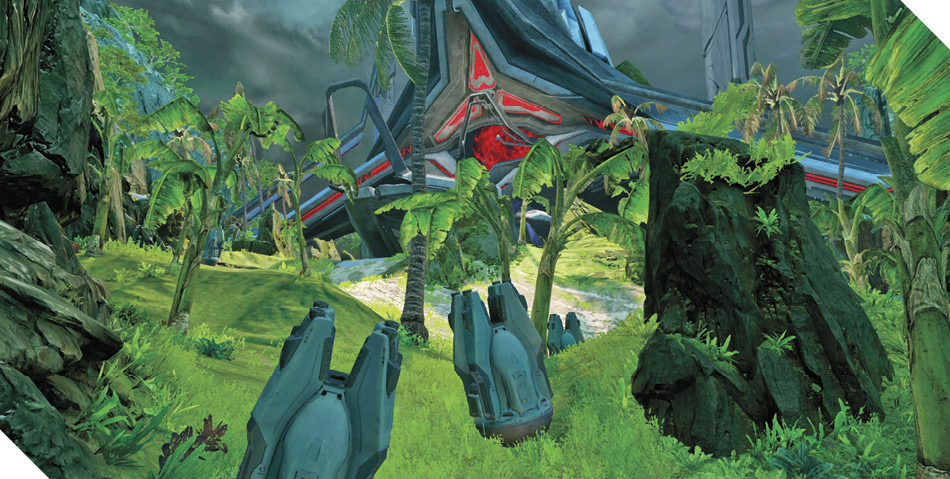
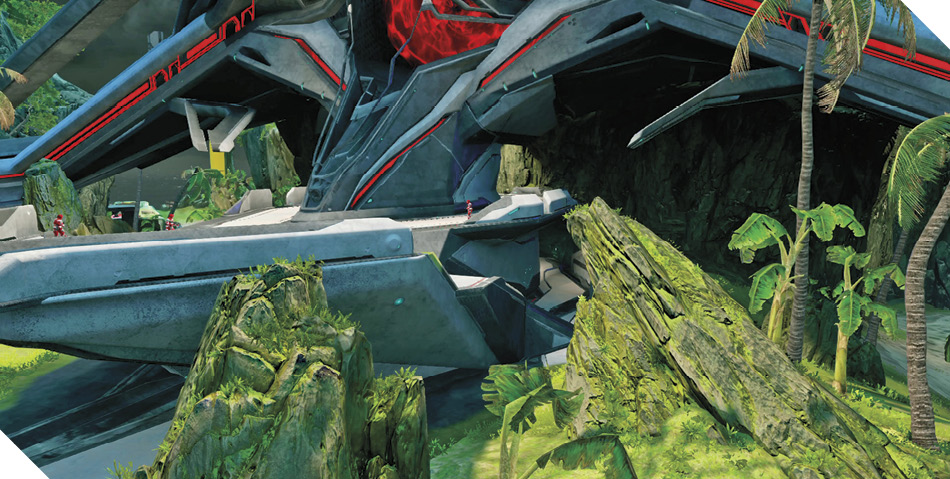
Starting at the Crossroads, the attacking team begins the battle within a few meters of the first Spire. Don’t be surprised if you come under fire in the opening moments of the battle. Defenders positioned on the Spire’s upper level have the height advantage, so be ready to use the rocks at the Crossroads for cover. But if you stay put too long, your team runs the risk of getting pinned down. At the earliest opportunity, make a move for the Spire. Instead of ascending the perimeter or interior ramps, run up the ramp-like rocks on the perimeter of the Spire and then jump onto the upper level. You can even use these rocks for cover, firing at the defenders before making the leap. Coordinated pushes onto the Spire’s upper level are essential for wrestling this objective away from the defenders. If frontal assaults are ineffective, attempt to flank from the Tunnel side—the Spire can be captured or contested from within the internal ramp, near the REQ Station.
Defend
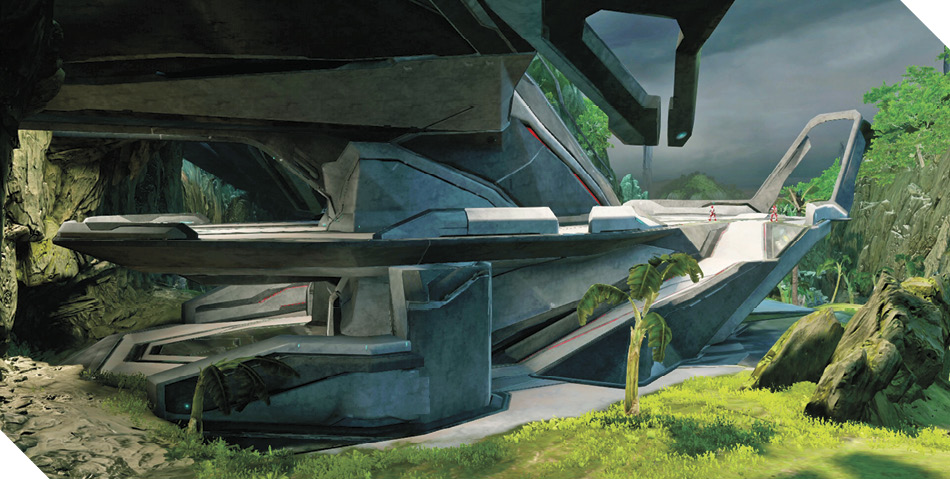
Occupying the Spire, the defending team begins the battle with a truly advantageous position. But with the attacking team spawning only a few meters away, you don’t have much time to fortify the objective—rush out to the perimeter of the Spire’s upper level and immediately open fire on the attackers at the Crossroads. Since most attackers are focused on ascending the Spire, look for opportunities to flank. Send a few skirmishers down to the Crossroads, East Spire, and West Spire locations to harass the attacking Spartans. But don’t overextend onto the ground—keep the bulk of your forces positioned on the Spire’s upper level while watching for flanking attacks from the Tunnel and interior ramp. The fight for the Spire is never dull, but if you can keep the attacking team pinned down at the Crossroads, you can secure a quick win.
Objective 2: Armory
Attack
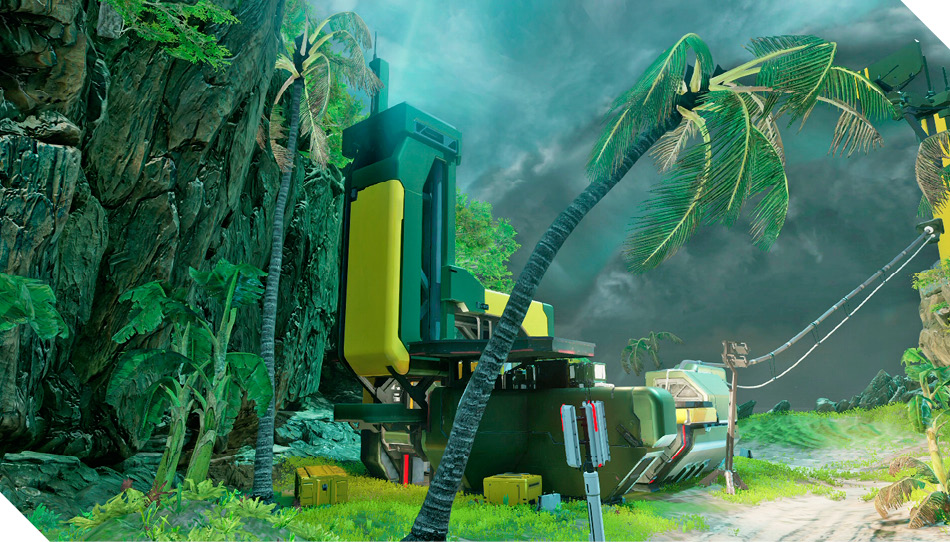
Taking the Spire is a big accomplishment, but don’t waste too much time congratulating yourself—make a move on the Armory before the defenders have a chance to establish a solid foothold. Secure the perimeter of the Armory first, denying the defenders the objective. The large ramp-like rock at the Ridge overlooks the Roof of the Armory, ideal for firing down on defenders. You can also use this rock to jump down onto the Roof—sprint, jump, thrust, and then clamber onto the Roof to infiltrate the Armory. Alternatively, you can access the Roof via the orange pipes behind the Armory. Establishing control of the Armory Roof allows you to engage reinforcements arriving via the Ridge and to lob grenades into the objective’s interior, bombarding opponents hiding downstairs.
Defend
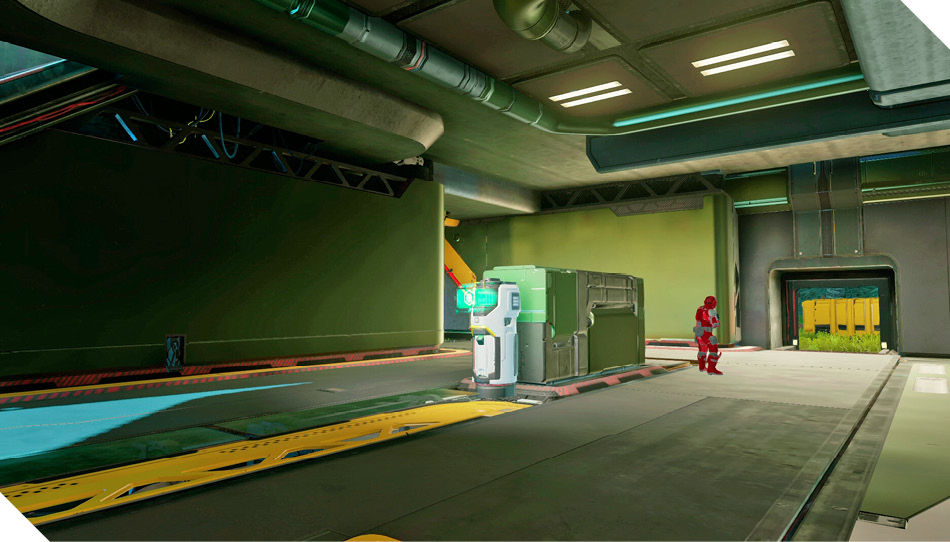
After losing the Spire, immediately fall back and secure the Armory. Take to the Armory’s Roof and engage the attackers approaching from the Spire—Battle Rifles and DMRs work well when taking on these distant opponents. But simply locking down the Armory isn’t enough. While keeping some defenders at the Armory, send the rest of the team back toward the Spire in an effort to ambush the attackers. Vehicles can also play a vital role in securing the Armory and harassing the attackers. Deploy Ghosts and Warthogs to patrol the areas between the Spire and the Armory. Remember; time is on your side. The longer you can delay the attacking team’s advance, the better your chances of holding out for a win.
Objective 3: Base/Core
Attack
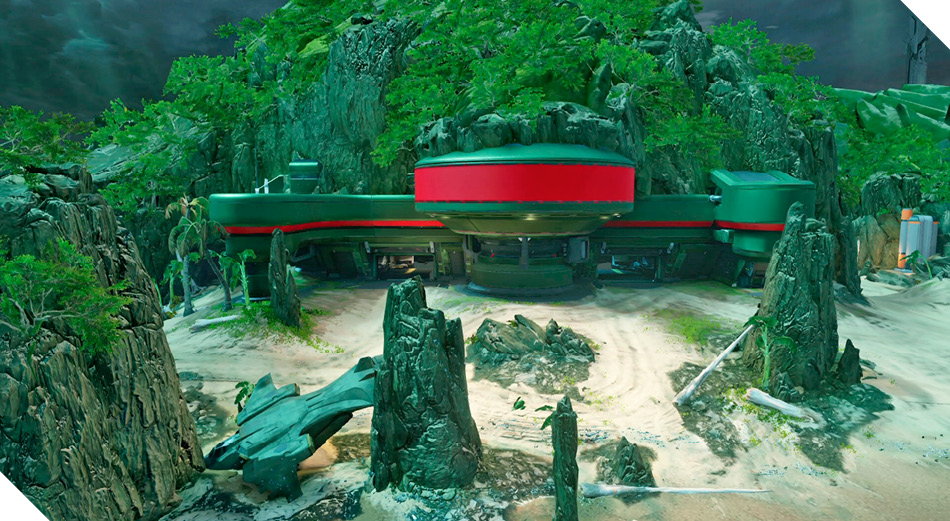
After capturing the Armory, the defending team’s Home Base is open and their Core is exposed—time to finish this battle. It’s a long hike to the Home Base from the center of the island, so use vehicles to transport yourself and teammates to the base—consider using a Warthog as a taxi, ferrying teammates to the base. But vehicles are also needed to establish a foothold within the base. Deploy hard-hitting vehicles like Scorpions, Wraiths, and Mantises to lead the charge, approaching from both the Ridge and Crags sides of the island. The Base Gate on the Ridge side is likely to see the heaviest action. So sneaking in through the Base Gate on the Crags side can usually catch the defenders off-guard. While heavy vehicles punch through the defending team’s outer defenses, send Spartans into the Core’s chamber. When attacking the Core, bring along rapid-firing weapons like the Assault Rifle, SMG, and SAW. Explosive weapons are also very effective. Still, remain vigilant, watching for enemy Spartans and Marines launching a counterattack on the Core’s chamber.
Defend
Since the Home Base can be approached from the Ridge and Crags sides of the island, it’s best to consolidate your forces around the two Base Gates. Position heavy vehicles like Scorpions, Wraiths, and Mantises at the Base Gates, supported by Spartans. If you have access to aerial vehicles, patrol the airspace above the Ridge and Armory, conducting frequent strafing runs on attacking Spartans and vehicles. Attacking forces are likely to advance along the Ridge, but don’t leave the Base Gate on the Crags side undefended. While heavy vehicles lock down the Base Gates, use a Warthog or Ghost to patrol the West Coast—these fast-moving vehicles are best for engaging attackers pinned down among the rocks outside the base. If the attackers manage to breach one of the Base Gates, immediately send a few Spartans to the Core chamber. But don’t give up your defensive positions at the Base Gates—keeping vehicles posted at each gate is the key to holding out for a victory.