Assassin's Creed Syndicate Guide Walkthrough Sequence Two
A Simple Plan
MISSION OVERVIEWMemory Type:Templar Conspiracy Suggested Level: 1 AssassinEvie Fry ChallengesAir Assassinate Brewster Kill 5 Enemies with Hanging Barrels Rewards£: 1000 + 75 (Full Synch Bonus) XP: 2000 + 100 (Full Synch Bonus) Cape: Thrifty Cloak Lessons
|
Objective: Assassinate David Brewster and Recover His Piece of Eden
Current Objective: Detach Locomotive
Location: Starrick and Co., Corydon, Moving Train
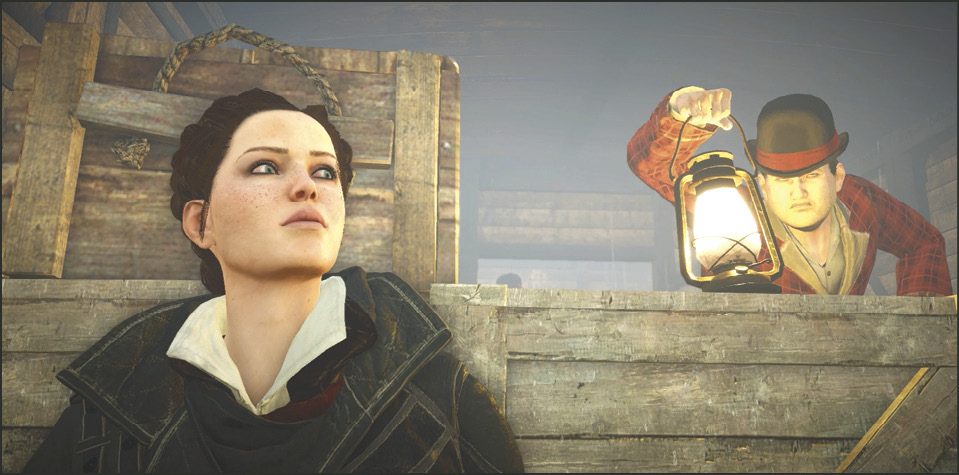
Now we switch focus to Jacob’s twin sister and fellow assassin, Evie Frye. You begin this memory as a stowaway on a train headed for the Starrick and Co. Trainyard. You shoved yourself in a corner and now you are taking cover behind crates.
Cover Assassination
Your first task is to eliminate the immediate threat, which is the Thug who’s booting passengers without tickets off the train. Although you had an opportunity to perform the Cover Assassination in the previous sequence, the game really wants to drive it home with this next segment.
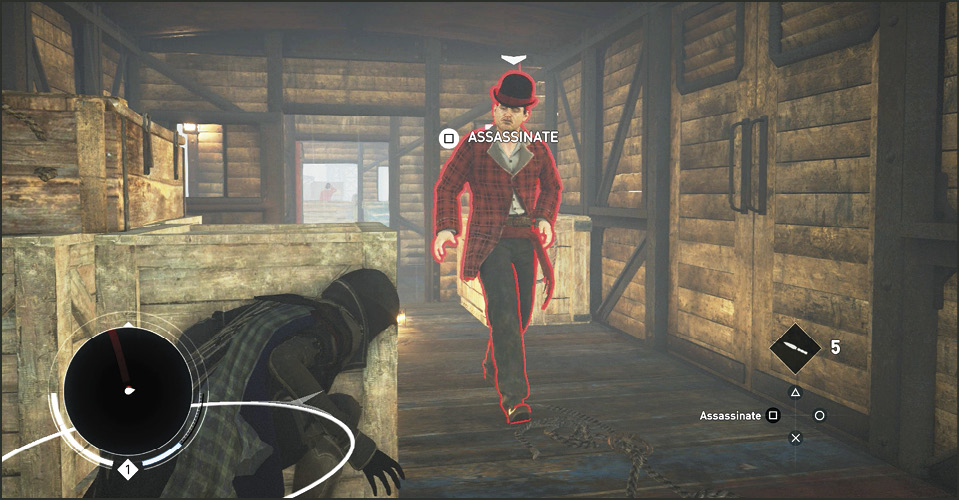
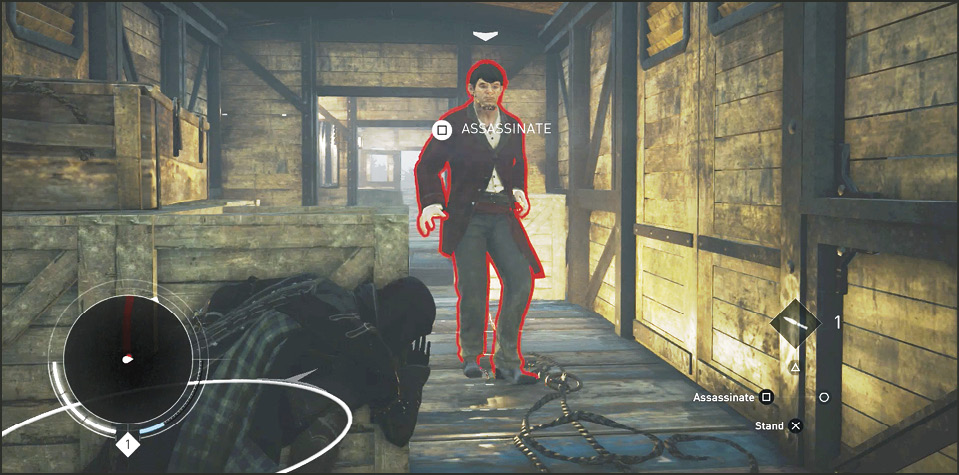
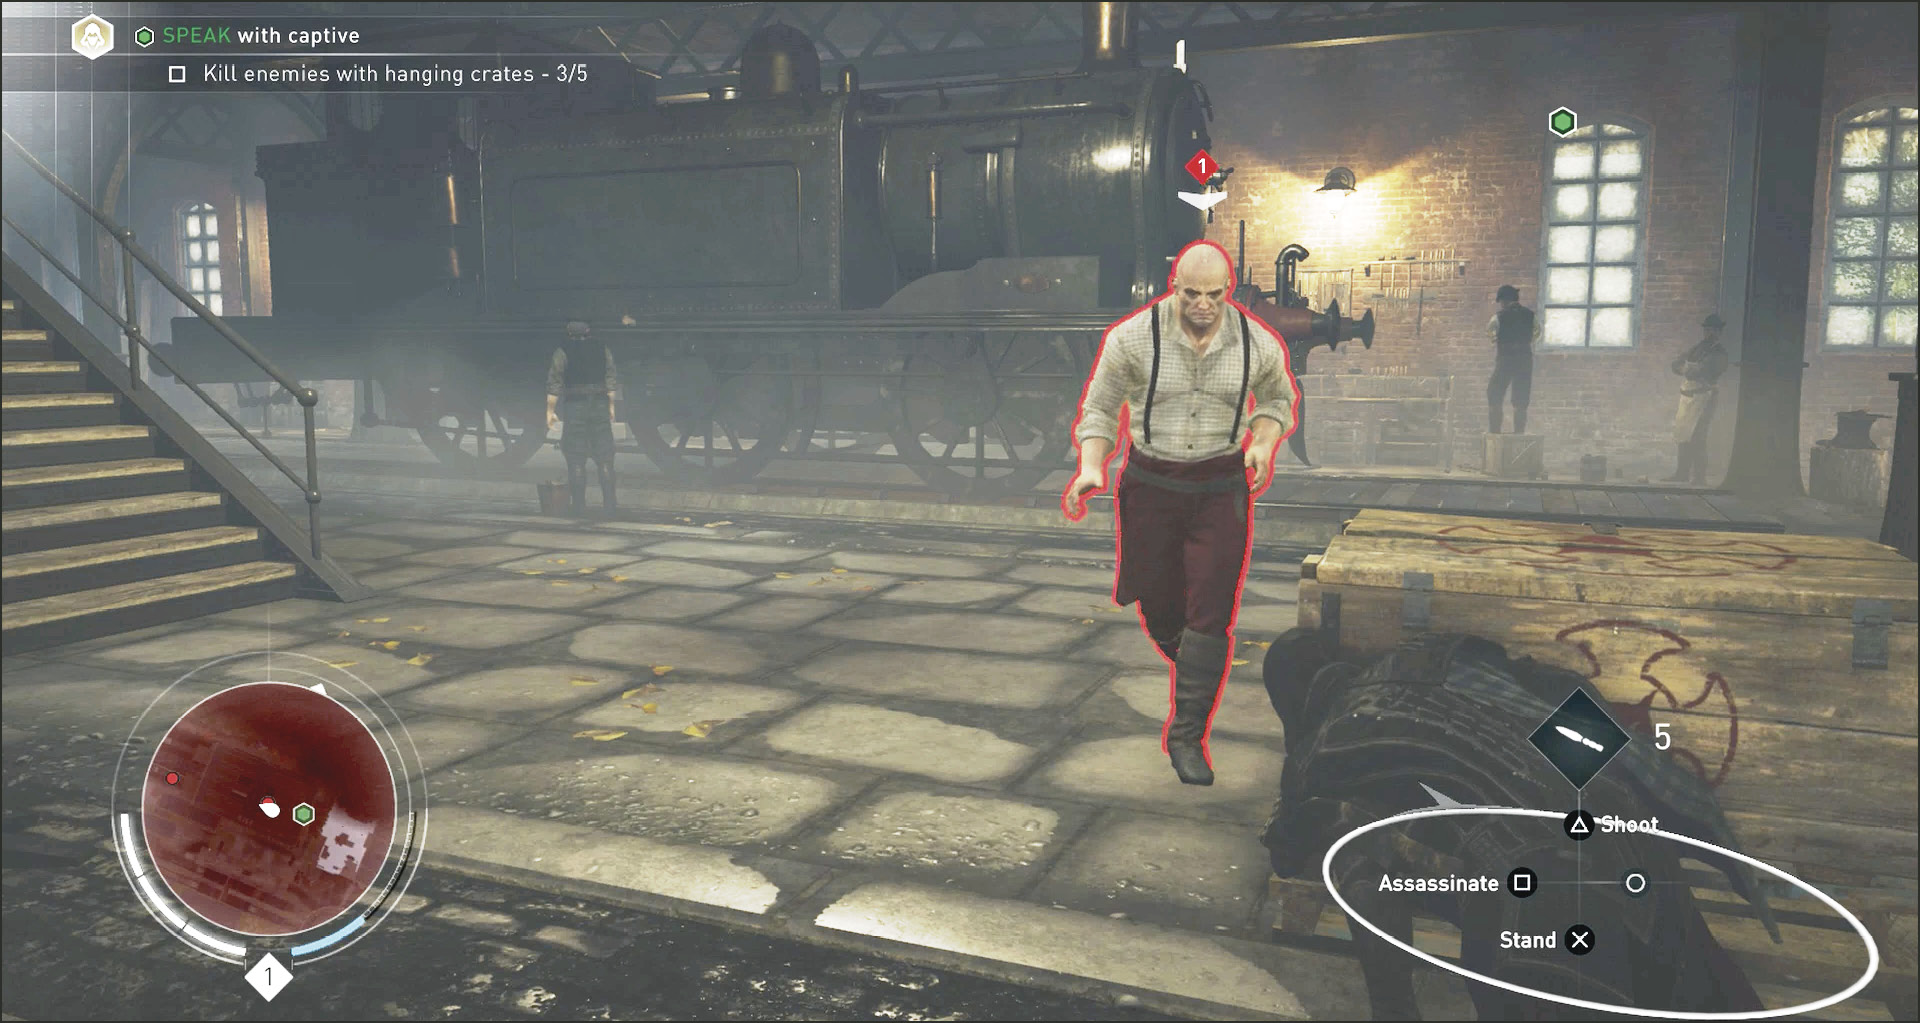
Remain crouched and press D-Pad Down to whistle at the Thug in the doorway. The pulsating sound waves around his head indicate that he did, in fact, hear you. He turns and walks toward you. When the Thug is highlighted red, press the Assassinate button to silently take him out while behind cover. If there were nearby enemies here and they did not look directly at you, you would remain undetected at the end of this move. Evie slips back behind cover automatically as she throws the body behind her. This is a very useful move. Loot the body for knives to add to your collection.
Knife Throw: Moving Target
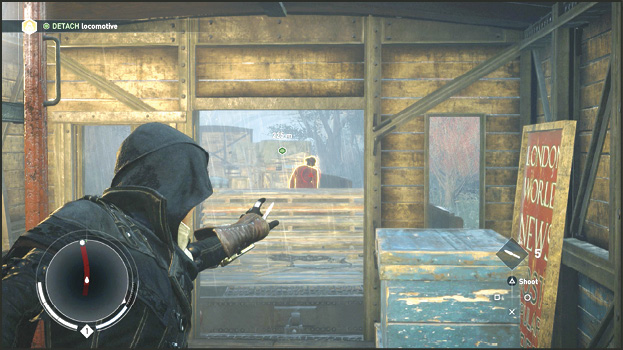
Continue onto the next train car by leaping the gap or by carefully walking across the coupler between cars. You spot another Thug on the next car while peering through the exit. He’s standing behind pallets with his back to you. The game suggests you throw a knife at this enemy. Accurately throwing knives on a moving train is not the easiest thing to do. The trick is to aim ahead of the target and let the slipping pull your target into your crosshairs. Or, simply put, aim carefully.
Quick Throw
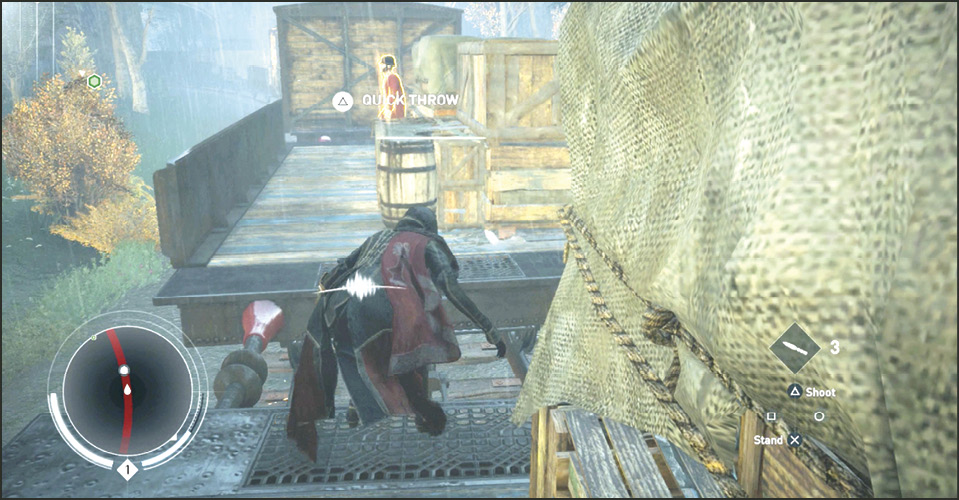
Quick Throw is another useful knife-throwing technique. All it requires is a weak target selection (yellow highlight around the enemy), and, of course, a throwing knife in your inventory. Press the Quick Throw button  /
/  to throw the knife—without manually aiming. Typically, you will not achieve a headshot with a Quick Throw and a lot of times one knife doesn’t kill the target when it’s a torso shot. Be ready to follow up with more knife throwing or rush the victim and finish him off with close combat.
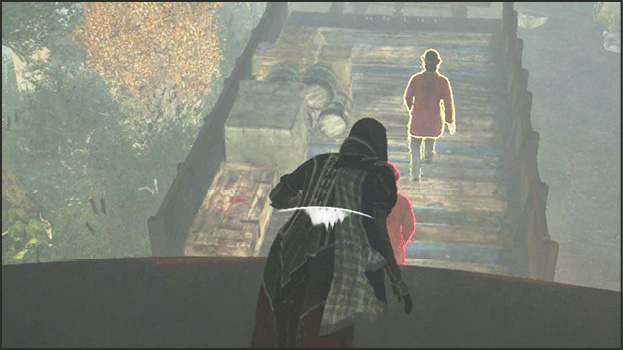
You can find a Chest inside the next car, but the door is on the far side. You can obtain Throwing Knives and some money inside (see our Chests tip on the next page). Run across the train until you reach the flatbed car with two Thugs with their backs to you. Air Assassinate the closest enemy and then sneak up behind the second Thug and silently take him out. If they are both out of reach, try throwing a smoke bomb between them and take them both out while remaining anonymous.
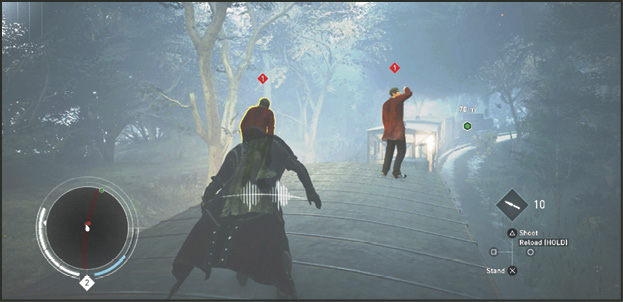
Cross over five more cars working your way toward the engine. Two Thugs are six cars up. They often jump to the rooftop of the passenger car and remain facing the engine with their backs to you. Run and quickly pull yourself up to the rooftop. Since they are so close to each other, choose to kill the enemy that is closer to you first. That way there’s a chance the second enemy won’t see you as you silently take out his buddy. Strike the second as quickly as you can out of the assassination animation.
A Thug is relaxing inside a car two railcars ahead, nodding off and leaning on the wall. Sneak into this car, hugging the right wall. Cover behind the wall and whistle for him to trap him into a Cover Assassination. Or, you can just skip over the rooftop of this car and continue with the objective: detaching the locomotive. However, there is a Chest in this car that is worth investigating.
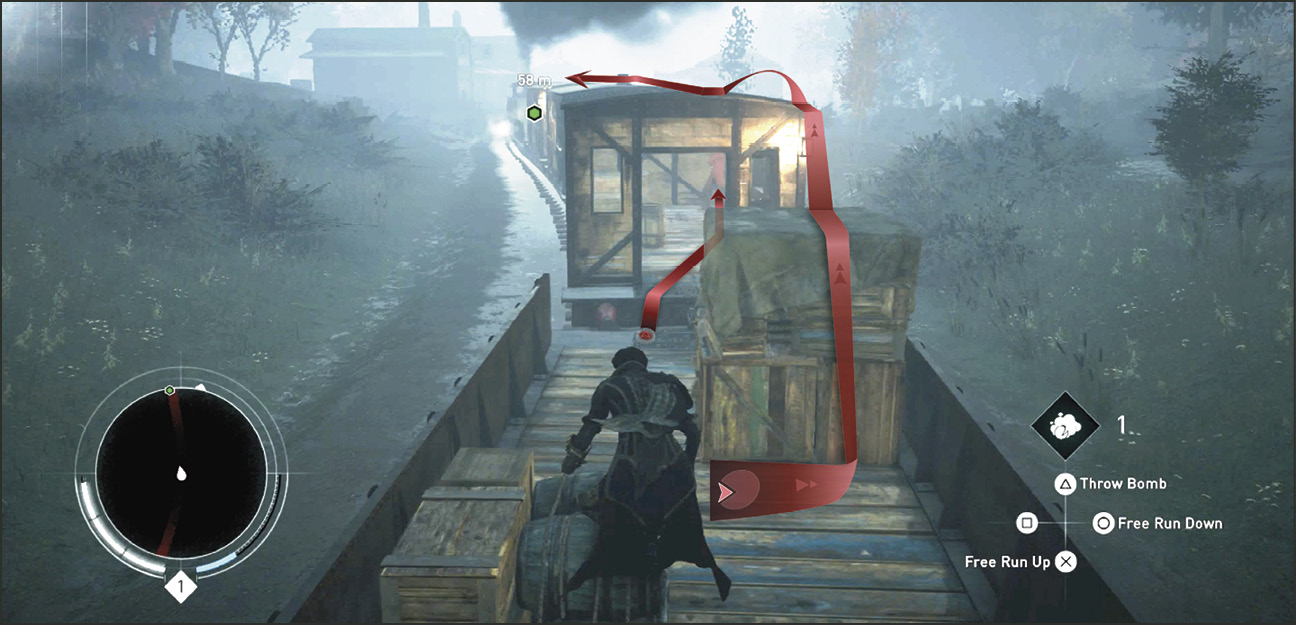
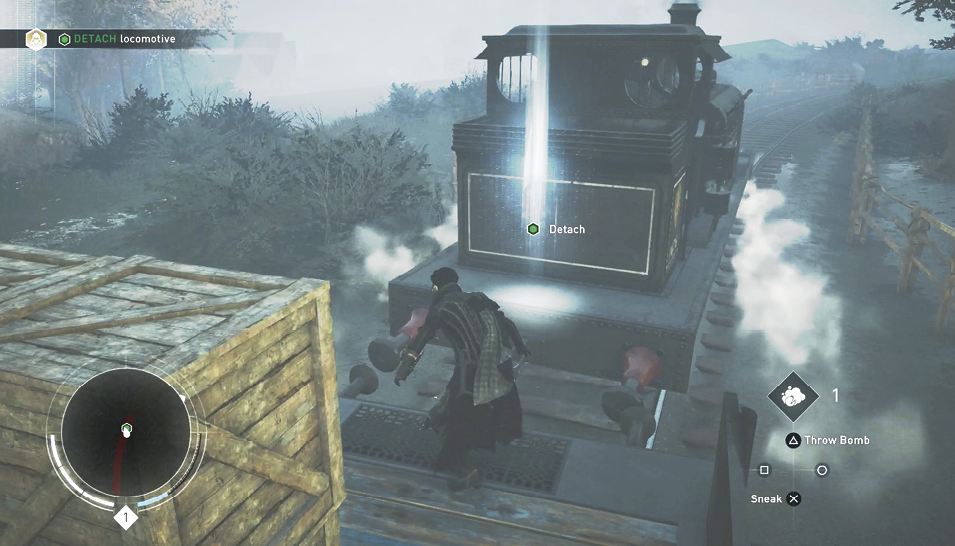
A Detach marker can be seen as you approach the locomotive. Jump to the engine and enter the marker. Then turn back towards the coupler between the locomotive and the first car. Press  /
/  to start detaching the coupler. Evie prepares to punch. Press
  /
/  repeatedly to break the coupler. When successful, the cars are left in the distance and a cinematic takes you into the trainyard.
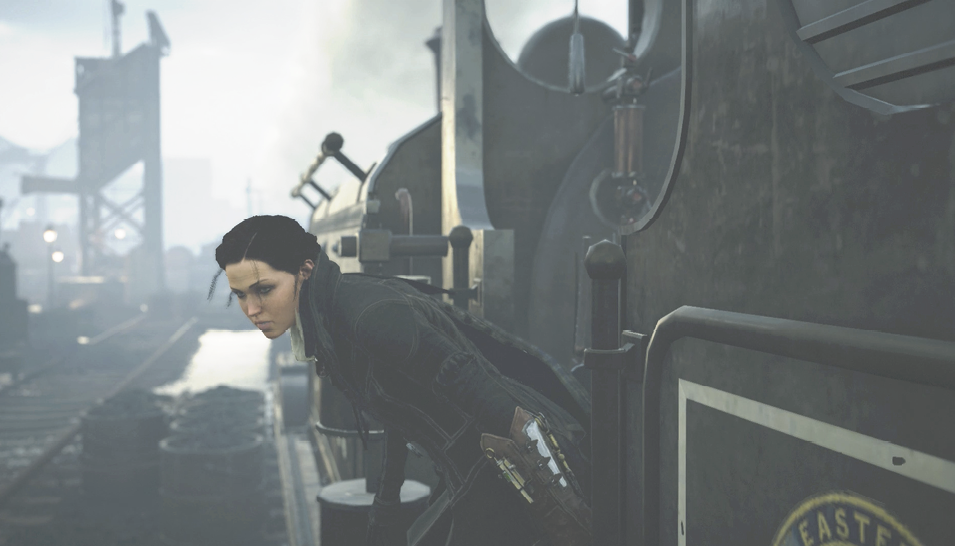
Current Objective: Reach Vantage Point
Location: Starrick and Co. Trainyard
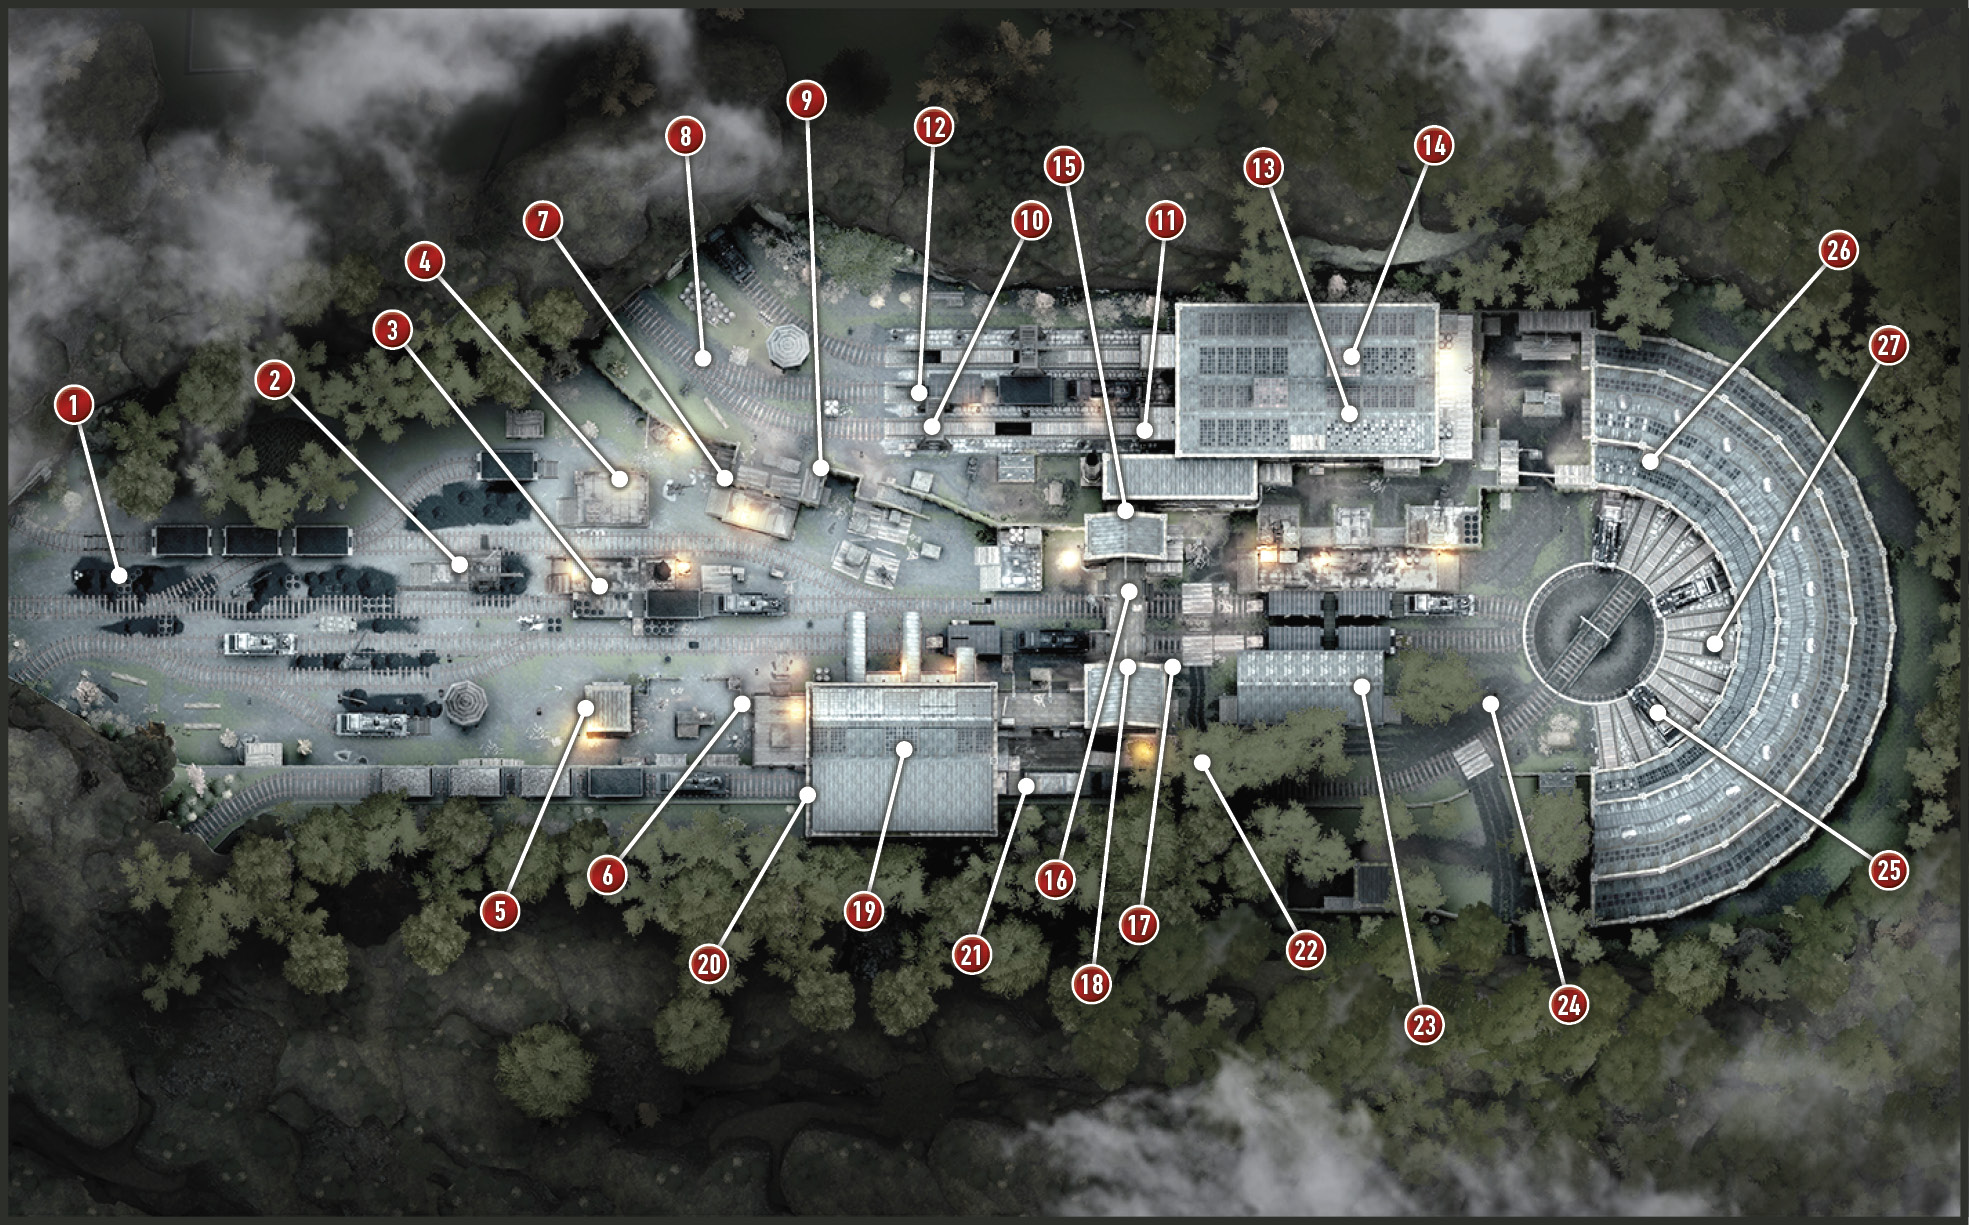
When you disembark in the railyard, Evie automatically takes cover behind a group of coal barrels (1) as four Thugs and a Brute walk by. The group is exiting the railyard completely. If you need knives, follow the last Thug and silently execute him. Loot him and quickly return to your hiding place behind the coal barrels.
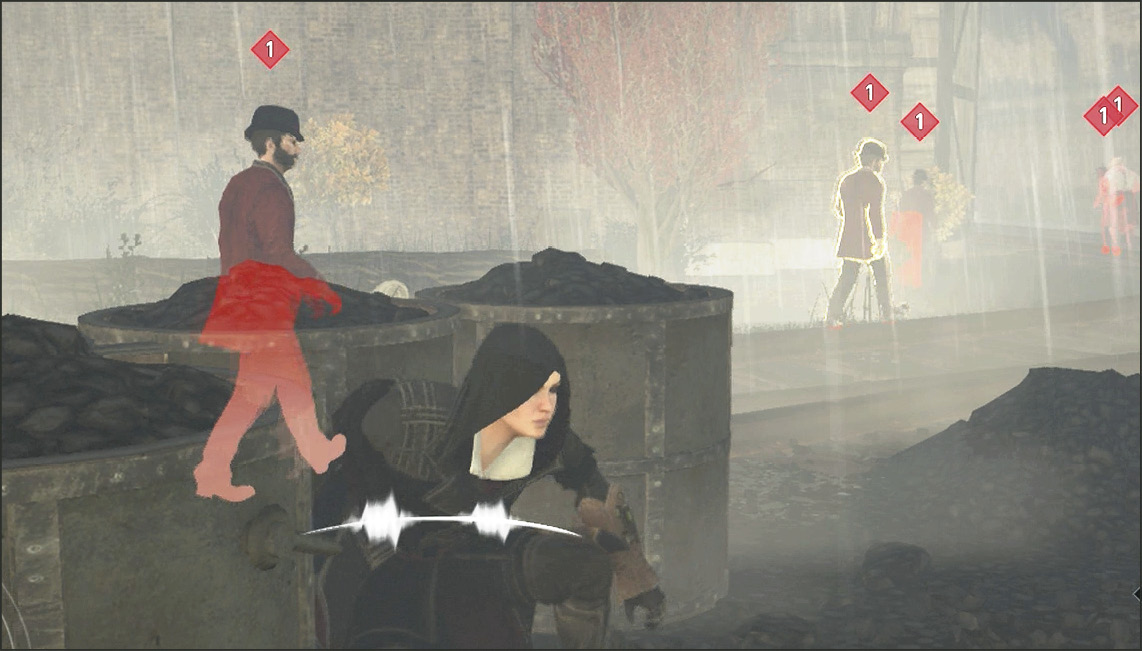
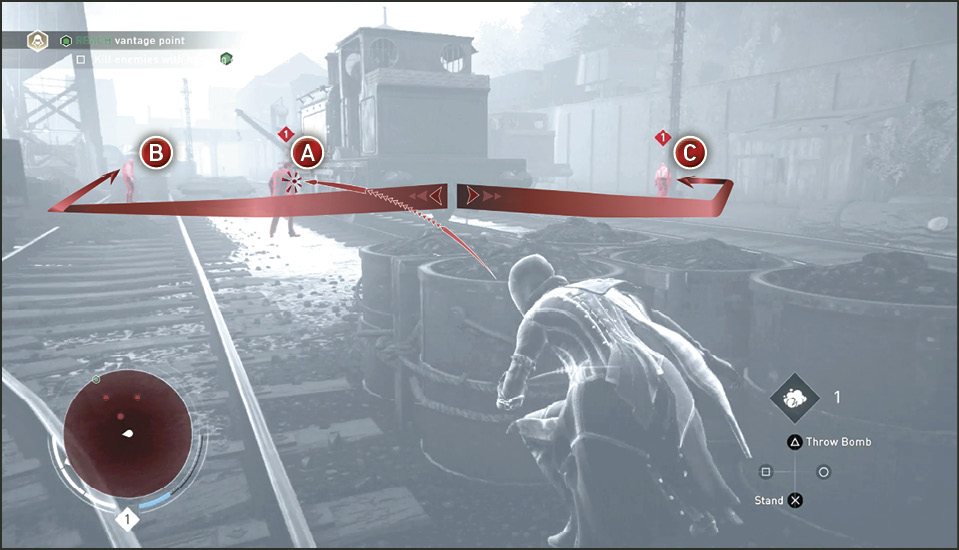
Use Eagle Vision to spot the three enemies ahead. There’s a Brute (B) to the far left and a Thug (A) and a Brute (C) on the right side of the locomotive. If you have a knife you may choose to throw it at the Thug’s head (A). If you don’t have a knife then study the Brutes’ patrol routes so that you have time to silently execute the Thug and duck behind the locomotive before either Brute spots you. Killing the Thug with a knife causes the left Brute (B) to investigate his body. This puts him in whistle range and you can Cover Assassinate him from behind the barrels. This leaves the last Brute (C) as a single, easy kill. Sneak up behind him when his back is to you.
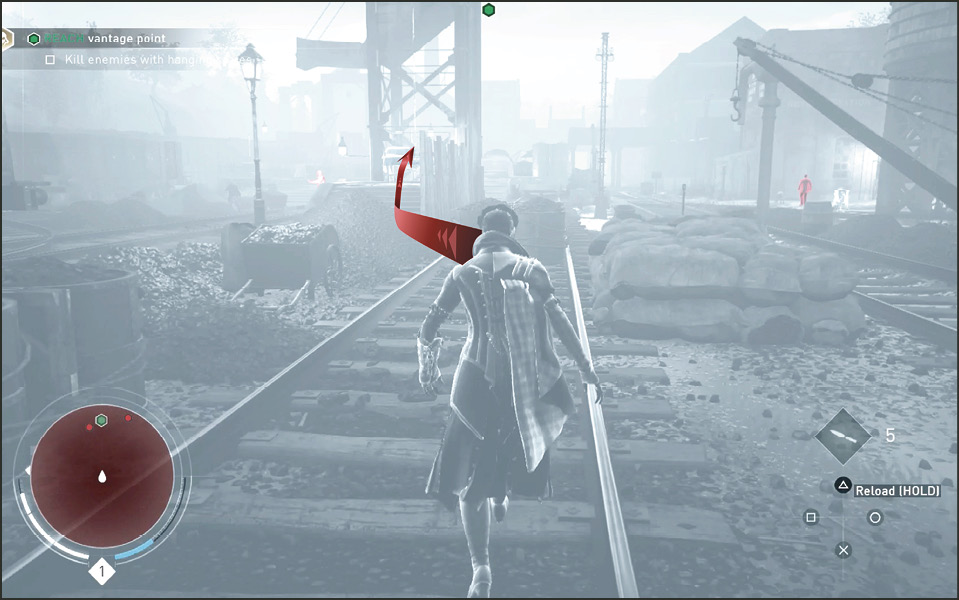
Follow the rails past the locomotive and, while in Eagle Vision, you can mark a Brute to the left of a tower sitting in the middle of the railyard. You can also spot a Thug in the distance on the right. Avoid both of these enemies by sneaking directly to the lift at the top of the stairs. Press R2 + or hold RT +  while running towards the lift to activate it. Evie jumps up on the lift, grasps the rope with tension and cuts below her hand. This quickly snaps her to the top of the tower (2) like a rubber band.
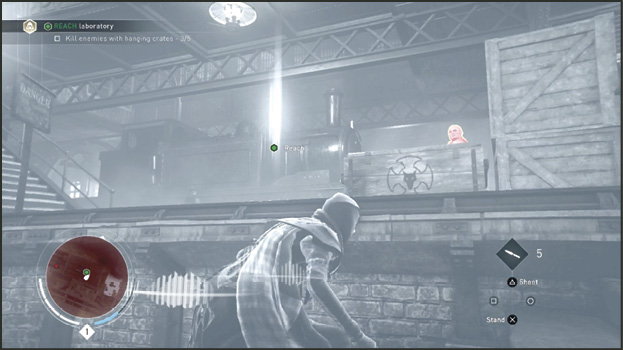
Once on top of the tower, climb to the end of the extended arm and enter the Reach marker. In a cinematic we see Lucy Thorne threatening scientist, David Brewster—your target. She expects results from his invention sooner than expected. Such is life. After the conversation, a passerby is kidnapped and sent to Brewster’s lab for interrogation and possibly something more sinister.
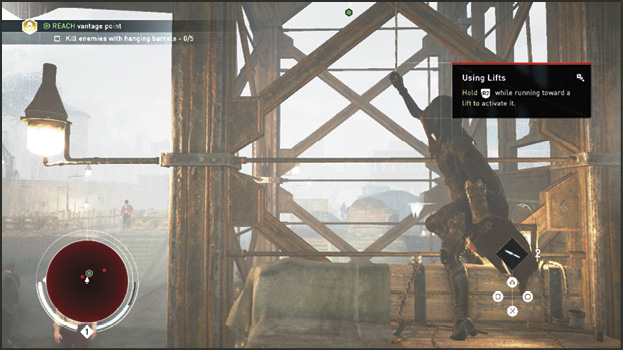
Current Objective: Reach Laboratory
Leap of Faith
Challenge: Kill 5 enemies with hanging Barrels
Mark a few enemies below using Eagle Vision from your beautifully high position at the top of the tower. Notice how objects of interest glow white, for instance the haystack below (3). To perform a Leap of Faith directly into the haystack, push forward on the Left Control Stick and Hold R2 +  / RT + . The sounding thud of your body hitting the hay does not alert the enemy no matter how close to the hay they are. Haystacks become instantaneous cover but you cannot remain inside them when you have been spotted.
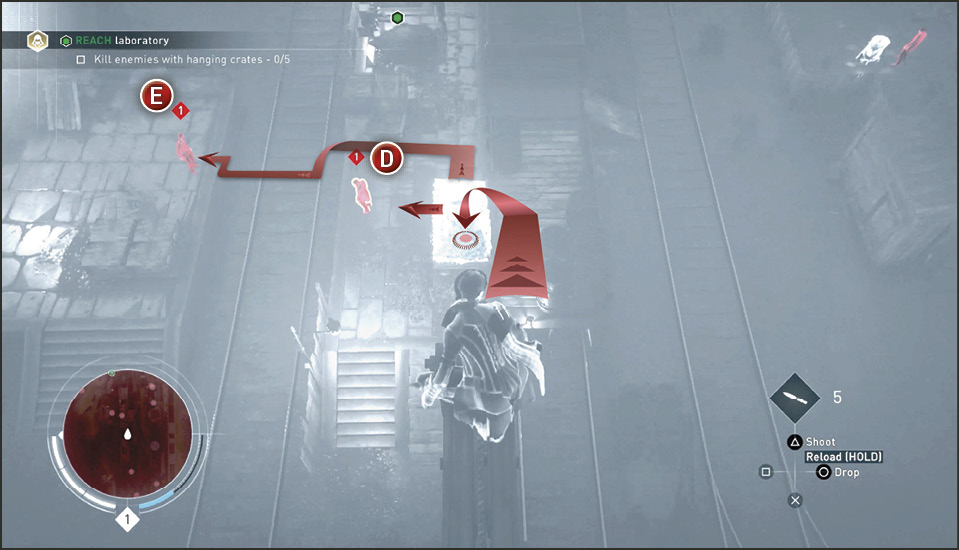
After their conversation ends, the furthest Thug (E) walks away and stops with his back to you. When this happens, whistle to attract the attention of the next Thug (D). When the Thug approaches the haystack, press the Assassinate button to stab him and pull him in with you. This is executed all in one smooth motion. The enemy has to be close enough that he is highlighted target red before a successful haystack attack. Don’t wait too long to grab the enemy. If he inspects the area long enough he discovers you and blows your cover.
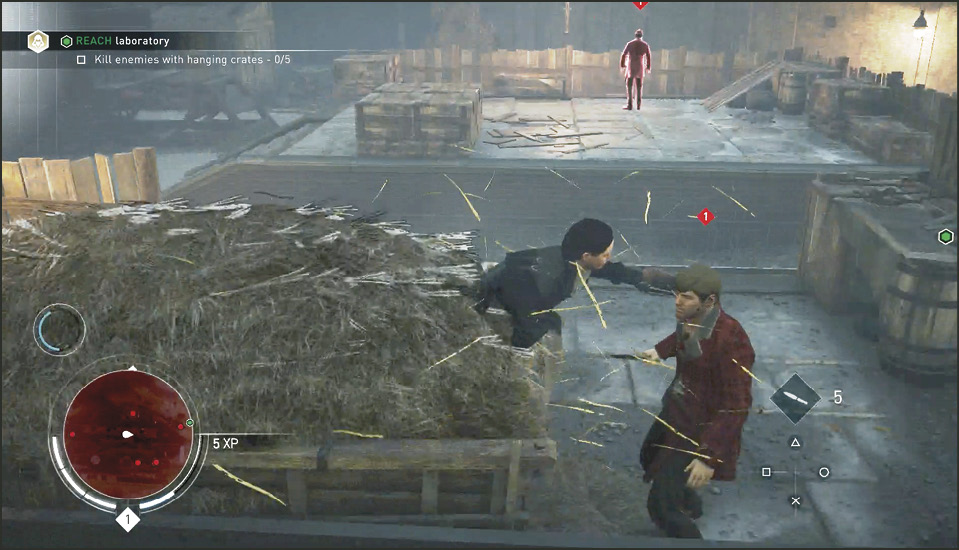
Now exit the haystack and sneak over to the Thug (E) on the next train platform (4) to the left. His back remains to you as long as you make no noise. Silently execute him and loot his corpse.
Killing 2 Thugs with Barrels
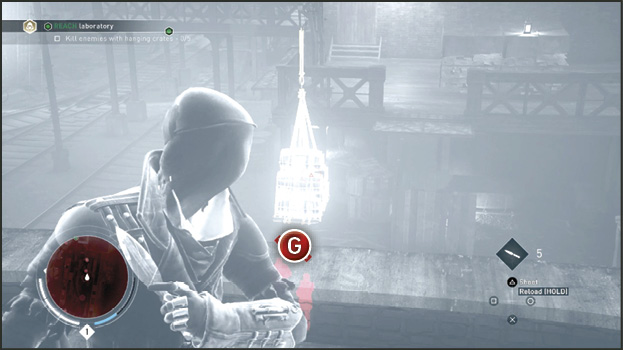
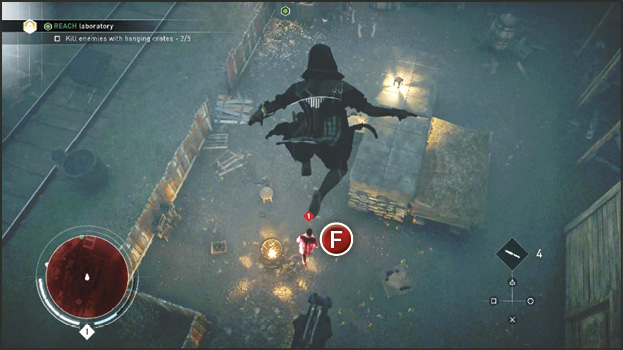
Activate Eagle Vision and mark the enemies (F & G) on the far right side of the trainyard. One of the Challenges in this memory is to kill five enemies with hanging barrels. To secure two of these specialized kills, head back across the previous platform, passing the haystack and continue to the backside of the Croydon Station building (5). Climb to the rooftop and look over the far edge and down on the three Thugs below. The closest Thug (F) should be dealt with after you drop the barrels (6) on the other two (G) near the next building. Notice the barrels highlight yellow. While holding a throwing knife, take aim at the hanging barrels above their heads. The reticle turns red when you are assured a target lock on the barrels. Throw the knife and watch the barrels fall, killing the two unfortunate Thugs below.
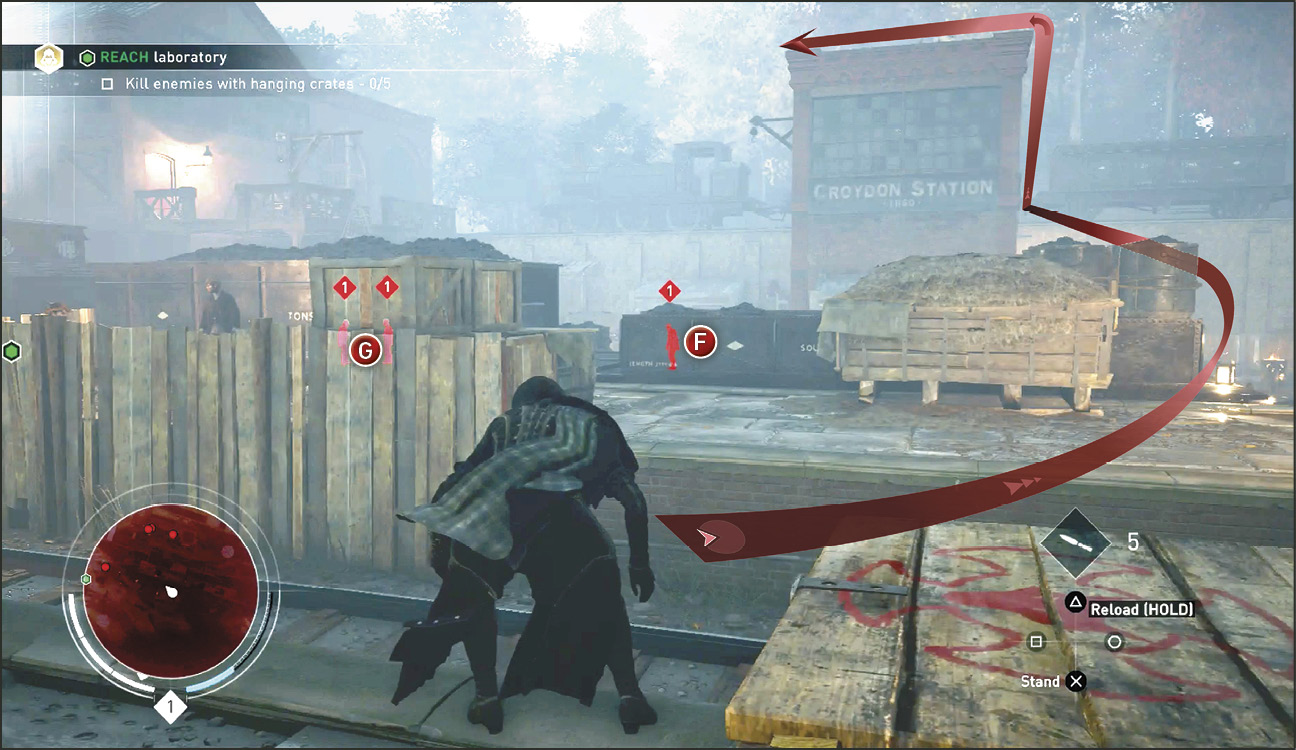
Before the remaining Thug (F) gets too curious about the fate of his comrades, run off the edge of the rooftop and along the pulley arm just below the rooftop. This allows you to get close enough above the Thug to obtain an Air Assassination lock-on. If you waited too long to attack this Thug then use the haystack below to perform a whistling haystack attack. Loot all three of these victims to maintain a robust knife collection.
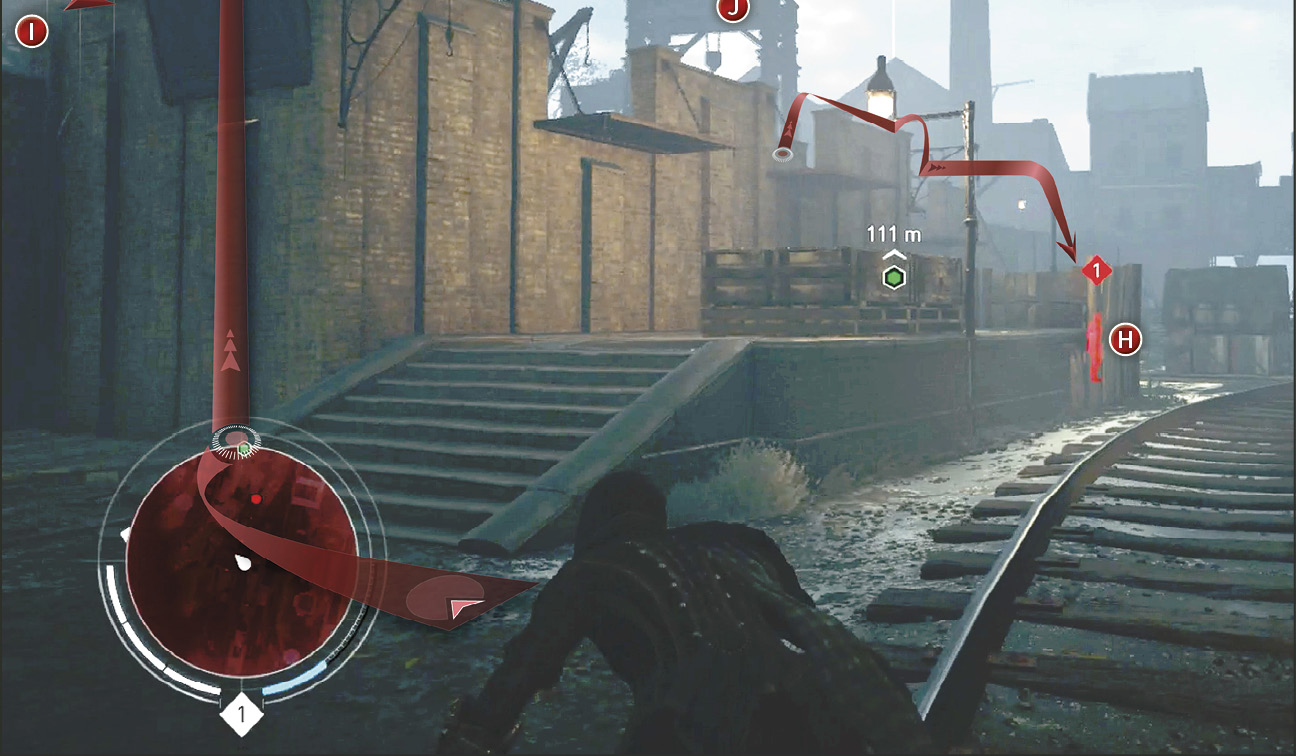
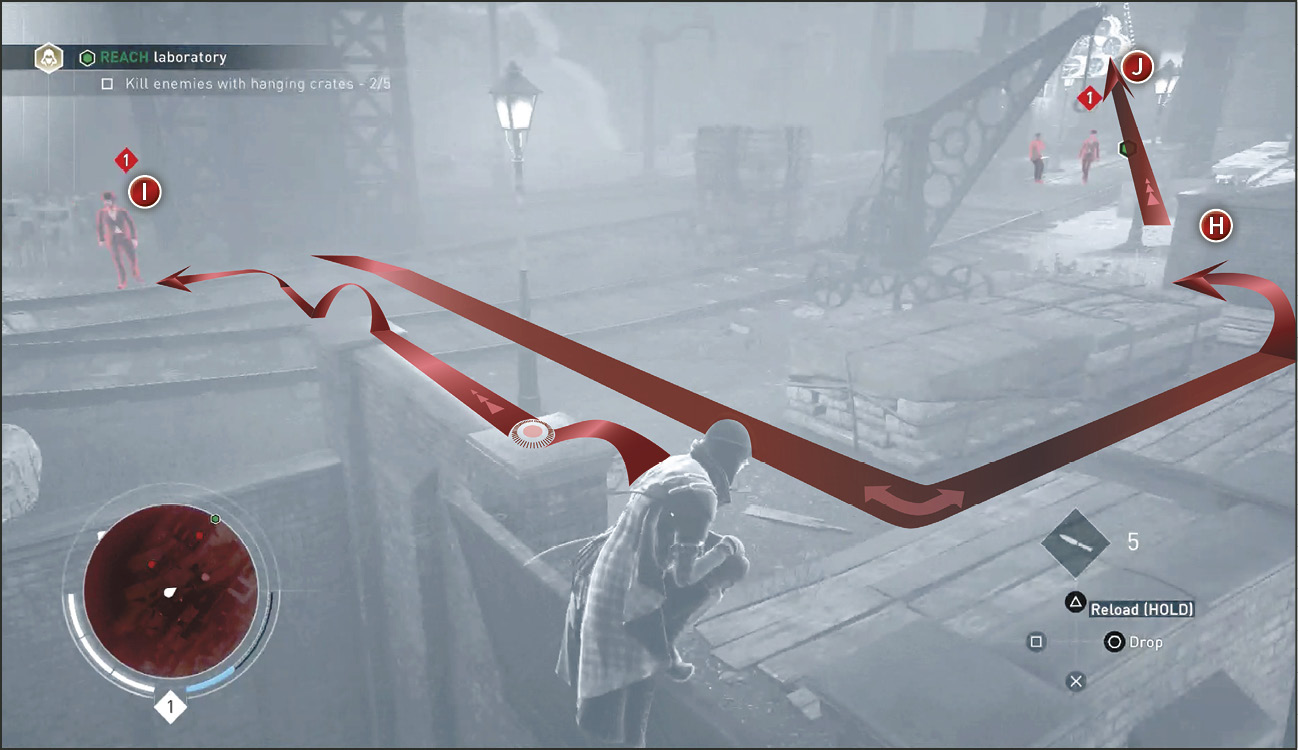
There are four more enemies on the opposite side of the railyard. Keep in mind that killing everyone is not a prerequisite, but there are two more Thugs standing under hanging barrels (10) that will all but complete the Challenge for you. So sneak back to the other side again and climb the castle-looking wall (7), avoiding the Thug (H) on the ground.
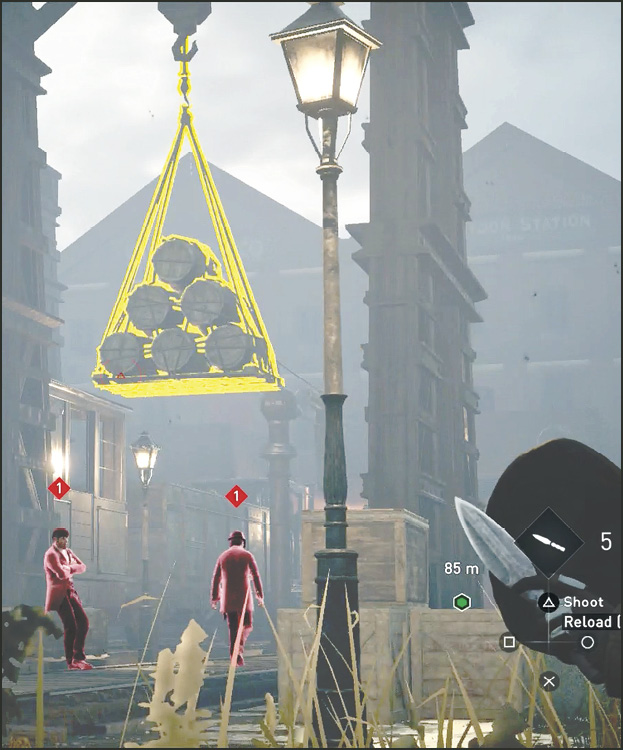
Walk along the wall, but only move when the Thug on the left (I) starts walking further left (8). With his back to you, sneak quickly to catch him before he turns around. Eliminate him and then double back toward the castle wall. Take cover behind the far left corner (9) of the wall. Get a good view of the two Thugs below the hanging barrels (J). Throw a knife at the barrels before one of the guards walks away. If you’ve killed all four with barrels then you only need one more to satisfy the Challenge.
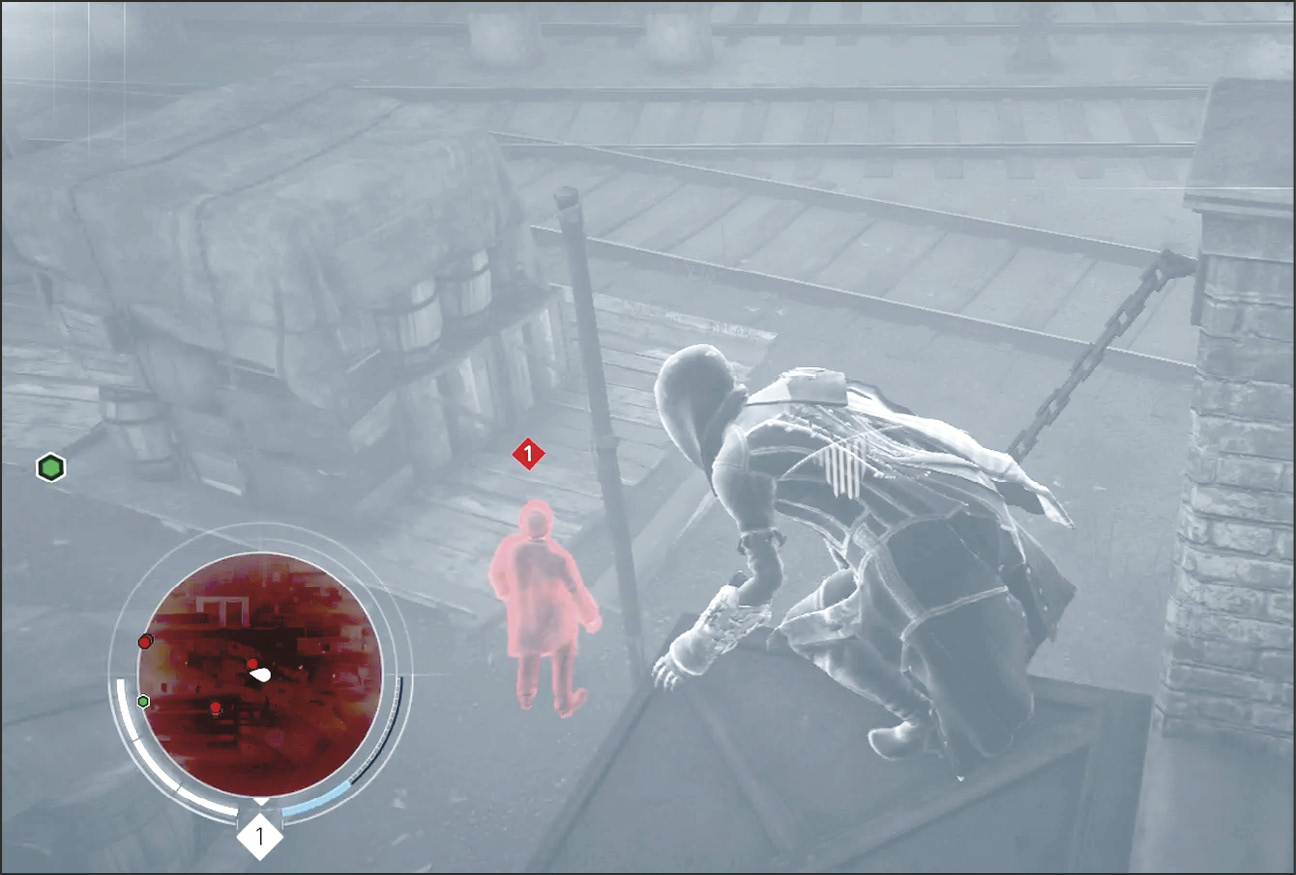
Now walk along the top edge of the castle wall and follow it to the right corner. Walk out onto the extended metal platform (that looks like a drawbridge) and from the edge you can perform an Air Assassination on the Thug (H) below.
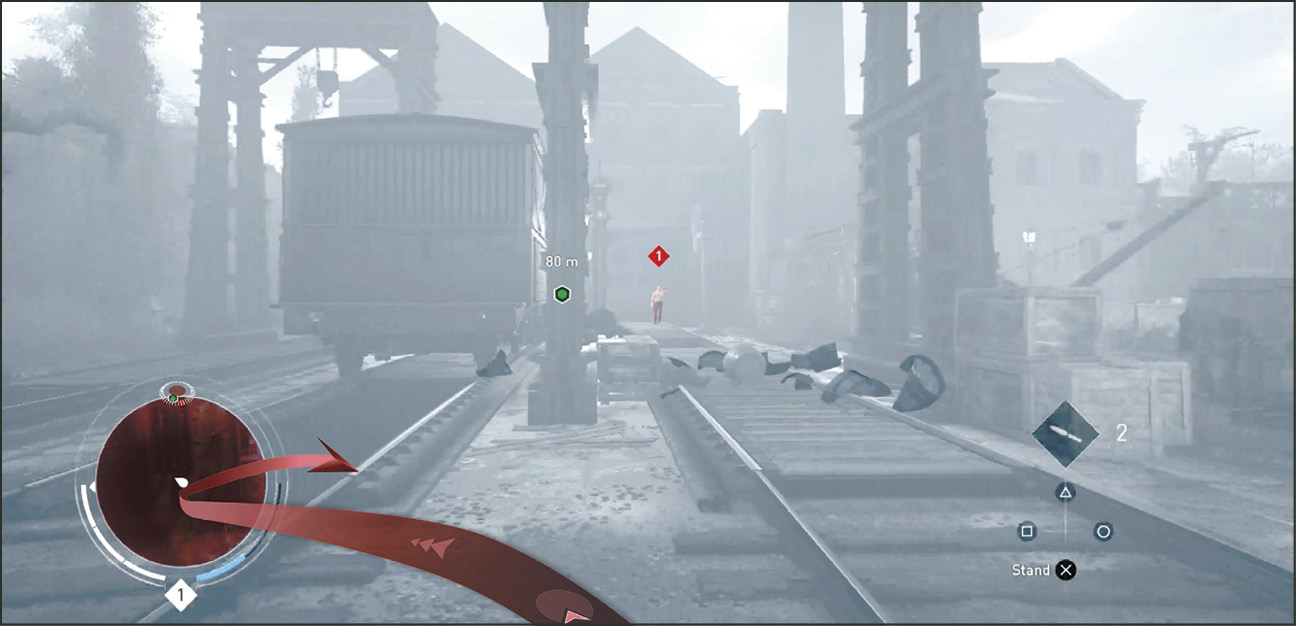
Return to the last hanging-barrel-kill-zone and you spot a Brute guarding the station entrance (11). Your next objective is inside that building. He’s facing your direction. The easiest way past this guy is to travel through the tunnel (12) that runs under the train cars on the left.
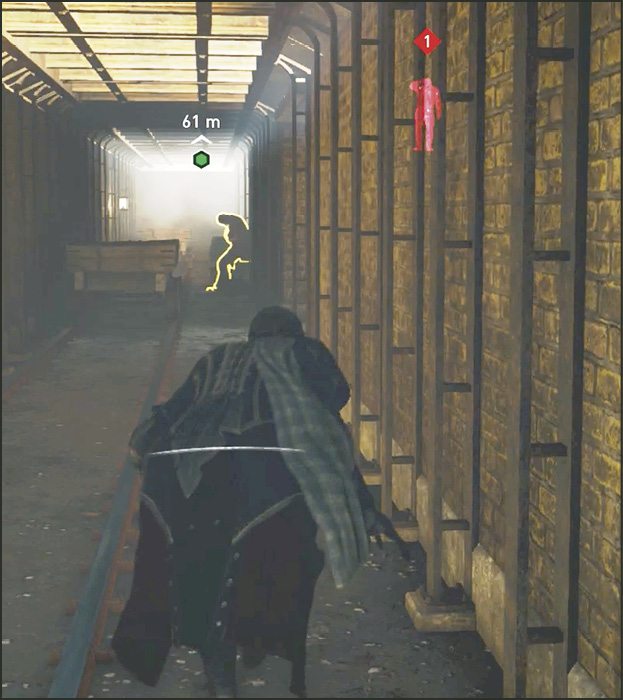
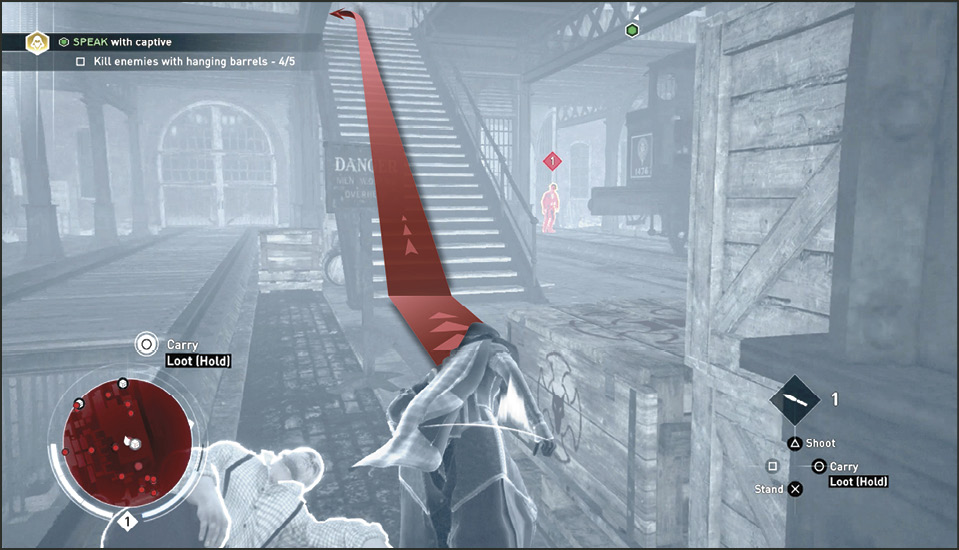
The tunnel splits into alternate tunnels to the left and right and if you continue forward you come across a sleeping Thug. He’s leaning up against the right tunnel wall. Sneak up to him, hugging the right wall, and execute him. At the end of his tunnel and to the left you can find a chest to top off your knives and smoke bombs. Follow the southernmost tunnel to the ascending stairs. Sneak slowly. Just as you crest the floor you can see a Brute partially hidden behind potential cover to your left (13).
Once the Brute is looking the other direction, exit the stairs slowly and hide behind the crates. Whistle for the Brute and perform a Cover Assassination on him when he comes to investigate.
Current Objective: Speak with Captive
After Cover Assassinating the Brute, head left up the stairs to the second level. When you reach the top of the stairs, pivot around and look for the Thug leaning up against some crates on the second floor. Must have been a tough day. That’s not the first sleepy one you’ve seen. Work your way around the left hallway and come up right beside this Thug and execute him silently.
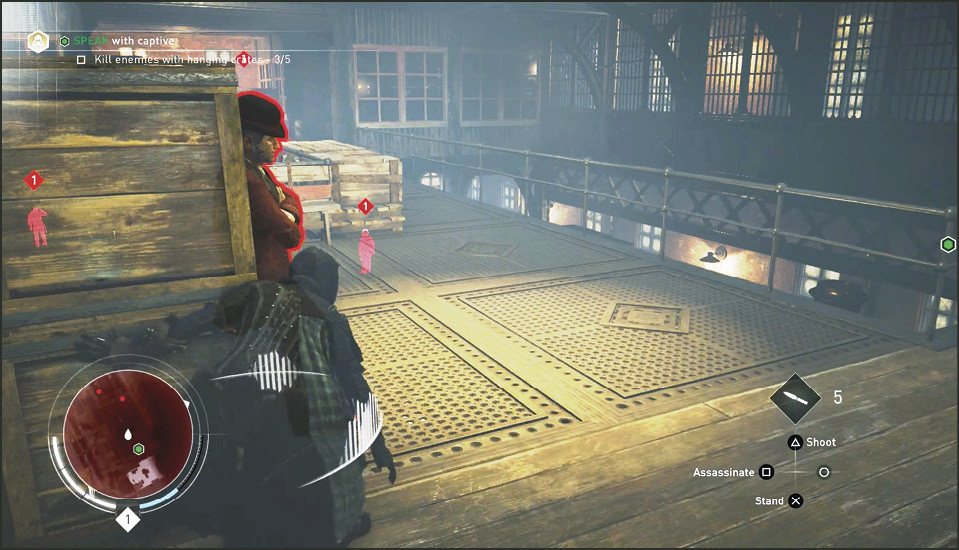
Climb the crates the Thug was leaning up against and jump up to the third floor railing. Drop down onto the walkway and follow the hallway left into the open door on the left, where you find the captive with two guards.
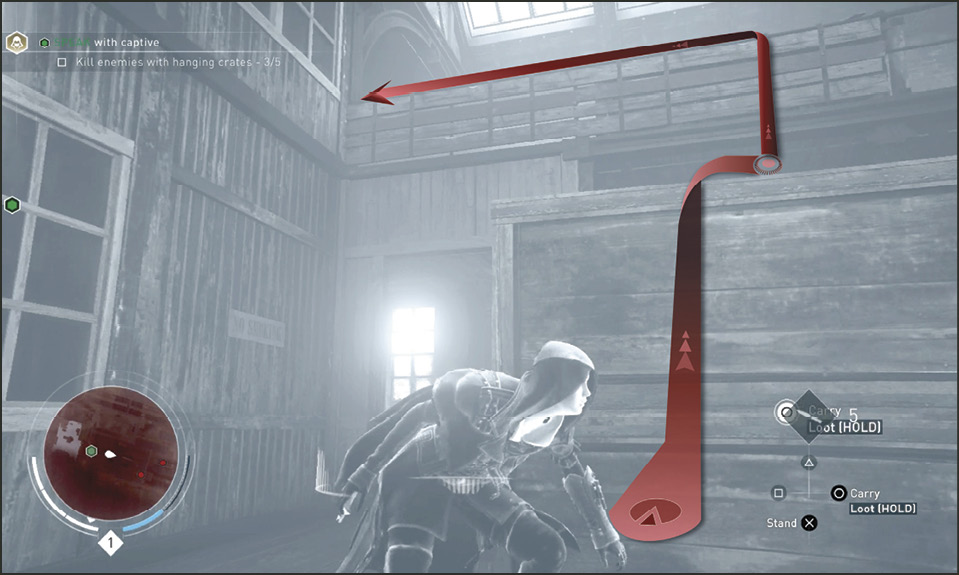
Smoke Bombs
Enter the marker on the right side of the room and press D-Pad Right to switch from Knives to Smoke Bombs. Since you do not yet have the skill to assassinate two close enemies at once (yet) the next best thing is to fill the room with smoke so you can assassinate them both without being discovered. To throw the Smoke Bomb, press and hold R2 / RT button and aim with the Right Control Stick. Enemies have difficulty seeing you through the smoke so their defense is down. Take these two Thugs out and then inspect their captive, Robert Topping.
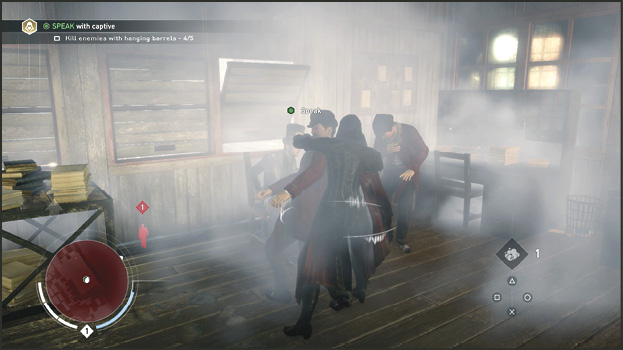
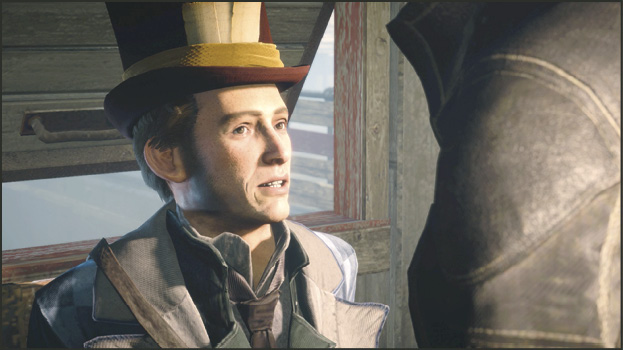
Press the /  button when prompted. Robert reveals the location of the secret lab and asks you to untie him. Evie tells this carny to get himself out of the bind since he managed to get himself into it…but he mysteriously vanishes the moment you turn your back. Robert Topping later becomes an associate in London.
Current Objective: Locate Key
Exit the room through the opposite door. Turn left in the hallway and find the ladder to a loft. Climb the ladder to the loft and exit (14) the building through the open skylight. Once you are out on the rooftop, you can spot the green blip marking the location of the next objective: Locate the key.
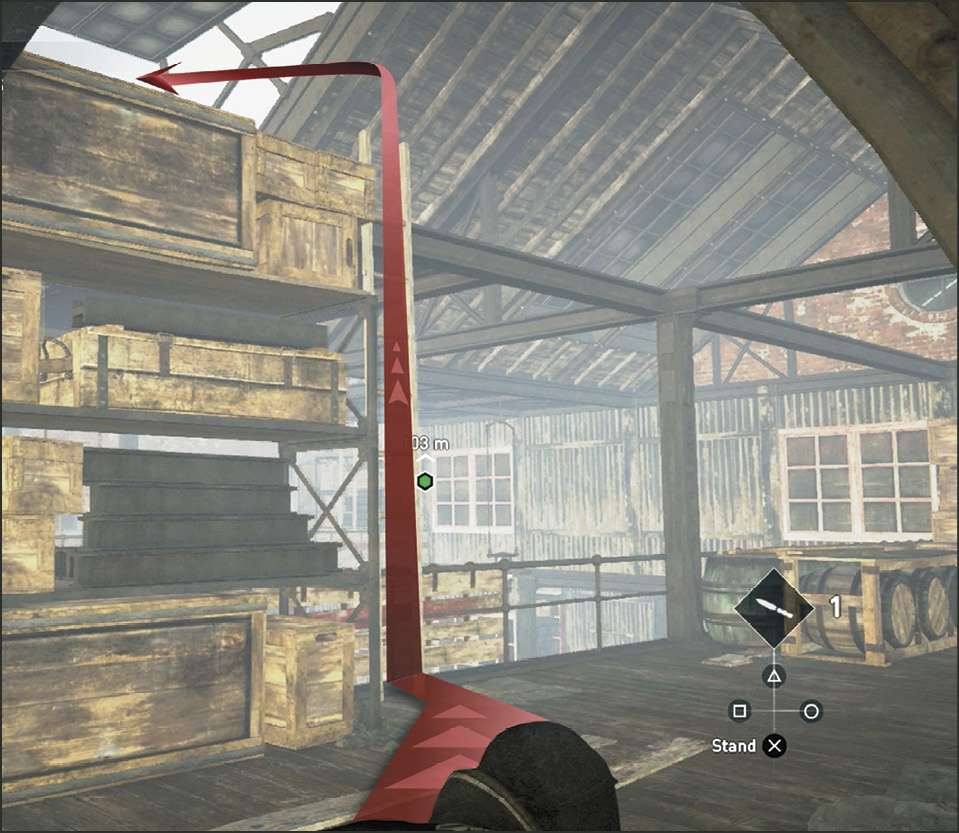
Walk along the peak of the rooftop heading to the right toward the green blip. When you reach the gable, pivot to the left to see a lower flat rooftop and then another building beside that one. In Eagle Vision, enemies in view around that building begin to mark. Drop down off your rooftop, cross the flattop building and clamber to the peak of the next building’s rooftop (15).
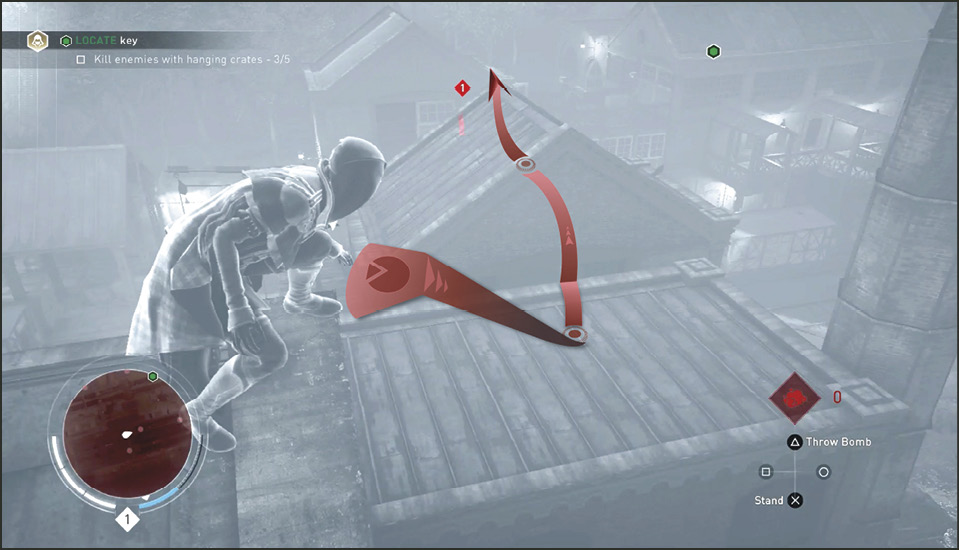
Activate Eagle Vision and mark the enemies below. There’s a Brute (K) below you. On the ground level is a Thug (L) walking towards some hanging barrels. There’s another Thug (M) on the same walkway (16) as the Brute. This Thug patrols the interior of the next building and this walkway. The last Thug (N) you can mark crouches on the edge of a platform jutting off the right side of the walkway.
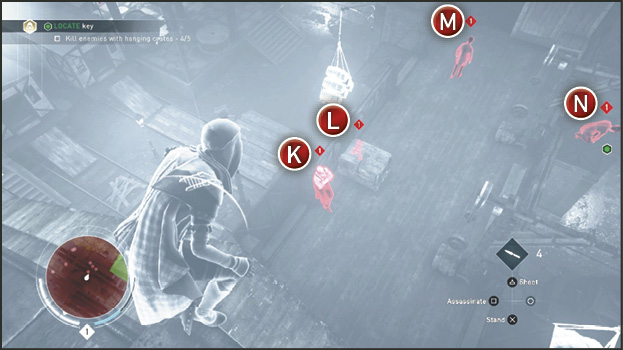
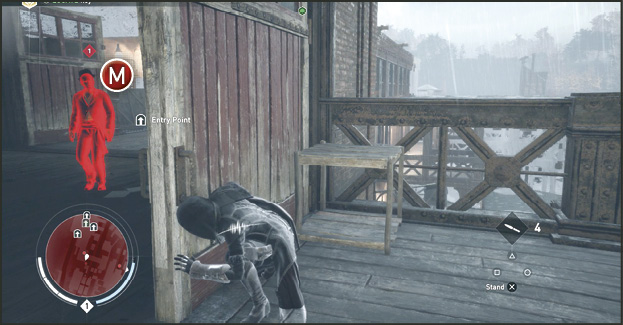
Begin this slaughter by throwing a knife at the hanging barrels (17) when the Thug (L) walks under them. This has the potential of being your final barrel kill, thus completing the Challenge. If not, there are a few more opportunities to make up for any misses. Next, when the patrolling Thug (M) disappears into the next building, perform an Air Assassination on the Brute (K) below you. Quickly sneak up to the crouched Thug (N) on the right and assassinate him from behind. Lastly, crouch and cover beside the open door of the next building and whistle for the patrolling Thug (M). When he comes to investigate, Cover Assassinate him.
After defeating the enemies in the area, hop up to the top of the rooftop (18) that the patrolling guard was under (there is a Chest worth opening on the first floor of this building if you want to divert your course). Leap across the winches to reach the next building to the right. Get to the opposite side of the rooftop peak and enter through an open skylight (19).
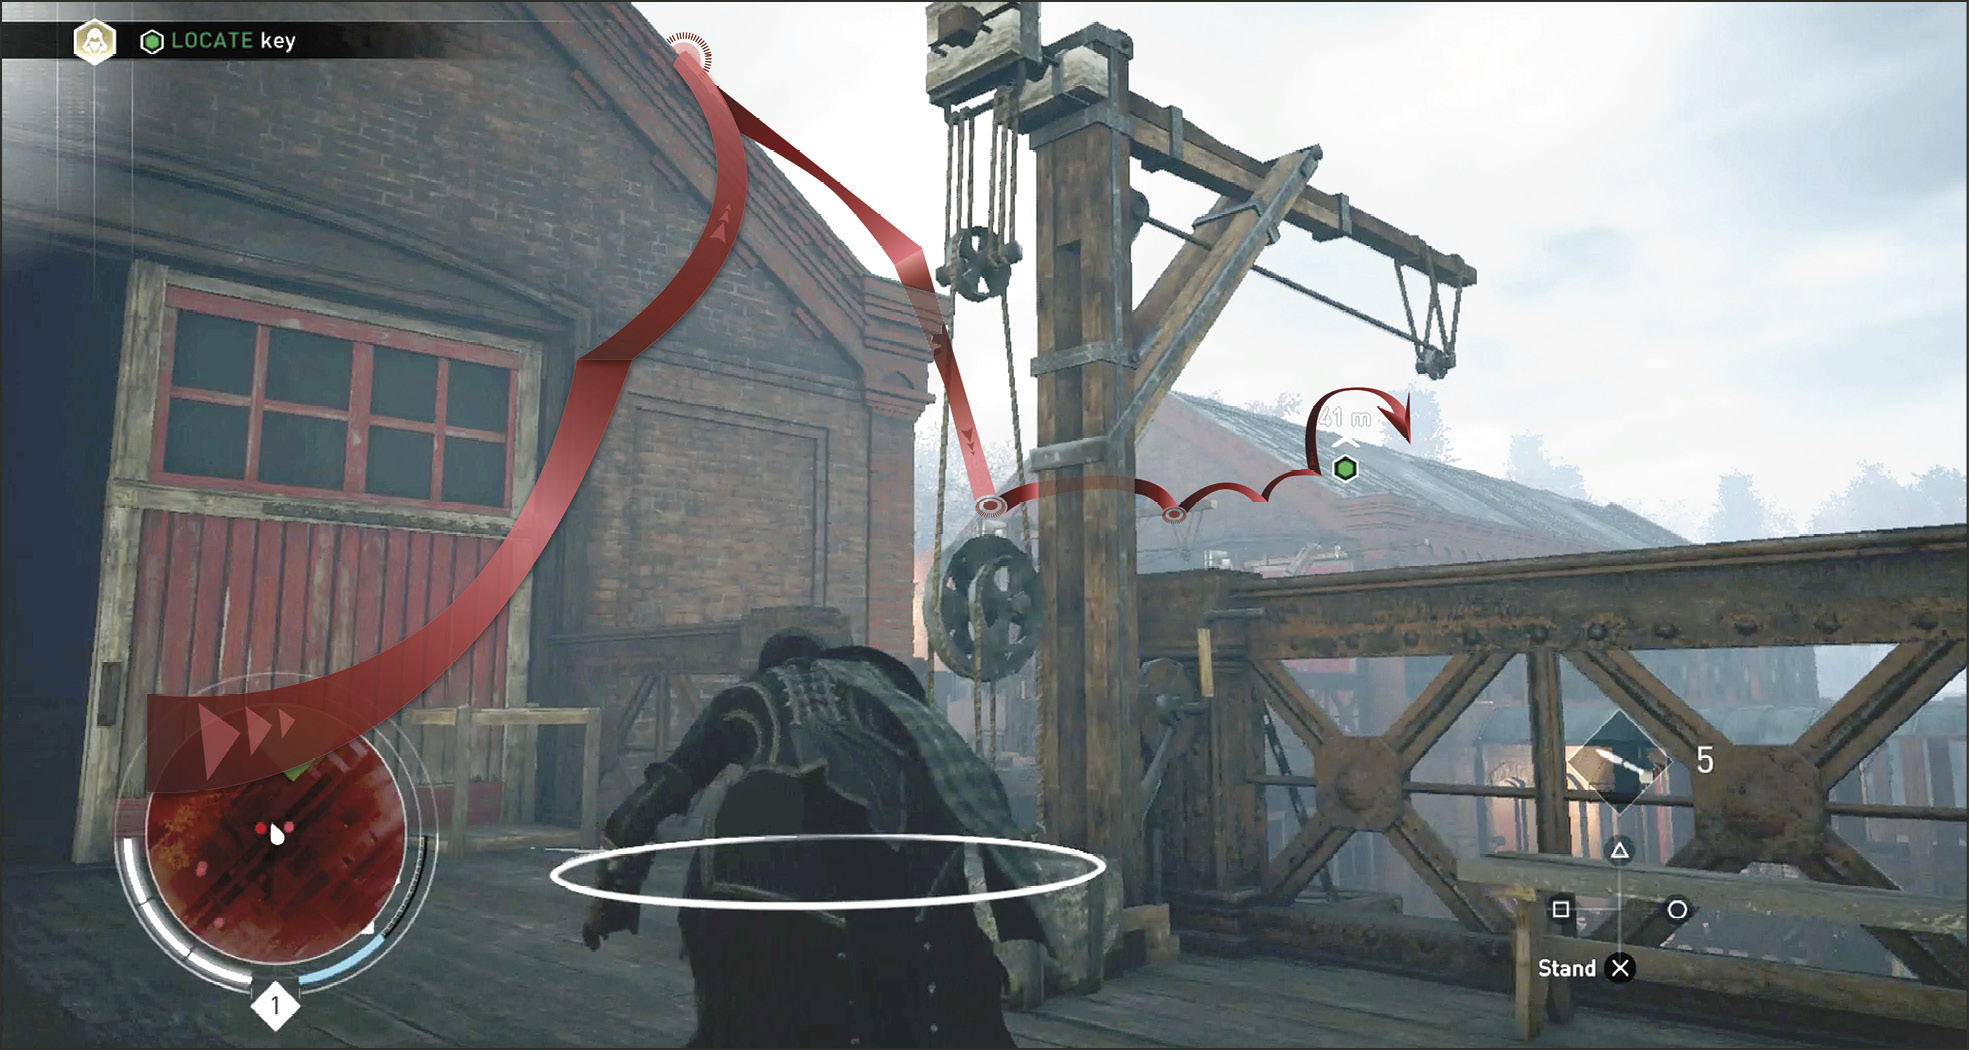
Walk along the rafters while looking downward with Eagle Vision activated. You are looking for an enemy that is highlighted yellow and marked with a Steal icon. This key holder (P) and a Brute (O) walk toward the doorway below. To mark them you may need to walk across the beams heading to the right from the skylight platform and look around the platform obstructions. Later you will be able to spot enemies through walls and floors (but not just yet).
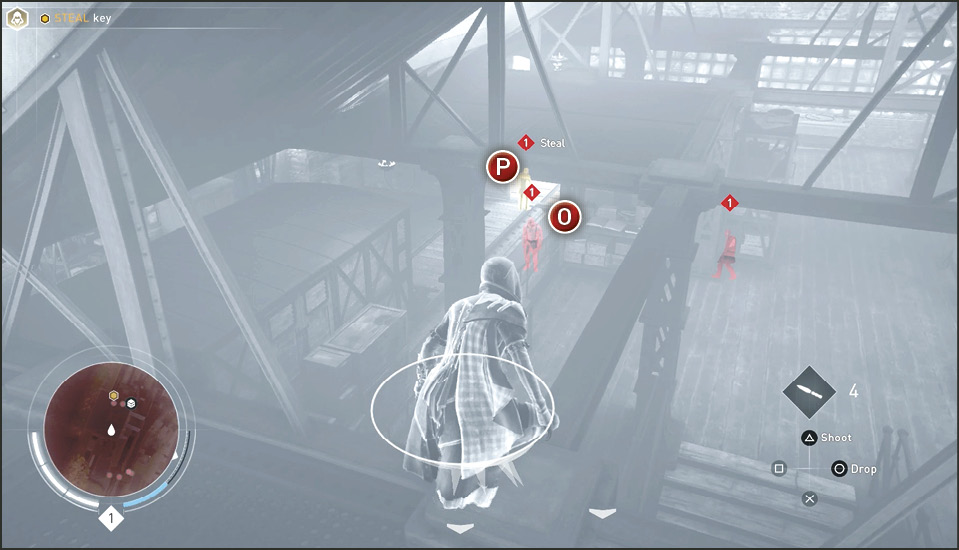
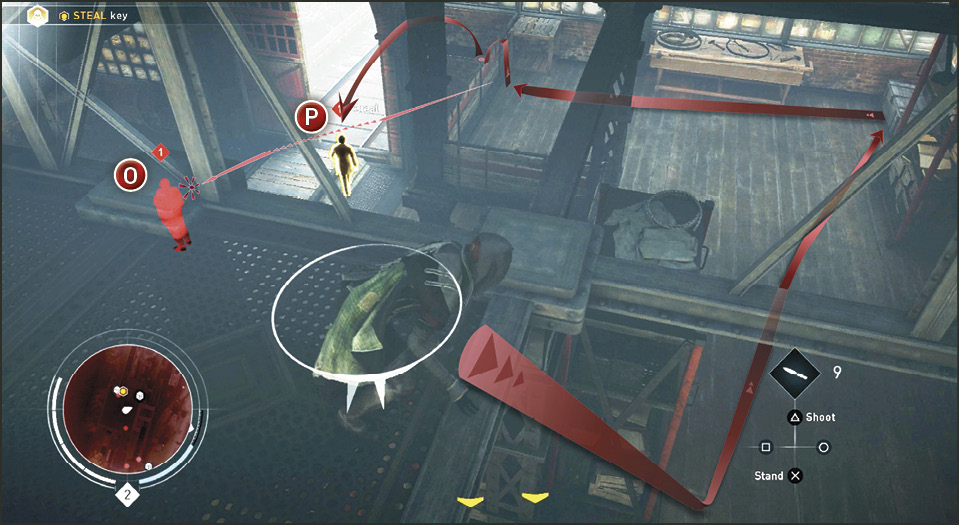
Drop from the rafters down to the second level where you can find a chest full of goodies in the right corner. Approach the chest and kick it open using the / button. Inside are money, knives and smoke bombs.
Stand up next to the railing overlooking the Brute (O) and throw a knife into his head or let him keep walking behind the train if you don’t have a knife. Make sure the Thug that is difficult to see directly under your platform has walked away to the left. Then, hop up on the rail and perform an Air Assassination on the key holder (P) and then quickly loot his body for the key. Exit the building through the large open door (20) to avoid being detected by other enemies inside.
Current Objective: Locate Secret Lab Entrance
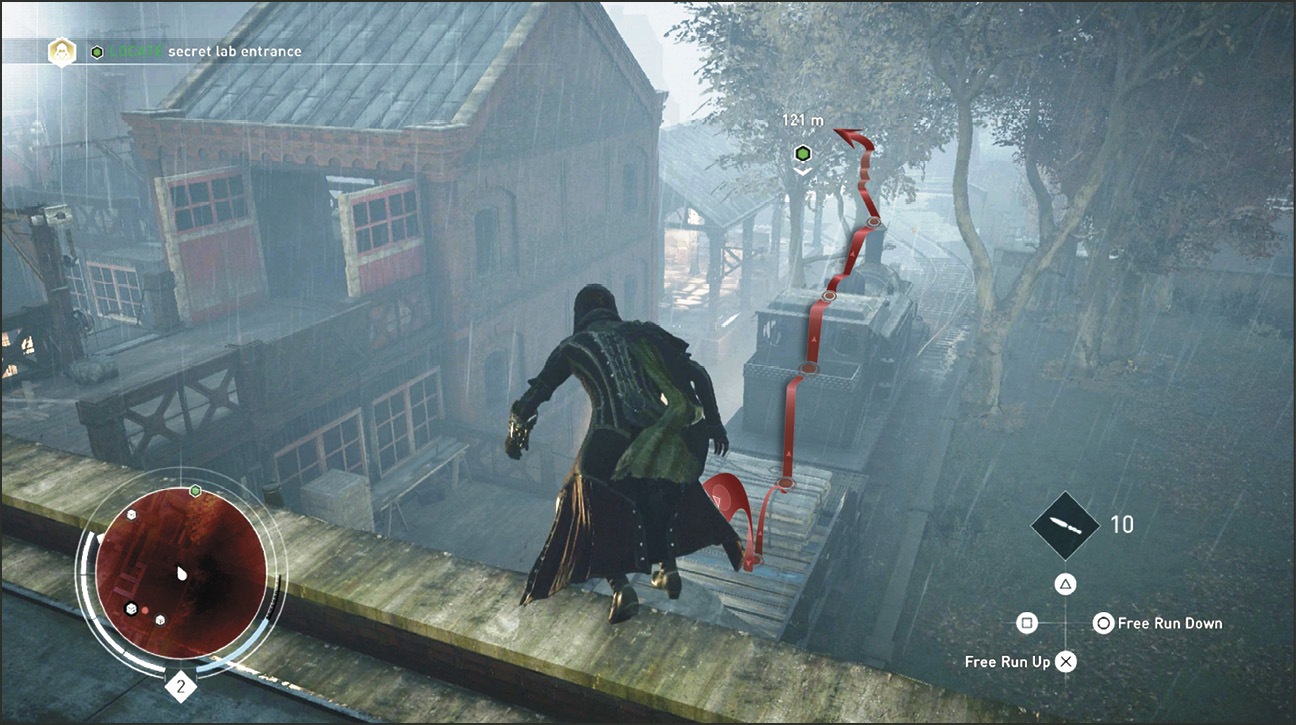
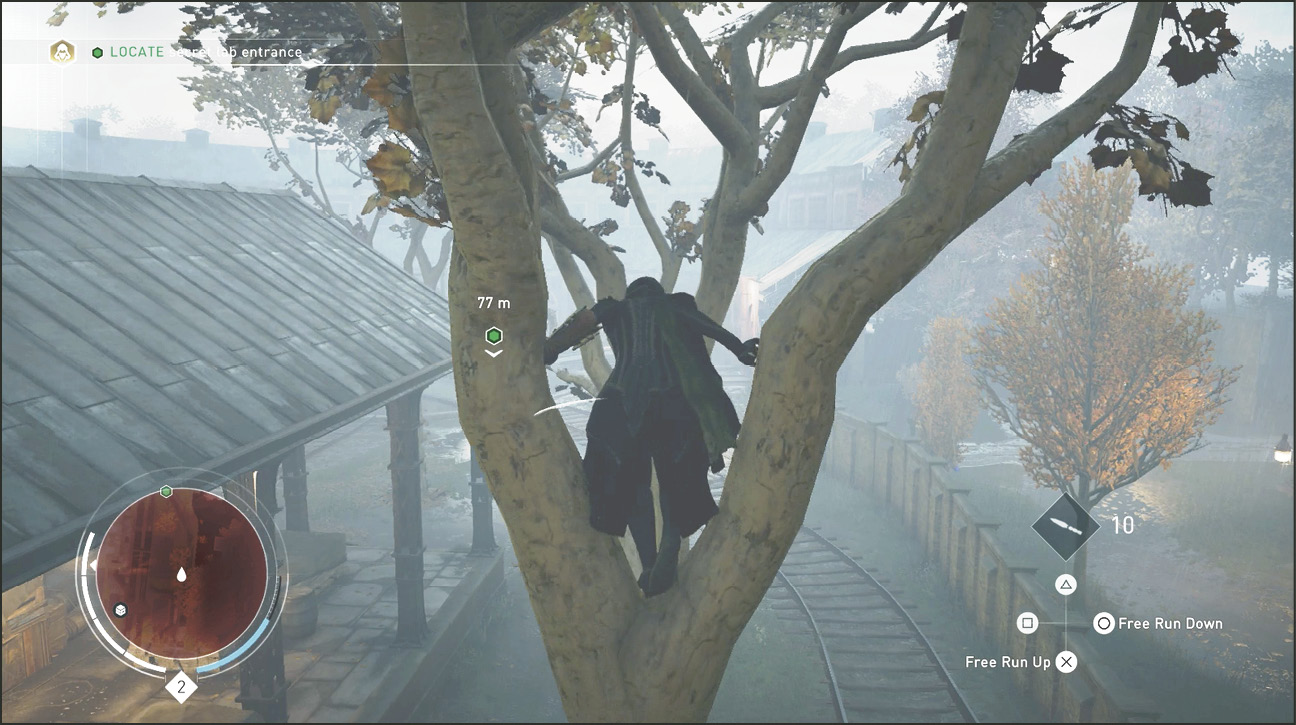
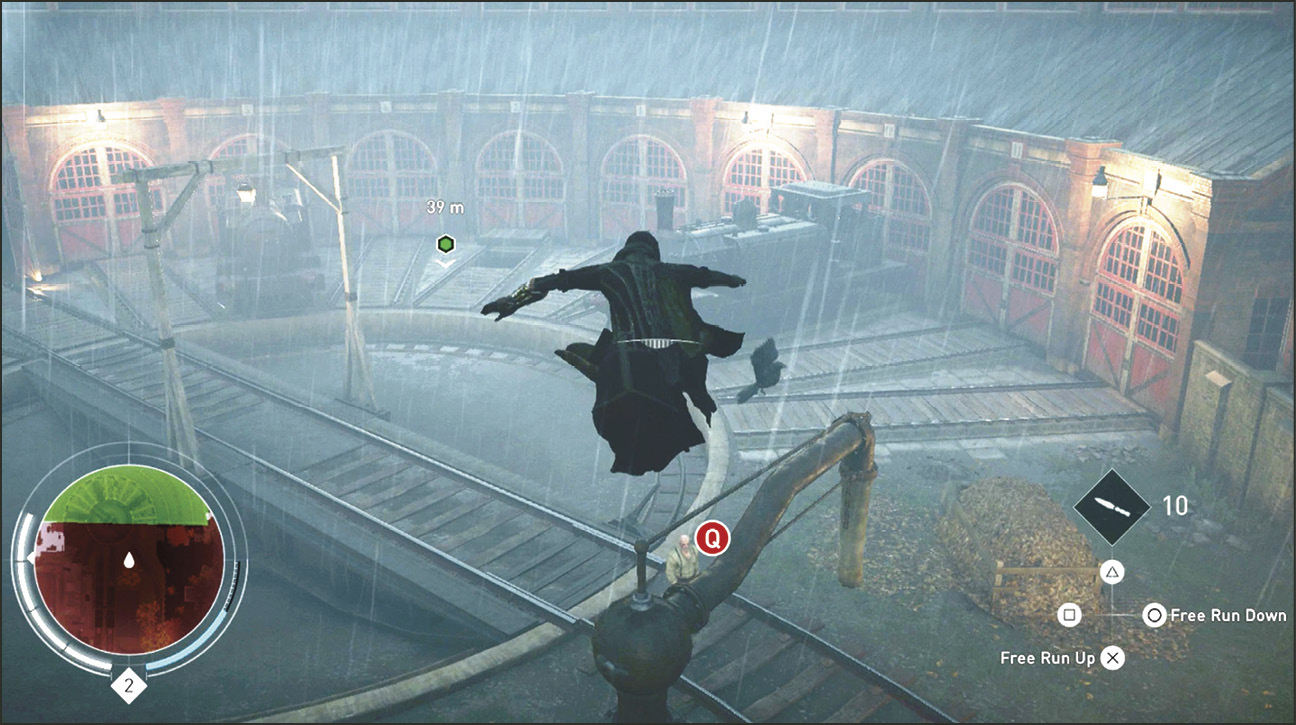
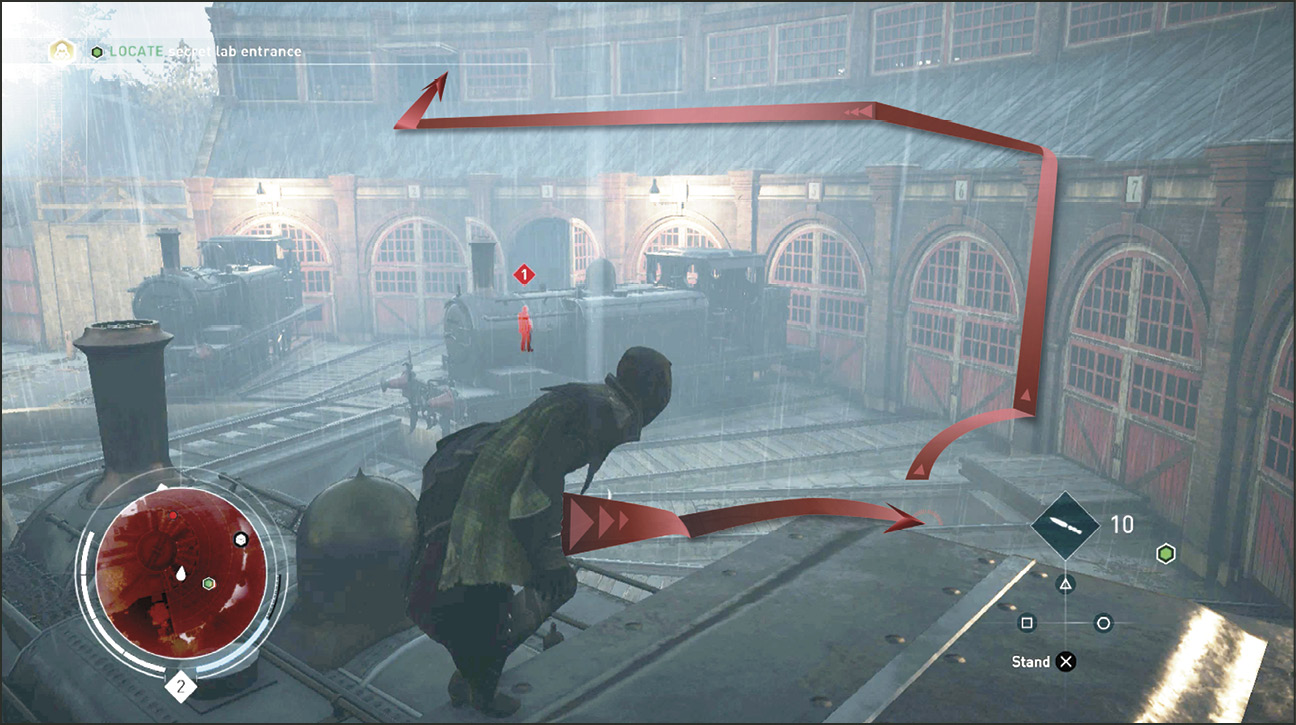
Climb up the door (20) and the side of the building to reach the rooftop again. Once on top you see the green blip of the next objective in the distance, some 150 meters away. Run past the skylight (19) and stop at the far end of the rooftop. Below is a parked train (21). Jump down into the train car and hop toward the front of the locomotive.
Standing on the train’s large smokestack, look to the line of trees ahead (22). You can leap to the nearest branch and continue through the trees by hopping through the V-split at the top of their trunks.
From the last tree, jump to the rooftop of the shelter (23) and then continue jumping through the next couple of trees and finally to a metal water pipe (24) where you can perform an Air Assassination on a Brute below (Q).
Climb up on the nearest train (25) and have a look around. You could enter the train station through the guarded entrance, but alternatively the open window (26) above is an option, as is the short tunnel (27) in front of the train. We will guide you using the tunnel route; it’s a shorter distance to your destination.
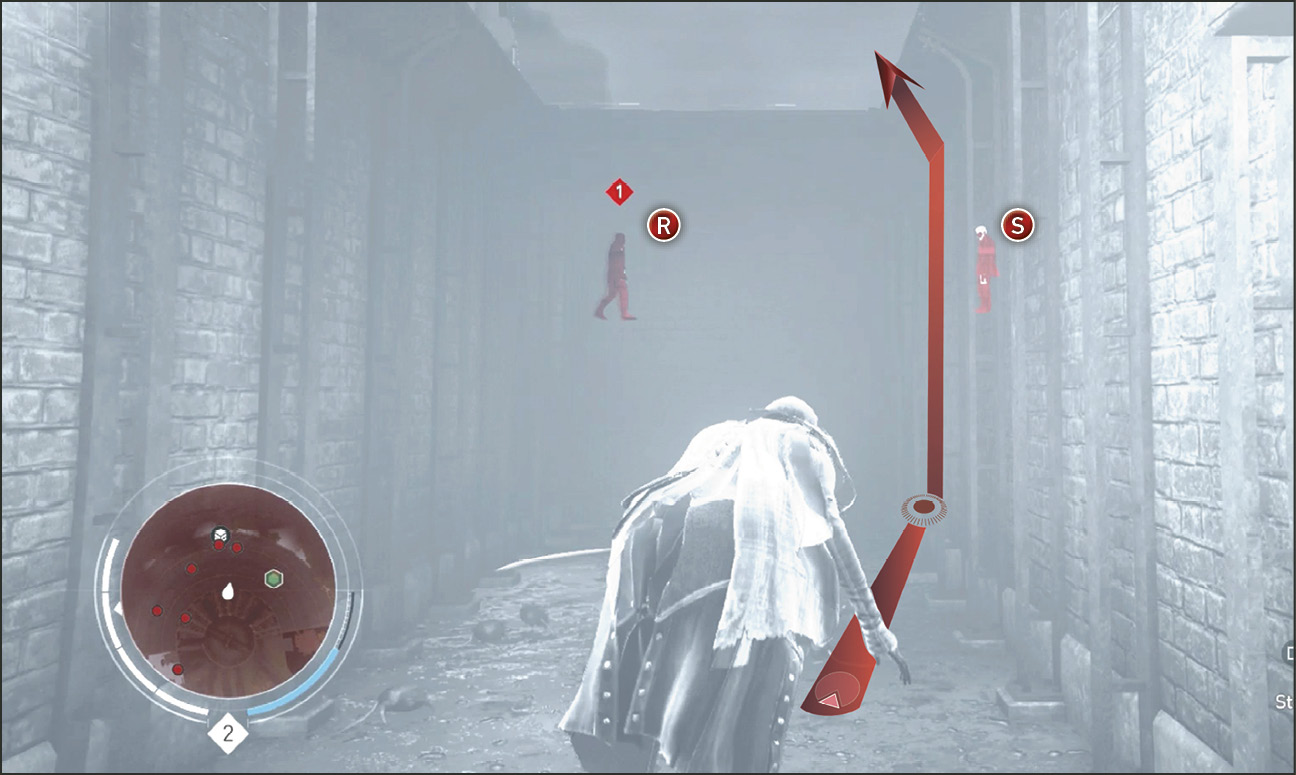
Once in the short tunnel, walk to the end and climb the right wall and only latch onto the opening above. Do not pull yourself up into the room above yet. Activate Eagle Vision and find the two guards nearby. There’s a Brute (R) that patrols from the left wall to where the Thug (S) stands at the right wall.
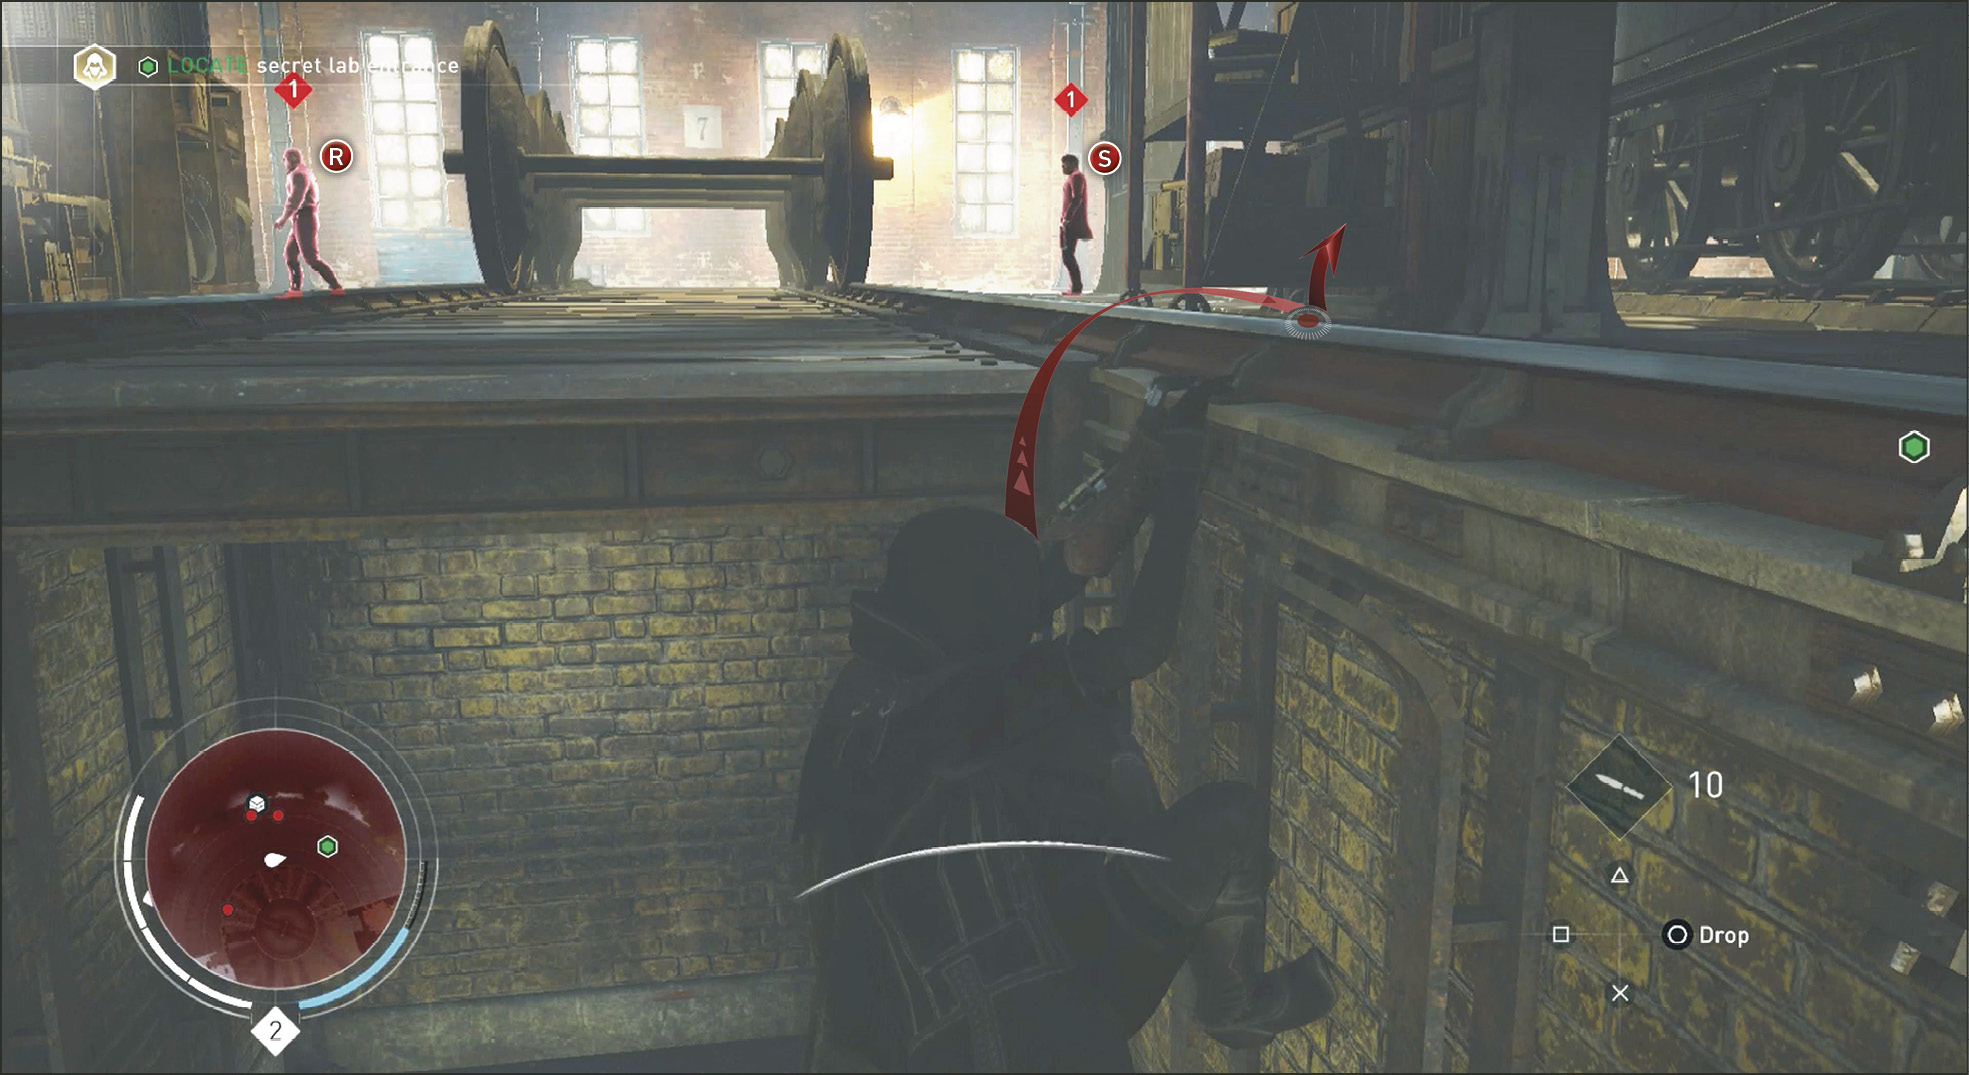
When neither guard is looking, pull up into the room and take immediate cover behind the shelf on the right. From here you can throw a knife at the Thug’s (S) head. Next you can either whistle for the Brute as he inspects that body and then Cover Assassinate him or you can just throw a knife at his head.
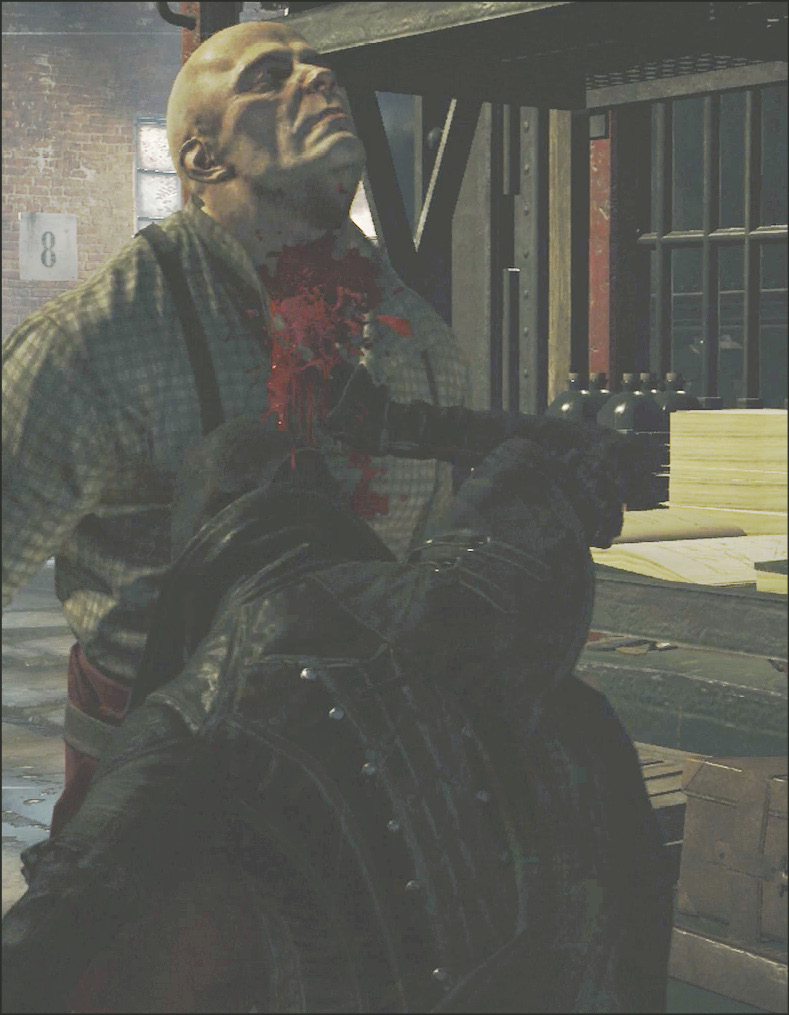
Enter the rafters above using any route you desire as long as you keep your cover. The Brute guarding the door can see through some of the grated walls near him so don’t get too close. You can jump to the platform above him and either Air Assassinate him or throw a knife at his head. With that done, use the key to unlock the door he was guarding.
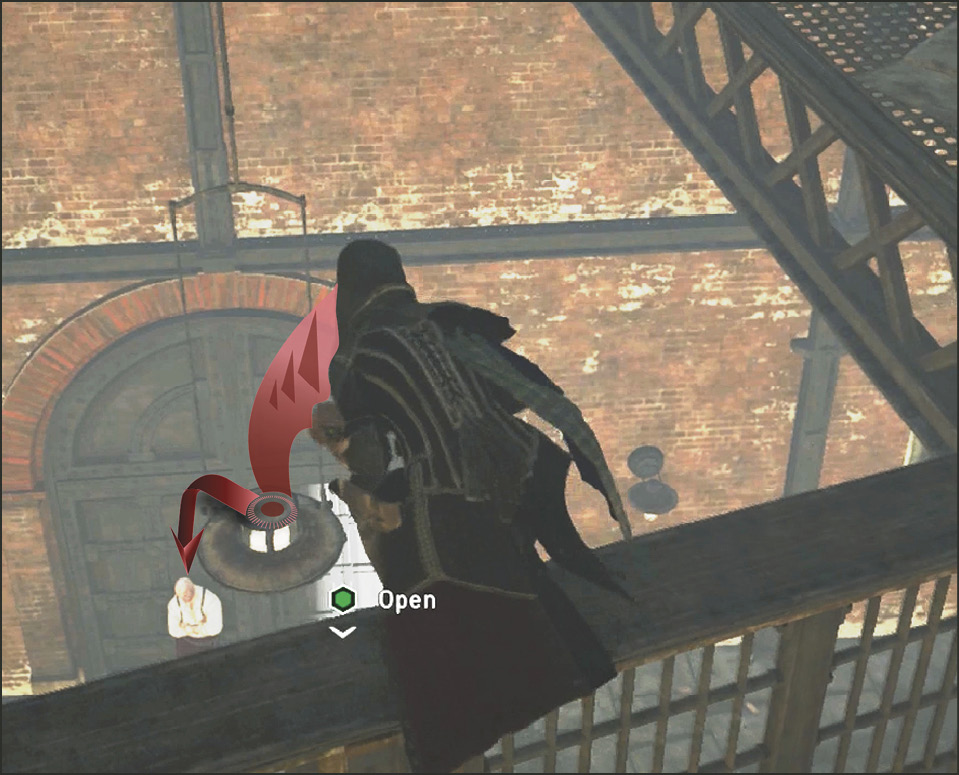
Current Objective: Locate Sir David Brewster
Acquire Double Assassination Skill
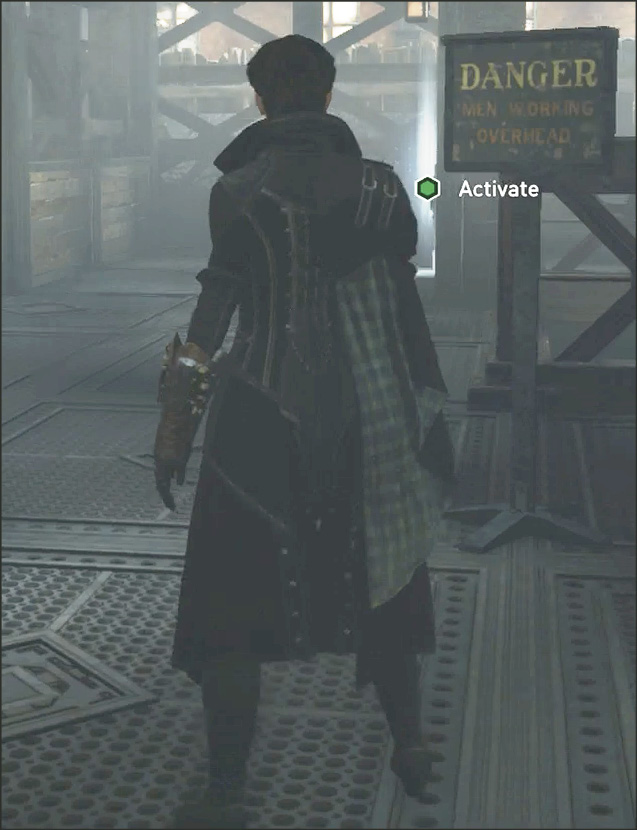
The next room is nothing more than a very large elevator shaft. Enter the lift and press the Activate button on the lift lever to reach the lower level. This completes the current objective. Now you must locate Sir David Brewster. A message appears at the top of the screen: You Have Earned 3 Skill Points. Next, a Skill Upgrade tutorial screen appears. It goes on to explain that you gain XP from Memories, Skilled Assassinations, and London Activities. Each 1,000 XP earned gives both Jacob and Evie a single Skill Point to spend on new Skills. So the twins share Skill Points. Keep that in mind when you are upgrading one—the other is waiting.
The Skills menu opens. Purchase the Double Assassination skill. We also suggest you purchase Loot Takedown and Eagle Vision II now.
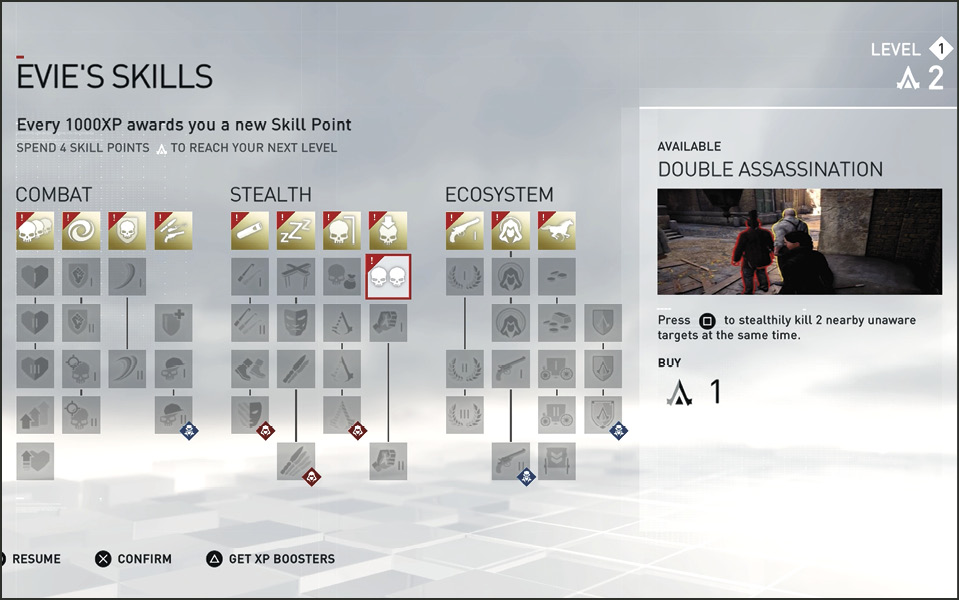
When the elevator reaches the bottom floor you quickly realize why you purchased Double Assassination. Through the next passageway stand two unaware Thugs with their backs to you. They stand side-by-side and as you sneak up to them you now acquire a double lock-on—both enemies glow with a red highlighted outline. When this lock-on is achieved, press the / button once and watch as Evie skillfully executes both Thugs.
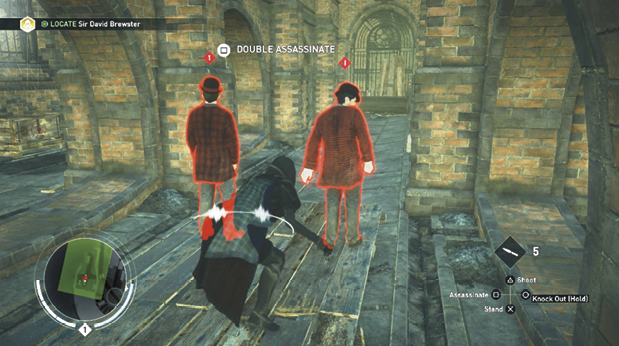
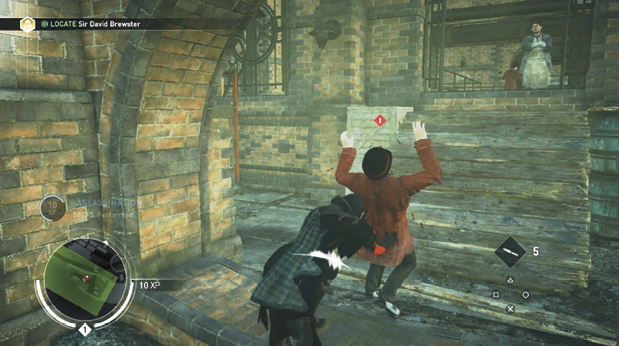
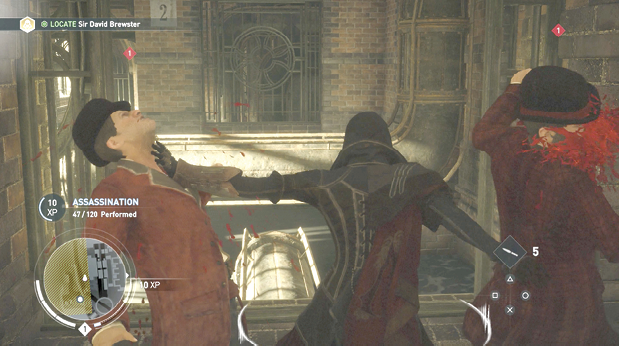
Sneak into the right tunnel and find the Thug carrying on a conversation with someone through a ramped exit. Execute him from behind.
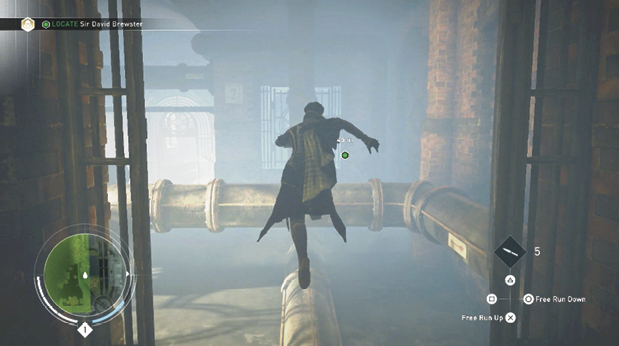
Head up the ramp and find two more Thugs standing side-by-side with their backs to you. Sneak up and Double Assassinate them. Head left along the walkway and jump to a pipe in the next room. Follow the pipe around to the end and leap to a thick bar and swing to the floor in the next room.
Follow the hallway to another set of pipe-jumping challenges until you reach a well-lit window on the left that triggers a cinematic of the Piece of Eden machine in Brewster’s secret lab.
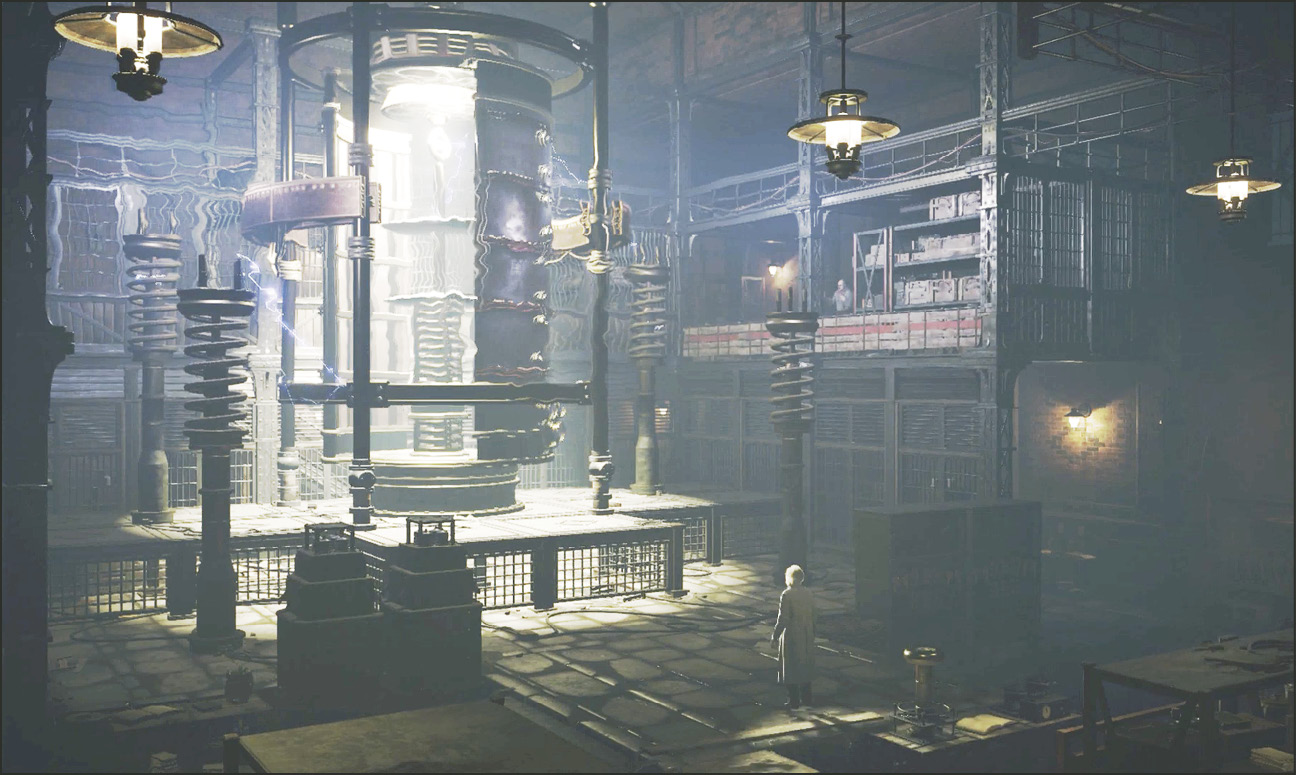
Current Objective: Assassinate Sir David Brewster
Air Assassinate Brewster
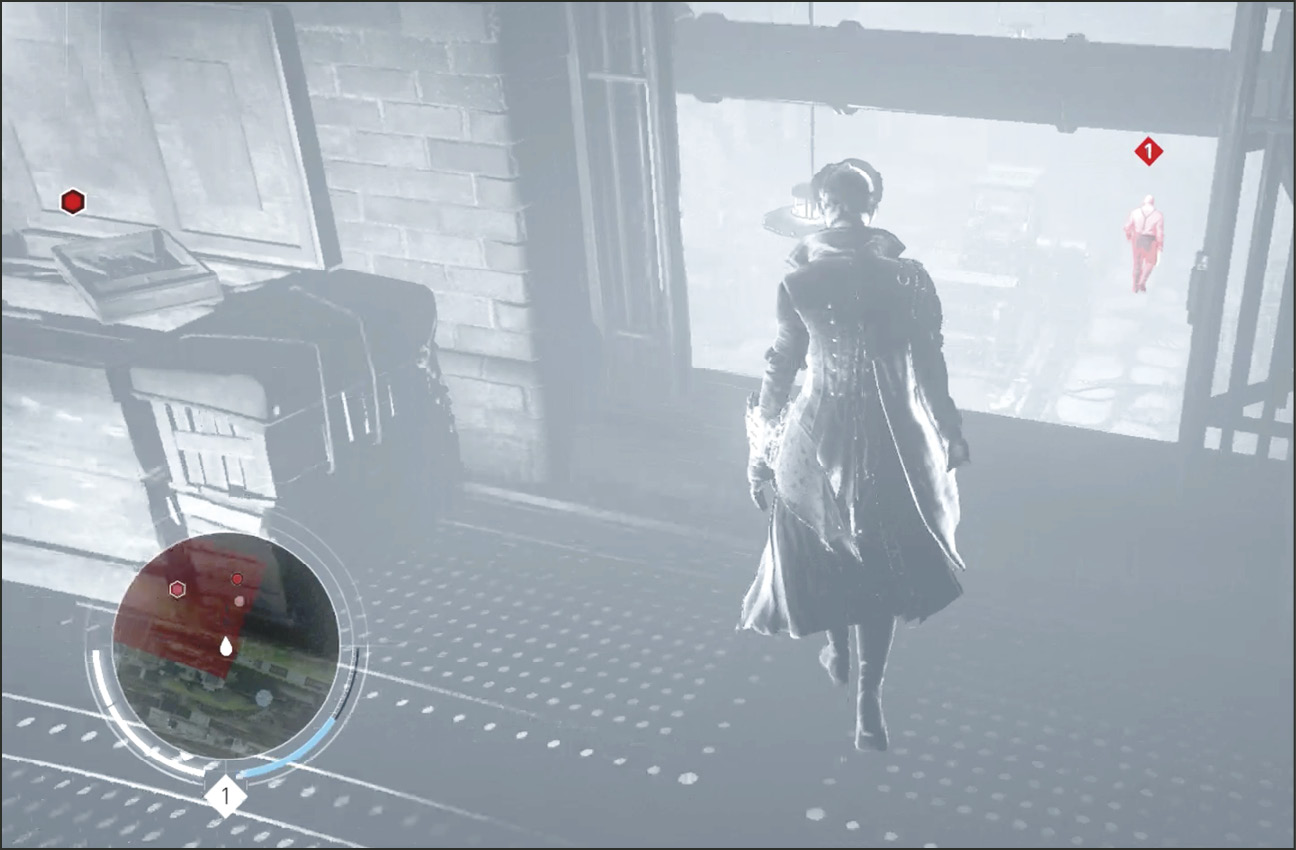
Follow the hallway to the end where you find two entrances into the lab along the right wall. These are two high windows in the laboratory so when you enter you are near the ceiling; safe from watching eyes. We recommend entering the farthest window. Start by jumping to the nearest pipe.
Use Eagle Vision to mark the Brute (T) patrolling the ground level. There are two Thugs (U & V) that you may not be able to mark because of pipe obstructions. They patrol the distant second level walkway. You spot them when you get closer. Jump a couple of pipes and then jump to the top of the light fixture when the two Thugs leave the room. Now from the light fixture, Air Assassinate the Brute (T) below. Climb up the large circuit machines to reach the second level walkway.
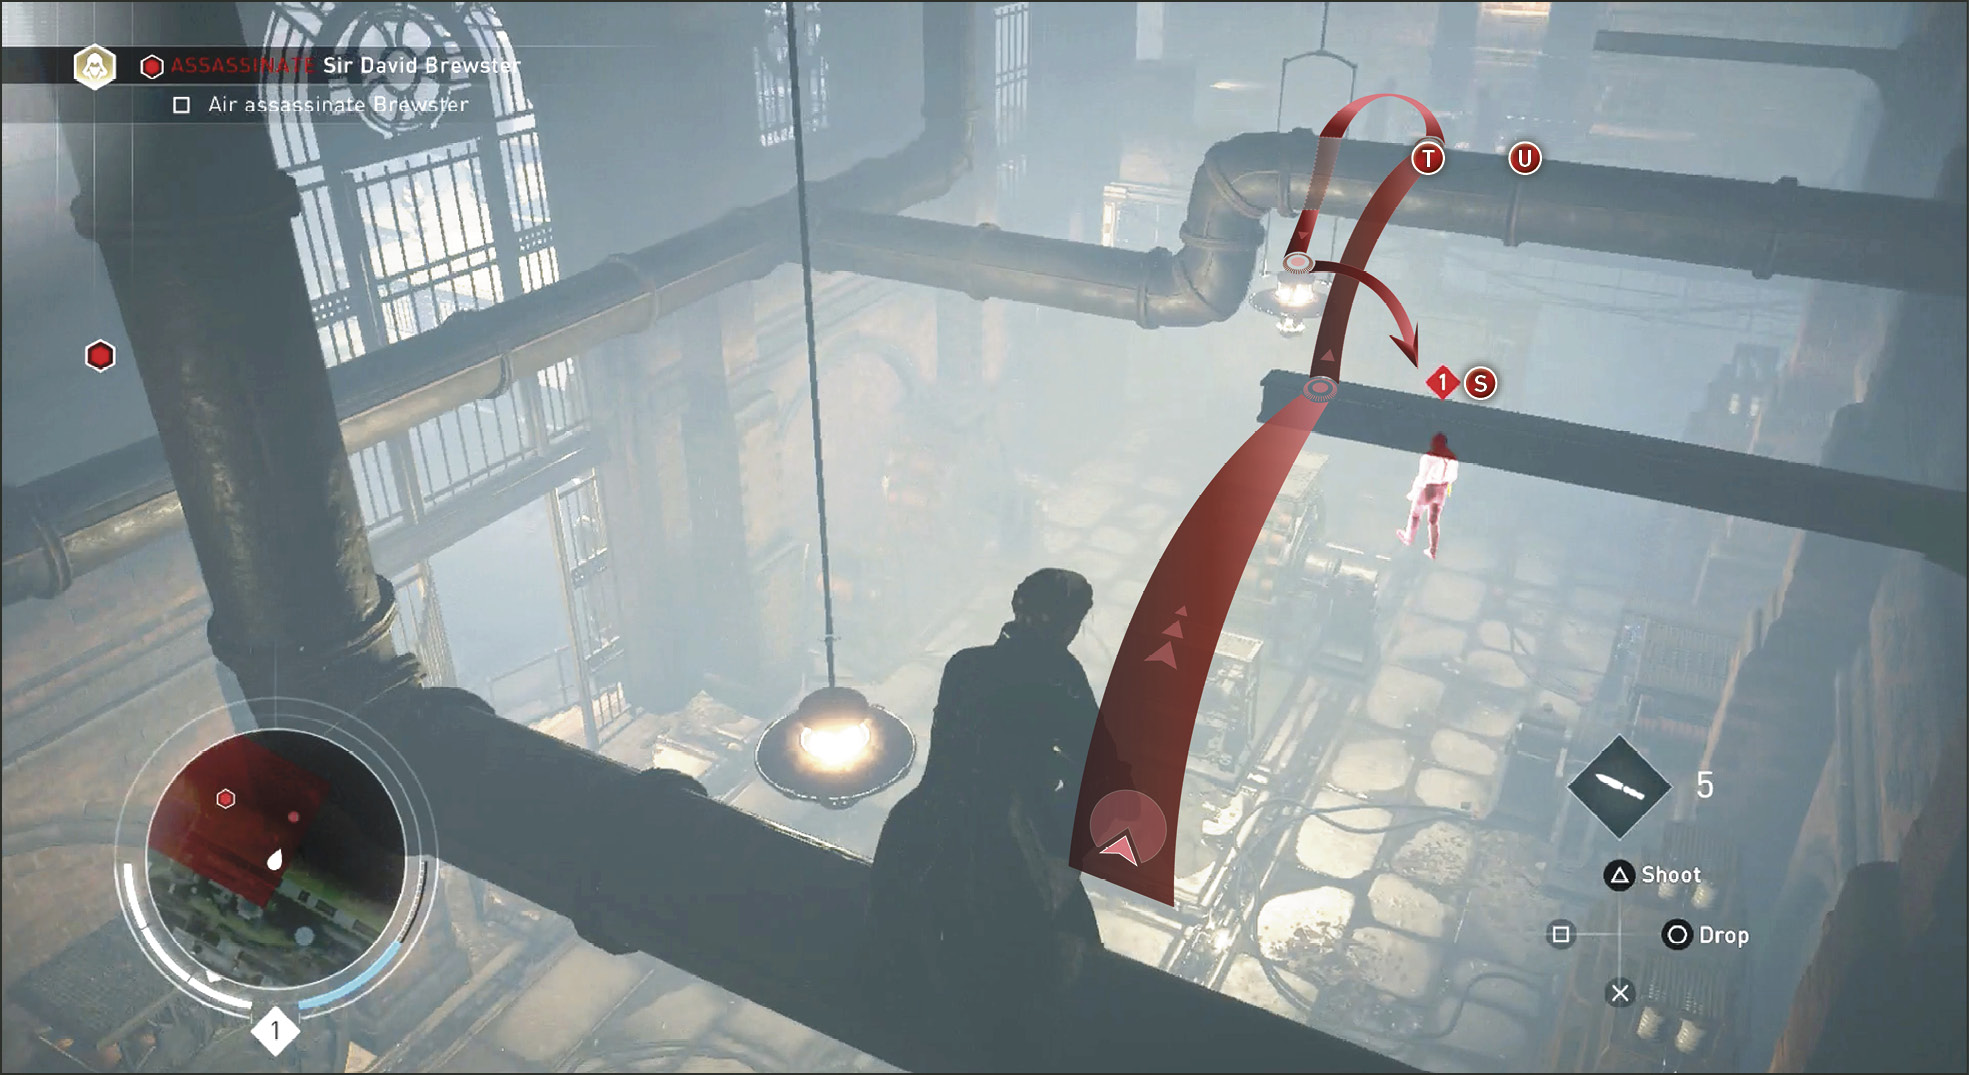
Sneak into the lab and notice both the Thug and the Brute nearby both have their backs to you. First eliminate the Thug on the left and then sneak up behind and kill the Brute who’s looking over the railing.
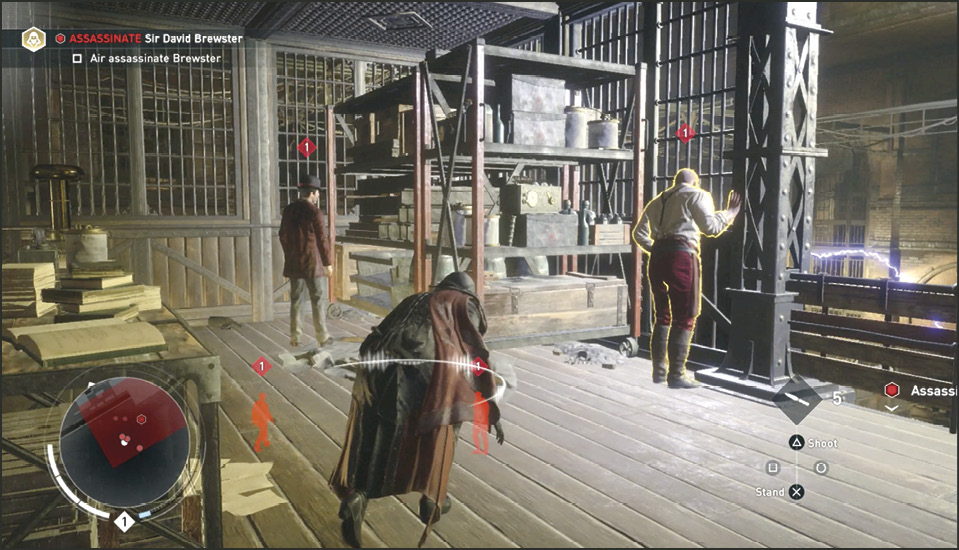
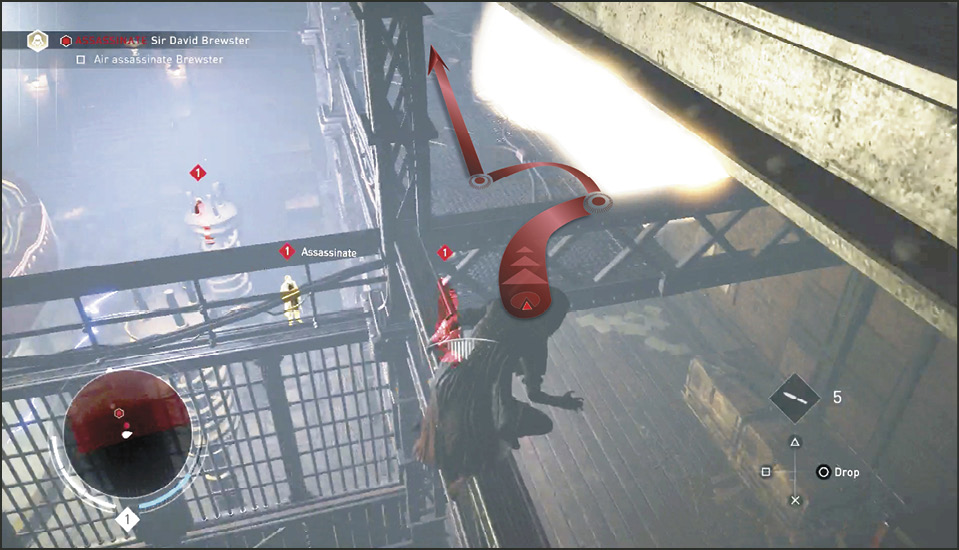
Round the corner and climb the supply shelf. Jump from the top of the shelf to a couple of beams to avoid the patrolling Thug below. From the third rafter, pivot left in the corner and jump to the next rafter and then drop down to the high catwalk.
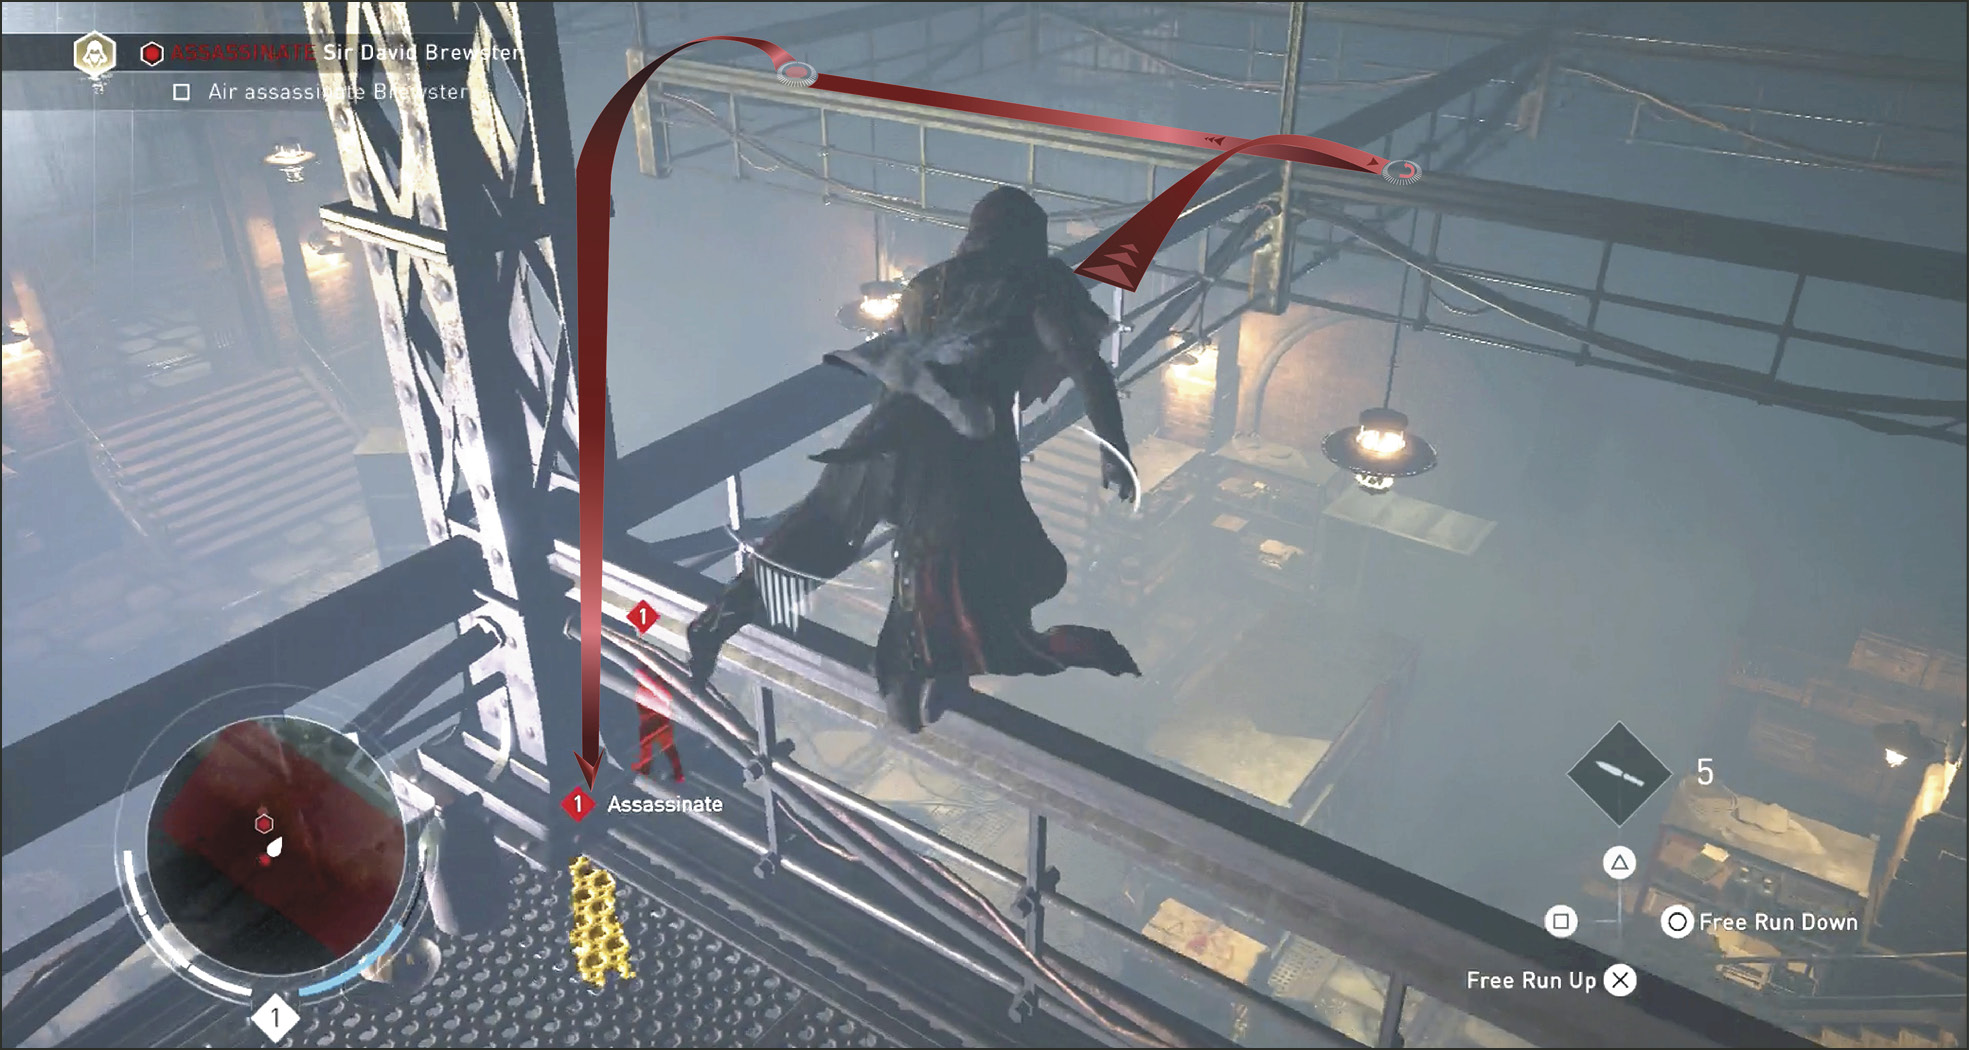
Cross the catwalk and jump to the nearest light truss. Follow the truss to the left so you are aligned with Brewster’s patrol pattern below. As soon as you acquire an Air Assassination lock-on, perform the attack and finish off the scientist.
In the Animus room, Evie and Sir David Brewster have a surprisingly civil conversation where Evie commits to carrying on the scientist’s experiment. He warns that Miss Thorne has already found another Piece of Eden more powerful than the last.
Current Objective: Escape the Secret Lab
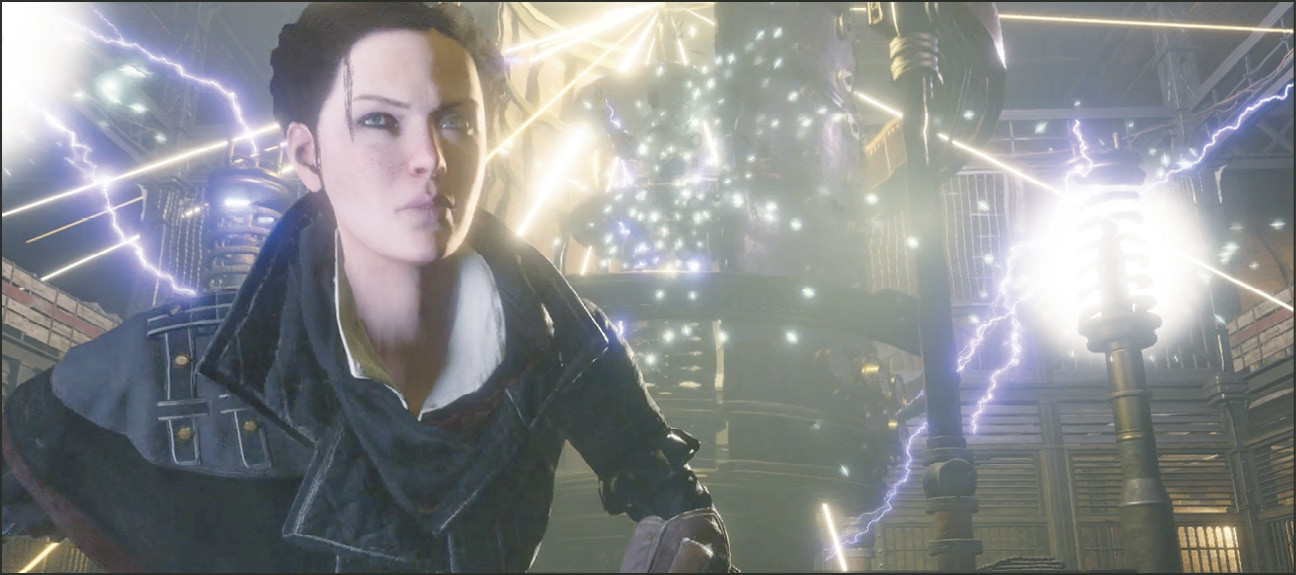
When you return to the lab, the Piece of Eden machine becomes unstable (no doubt from all the power they pushed to it). Now Evie must escape the lab with her life.
The first of many Reach markers appears in the next room. Rush up the stairs and veer left to pass through the first checkmark.
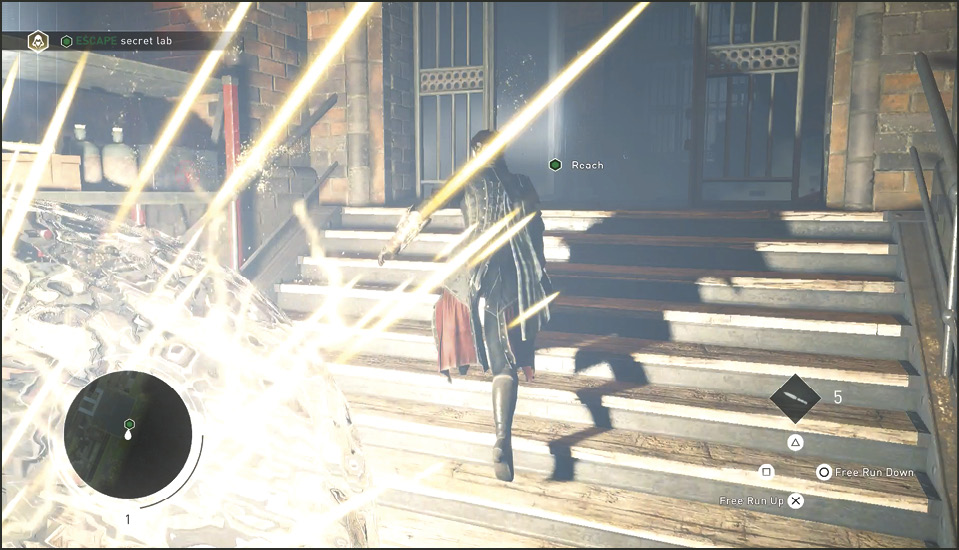
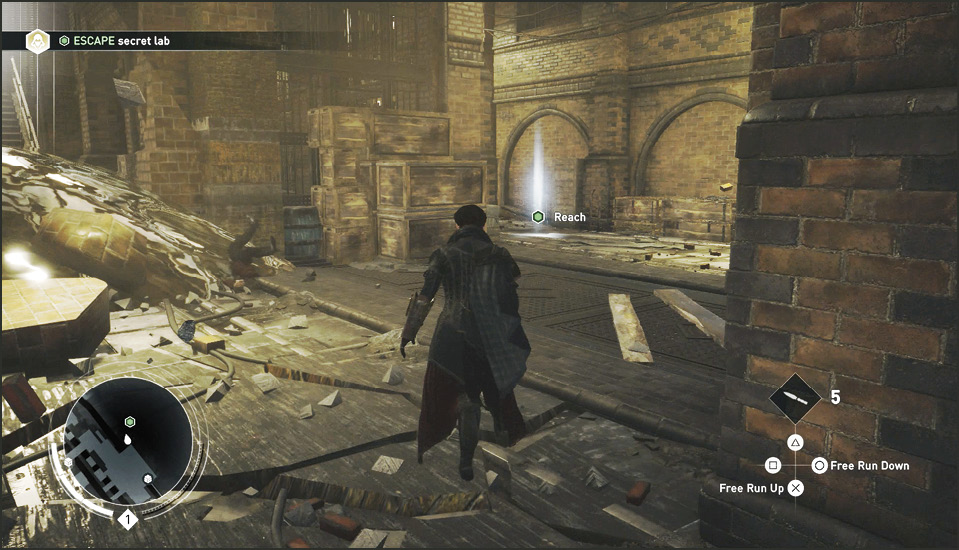
Run forward and take the first possible right to find the next Reach marker near another hallway. This leads to a dead-end where you must climb up to reach a second level hallway.
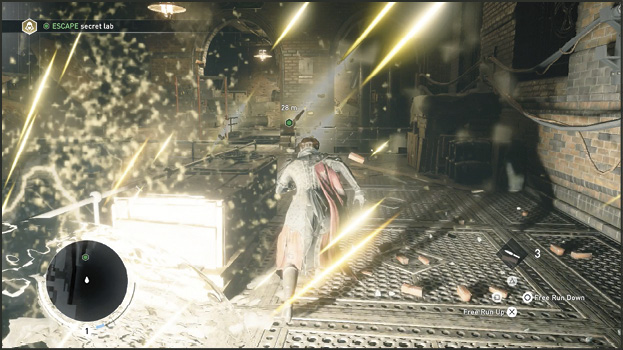
Run toward the next marker, veering through the archway on the left. The ceiling falls in just as you pass under the archway and dumps you into a pool of murky water. Continue forward by swimming a short distance and then crawl up the side of flooring to reach the next marker.
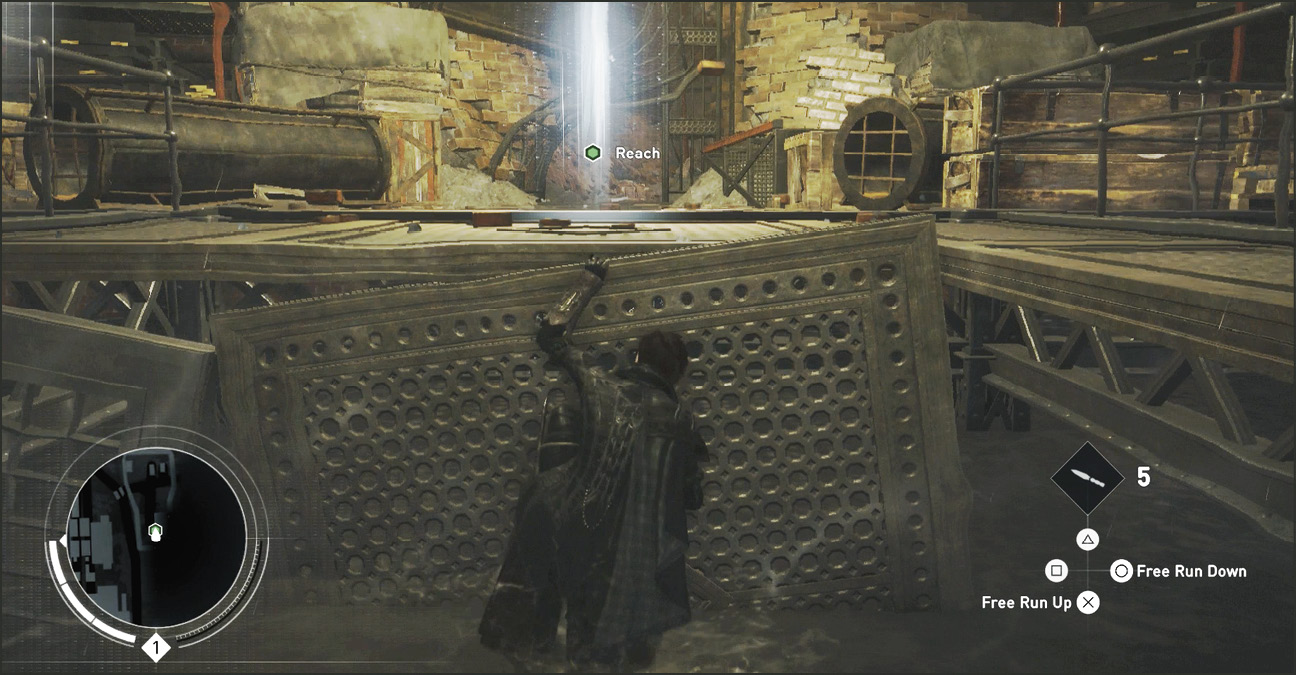
Slide Under Move
Out of the water you are immediately faced with a new obstacle. This is overcome with a new move: the Slide Under. Continue moving forward and press R2 / RT to slide under the debris in the doorway. Evie executes the move like she’s sliding into home plate.
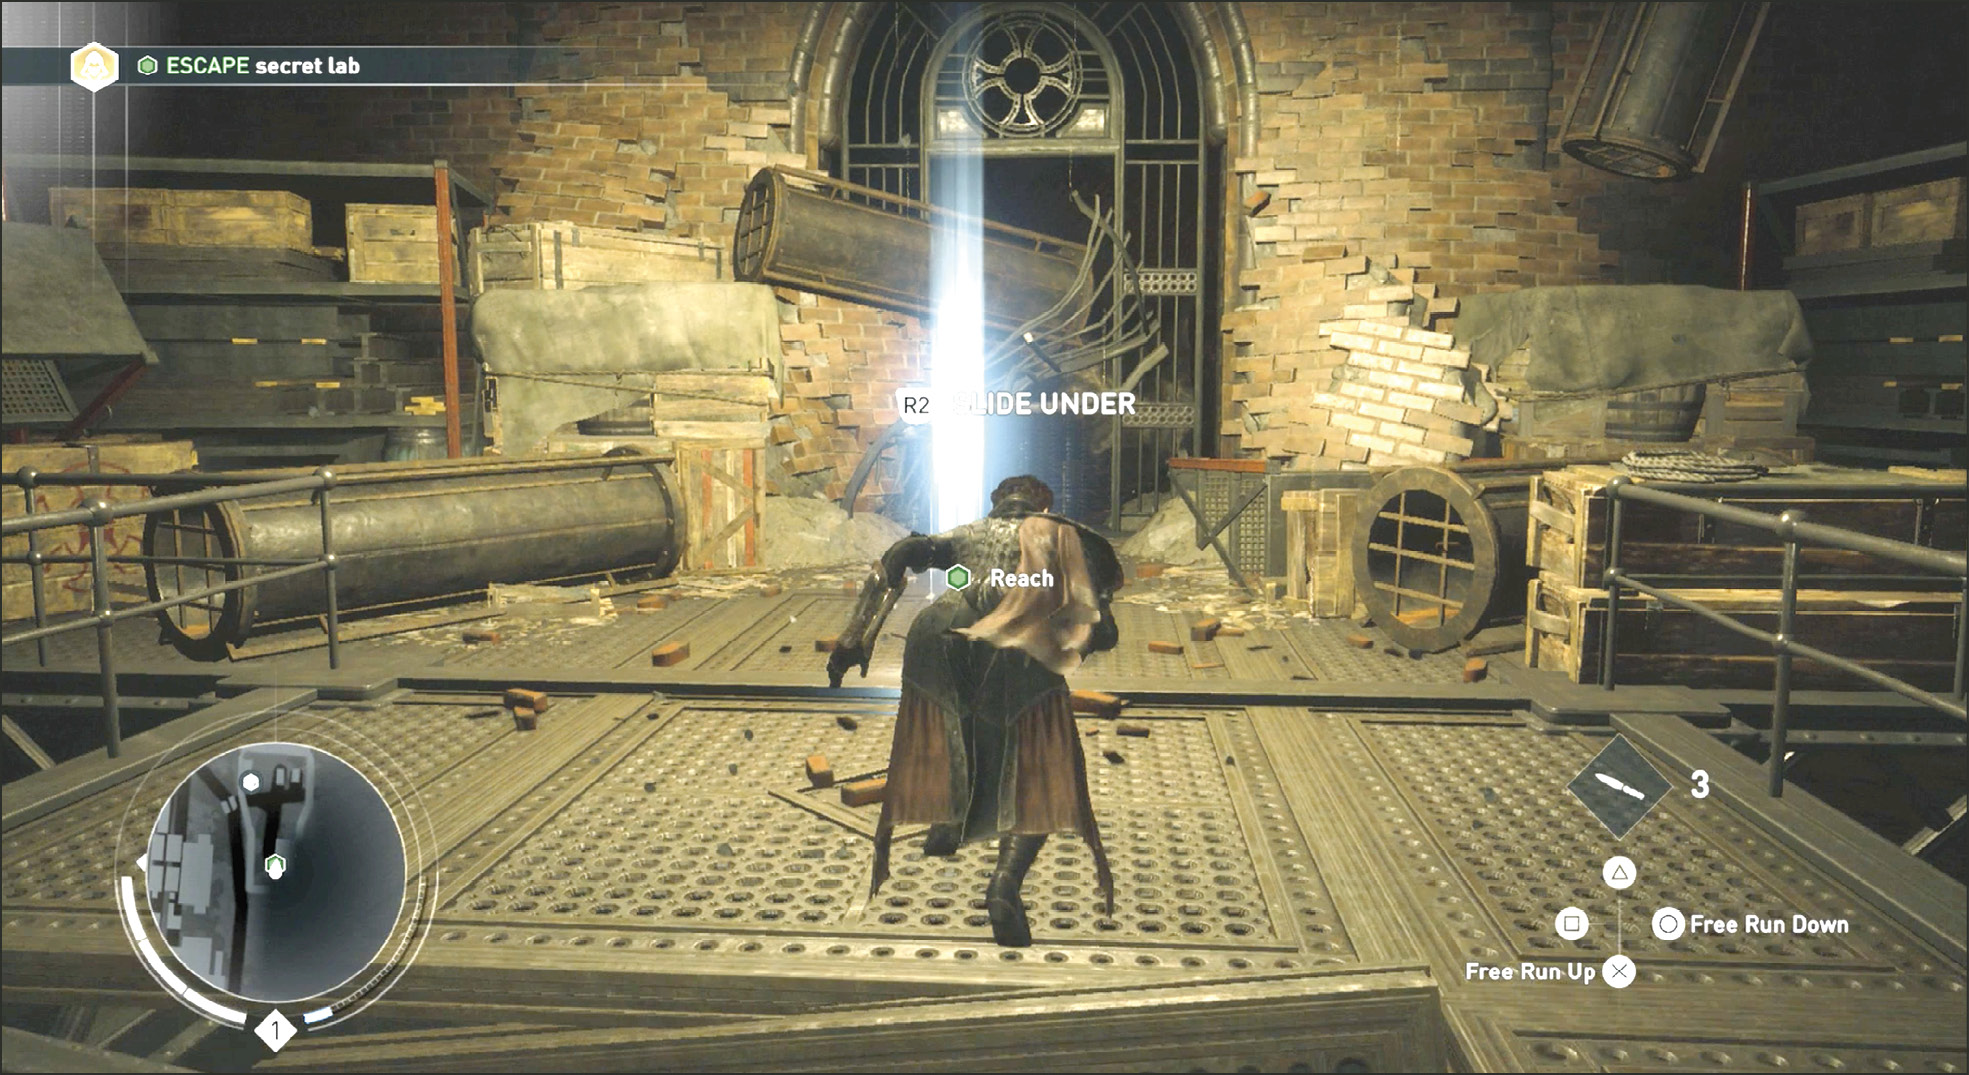
Current Objective: Escape Debris
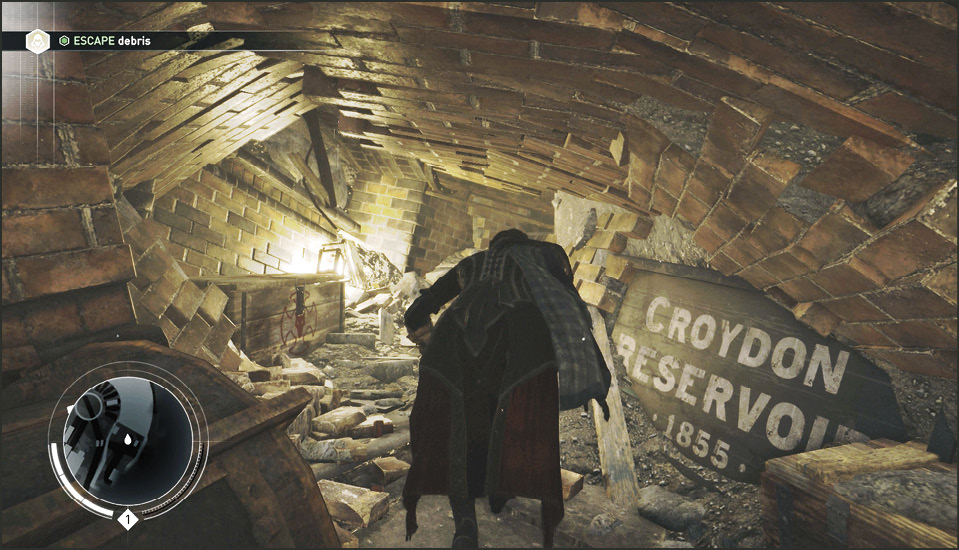
Squeeze through the narrow passage (simply press forward) and you reach a very low tunnel through the wreckage. This leads to an area where Evie must scuffle under a grate. From under the grate is a drop and then another Slide Under obstacle.
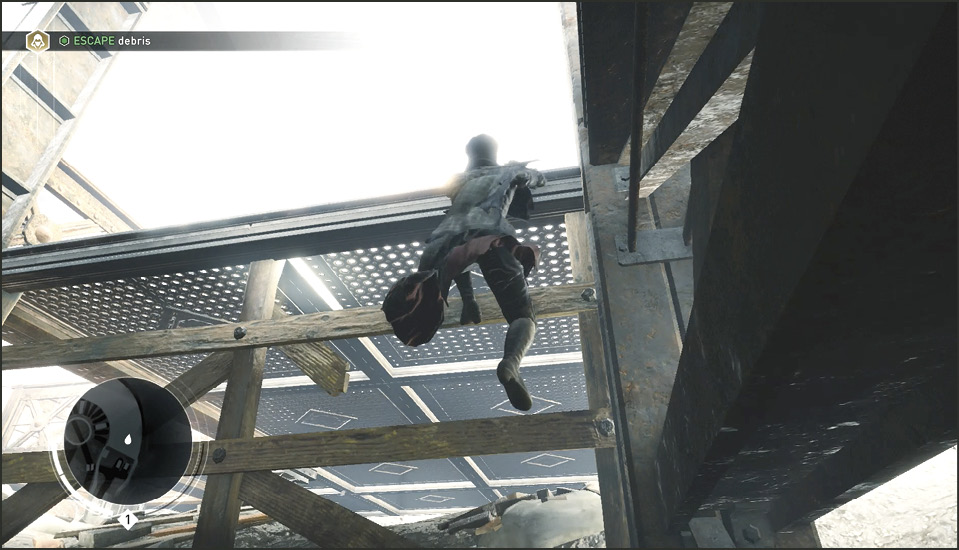
You come out in the elevator shaft (the same one where you earned your Double Assassinate Skill Points), but now the lift is destroyed. Begin climbing the far wall to reach the top and to complete this sequence. You are about to enter London. This is where a barge-full of options and memories open up for you, and Evie and Jacob are reunited….