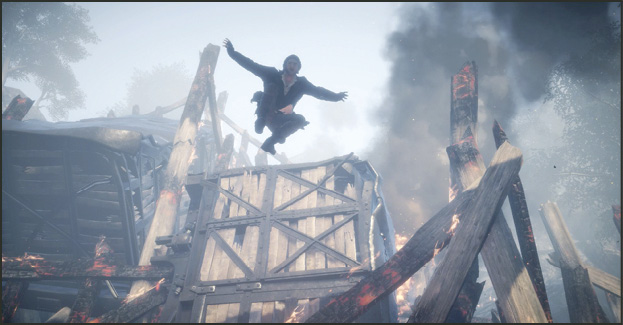
Assassin's Creed Syndicate Guide Walkthrough Sequence One
A Spanner In The Works
MISSION OVERVIEWMemory Type:Templar Conspiracy Suggested Level: 1 AssassinJacob Frye Rewards£: 1000 XP: 2000 Belts: Initiate Belt ChallengesThere are no Challenges in this first Memory. This Sequence serves as a refresher course for returning Assassin’s Creed fans and assists new players on these fundamental moves:
|
Objective: Locate and Assassinate Rupert Ferris
Current Objective: Reach Ferris
Location: Ferris Ironworks, Croydon—1868
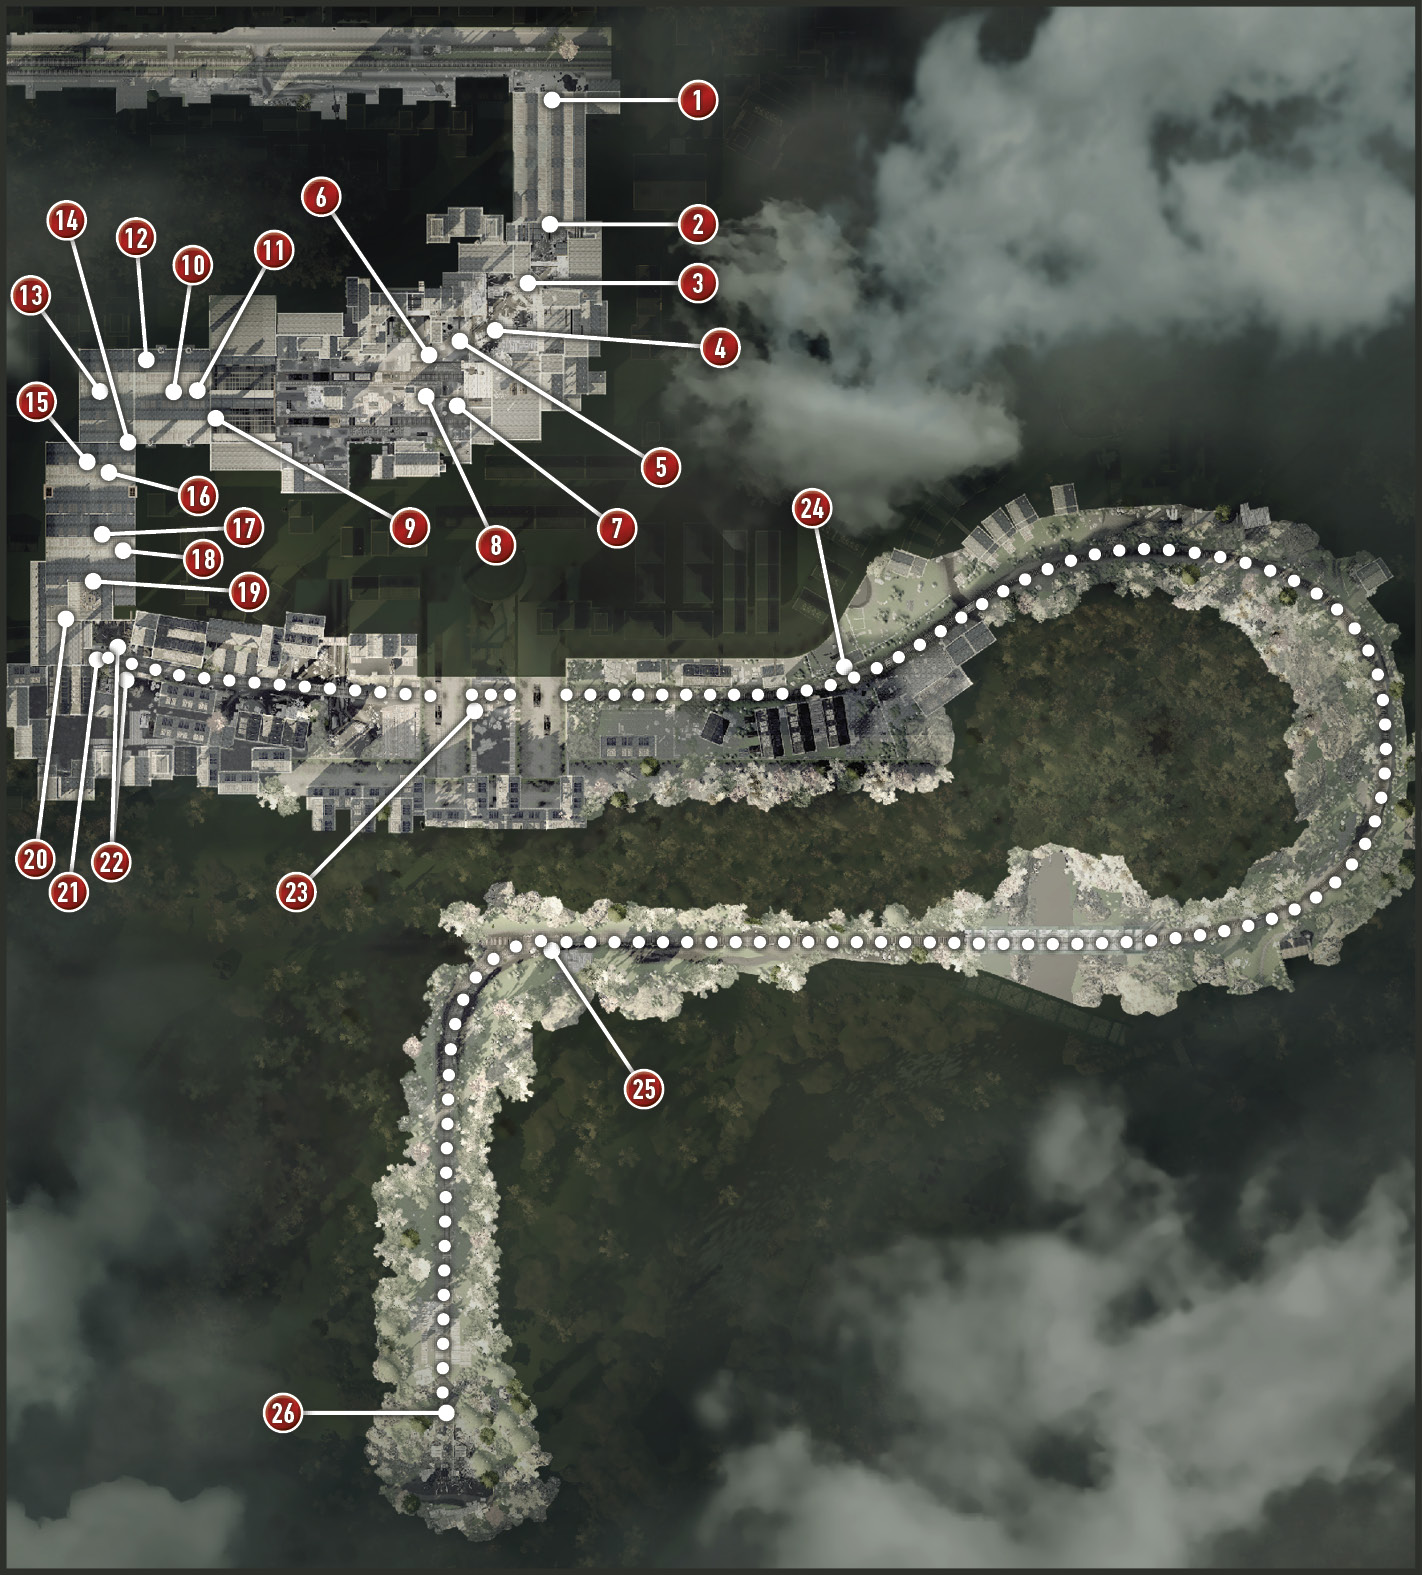
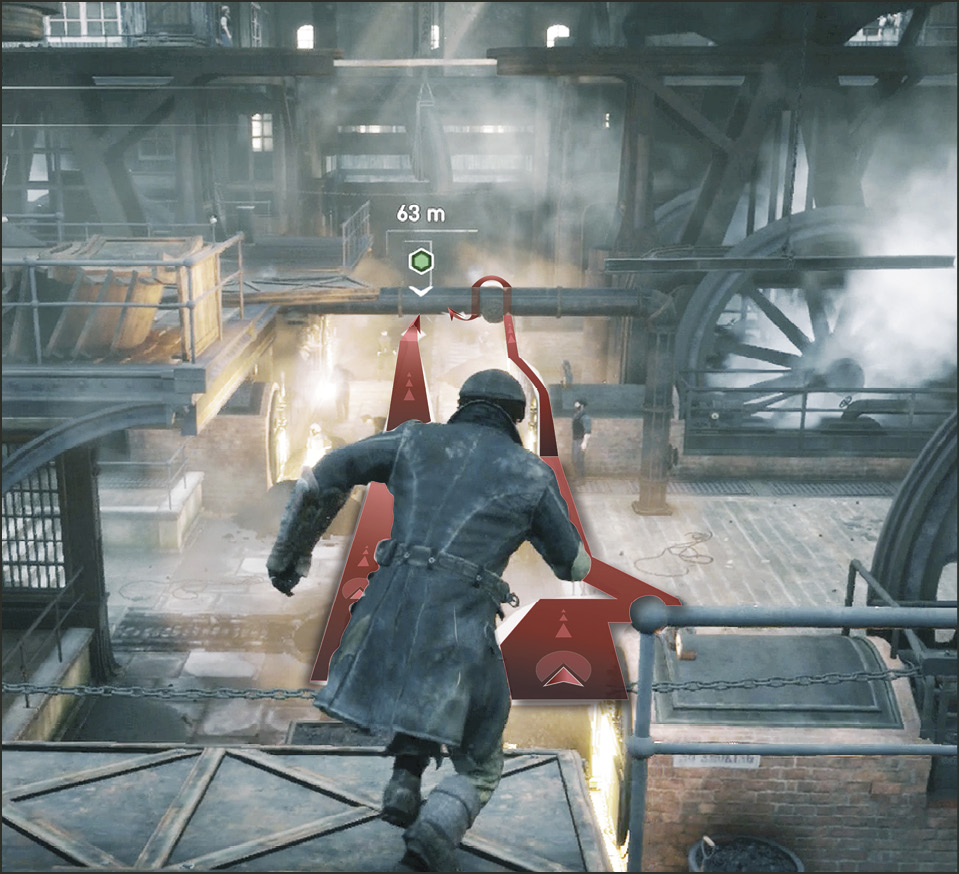
Playing as Assassin Jacob Frye, you begin this memory standing in the smoldering Ferris Ironworks building while standing on the edge of a second-story walkway (1). The environmental challenges in this room are there to help familiarize you with Free Running (Hold R2 / RT). It allows you to climb and leap across what are seemingly humanly impossible jumps. Basically, it’s the button that makes you a parkour superstar. Run through the middle of the ironworks building, through the hopeless child laborers—or try leaping furnaces and running on railings—to reach the exit marked with a small, green hexagon.
Current Objective: Sabotage the Machines
Free Run Training
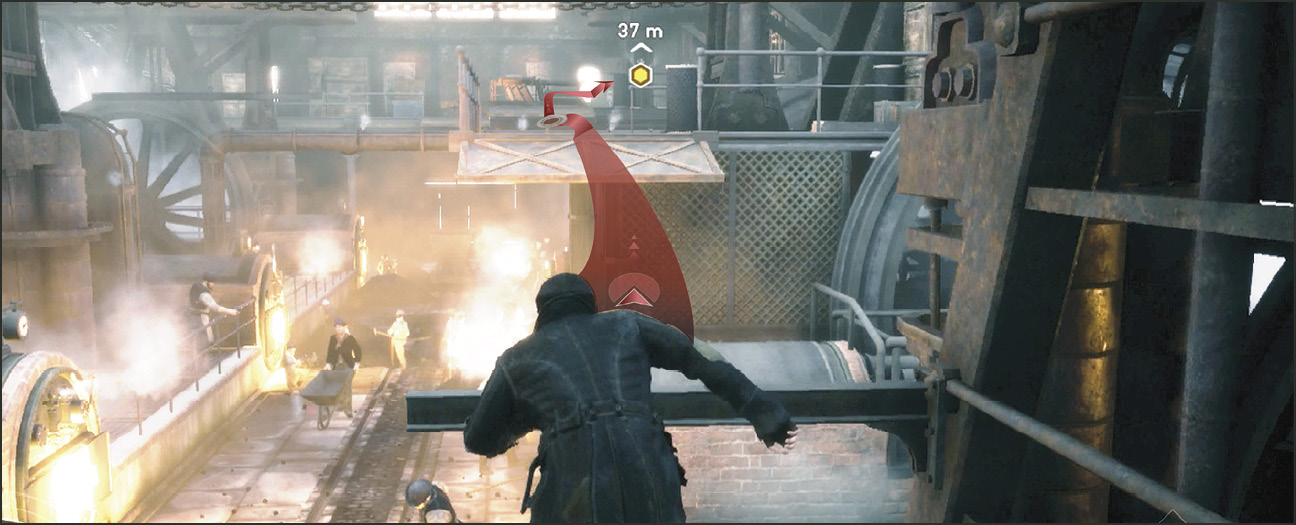
You reach the other end of the building only to discover the door is locked. To get out of a building that has been built to keep energetic children from escaping, one must think on their feet. An “accidental” environmental hazard comes to mind. Turn back the way you came and run up along the ramp on the right. Leap to the metal beam and then leap to the hanging metal panel. Jump from the metal grate to the pipe, and then to the next catwalk. Approach the steam pipe wheel and press  /
/  to sabotage the machine.
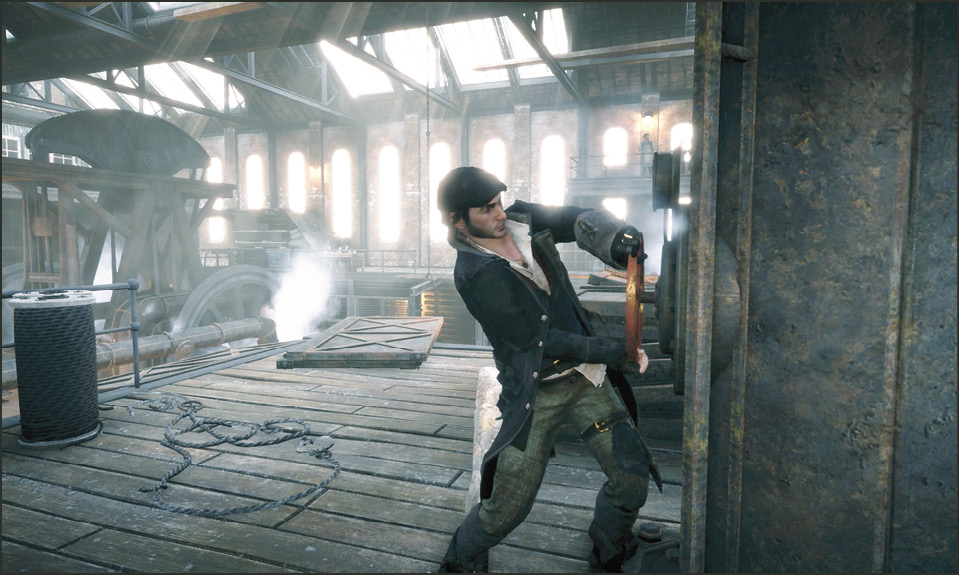
Stopping the furnaces from pumping out their steam creates quite a workplace hazard. There are two more wheels to turn to completely throw a wrench in Ferris’s operation.
Turn to the left and run across the metal panel. Jump to the hanging girder. Make sure that you are not holding the Free Run Up button while crossing the girder or you’ll latch onto and climb up the suspension chain. This tries to stop you from developing a habit of holding the Free Run Up button all the time, especially when it’s not needed.
Leap to the ledge on the second level and turn left to run up another ramp; leapfrog off a pipe to grasp onto a railing. Pull up and head left to turn the second steam wheel. This puts a halt to another machine.
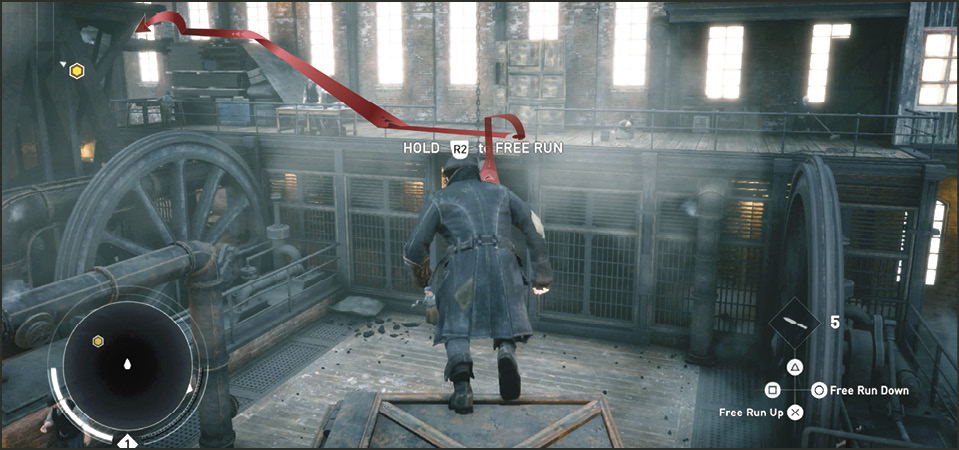
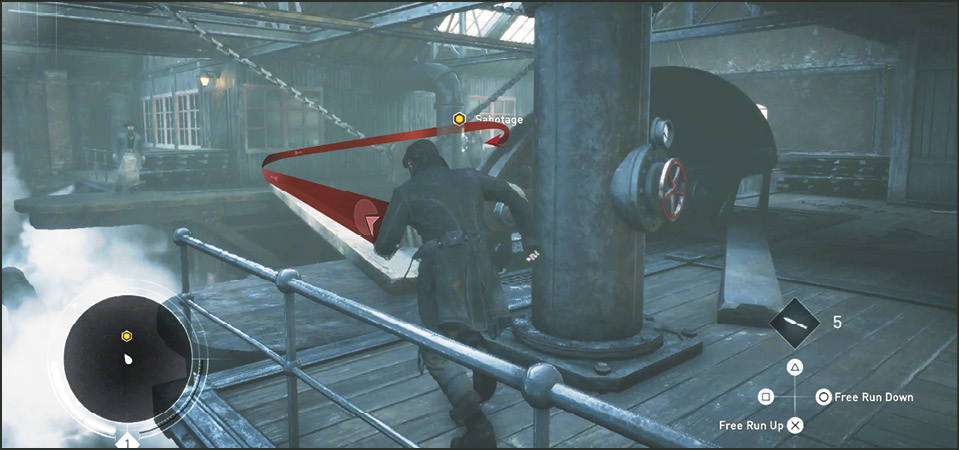
Behind the second wheel is a long wooden plank bridging a large gap between walkways. Run along this board and turn right to reach the last steam wheel. Turn the wheel to complete the job. One of Ferris’s Thugs enters through the previously locked door to inspect the emergency.
Current Objective: Assassinate the Thug
Air Assassinate
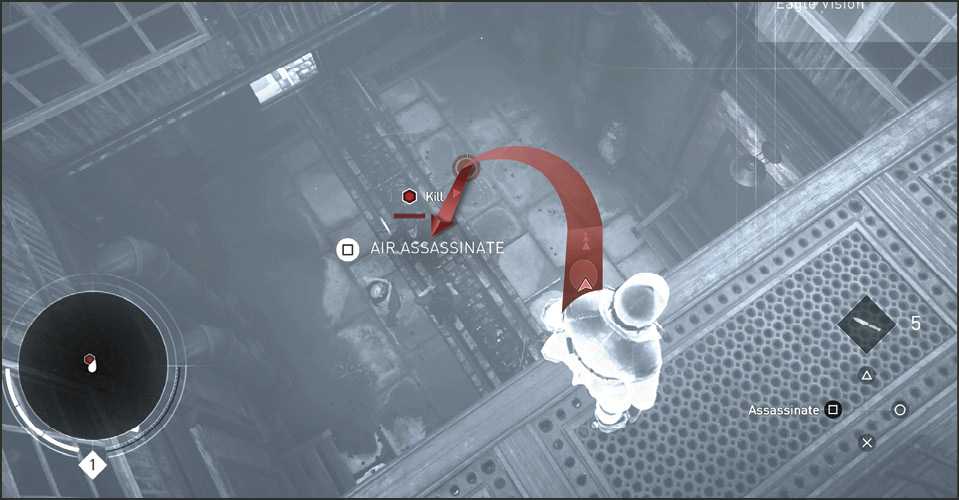
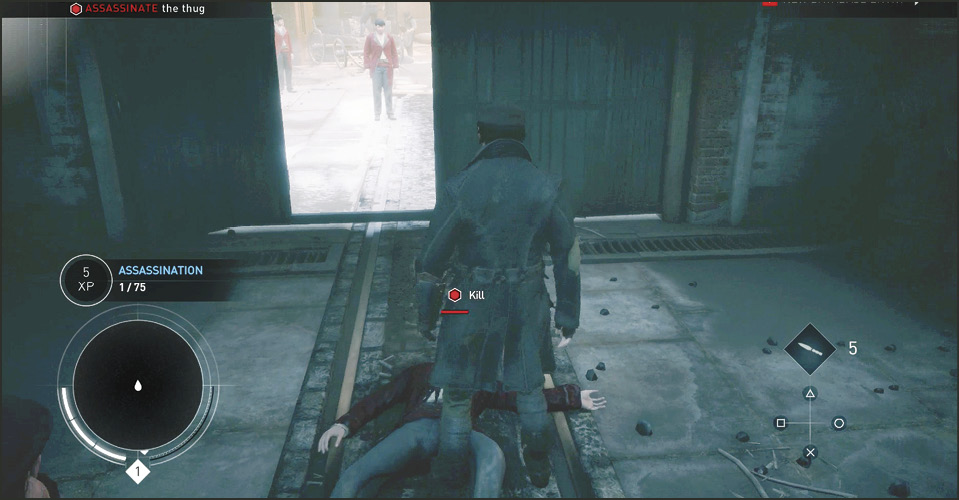
Out of a short cinematic you find yourself standing at the edge of a ledge looking straight down on the Thug who just entered the ironworks. The enemy is highlighted with a brightly glowing red outline and this only happens when the enemy is directly below you and within attacking distance. Use Eagle Vision (L3) to quickly identify enemies and the immediate threat. This particular Thug is a person of higher interest (like a leader) and is glowing yellow. A lesser threat (such as a common enemy) glows red.
Now turn off Eagle Vision (L3). Notice the target glows even brighter in normal view, which is considerably darker than the mystical world of Eagle Vision. This target lock is very important. So make sure you see a target lock and not just a red glowing enemy. If you attempt an air assault without it, you’ll miss your attack, land in his or her view, and more often than not, blow your cover. This comes at a high price this early in the game—you may possibly get the snot beat out you for a mistake like that.
Press  /
/  to execute the Air Assassination. It’s an instant kill (retractable wrist-knife to the throat) that warrants no attention unless you are within eyeshot of another enemy. After the kill, you walk into the courtyard (2) in a very short cinematic. Here you face a few more challengers and more basic training.
Current Objective: Kill the Thugs
Attack
The first Thug pulls a knife and draws back. This is an opening. Attack the vulnerable enemy with / . Keep pressing the attack button repeatedly to achieve combos. Continue an attack until the enemy blocks or until they are on the ground, dead.
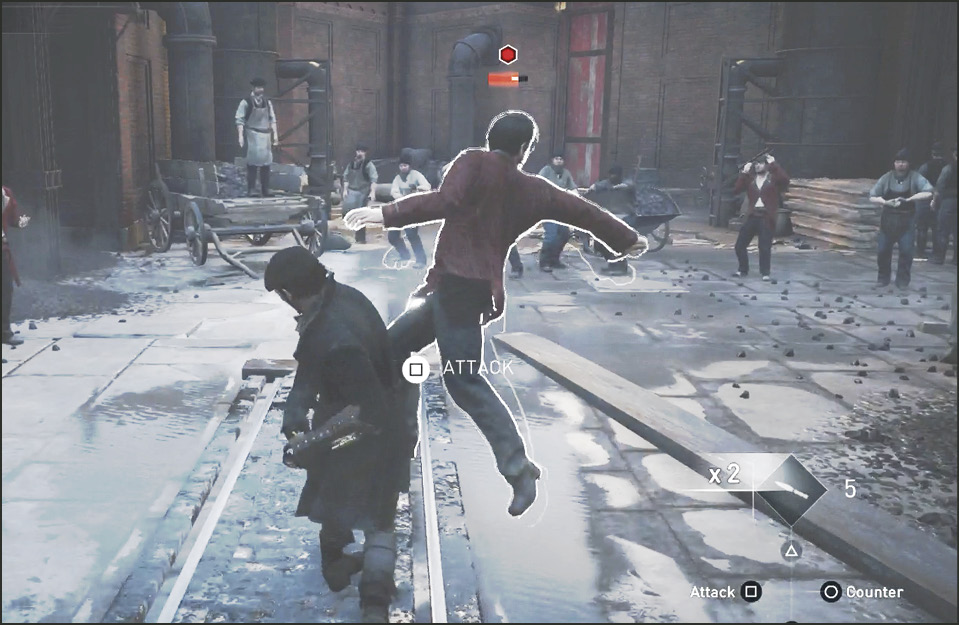
Counter
The second Thug is designed to teach you about the Counter attack. The Counter  /
/  starts with a dodge and if you continue to press the Counter button you come back at the enemy with a Counter attack. Soon after, if the enemy is not dead, follow up with more Attacks or use Stun moves if the enemy has just blocked your last hit.
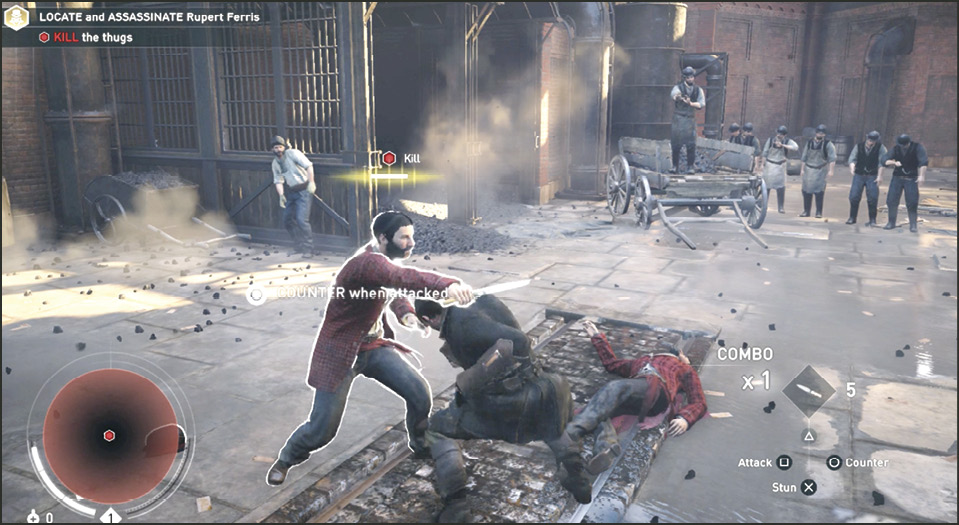
Expect plenty of battle variety. Different enemy types have varying attack patterns and degrees of aggressiveness. You will have mastered combat only when you have become familiar with each enemy’s attack pattern and have learned how to effectively react to each move. Defeating the enemy in close combat gets easier as you level up. Spending Skill Points to purchase Skills allows you to become stronger and gain amazing abilities.
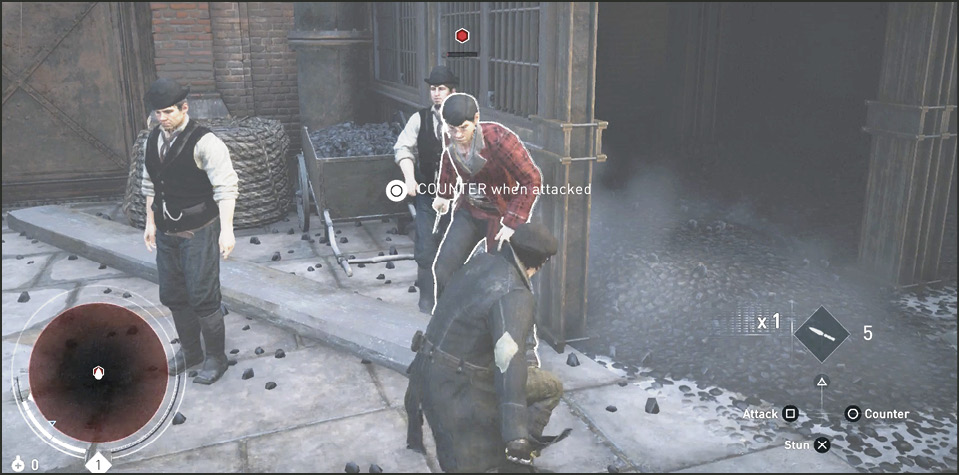
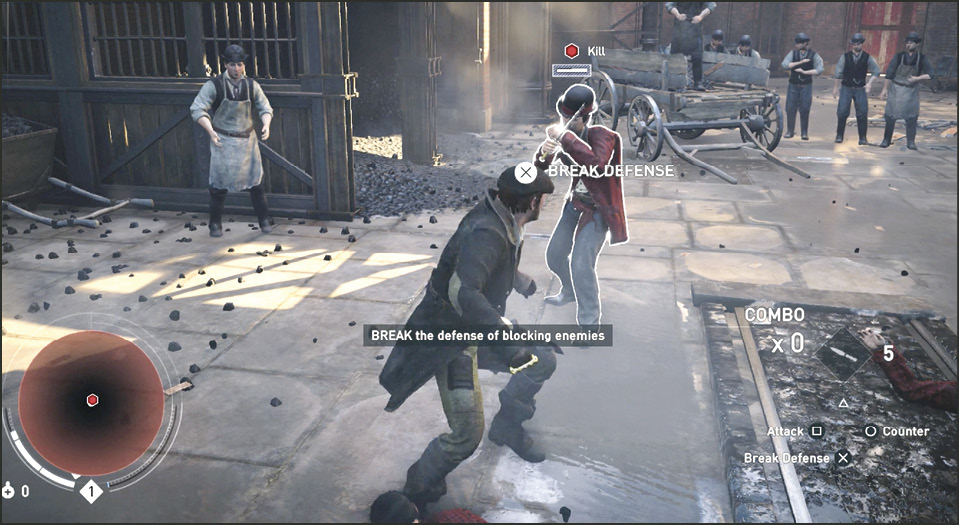
Break Defense
The last enemy in the yard is designed to teach you how to break a defense. No matter how hard or how many times you hit an enemy that is defending (arms up over their face) you cannot land a hit. You must start your attack with a defense breaking move; press  /
/  to break the enemy’s defense. As soon as you break through the block, follow up with attacks. Repeat as necessary. After defeating the three Thugs, open the very large doors (3) to the south.
Location: Rail Yard
Free Run Up
The doors open to a smoggy-afternoon-in-London landscape. There’s a man giving a speech from a ledge in front of you and a large crane (4) in front of him. Reaching the top of that crane is your current goal. This is Free Run Up training. Press and hold the  / button while holding R2 / RT to Free Run Up climbable surfaces such as the scaffolding in this area. Simply press these buttons while pushing forward on the Left Control Stick for directional movement.
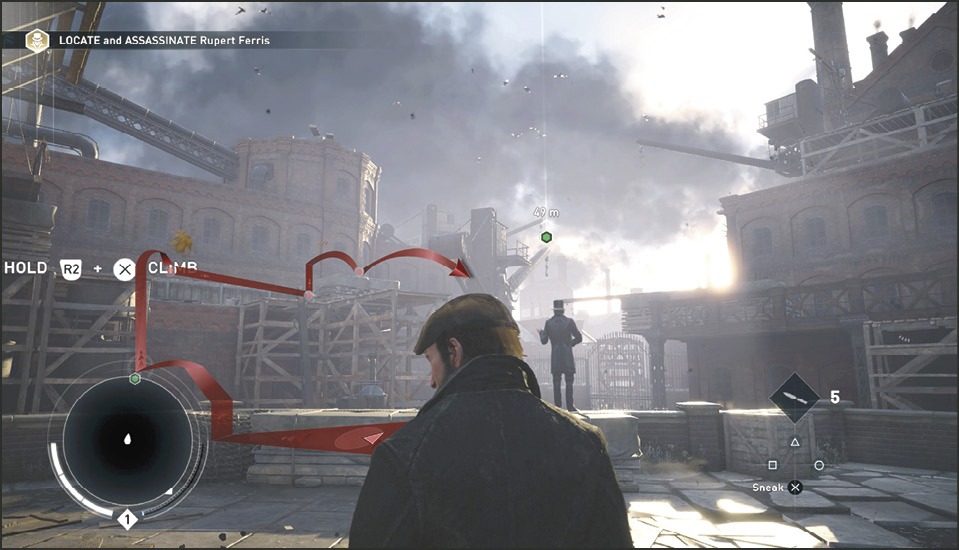
Watch as you climb effortlessly to the top of the scaffold. If you reach a stopping point when you’re scaling walls, a roadblock that prevents direct upward movement, then look for areas to the left or right that you can latch onto to proceed upwards. Move right or left to continue around. Large blank areas on a surface or barriers stop your upward progression. There’s just nothing to grab onto.
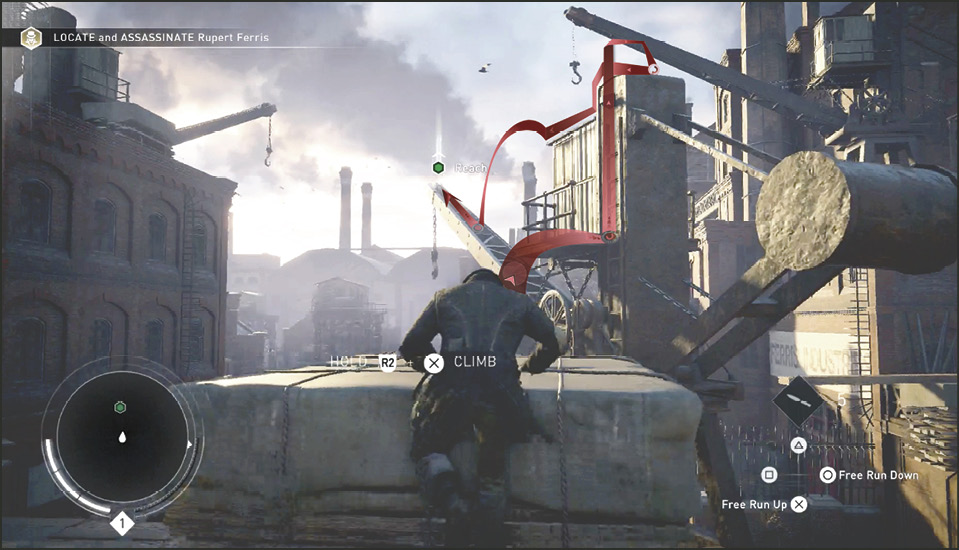
Free Run Down
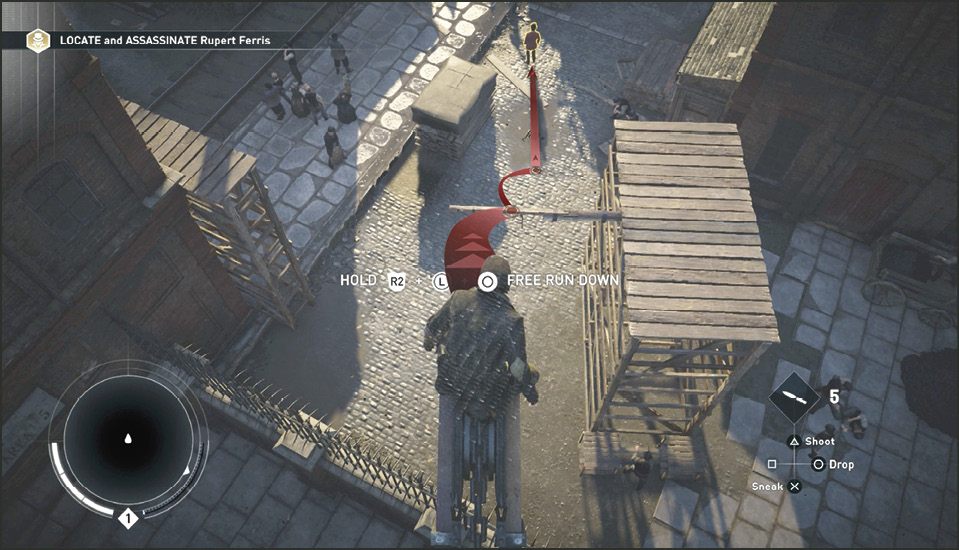
Once you have reached the end of the crane (marked with a green hexagon in a halo beam) look for the scaffold platform (5) with an extended wooden plank below you. Press forward, hold R2 / RT + / for Free Run Down to leap from the end of the crane and catch and swing from the wooden plank below. You land very close to the Thug, so rush him and attack him before he realizes you are a danger. If your stealth ring remains white while he is looking at you, then you can still pull off a one-hit execution. You caught him off-guard.
Loot, Carry, and Throw
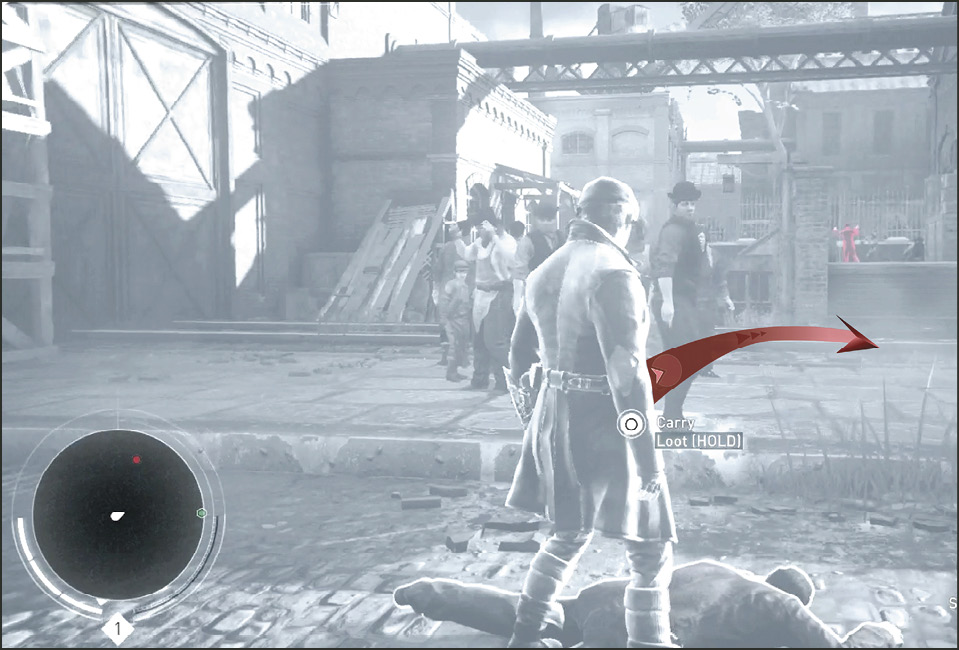
When the “Loot [HOLD]” message appears while standing over the body of a defeated or unconscious enemy, press and hold the  /
/  button. If the enemy has something on his or her body that can be removed, then this loot message appears and you can steal items and money. Do this with every kill if possible. There is an obtainable Skill that allows you to loot automatically during a stealthy kill. If you need to hide a body from other enemies, you can carry a body and throw it. Simply stand over the victim and tap the / button. Press / to toss the body down.
Sneak
You can remain anonymous while standing upright only if you move slowly and use crowds and objects for partial cover. However, sneaking allows you to get closer to the enemy by crouching over and stealthily reaching cover closer to the enemy. Press the /  button to crouch down and enter Sneak mode. You can increase your stealth stat (making you quieter) by purchasing particular Skills. See our Essentials section for more information on stealth, detection icons, enemy behavior, last know position, blending, and using cover.
Eagle Vision
Stand still or walk slowly and press L3 to engage Eagle Vision. Eagle Vision cannot be used while running. Look to your left to spot two enemies (7) in the area. Observe the nearby Thugs until they glow red in this view. The numbers above their heads indicate their level. When the number pops up above their head you can also be assured that they will be marked permanently on the radar. Once on radar, enemy movements can be studied. This is another valuable tool that can also be upgraded using Skill Points. Advanced Eagle Vision options allow you to mark enemies through walls, floors, and rooftops and can also reveal the direction the enemy is facing on radar.
Stealth Ring
Climb up to the top of the building (7) on your left while remaining out of the enemies’ view. Walk along the rooftop and drop down to the connecting pipe suspended over the two enemies’ patrol route. Notice the Stealth Ring surrounding Jacob. Whenever you are in danger of attracting potential aggressors’ attention, or while engaged in combat, a circular Stealth Ring surrounds your body. The Stealth Ring displays the positions of actual or aspiring combatants. The direction icons (they look like digital audio level graphs) on the Stealth Ring reveal the locations of every assailant that you need to assassinate or avoid. Notice that if an enemy is below you that the direction icons appear below the Stealth Ring. If the enemy is above you the icons appear above the Stealth Ring. Likewise, if you are on the same plane as the enemy, the direction icons appear above and below the Stealth Ring.
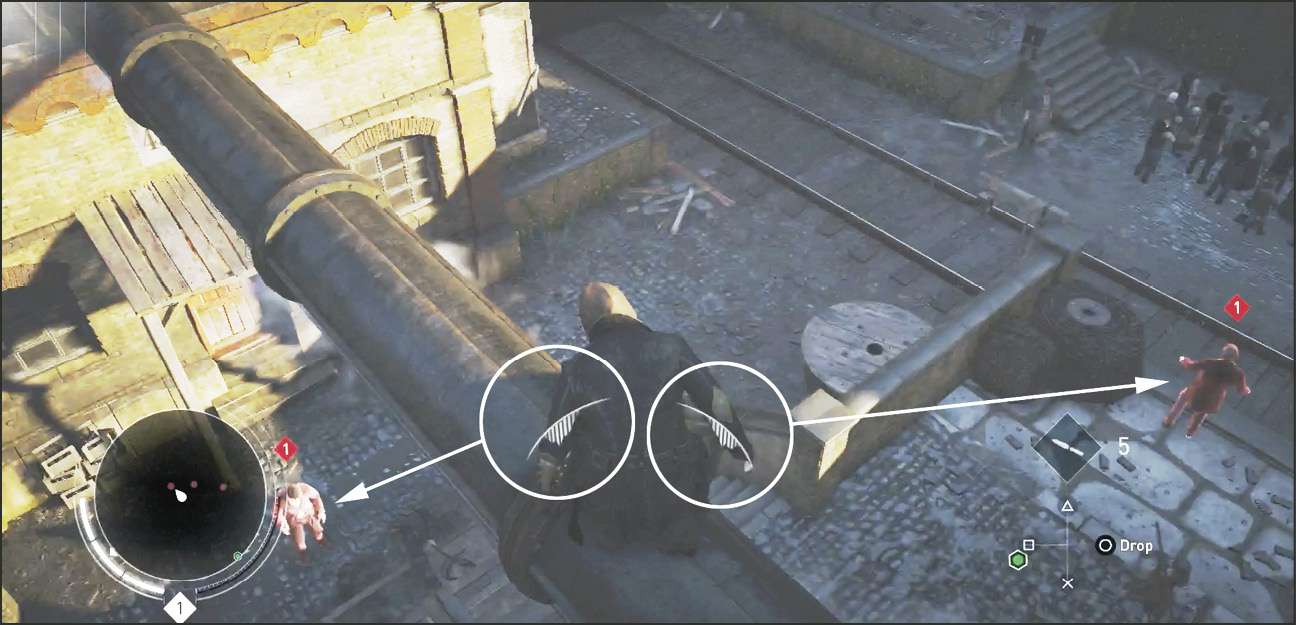
To defeat these enemies (8), wait to Air Assassinate one Thug while the other is turned away. Execute one Thug, get to cover quickly, and then sneak up behind the next and finish him.
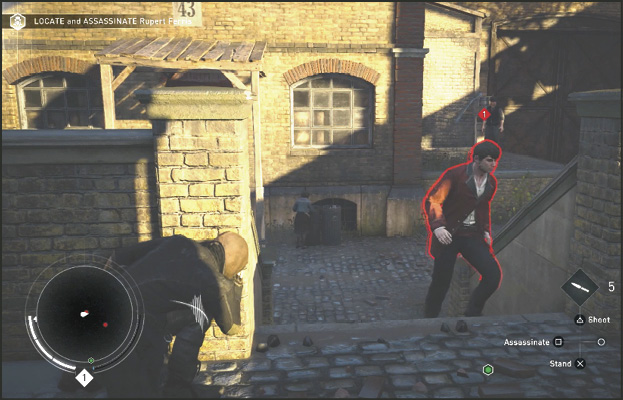
Current Objective: Reach the Steel Forge Entrance
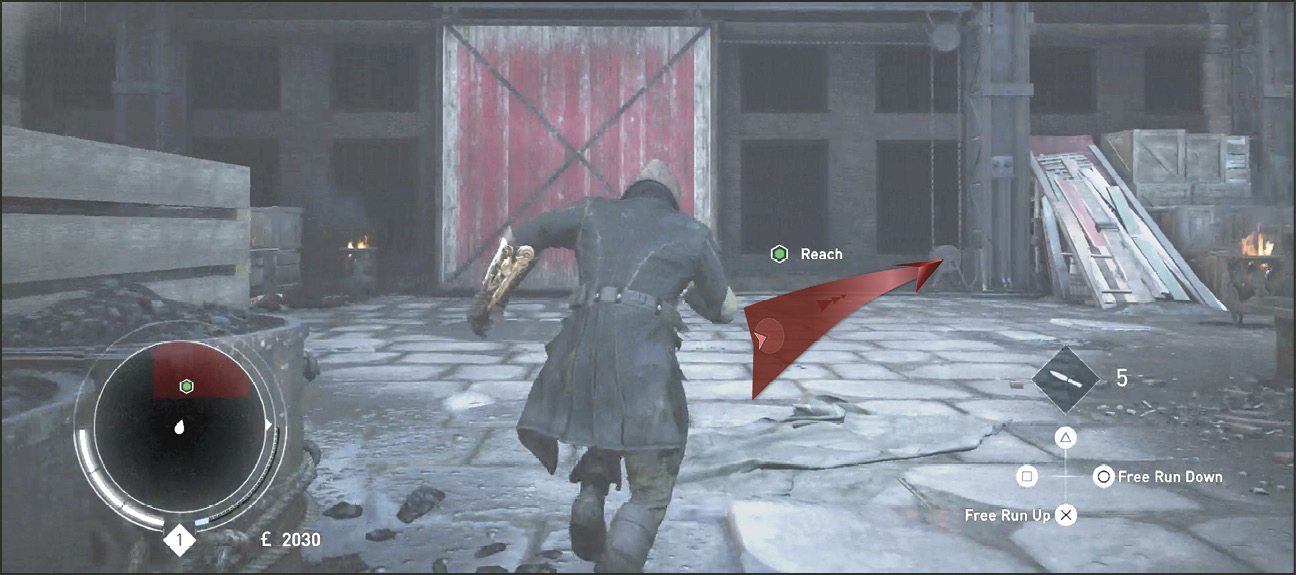
Your next task is to reach the entrance to the steel forge (9) marked with a green hexagon. There are multiple Thugs that patrol the grounds and you should use this opportunity to practice combat, stealth attacks, and crowd blending. Take full advantage of the rooftops. High ground is the best location for scouting and marking enemies with Eagle Vision. Move about the area and attempt to stealthily remove each enemy, loot them, and move on to the next until you reach the large door to the steel forge.
Stealth
Turn the wheel to open the doors to the steel forge. Just through the doors is an enemy (A) with his back to you. In front of him is the immense steel forge. This structure is large and offers a host of different route options to stealthily reduce the enemy. Make the nearest Thug your first victim by sneaking up behind him and silently executing him (Attack) or throw a knife directly at his head. Knife headshots kill lower level enemies with one hit. Higher level enemies can withstand a knife attack to the head. To compensate for this weakness, there are knife damage upgrades available through Crafting Upgrades.
Stealth makes you harder to detect and allows you to move faster. If you choose to take out enemies from a distance then use the throwing knife. From behind cover press and hold L2 / LT to aim and then press R2 / RT to throw the knife (or whatever throwing object you have selected). The knife focus-locks in on the victim and then auto-tracks the target as he or she moves. The enemy is highlighted using the same highlight style used to signify an Air Assassination lock-on.
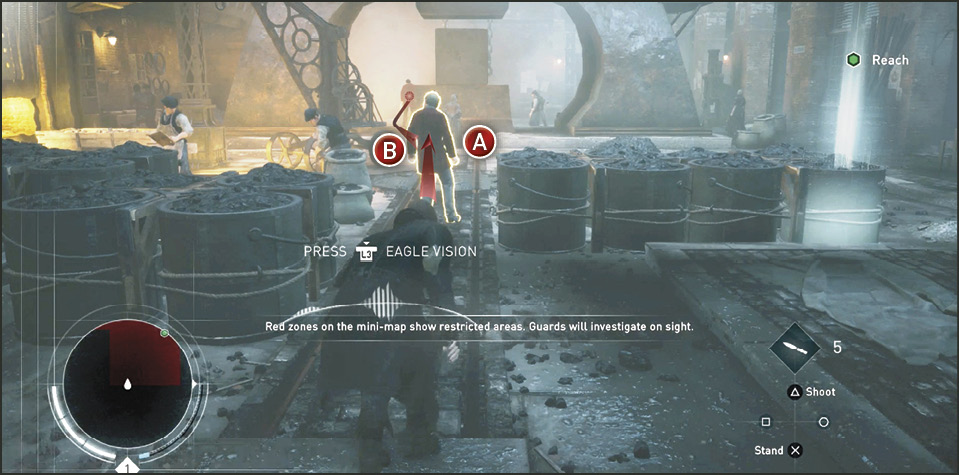
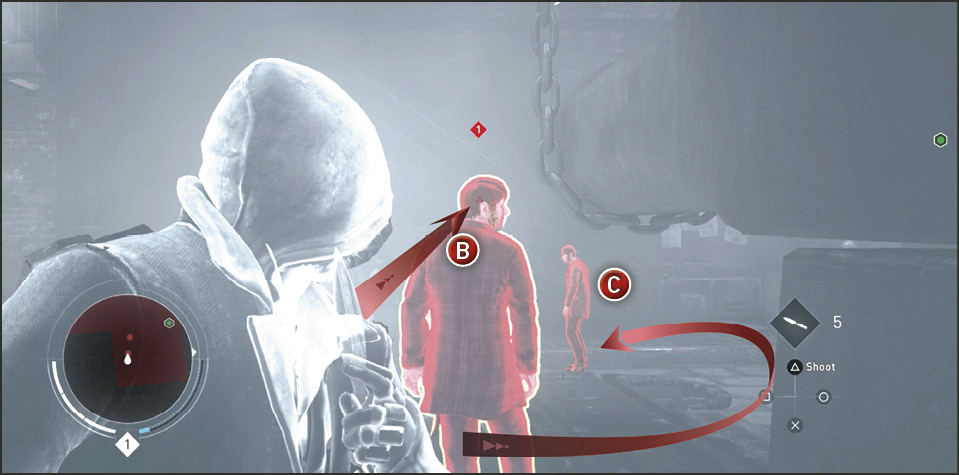
The enemy’s torso acquires the knife’s reticle in auto-lock. To get a headshot during a target lock-on scenario you will always need to adjust your aim upwards. If the target does not die when the knife hits, then you’ve missed the sweet spot and have to throw multiple knives to do the same job. It’s best to only throw the knife when the target is somewhat still. If the enemy is patrolling, wait until they stop to have a look around. Sometimes it’s best to miss a knife throw completely, causing the target to look to the sound of the knife striking a nearby object. This makes them stop moving and look around, creating a better headshot opportunity.
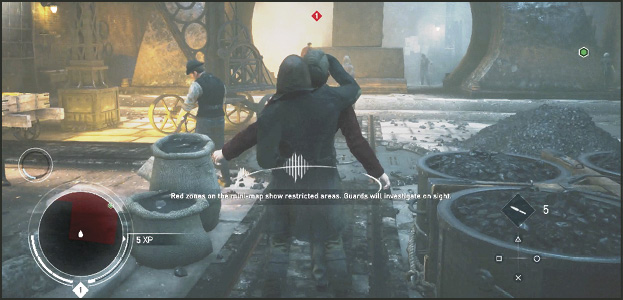
It’s not an objective but you should try to defeat all the enemies in the area to gain combat experience and to acquire items from the bodies left behind. Use Eagle Vision as soon as possible. Mark the enemies in the area. The first section of the Steel Forge is divided into two equal size sides. The side you enter has three enemies almost in a straight line from the entrance to the back wall. All three can be killed with a thrown knife, or they can be silently executed (by sneaking up behind them and sticking a knife in their side using the Attack option). The first two Thugs (A & B) face the back wall. The third (C) faces the left but can easily be snuck up on from the right side of the room. Avoid being spotted by the Thugs on the right side of the room divide while doing this. If you don’t want to risk being seen, simply throw a knife in the third Thug’s head.
Cover Assassinate
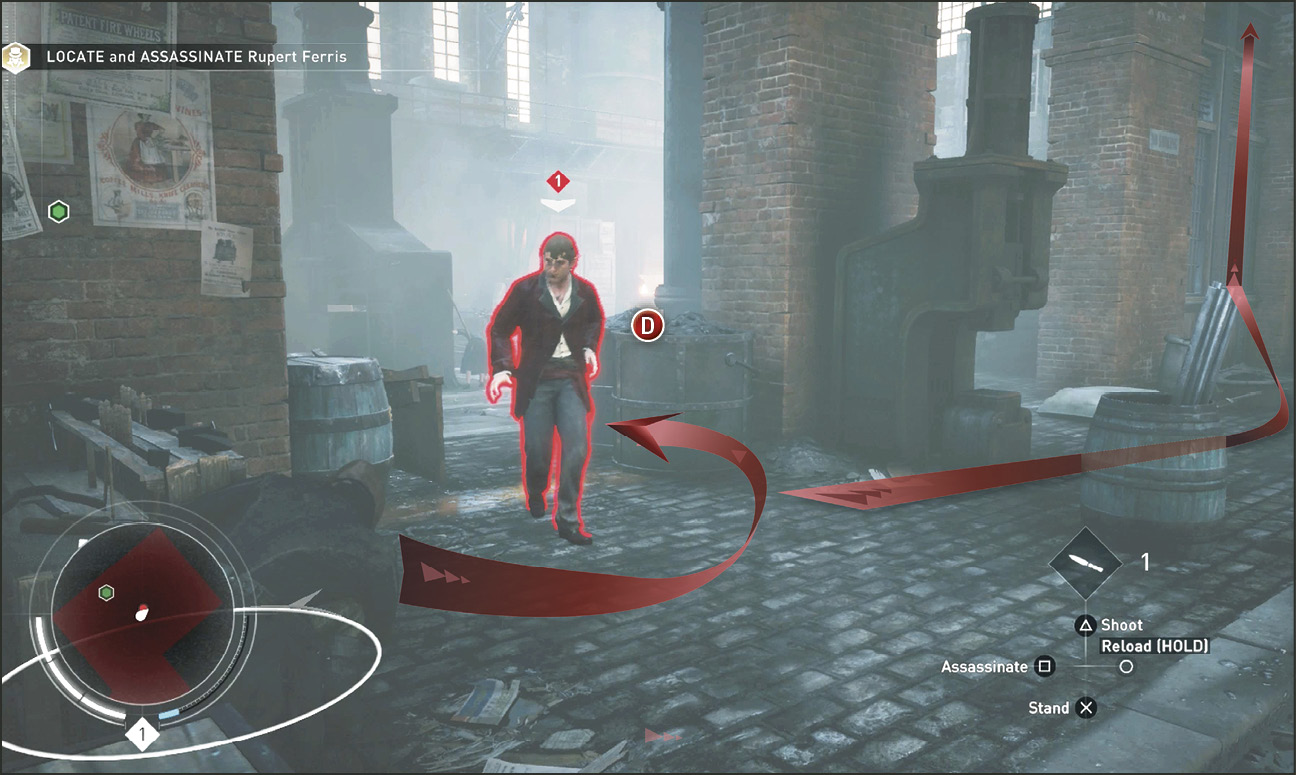
After killing the Thug located in the back right corner, look right and beyond the room-divide and mark the nearest Thug (D) on the radar using Eagle Vision. Sneak up behind the workbench to the left of the rightmost opening in the dividing wall. While covered, whistle toward the enemy by pressing D-Pad Down. Sound waves emanate from his head if he’s in range and hears you. You have his attention. He approaches your hiding location. Stay crouched and pressed up against the workbench. When the enemy glows with a highlighted red outline (when he enters your attack range), press the Attack button to silently execute the enemy. If you wait too long, the enemy spots you and your cover is blown.
After killing the fourth Thug, head right while remaining on the left side of the divide. Scale the center of the dividing wall to perch on top of a high opening (10). From here you can spot two patrolling Thugs (E & F). They often stop near each other. Throw knives in their heads.
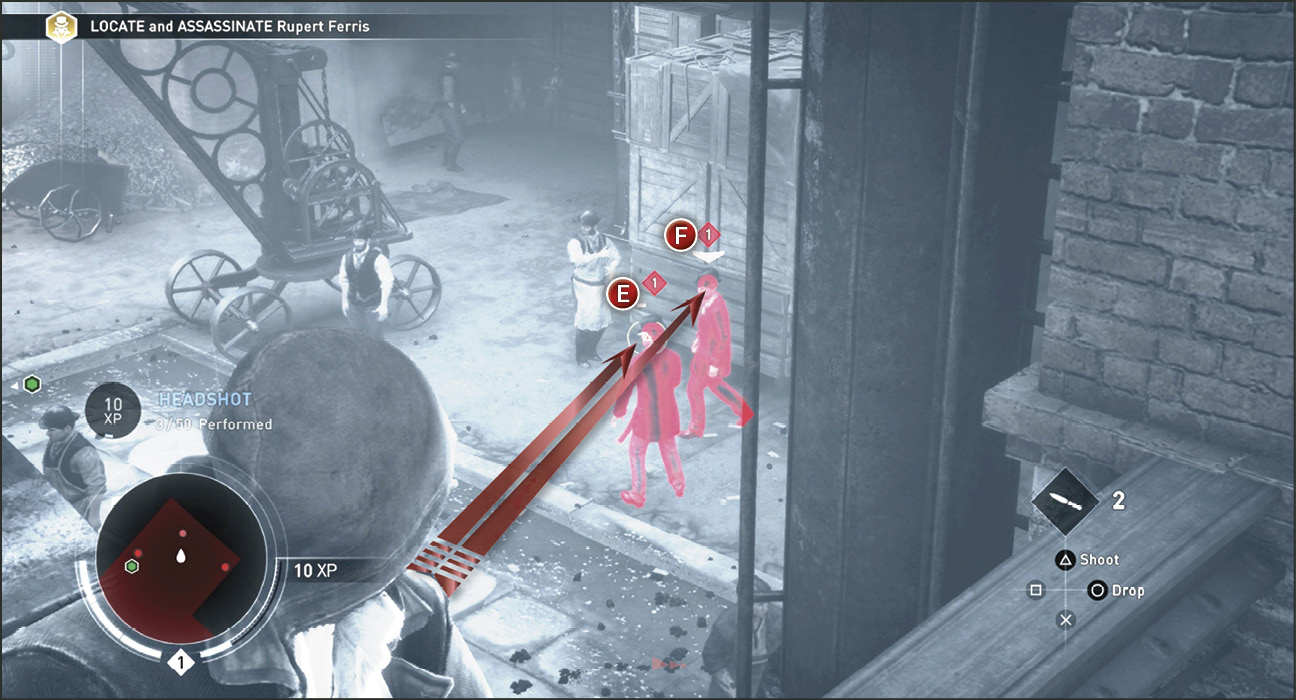
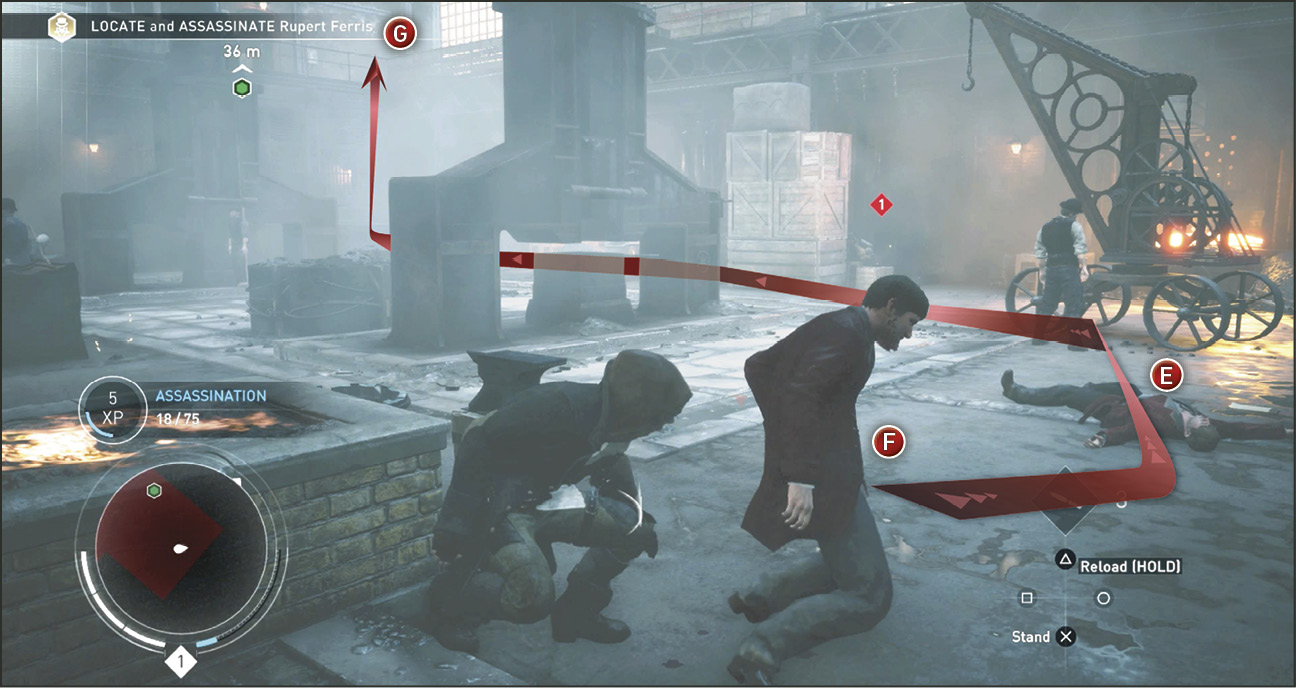
The remaining Thug is on the second level in the back right corner (12). Loot the dead bodies of Thug (E) and (F). Cross the floor staying close to the right side in case the guard on the upper walkway looks your way (you can duck under the walkway to avoid detection). Climb up the wall in the back corner and come up behind the Thug (G) that patrols from the room to the left to the window to the right. Assassinate him while he faces the window in the corner.
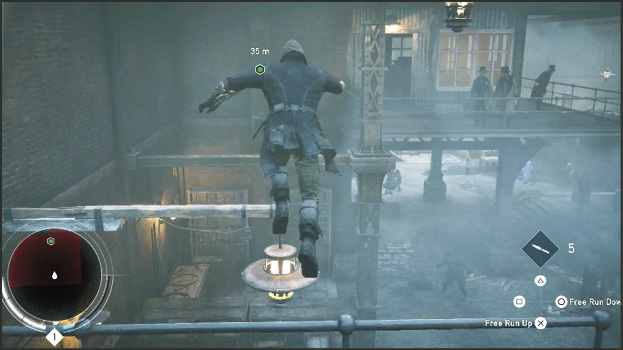
Enter the next room through the second level doorway—near your last kill. This new room (13) contains no enemies so just work your way across to reach the stairway on the opposite side. Follow the green hexagon to a light beam in a doorway (14). This is a location marker. Pass through it and follow the dark hallway to reach the next area.
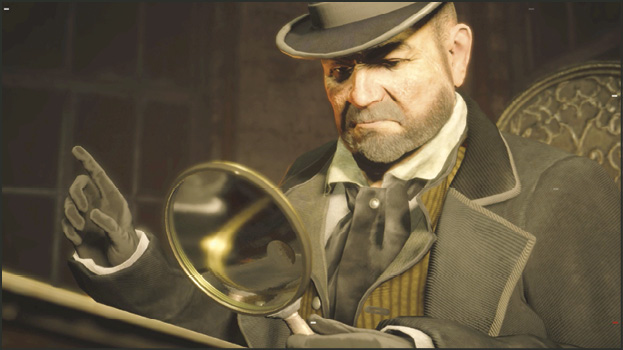
A cinematic reveals Rupert Ferris working in a distant office. This event is triggered when you enter the room with the second doorway marker (15). Crouch into Sneak mode and cover behind the wood paneled rail on the right side of the stairwell entrance to your right.
Whistle to get the attention of the nearest Thug (H) at the bottom of the stairs. Wait for him to enter your striking radius as he ascends the stairs. Silently take him out and loot him as the second ground level Thug (I) walks away.
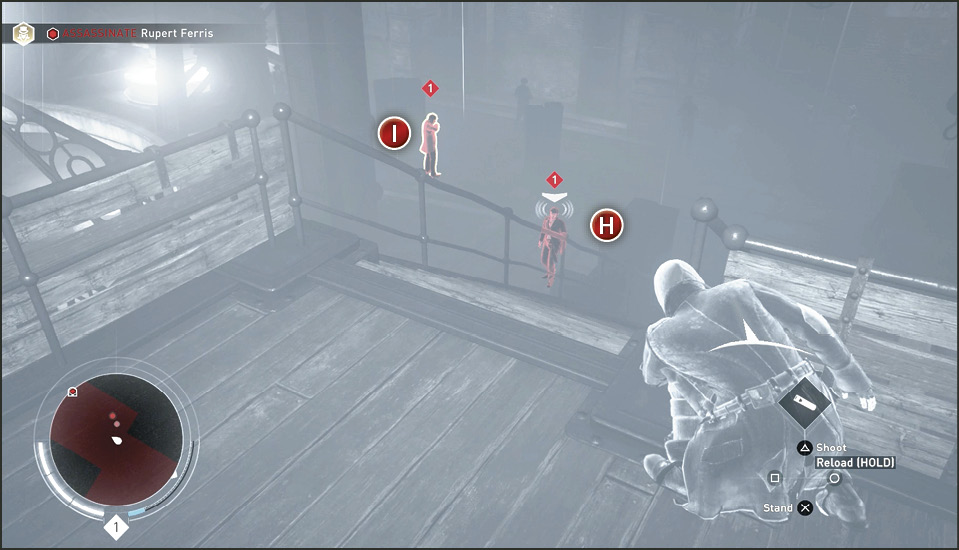
Sneak up to the rail overlooking the large ironworks chamber. With Eagle Vision you can mark two Thugs below. One is the second Thug you saw earlier (I) and the third (J) is closer to the far exit. Throw Knives at their heads from this second level walkway. If you are out of knives, leave them alone.
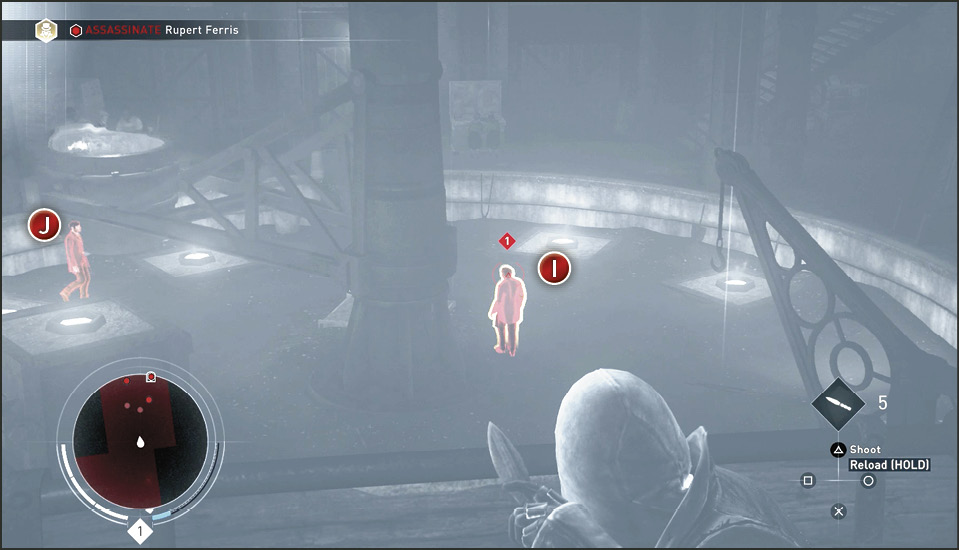
Follow the walkway around a corner until you come across a very wide support girder over the right side of the walkway railing. Climb this girder (16) to the top framework. Use Eagle Vision to spot the next target.
From your high perch in the room you can see the Assassination icon (Rupert’s location in the next chamber over) and two more Thugs. You can take the Thug (K) on the right out with a throwing knife. Follow the left catwalk to another beam that leads to that walkway with the exit on the left. Through this doorway is the next Thug (L). Fortunately, he stands with his back to you as you enter (17).
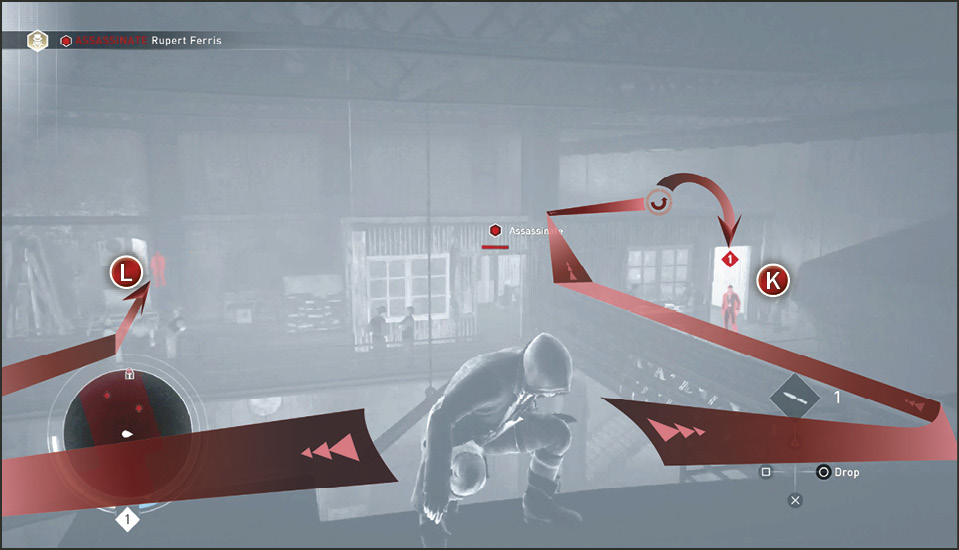
Sneak up behind the Thug and terminate him. When you exit the small room he was in you find yourself in a large chamber that looks very similar to the last. With Eagle Vision you can spot a cluster of three Thugs on a second level walkway on the right side of the room. Remain crouched behind the railing while remaining patient as more enemies enter your sights. You should spot four patrolling Thugs on the lower floor. Just to the left of the cluster of second level enemies you can see the Assassination icon. This marks Ferris’s office beyond these walls.
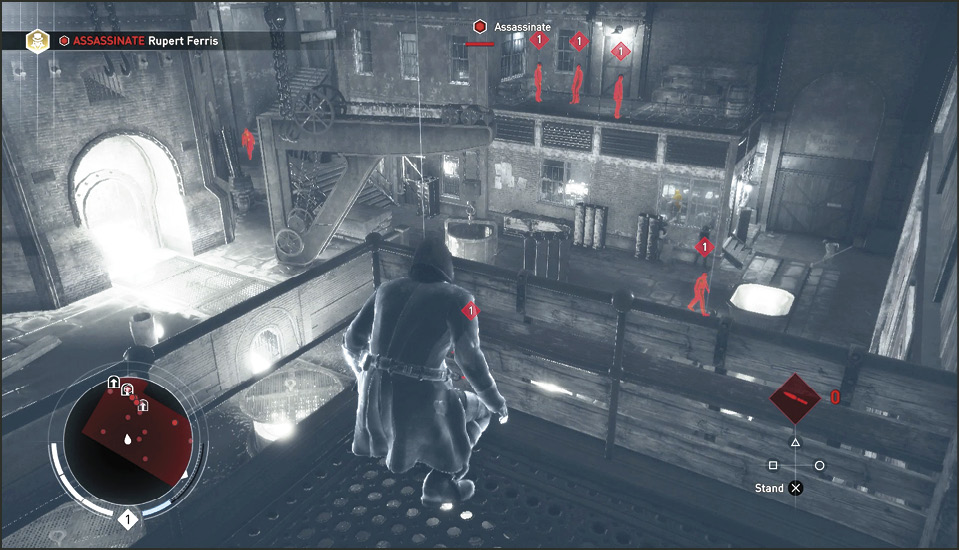
This room is a great example of the choices you face throughout the game. There are two very distinct approaches to solving most of these Challenges: killing everyone or just moving creatively out of watchful eyes to get to your main target more quickly. We’ll cover the less verbose path but help you achieve the mission Challenges whenever applicable.
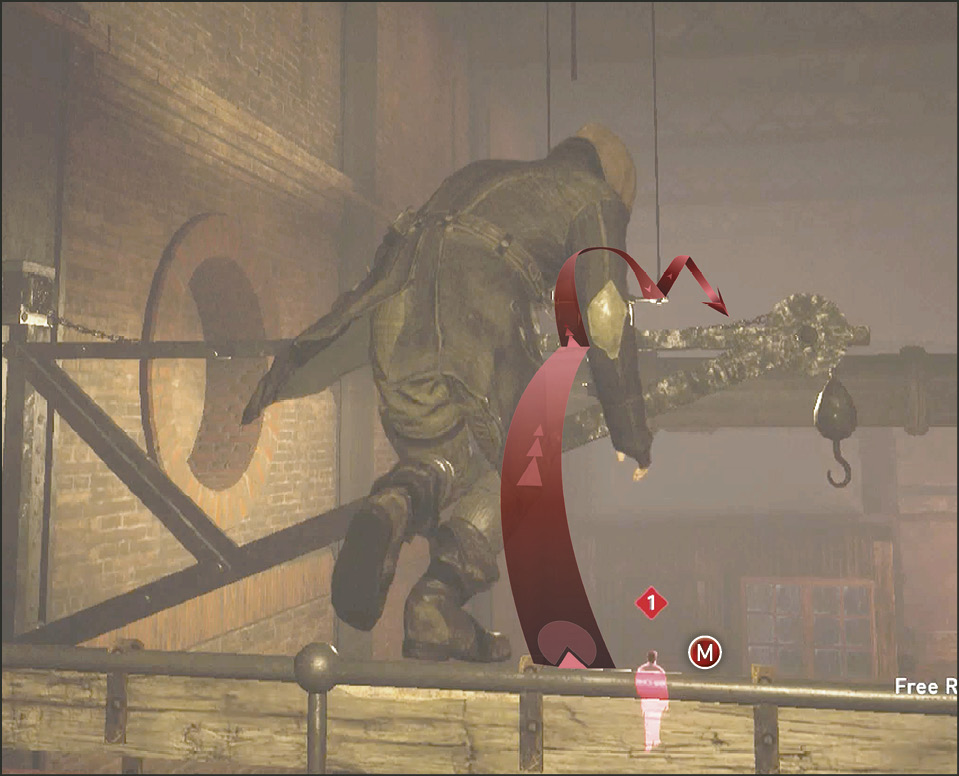
With that said, turn to the left side of the room—pivot left on the walkway and leap off the railing (18) to the winch contraption on the wall and again off the top of a suspended light fixture and next to the top of a large pipe. From this pipe you can either throw a knife at the Thug (M) below or continue to the next pipe and use either the last pipe or the edge of the little office rooftop to Air Assassinate this target.
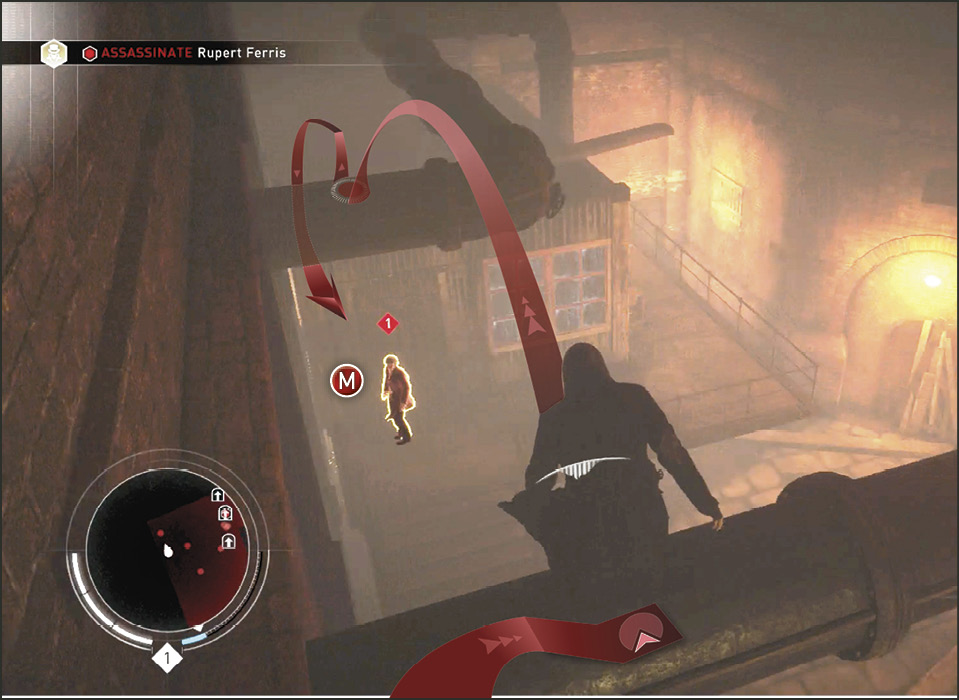
After killing this Thug return to high ground. Get to the corner office rooftop and use a plank to leap and reach the ledge around the large furnace. Stop on the furnace ledge and look around. You see the cluster of three Thugs on the ledge to the right and Thugs left alive on the ground floor. Here you can see three Entry Points indicated by Entry Point icons, all of which are located as far away from each other as possible. The most direct route to Ferris is through the middle top Entry Point. Use the next plank to leap to the side of the wall across the gap. This wall has a large banner painted on it: Starrick & Co. The middle Entry Point (19) is accessible from this rooftop.
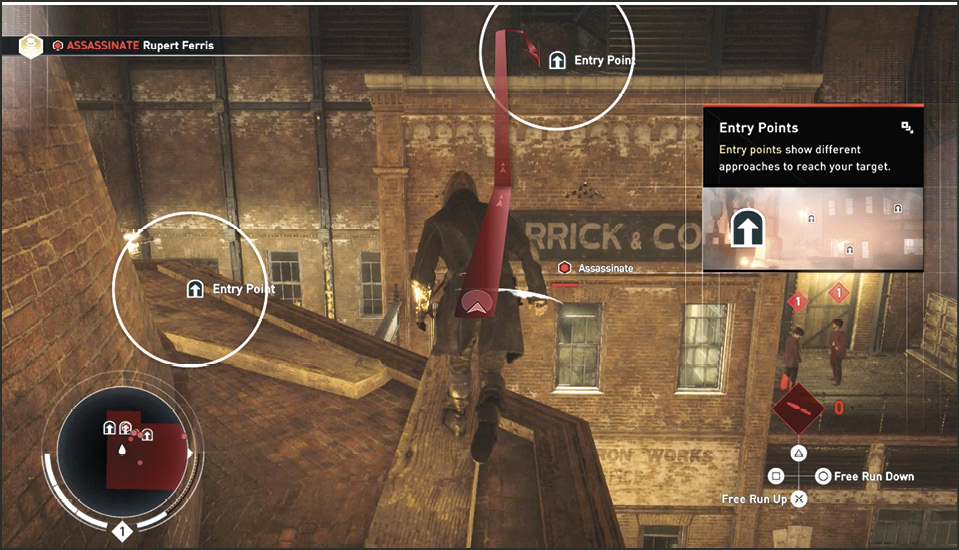
Rupert Ferris stands directly below your feet (provided you have passed through the Entry Point). Below the doorway is a large drop. Don’t go down. Go over. Jump to the pipe across from the entryway. Turn your body completely around while perched on the pipe. Look down and you see Rupert Ferris standing just feet away with an Air Assassination red lock-on highlight around him.
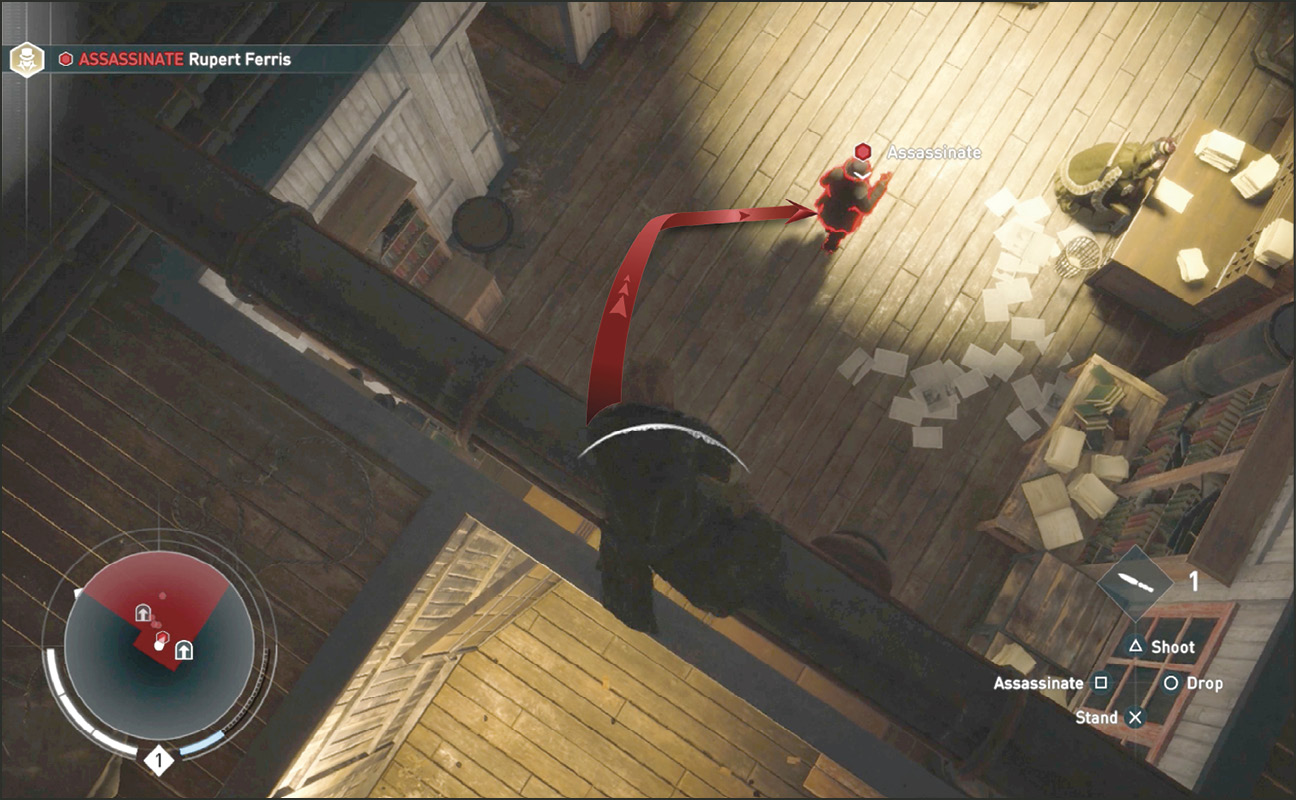
Take Rupert out without a struggle by performing an Air Assassination. Next, the memory and environment surrounding you fades to white and reveals the Animus white room. This is the transitional train station that connects your world with the world of virtual memories. Rupert is a bit upset you pulled him out of that memory and vocally expresses it while Jacob kneels at his dying side.
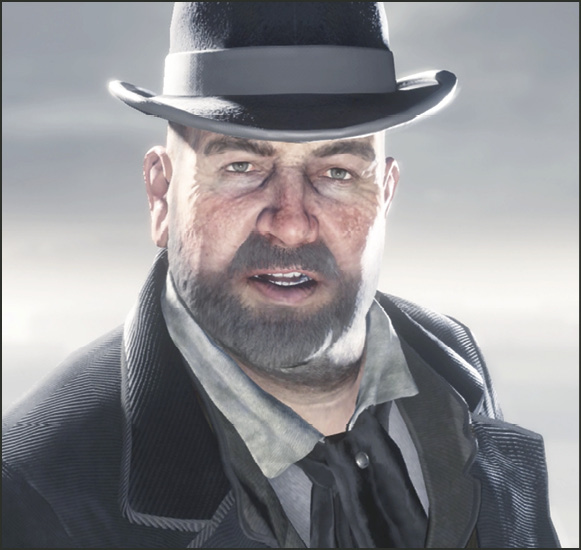
Current Objective: Escape On The Train
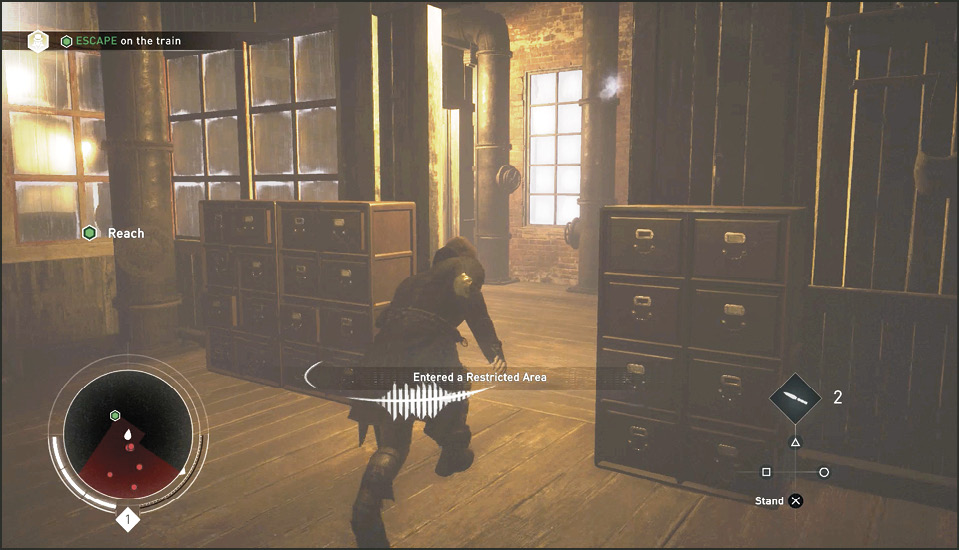
When the memory kicks back in you find yourself beside Rupert’s dead body. So you need to flee the scene. You must escape the ironworks to complete the memory. Pivot around in the room until you face the green Reach icon. Pass through the doorway (20) nearest the Reach icon. Pass through another room and you’ll spot the target marker in the next room marked “Private.”
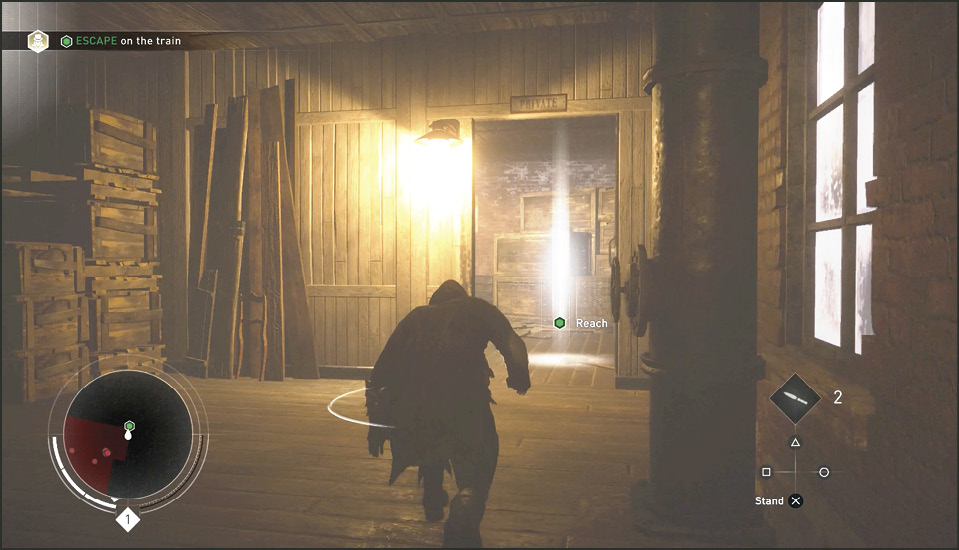
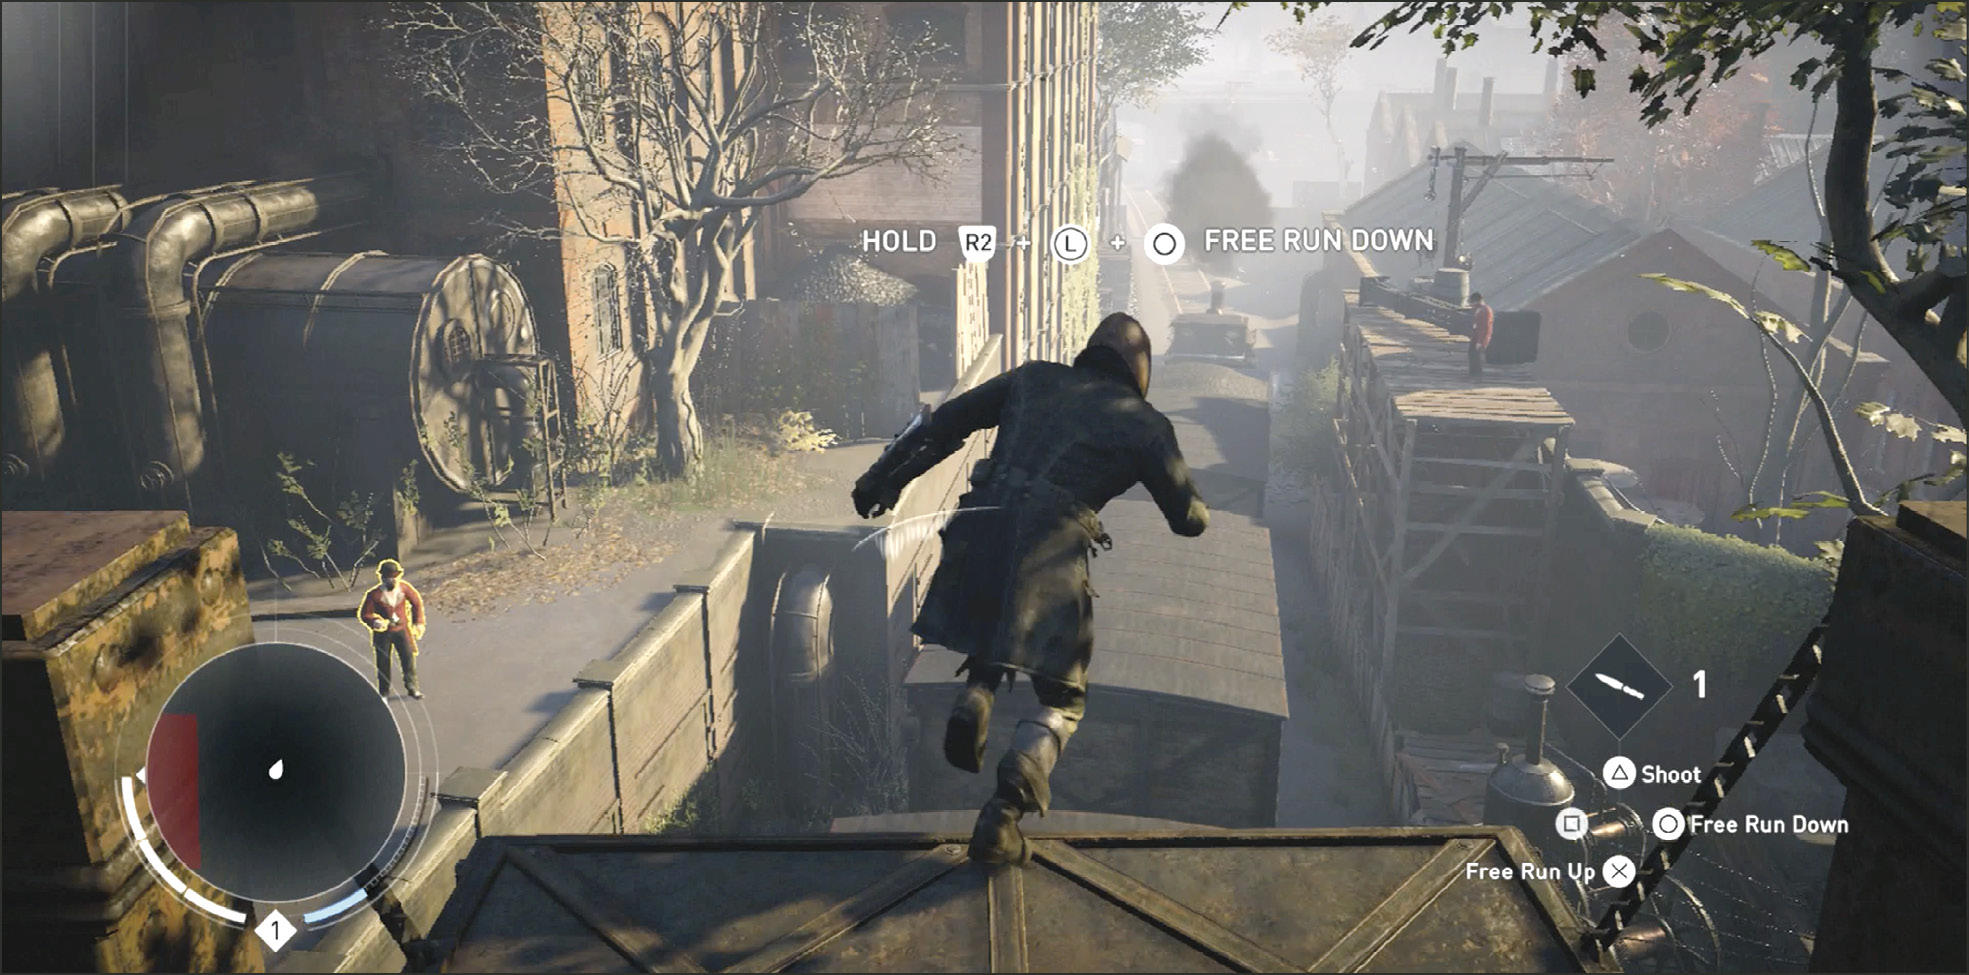
Climb the stairs in the next room to reach a brightly lit loft. An open door is to the left of the stairs. Your vision beyond the exterior balcony is overexposed by the intense sunlight. Run through the Reach icon at the doorway and leap off the end of the balcony (Free Run Down) (21) to drop down onto a train that’s seconds away from leaving the station.
Location: Moving Train
Remain on the car you drop down on and defeat the two Thugs that jump on from the platforms (21) beside the train. Your cover is blown so you have to result to hand-to-hand combat. Defeat the first two Thugs and, when the train passes under the first tunnel, two more Thugs jump aboard from a side platform (23). Rush to attack them as they climb up between the train cars to catch them in a vulnerable state.
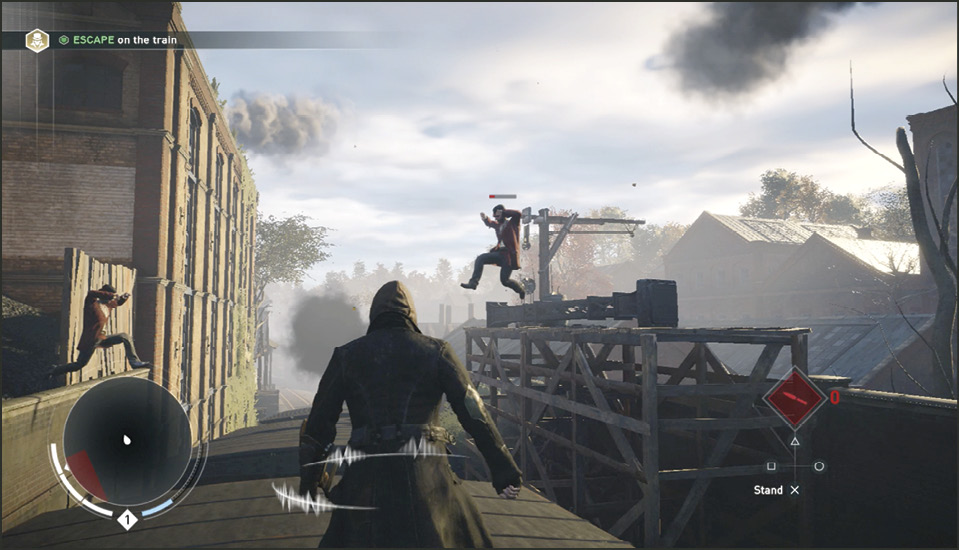
When fighting a large group of enemies it’s good to switch focus to the next closest enemy once the original enemy enters a blocking stance. The second enemy’s attacks are more likely to land when your current enemy is blocking. So instead of Stunning a blocker, move onto the next target and come back to the blocker later. You can also take a quick break between Attack combos to throw a knife at him to break the block and do some serious damage in the process.
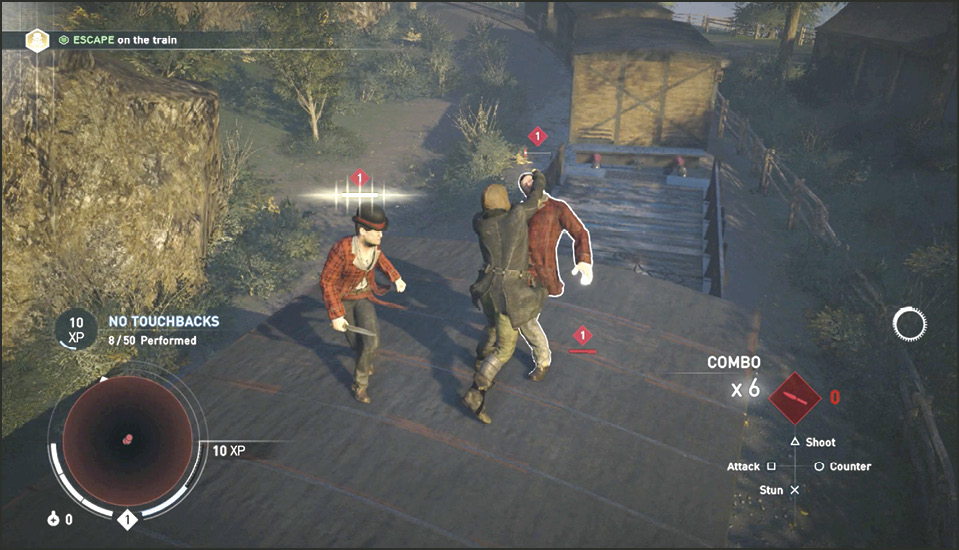
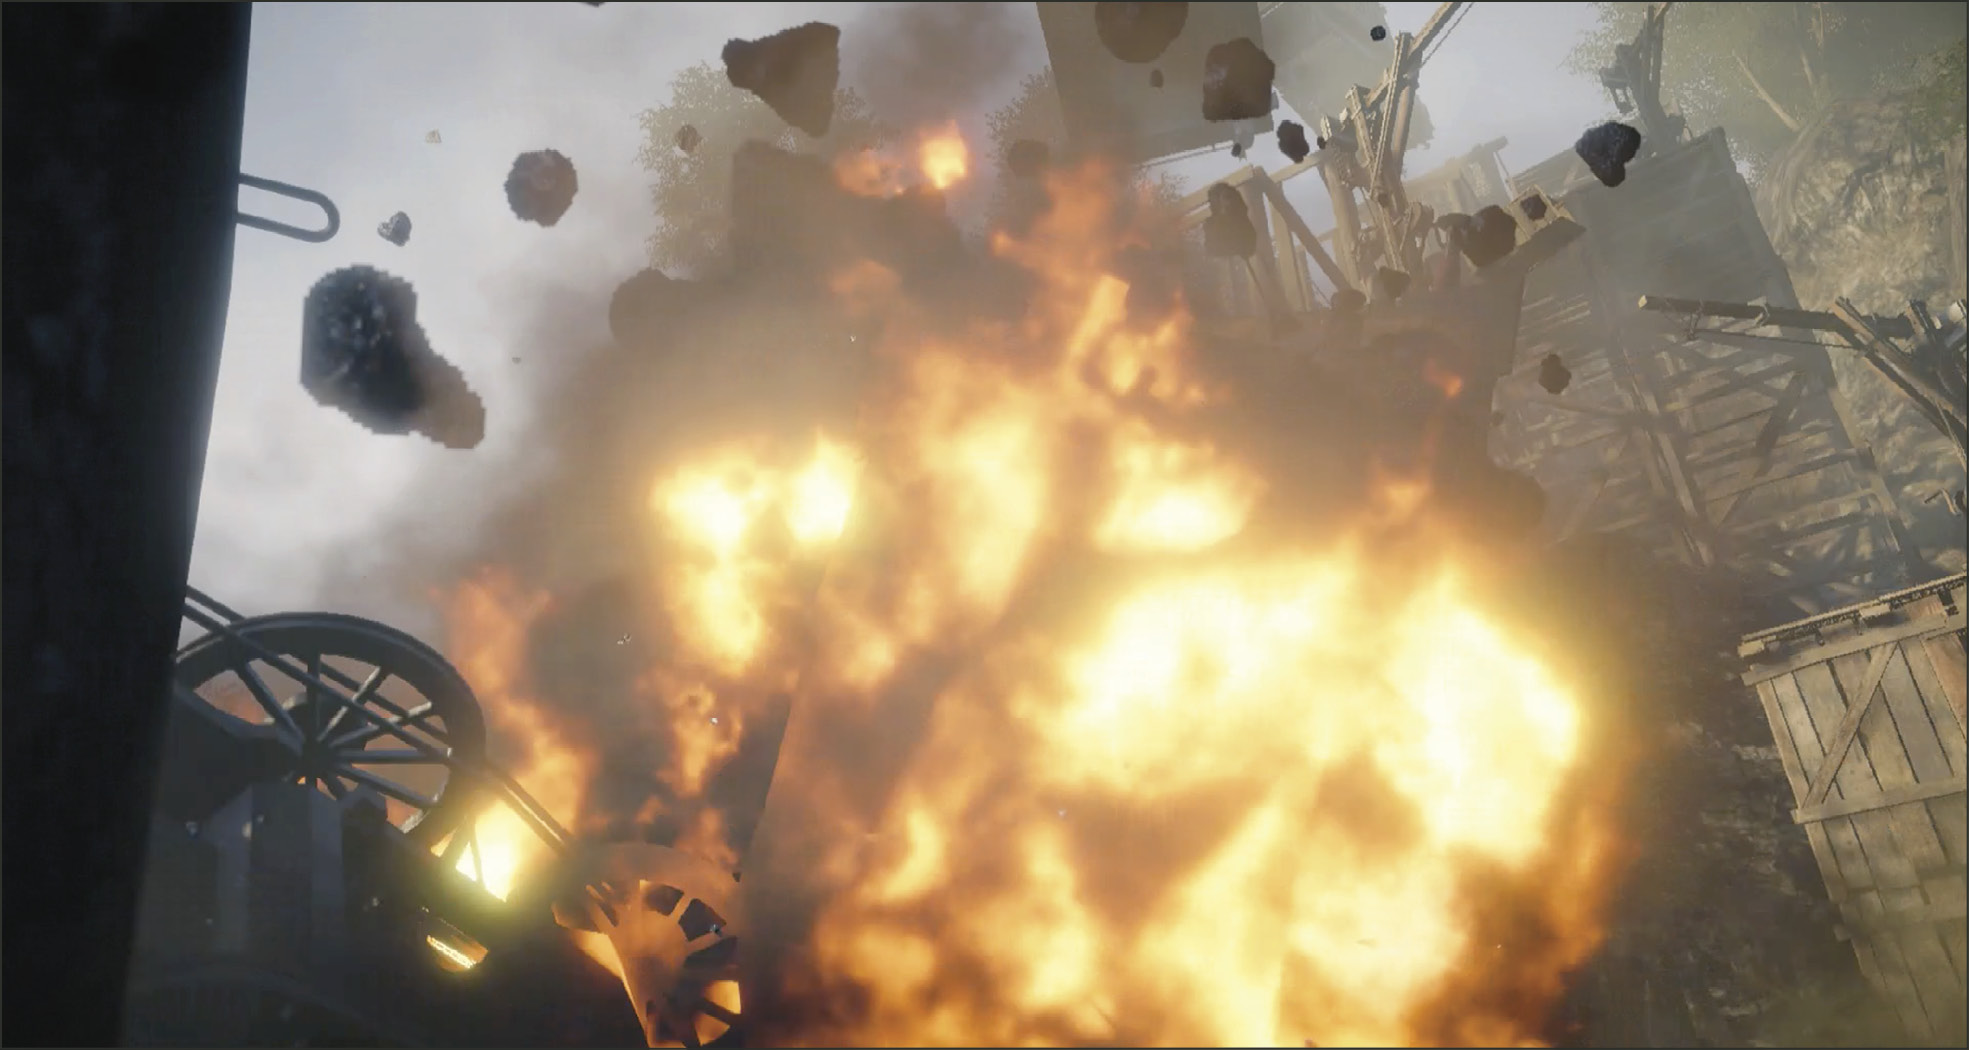
Another enemy jumps aboard from the platform (24) and a couple more follow after that. But once you leave town, no more jump aboard. Once you defeat all of the Thugs, a cinematic begins. Thugs in a horse-drawn wagon activate the railroad switch (25) and send you and the train on course for a broken bridge. Jacob just barely escapes the train wreck using some quick thinking, quick feet, and superstar-quality parkour moves.
Current Objective: Reach Safety
Location: Train Wreck Site
When control returns to you we find Jacob gripping the edge of the rails above a 30-foot drop (26). Press down on the Left Control Stick to drop from grip point to grip point. Alternatively you could also press the / button to Drop from point to point. When you reach the bottom of the track section you discover the drop is too big for a Left Control Stick drop. So you must use the Drop button to release your grip from the rails.
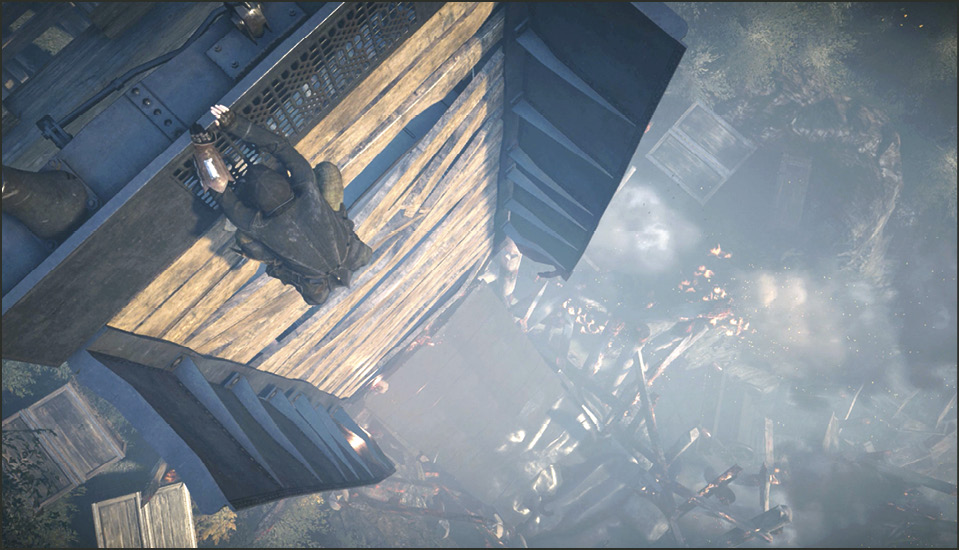
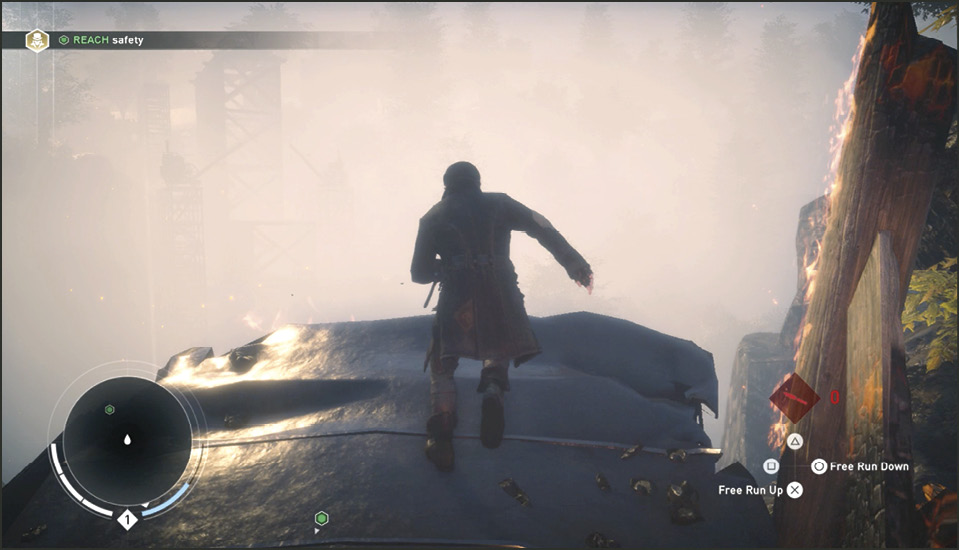
Slide down to the top of the bent sheet metal and jump from the end to clear a gap and reach the top of a demolished train car.
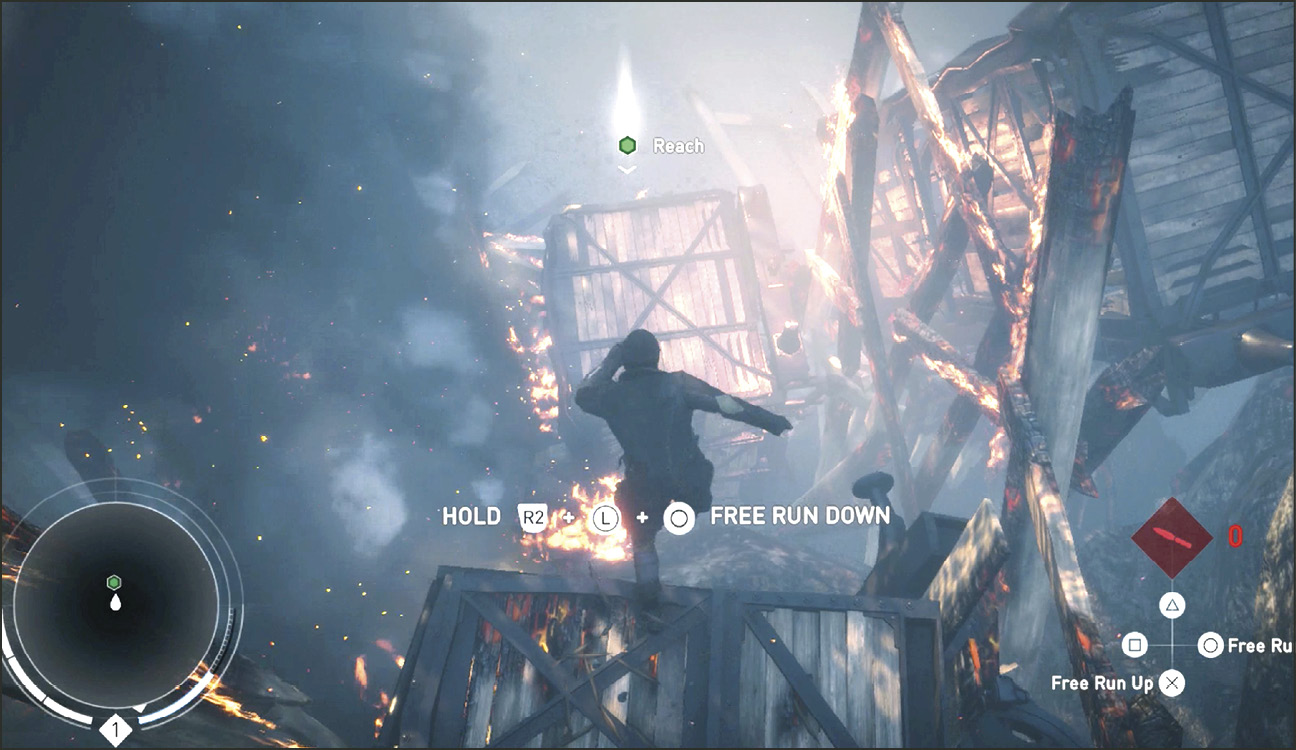
Continue working your way clockwise and downward through the winding path of destruction. Use Free Run Down at the next big drop and then leap into the Reach target marker. This concludes the first Sequence. You made it through alive. Good job. A mission completion display window appears upon completion of all memories. Here you can rate the memory and check out your rewards.