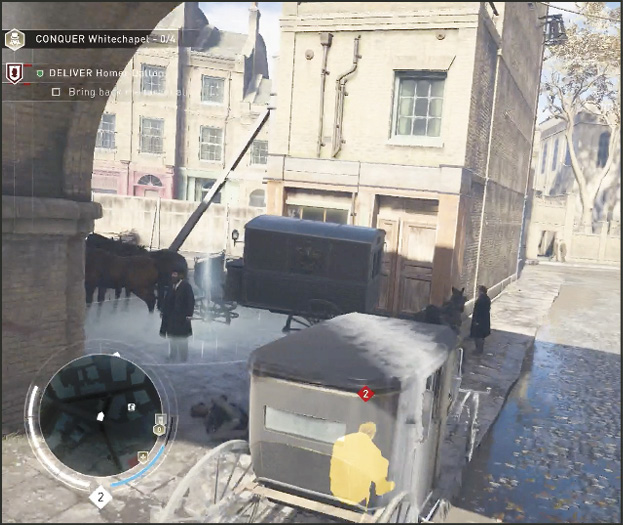
Assassin's Creed Syndicate Guide Walkthrough Sequence Three
Bounty Hunt: Abberline, We Presume
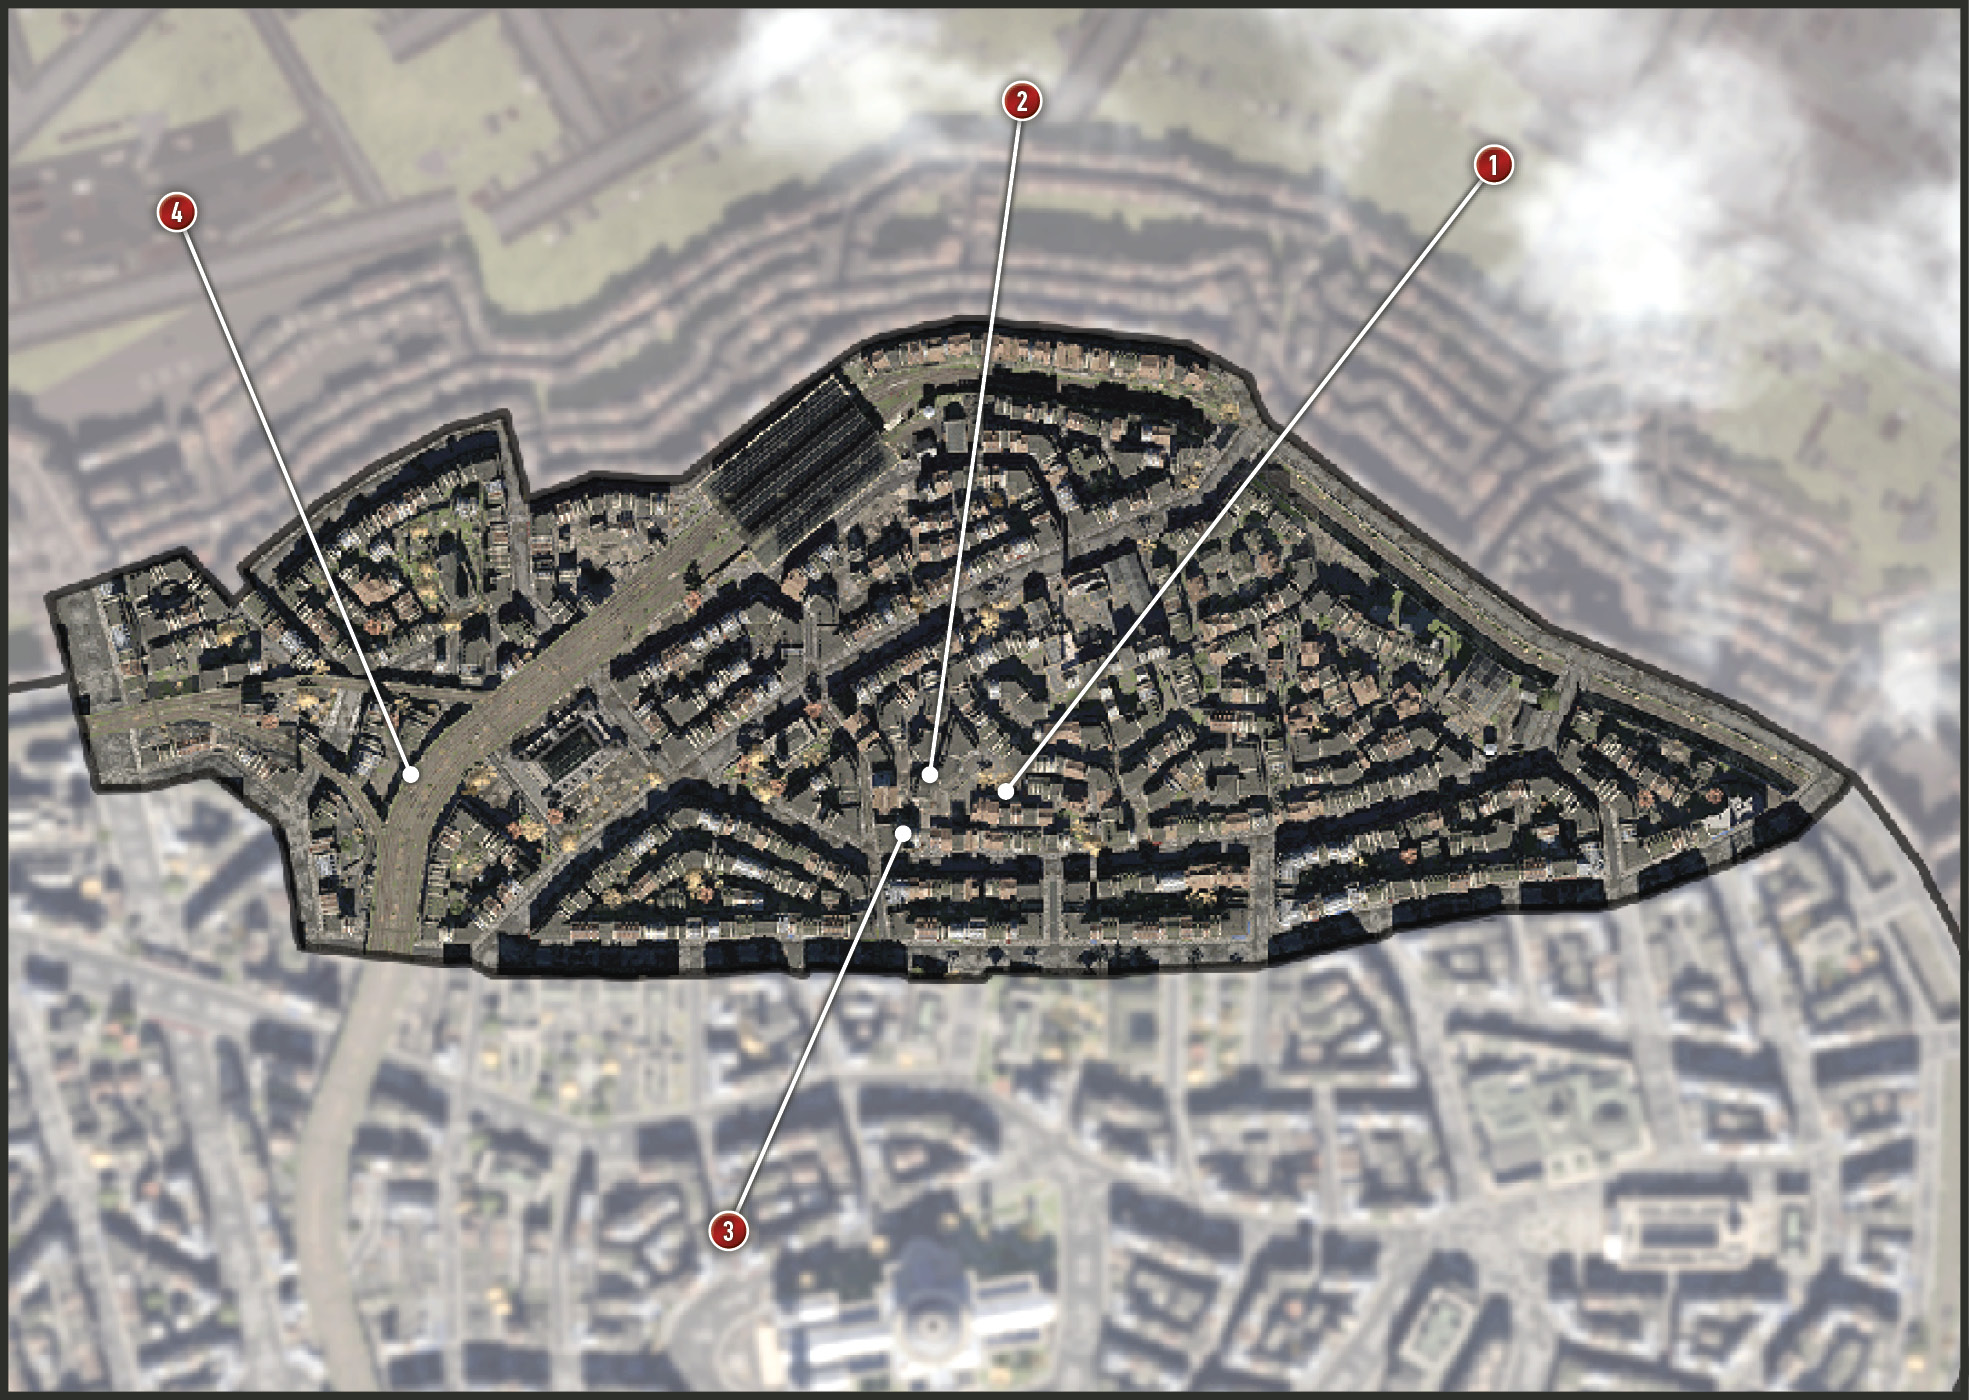
MISSION OVERVIEWMemory Type: Bounty Hunt Suggested Level: 2 AssassinJacob or Evie Frye ChallengesBring back the target alive Rewards£: 132 + 75 (Full Synch Bonus) XP: 200 + 100 (Full Synch Bonus Lessons
|
Objective: Reach High Ground
Location: Whitechapel Back Alley
Which Frye twin you are controlling determines which twin you meet up with in the Whitechapel back alley (1). Once the twins are together again, press  /
/  to accept this Memory. When the memory starts, neither Jacob nor Evie can find the police officer they were to meet at this location. Suddenly a hunched-over old lady approaches the twins and offers her assistance. Jacob snatches the bonnet off her head to reveal the master of disguise, the bumbling Sergeant Frederick Abberline.
Abberline lays out the rules of their “partnership.” He tells the Frye twins that he will provide the names of criminal gang members and that they will bring them to him…quietly.
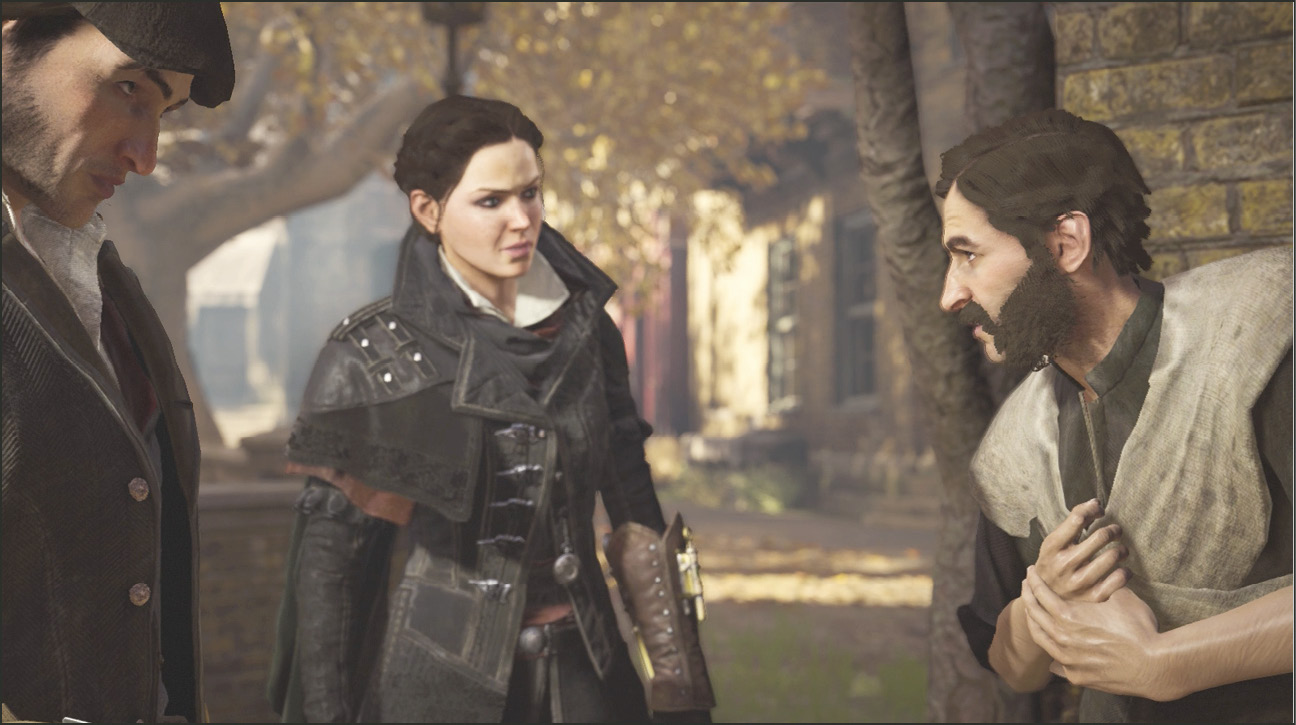
When control returns to you, Abberline (re-disguised) tells you to stay within the bounds of the law, for his sake. This means you should not kill the target (don’t worry about the other enemies, they’ll get what’s coming to them). So this means you need to work stealthily. You could rush in and risk getting beaten to death or chasing the target all over town, or you can choose to do it quietly and much more quickly. We usually take this approach.
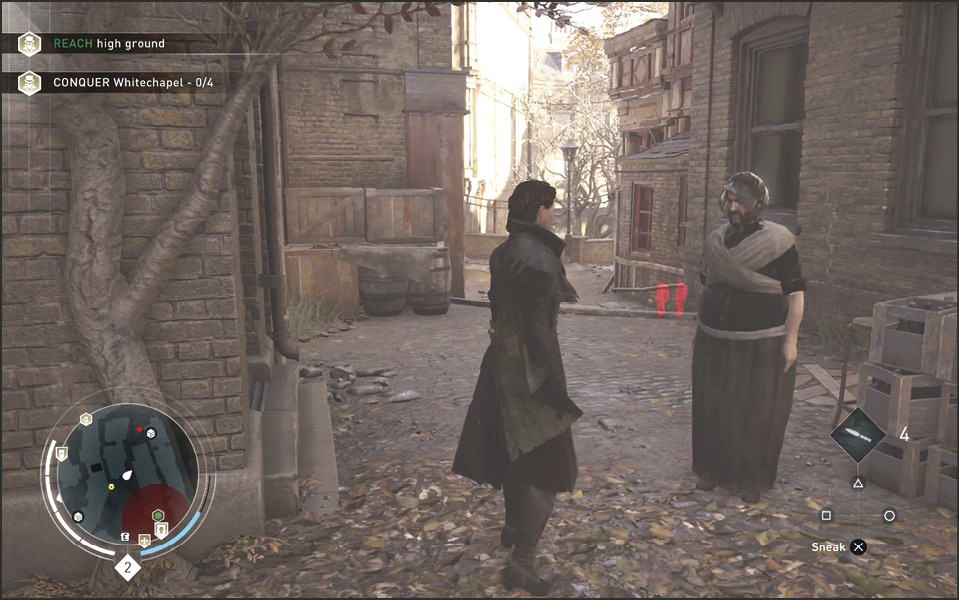
Abberline adds, “…attempt to make them talk, then bring them to my carriage.” He makes it sound like he’s waiting nearby, but he is far away from the crime scene. You have the option to throw the victim into a nearby carriage and there are usually plenty of options around every corner. Look for the most inconspicuous route to a nearby carriage. This means you do not have to risk walking a kidnapped victim through a guarded exit. Then you must deliver the “package” to Abberline’s carriage—usually a few blocks away—to remain inconspicuous.
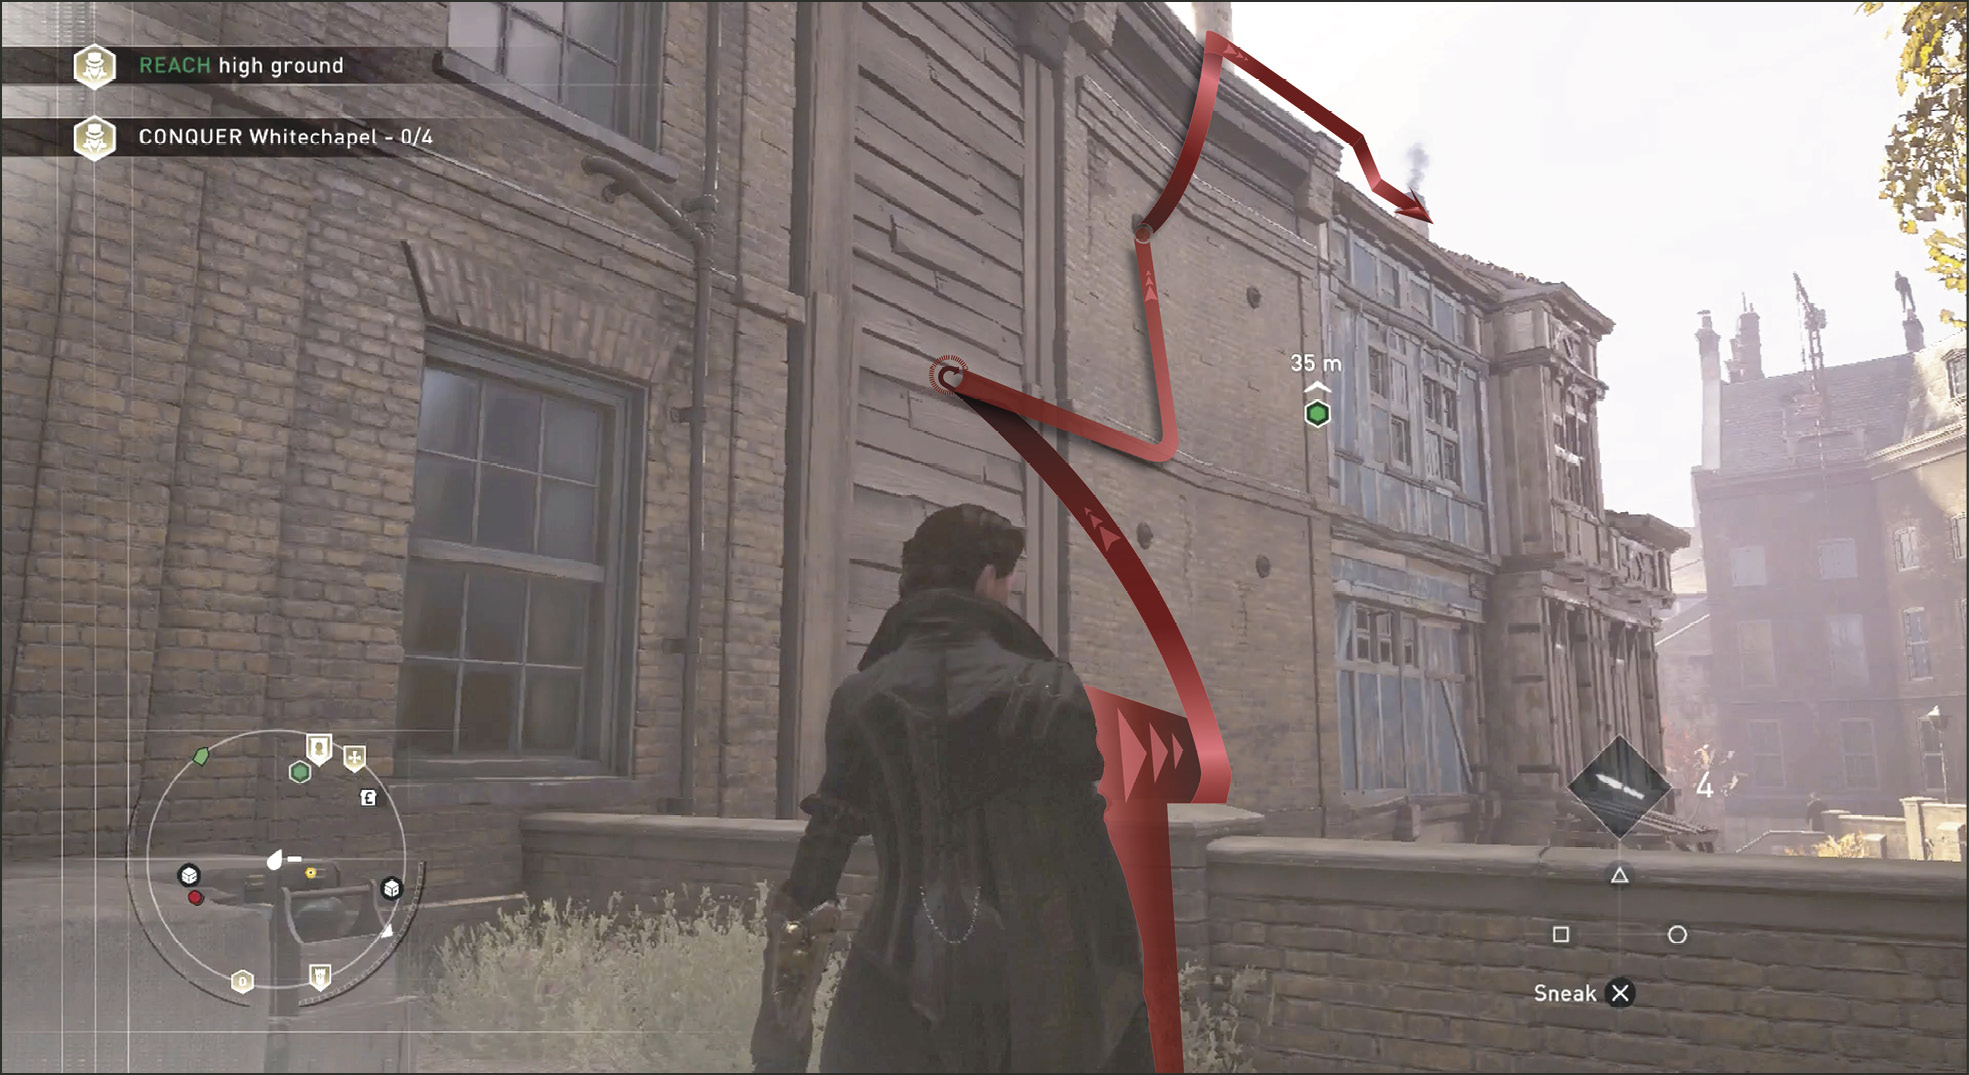
You must reach high ground. Follow the green blip to the rooftops. Climb up to the top of the nearby stair ledge and then jump and cling to the side of the building to the left. Get to the rooftop by grabbing onto grip points and continue to the right across the rooftops to find Dalton and his thugs.
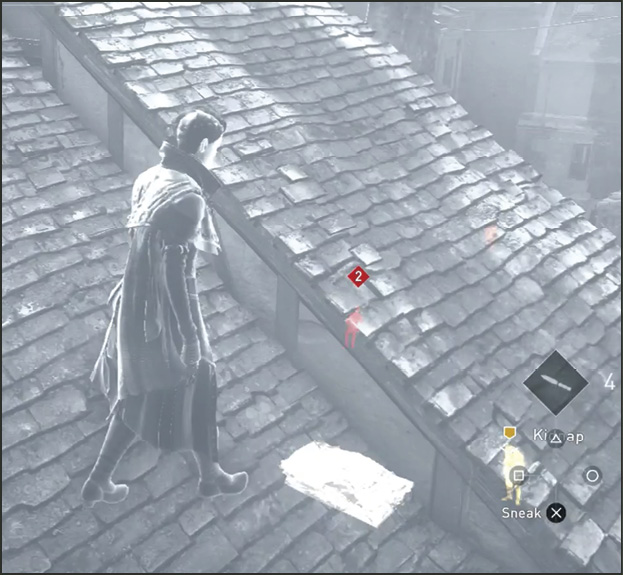
Activate Eagle Vision while walking along the rooftops and as you approach the courtyard (2) full of enemies. Look through the rooftop and you start seeing highlighted shapes. These enemies have no way of seeing you through walls and rooftops. This is your advantage and the power of Eagle Vision II (Upgrade to that Skill now if you have not already).
Current Objective: Kidnap Homer Dalton
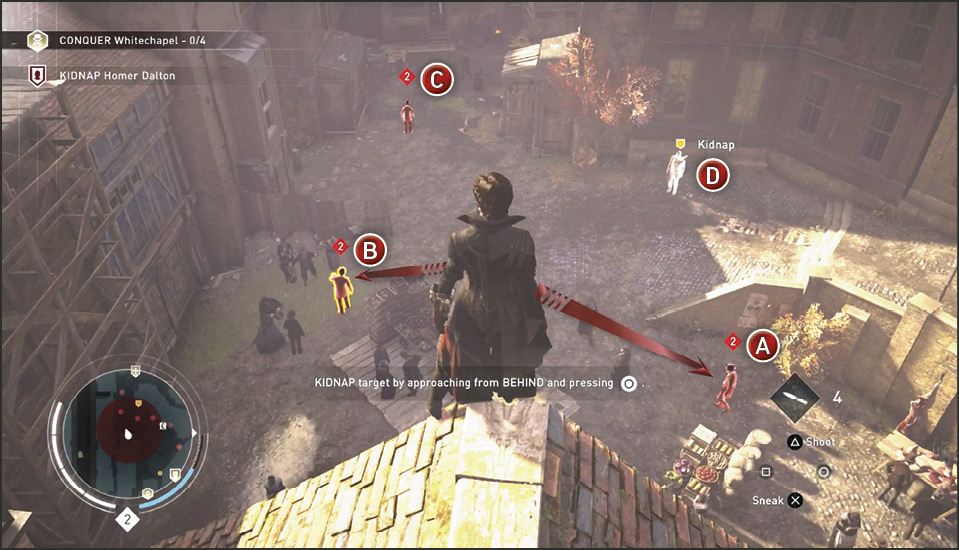
Take in your surroundings from the edge of a rooftop overlooking Homer Dalton and his henchmen. There are four Thugs that could cause a problem, and possibly a fifth depending on your exit strategy. One Thug patrols through the middle of the courtyard (A). He’s got to go. Another two (B & C) stand still with their backs to you. Throw a knife at the heads of the patrolling Thug (A) and static Thug (B). That’s all the Blighter killing you need to do.
Kidnap
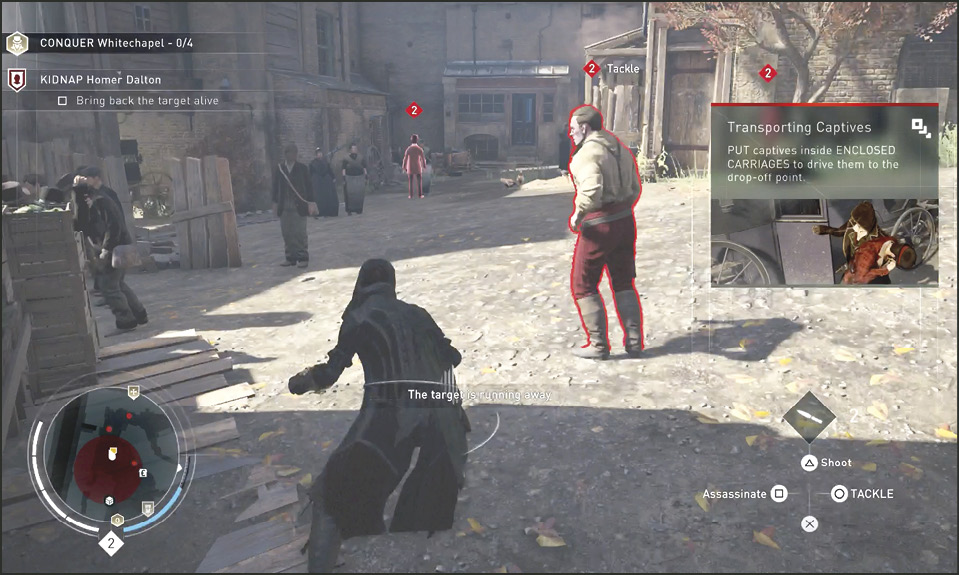
Leap of Faith into the haystack no matter who’s facing you (it’s always instant cover) and wait for Homer Dalton (D) who is highlighted yellow on the map and in Eagle Vision to walk with his back to you. Sneak out of the hay and come up behind him to quietly tackle him using  /
/  .
.
Tackle
Once he pulls himself to his feet, press the same button to kidnap him. Do this quickly or he will run off and into view of his henchmen if you let him. Make sure you do not hold the Kidnap button or you end up knocking the victim out. Then you’d have to carry him to the carriage and will have no moving cover as you would have had if you walked with the kidnapped victim to the carriage. Plus, knocking him out counts the same as if the kidnapped victim was dead and you’ll lose the Challenge in this mission.
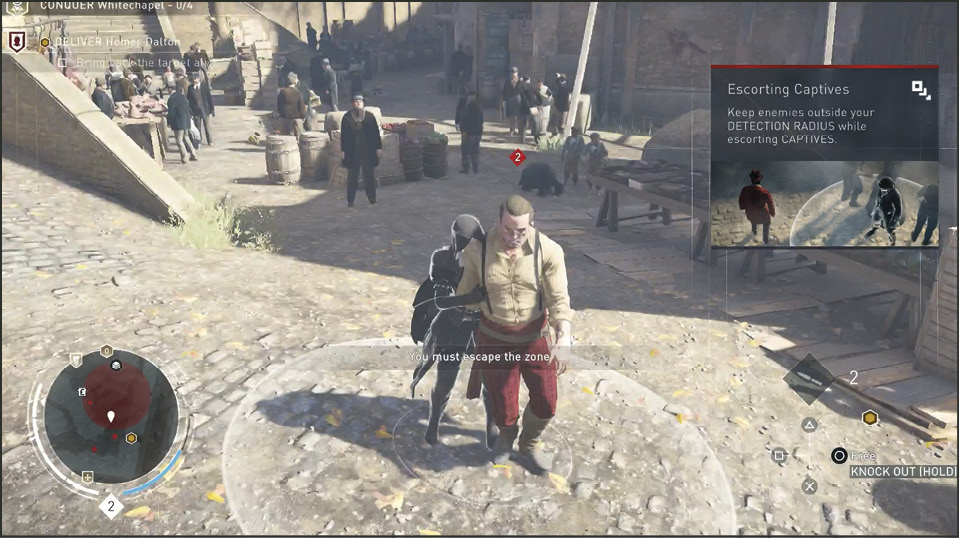
Current Objective: Deliver Homer Dalton
Challenge: Bring back the target alive
Escorting Captives
When you have Homer Dalton’s arm behind his back (kidnapped) notice the faster you walk him in the desired direction the larger the detection radius becomes. If an enemy or police officer enters that radius you are discovered and your victim escapes. The slower you walk the smaller the detection radius becomes. So walk slowly when you need to walk past a nearby enemy. Look to the short alleyway behind Thug (C) to find a nearby carriage, marked as a yellow blip on the Mini-Map. If you aren’t looking there you’ll see a beam of light emanating from the middle of the carriage.
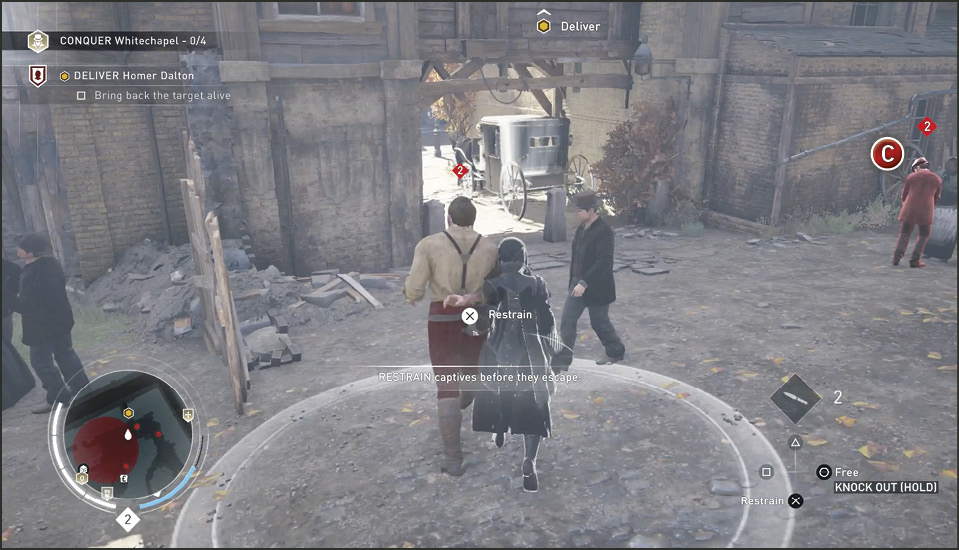
Restrain
As you walk with a captive they tend to want to leave your company for some reason. You’ll feel them struggling (vibration in the controller) and you receive a Restrain prompt on screen. Press the Restrain button / to wrestle with the victim a bit and get some more compliant walking out of him.
Shove In
When you reach the carriage (3), direct the kidnapped victim toward the passenger door. You’ll receive a Shove In prompt. Press /  to shove Dalton into the carriage. Again, make sure you do not hold this button too long or you knock the victim out. The victim takes a position on the floor staying low and inconspicuous, but sometimes yells as you drive away anyway.
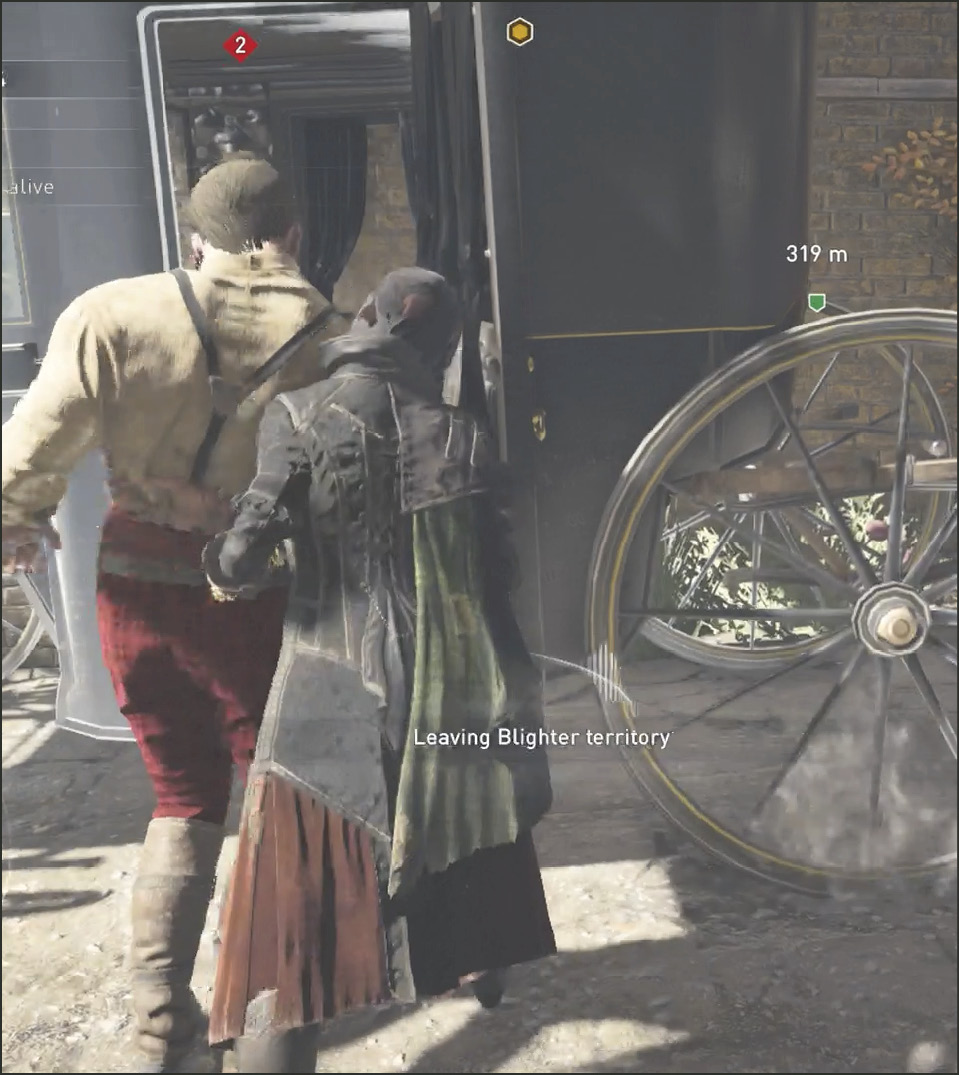
Now get in the driver’s seat and follow the marked route to Sergeant Abberline. Drive swiftly but avoid running into unnecessary trouble such as ramming into Blighters driving carriages.
Typically you won’t have trouble when you escape with a kidnapped target but there are times that you are chased and have to ram the enemy off the road and then become anonymous before Abberline will accept the kidnapped victim. Follow the road marker to Abberline’s carriage parked under the railroad tracks. This location is marked with the green blip (4) on the map as well as on screen.
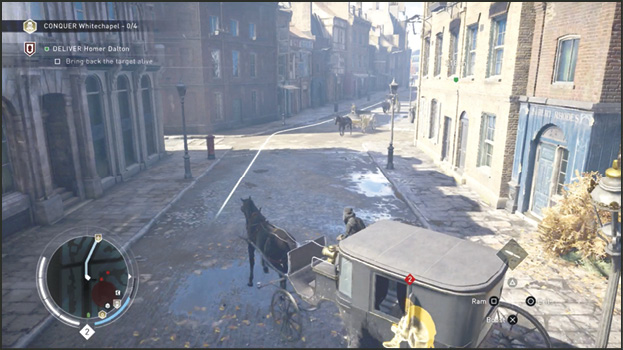
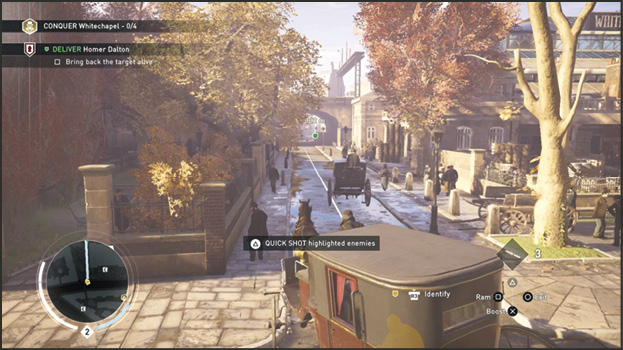
Park the carriage in Abberline’s detection radius and stay put or jump out. Abberline will take it from there. If the mission doesn’t end then you need to become anonymous. If this is the case, you can actually leave the kidnapped victim and carriage in Abberline’s detection radius and go climb some buildings or blend into a crowd to become anonymous. The second you do, the mission is completed. Notice the red fog has been lifted from the borough around the Bounty Hunt location.