Assassin's Creed Syndicate Guide Walkthrough Sequence Six
A Bad Penny
MISSION OVERVIEWMemory Type: Templar Conspiracy Suggested Level: 5 AssassinJacob Frye ChallengesFind the secret passage Rewards£: 2490 + 125 (Full Synch Bonus) XP: 3500 + 150 (Full Synch Bonus) Outfit: Master Assassin |
Location: Bank of England, City of London
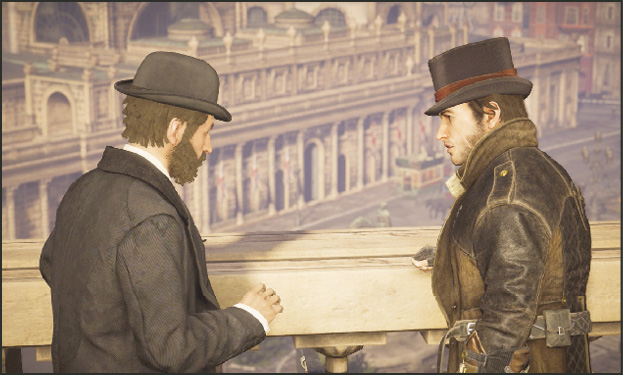
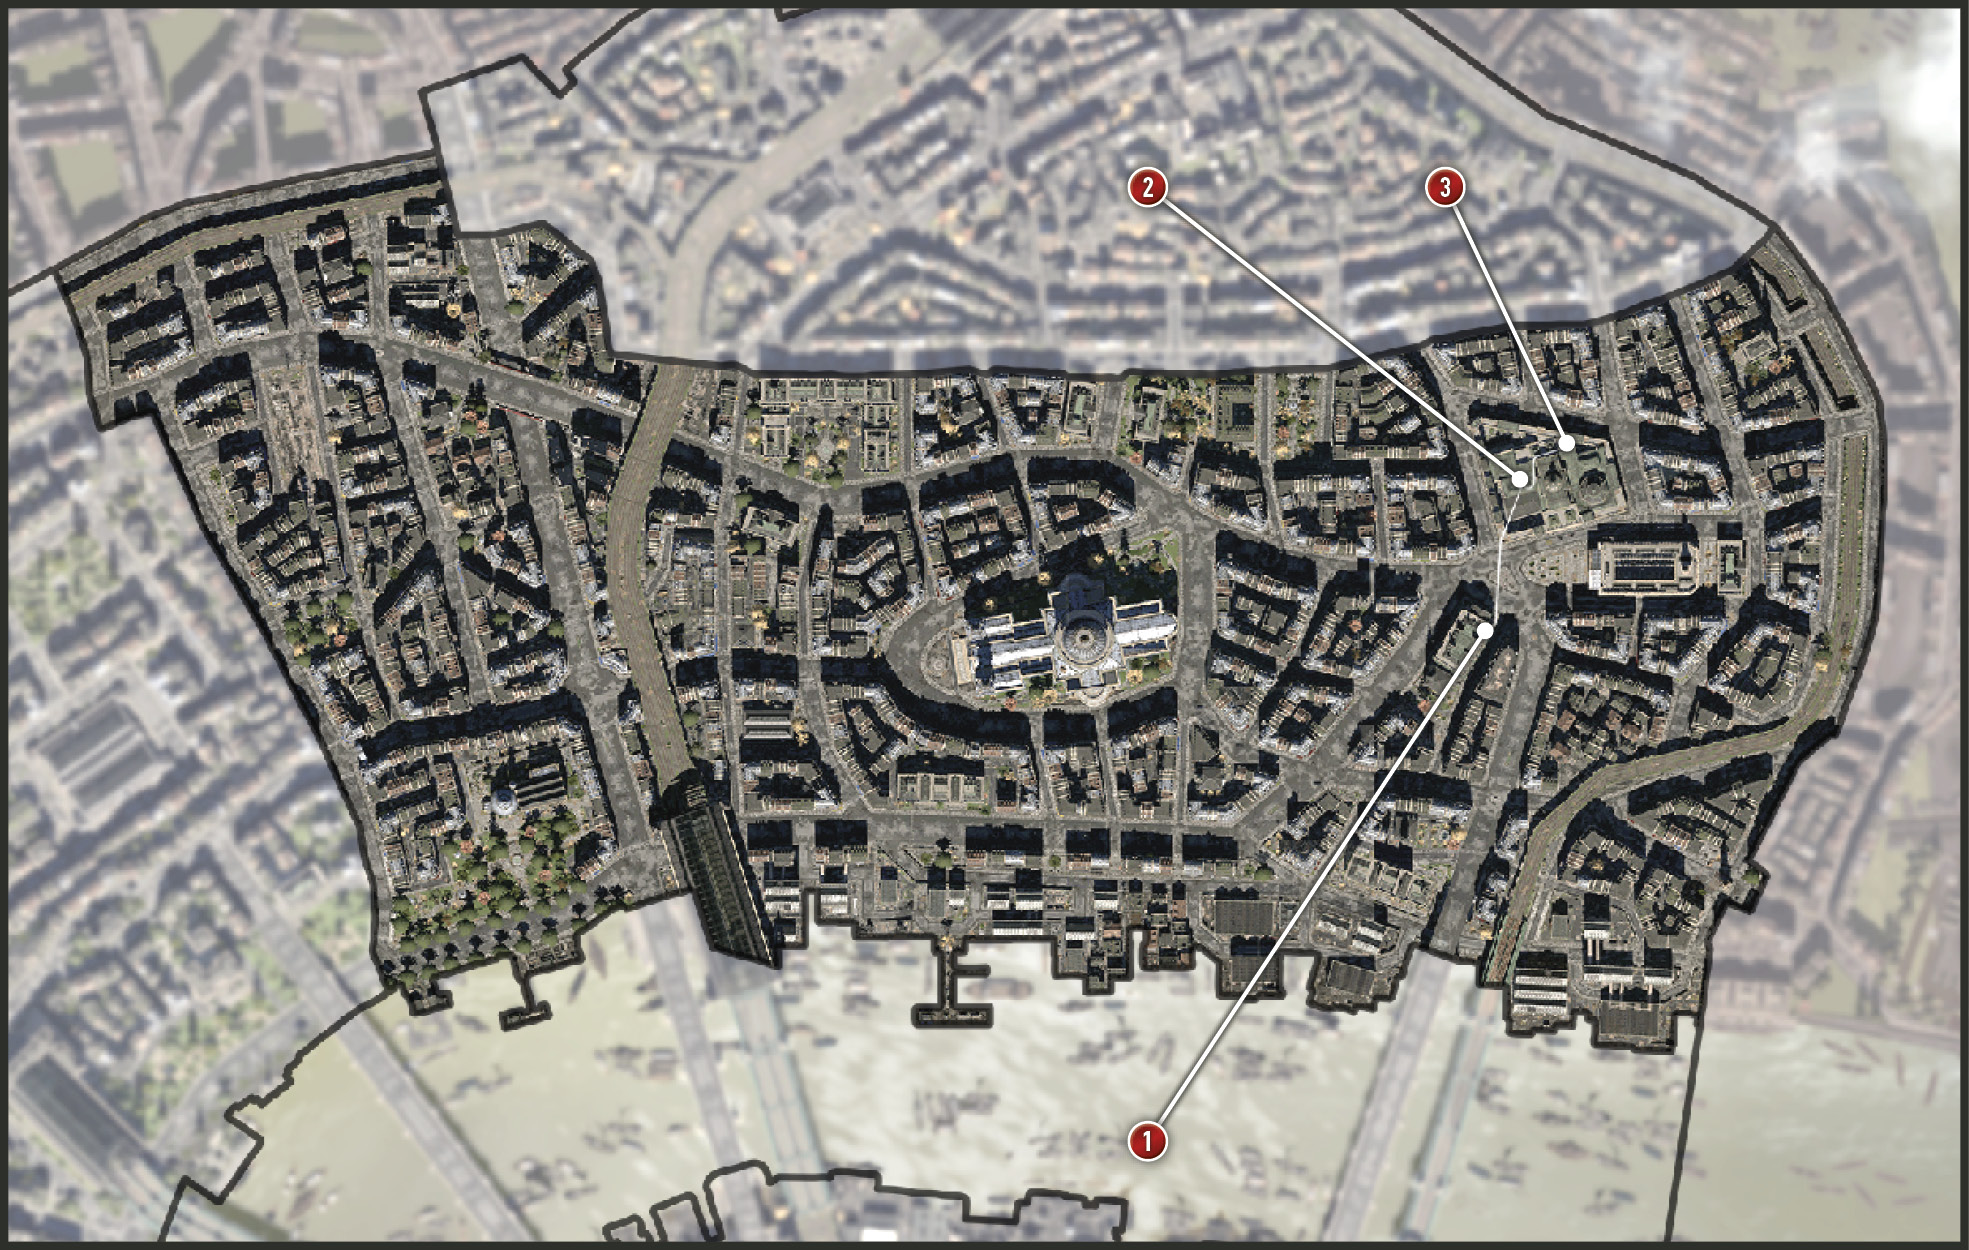
Jacob meets Frederick Abberline on the rooftop of a building (1) across the street from the Bank of England. They discuss thwarting Twopenny’s bank robbery plans. Jacob assumes that Twopenny is deep in the vault as they speak and asks Abberline how to get into the vault. Abberline explains….
Mr. Osborne the Bank Manager: Stealth Opportunity
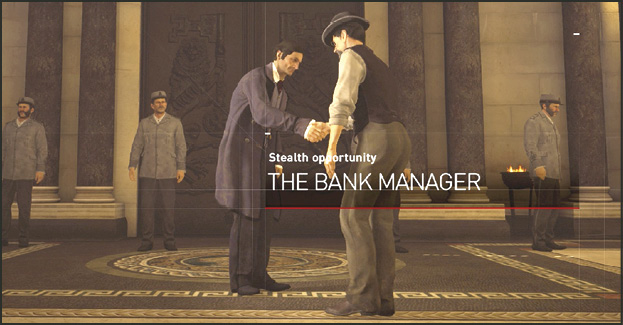
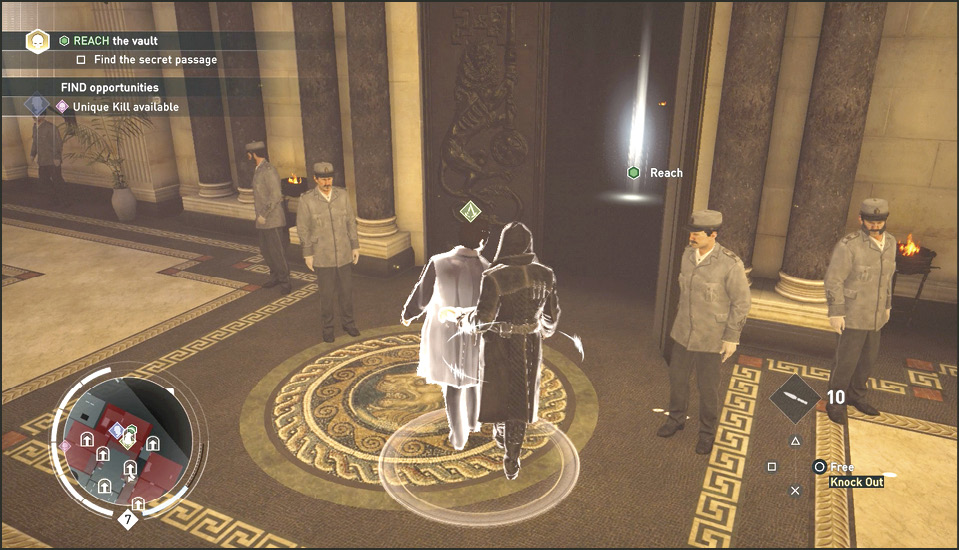
Only Mr. Osborne is allowed free access to the vault. There are other ways into the vault as we will discuss, but if you kidnap the manager you can walk right into the vault through a squad of security guards.
The Vault Watcher: Assistance Opportunity
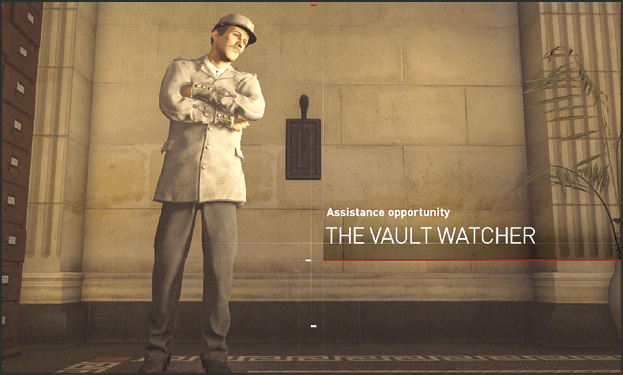
One man watches the vault like a hawk and if he sees you he is sure to seal it. As a strategy note, you can kidnap the Bank Manager and walk right into the vault under this guy’s watch. We suggest taking this guy out first only if you are going in with the intention of eliminating the guards at the vault entrance.
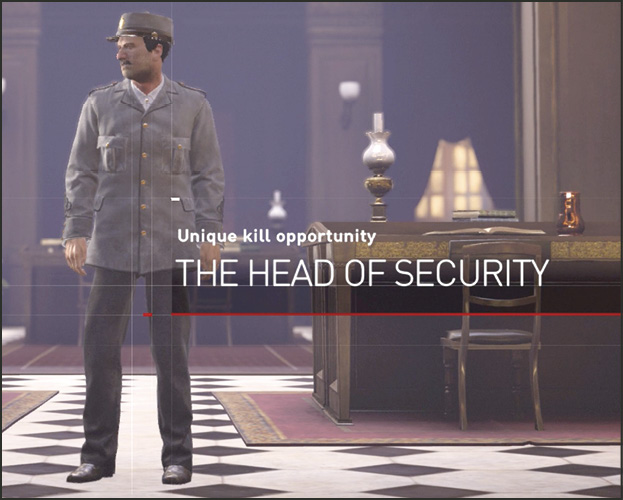
Gus Howard the Head of Security: Unique Kill Opportunity
The guard captain, Gus Howard, keeps a tight watch on his men who guard the door. If he leaves, they tend to relax their vigilance.
Current Objective: Reach the Vault
Challenge: Find the secret passage
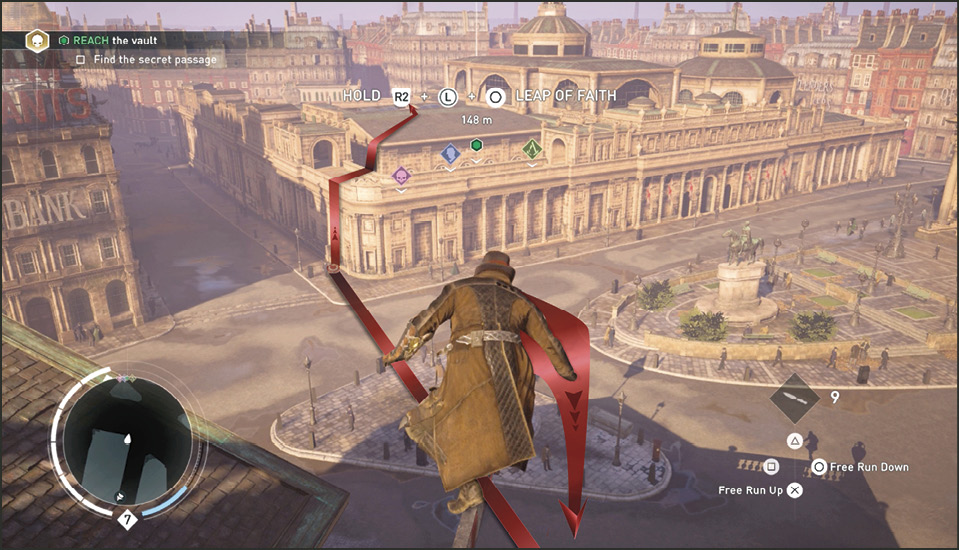
In our strategy we use the Stealth and Unique Kill Opportunity options while the vault watcher’s assistance is not needed. The Challenge to “find the secret passage” is utilized during the escape at the end of the mission. Begin the mission by stepping up onto the balcony’s rail and use the post jutting from the wall beneath you to perform a Leap of Faith into a haystack below.
Side Objective: Kidnap the head of security
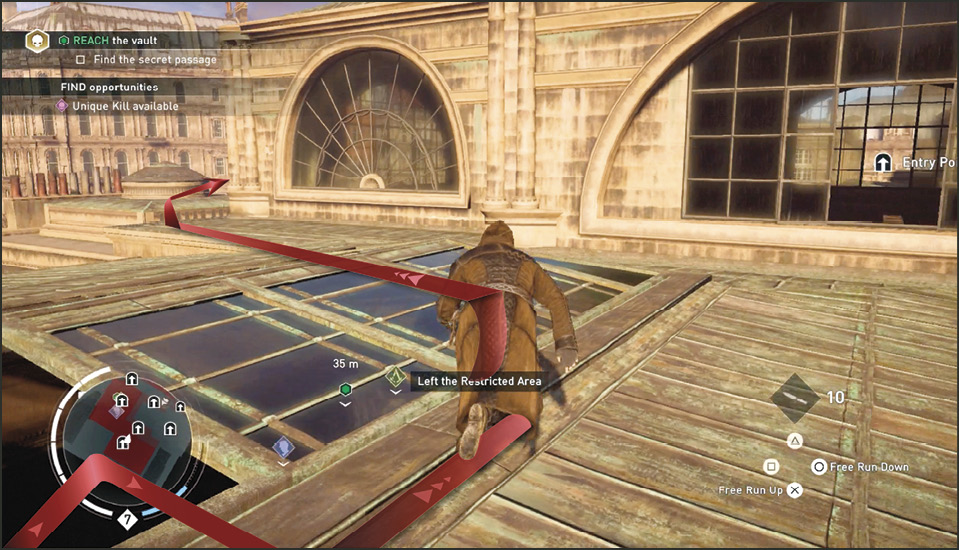
Head for the southwest (left) corner of the bank across the street and Rope Launch to the rooftop balcony. Leap from the balcony to the northeast rooftop. Continue northeast across the rooftop until you come to an open skylight (2). There are several Entry Points located on the rooftop and many of them are different entry points into the same main bank chamber. These high, open windows allow direct access to some high trusses which, in turn, allow you to watch over the guards in the bank below while remaining undetected. But that’s a different strategy. We’ve got a plan that utilizes more features than that.
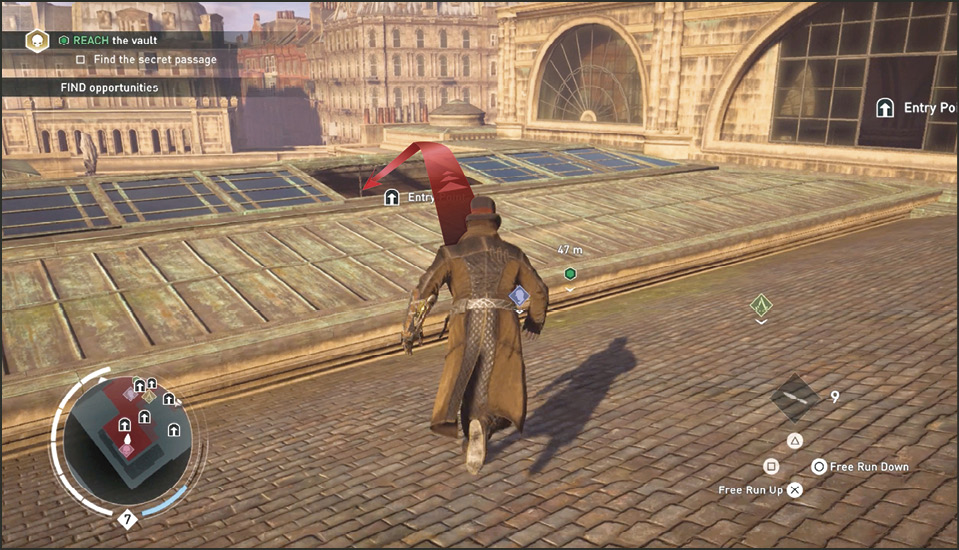
Use the Free Run Down move to run and drop into the open skylight (2). You land on the top of a large chandelier in the office below. Crouch down, activate Eagle Vision and look down into the room. Look to the south and you see Gus Howard, the Head of Security. This is your Unique Kill Opportunity.
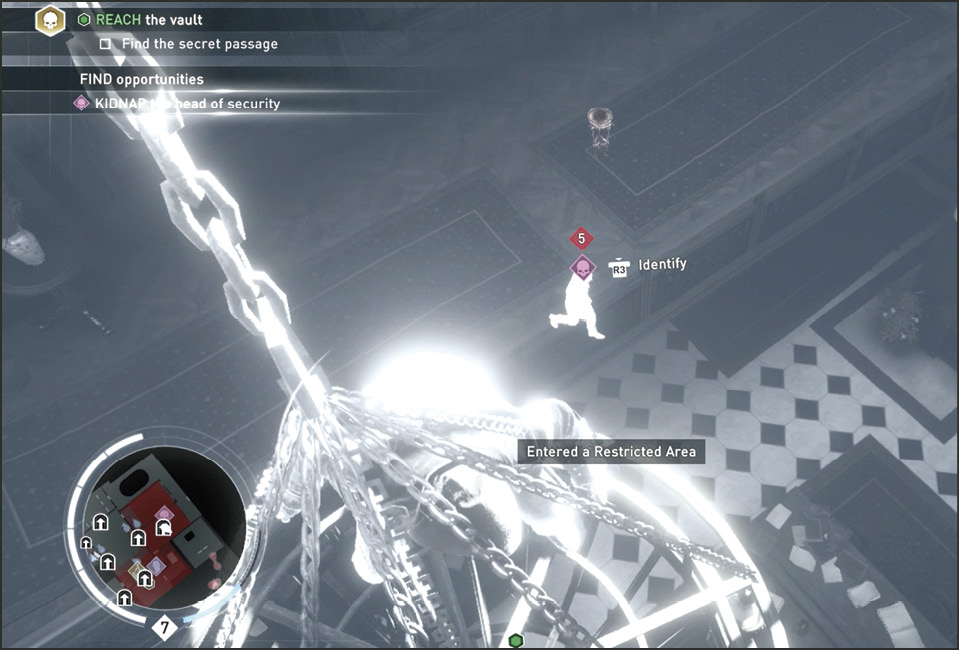
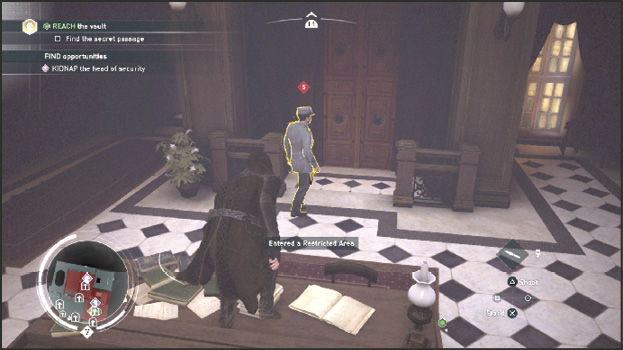
Gus walks into the room through the doorway to the south and makes his way to the locked double doors in a small recessed area to the west. He stands there facing those doors with his back to you for a spell. Free Run Down off the chandelier onto the desk below you and then sneak up behind Gus and kidnap him. You don’t need to lead him anywhere. You ask him where Twopenny is and he tells you he’s in the vault ogling his priceless painting. The Unique Kill becomes available and a location is marked on the Mini-Map. You can choke Gus out now and leave him on the floor.
Side Objective: Kidnap the Bank Manager
Stand under the same skylight and Rope Launch back to the rooftop. Pivot to the northeast and walk around the north side of the bank’s main lobby. While running along the north ledge you begin to see another Entry Point ahead, but much lower than the others beside you. Follow the rooftop ledge to the next roof.
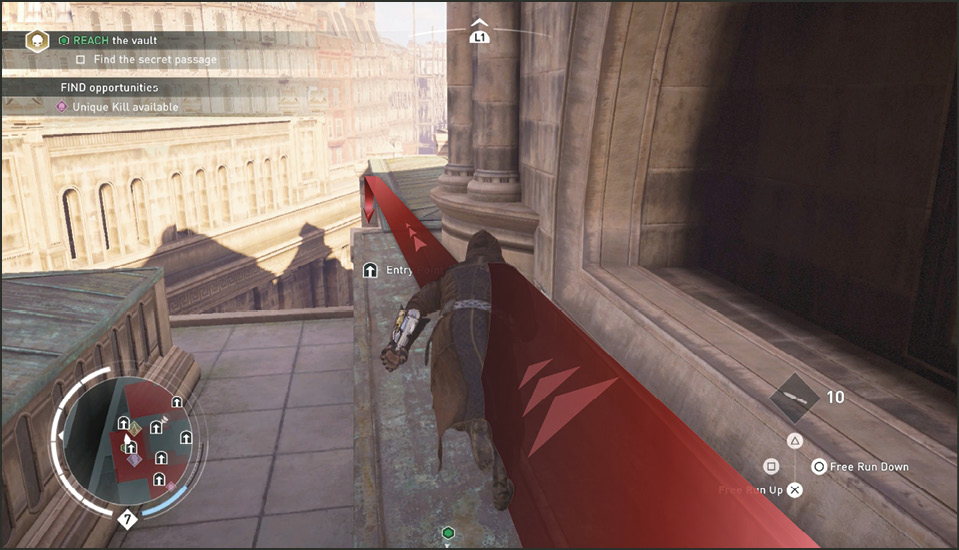
Once you’re halfway across the rooftop (3), drop down and hang from the edge of the roof. You receive an “Enter” prompt over the open window below you. Enter the building now and activate Eagle Vision while on the interior windowsill.
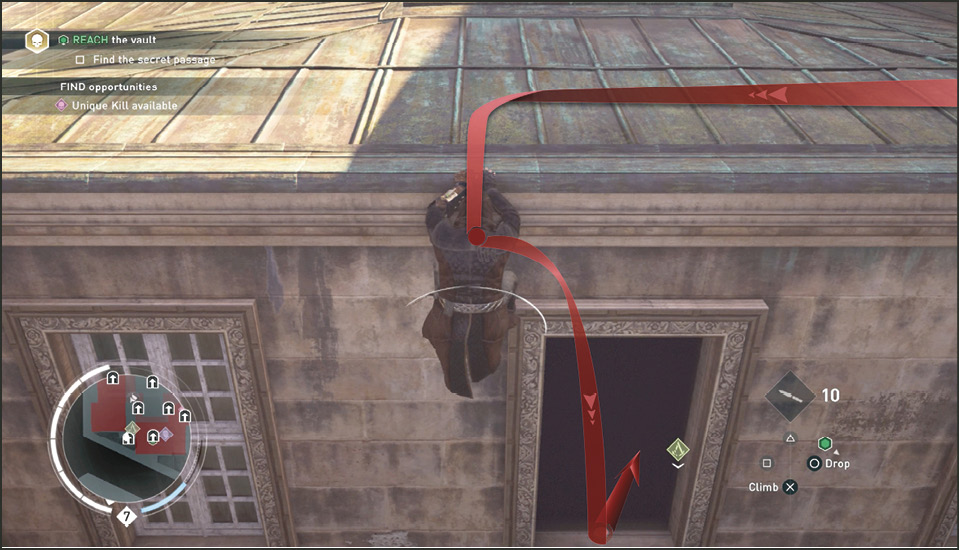
Look directly below you to find the Bank Manager, Mr. Osborne. He ends his patrol route here in this small office. He may not be there for long (or he may not have arrived yet) so when he’s present, jump down and kidnap him quickly. There is an open door to the right with five guards standing in front of the vault door looking around for suspicious activity.
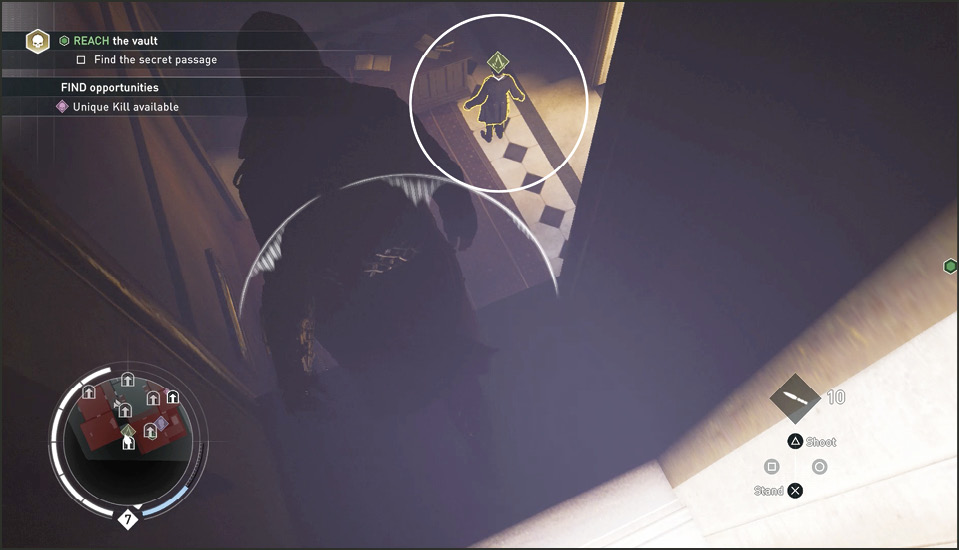
To avoid being seen, come up directly behind Osborne, kidnap him, and face this open door. Begin walking very slowly toward the vault.
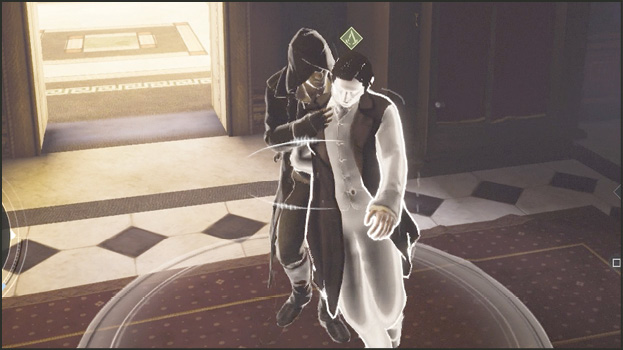
As you slowly approach the vault, the two guards move a few steps back away from the open door. They are letting you through. They don’t give you a very wide path, but there is enough space to fit between them to get through the doorway without anyone entering your detection zone. Walk slowly. Once inside the vault chamber you can choke the manager out. You don’t need him anymore and he makes an awful hostage for the Blighters downstairs.
Current Objective: Assassinate Twopenny
Challenge: Find the secret passage
Side Objective: Unique Kill Opportunity
Once you are in the vault and have disposed of the manager, walk down the stairs to where the gold is kept. Activate Eagle Vision as you walk into the actual vault. You find yourself on the second level of the two-story vault. There are Blighters peppered everywhere below and you can see Twopenny (A) managing the movement of the gold. He glows yellow.
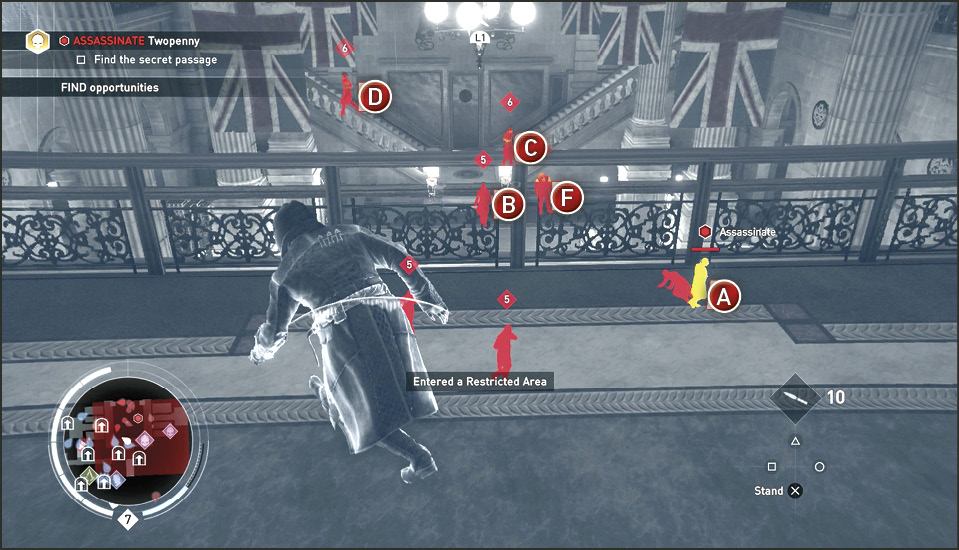
What we are about to walk you through is the route to the painting that you need to hide behind to uniquely kill Twopenny. Oddly enough you need to get by him first. But that’s not hard. Here’s how. You need to head left when you enter the two-story vault chamber. Two guards (B & C) walk up the stairwell in the back of the room heading up and to the right (west) to patrol the west end of the second level. Guard (D) walks up the east staircase alone. He is the weak link in their defense.
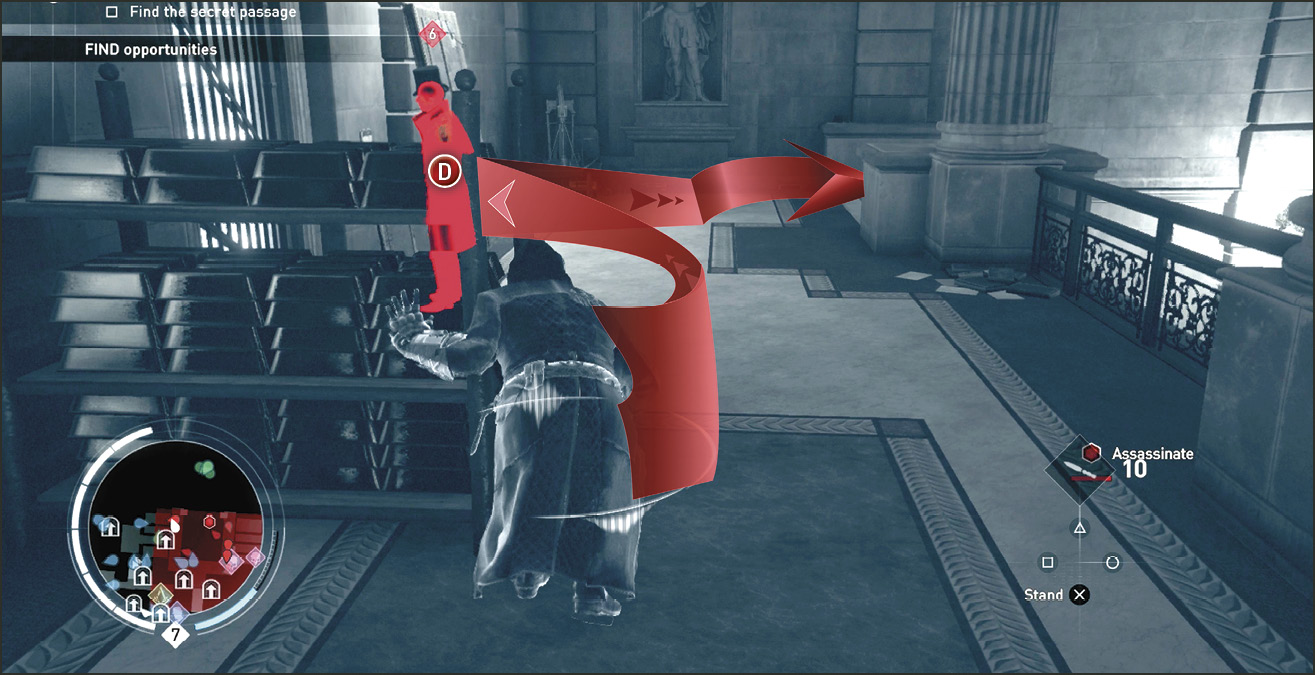
Head south along the left side of the second floor using the money carts for cover. Remain anonymous to the single Blighter guard (D) facing the barred vault near the stairs. Come up behind him quickly and kidnap him. With your hostage, walk down the stairs he just climbed and walk very slowly onto the lower floor to avoid the Brute’s (C) gaze.
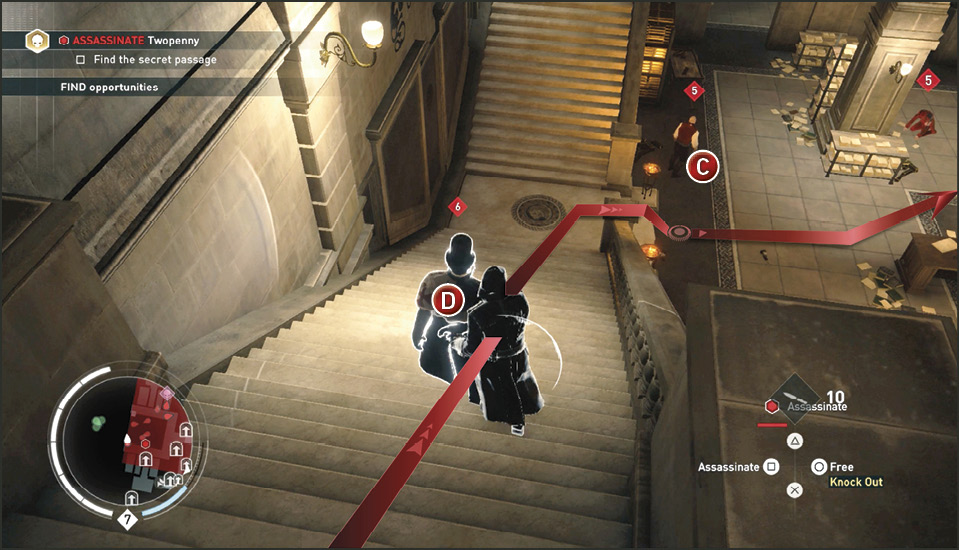
The first floor is the tricky part. Blighters are moving armfuls of loot out of the bank so you need to watch their movement and then fall into a movement pattern with them. Follow closely behind or in front of a guard and move diagonally across the floor to enter the opening between the second and third columns on your left (you often get cornered if you try to hug the outside walls).
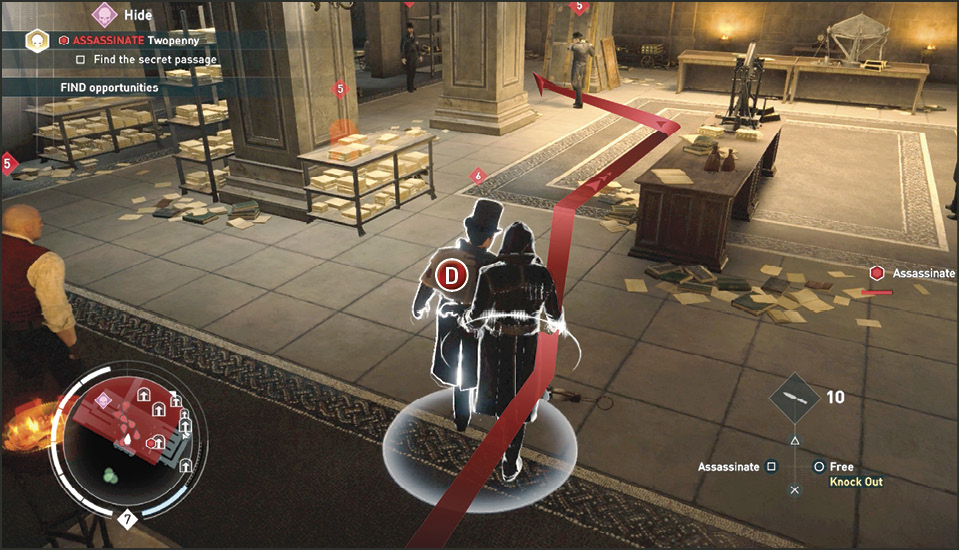
Just beyond the second and third columns on the left, veer to the right and follow the path of the loot being moved. Step aside if you need to avoid someone coming in for more loot. Through the back left archway you can see a room across one short hallway. The hiding spot is in this room.
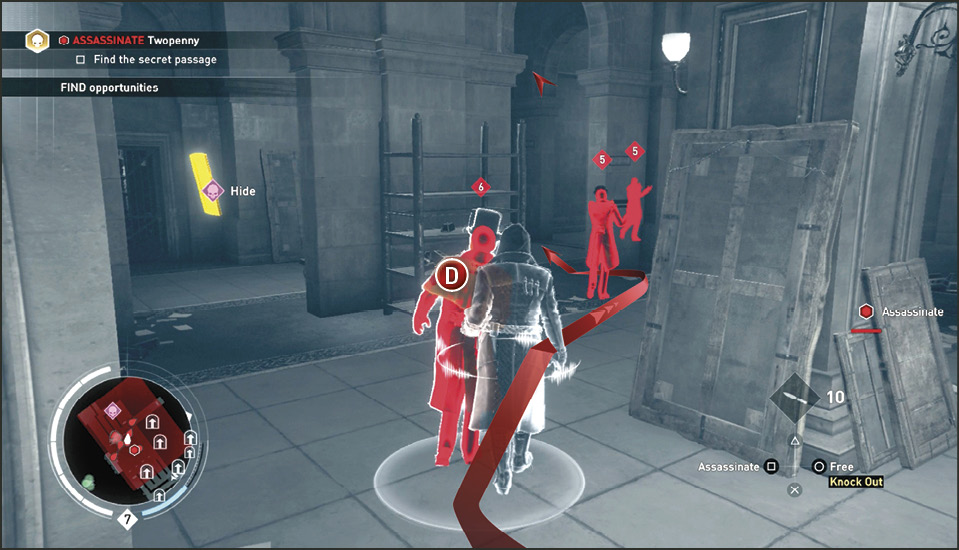
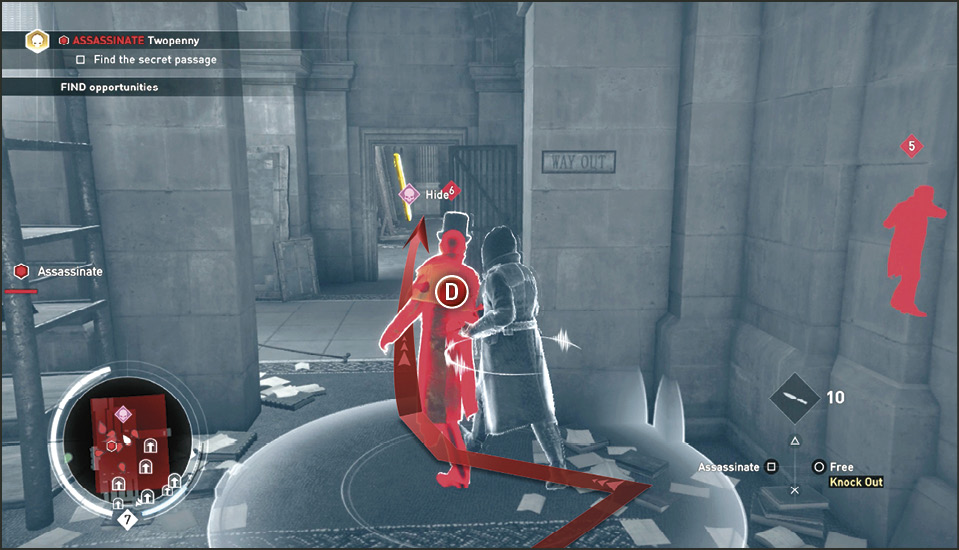
Once inside the vault with the painting in it, choke out the kidnapped Blighter in a corner so no one sees. Approach the painting and press  /
/  when prompted. This allows you to hide behind the painting.
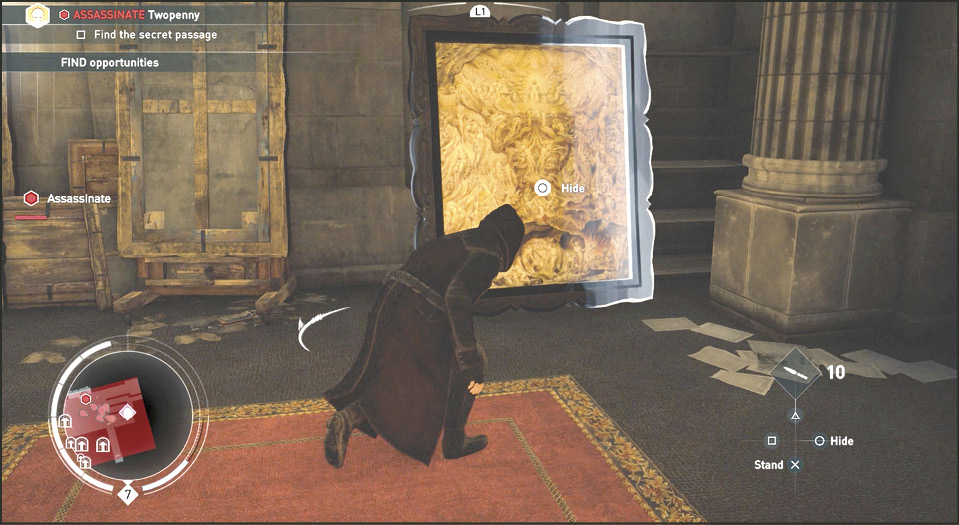
Philip Twopenny approaches the painting to admire it and actually reaches out to touch it. You are prompted to press  /
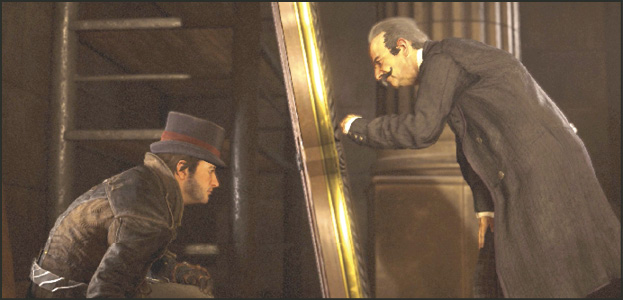
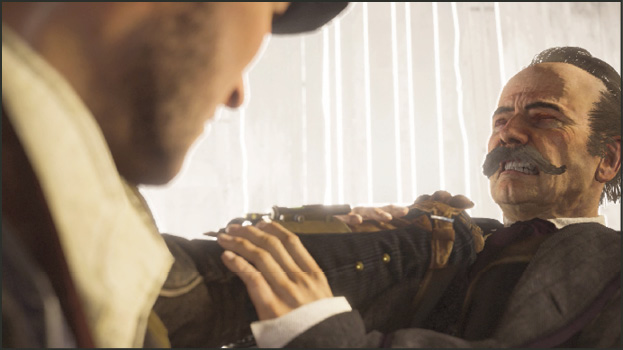
/  to assassinate Twopenny. Do so and Jacob tears through the painting and ends Twopenny’s greedy life. You join him in the Animus white room where you tell him that he has stolen his last shilling from the people of London.
Current Objective: Escape the area
Challenge: Find the secret passage
Now that you are back from the Animus, Twopenny is dead at your feet and there’s a vault full of unaware Blighters. This is when the Challenge’s “secret passage” comes in handy. Cover next to the exit in the painting room and look back into the main vault. Blighters are still loading loot. When no other guards are patrolling the area, sneak up behind the Blighter (G) at the archway outside the room and then keep heading straight back following the left wall and either stealthily kill the next Blighter (H) near the hallway entrance or just run past him, turning right in the back hallway.
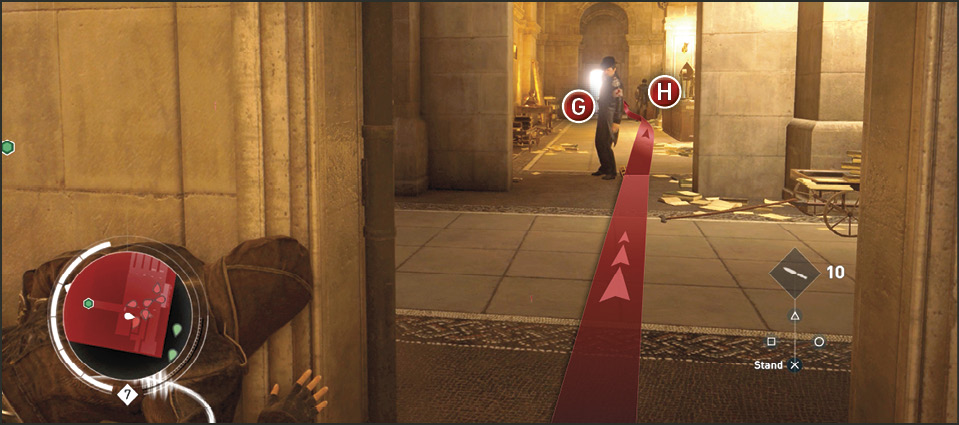
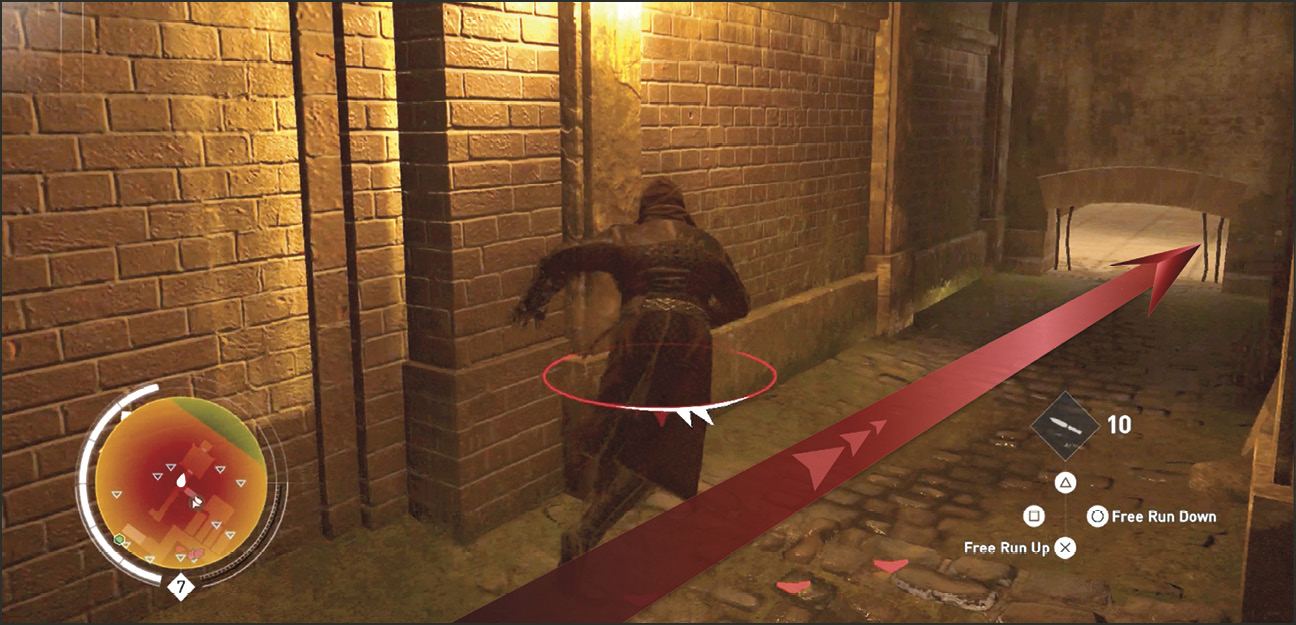
Run through the back hallway heading south and dash into the last open door on the left. You see an intense light being emitted from this room. The back wall has a Slide Under open vent. This is the secret passage. Slide Under to safety.
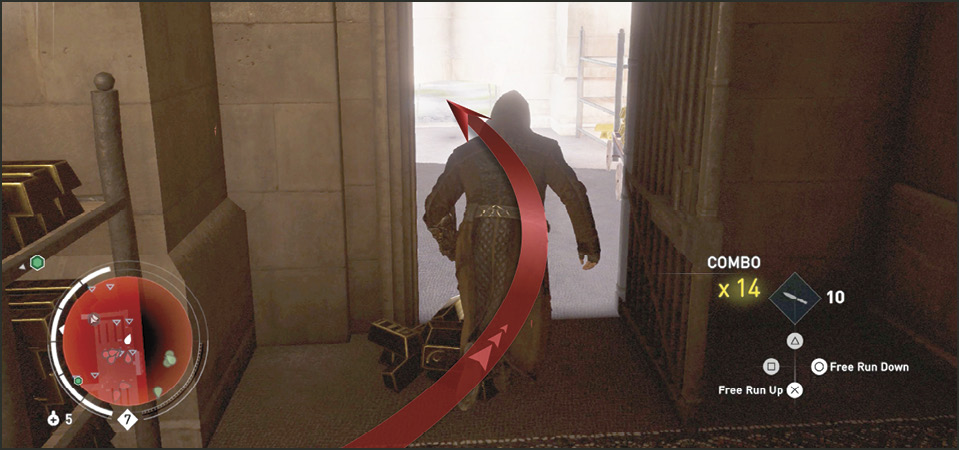
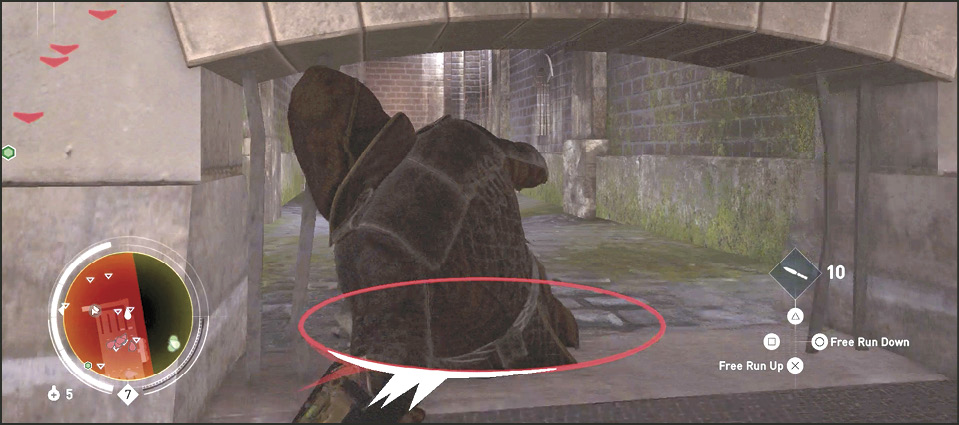
There’s only one way out of the winding tunnel on the other side. Run and follow it until you reach another Slide Under vent. When you slide under this one you end up in a library of stored documents. Enter the open elevator shaft in this room and then Rope Launch to the top of the shaft.
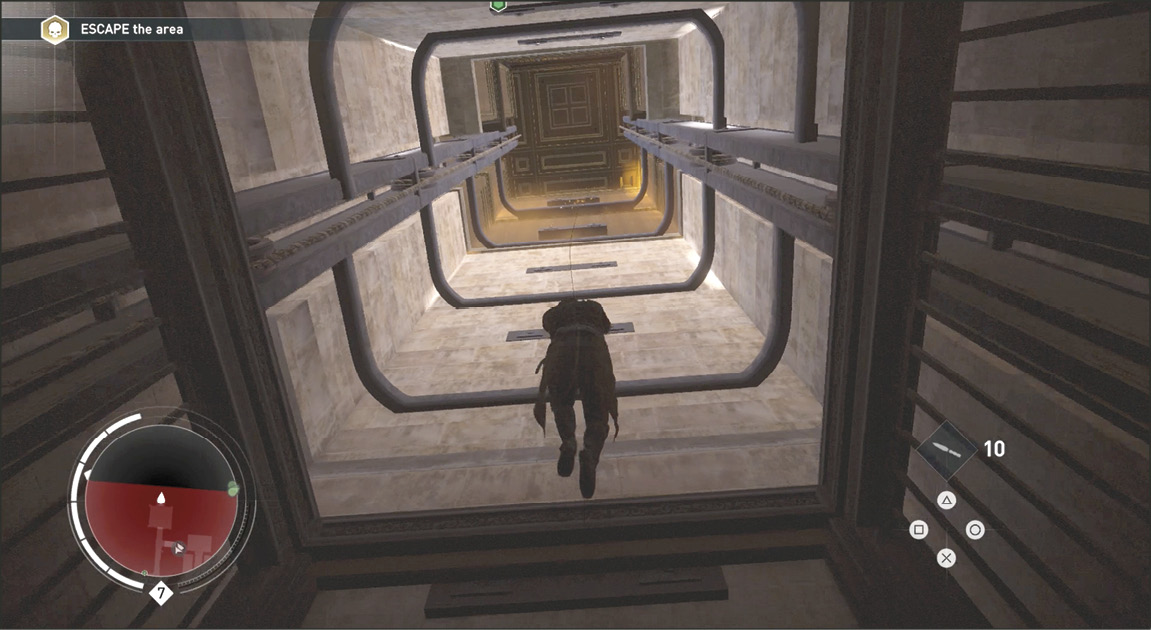
You reach a two-story room. The open elevator doors are on the second floor. Once on the second floor balcony use Eagle Vision to locate a guard on the first floor. The only reason you may want to spar with him is because there’s a locked Chest behind a screen on his floor.
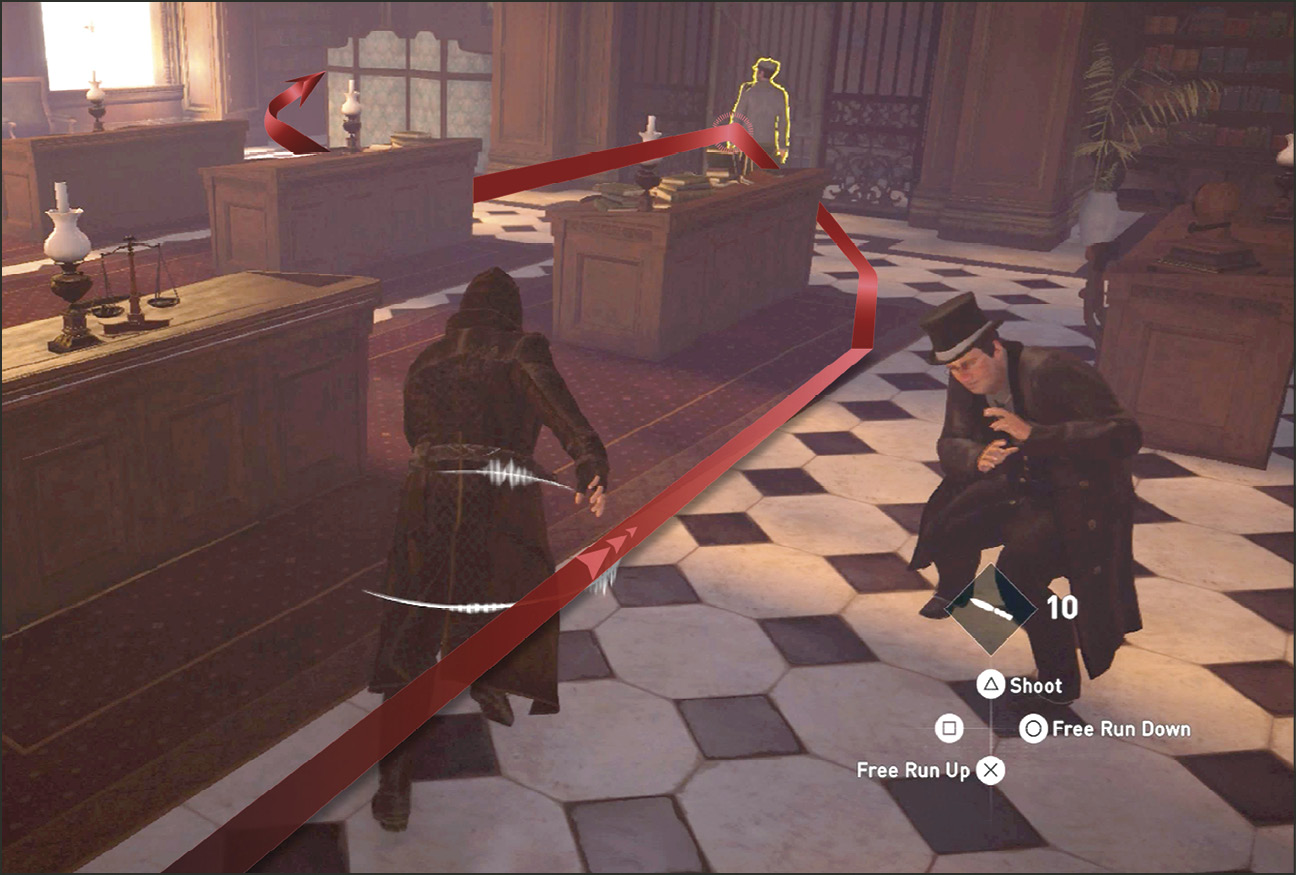
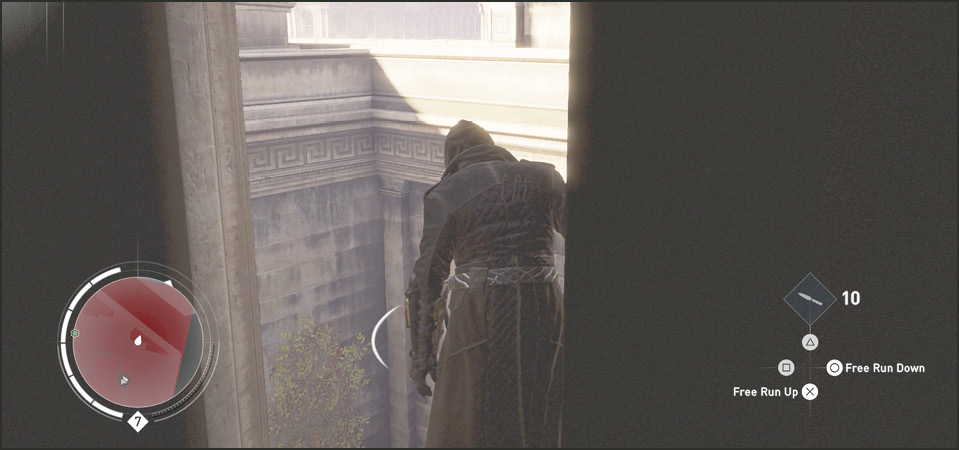
After dealing with the guard and the Chest, pick the locked door in the northwest corner of the room. Once opened, this grants access to the small office where you kidnapped the Bank Manager. Zipline up to the Entry Point window (3) in this room to get outside. Once outside simply zipline out of the restricted zone to complete the memory.
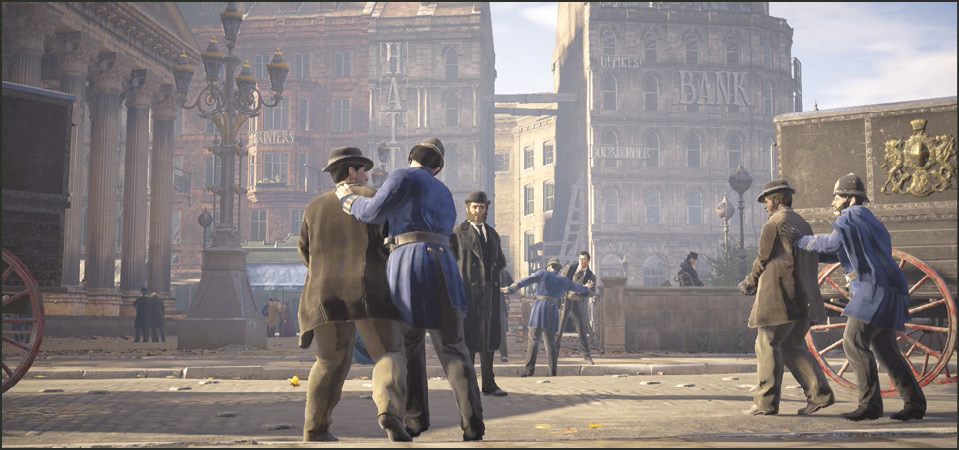
Next you see Abberline closing the Bank of England and arresting those involved, taking credit for the bust while Jacob kicks back in a carriage with his feet up and a big smile on his face.
Location: Starrick’s Office
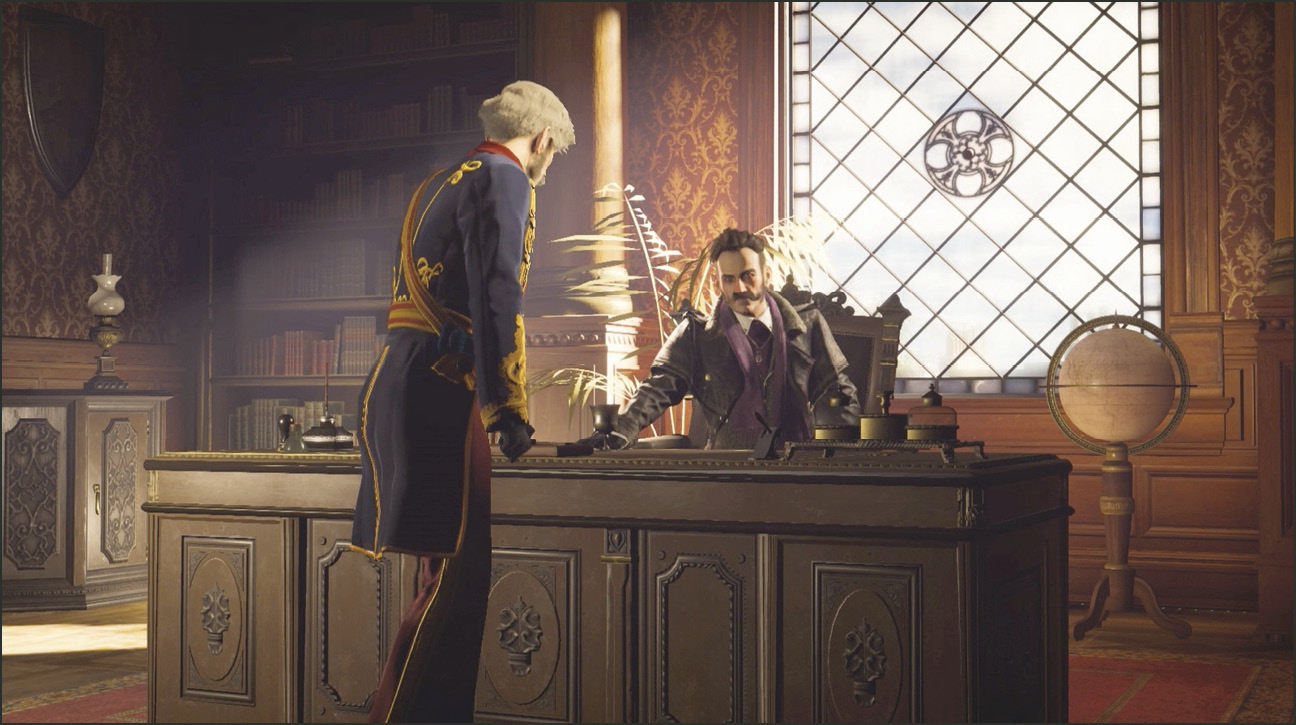
James Brudenell complains to Crawford Starrick about the financial shape of the city and an arrangement between the two quickly becomes obvious. Starrick threatens to blackmail Brudenell for his involvement in their illegal activities and threatens to offer his body parts to his nemesis, Disraeli. Starrick demands that the halls of parliament be free to govern again. Then he dismisses James Brudenell from his office.