Assassin's Creed Syndicate Guide Walkthrough Sequence Nine
A Night To Remember
MISSION OVERVIEWMemory Type: Templar Conspiracy Suggested Level: 8 AssassinJacob & Evie Frye ChallengesFree all captive royal guard groups Use a key to enter the White Drawing Room Rewards£: 3990 + 250 (Full Synch Bonus) XP: 4500 + 250 (Full Synch Bonus) Schematic: Legendary Assassin Belt Schematic |
Location: Westminster
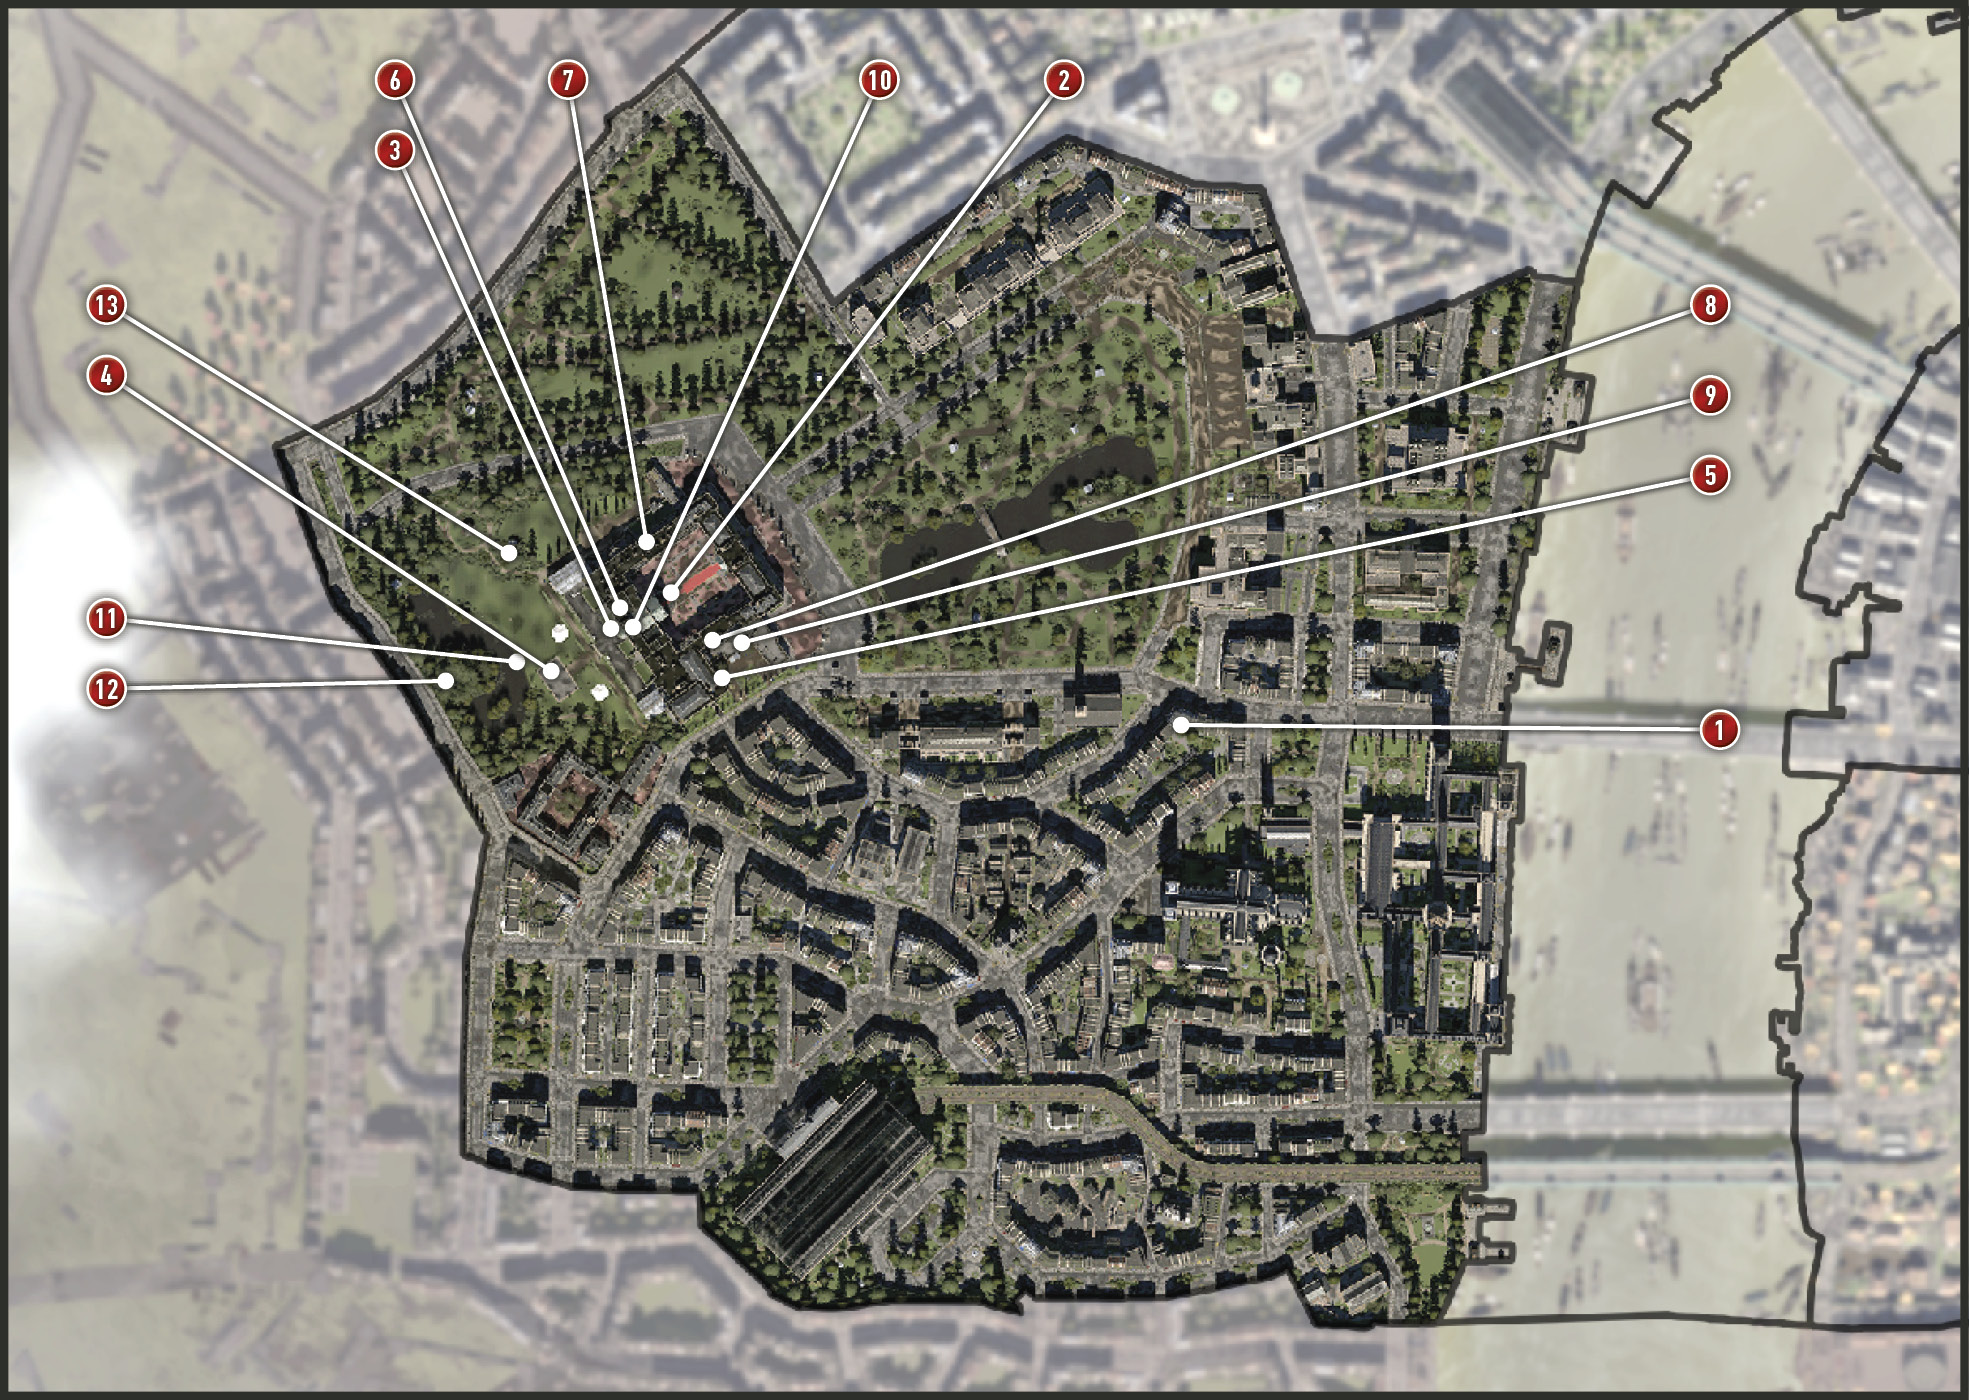
The start marker for the final story memory is located at a suitcase behind a building (1) in Westminster.
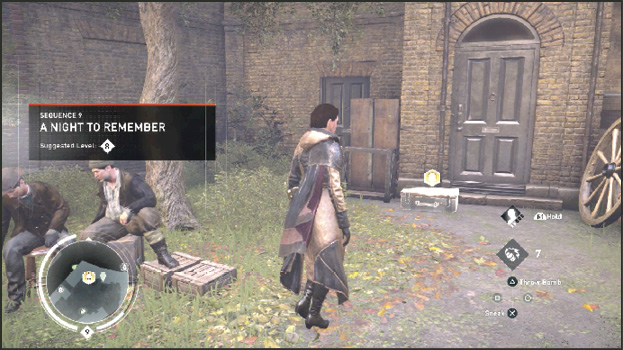
Jacob and Frederick Abberline roll up to Evie in the Gladstone’s carriage. Tensions still surround the twins. Frederick is in his royal guard disguise and Jacob asks Evie to hand over her weapons; they must enter Buckingham Palace unarmed. Her bag of weapons is at her feet ready for the taking.
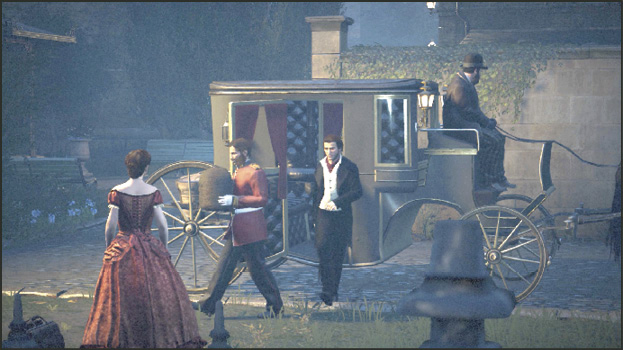
Location: Buckingham Palace, Westminster
They all enter the carriage together and roll through security at the palace. Security takes a look into the carriage and sees the nicely dressed Evie Frye. He waves their carriage through the gates. The Gladstones are seen having difficulty making it past the second guard at the gates as your team rolls through with their carriage and invitations.
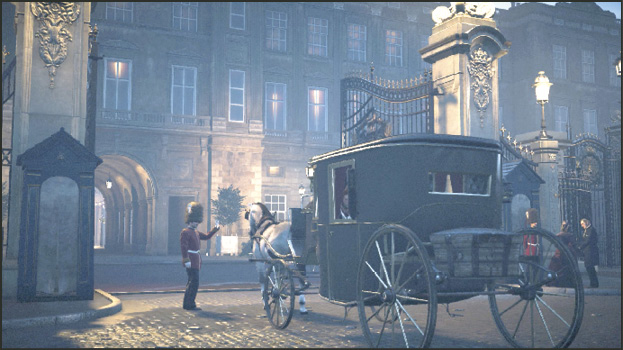
Current Objective: Follow Jacob into the ballroom
You begin this memory as Evie Frye, who is dressed in a very beautiful, yet restrictive, ballroom dress. She cannot climb nor can she run. Follow Jacob straight into the palace, through the anteroom and out the backdoor to reach the festivities (2) in the backyard.
Once on the back porch (3), Jacob says he’s off to meet Freddie to pick up their weapons. You are shown the locked drawing room containing the plans.
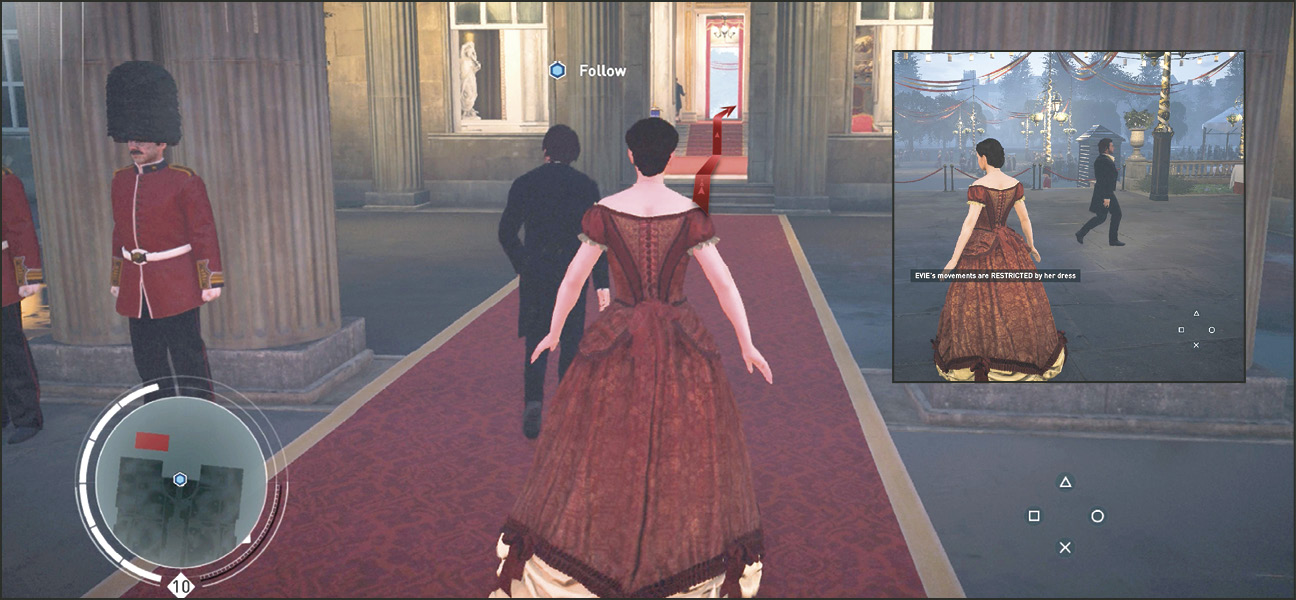
Current Objective: Reach the second floor
When you activate Eagle Vision you see blue glowing royal guards and red glowing royal guards. The red ones are Starrick’s gang in disguise. Kidnap one of the two guards in front of you with a key icon above their head, which you can see while using Eagle Vision.
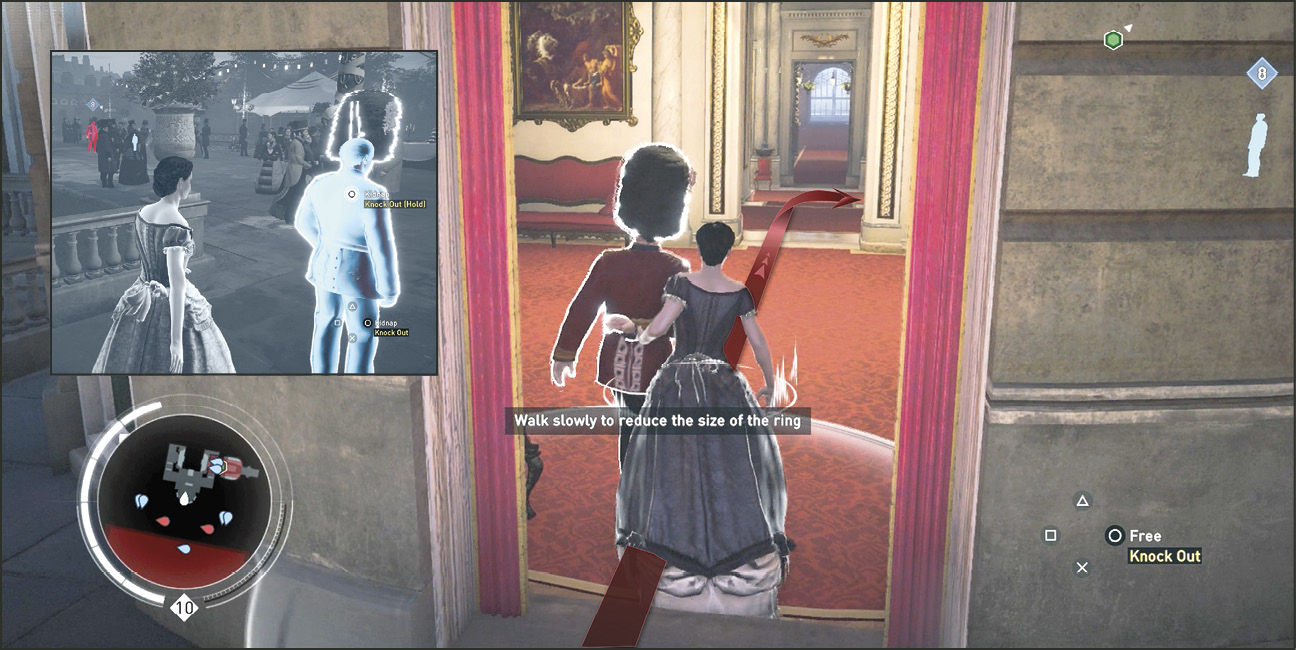
Walk the kidnapped soldier through the backdoor and into the first hallway, turn right, and head toward the two royal guards guarding the stairs. As you get close, your hostage tells them, “The lady is with me.” They don’t move but they let you pass. Walk slowly so that your detection ring does not touch the guards.
At the first stairway landing, turn left or right at the ropes to continue up the winding staircase to the second floor. Enter the marker on the second floor landing.
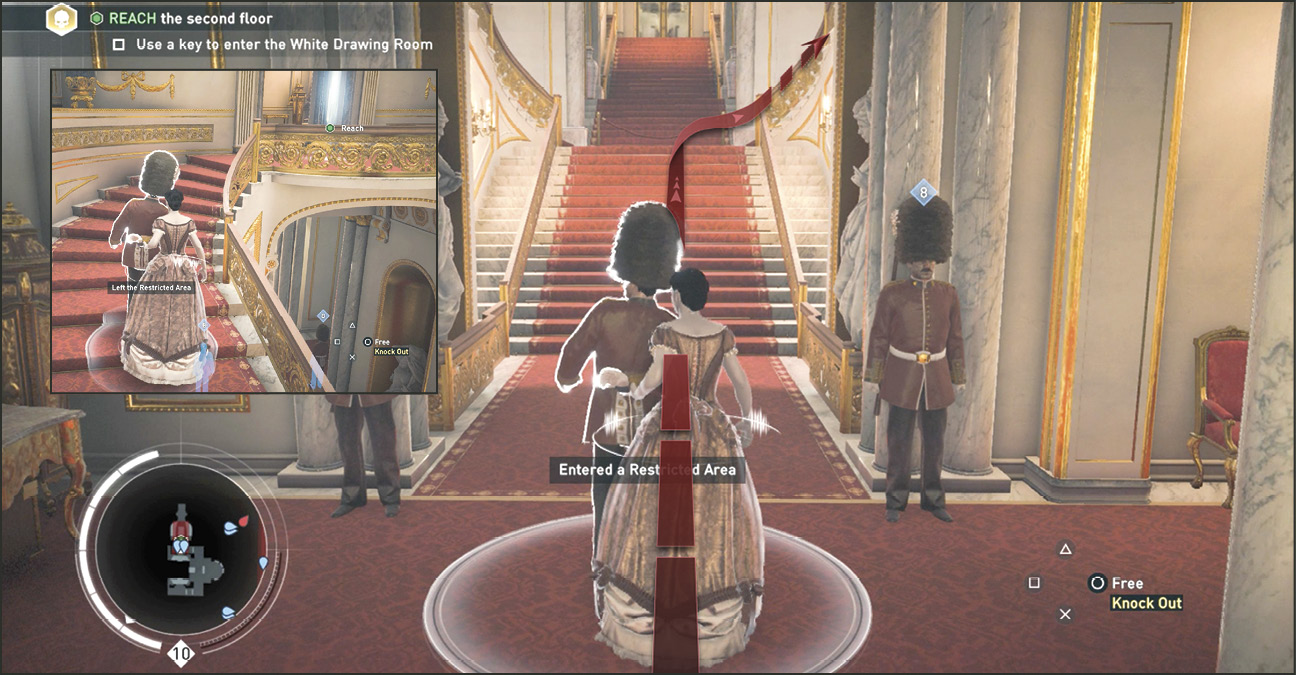
Current Objective: Steal the plans
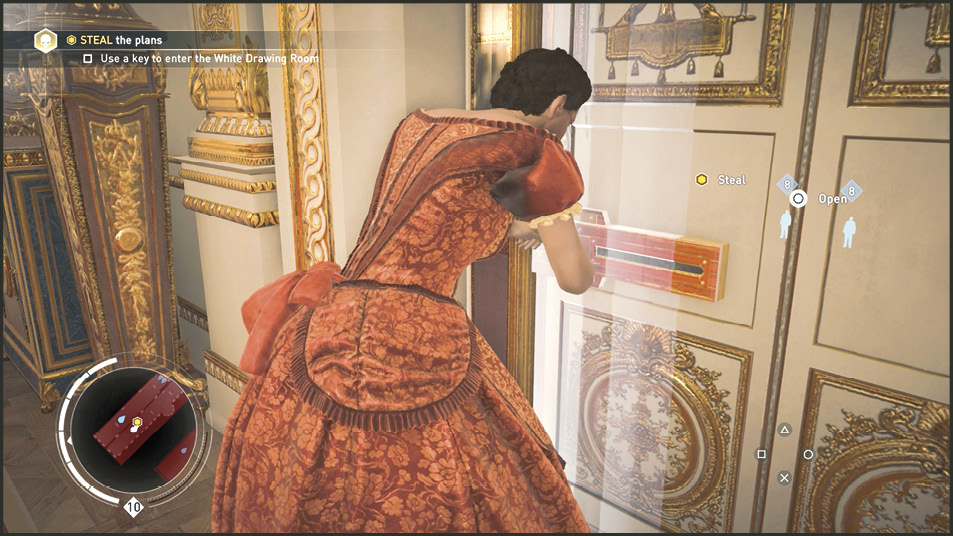
Challenge: Use a key to enter the White Drawing Room
Location: Buckingham Palace: Second Floor
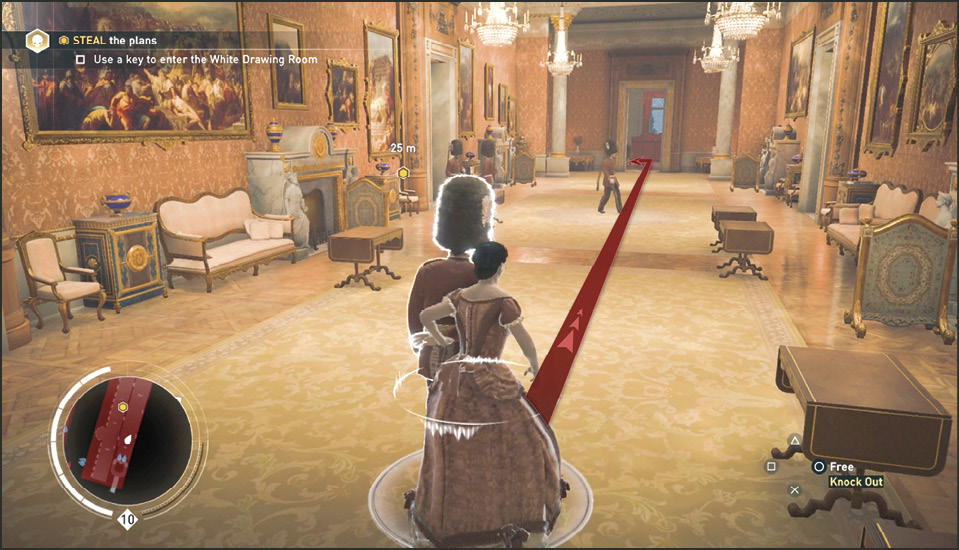
Keep the guard in your control and walk him to the end of the long hallway, passing the multiple guards at various doors along the way. As you pass through the hallway you can spot a yellow “Steal” icon marking the plans through the walls on the left. Continue into the open doorway at the end of the hallway.
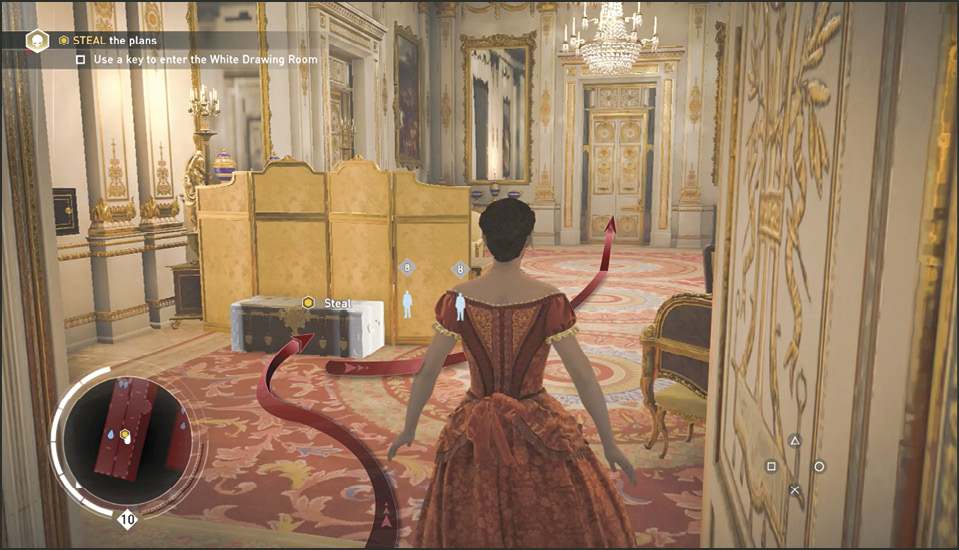
Turn left in the open room at the end of the hallway. There are a couple of guards at the windows behind the low screens. Keep your captive with you until you reach the adjoining room. Move your victim behind the screens in the middle of the second room and knock him out.
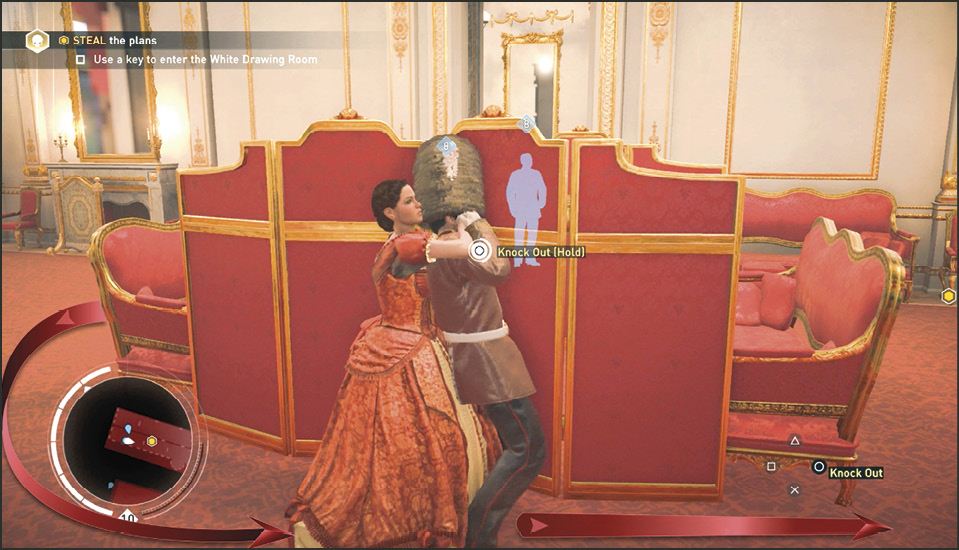
Open the chest near the window and find the Memory Item (letter) on the small table on your way to the locked door. Approach and unlock the door in this room using the key automatically obtained from the captive guard. In the drawing room, steal the plans from the chest to the left near the screens.
Current Objective: Reach the vault entrance
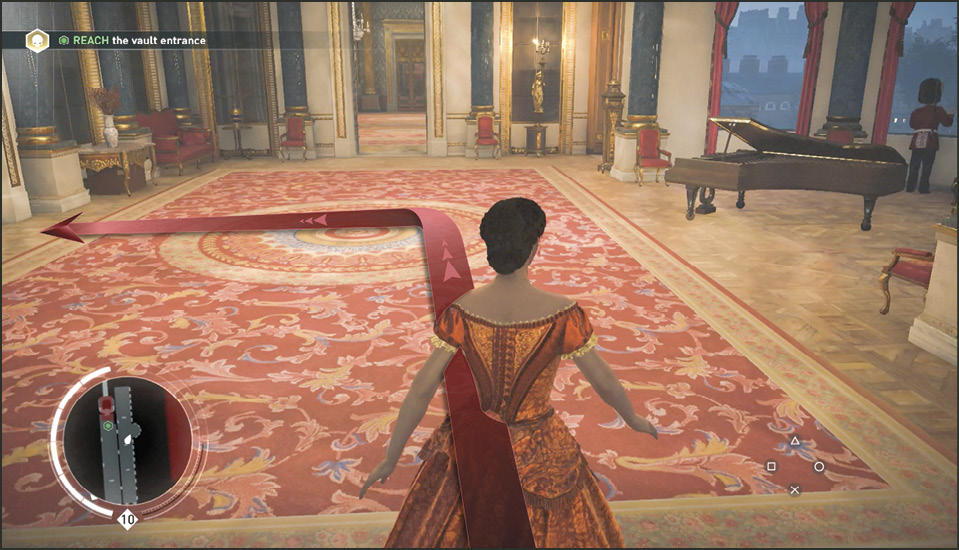
There are two more locked doors in the drawing room. Do not open the one on the east wall; there are two guards on the other side that will see you open it. Instead, unlock the door on the south (narrow) wall. There are two guards in the next room but they face a window behind a piano and never turn around.
Use Eagle Vision to look through the left wall. Make sure the guard patrolling the hallway is nowhere near. Pass through the open doorway and enter the hallway. The guards are much farther left but make a beeline to the right for the staircase to the first floor.
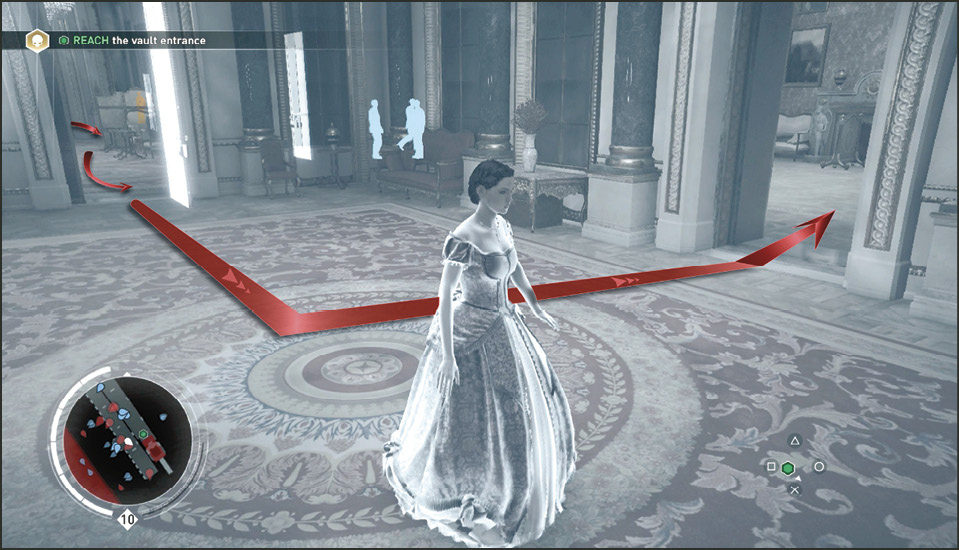
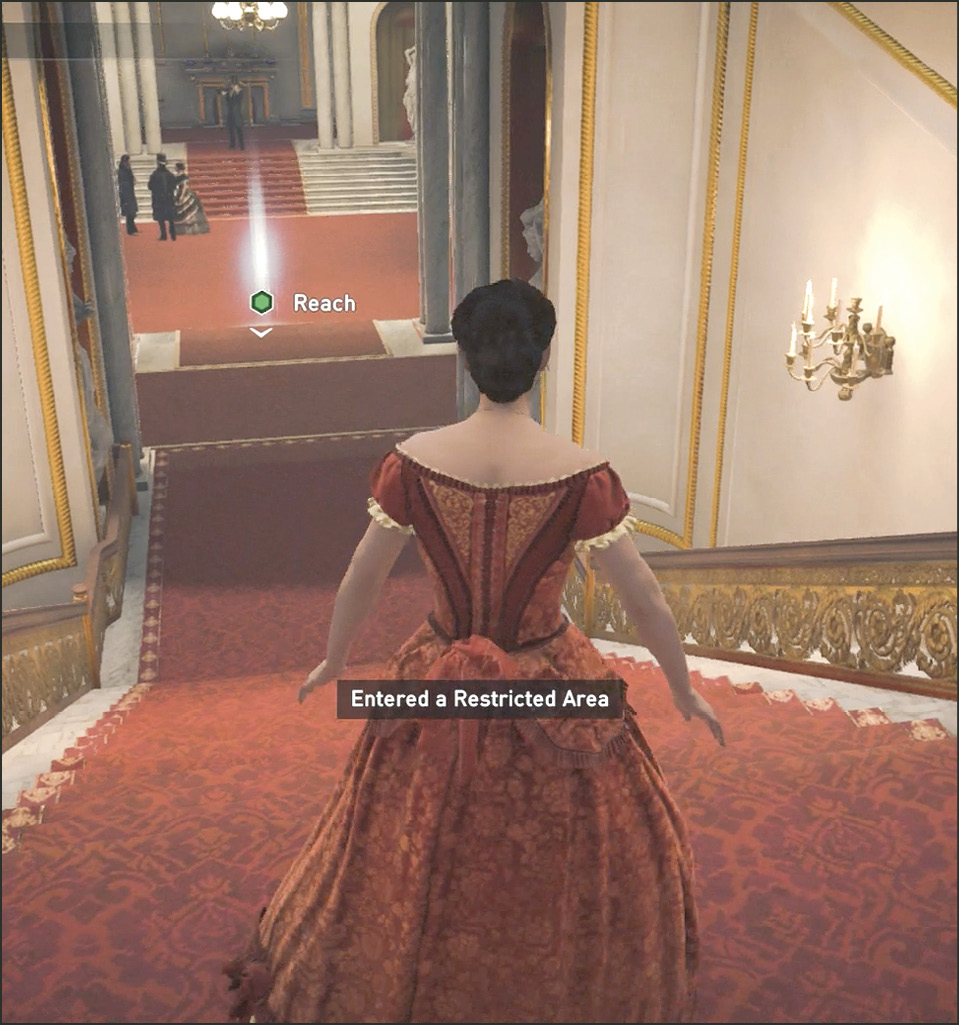
When you reach the bottom of the stairs notice that the two royal guards who used to be there are now gone. You can safely reach the marker in the first floor anteroom without using a kidnapped guard.
Location: Buckingham Palace: First Floor
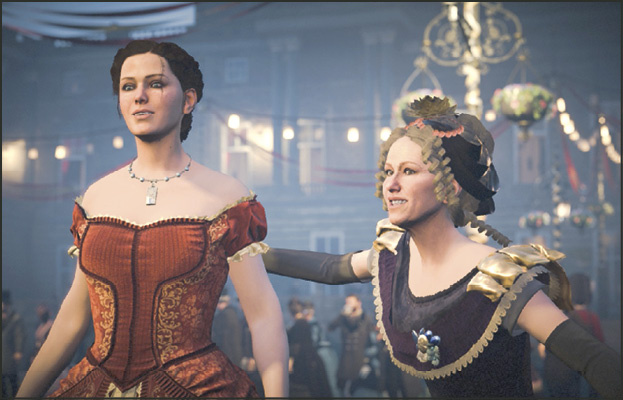
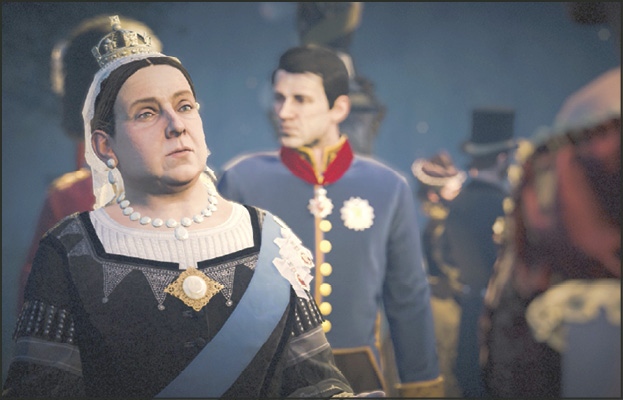
Mrs. Mary Ann Disraeli stops Evie on her way to the vault. She has someone that she is just dying to introduce to you. She walks you to the festivities in the backyard and introduces Evie to Queen Victoria.
The Queen, surprisingly connected to the day’s events, asks you about your involvement in the Gladstones’ invitation mishap, but tells you the cake is good and to enjoy the evening.
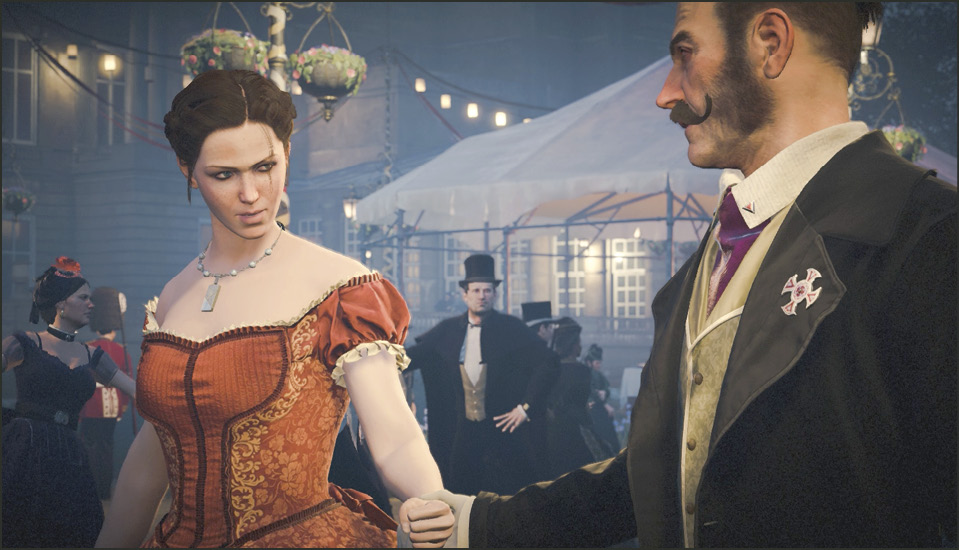
Before Evie can return to her mission, none other than Crawford Starrick grabs her by the hand and leads her to the dance floor (4). As not to blow her cover, she holds back her rage and dances with the villain and hears him out. Adding support to her forced composure are Starrick’s rooftop snipers. As the two enemies dance together, Crawford promises Evie that her time will be up by the end of the dance.
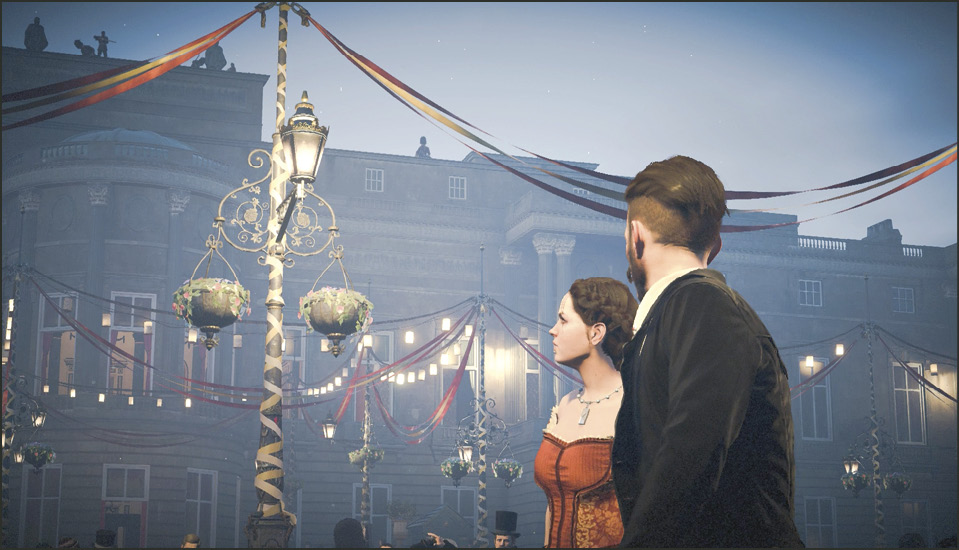
Current Objective: Reach Abberline
Location: Buckingham Palace: Backyard
Now you control Jacob Frye who is still on the back porch (3) on his way to find Abberline with the weapons. Look up to the rooftops to the southeast and you see the green blip representing Abberline’s location on a distant rooftop. To avoid most of the guards, do not climb up to any of the nearby rooftops (they are heavily guarded). Instead, head south around the palace through the side yard. Once on the south side, climb the walls to the rooftop to find Abberline (5) in the royal guard disguise you stole for him.
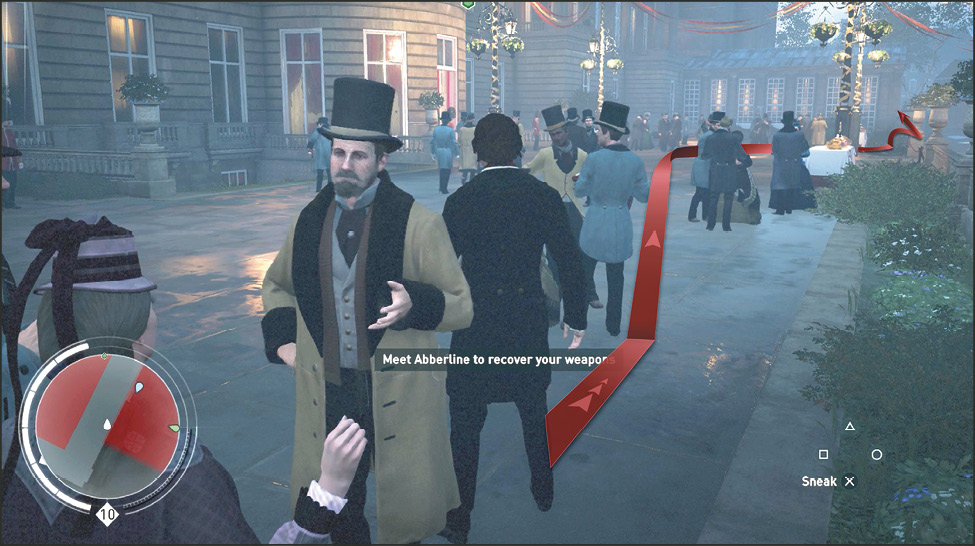
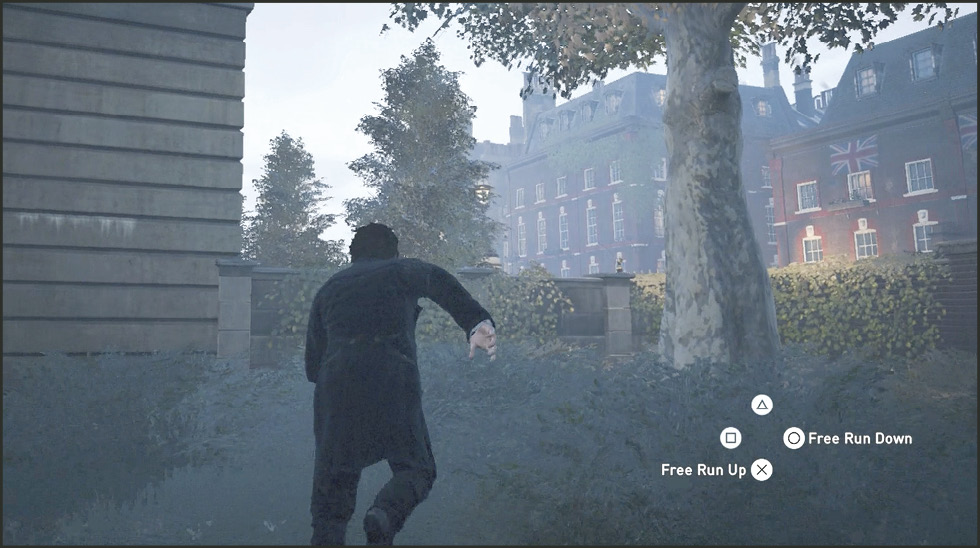
Current Objective: Reach the hiding spot to retrieve your gear
Location: Buckingham Palace: Rooftop
Just a few feet away from where Abberline stands is a hiding booth where your weapons and gear are hidden. Enter the booth to retrieve both Evie’s and your weapons. After gearing up you speak to Abberline; he points out the imposter guards on the rooftops who are currently watching Starrick dance with Evie.
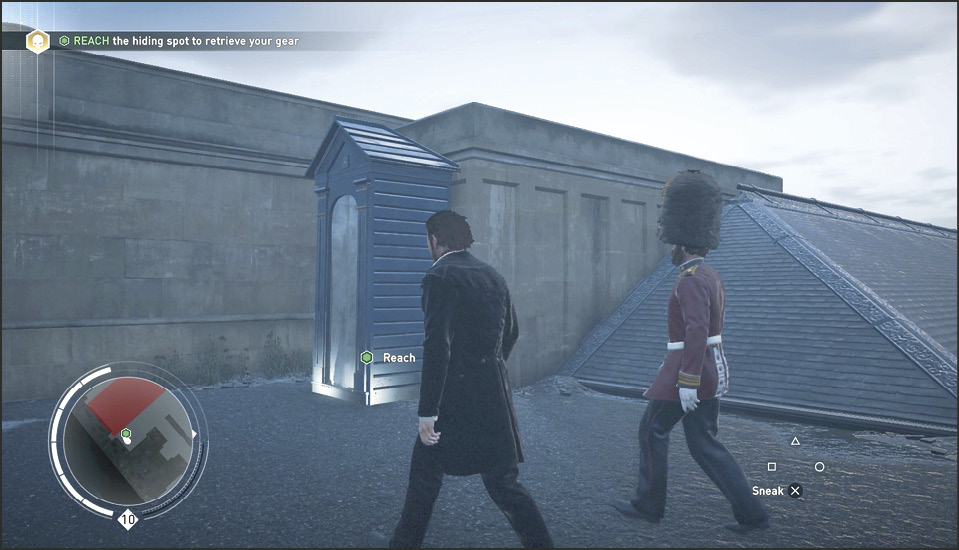
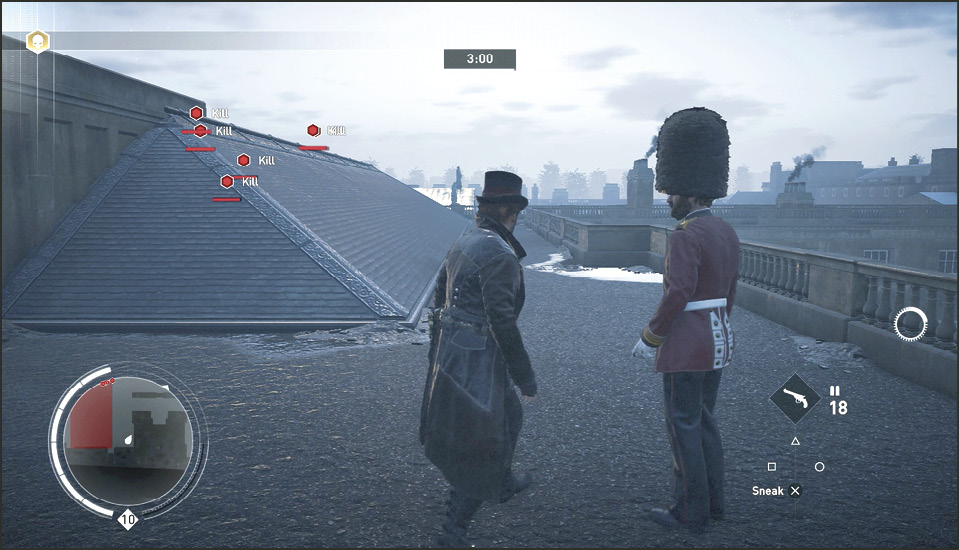
Current Objective: Kill the six snipers
Time Limit: 3:00
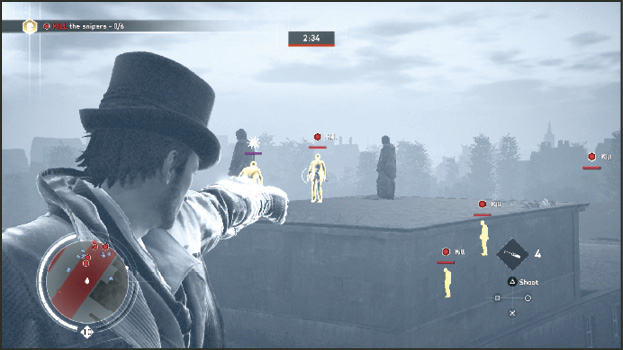
You have three minutes to make it to the rooftops where the six snipers are located (6). This is not a difficult task given your experience at this point in the game. How you chose to take out the snipers is your choice. You can use smoke grenades to cover the battle or you can shoot a few imposters with hallucinogenic darts…or do both. Just take them all out in the time allotted.
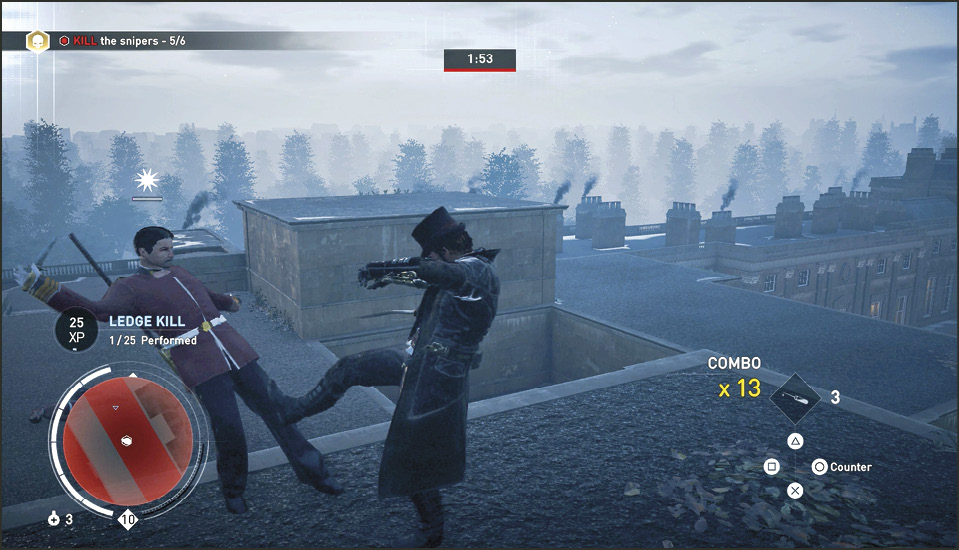
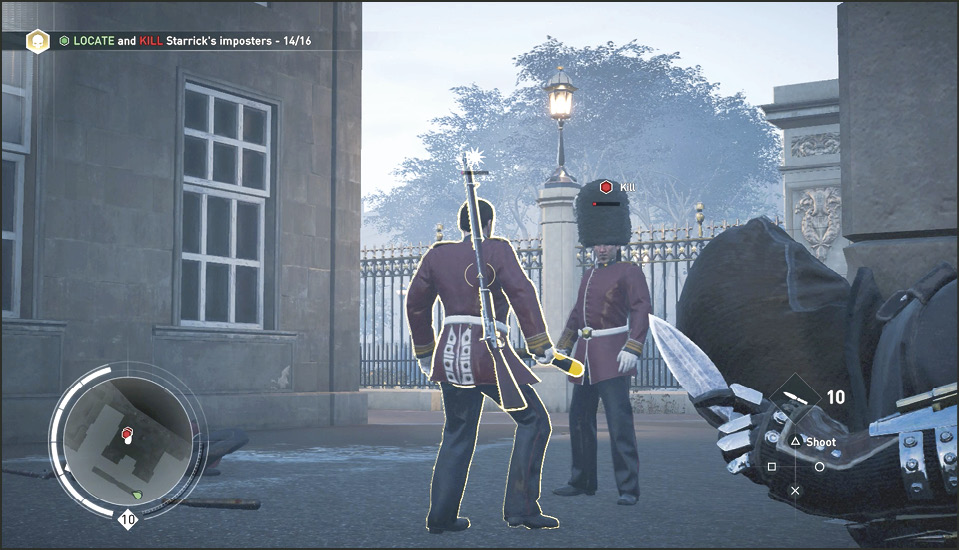
Current Objective: Locate and Kill Starrick’s 16 imposters
Challenge: Free all captive royal groups
Once the six snipers are dead you must locate and kill Starrick’s 16 imposters and free the captive royal guards. Two green blips appear on the map; one each on the north and south end of the palace grounds. The one to the north (7) is closer. Head there now via rooftop travel.
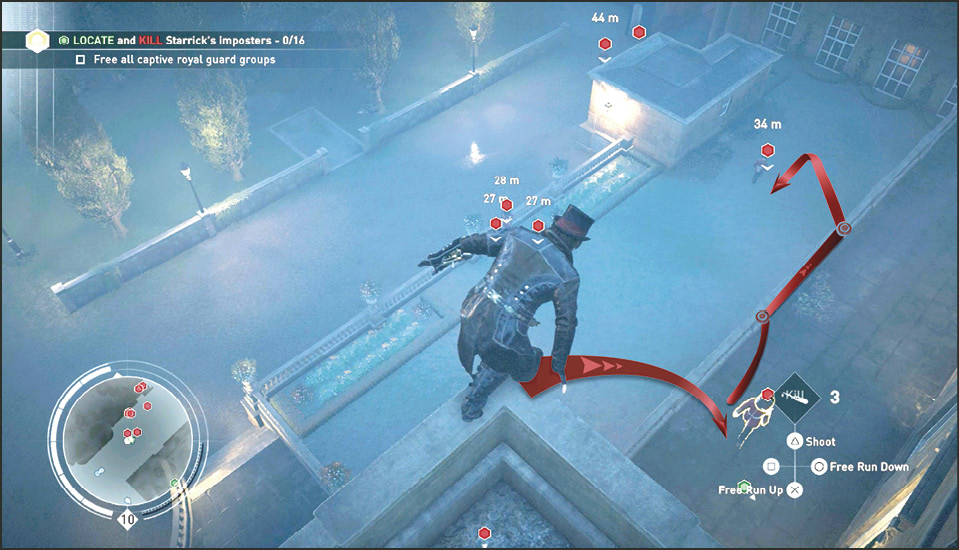
Get to the north rooftop edge where you overlook a balcony with a single patrolling imposter (A). Air Assassinate this imposter. From the edge of his balcony railing you can overlook the remaining seven imposters. Shoot some with darts, knives, or bullets, or use smoke and an Air Assassination. Defeat these targets and then look for their captives.
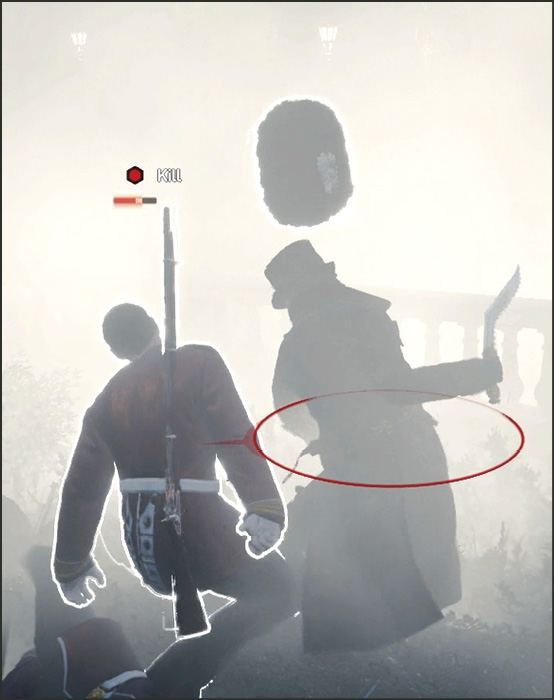
Find the captives (6) tied to a pole near the north wall under the balcony. Walk up to them and cut the rope that binds them. Recruit them. Use them to defeat any of the eight remaining imposters in this area before heading to the remaining eight on the south side.
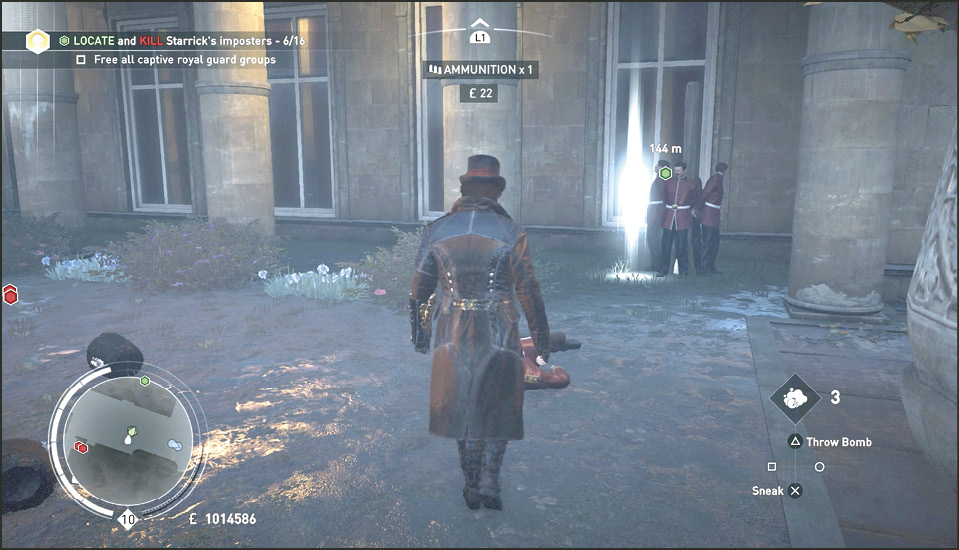
You spot the captives (7) and the surrounding eight imposters in a courtyard on the south side of the palace. Use your recruited gang to help you take out the remaining eight imposters or take them out one at a time yourself. Drop down in the courtyard (9) and spot a patrolling imposter (B) under the shelter. Defeat this guard or allow him to leave the area on his normal patrol and head to the narrow alley behind the shelter.
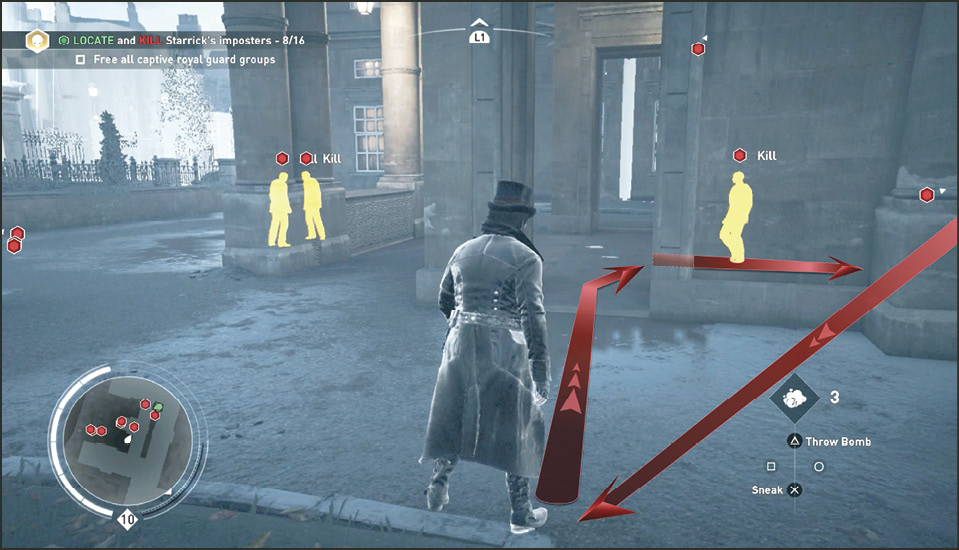
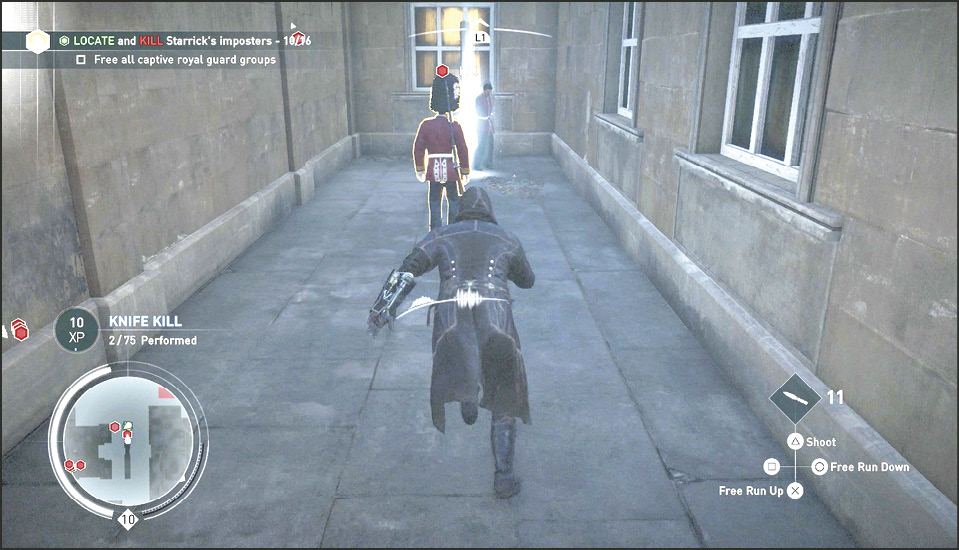
Sneak up behind the imposter guarding the captive royal guards in the back alley (8). Silently assassinate the imposter and free the guards. Have them join your party and send them to attack what remains of the imposters in the area.
Current Objective: Reach the rooftop to signal Evie
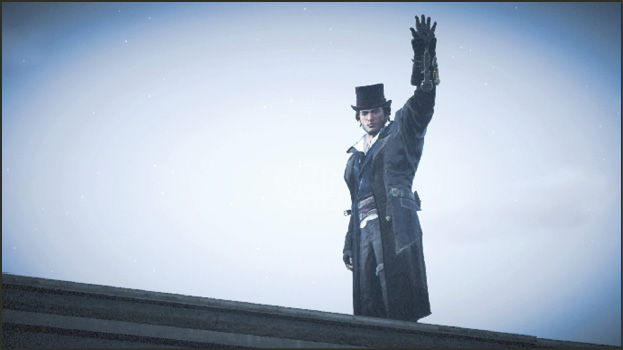
With all 16 imposters dead and the captives saved, return to the rooftops and head to the south edge of the palace rooftops where the imposter snipers were located. Here you find a marker (10). Step into it and press  /
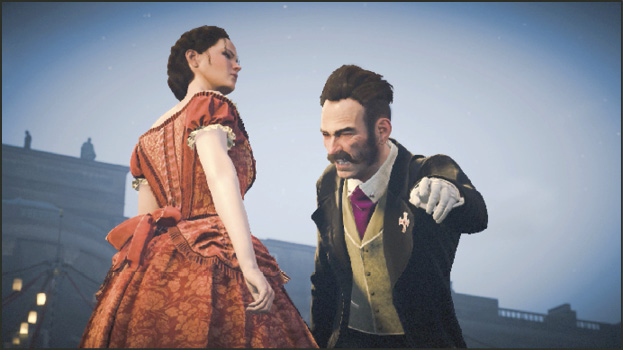
/  to warn Evie, who is still on the dance floor with Starrick. Evie receives Jacob’s signal from the rooftop and with that, she stomps on Starrick’s foot, sending him to his knees in front of everyone.
Distracted by partygoers’ sudden concern for Crawford, Evie turns around and Starrick and her necklace are gone. Jacob quickly arrives and Evie hands him the plans, which will help him locate the vault. She tells him to go and to hurry. He’s concerned that Evie has no time for an execution plan. She says she’ll catch up as soon as she changes into her gear.
Current Objective: Reach the vault entrance
Location: Buckingham Palace: Backyard
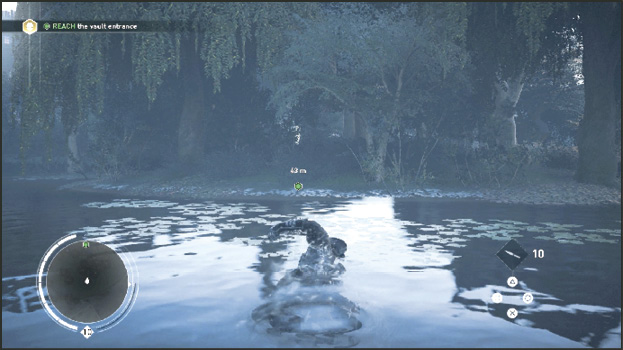
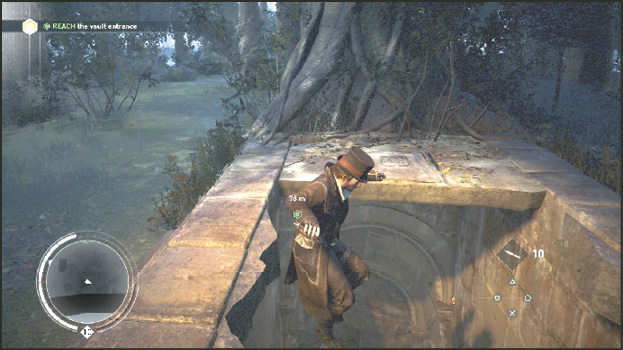
You gain control of Jacob while he wades in shallow pond water (11) behind the palace. Swim to the other side of the pond following the distant green blip signifying the vault’s entrance (12). Run from the shore into the thick woods heading toward the flames you see in a clearing. Drop into the paved tunnel entrance in the ground.
You begin to slide down a steep set of narrow stairs. So steep that you slip down the passageway like a giant theme park ride. Press and hold R2 +  / RT +
  to slide down the passage faster.
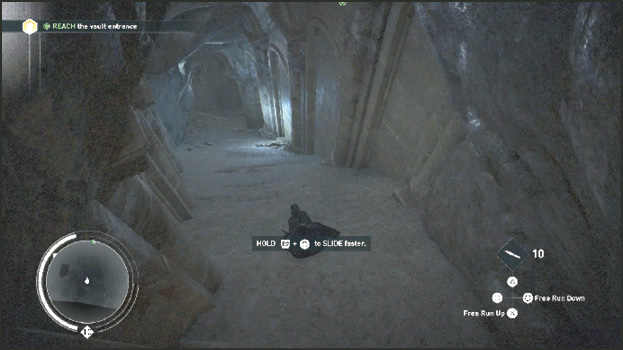
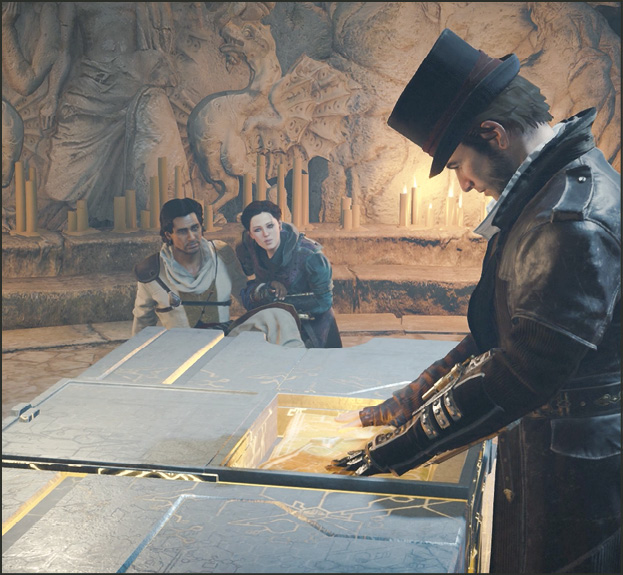
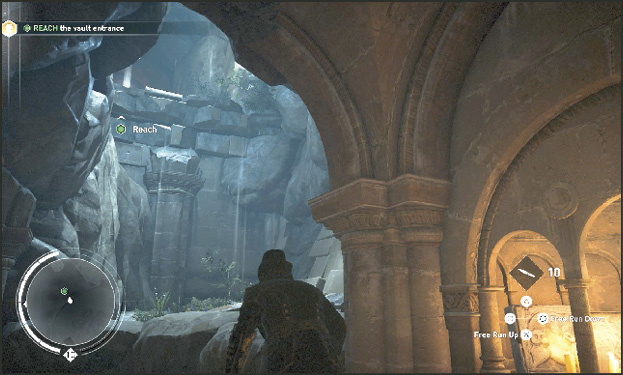
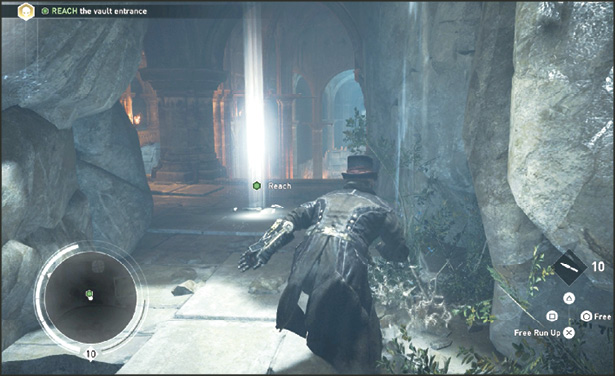
At the end of the stairs you reach a room that looks like it collapsed on itself. Climb the back wall to locate the Reach marker above in the vault entry point.
Current Objective: Kill Crawford Starrick
Location: Vault Interior
Stage 1: Jacob’s Attack
You stand on a high ledge at the entrance to a large hall with many columns and a high ceiling. Crawford Starrick stands at an altar at the far end with this back to you.
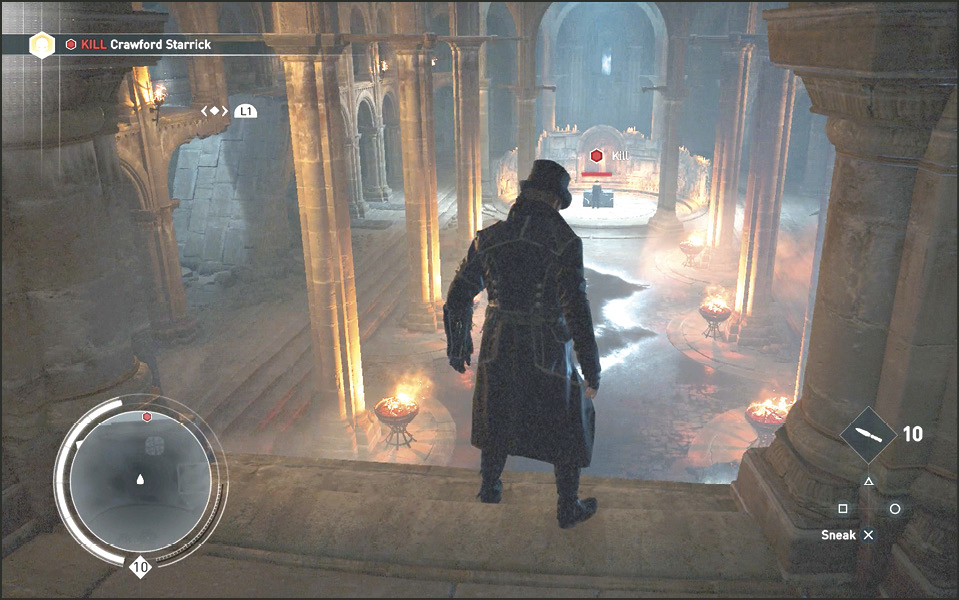
Jump down to the floor and run at Starrick. A cinematic triggers when you reach him. Starrick counters Jacob’s attack and grabs him by the neck. The shroud draped around Starrick’s shoulders glows with some mystical powers. Jacob seems helpless in its presence.
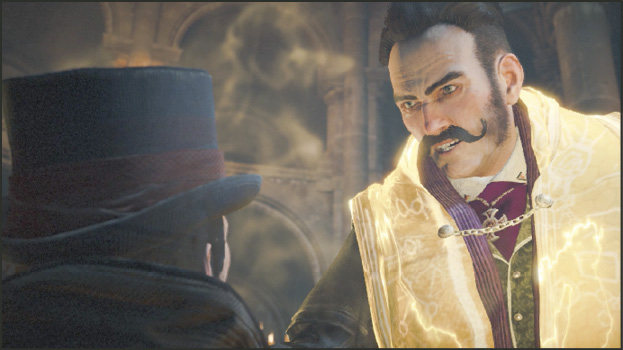
Current Objective: Rescue Jacob
Time Limit: 3:51
When the cinematic ends you find yourself in control of Evie who has just changed into her gear. She’s behind Buckingham Palace and has to swim across the pond to reach the same vault entrance Jacob found. You have 3 minutes and 51 seconds to rescue Jacob.
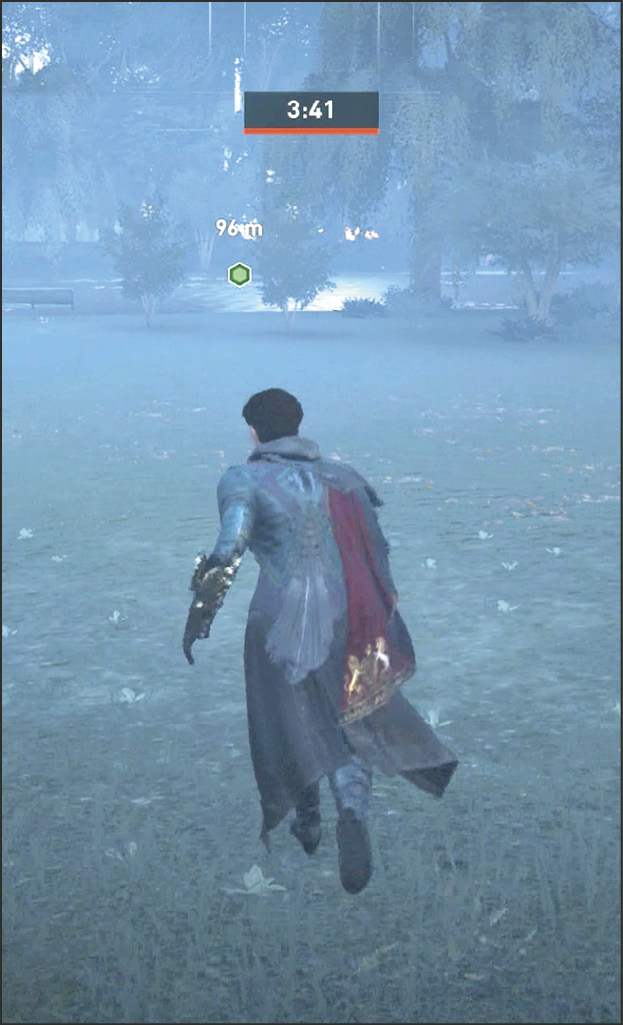
When you reach the woods, activate Eagle Vision so you can spot the Templars around the vault entrance (12). Just stab the one crouched over at the vault entrance in the back and ignore the others. Free Run Down into the hole. Slide down the stairs as you did with Jacob.
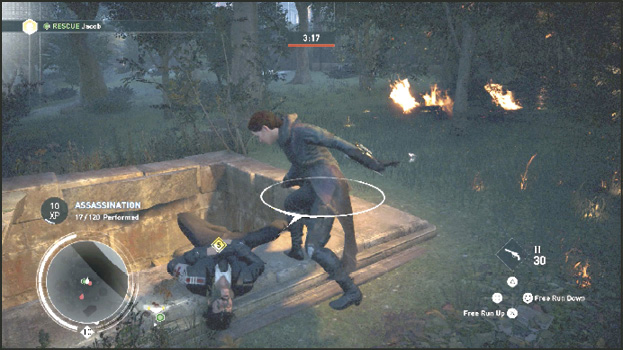
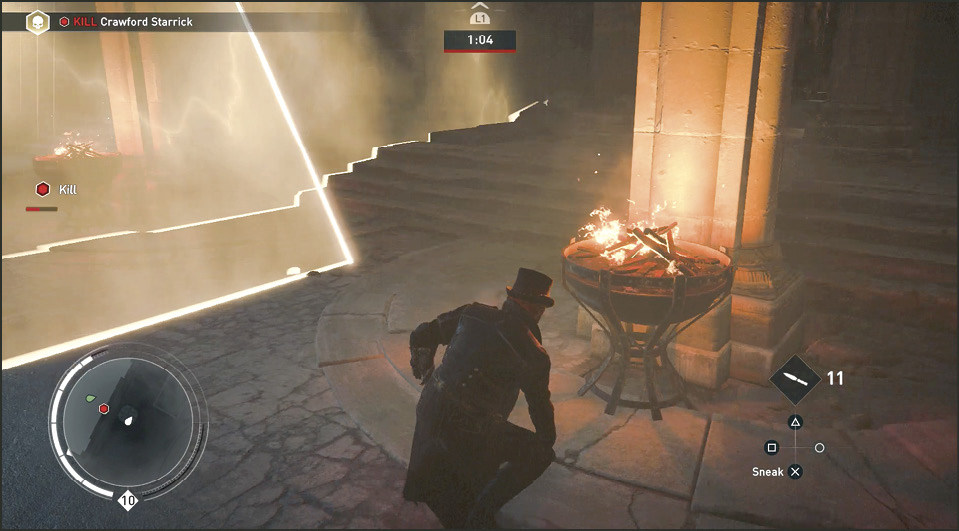
Inside the vault, you spot Starrick with Jacob in his grasp. A laser security system activates and a triangular beam of light shines down to the floor from the ceiling. The light approaches you as if on a rail. If it touches you, it does damage and throws you back. Unless you want to get damaged by each laser beam, you’re going to have to find a way around them.
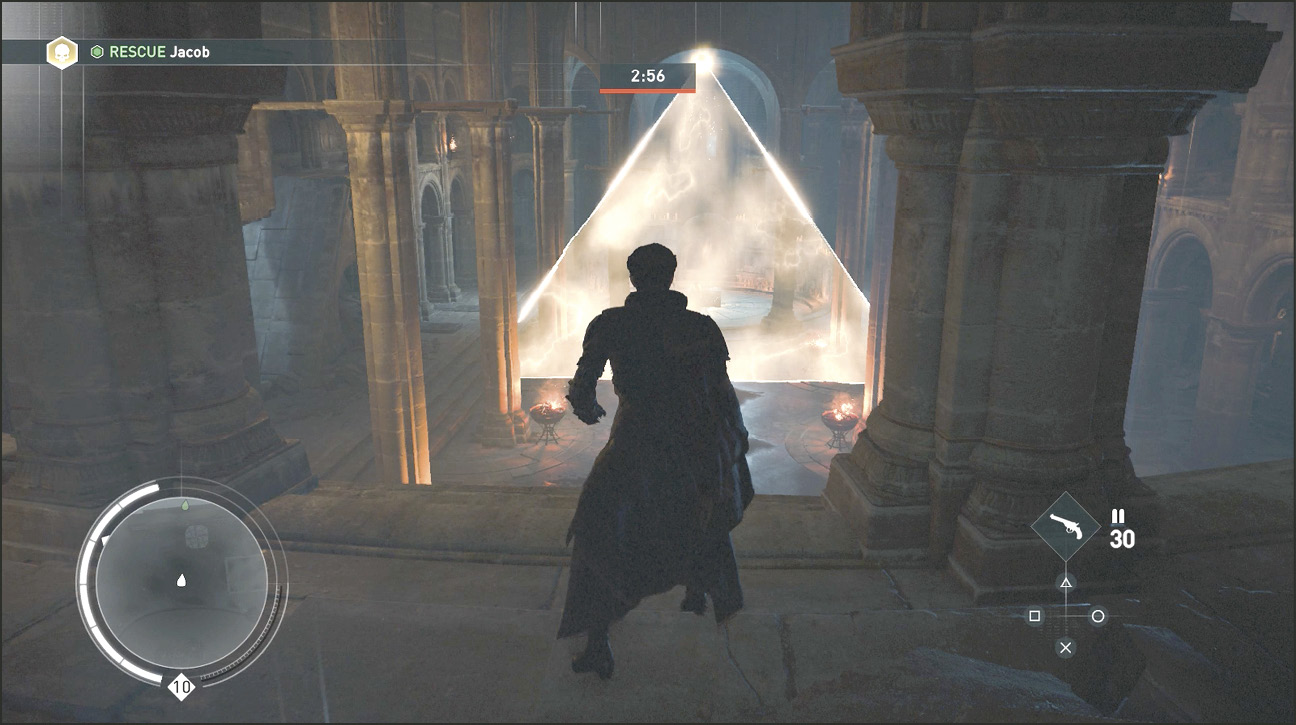
Current Objective: Kill Crawford Starrick
Location: Vault Interior
Stage 2: Evie’s Attack
Three triangular laser beams shoot from three different locations from the vault ceiling. Use the Rope Launcher to get beyond the nearest beam by attaching to one of the high poles sticking out of the columns.
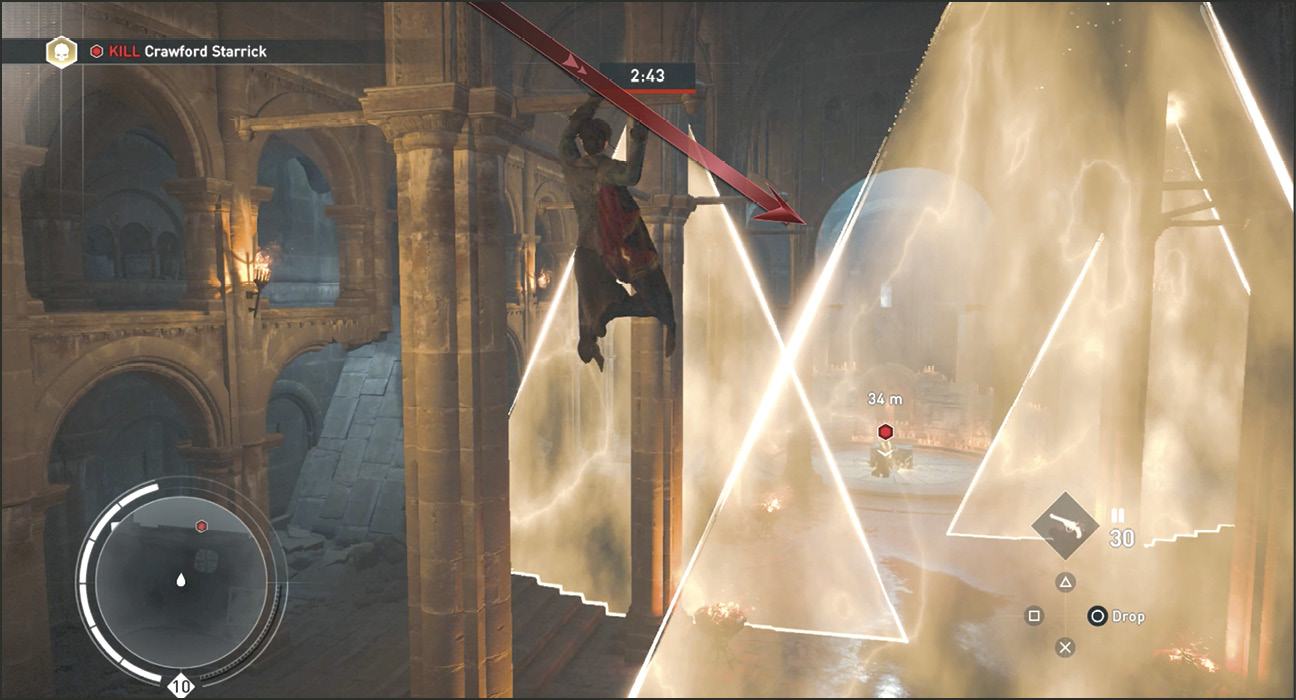
From atop the first pole you launched to, quickly obtain a lock-on to a column behind Starrick and zipline until you are above him. Drop off the zipline at his feet.
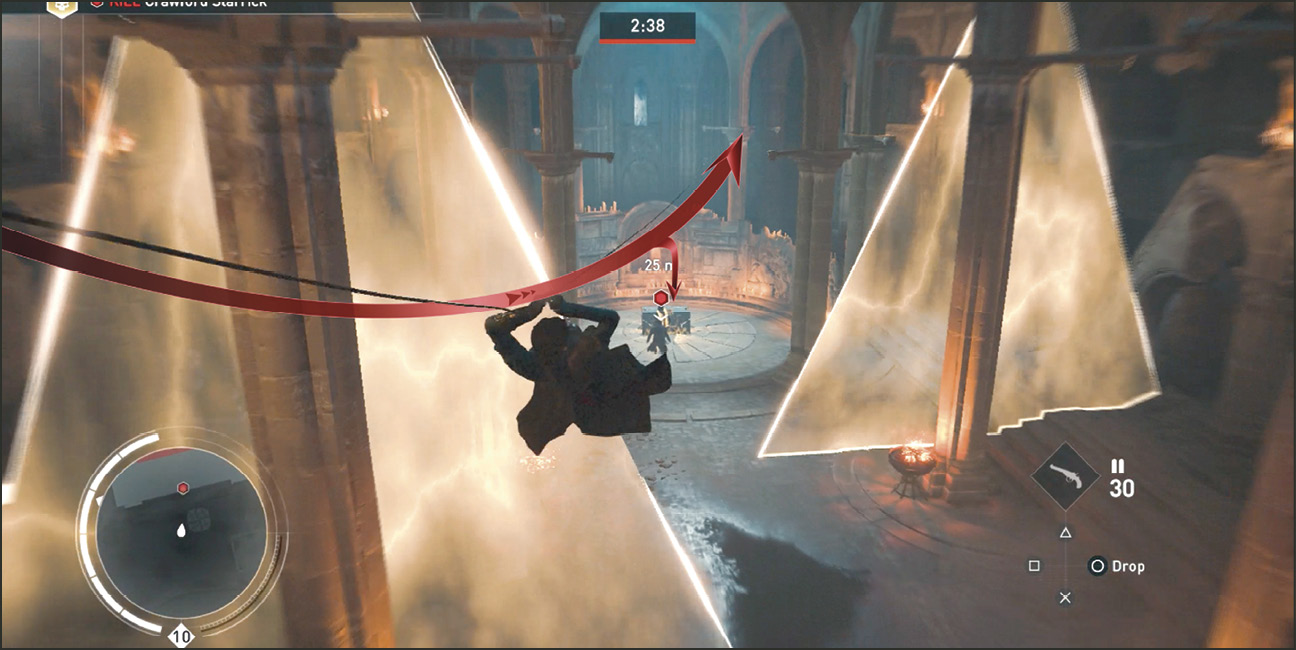
When you drop down to rescue Jacob one of the security orbs shoots Jacob and throws him to the back of the chamber near the entrance.
Control returns to Evie. Move in quickly and start throwing attack combos at Starrick. The Shroud of Eden protects the wearer from any firearm or ranged attack, so throwing knives or shooting bullets at Starrick is be a waste of time and ammo. Continue performing normal Attack combos and start countering as soon as Starrick breaks out of your combo. Counter and attack.
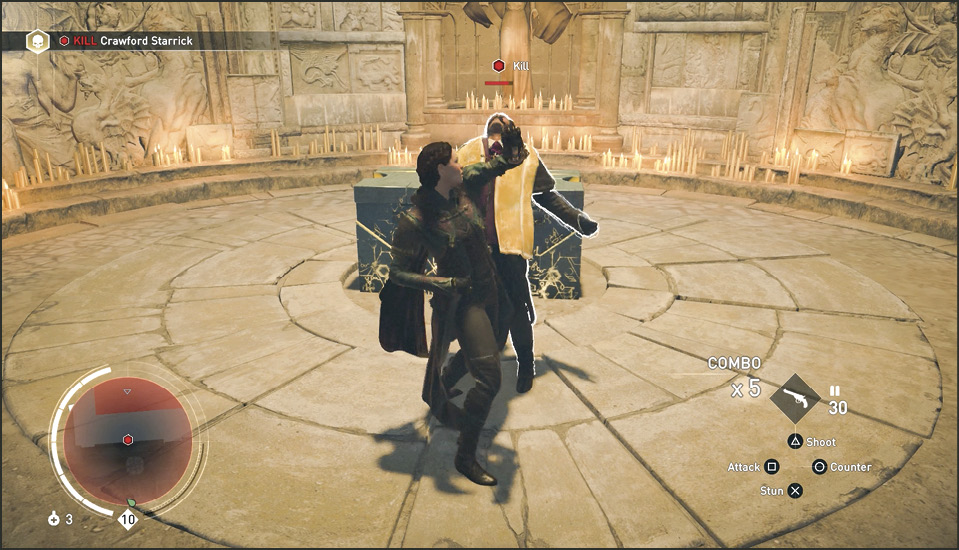
What happens next is reminiscent of the battle with Lucy Thorne. The camera pans in close to Starrick as he prepares to launch a volley of combos that you must block one after the other—similar to the attack sequence that Thorne used. His third swing is always a fake that is followed by a quick left swing. Counter all of these moves, then follow up with another attack combo, and then end your attack with as many rounds from your firearm as you can fit in.
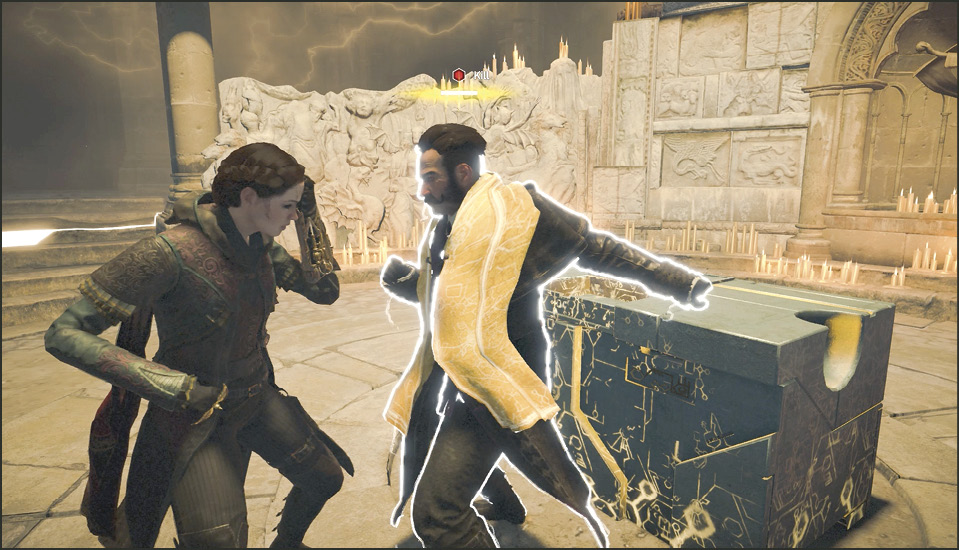
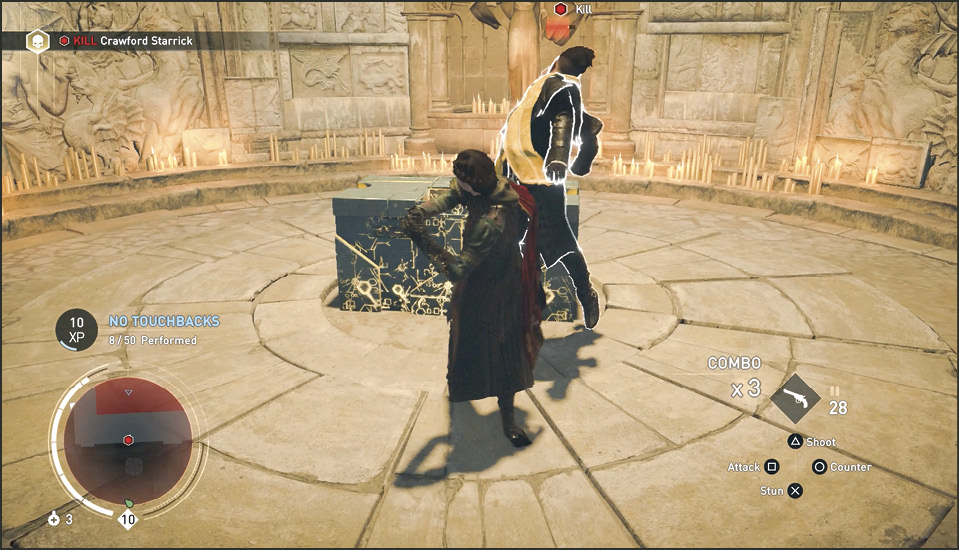
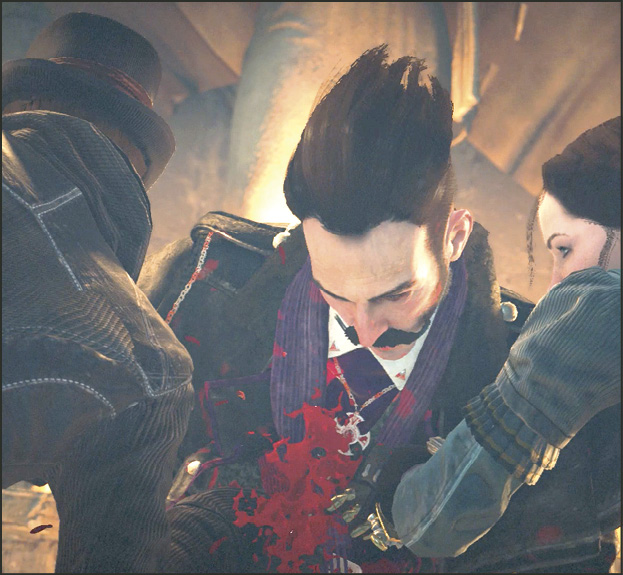
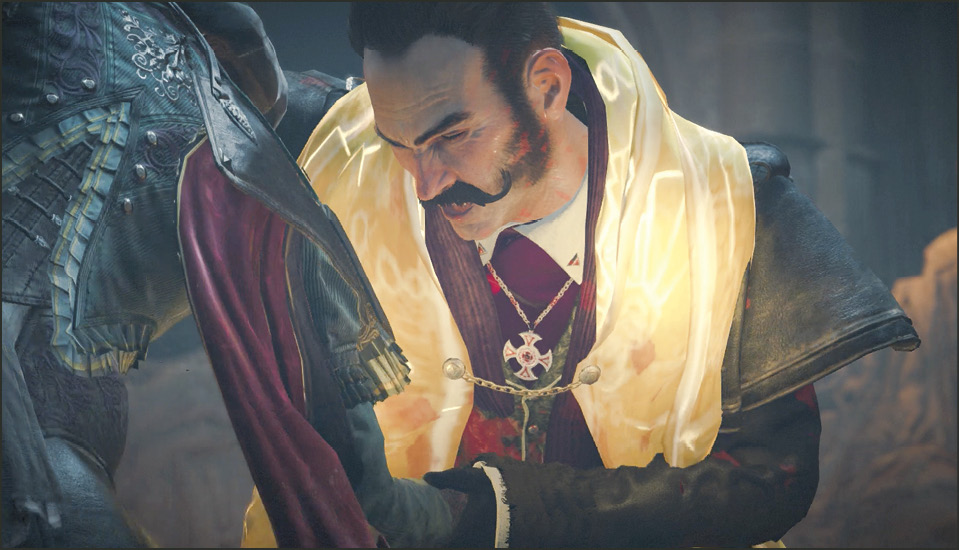
After the second round of attacks, Evie lands a stabbing attack. Blood pools around Crawford’s wound but with the power of the Shroud of Eden, the wound miraculously heals. While Evie is completely shocked and caught off guard, Crawford grabs her by the throat and holds her there as he did her brother moments earlier.
Stage 3: Jacob’s 2nd Attack
Time Limit: 1:30
Control switches to Jacob who’s getting to his feet at the back of the vault. The beginning of this stage starts like the beginning of Evie’s battle: three triangular laser beams sweep across the vault heading your way. Move to the extreme left or right side of the chamber and you see a clear path that you can run through to avoid the lasers while simply running along the floor.
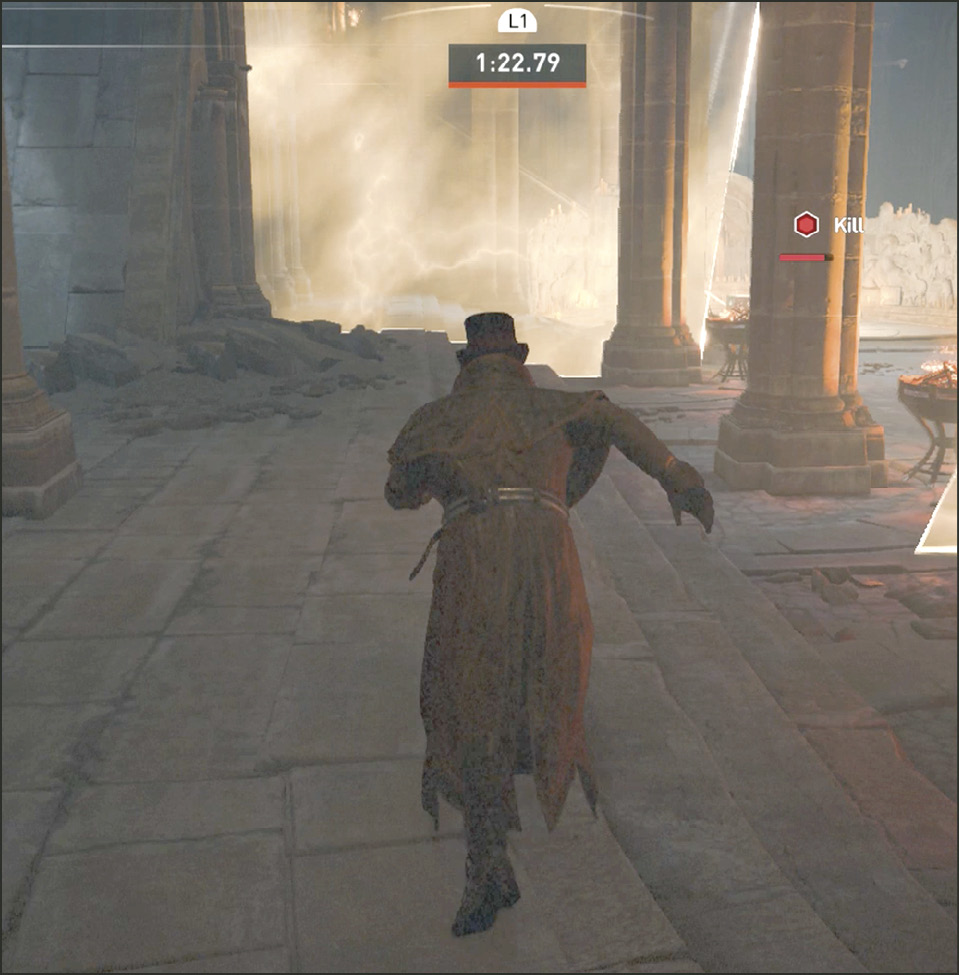
When you reach Starrick, Evie gets laser zapped to the back of the vault just as Jacob was moments earlier.
As Jacob, tear right into Crawford with your best blades and pull off the longest attack combo possible. Within this combo a short cinematic is triggered and in it, Starrick gets hit with a very damaging knife puncture.
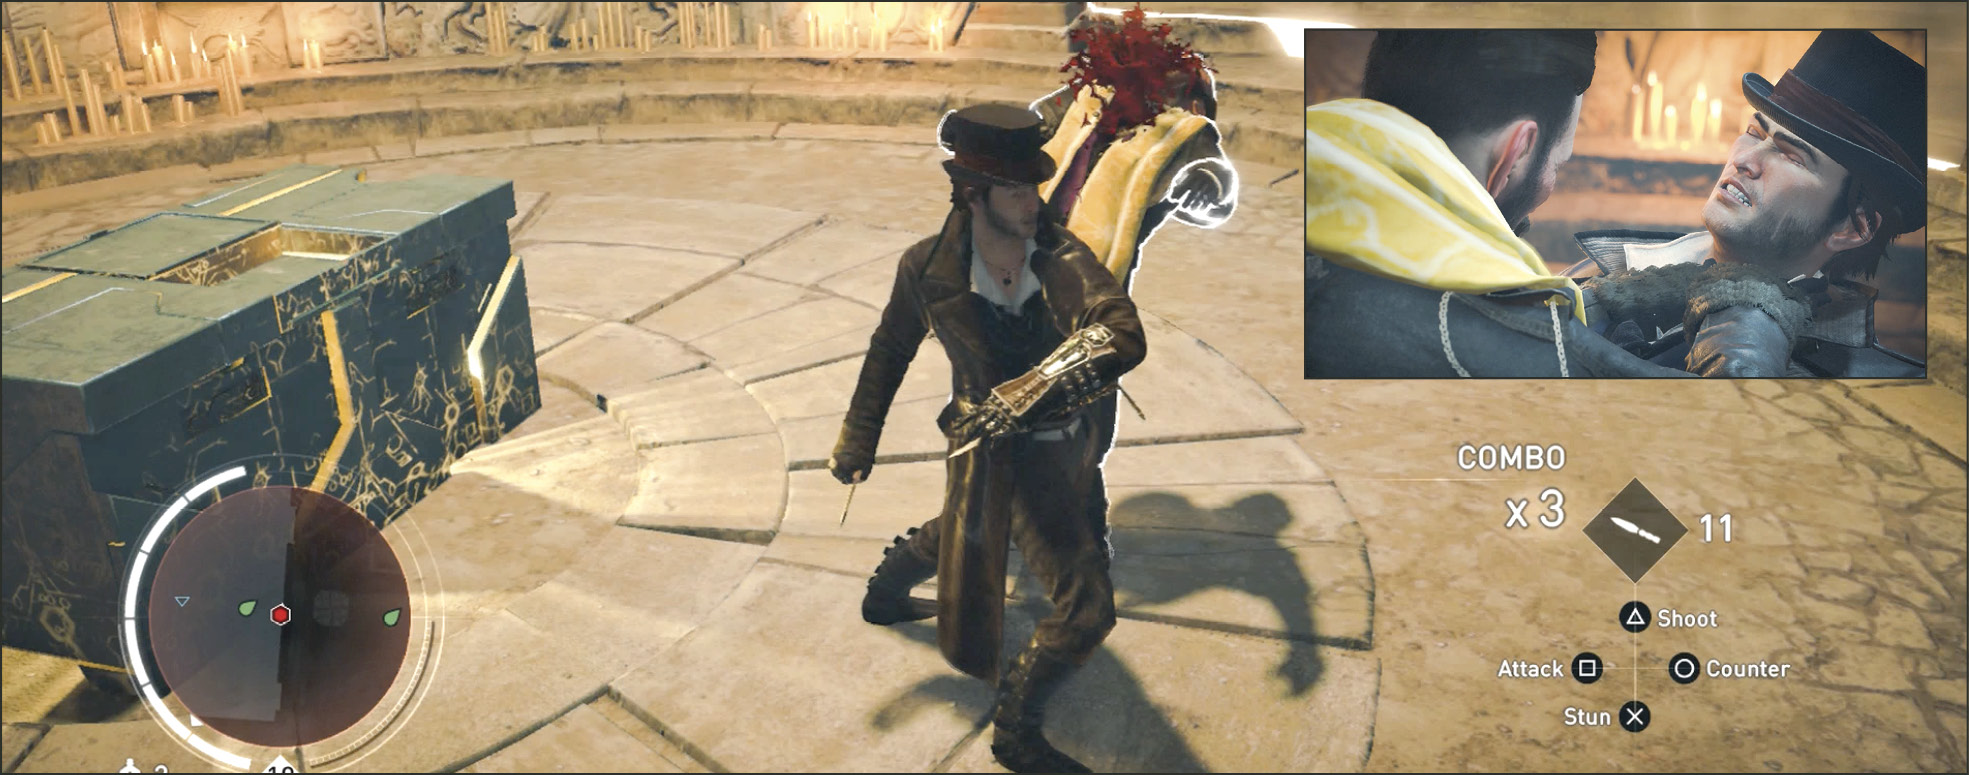
Starrick recovers from this attack using the power of the shroud. He grabs Jacob’s knife hand and laughs as he lays a fist across his chin. The battle ends with Jacob at a disadvantage.
Stage 3: Evie’s 2nd Attack
Time Limit: 1:30
Evie wakes up and pulls herself off the floor. Now you control Evie as she comes to and sees Jacob in Starrick’s clutches. You have a minute thirty to get to Starrick again and save your brother.
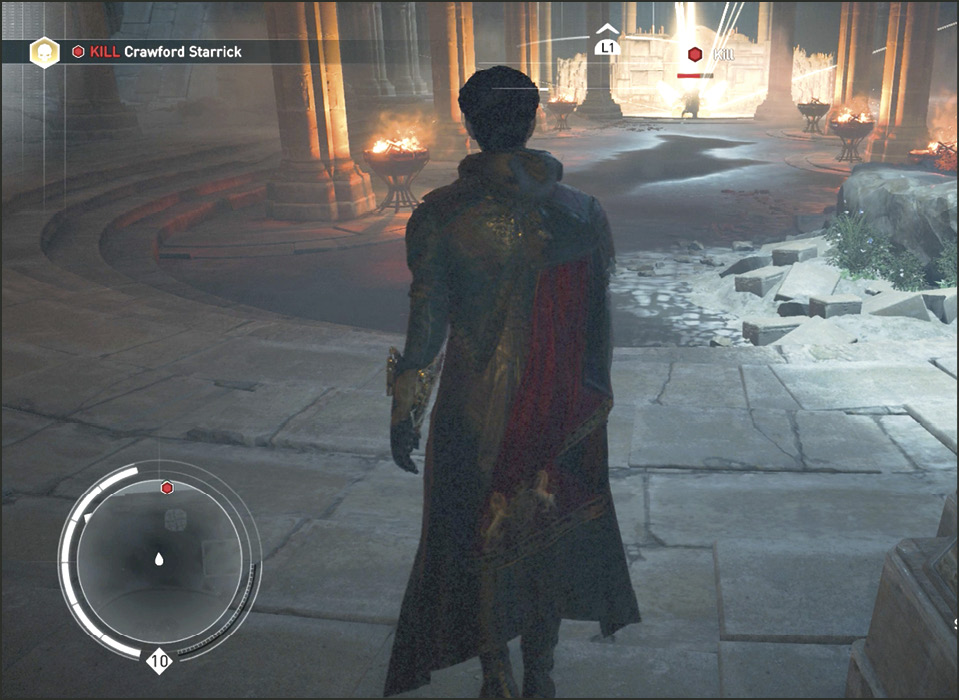
Again with the lasers! You must dodge lasers to get to the other side of the room. This time the laser beam shape has changed, forcing you to use a different route to get through. All three lasers are side-by-side so there’s no space to slip between them. This time you must just get over the highest line of beams.
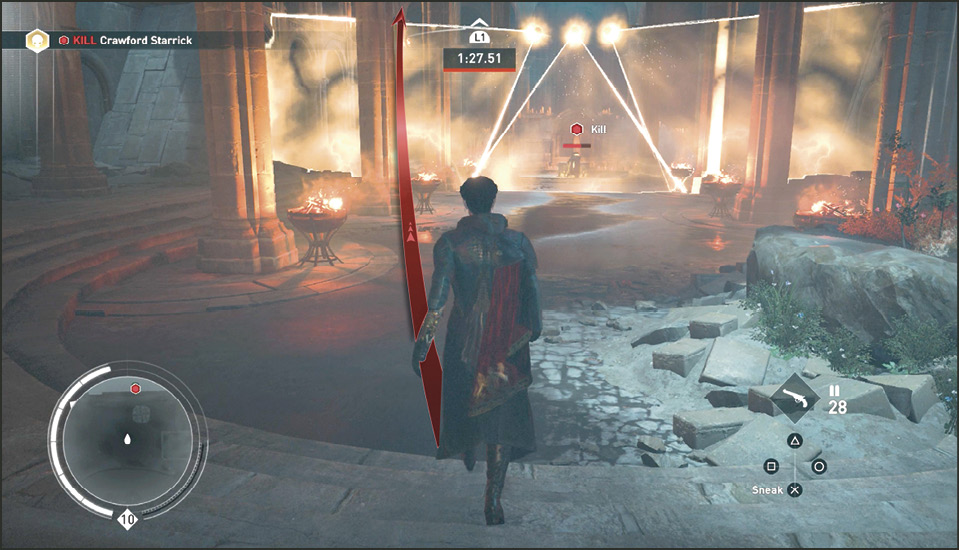
Rope Launch upwards to a column pole and stay there for a second. Once over the first wall of lasers a second one is right behind it but this time covering the upper level of the room—which is where you are right now. Drop down off the pole when the first wall of lasers has passed under you.
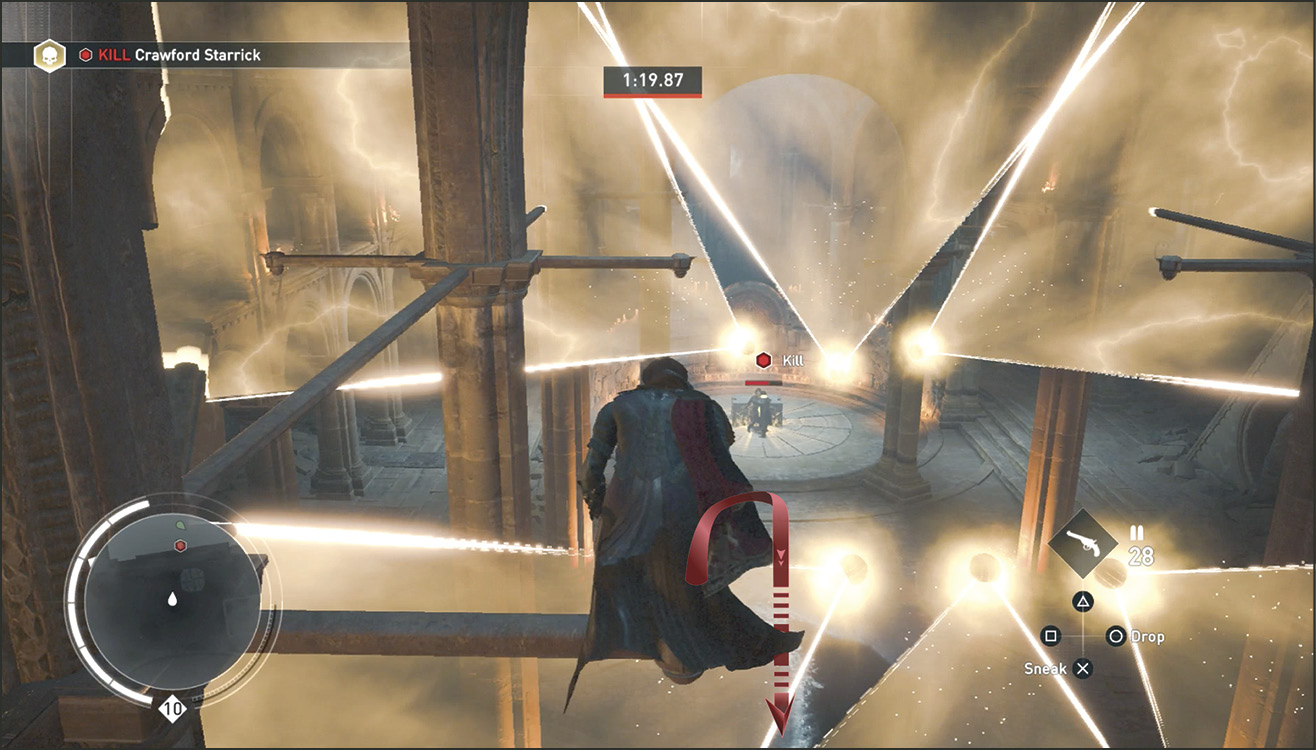
Once you are on the floor and the high lasers have passed, there’s one more wall to go. It’s a low one again so just Rope Launch up to a column and jump over it to reach Starrick.
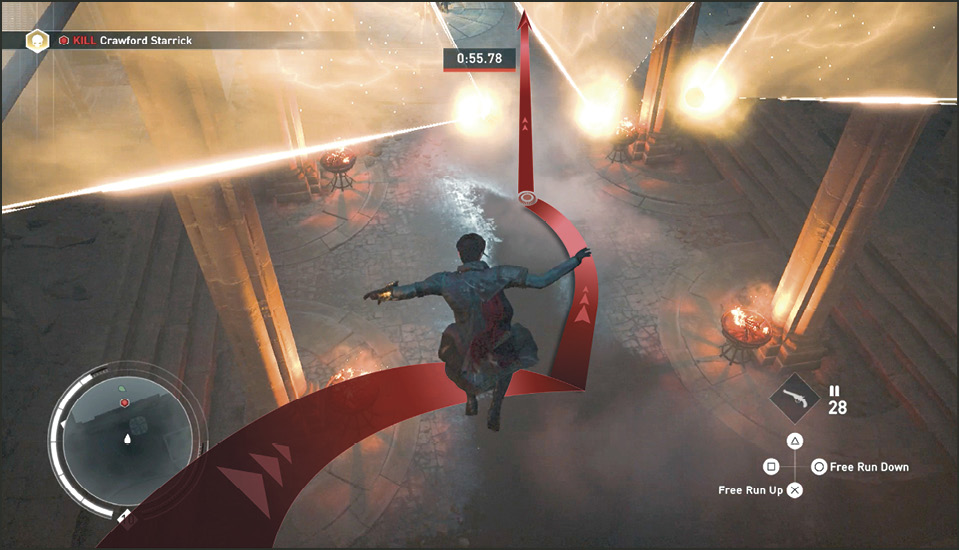
When you reach Starrick, Jacob is thrown back in a flash of light. Move in quickly with an attack combo and shortly after you enter the attack sequence that tests your countering reflexes. His attack pattern is the same and should be fresh in your memory. Counter his attacks and then in a cinematic, Evie slips a knife into Starrick’s side. He brushes it off, slaps Evie, and takes her by the neck.
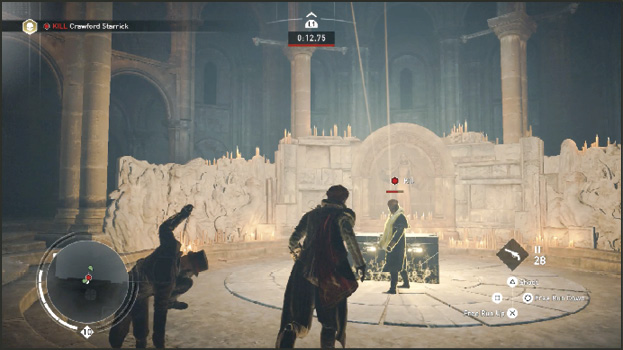
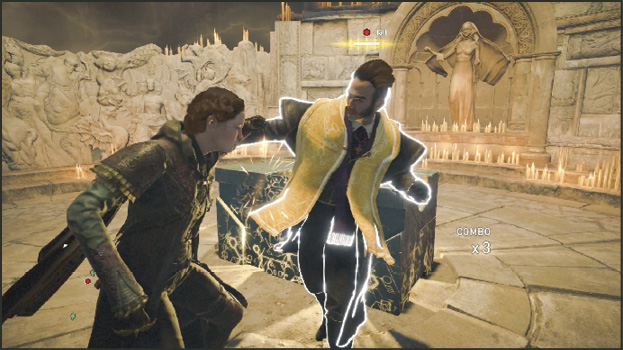
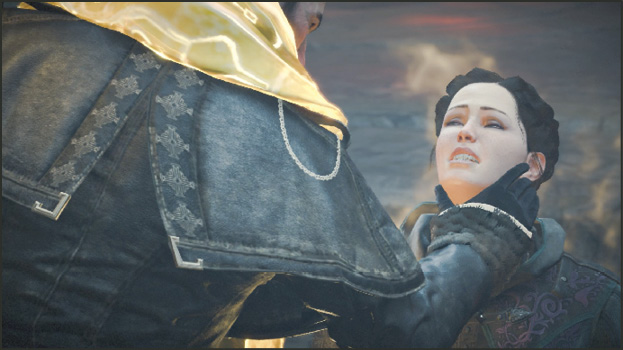
Stage 4: Jacob���s 3rd Attack
Time Limit: 1:30
Jacob wakes up and pulls himself off the floor. Now you control Jacob who is now looking at his sister in the same position he was in when she came to his rescue. You have one minute and thirty seconds to get to Starrick through his new laser defense pattern. The first wall of lasers collapses into a small gap you can get through near the floor. So stay on the ground and run forward through the first wall. Even if the gap seems too small, go for it; you are not hurt if the laser does not hit your feet.
Zipline up to a column as the second wall approaches. It’s triangular shaped and points at the top so you can get on a perch above and drop down on the floor when it passes.
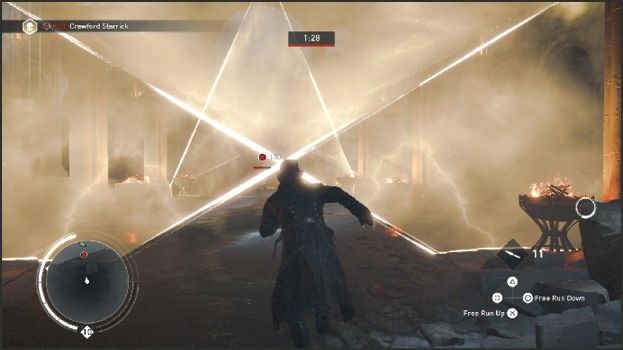
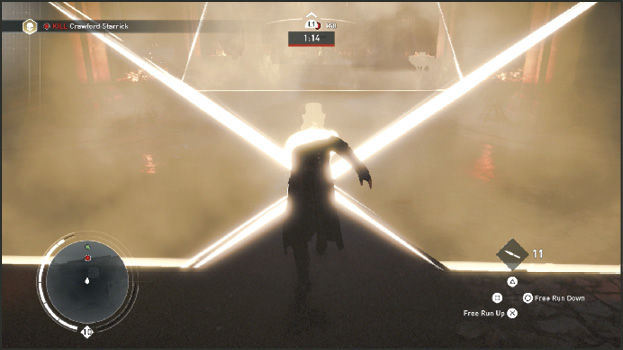
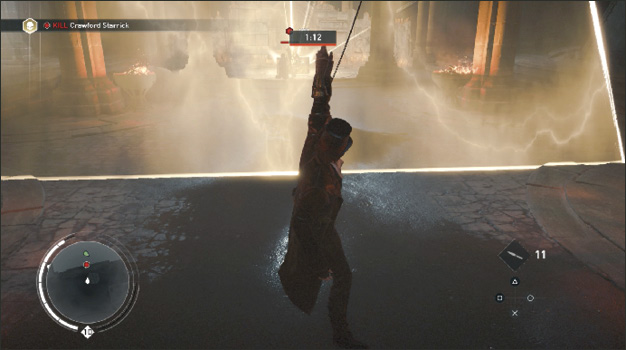
As soon as you drop, the next laser wall passes your head above (they were close together). But the next wall behind that one is also very close. Continue by Rope Launching over the wall and down again. Run at Starrick in the clearing.
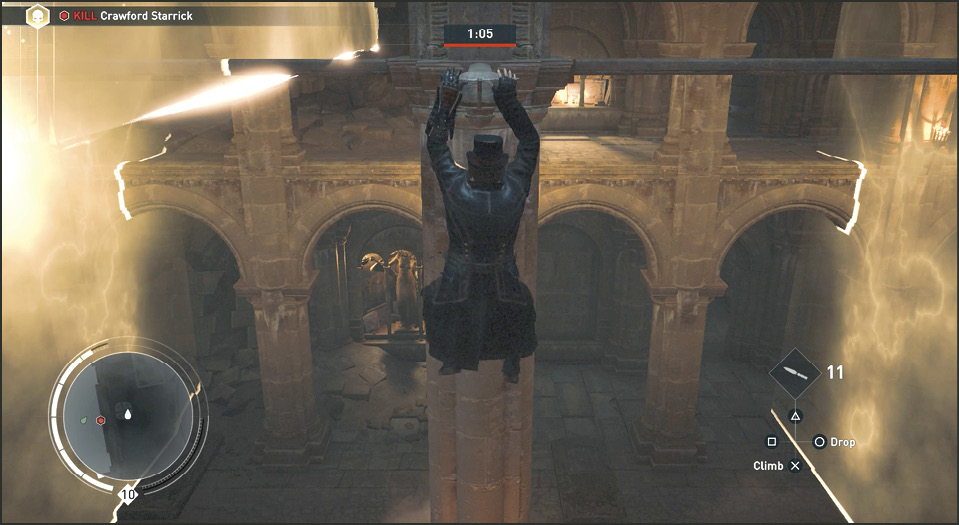
When you reach Starrick you immediately enter a cinematic where both twins end up hanging from the ends of Starrick’s grasping hands. When all hope seems lost, a knife zips through the air and Starrick crouches backward. You see Henry in the distance. It was his blade. Starrick throws Evie back a few yards.
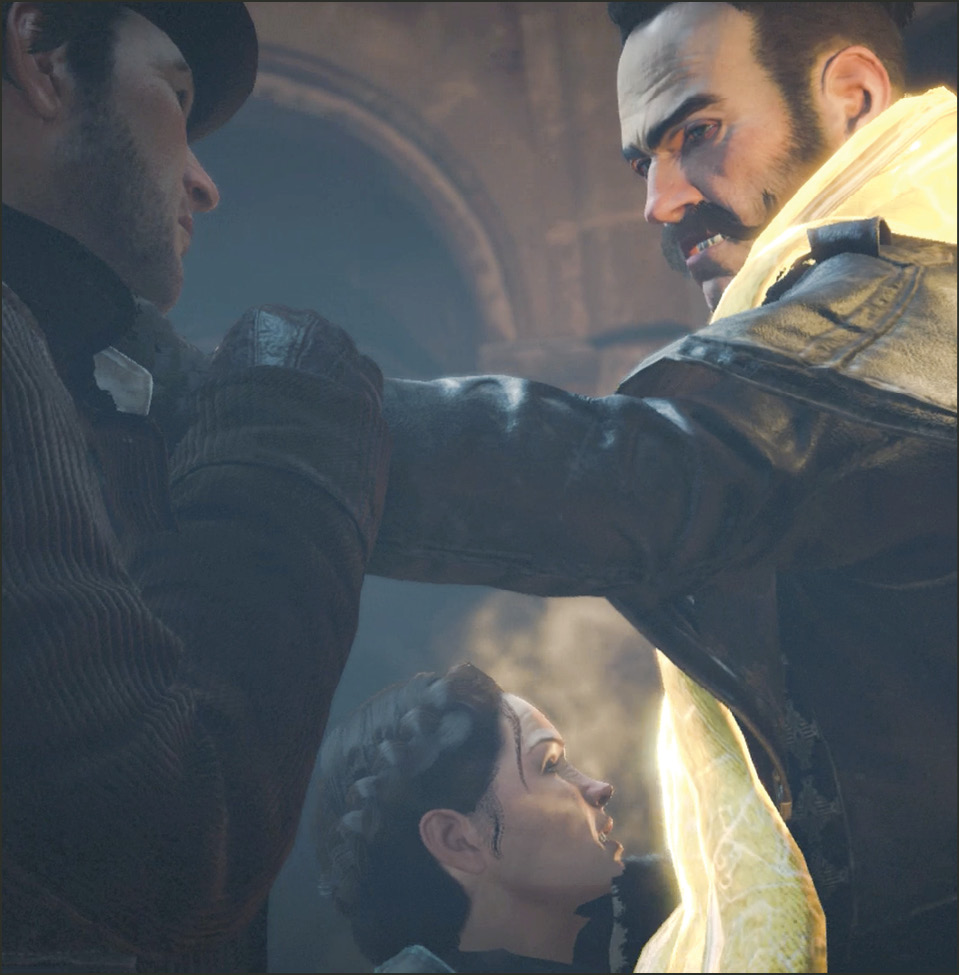
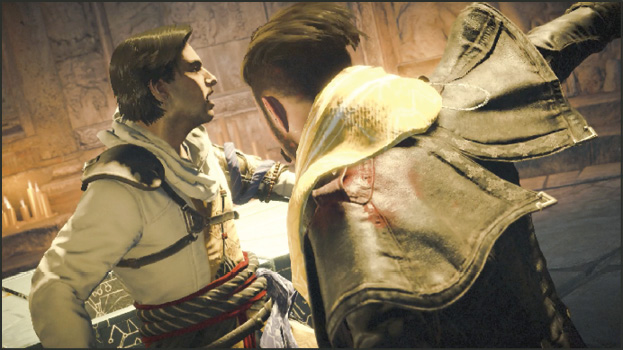
Henry rushes at Starrick as he pulls his knife out of his back and tosses Jacob aside like a ragdoll. Crawford blocks Henry’s attacks and Starrick lands a nice backhand across Henry’s jaw. Henry recovers and slashes Crawford. Now Henry is surprised when he sees how quickly he heals. Henry is thrown aside and you gain control of Jacob.
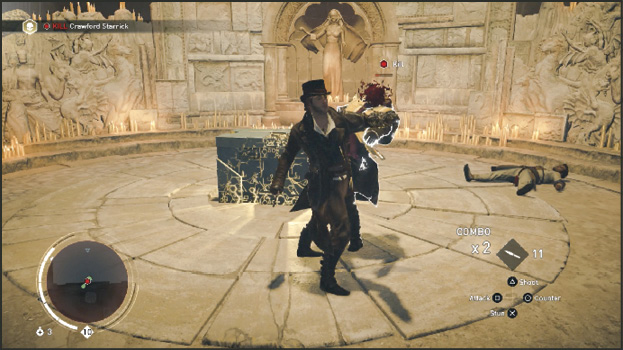
Move right in and get your combos in, Crawford lets this slip through his defense. He should be at half health by now. When you get him down to about 25% health a cinematic triggers.
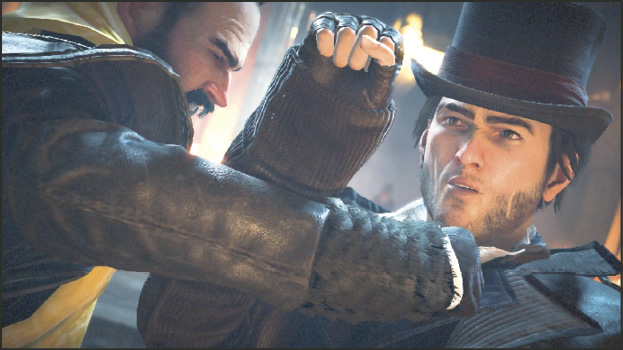
Stage 3: Evie’s 3rd Attack
Evie gets her chance to get in a third attack. There’s no time limit. Run to Jacob and Starrick—and yes, to Henry too. One good strike on Starrick triggers your opportunity for the finishing move….
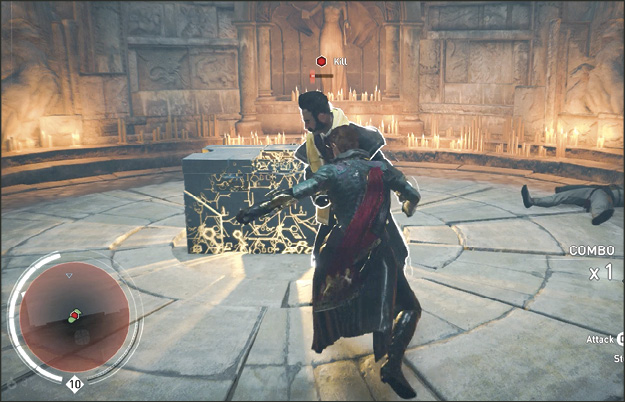
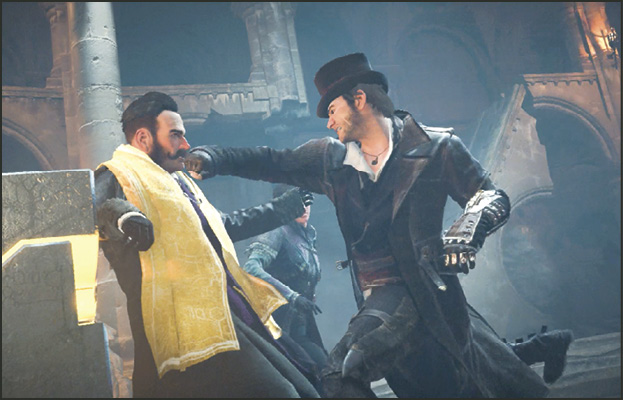
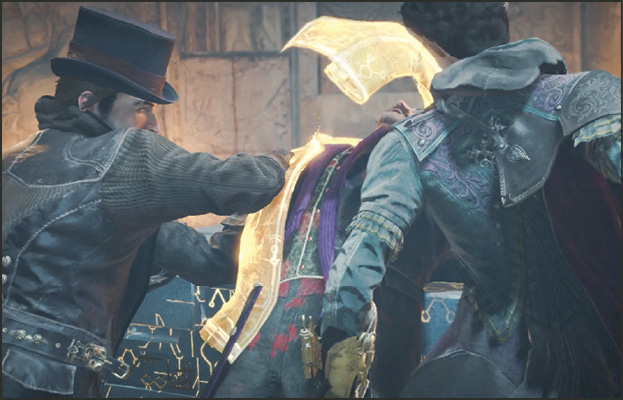
Evie has Crawford on the ropes and screams for Jacob’s help. He rushes in and lands a flying right hook.
Jacob follows the punch with a stabbing and yells, “Evie, NOW!” Without a plan made in advance, Evie strikes a sweeping knife attack across Crawford’s chest that sends the Shroud flying to the floor behind him.
Crawford is in a bad way now. They throw him behind the altar and he pulls himself across the floor. He struggles to his feet. You are prompted to perform an Assassination  /
/  . Do so and both Evie and Jacob double-team the wounded Templar.
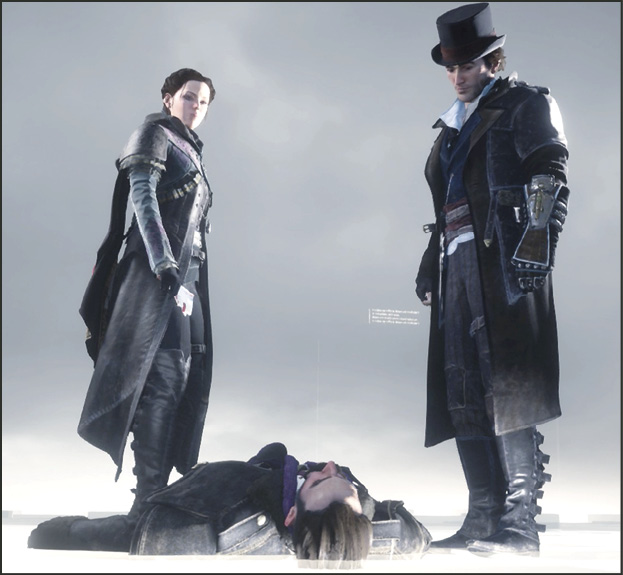
They deliver death to Crawford Starrick together as an assassination team. All three are transported to the Animus white room. Crawford, still tying to defend himself finally dies, allowing the twins to get in the last word.