Assassin's Creed Syndicate Guide Walkthrough Sequence Four
Unnatural Selection
MISSION OVERVIEWMemory Type: Templar Conspiracy Suggested Level: 3 AssassinJacob Frye ChallengesKill everyone in the building with the gas. Rewards£: 410 + 75 (Full Synch Bonus) XP: 250 + 100 (Full Synch Bonus) Belt: Dark Leather Belt Lessons
|
Current Objective: Open the Distillery’s Door
Location: Starrick Brewing Company, Southwark
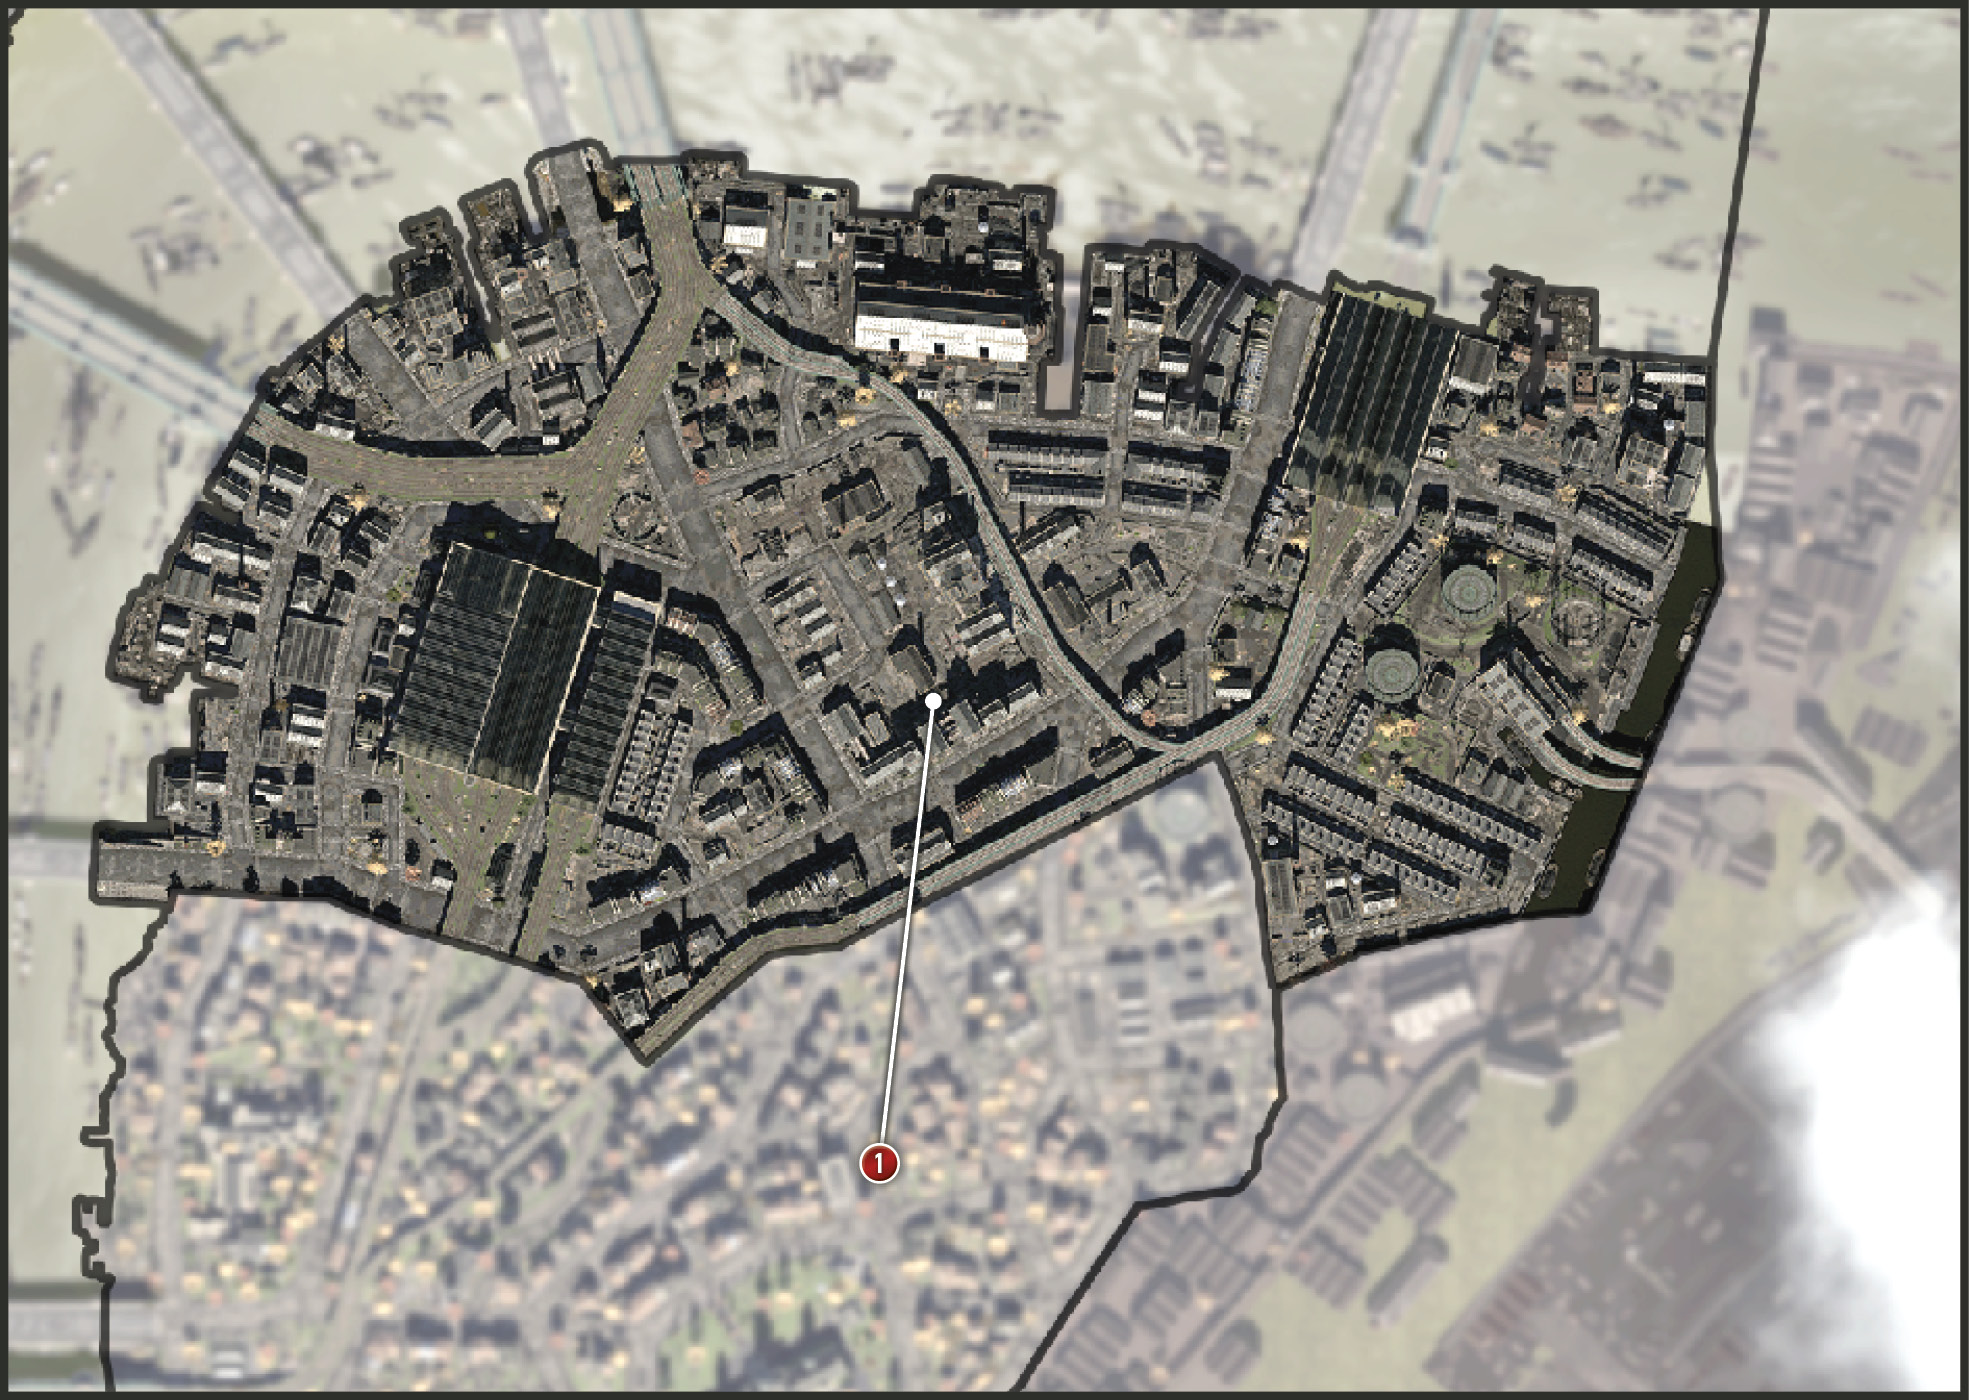
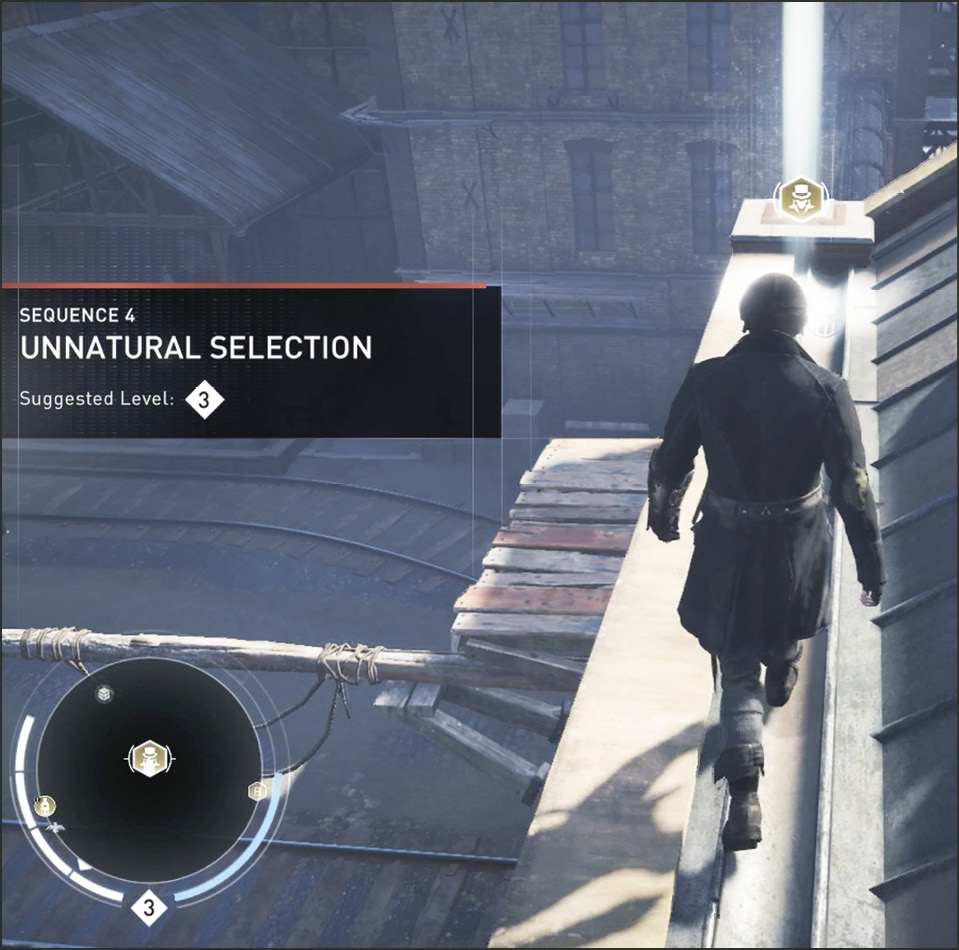
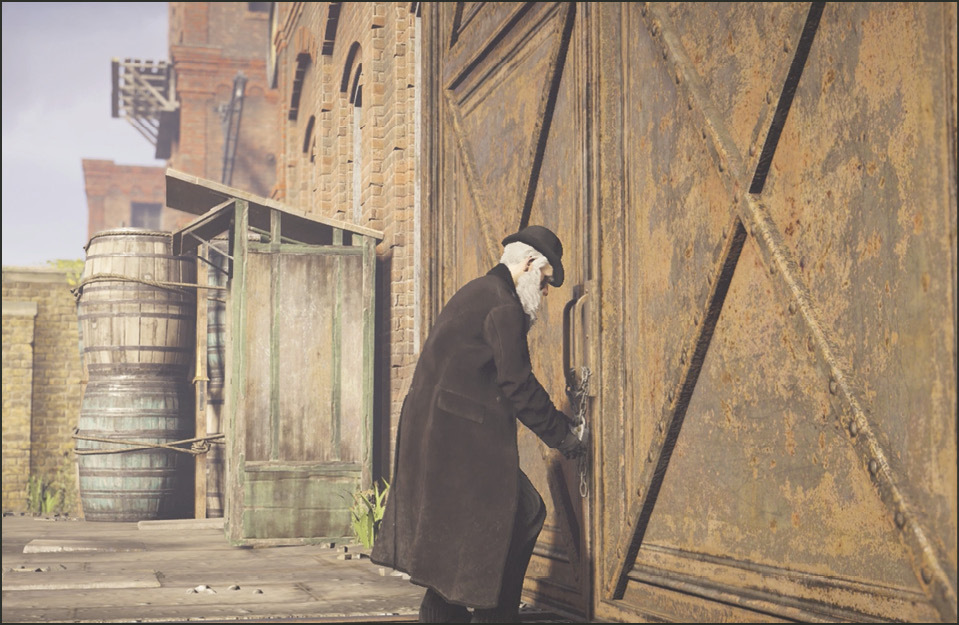
Get to the corner (1) of the rooftop across the street from the Starrick Brewing Company in Southwark to begin this mission. From your perch you spot an old gentleman peeking into the cloudy windows of Starrick’s large brick building. He then tries to enter through the large front doors but finds them locked. Before the patrolling Blighters spot him he ducks into a booth beside the doorway.
Activate Eagle Vision from the ledge where you start the memory. Notice the mixture of many level three and level four Blighters below. A group of three Blighters patrol starting from the far right and they pass through the courtyard in front of the main doors to the brewery. One Soldier stands guard at the door facing the street. There are hanging barrels above his head. There’s also another group of two Blighters that patrol from the left and approach the guard at the door.
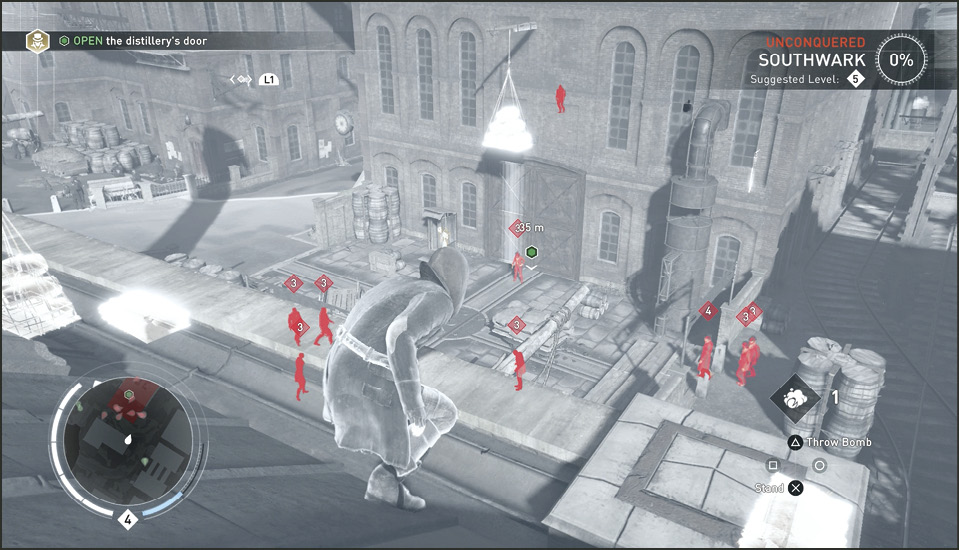
As they are getting into position underneath the barrels, move left along the ledge until you reach a column that holds some hanging barrels on your building. This allows you to get in knife-throwing range of the barrels above the door across the street. Once all three Blighters stand beneath the barrels, let a knife fly and take out all three enemies at once.
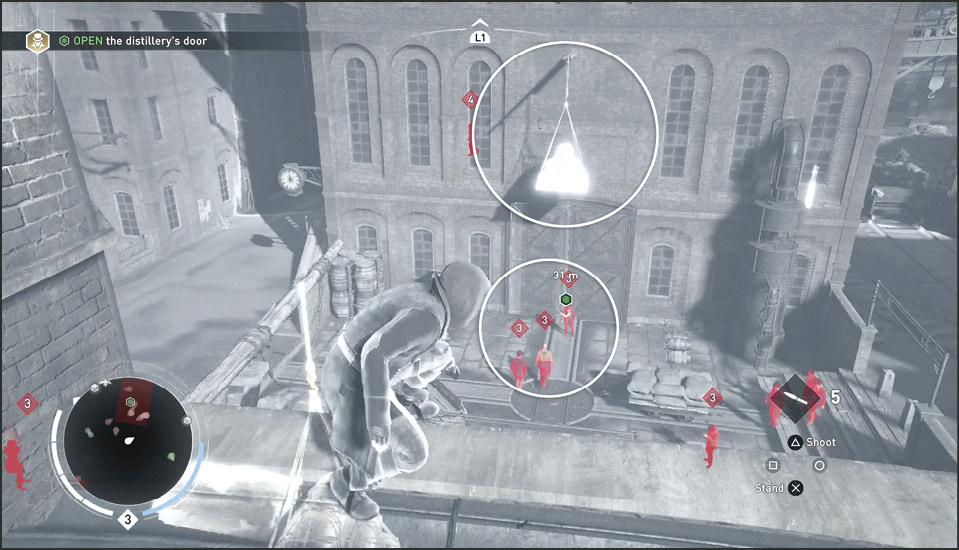
You do not need to be stealthy if you do not feel like it. You could rush down there and defeat everyone, but this is a much safer approach if you think you may be outnumbered. Next, drop the barrels attached to your building on the Soldier that has a short patrol route underneath them.
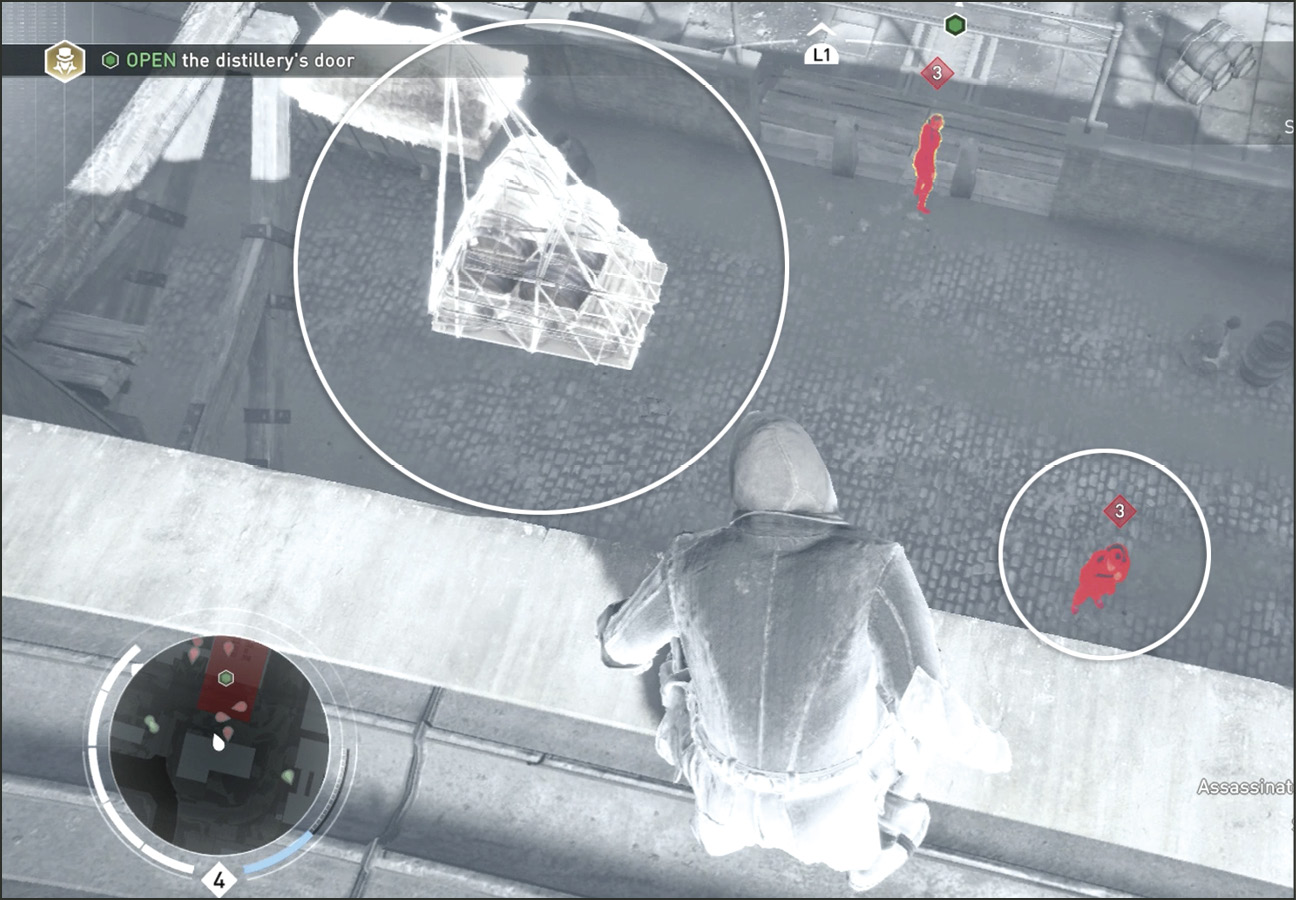
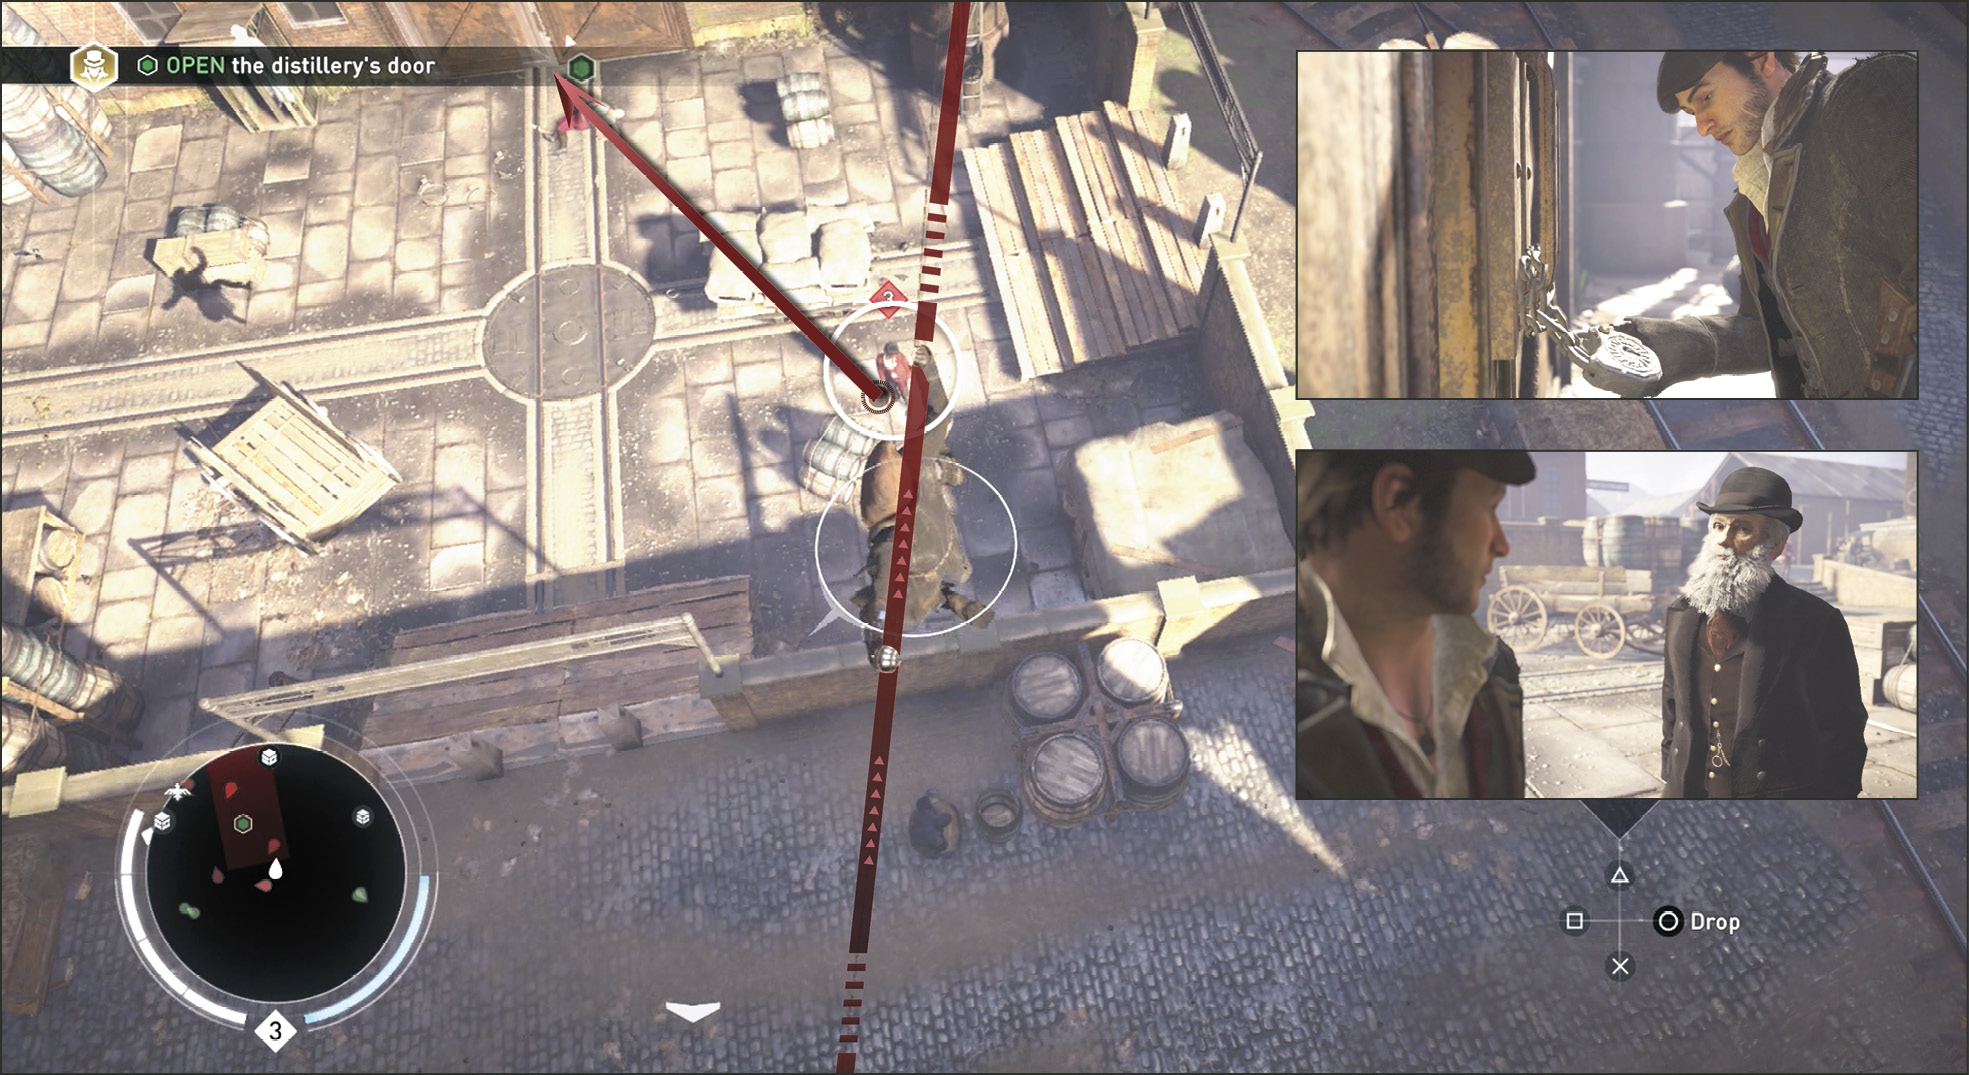
You can continue to use the two haystacks below to single out and Cover Assassinate every one of the patrolling guards below or you could just take out the remaining Soldier in the entrance courtyard when no one else is looking. When the patrolling Soldiers are far off, shoot the rope at the brewery so that you pass over the top of the remaining Soldier in the courtyard. Air Assassinate him and then run for the door and press  /
/  to break the lock. In a cinematic, the old gentleman hiding in the small booth joins you; and it’s a good thing he does…
Current Objective: Follow your ally
Location: Starrick Brewing Company Interior
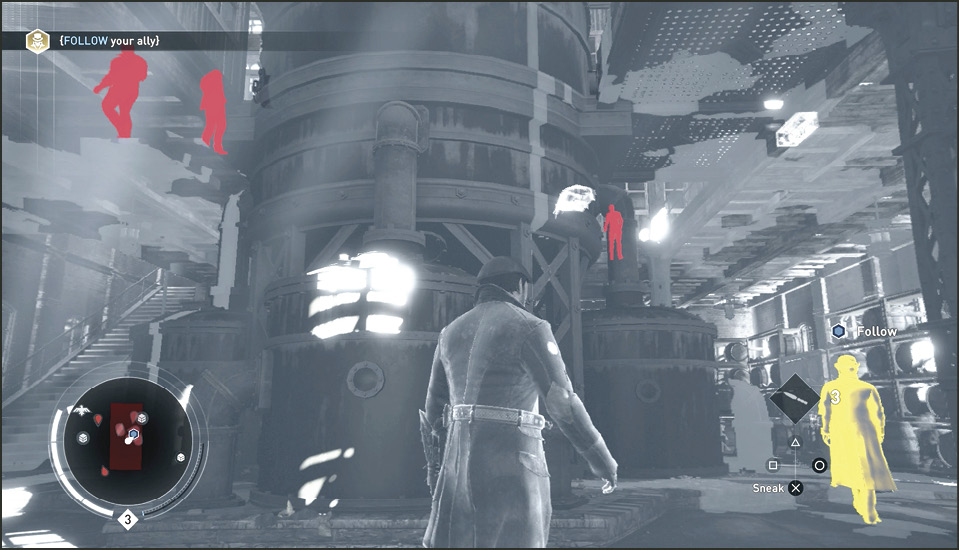
Once inside, activate Eagle Vision as you follow the old man through the ground floor of the brewery. Notice and mark the many different enemies on the floors above. Follow the man closely. He knows when to move to avoid the Blighter’s wandering eyes above.
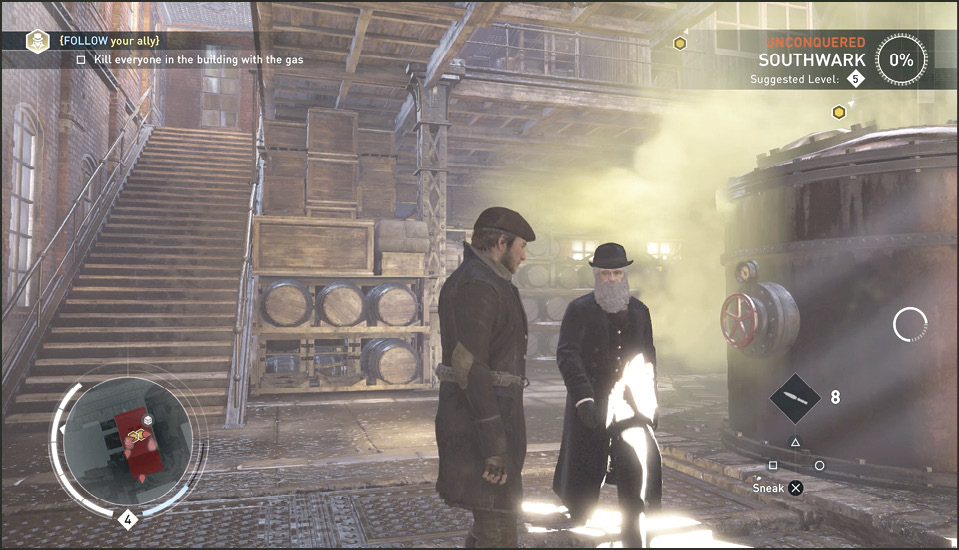
He stops at a table with plans on it for a bit. Be patient; he’ll move again. He discovered Devil’s Snare (Opium) is being added into the syrup. That doesn’t sound healthy. He finally stops at a large valve on the side of the central boiler. He turns the wheel and sabotages the machine. Poisonous gas issues from the valve area. The man tells you to find a way out quickly and runs for cover in the next room.
Current Objective: Sabotage the pressure valves
Challenge: Kill everyone in the building with the gas
Sabotage 1
Save this wheel for second. Instead of heading into that room now, sneak into the open stairwell/room on the left. Stay to the left as much as possible so you can sneak up behind the Soldier on the right side of the room with her side to you. Sidle up and knock her out with the chokehold.
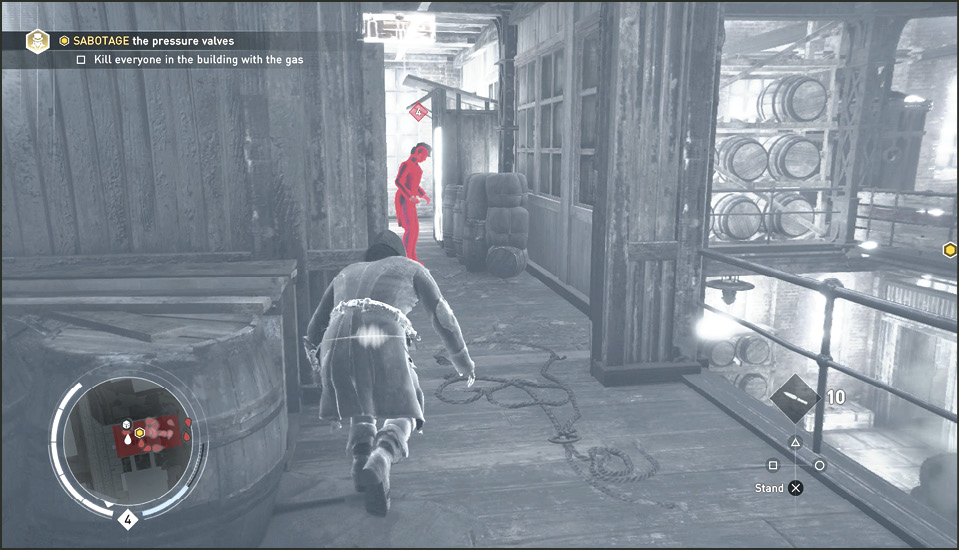
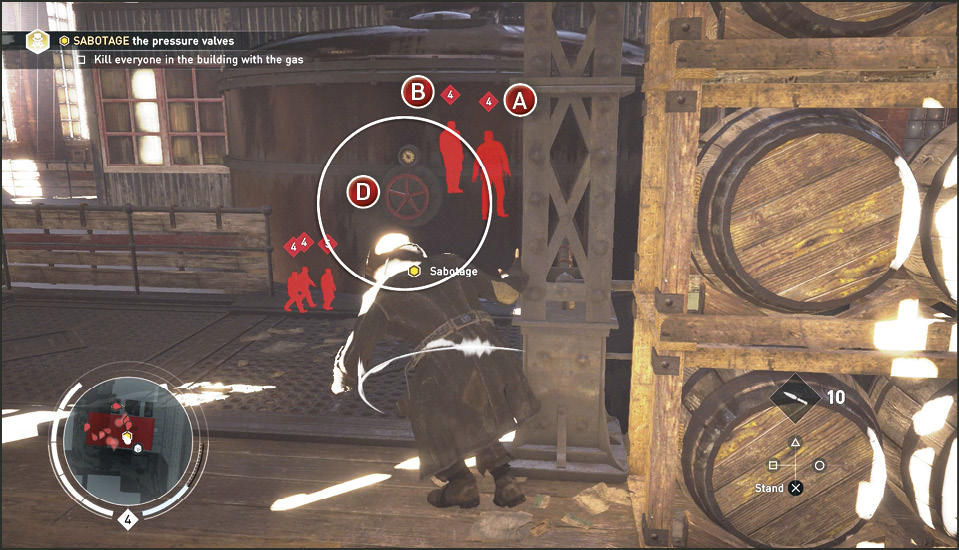
Notice the stairs in this room (there’s also a booth if you need to hide at some point). Exit the room through the next door (beside the booth) and sneak along the walkway and veer right around a stack of barrels to find the first sabotage valve wheel (D). Turn it and then continue further along the walkway.
Sabotage 2
Notice the large pipe hanging just below the ledge. Hop over the rail and follow the pipe to the opposite walkway. Clamber over the rail and take cover beside the office doorway. Now you are on the opposite side of the Soldier’s (A) and Brute’s (B) office where valve (C) is located.
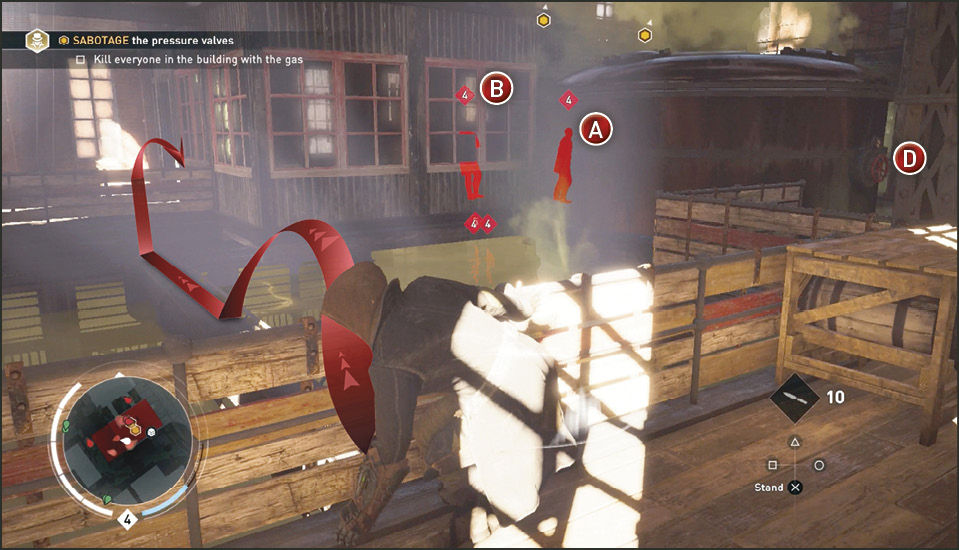
Study the Brute’s and Soldier’s patrol pattern around the room. Move into the room sticking to the left side of the desk in the middle as the Brute walks around the far side of the desk to join the Soldier (A) near the sabotage wheel.
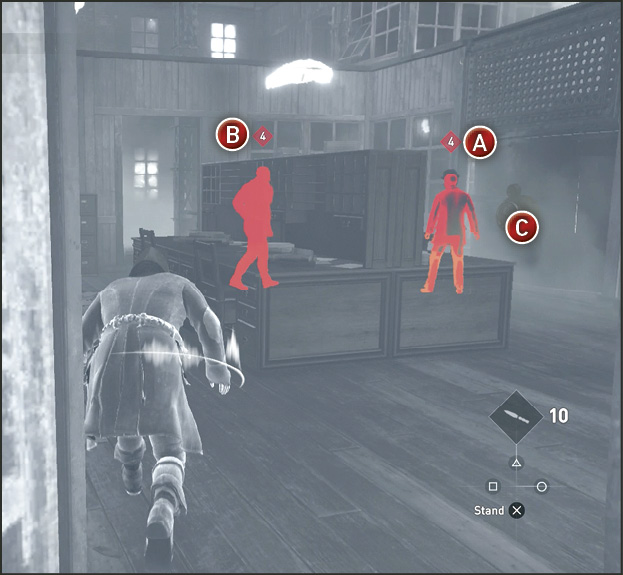
Stay on the opposite side of the desk from the Brute (B). When he moves back to the left side of the room where you are, move around the far end of the desk and Knock Out the Soldier (A) at the wheel with his back to you. Turn the sabotage wheel and then sneak up behind the Brute and knock him out.
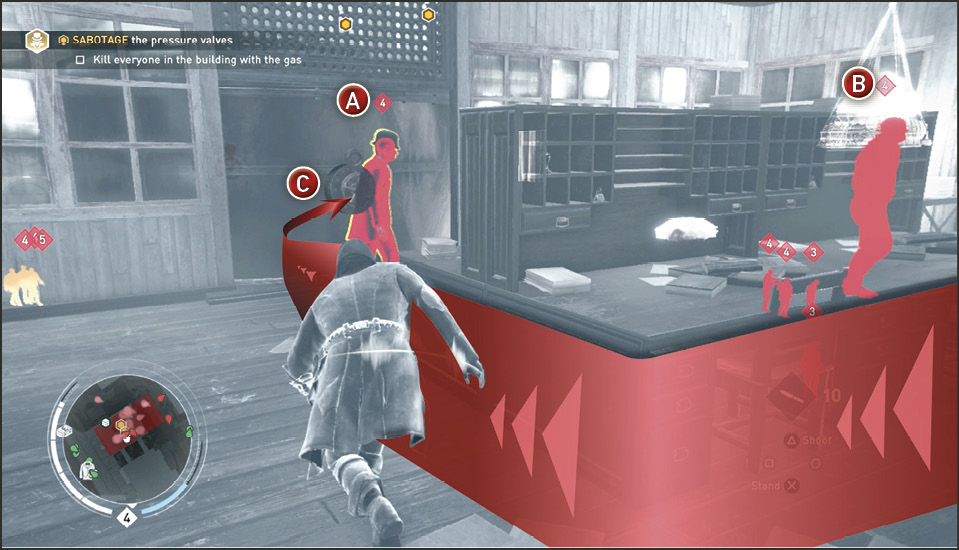
Sabotage 3
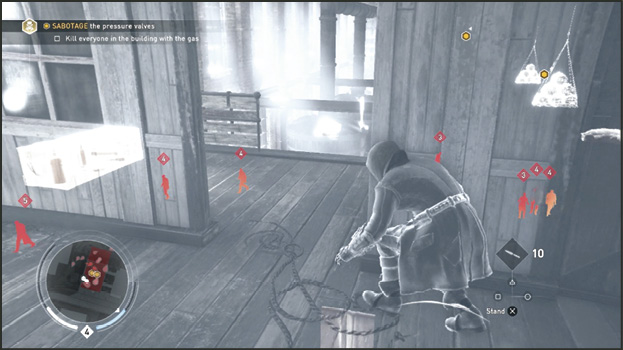
After turning the first two wheels, two more activate two floors above you. Mark the enemies above while in Eagle Vision if you have not already. The next two sabotage valves are directly above the previous ones on the same central machine. Reenter the stairwell/room where you killed the Soldier near the booth. Climb the stairs to the next floor. Use Eagle Vision to find the Chest around the other side of the wall at the top of the stairs. Enter this balcony and take the items from the Chest.
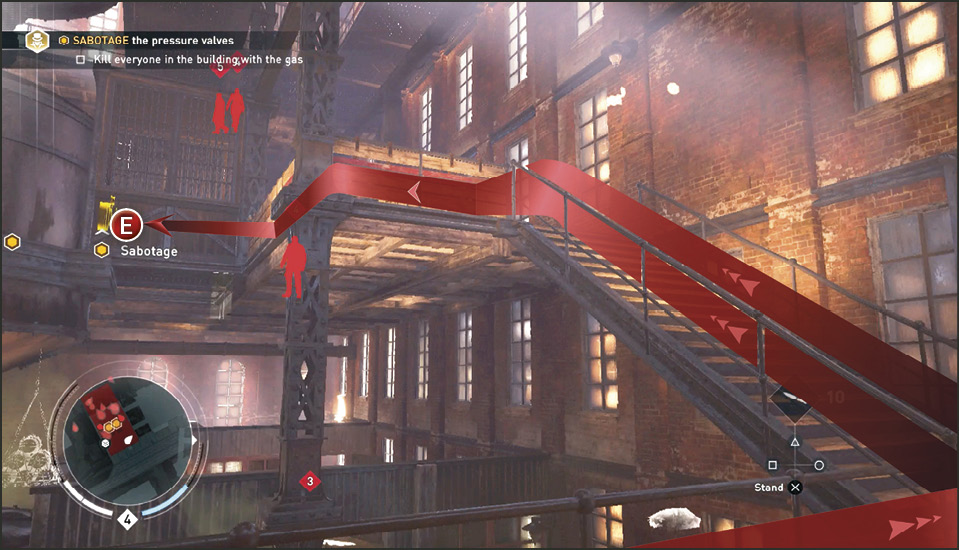
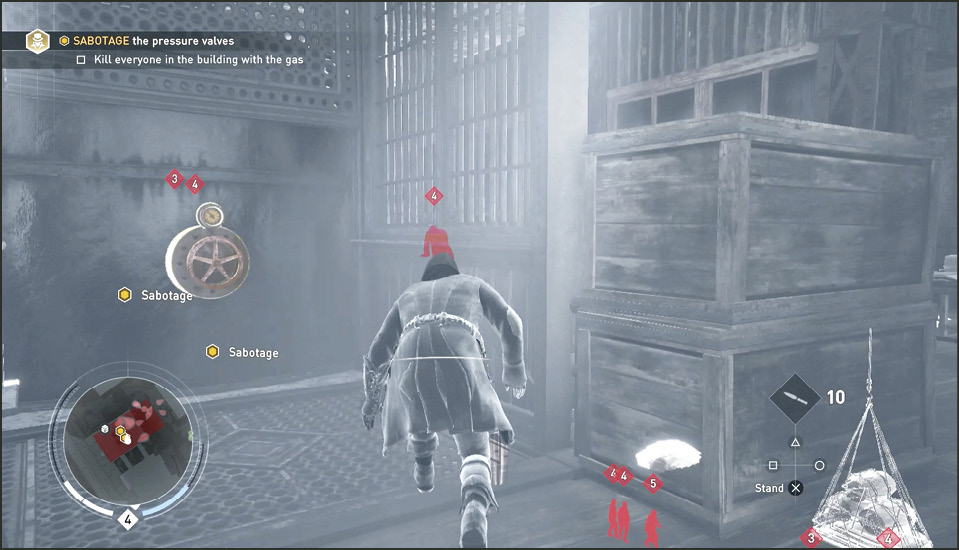
Double back through the stairwell/room and exit the other door to find another staircase. Climb these stairs to the fourth floor where the sabotage valves are located. You can cover behind some crates at the top of the stairs and study enemy patrol routes while in Eagle Vision. When the coast is clear just zip into the little cubby on the left and turn the next valve (E).
Sabotage 4
If you go further past the third valve you find that side of the floor is heavily patrolled. Turn back towards the stairs but instead of going down, jump up on the inside rail facing the barrel stack on the rooftop of the office across the gap. Jump to the edge of that rooftop when the coast is clear and then get to the top of the barrel shelf.
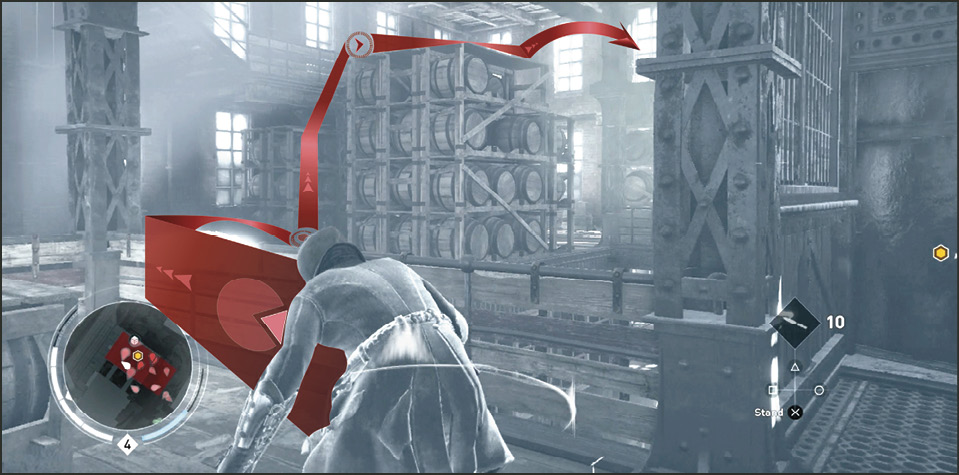
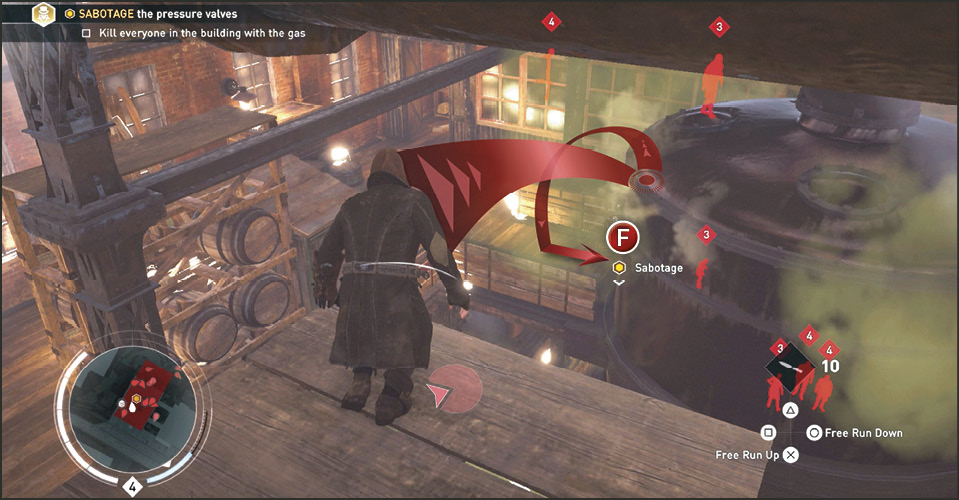
From the top of the barrel shelf, turn toward the center of the room and jump to the top of the boiler and then walk over above the last Sabotage valve (F) and drop down to the platform. Turn the wheel quickly before you are spotted.
Current Objective: Sabotage the machine
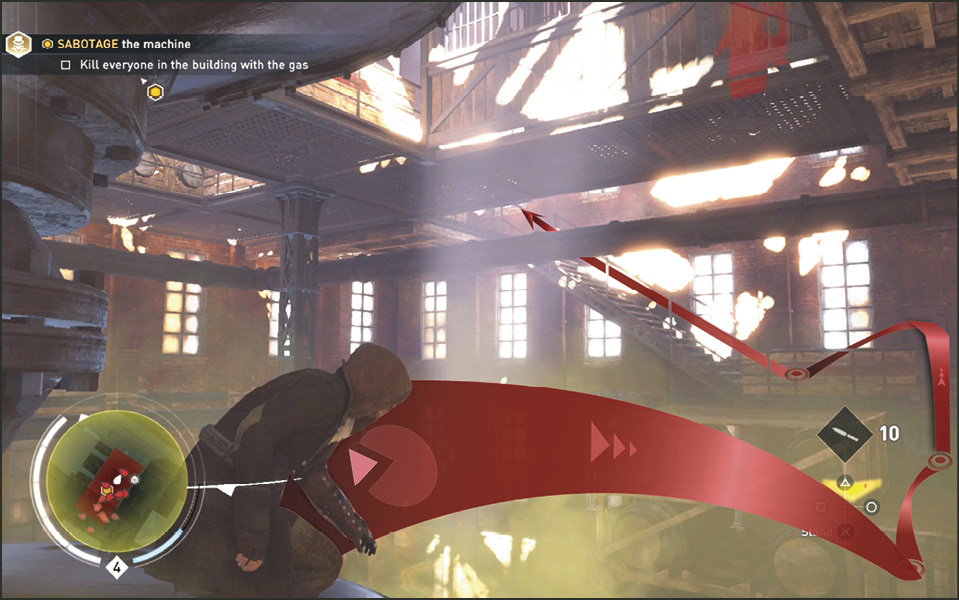
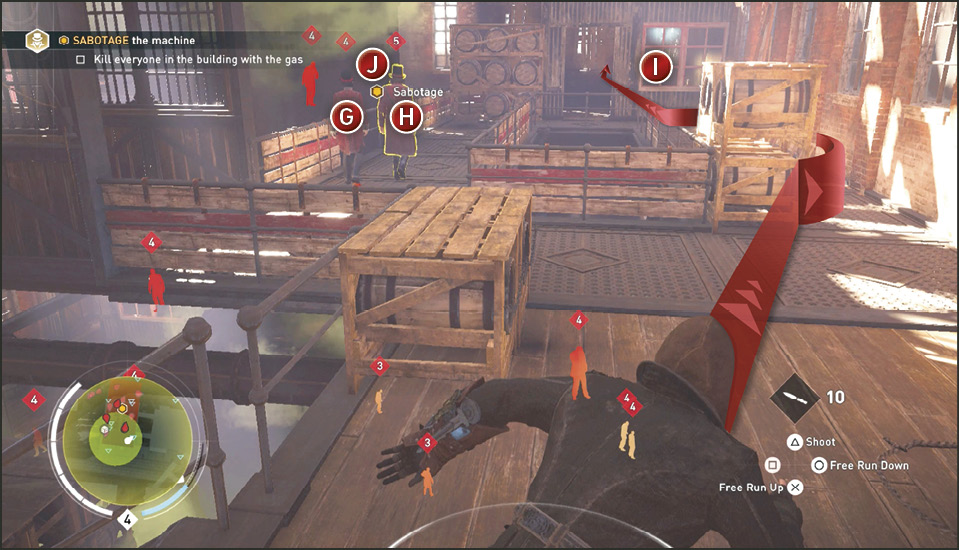
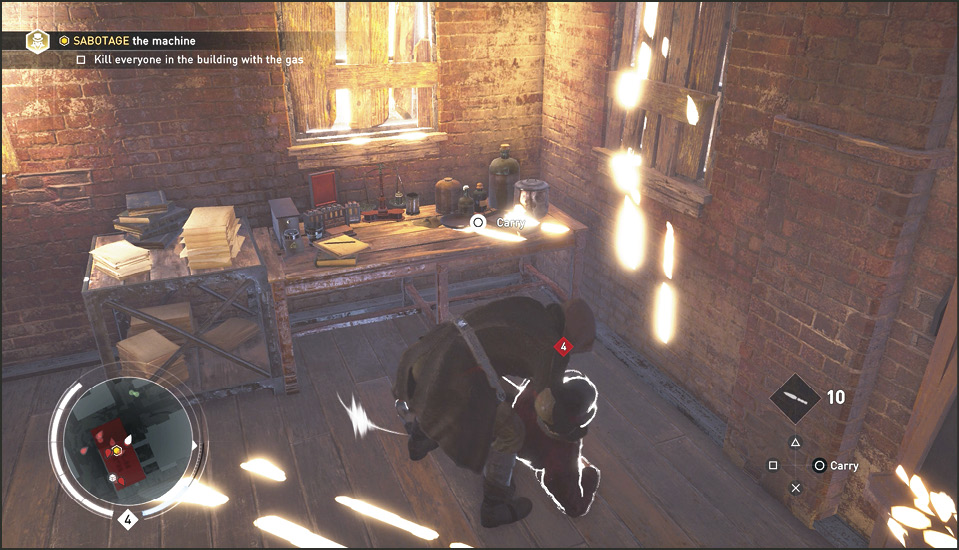
With all the pressure valves closed off you must now throw the main switch, which is on the top floor. The quickest way up there without being seen is to head back the way you came to the top of the barrel shelf and then use the stairs behind the shelf to reach the top floor.
Sneak up slowly and spot the two patrolling Soldiers (G & H). They enter the open office at the end of the walkway and pass through before continuing through the room and passing by the floor lever (J). Follow behind them and enter the office when the Soldier inside (I) has his back to you. Knock him out and then exit the office through the next door. Pull the lever (J) to sabotage the machine.
Current Objective: Escape the area
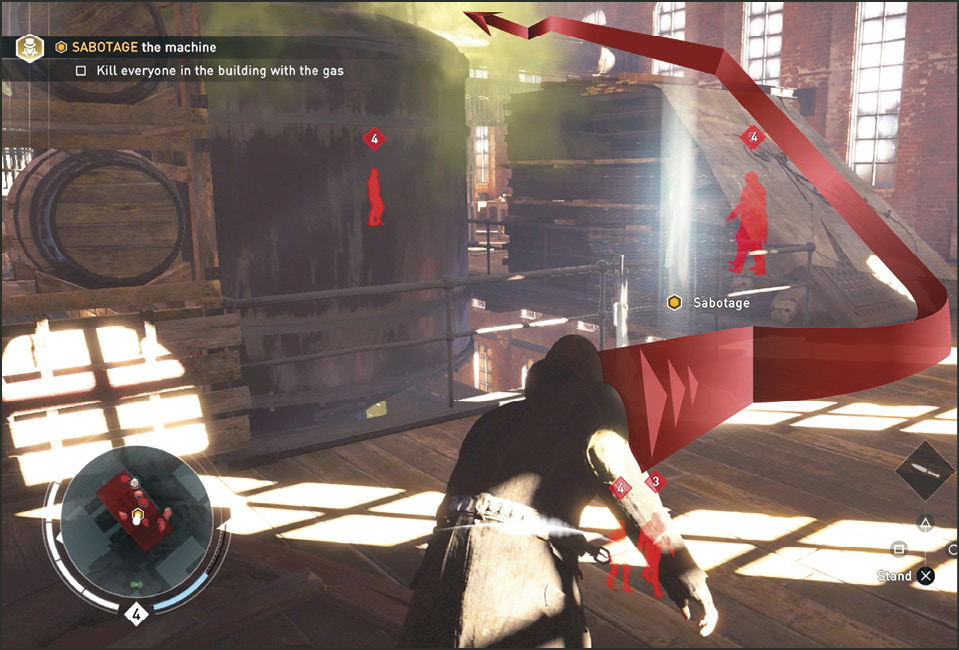
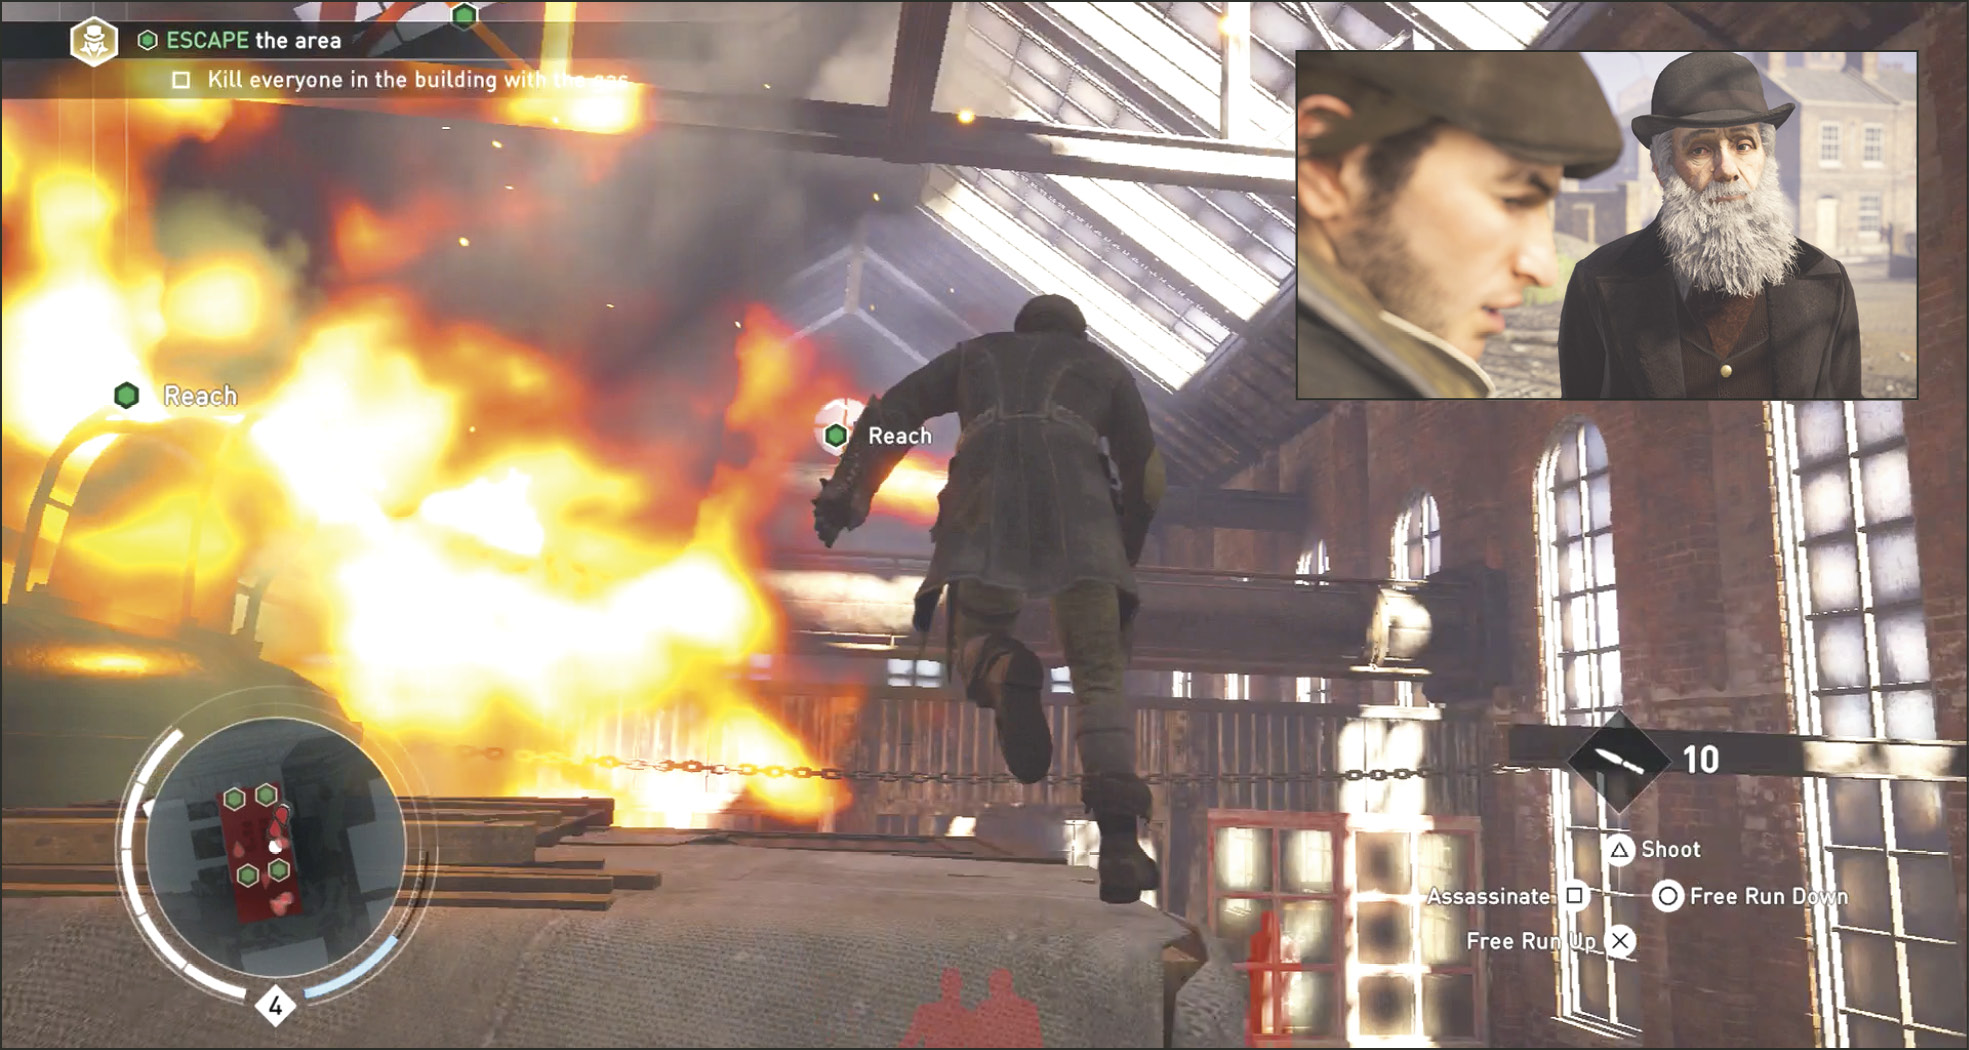
When you pull the lever you must then escape the room or be trapped inside with all the Blighters you’re about to gas. Run up the ramp just beyond the lever and start leaping from pipe to pipe to rafter to escape window. There are multiple escape windows. Just get to the closest one you can as quickly as you can. Jump to the window and a cinematic leads you out of the mission. Congrats on the passing that Challenge!
In the ending cinematic you learn you have been assisting none other that Charles Darwin, the father of evolutionary theory. He shares with you his discovery while inside the brewery. He says every batch of syrup has been sent to Lambeth Asylum. He runs off and adds that he’ll meet you at the asylum to continue the investigation.