Assassin's Creed Syndicate Guide Walkthrough Sequence Five
Survival Of The Fittest
MISSION OVERVIEWMemory Type: Templar Conspiracy Suggested Level: 5 AssassinJacob Frye ChallengesDo not touch the River Thames Sabotage 2 contrabands at once Rewards£: 660 + 125 (Full Synch Bonus) XP: 350 + 150 (Full Synch Bonus) Schematic: Black Leather Gauntlet Schematic |
Location: City of London Train Station
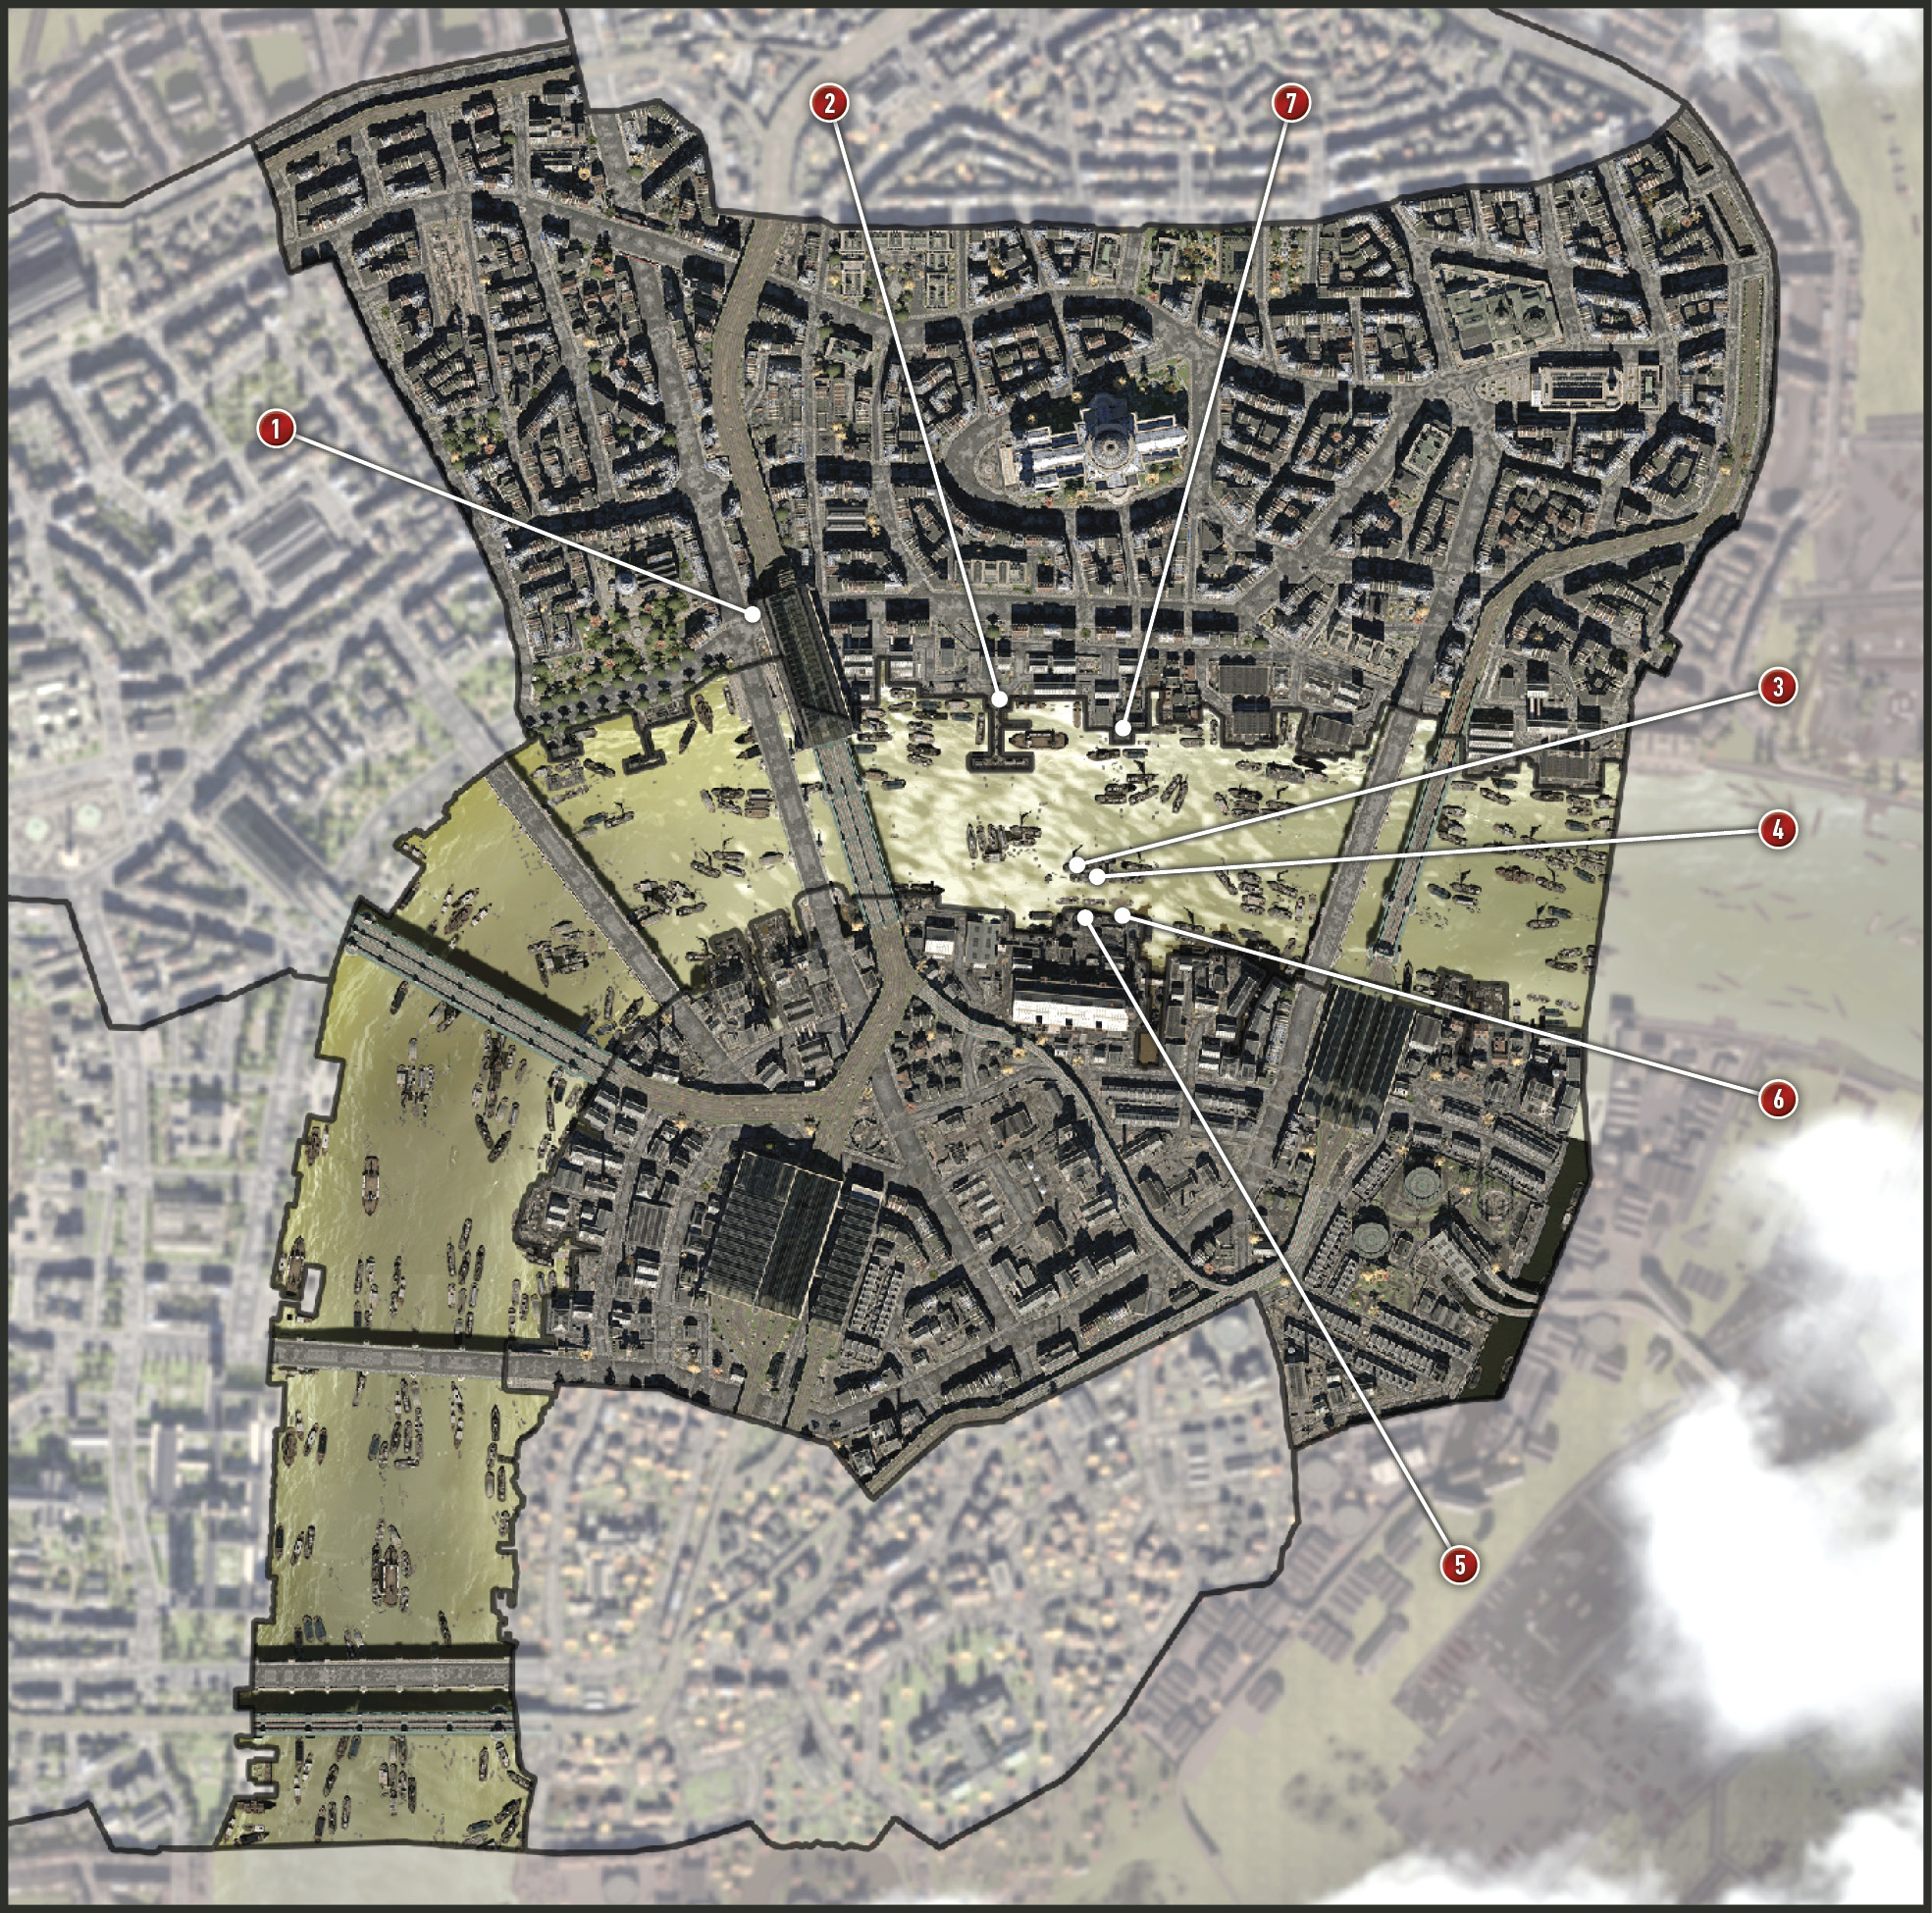
Catch up to Pearl’s moving carriage near the Train Station (1). Enter the carriage and Jacob and Pearl share glasses of wine, celebrating the capture of Millner’s combustion engines. Millner fled to the Thames to secure his ferry full of contraband. Pearl says she wants Millner dead. Jacob complies.
Current Objective: Reach Millner’s contraband
Location: The Thames waterfront, South London
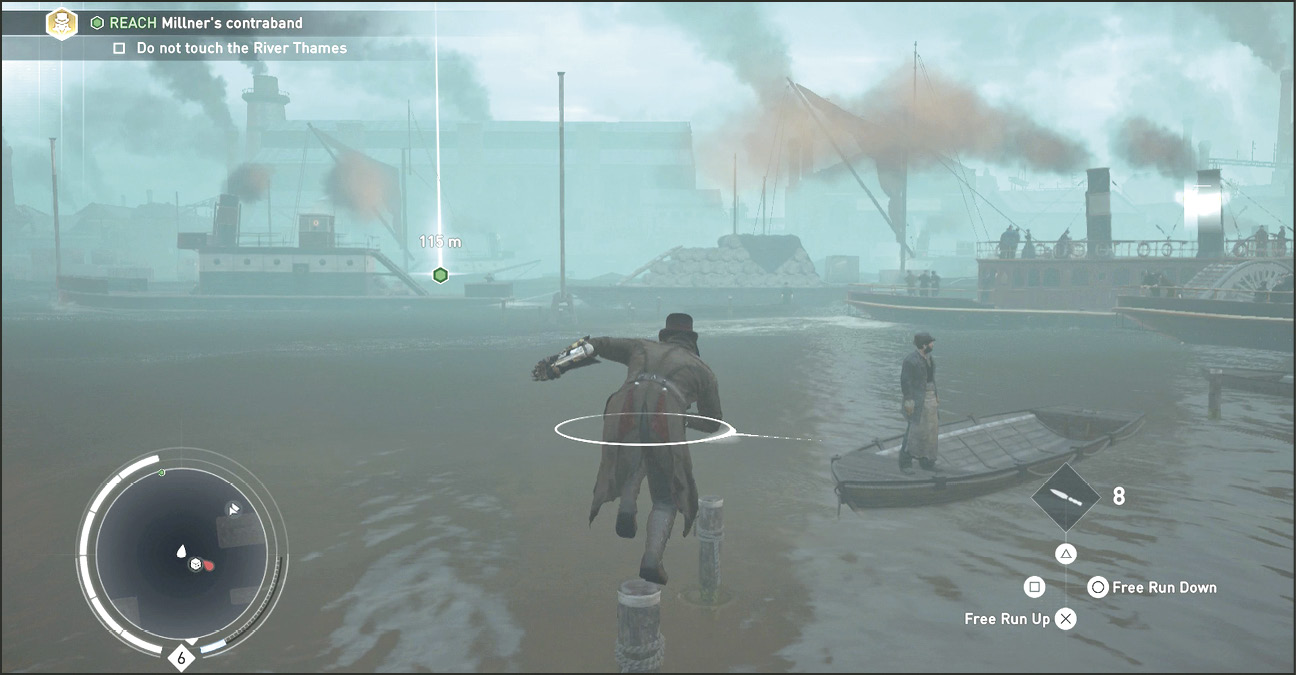
Pearl’s carriage lets you out on the north shore of The Thames (2). Your Challenge is to reach Millner’s barge with the contraband (3) without touching The Thames. Do not swim at any point to reach the destination. You could start your trek across The Thames from the end of the pier where Pearl let you off, but you may want to find another less perilous path since Blighters and coppers patrol this pier.
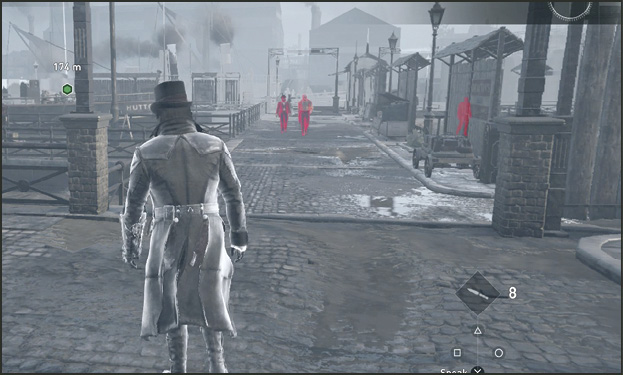
Simply jump from rowboat, to pier post, to floating object and from one moving ship to the next to reach Millner’s barge. If you find yourself in a position where there is nowhere to go but to go swimming, back track a bit and find a better route.
Current Objective: Sabotage the contraband
Challenge: Sabotage two contrabands at once
Location: Docked Barges near The Thames’s Southern Shoreline
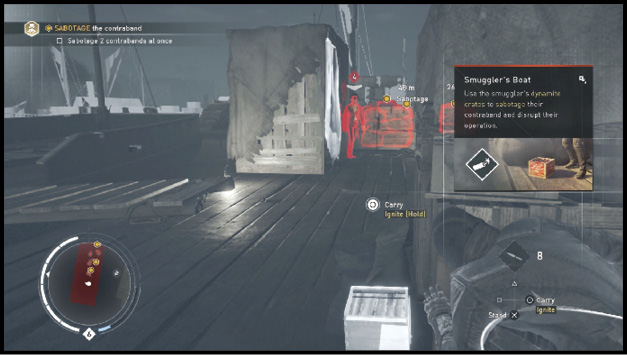
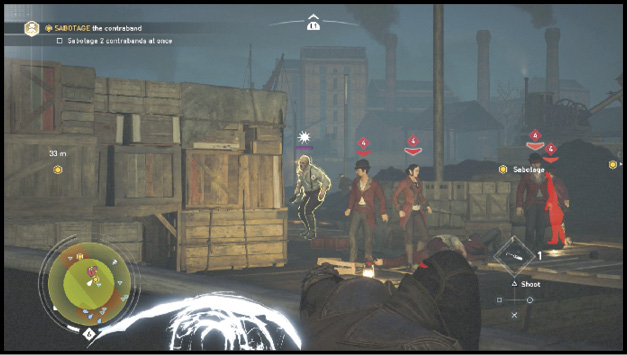
You receive your new objective to sabotage the contraband once in the restricted zone around the group of docked barges (3). With Eagle Vision you can spot the many Blighters aboard and the three glowing red contraband pallets.
Use the many shipping containers for cover while you whistle to create Cover Assassination opportunities or throw knives and darts to make quick work of the Blighters crowding around the contraband.
Do not destroy the contraband until you’ve defeated all the Blighters on the cluster of barges. When that is done, notice that the three contraband pallets are on separate barges. However, two of them are much closer together. First destroy the contraband that is alone and furthest east. Use Eagle Vision to quickly find the nearest crate of dynamite, which glows white.
Pick up and place a crate of dynamite next to the single pallet of contraband. Ignite the crate and walk away. The contraband explodes.
Blowing up two contrabands at once
Approach the remaining two contrabands that are stored very closely together. A plank (4) that connects the two barges separates the two pallets of contraband. It takes a little ingenuity to destroy both at the same time. You need to line up an odd number of dynamite crates across the plank between the two contraband (A, B, C, D, E). Carefully place the crates of dynamite as equally spaced as possible from each other and the contraband. Make sure to place an equal amount of space between the last crate and the contraband on each barge. Use our picture for placement reference.
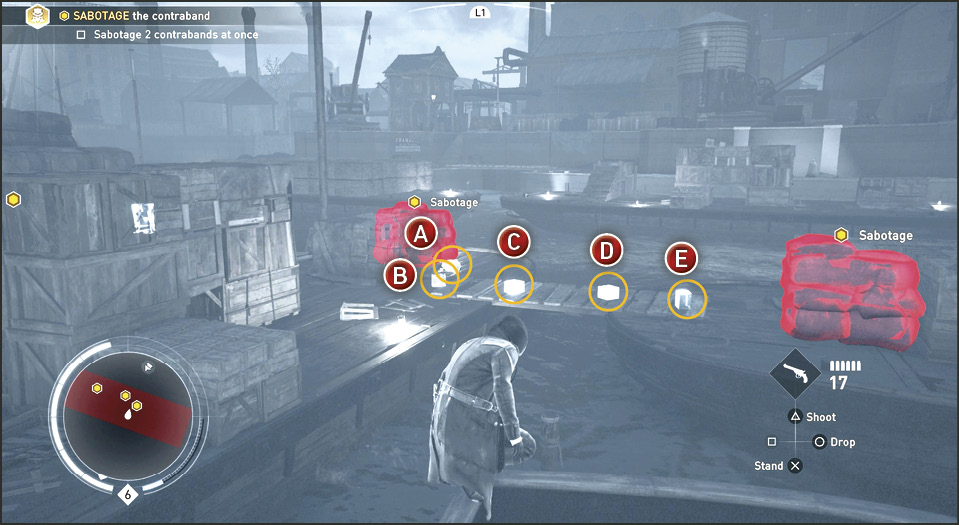
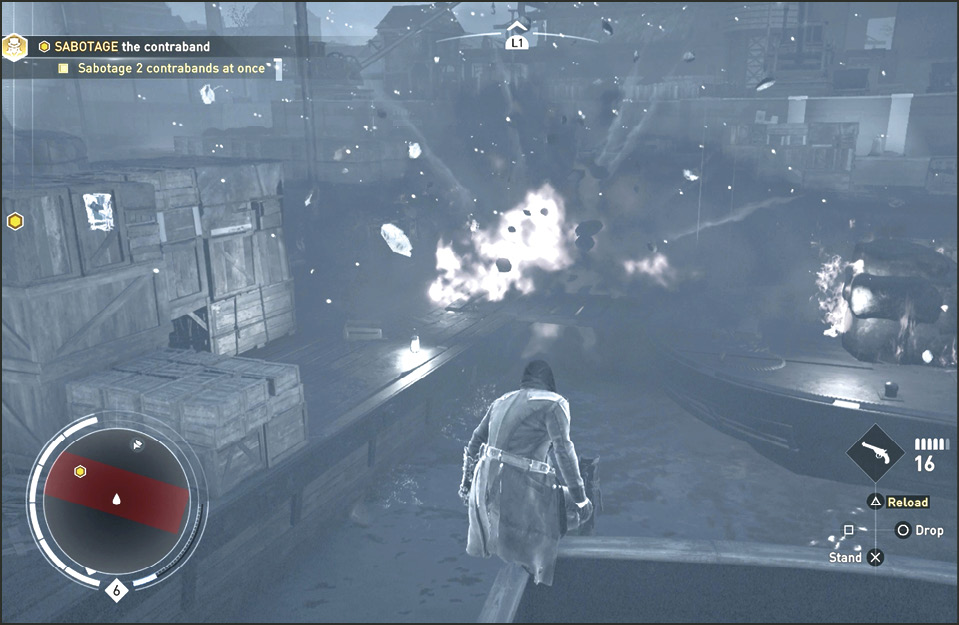
Position yourself away from the blast and where you have a clear view of the dynamite in the middle. Shoot the middle crate (C) with a pistol and watch the chain reaction blow both targets at once. If you do not have bullets, then you’ll have to physically ignite the middle crate and quickly clear out. If you want a smaller explosion, you could also place only (A and E), and use a Quickshot at (E) to complete the Challenge.
Current Objective: Assassinate Malcolm Millner
Location: Shipping Yard Bulkhead, Southwark’s North Shore
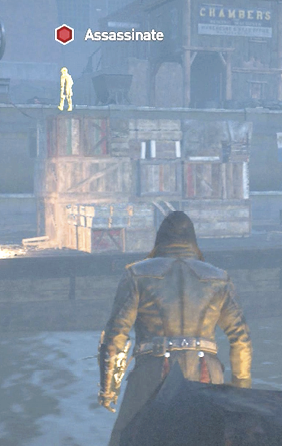
Now Malcolm Millner is marked on the Mini-Map. If you turn toward the south shoreline with Eagle Vision active you see Millner (5) glowing yellow and walking near a shipping crane.
You begin to spot the Blighters around your target as you approach the south shore with Eagle Vision active. The first two complications are the two armed Watchers (F & G) on the bulkhead. Since Millner moves to the southeast area of the shipyard, you need not even bother with the Watcher to the west (G).
Jump in the water and swim to the eastern edge (6) of the bulkhead. Or, use the path of floating objects to run to this edge when the Watcher isn’t watching. Exit the water by clinging to the edge of the bulkhead and shimmy toward the patrolling Watcher (F). Reach out and pull her into the water when she walks in front of you. This is a Cover Assassination position; she highlights red as she enters your attack radius.
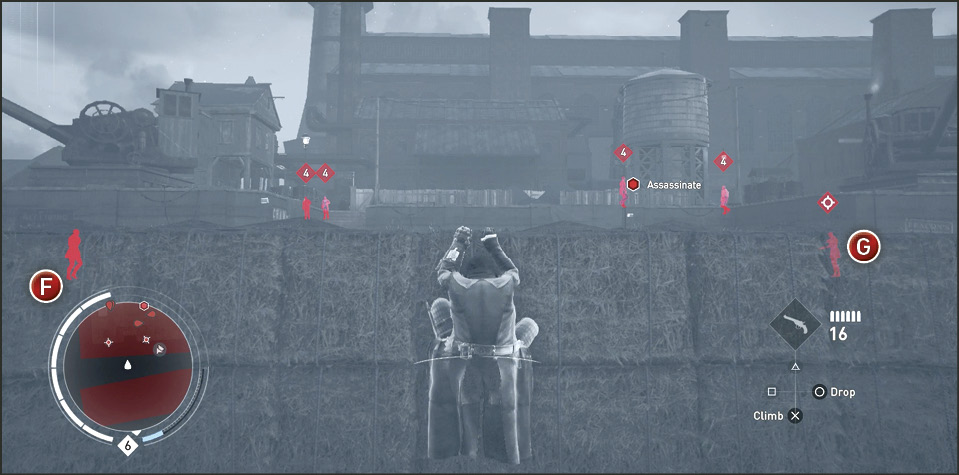
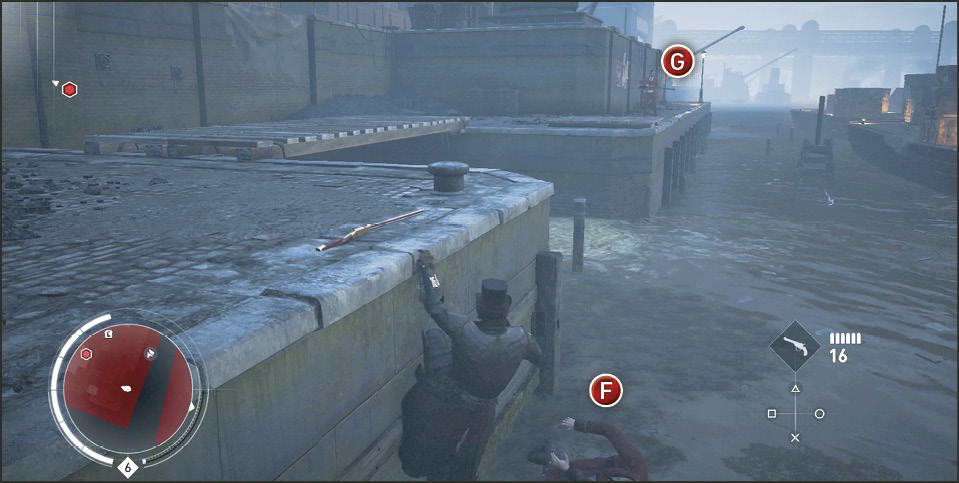
From that east corner (6) look due south around the corner to the side of the shipyard. Here you can spot a large group of Blighters (H). This direction is calling you. This is where your target spends most of his time at the end of his initial patrol. Leap onto the ladder on the side of the bulkhead to the south. Latch onto the sidewalk’s edge and just wall-walk until you are directly behind the two closest Blighter Soldiers (H & J).
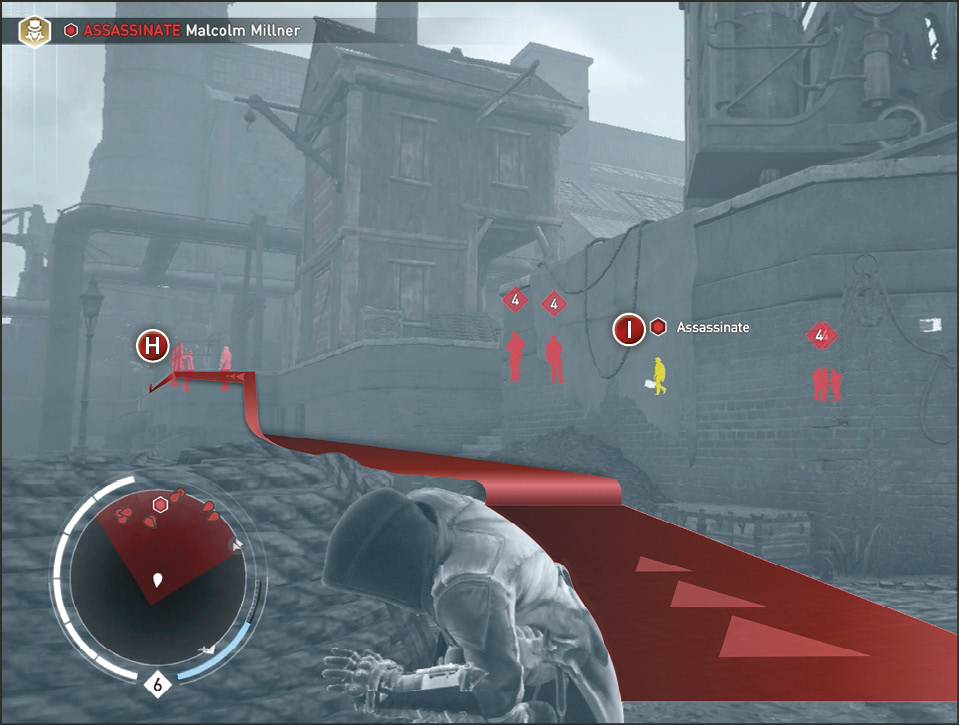
These two don’t move. They keep their backs to you. A Brute (K) patrols from the right to the left while your target (I) walks in and out of this area from the west. Now when the Brute returns he turns his back in this same area, so quickly attack him from behind.
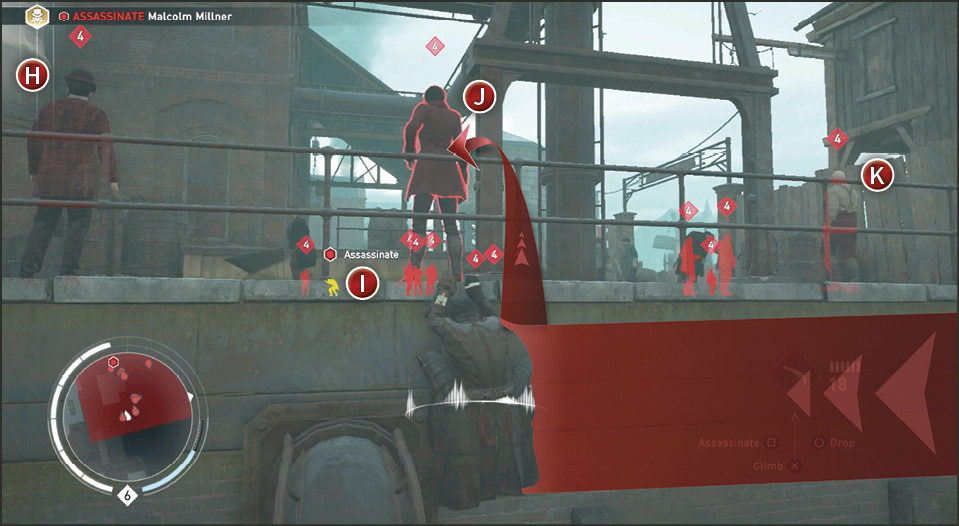
When your primary target (I) comes close to the area again, head to a high point to perform an Air Assassination. If he sees you he’s no match for your skills and is dead with just a short combo. This assassination pulls you into the Animus white room. Millner knew he had it coming; Starrick was furious at him for losing the engines. Before he dies he mentions Starrick and Miss Attaway are family. Interesting news.
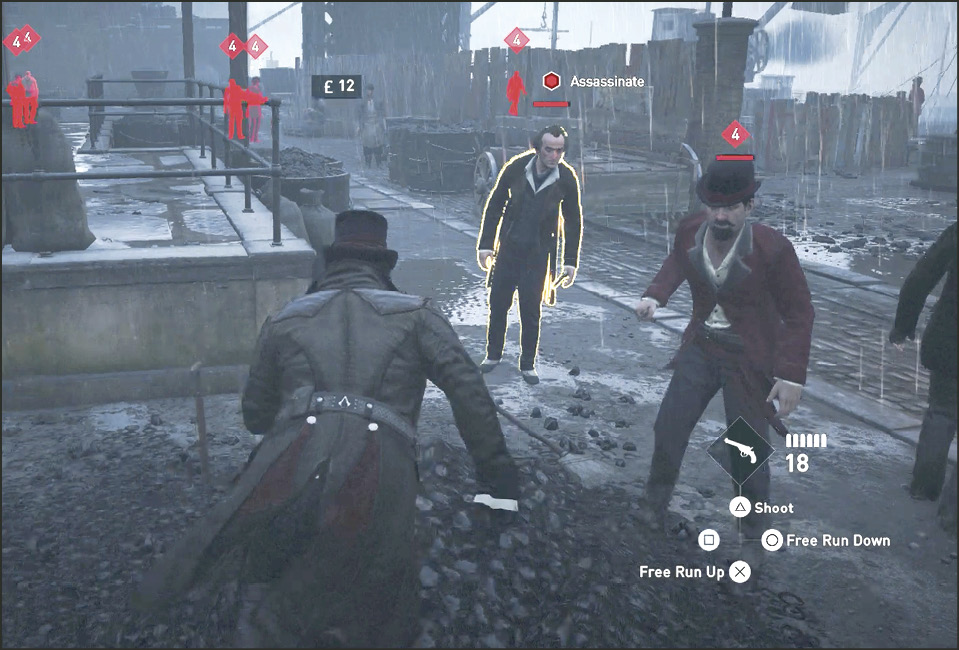
Current Objective: Locate Pearl Attaway
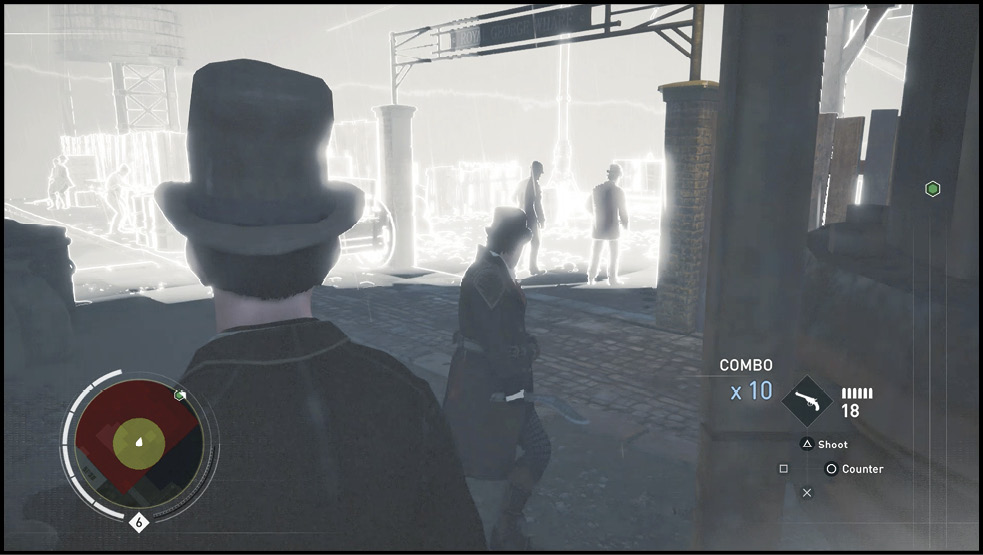
If you rushed Malcolm just before the assassination and other Soldiers were watching (or even if you were engaged in battle with a couple of them), after killing Malcolm Millner all the enemies continue the battle where they left off. Kill them or throw smoke and run back the way you came and start crossing The Thames again to reach the opposite (north) side. Yeah, the original side.
Jump across floating crates, barges coming and going, and pier posts; the path becomes clear when you just start running across.
Location: The Thames waterfront, South London
When you near the south shore of the City of London you see Pearl Attaway entering the warehouse (7). You see a couple of Soldiers in the alley to its right but don’t worry about them; you won’t be going that way.
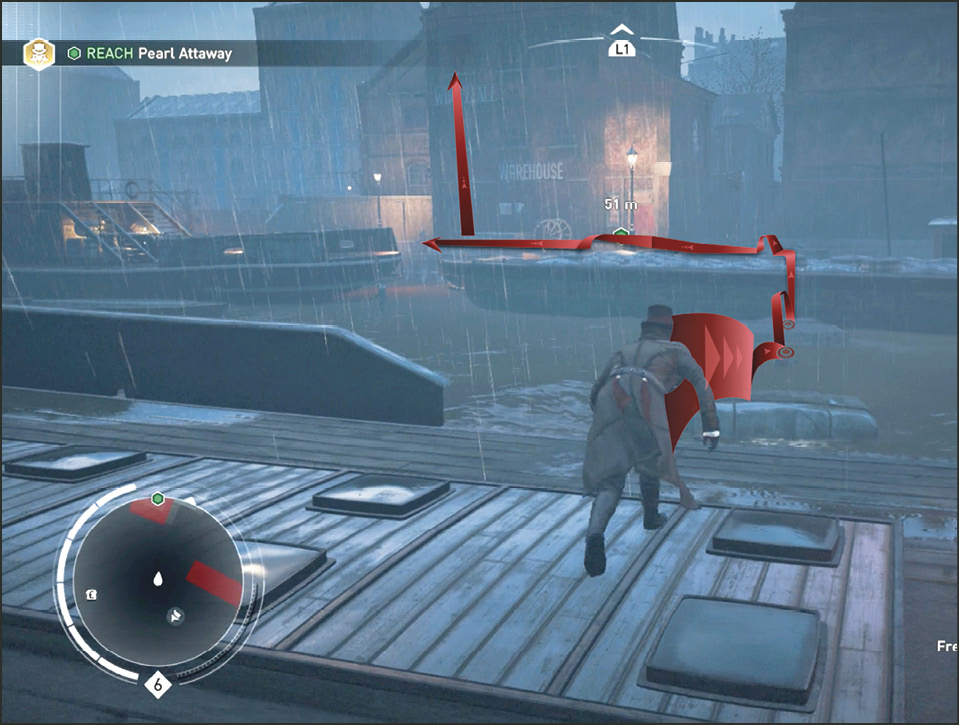
Current Objective: Reach Pearl Attaway
Location: South London Warehouse Interior
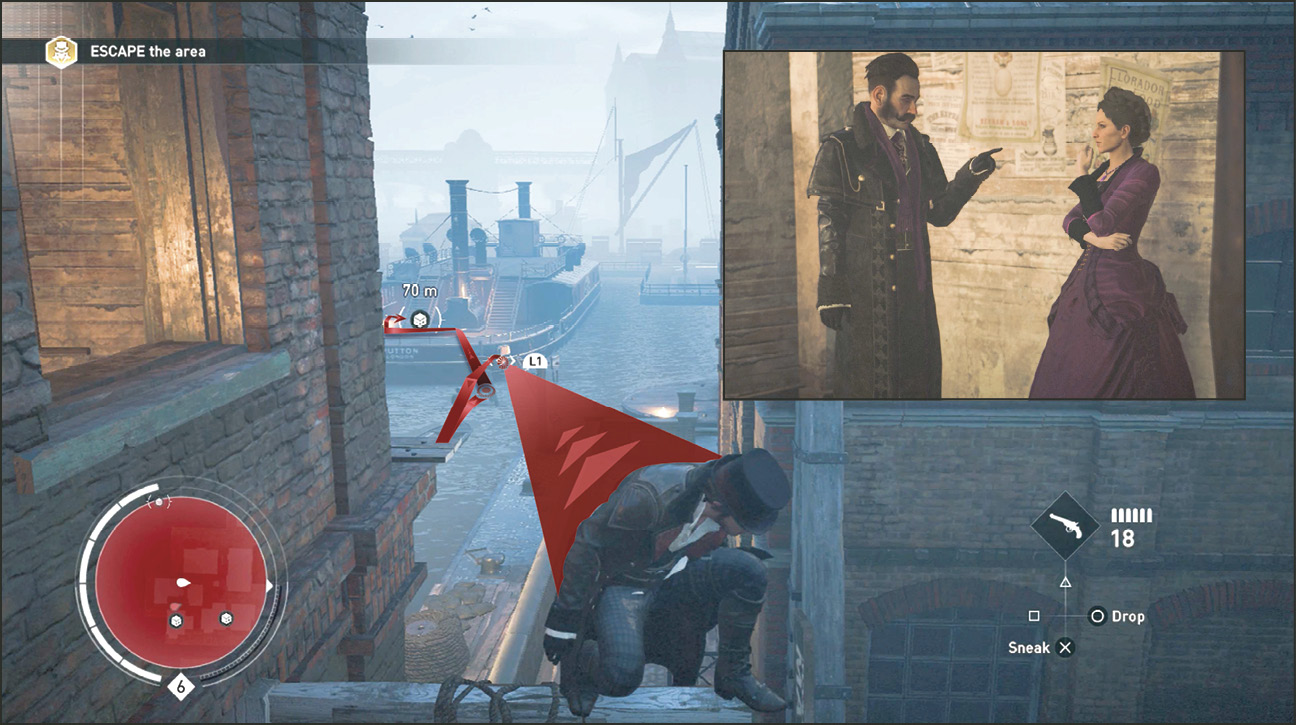
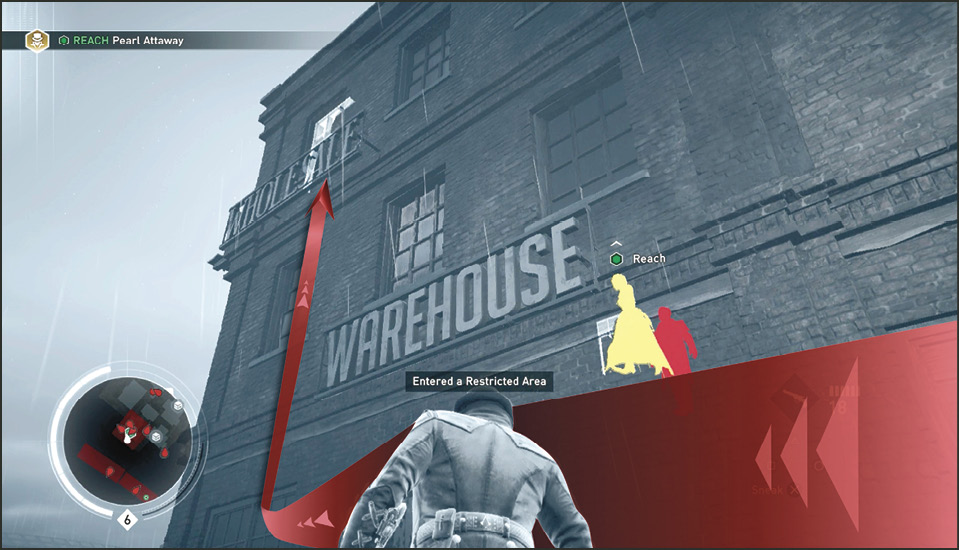
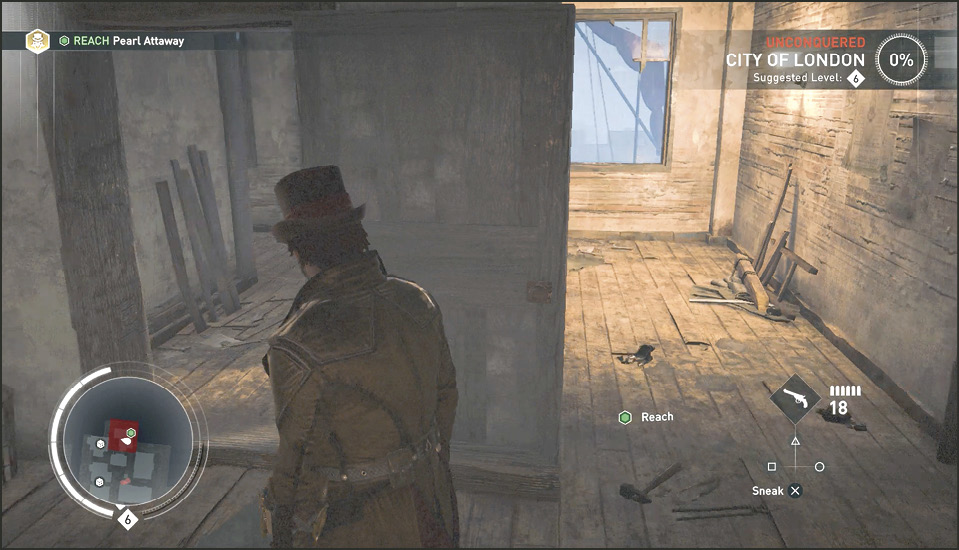
As soon as you get to the front of the warehouse, head to the left corner (west) and assassinate the Templar leaning on the wall, then Rope Launch to the roof and enter the open window on the third floor. Enter the window and follow the zigzagging path through the rooms until you begin overhearing a conversation between Starrick and Attaway. It’s almost as if they were husband and wife, the way these two are going at each other. Jacob slides up to a boarded window to be close enough to hear and get a good view. Amidst the arguing, Pearl spills the beans about Jacob. She also includes that she will personally deliver the stolen engines when they arrive at the Waterloo Train Station. Now you know where she will be next.
Current Objective: Escape the area
After the conversation a couple of Blighters try to break the boarded door down—the only thing standing between you and them. So you need to go back the way you came and escape upstairs out that same window. There just happens to be a Chest sitting outside the edge of the restricted area. With Eagle Vision activated and you can easily see this Chest on a boat to your extreme left. Zipline down to the winch post on the dock, hop aboard the boat and, by the time you kick the Chest open, the mission ends…because you have left the restricted zone.