
Assassin's Creed Syndicate Guide Walkthrough Sequence Five
A Room With A View
MISSION OVERVIEWMemory Type: Templar Conspiracy Suggested Level: 5 AssassinEvie Frye ChallengesCounter all of Lucy’s strikes Perform a Leap of Faith in a haystack while on a zipline Rewards£: 900 + 125 (Full Synch Bonus) XP: 500 + 150 (Full Synch Bonus) Outfit: Lady Melyne’s Gown |
Location: Monument, London
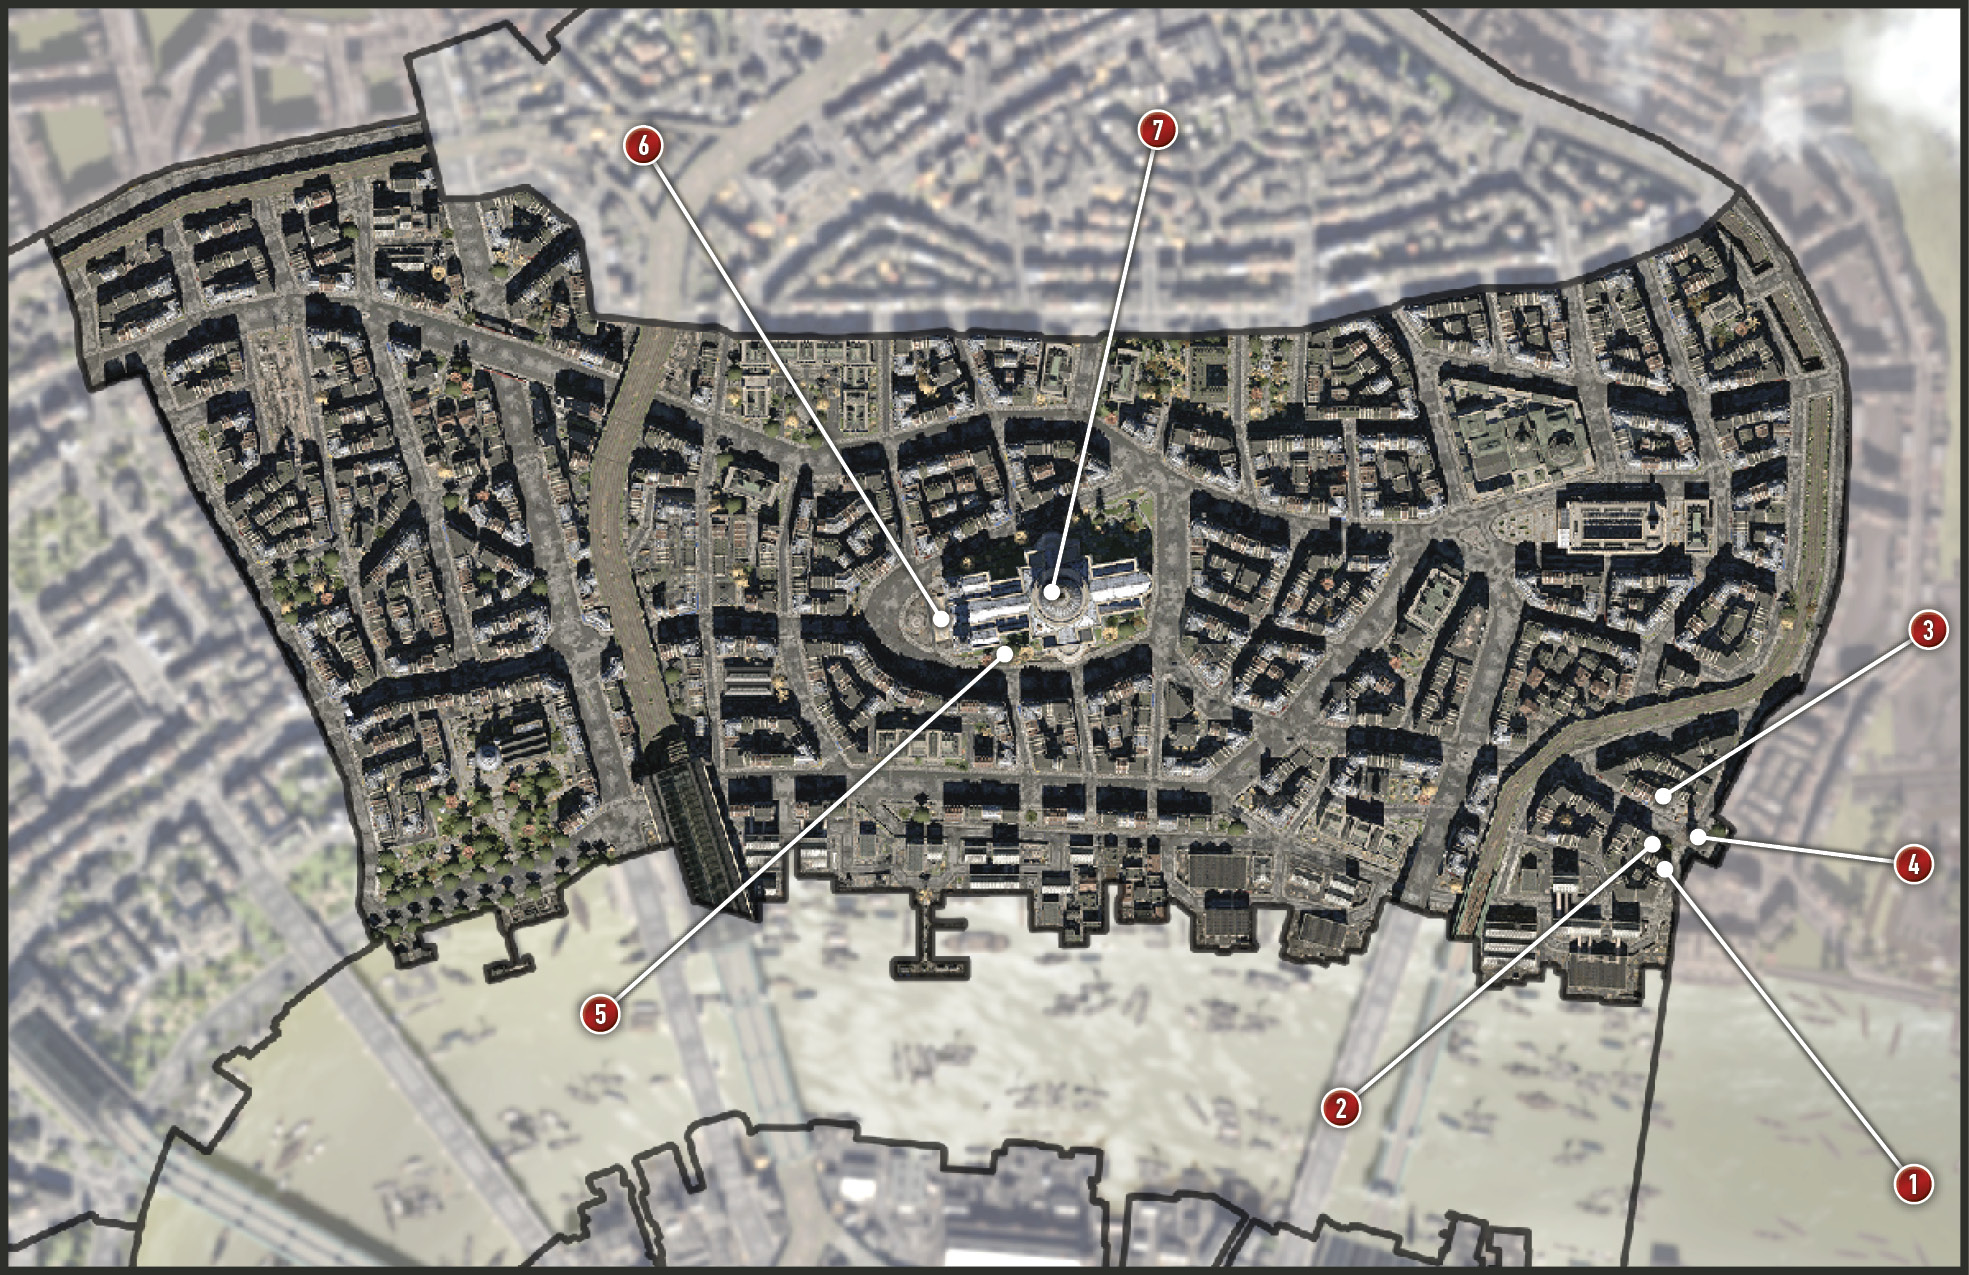
Enter the marker on top of the store (1) facing the Great Fire Monument (4). It appears there is a launch ceremony going on below. Jacob reconfirms that the hints Evie found in the Kenway house lead to this monument and then he continues to tease his little sister about her new friend, Henry Green. He makes a crack about not letting personal feelings compromise the mission and runs off leaving Evie to her quest. She’s very pleased he left.

Current Objective: Examine the base of the monument
Walk to the edge of the rooftop where you begin the memory and face the large monument. Activate Eagle Vision. Look down and mark all the policemen (glowing blue) down below working crowd control. There’s a civilian on the makeshift stage at the base of the monument introducing this Great Fire memorial. Scan a wider area and you see many green allies about. If you have been upgrading Rooks, they come in very handy for this mission.
Don’t fight the police—they’re really tough and lightning quick with that Billy-club-skull-cracking move they do. The strategy is to cause an incident that gives the crowd the upper hand in the fight to reach the stage for a closer look at the monument. An uncontrollable mob scenario is one that the police won’t be able to control.
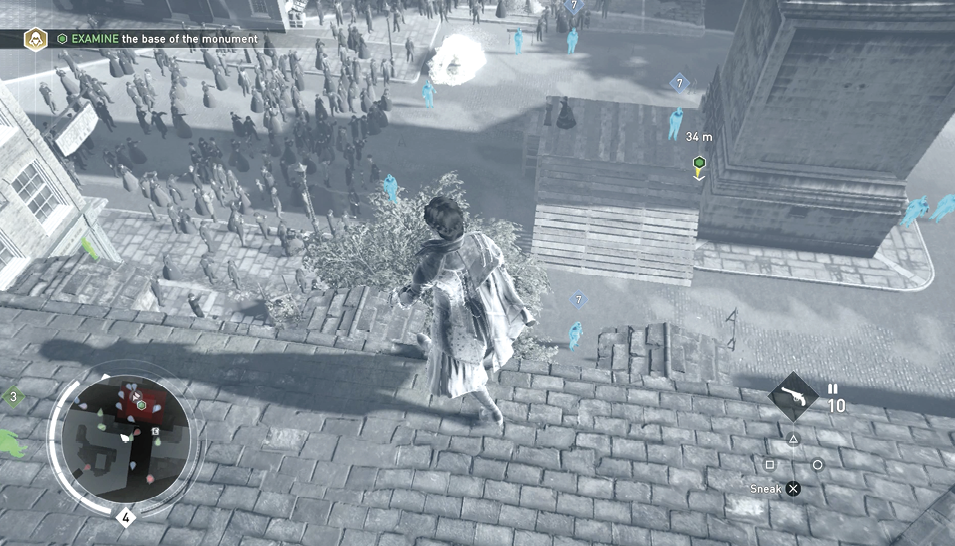
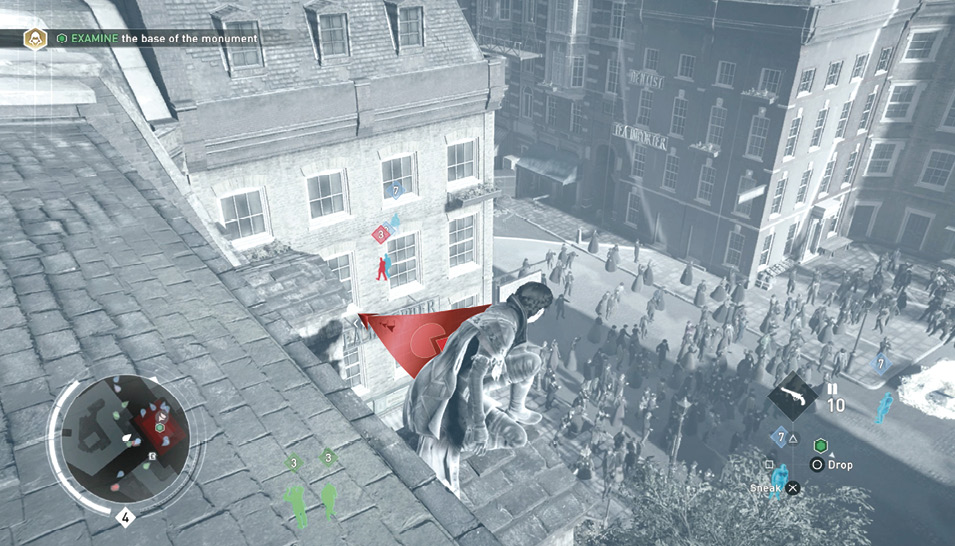
Rope Launch to the west wing (2) of the building and drop down to the top of the Tea Importer sign. Perch here and focus on the cop closest to you. This cop and a few others are keeping the crowd from rushing the stage. The item you are trying to examine is under the stage and accessible via a pathway through the front. The plan is to herd the crowd up to the front of the stage and use them for cover.
Since cops shake off low levels of hallucinogenics, select your throwing knives and throw it at the closest policeman’s head (C). Throw a few knives if they aren’t upgraded enough (the Level 2 Knife Upgrade is recommended). When the cop goes down, the caring citizens crowd the stage, Remain in your position until the other cops (A, B, D & E) react to their fallen comrade.
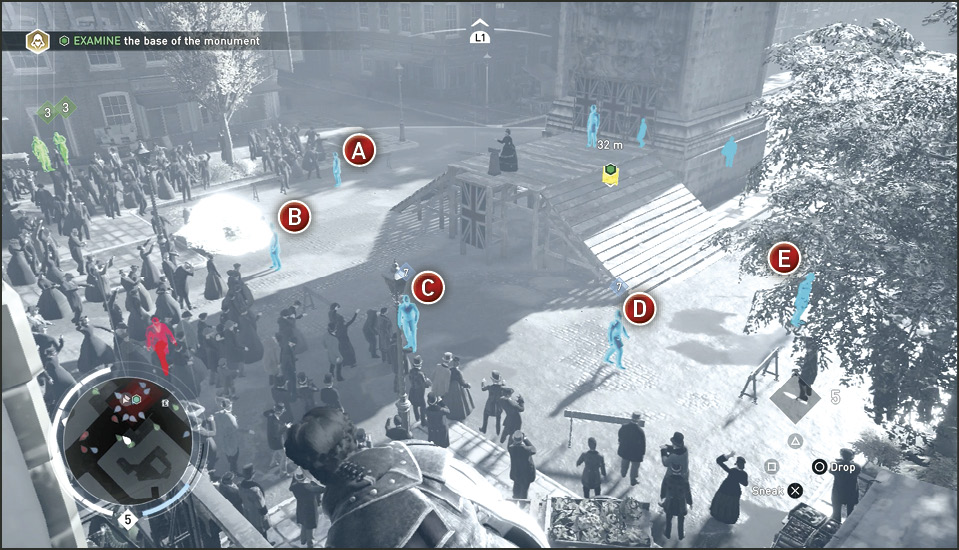
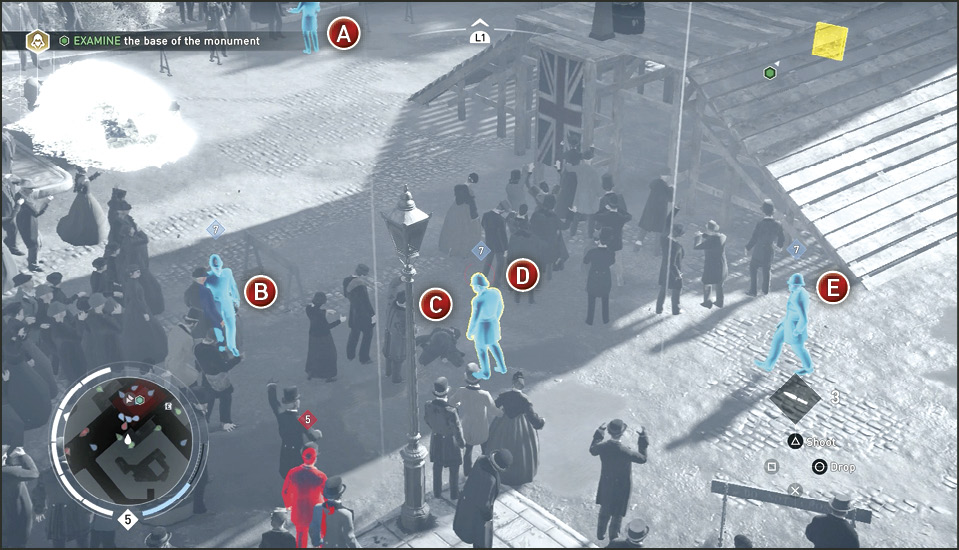
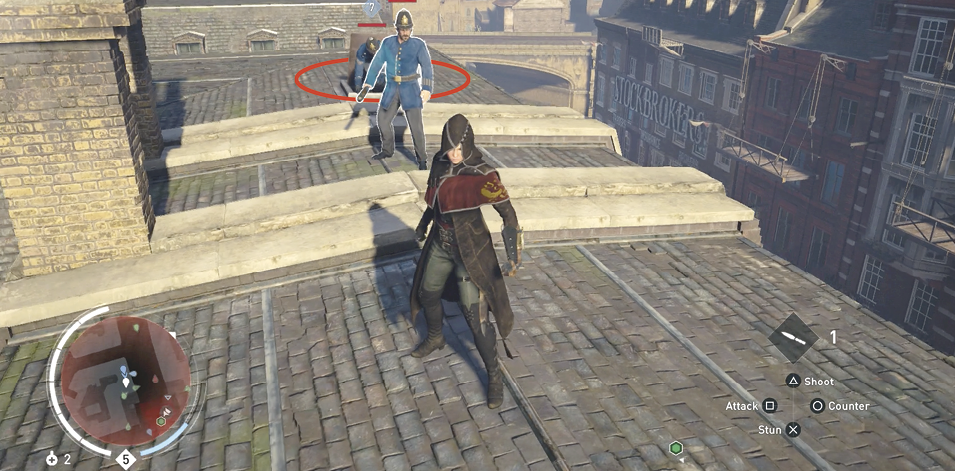
The first cop on the scene is usually (D). Throw knives at the head of the first cop that inspects and then starts looking around. Given time, you will be spotted where you are perched. If you have enough knives to finish off another cop then do so, but if you don’t, quickly Rope Launch to the rooftop directly above. You’ll likely incur a yellow caution stealth ring. If it’s red, hang it up and disappear far away. If orange, you can simply hide behind a gable or chimney until it turns white again or completely dissipates. If you receive a red stealth ring and you escape to the rooftops the cops quickly exit secret rooftop hatches and are all over you within seconds—so don’t get a red stealth ring.
When all is calm and you are anonymous again, stand at the corner ledge just below the roofline. Work at acquiring a Rope Launch lock-on to the building to the north so that you can zipline directly over the policeman (B) or drop into the haystack near him.
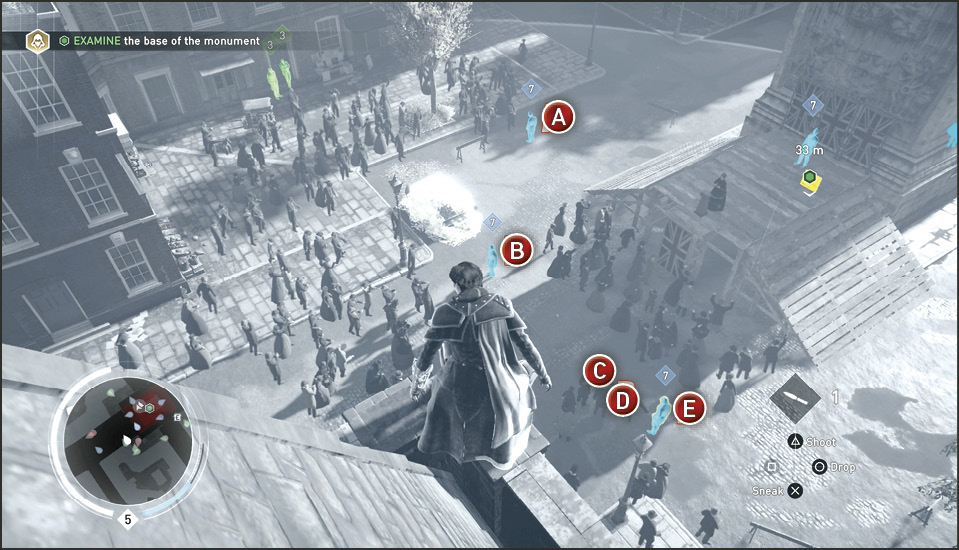
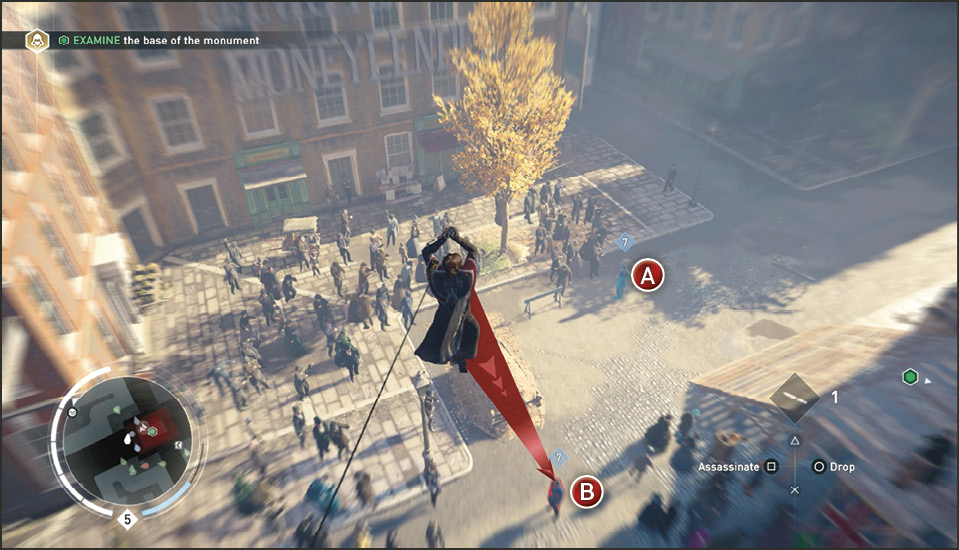
After eliminating the cop (B) from the air, or from a whistling haystack assassination, quickly stand up straight and walk calmly through the crowd. Make a beeline for the large opening under the front side of the stage, just left of the Union Jack.
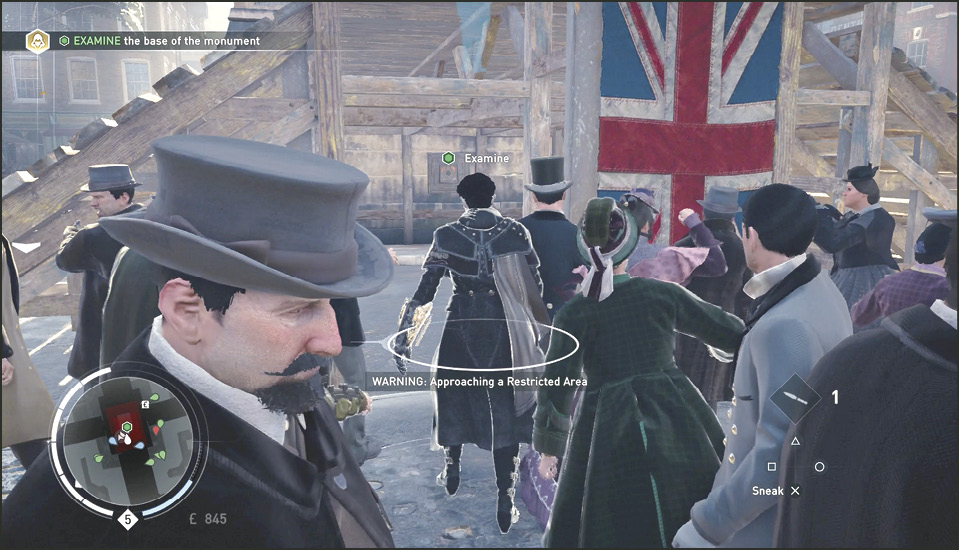
If you are not anonymous you cannot examine the emblem on the back wall under the stage. Crouch down to help lose the caution level. If it’s orange, throw a smoke grenade at your feet. Once you are anonymous, examine the plaque. Evie places the smallest of the disks she found in the Kenway mansion in the middle of the plaque. A cinematic shows another circular emblem rotate at the top of the monument. She takes the now larger disk and places it in her jacket.
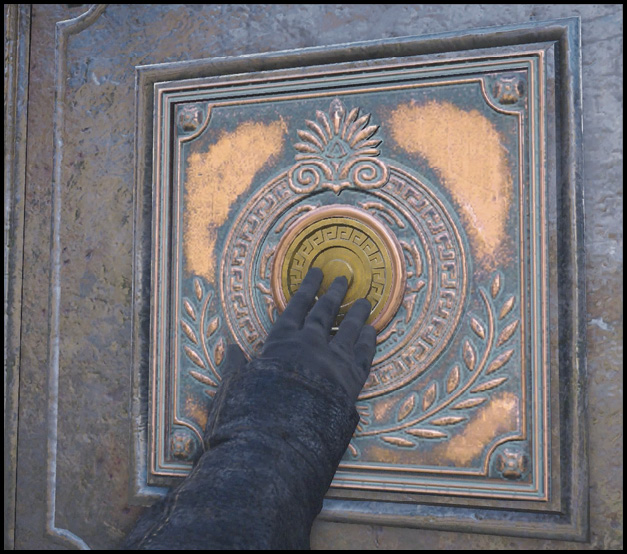
Current Objective: Reach the top of the monument
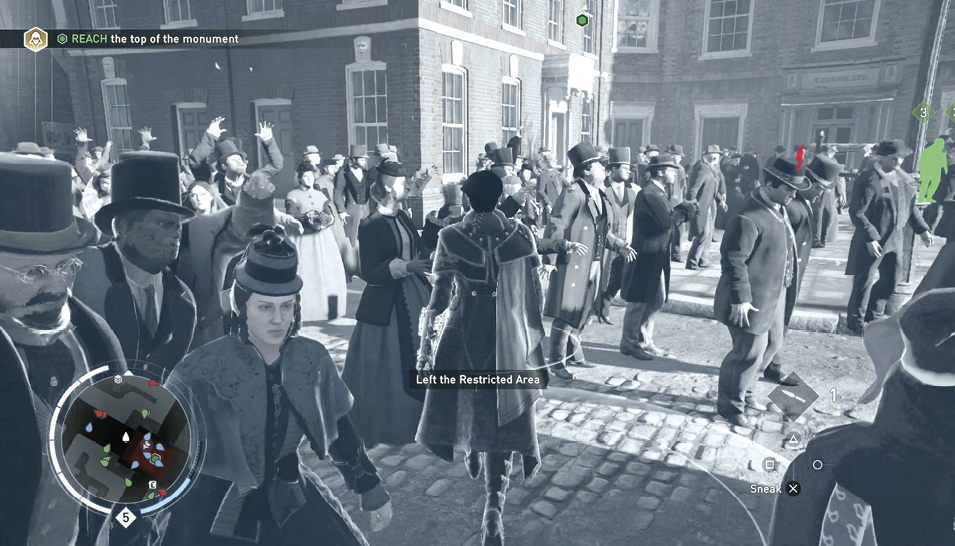
Turn and face the crowd from under the stage. Activate Eagle Vision and relocate the remaining cops and roaming Blighters. Walk out from under the stage with the same tactic you used to get under it and then veer right, passing the haystack for the nearest building (3). Quickly zipline to the rooftop.
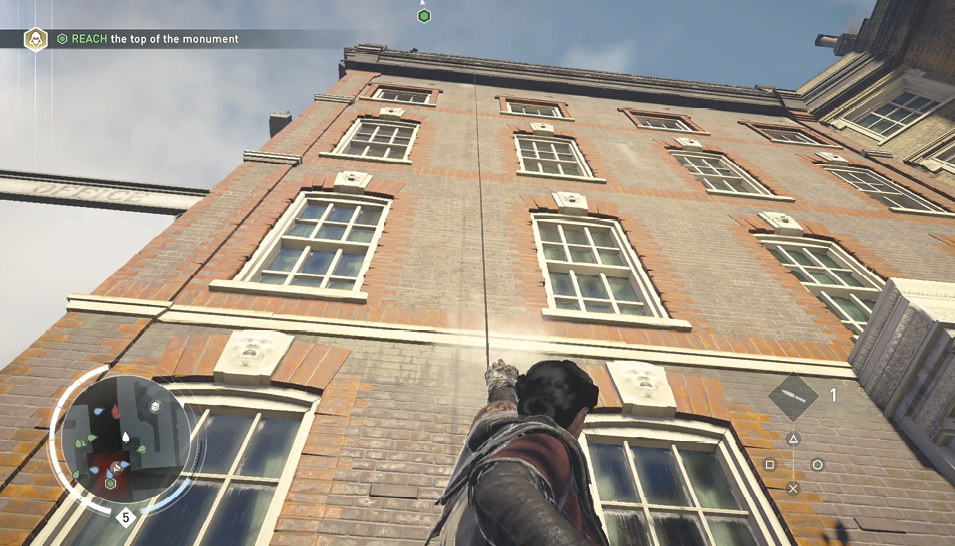
From the corner of the building northwest of the monument (4), turn and face the monument and try to get a Rope Launching lock-on as high on the monument as possible and zipline up.
Climb to the top of the monument (4) following the green Reach icon. Evie inserts the first disk into the ornament at the top of the spire. The emblem moves and reveals an engraving of the St. Paul’s Cathedral dome. Evie leans out to face her next destination, which can be seen in the distance.
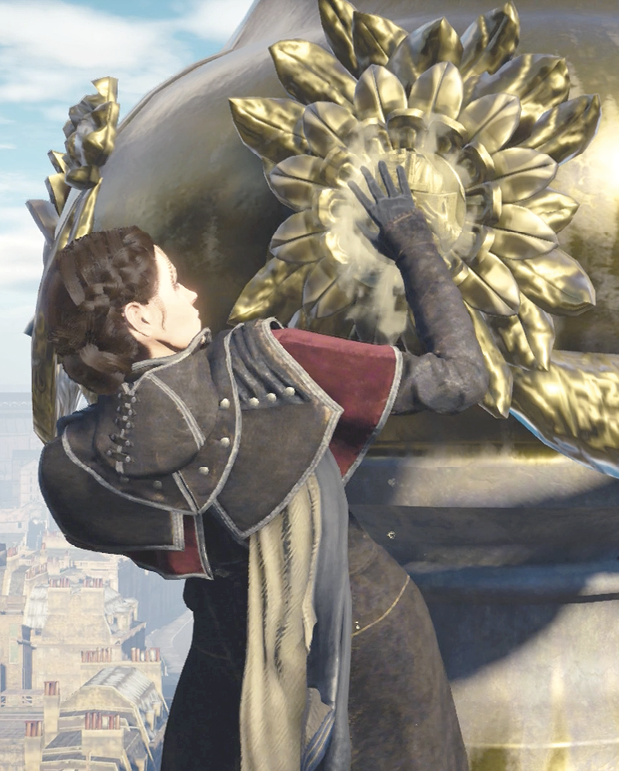
Current Objective: Find the secret of St. Paul’s Cathedral
Challenge: Perform a Leap of Faith into a haystack while on a zipline
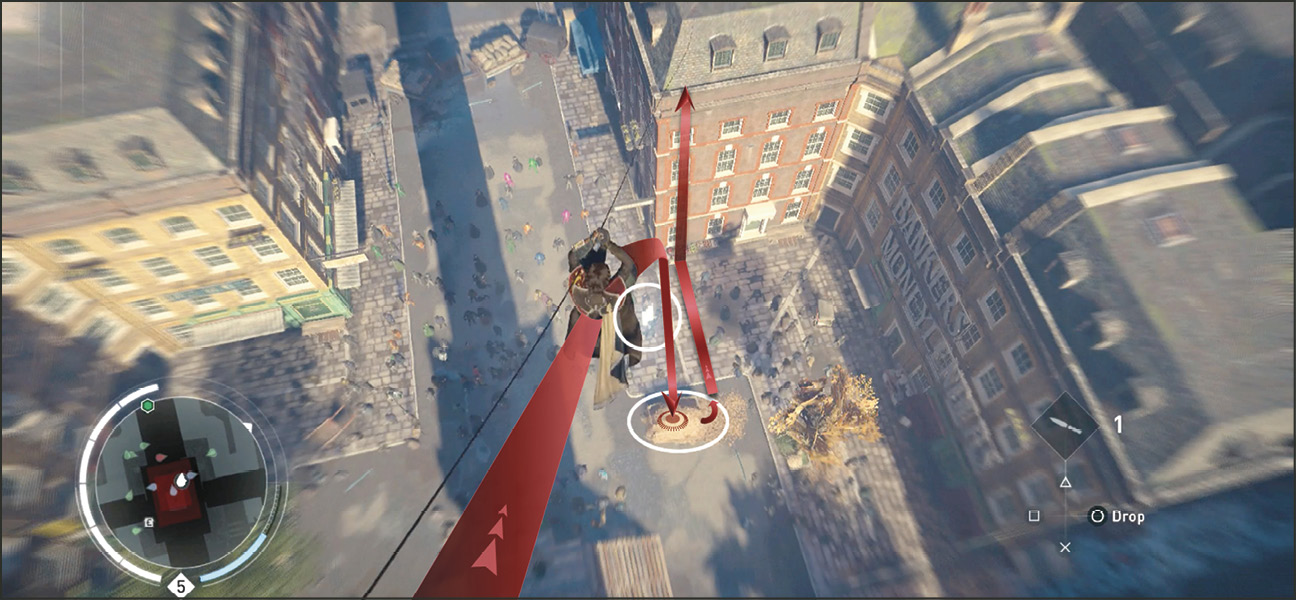
Get to the front of the monument (the northwest side) and use Eagle Vision to better identify the haystack below. Move your view directly above the haystack and get a Rope Launch lock-on on the corner of the building (3). Also notice the Helix Glitch floating in the same area. Done correctly you will collect the Glitch, zipline, and drop into the haystack in one pass. Press  /
/  to drop from the zipline when above the haystack. You will not release from the zipline unless you are directly over the haystack. So if it’s not working for you, reposition yourself on the line and try again.
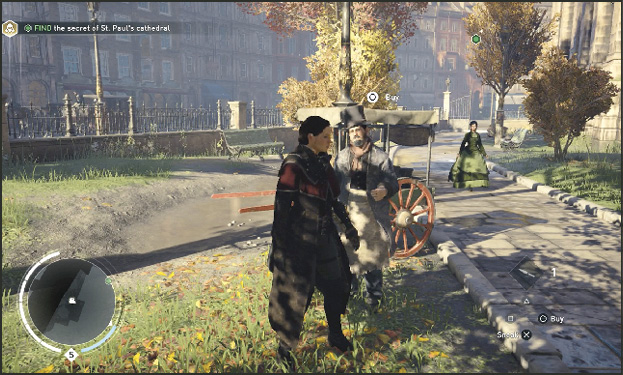
Get back to the rooftops to get out of the area quickly. Move west toward the green blip (6) at St. Paul’s Cathedral. Hijack a carriage to get there quickly. It’s highly recommended that you have as much medicine and bullets as you can carry before proceeding, so stop at the street merchant shop (5) on the south side of the cathedral. Purchase medicine, bullets, smoke bombs, and knives in that order of importance (if you are on a limited budget).
Rope Launch to the rooftop of the cathedral by standing at the base of the wall near the merchant. Follow the green blip to a gear puzzle on the backside of a statue on the south side of the cathedral (6).
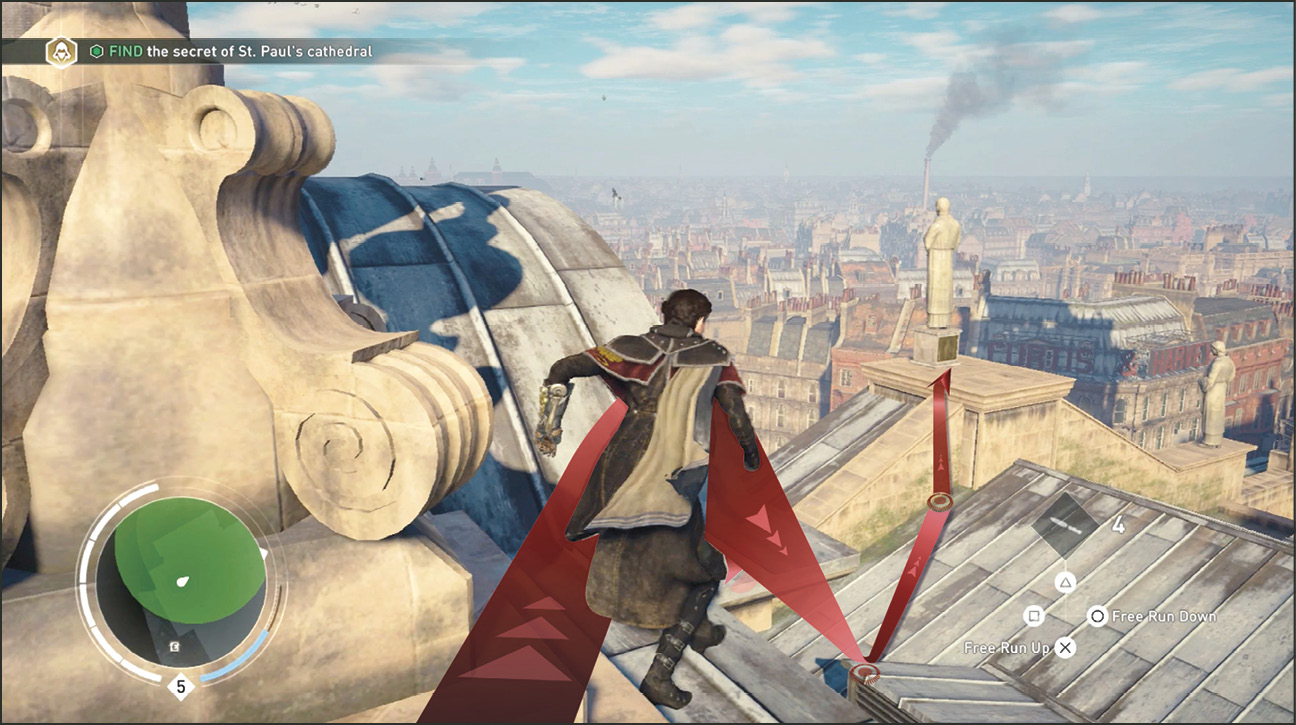
Current Objective: Solve the St. Paul’s puzzle
Approach the puzzle and press  /
/  to insert the two disks and to enter the puzzle interface.
There are six gears that can be rotated. Each gear has a number of symbols on them. These symbols have to match up to the connecting gear to solve the puzzle. We like to start with the bottom gear first. Select the different gears using LS and rotate the gears clockwise or counterclockwise using R2 and L2 / RT and LT. Use our picture to discover the correct combination. Align the correct symbols and the gears begin to move and open a window on the tall cathedral spire (7) in the distance.
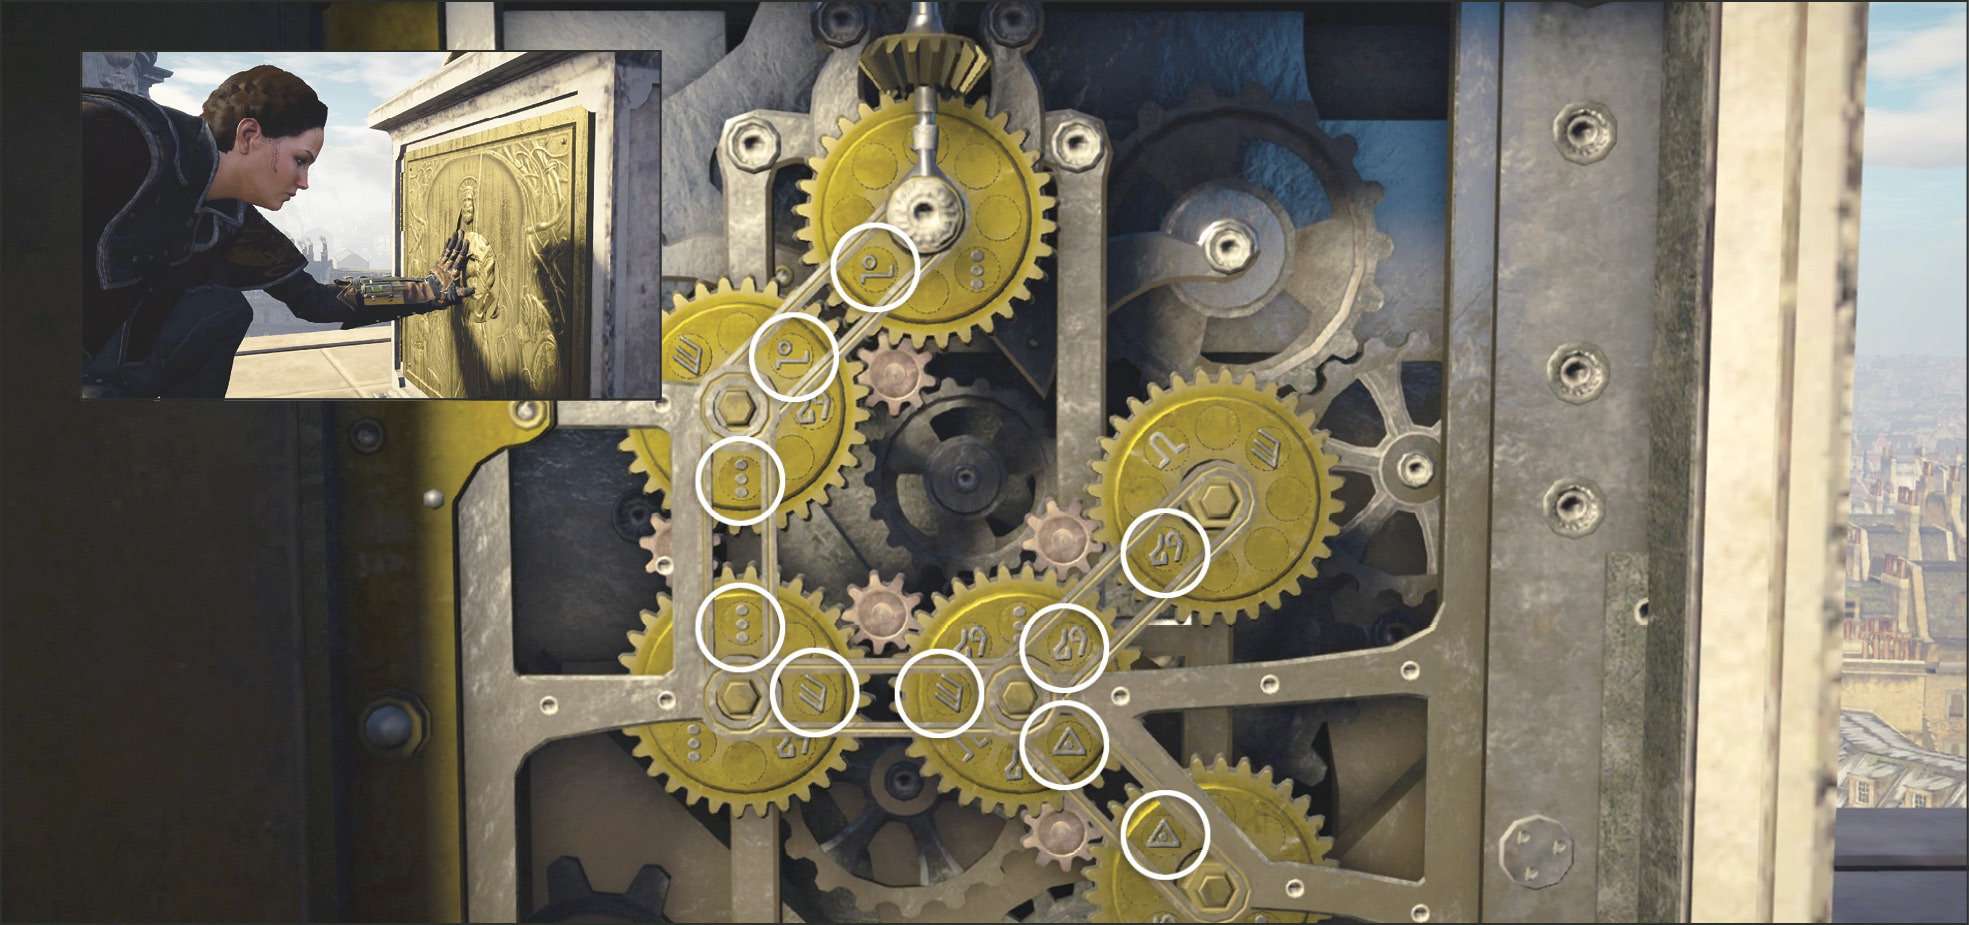
Current Objective: Reach the Vault
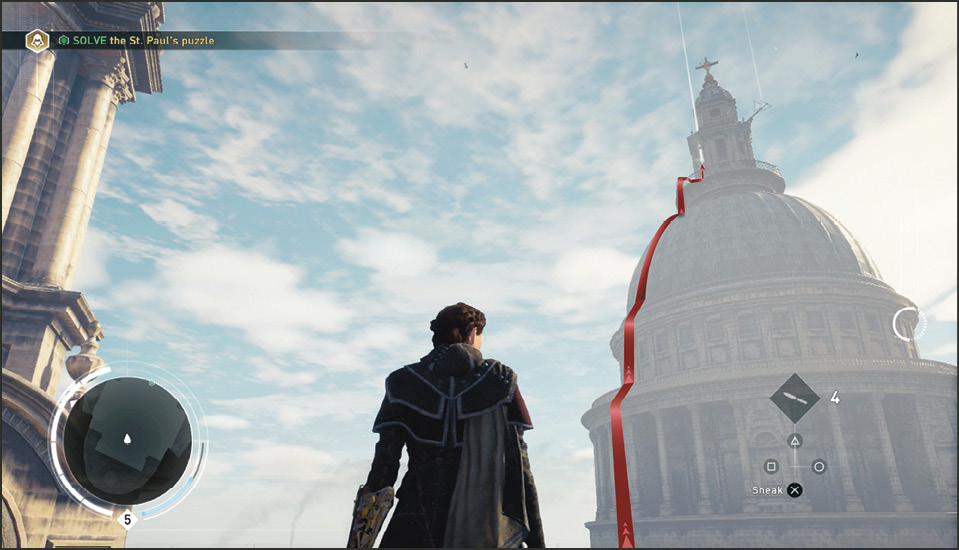
Head to the open window at the top of the tallest cathedral tower. Once on the balcony below the open window, move to the opposite side and unlock the Chest. When you are ready, clamber up the side to enter the open window marked with the glowing destination marker.
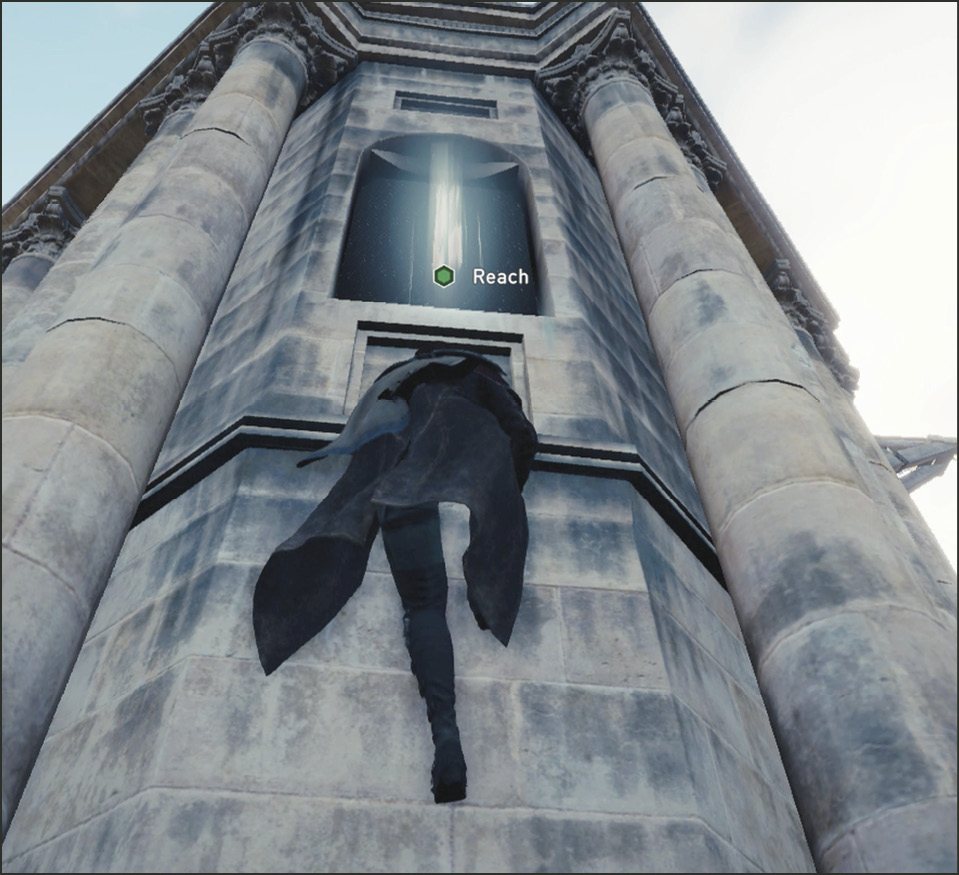
Current Objective: Examine the artifact
Inside the small vault, examine the artifact on the dais. In a cinematic, Evie tries on the artifact and places it around her neck. A familiar voice is heard behind her, slightly startling Evie.
Lucy Thorne commands, “I’ll take that.” Evie responds, “You want the Shroud to cement your own power—but what if you cannot control it?” Lucy thinks it holds the power of eternal life. Evie questions Lucy’s theory and the fight begins.
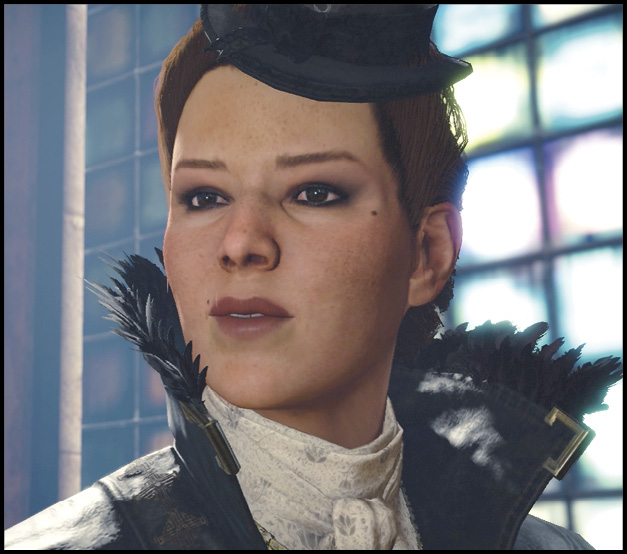
Current Objective: Assassinate Lucy Thorne
Challenge: Counter all of Lucy’s strikes
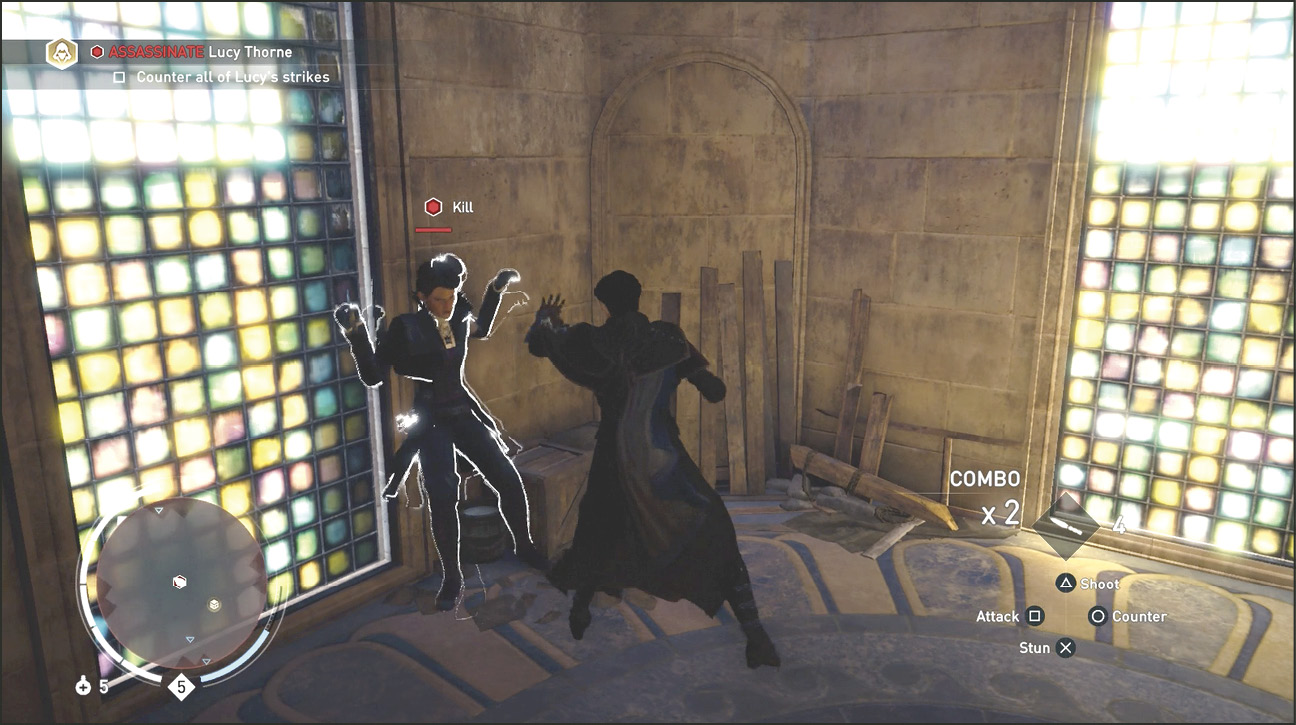
The countering Challenge comes into effect during the last stage of the fight. You cannot finish this battle without blocking a good number of Lucy’s attacks in the final round. We suggested you buy medicine before the battle for survival (not so much for beating the Challenge) and the bullets are used for getting you to that last stage more quickly.
Lucy Thorne Fight Round 1
Attack Lucy quickly at the beginning of the fight; don’t let her strike first. If you wait too long, counter her attack by dodging it and start attacking.
Each time a combo string ends, do not attempt to throw in an extra combo. Instead, always prepare to counter Lucy’s quick retaliation move. Her early attack is a single knife slash. Counter it, and then lay into her with the longest attack combo possible.
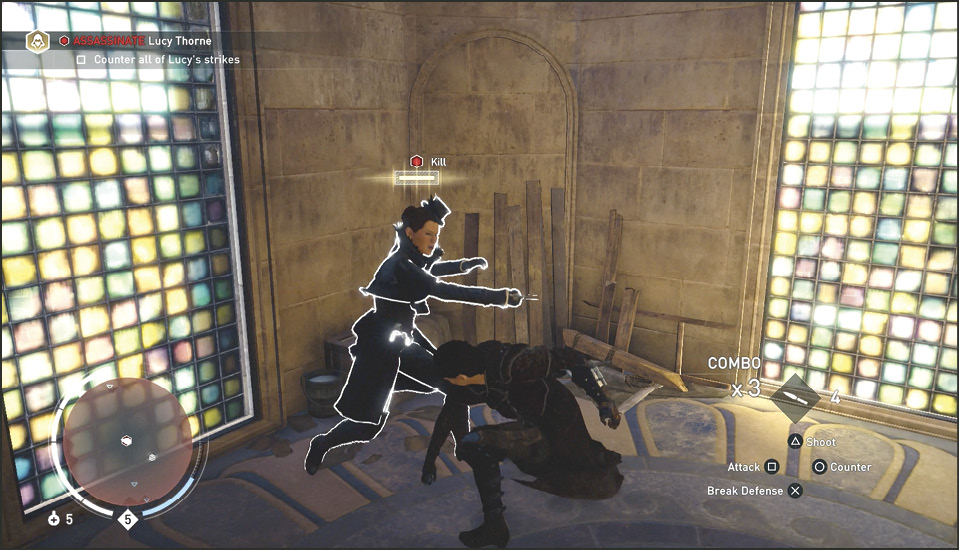
If your firearm (preferably the 38 caliber or better) is not selected, do so during your combo attack. At the end of your first combo begin shooting her using the Quickshot button  /
/  . Get in as many shots as you can; the amount of bullets shot entirely depends on the firearm you have. With a decent weapon you can drain half of her health, triggering the second stage of the fight.
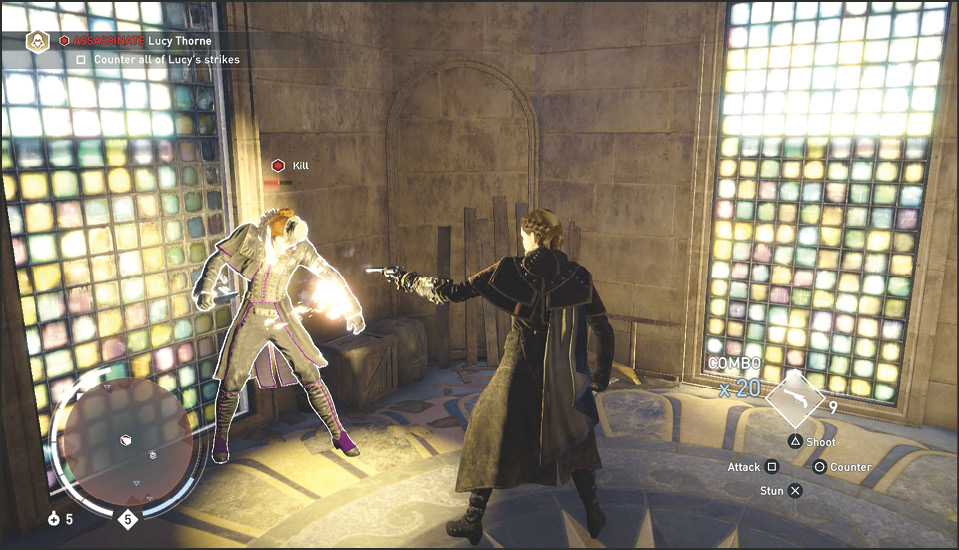
Lucy Thorne Fight Round 2
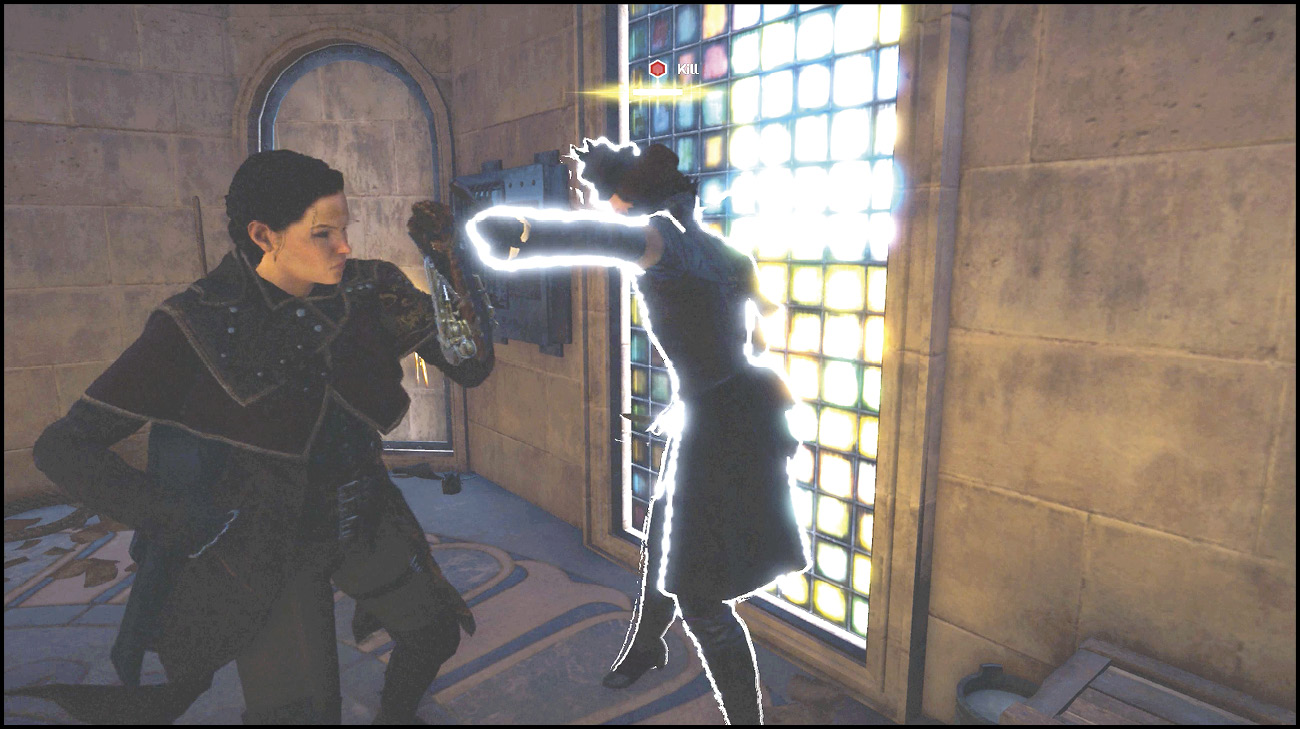
Round 2 can last as long as you can maintain your health or until you do enough damage to Lucy at the end of her attack sequence. This stage starts with Lucy pausing to taunt you. At this point you cannot attack; you can only counter her attacks.
If you allow it to run its course then she has a ten hit combo. If you block the first five appropriately then you end her combo. This is where the Challenge comes into play. If you successfully block all of her attacks you complete the Challenge (Counter all of Lucy’s strikes). On the flipside, if you fail to block one of her attacks but finish her off anyways, you cannot complete the Challenge. She continues to repeat this combo attack until you beat her, so you have multiple chances to complete the Challenge.
Finish Her
As soon as Lucy exits her combo sequence (had you successfully blocked them all or not) pull out your pistol and Quickshoot her repeatedly until she tosses a smoke bomb and tries to take you out with a knife in a cinematic. This happens when 75% of her health is depleted. The women struggle over a knife and Lucy lunges for the artifact around Evie’s neck while also aiming for the window. Lucy flies out the window while still holding onto the necklace that remains intact around Evie’s neck.
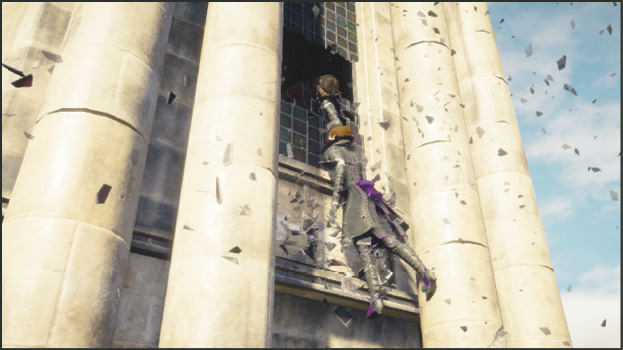
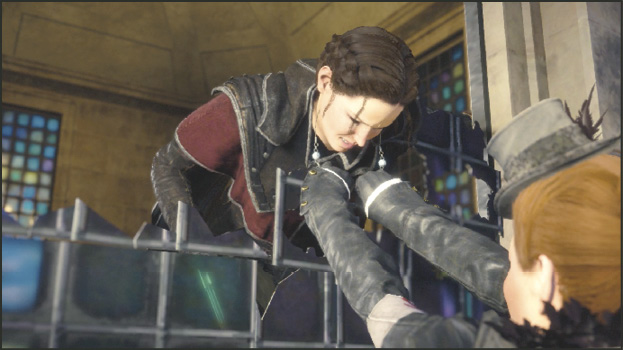
Evie breaks the necklace free to keep the window shards from fatally wounding her. Lucy falls out of view. When Evie looks for her remains, Lucy and the shroud are gone. Pull the lever on the wall to open a sealed window. This is your exit out of the vault.