
Assassin's Creed Syndicate Guide Walkthrough Sequence Eight
Strange Bedfellows
MISSION OVERVIEWMemory Type: Templar Conspiracy Suggested Level: 7 AssassinJacob Frye ChallengesUse the moving train Destroy all dynamite by igniting it Rewards£: 1160 + 250 (Full Synch Bonus) XP: 500 + 250 (Full Synch Bonus) Cape: Lady Cyrielle’s Shawl |
Location: Alhambra Music Hall, The Strand
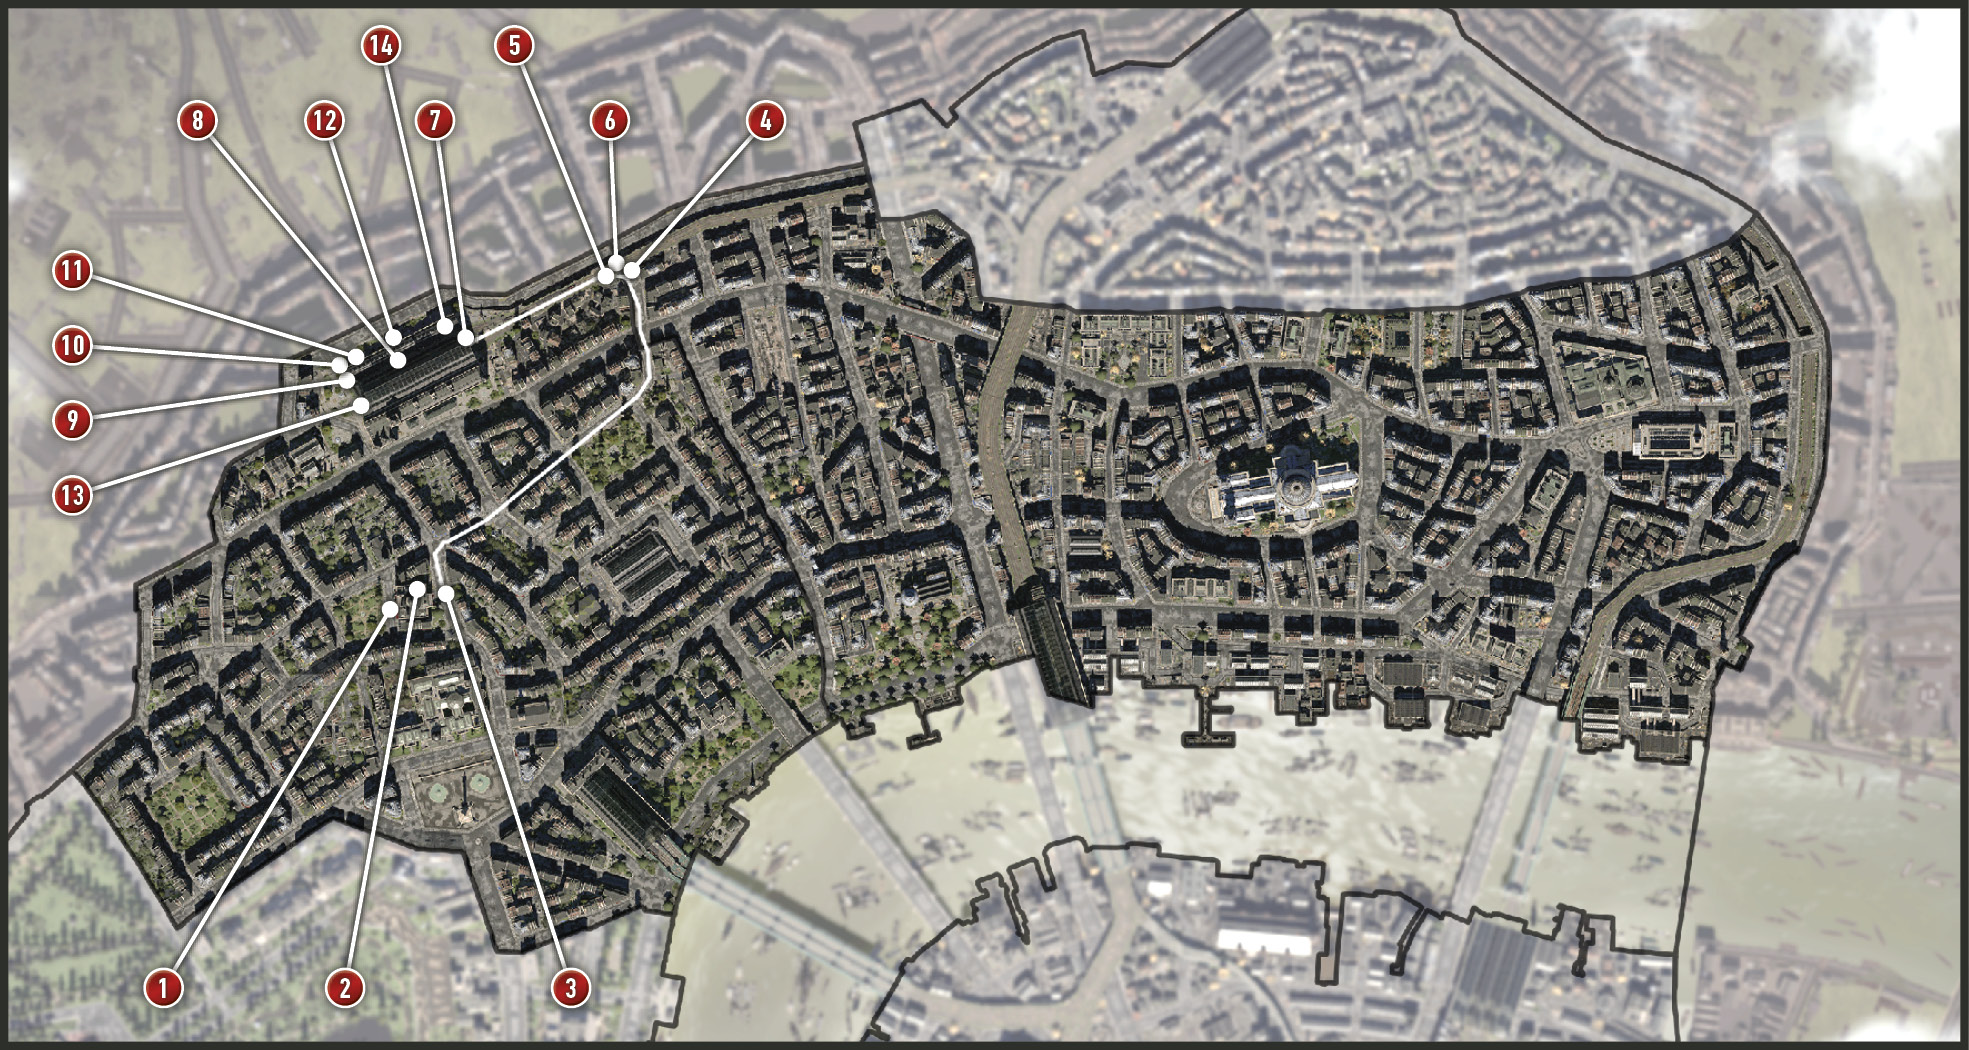
Find the start marker (1) for this Jacob-only memory at the Alhambra Music Hall in The Strand. This is just next door to Leicester Square. When this memory begins, you must first locate the back entrance before the intro cinematic. There’s someone you have to see.
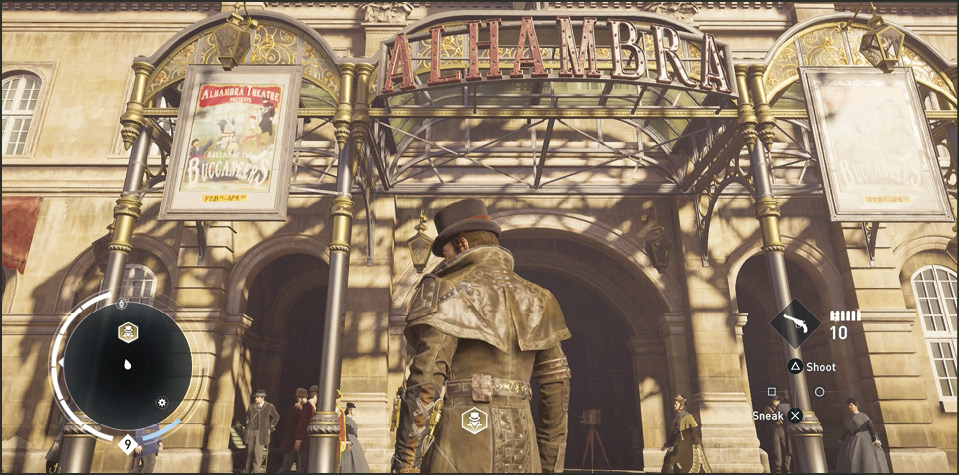
Current Objective: Locate the back entrance
When you try to enter the front door of the Alhambra Music Hall, you find the door locked. Your Mini-Map is lit with a small green square representing the search radius. The “back” door is on the north side of the building. There you find a doorman in a very nice derby (2).
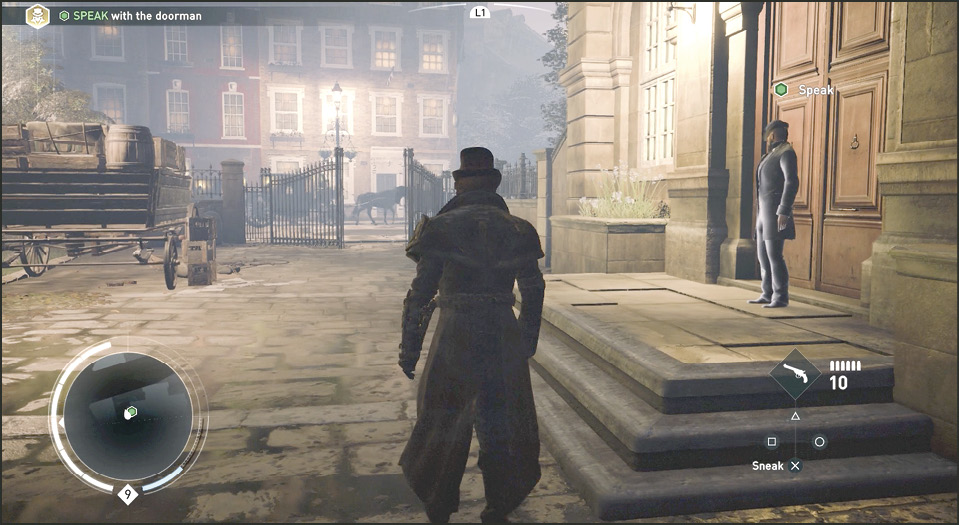
Current Objective: Speak with the doorman
Speak to the doorman with the derby. You tell the doorman you are there to speak with Mr. Roth. The doorman kindly asks “weapons?” and Jacob returns a smart reply. He tells Jacob he should be on the stage and lets him inside.
Current Objective: Reach Roth
Once inside, use Eagle Vision to quickly spot Roth backstage behind a room full of stage props. Follow the green blip to find Roth.
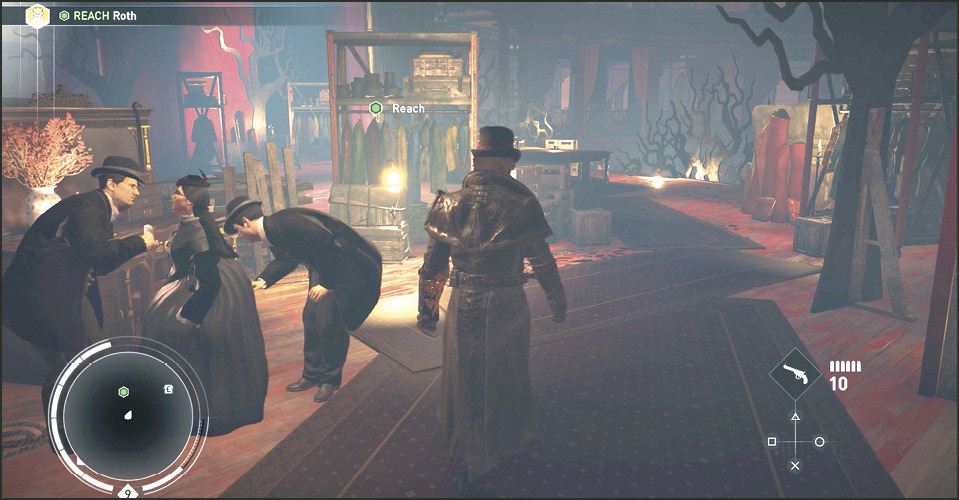
Maxwell Roth and Jacob manage to have a civil conversation between enemies. Max admires Jacob’s heroics in battling their common enemy Crawford Starrick. Jacob is surprised at Roth’s candor since he has picked off so many of his soldiers. In they end they surprisingly agree to work together to take out Starrick. Won’t Evie be pleased.
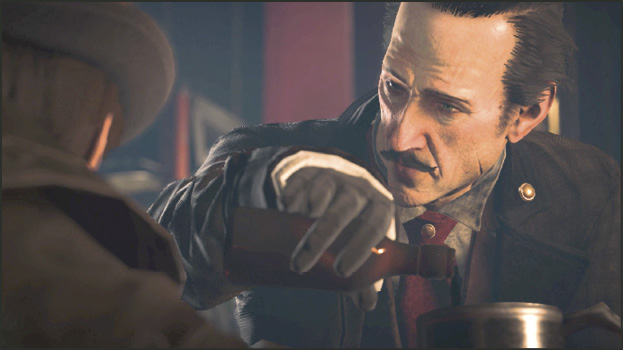
Current Objective: Drive to the destination with Roth
Once out of the theatre, follow Roth to his carriage (3) parked outside the gates. He has you take the reins and directs you to drive to St. Pancras (4). Follow the route marker to reach this destination. Along the way, Roth explains that this station they are headed to contains a large shipment of explosives to be dispatched straight on to Starrick & Co. They intend to blow it up.
Current Objective: Follow Roth
Once at the destination (4), Roth jumps out and climbs to the top of a building. Follow him. Once there you find yourself within jumping distance to a set of raised tracks. Roth speaks….
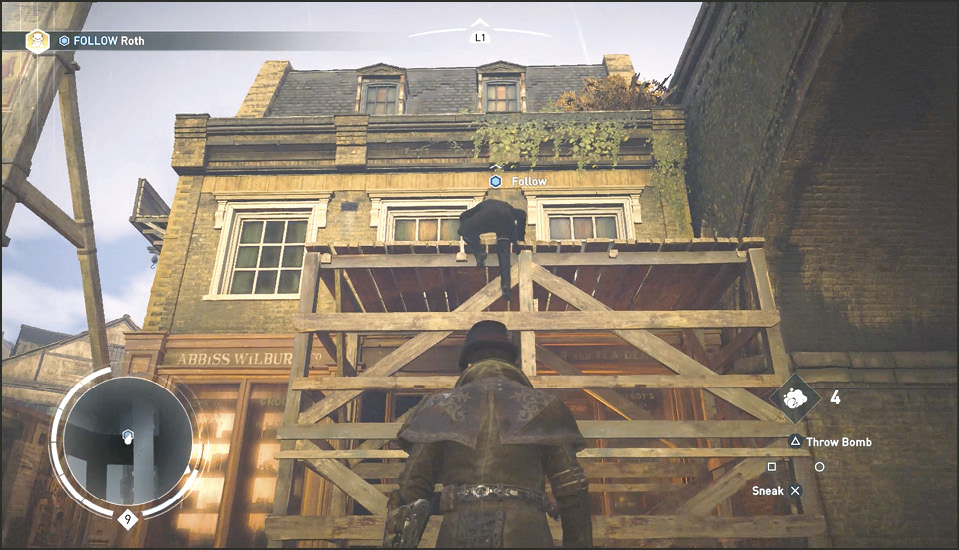
Current Objective: Locate and Destroy the 5 explosives
Challenge: Use the moving train
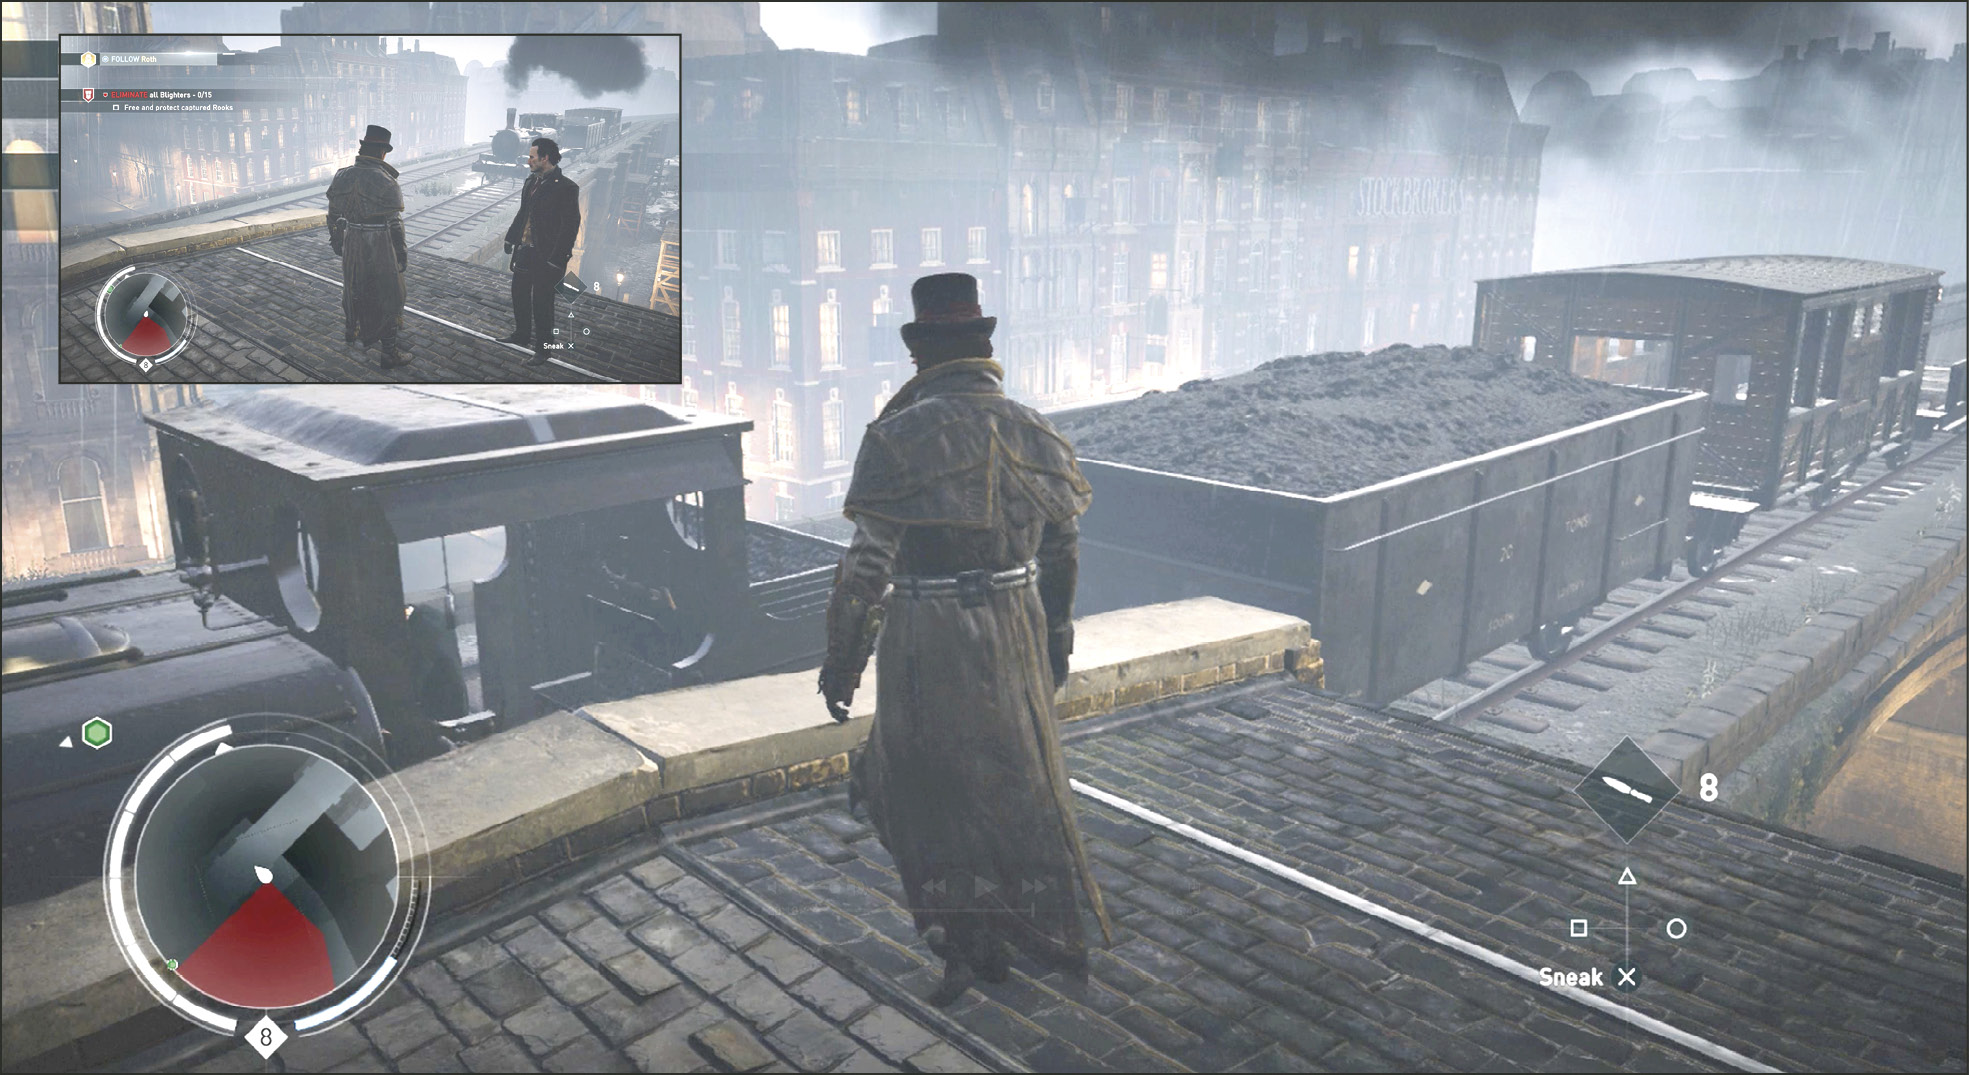
While on the rooftop (5), Roth explains that there is a train inside St. Pancras station that he needs you to bring to him. While there, you can blow up his merchandise. A train moves toward you from the east. Turn the camera during the conversation so you can see it coming. Roth says, “As we speak, the up train (6) is headed to St. Pancras that, should you choose to ride it, may help you enter the station unseen.”
As soon as the train rolls by, turn, run, and jump onto the train. It doesn’t matter what car you ride in; you remain concealed no matter which car you choose. We suggest jumping into one of the last cars so you can get inside a covered car.
Activate Eagle Vision as you enter the train station (7). You spot Templars all over the station, including the catwalks, and you see five green blips peppered on the screen. These mark the locations of the crates you must ignite.
It’s much easier to eliminate anyone that gets in your way in this memory as opposed to hurting few. But if you do it silently and without attracting too much attention, you can complete this memory rather quickly.
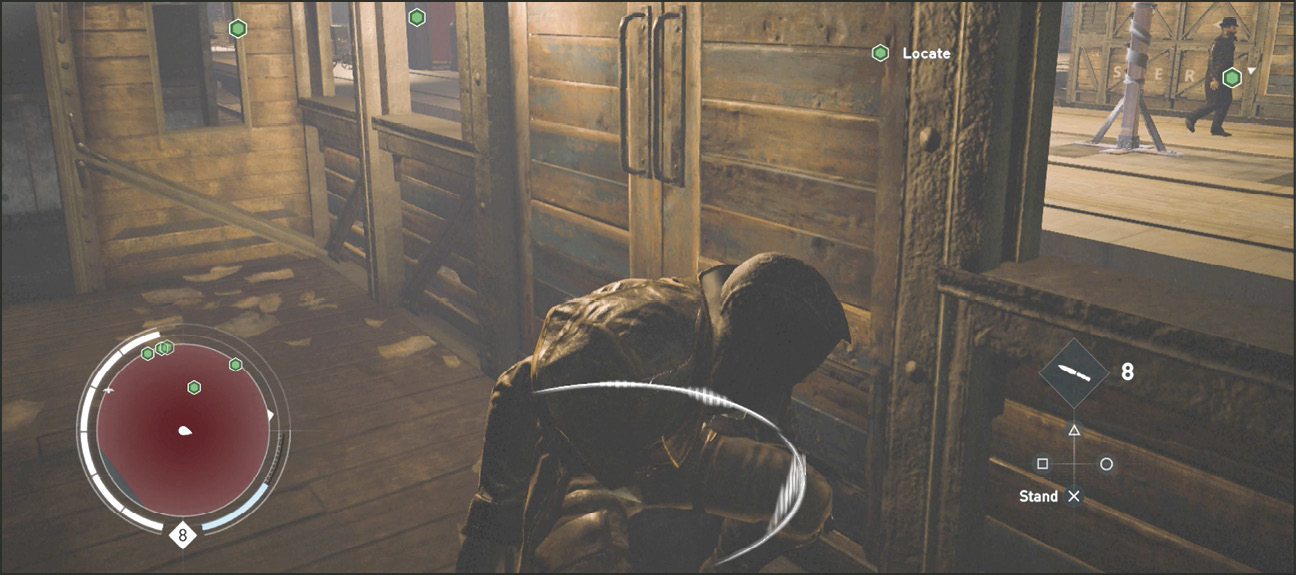
The Covered Car Advantage
To take out a high number of enemies right in the central docking area get into the covered car on the train you are riding on and ride that until it is stopped. Cover under or beside a window on the north side and the train stops next to many Templars.
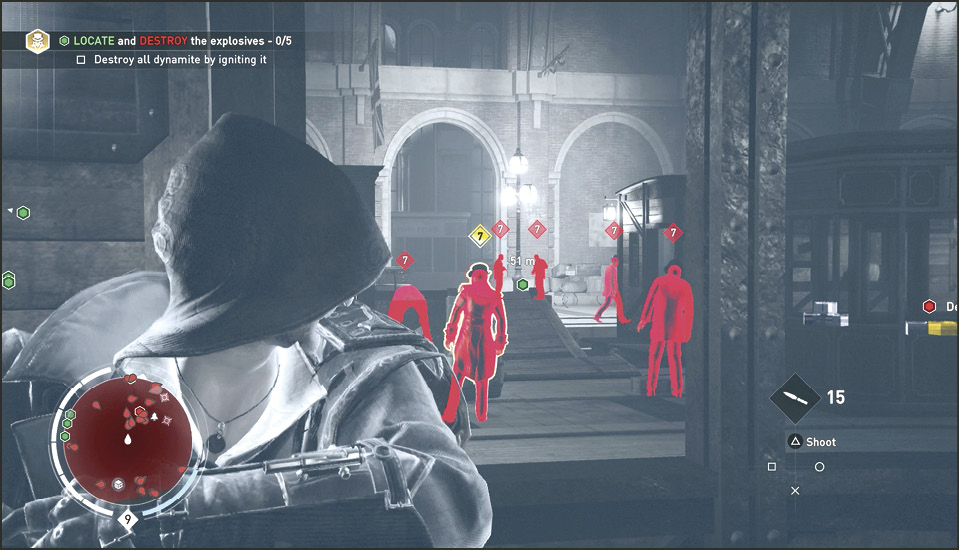
Throw a knife at the head of the Templar Leader with the yellow 7 over his head. That’s a good start. Make sure you are covered, as there will be some curiosity from more of the five other Templars in the area. You can kill up to three Templars from this location. Exit the car launch to the high rafters as soon as possible and before being spotted by the Snipers on the catwalks.
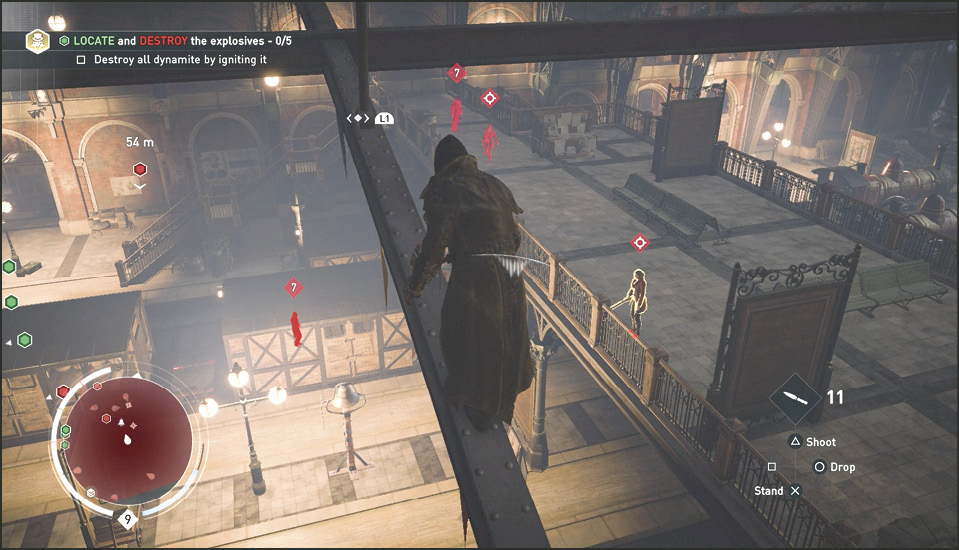
From the high framework you can move over the Snipers on the catwalks and get within knife-throwing range. Save a knife and Air Assassinate the final catwalk Templar.
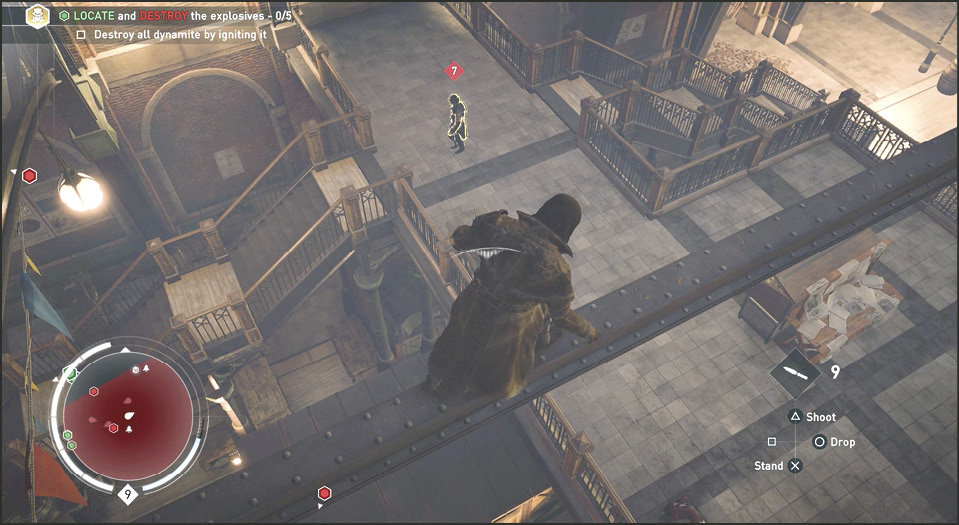
Continue moving all around this side of the train station taking out Templars from above, like a spider attacking prey, then springing back up to the rafters. Once you have eliminated most (or all) of them, you can focus on the explosive crates.
Explosives 1
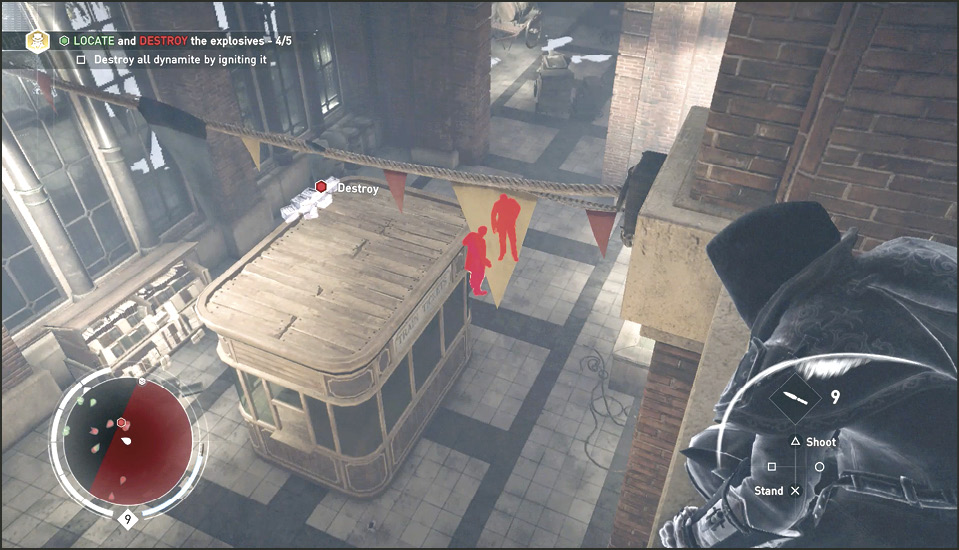
The first crate of dynamite (8) you usually find is the one inside the train car on the opposite tracks you rolled in on. Hold to ignite them until the gauge is full and then clear out. We suggest Rope Launching back up to the rafters.
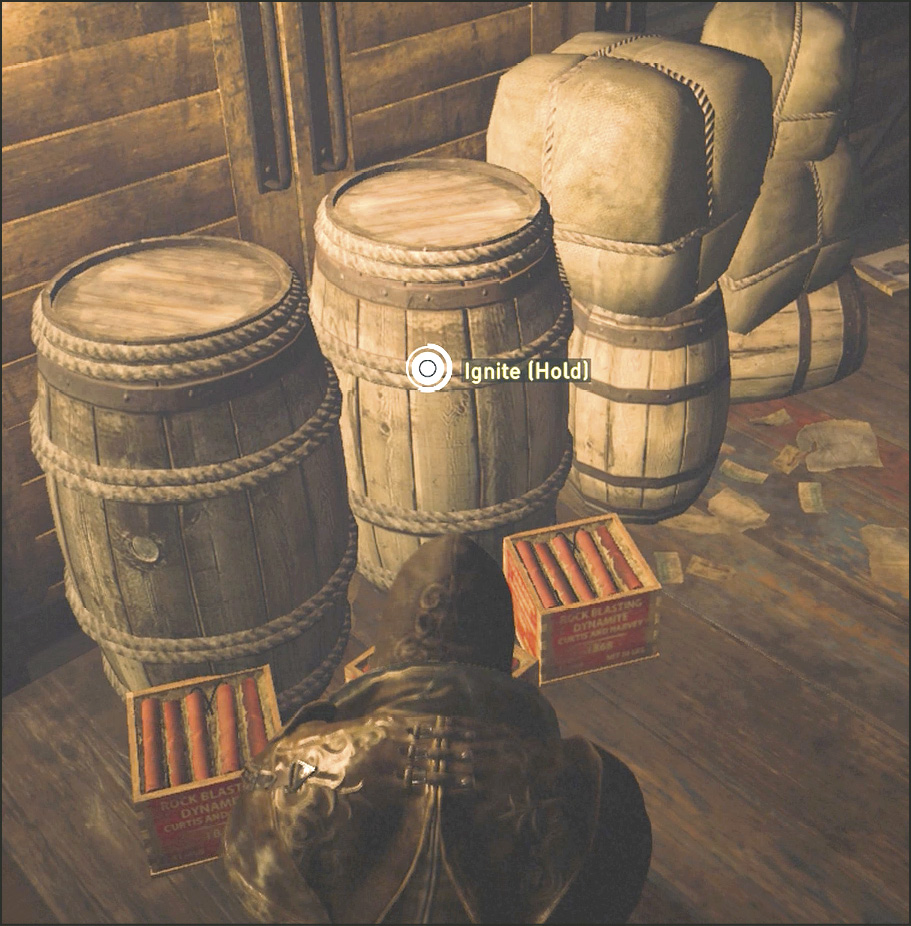
Explosives 2
Head all the way to the northwest end of the train station and defeat the guards on the upper balcony. Drop down to the lower floor (where the trains are) and you find dynamite (9) along the northern wall behind a desk. Use the desk for cover as you take out the Brute, then ignite the dynamite.
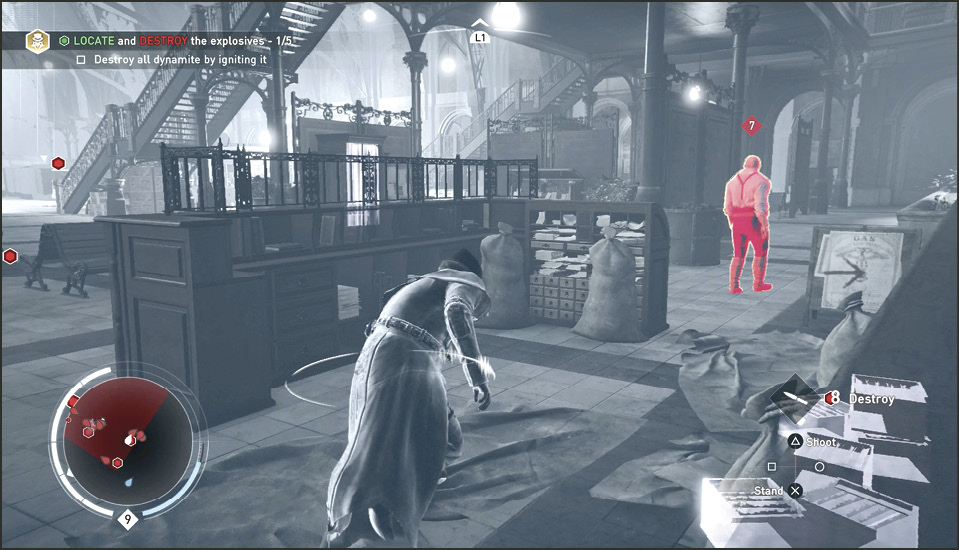
Explosives 3
Now head around the corner to enter the most northwestern corner of the train station on the first floor to find the third crate of dynamite (10). Defeat the nearby Templars and ignite these explosives.
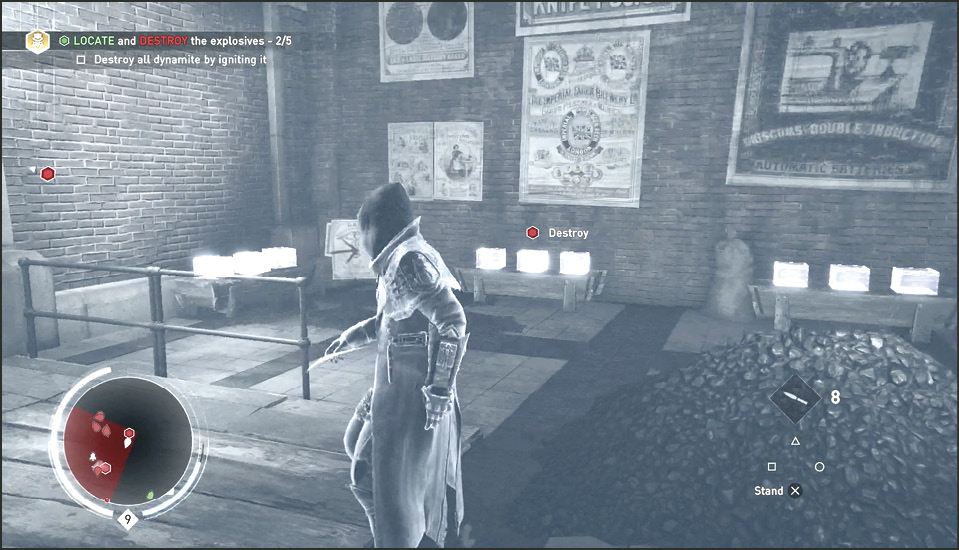
Explosives 4
Follow the red blip (11) on your Mini-Map to the last red blip in the area. This is on the eastern branch of the second level balcony on the northwest end of the train station. There’s a slow Templar Sniper and a Templar Soldier. Easy pickings. Take them out by sneaking up on them from pretty much any angle and then ignite the crates (don’t shoot them).
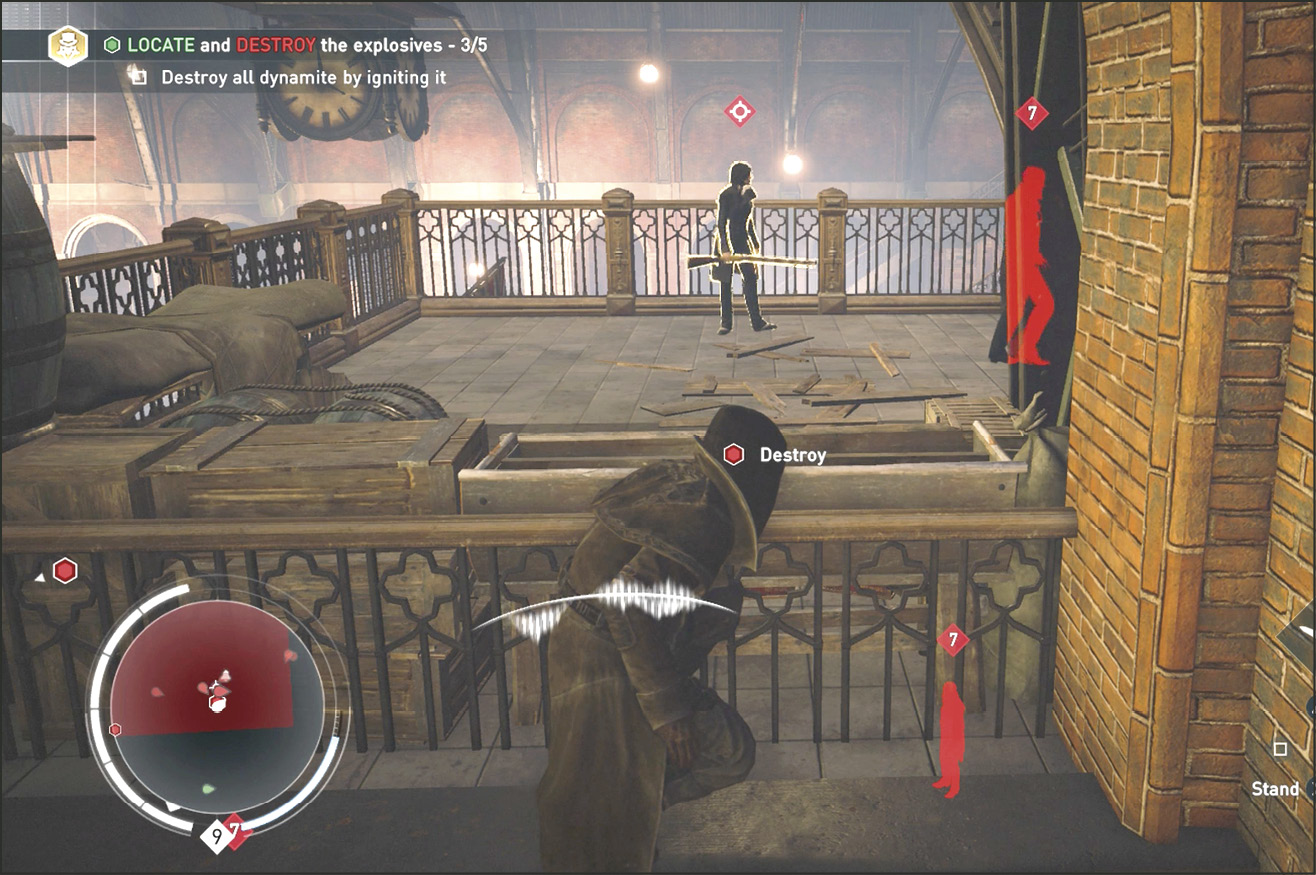
Explosives 5
The last crate of explosives (12) is located in the north wing of the station—the north hall just outside the track loading area. You can reach this area through a large open archway-like window near the ceiling to take the Templars around it by surprise. The explosives are behind the newsstand. Igniting (and not shooting) the final crate of explosives completes the Challenge.
Current Objective: Find and Kidnap a driver
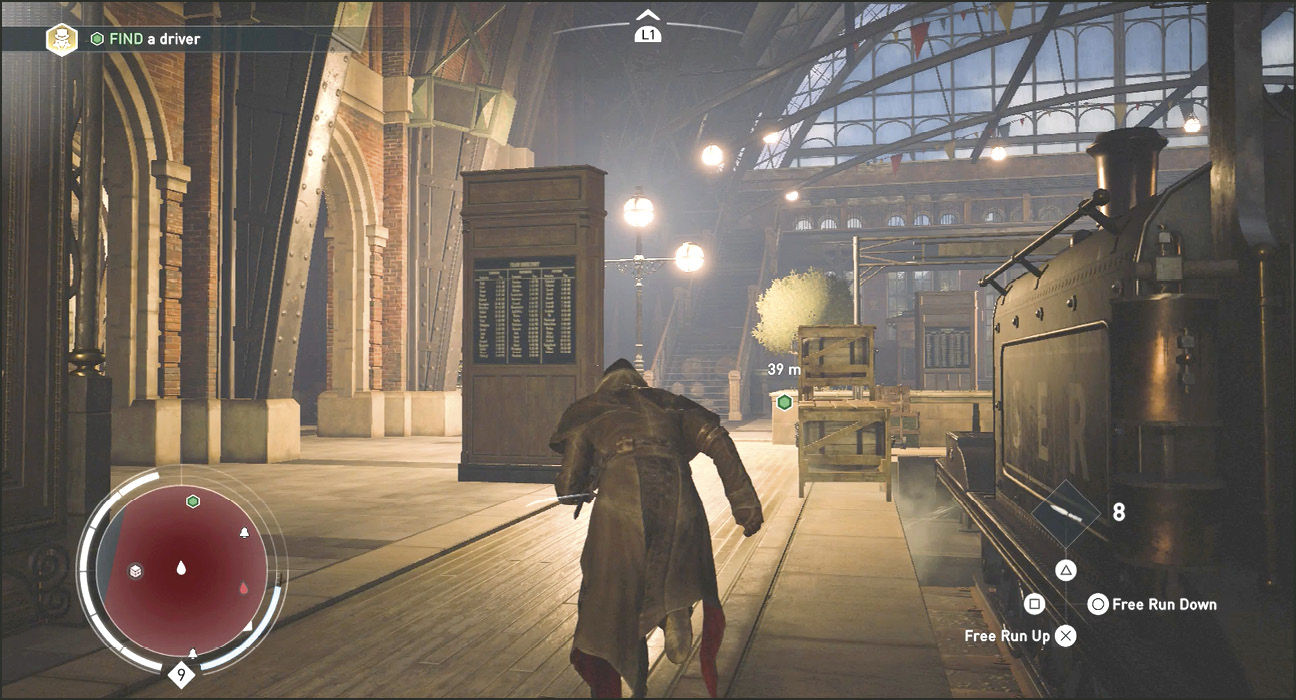
Now to get the train that Roth wants. To get a train you’re going to need an engineer. Look at the Mini-Map and spot the green blip on the map in the southwestern side of the station, in the main loading area. Head there now. Defeat any Templars in your path. Having most of the Templars dead in the main station makes this next objective much easier.
As you get close to the driver the blip on the Mini-Map turns to a search area green circle and then, even closer, you spot the driver and he appears as an orange blip on the Mini-Map. Kidnap this man (13).
Current Objective: Reach the locomotive with the driver
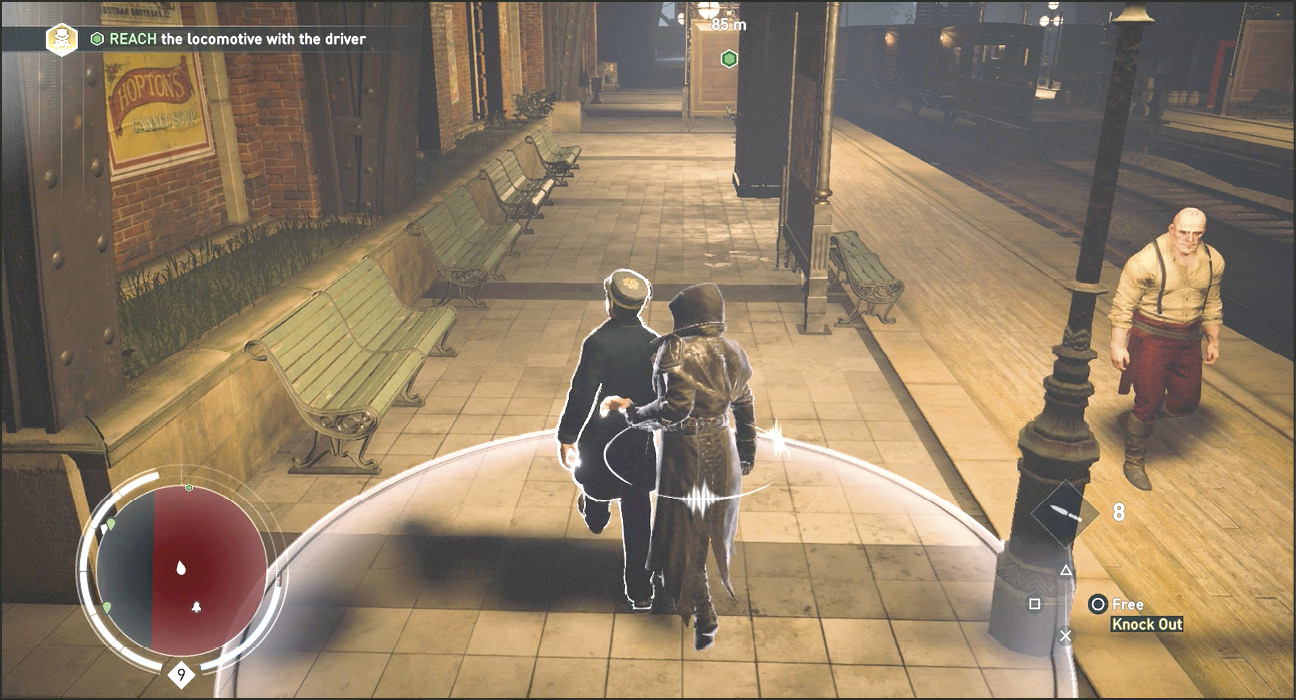
Now walk the kidnapped driver to the north side of train station (14) to access the northern loading area. Move slowly to sneak past any surviving Templars. Walk the driver into the glowing reach marker next to the train engine. Ignore the nearby Brute (if he’s still living). The driver gets the train moving as you leave the station.
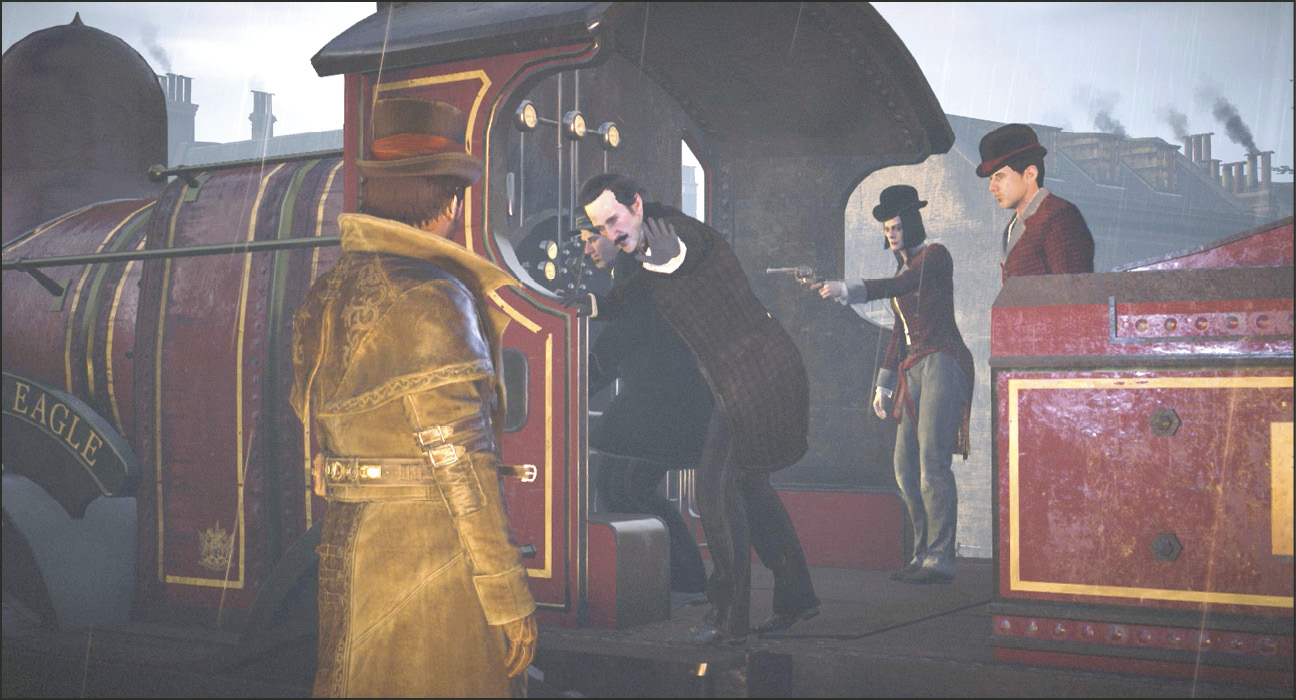
When the train reaches Maxwell Roth, it slows to allow Jacob off and everyone else on. They continue to hold the driver at gunpoint. Jacob looks as if he’s already starting to regret this working relationship. Roth yells back to Jacob, “Splendid, Starrick will be on his knees in no time. My hat is off to you.” “…Do come see me again.”