Assassin's Creed Syndicate Guide Walkthrough Sequence Eight
Triple Threat
MISSION OVERVIEWMemory Type: Templar Conspiracy Suggested Level: 7 AssassinJacob Frye ChallengesDo not kill anyone inside the Target locations Don’t let any target escape from being kidnapped Rewards£: 1160 + 250 (Full Synch Bonus) XP: 500 + 250 (Full Synch Bonus) Schematic: Assassin Gauntlet Schematic |
Location: Alhambra Music Hall, The Strand
Return to the Alhambra to talk to Roth. This time you know where to enter—the back door (1), where you met the doorman last time.
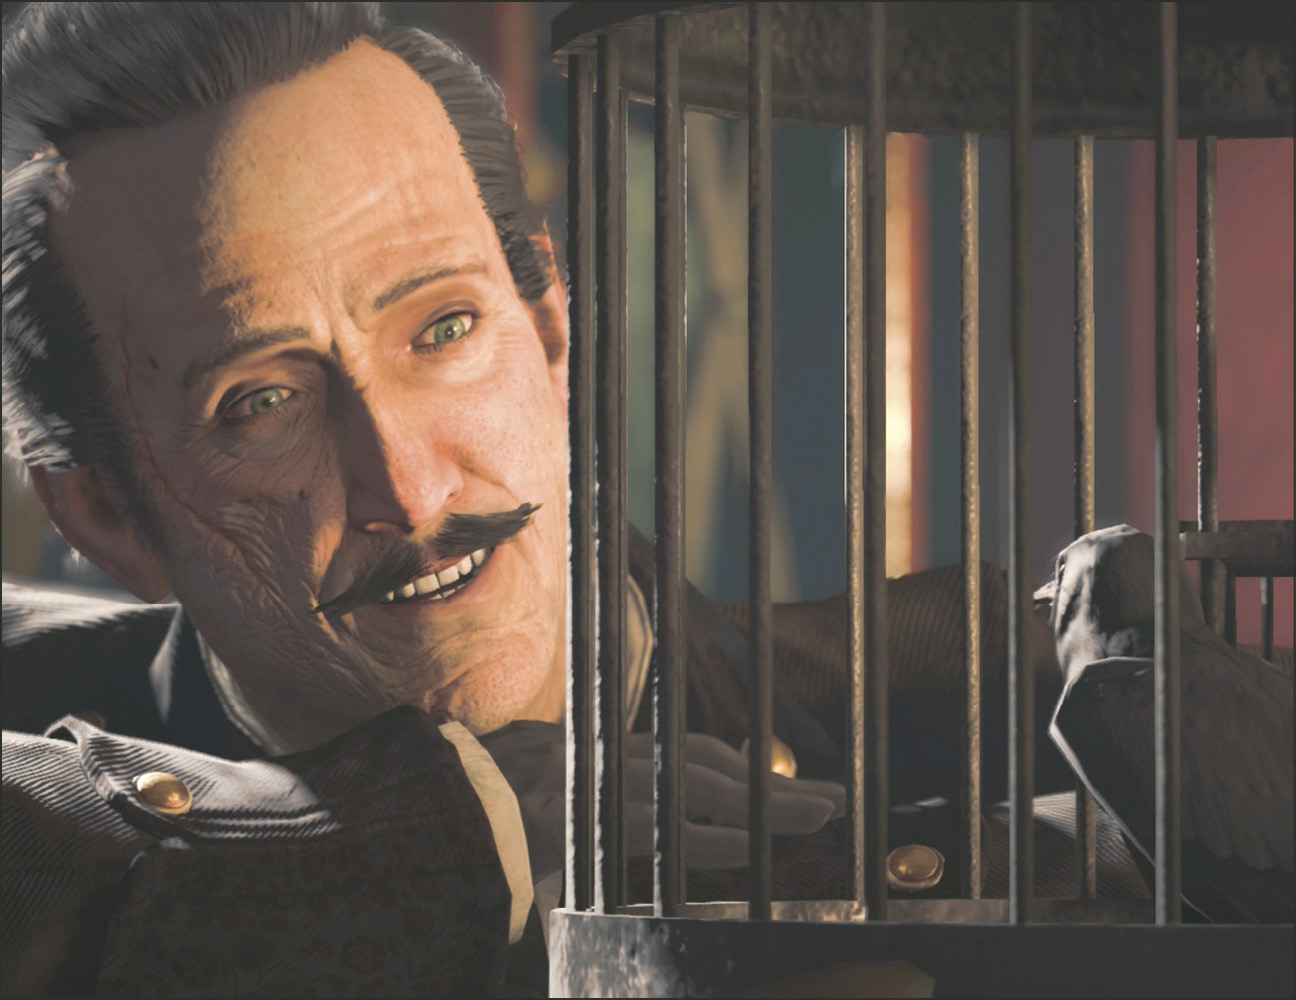
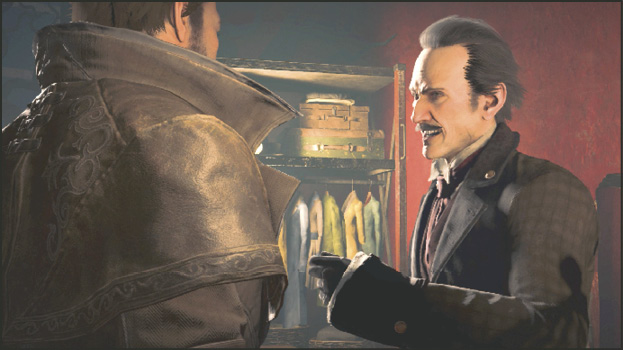
When Jacob finds Roth, he’s absorbed with a birdcage on a low table and doesn’t even look up when Jacob enters the room. The baby crow draws his attention until he warmly looks up to Jacob and turns on the excitement like a switch. He wants you to ride with him to take out three of Starrick’s top henchmen.
Current Objective: Reach the National Gallery
Challenge: Do not kill anyone inside the Target Locations
Challenge: Don’t let any target escape from being kidnapped
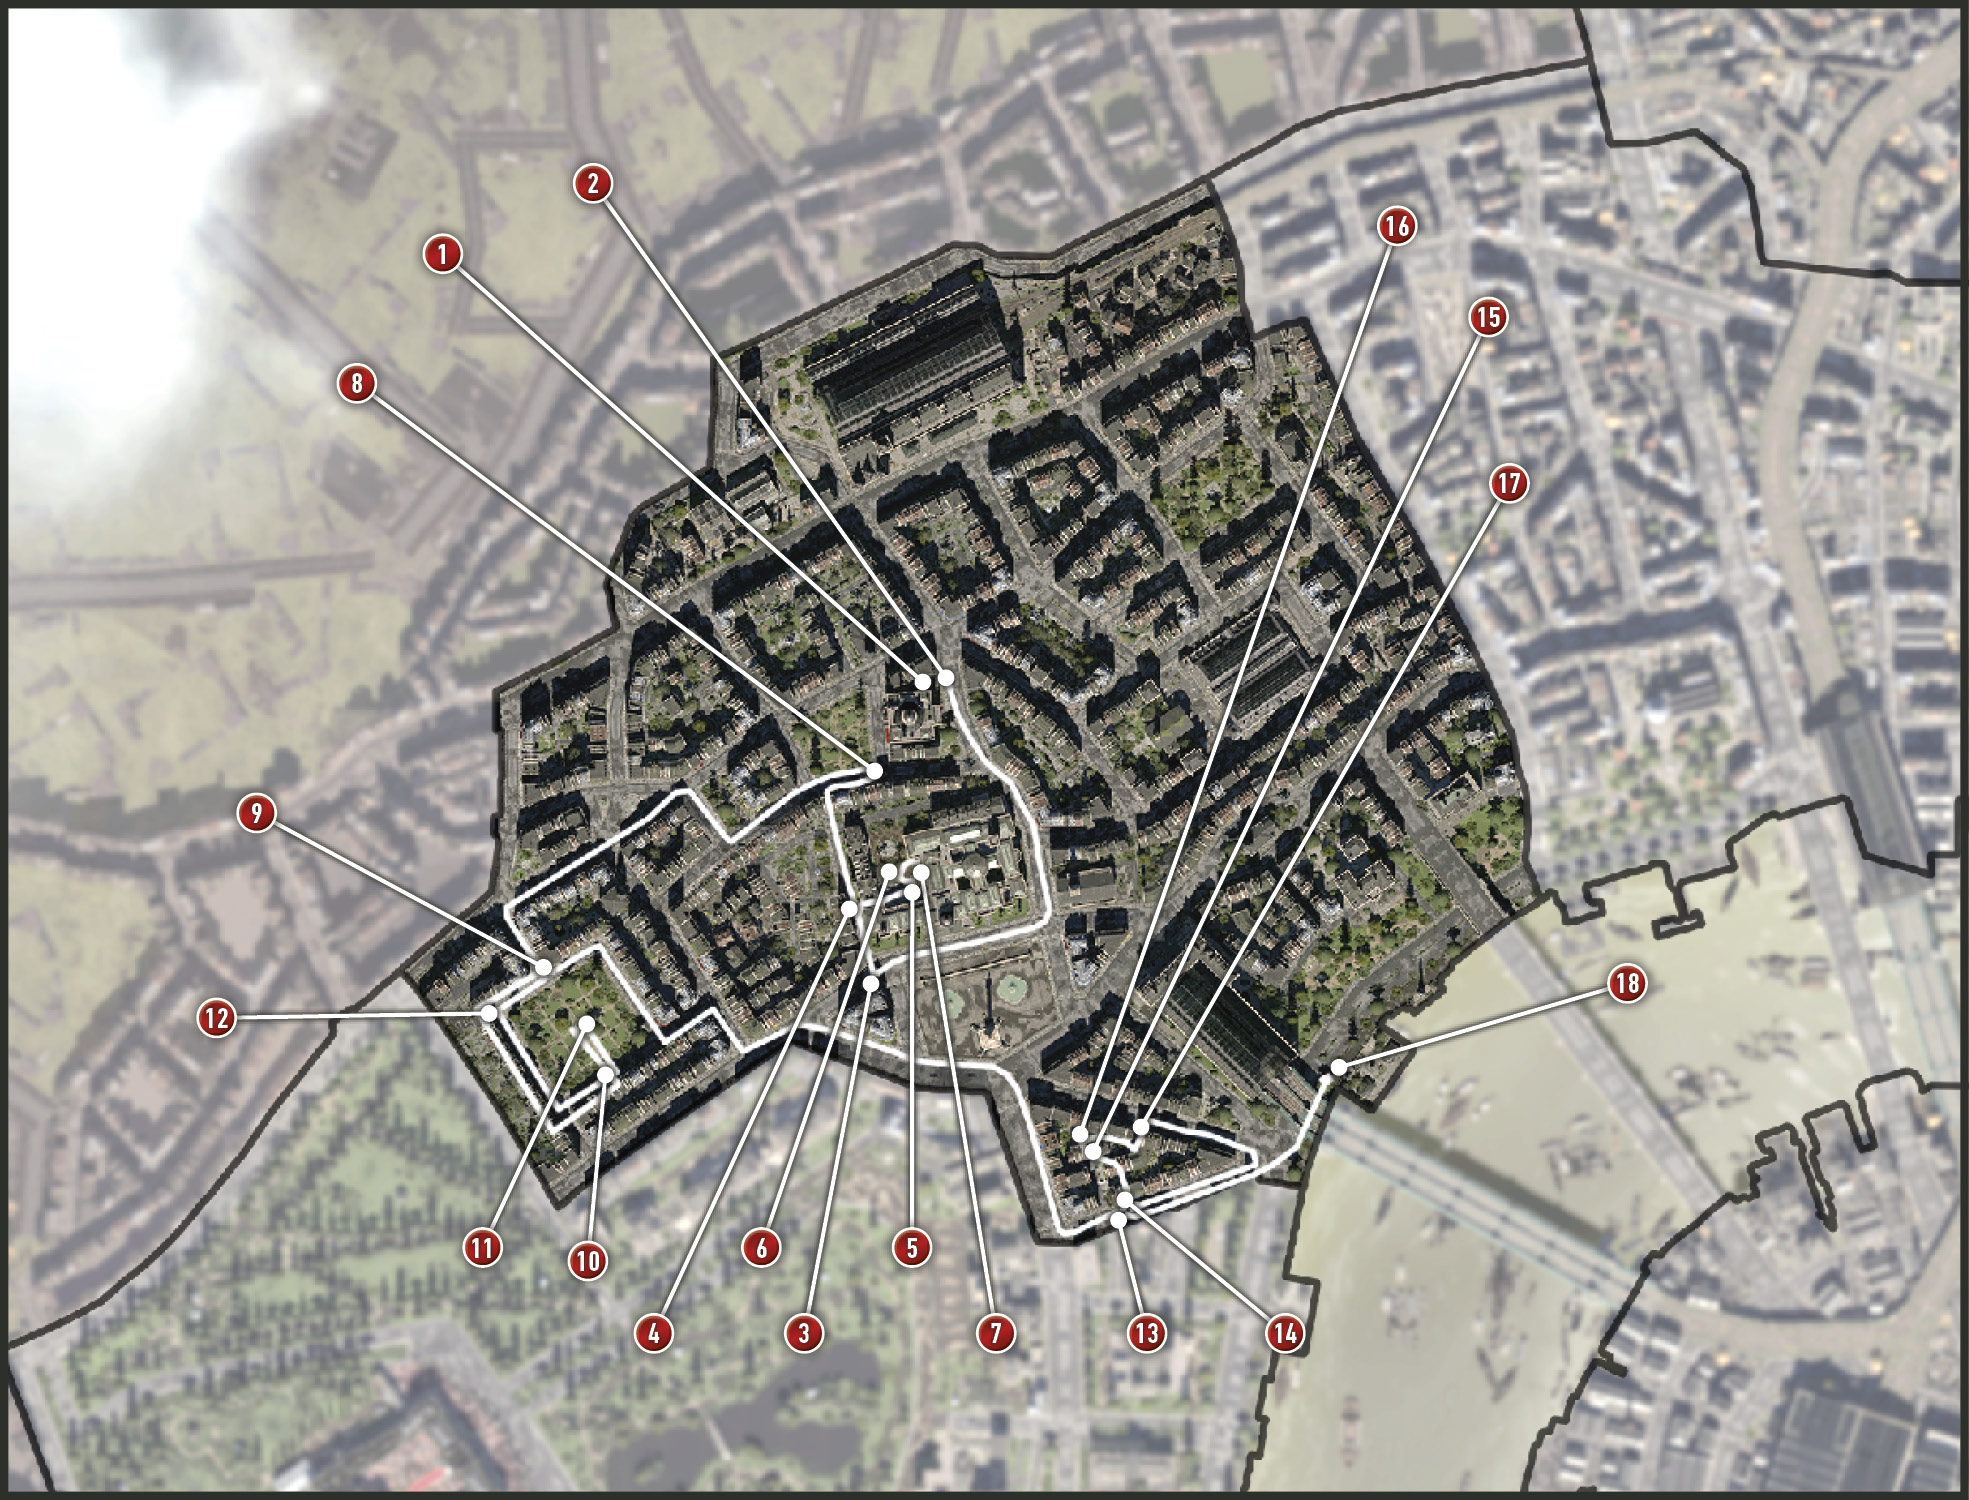
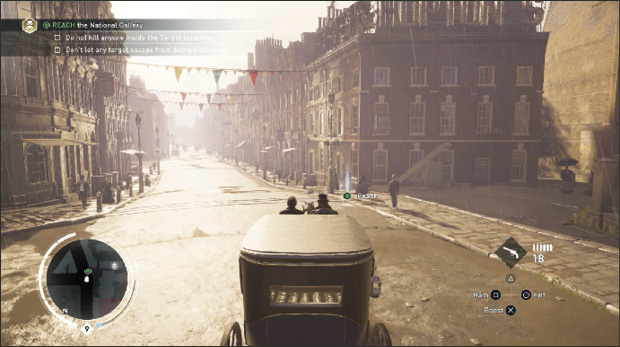
Once outside the Alhambra (1), follow Roth to his carriage (2) at the street. And of course, he wants you to drive. Take the reins. Follow the route marker to the National Gallery and stop in the glowing white marker in the street (3).
Current Objective: Find clues to Hattie’s whereabouts
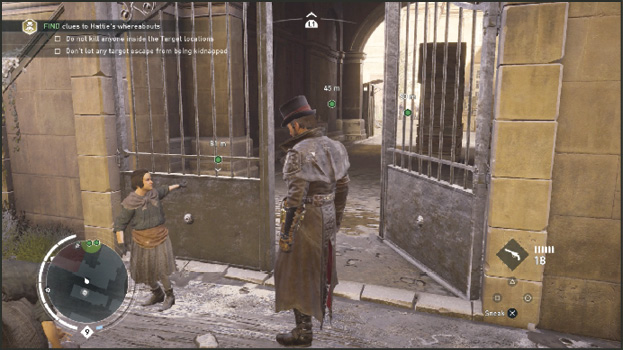
Just before you reach the first stop (3), Roth explains Starrick’s interest in art. Hattie Cadwalleder has exquisite taste in art, so much so that Starrick has hired her to be the keeper of his extensive personal collection. She also scouts out the National Gallery shipments and organizes art thefts based on the Gallery’s schedule and incoming shipments. Roth wants you to kidnap her. Leave the carriage, walk north down the alley, and talk to the little girl at the gate (4).
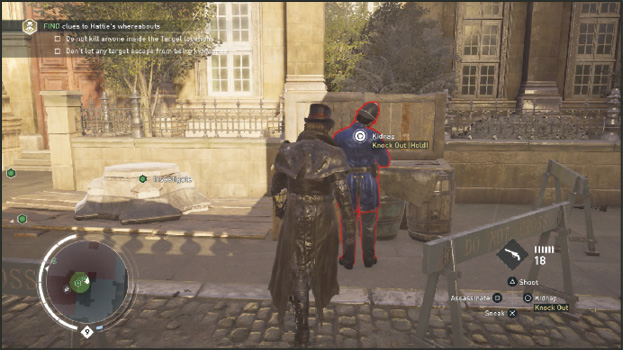
The girl points you through the gates behind her when you ask her about Hattie’s whereabouts. Head east into the courtyard. Don’t stop walking until you are right up on a policeman (5) who is preoccupied with some art pedestal in front of him. Come up behind the policeman and knock him out and then investigate the pedestal.
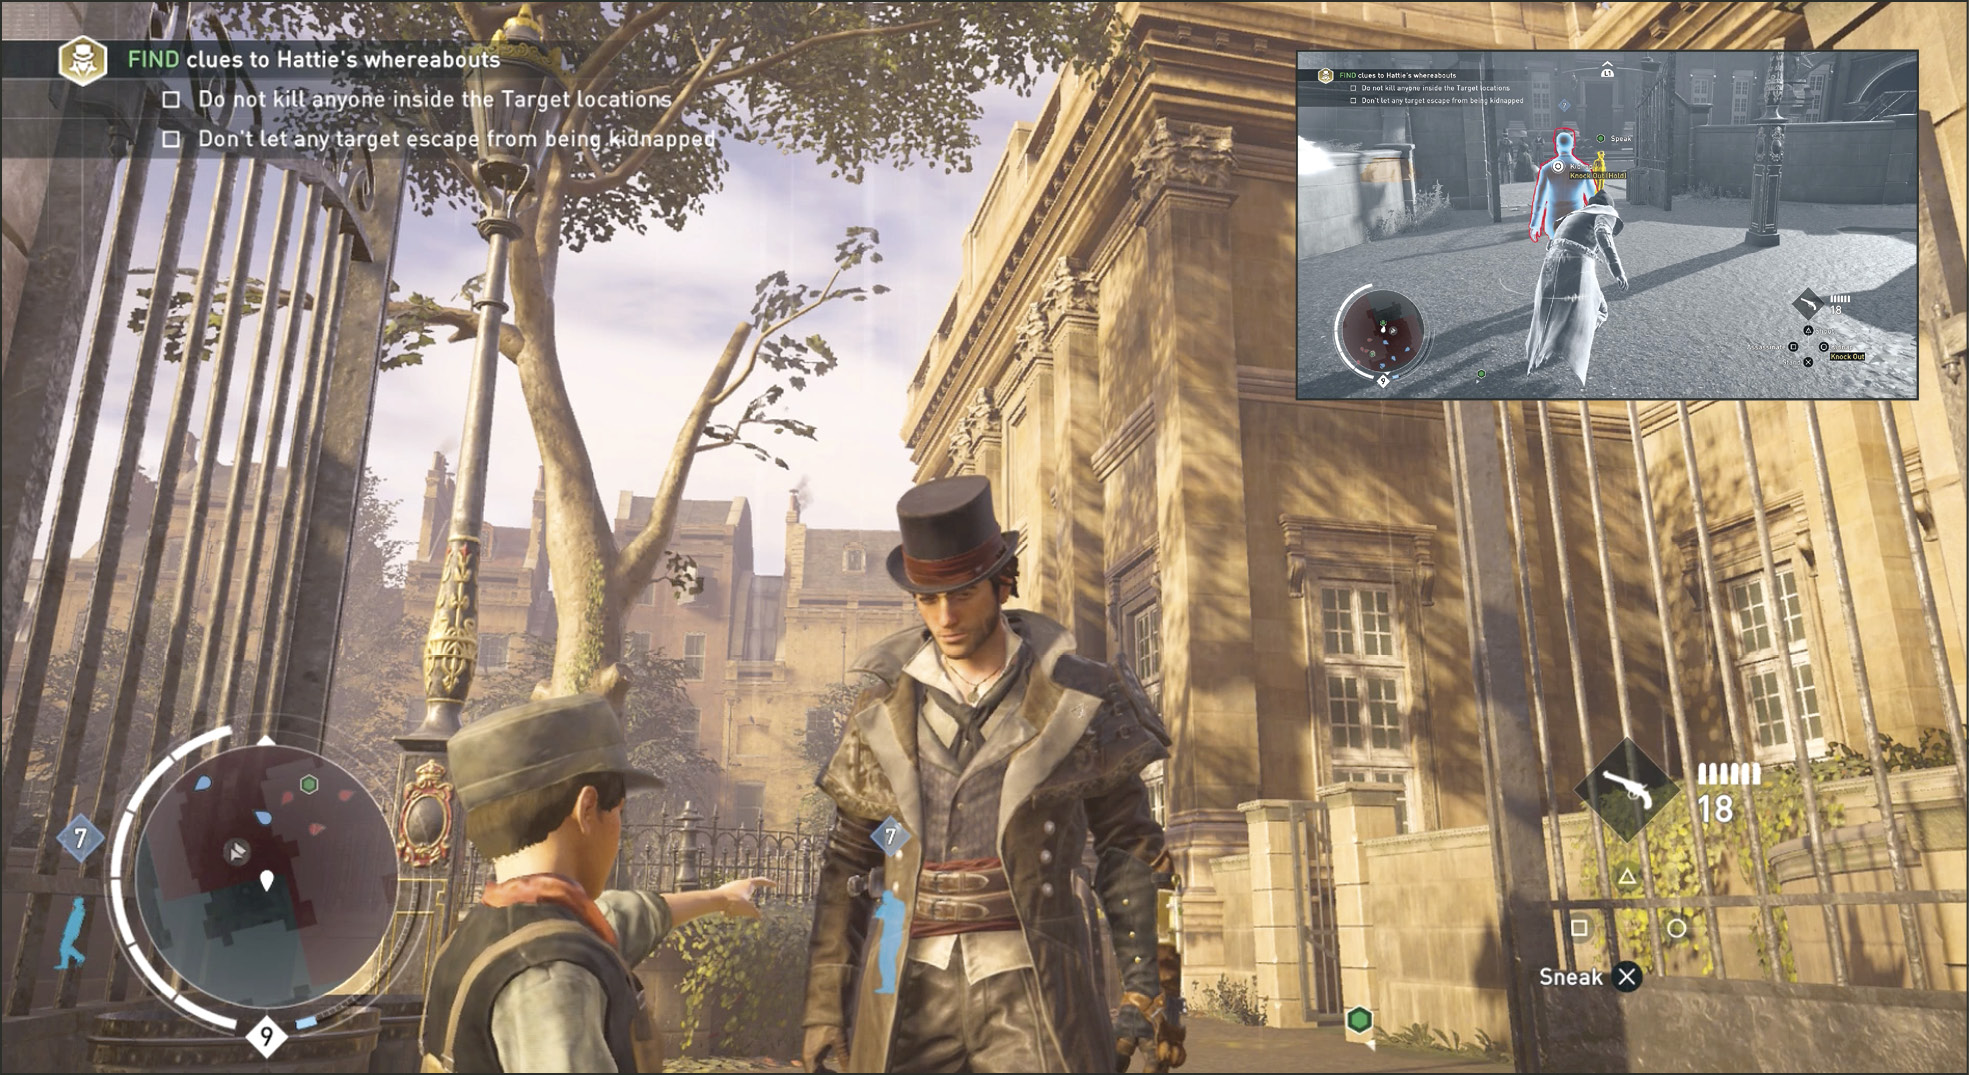
Turn north from the pedestal and talk to the little boy at the next gate (6). He points you to the sewers on the other side of that short wall beside you (7). Quickly follow the policeman in this yard around the circular wall/island in the middle. Come up behind him and knock him out. You can leave him where he falls.
Current Objective: Kidnap Hattie Cadwallader
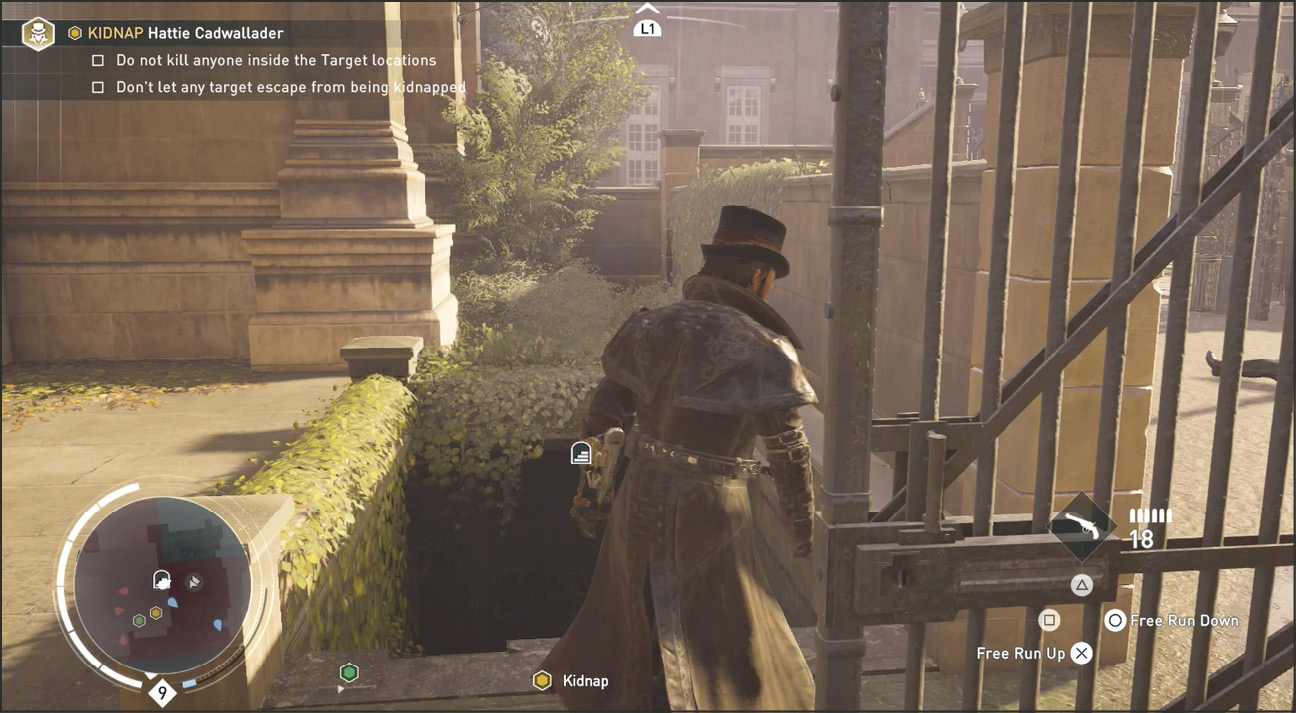
After speaking to the boy at the gate, your objective is to go get Hattie and take her back to Roth’s carriage. Enter the sewers found behind the short wall. Climb down the stairs and stop at the second right corner turn to study the movements of the Templars below.
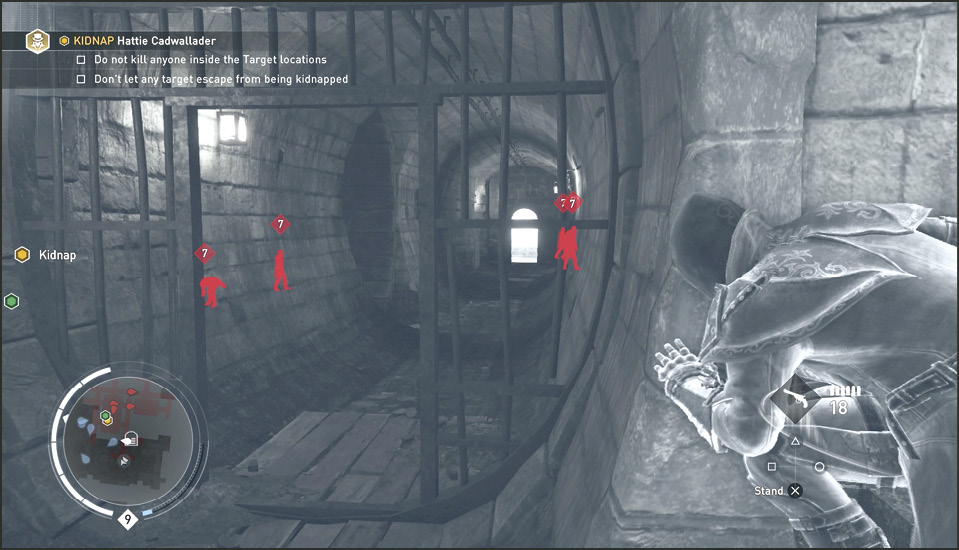
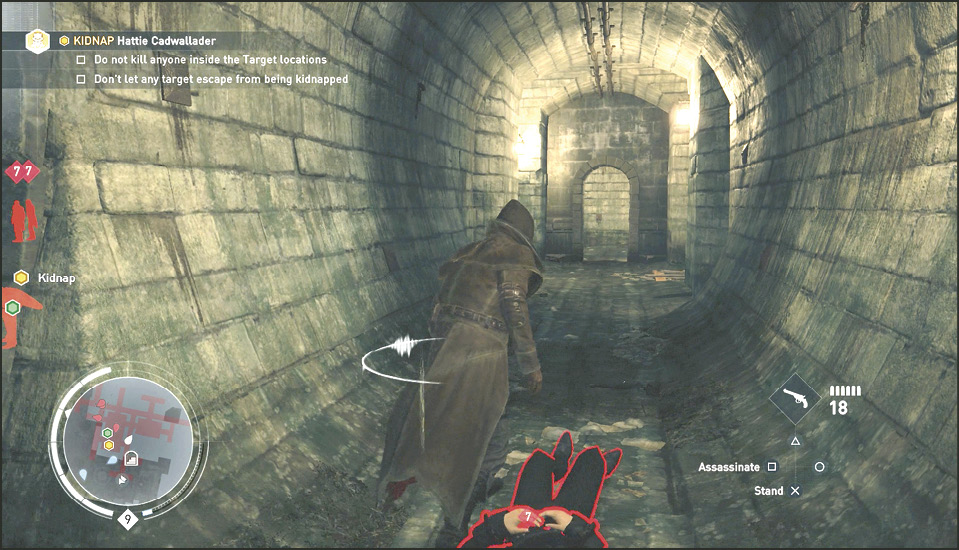
A Templar soldier enters the tunnel you are facing and walks toward you. When he does this and turns back to head back the way he came, make your move. Come up behind him and knock him out. Do not kill him so you can follow the Challenge rules (do not kill anyone in the target zone). You can see the sewer tunnels are highlighted red on the Mini-Map. You are again in the target zone.
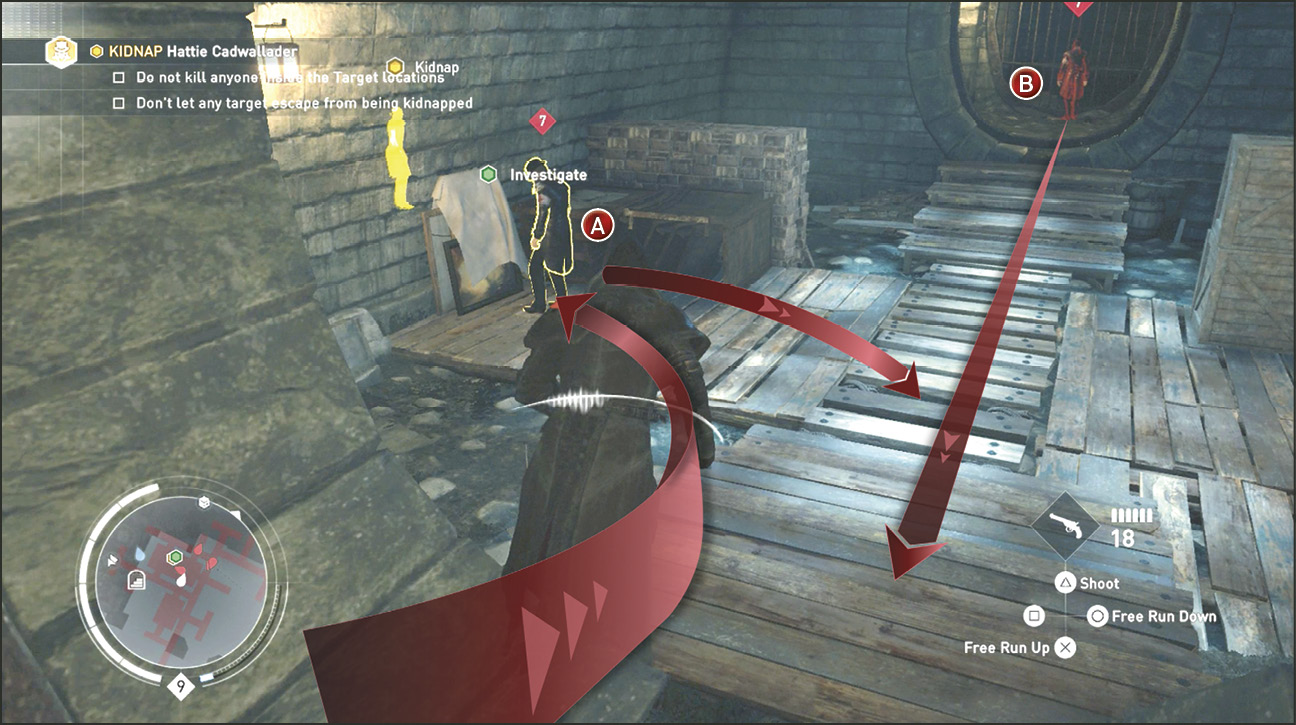
After knocking out the first (A) soldier, take the first left possible in the tunnel and quickly kidnap the guard on the left side of the room. Now stand facing the second guard (B) walking your way from the back of the tunnel to the north. Choke out the first guard as soon as the second guard passes you, then come up behind him and choke the second guard out.
Head north into the tunnel the second soldier (B) was guarding and turn left. Use Eagle Vision and you can see your kidnap victim in the next room. We suggest heading straight to the target and knocking her out. This way she has no chance of escape. She is not dead when you do this (unlike with Bounty Hunts); Roth and the Challenge accept your kidnapped victims knocked out. Pick up Hattie. Exit the tunnel the way you came in and continue through the yard to the point where you talked to the girl at the first gate (4). There are no cops to be concerned about because you knocked them out on the way in.
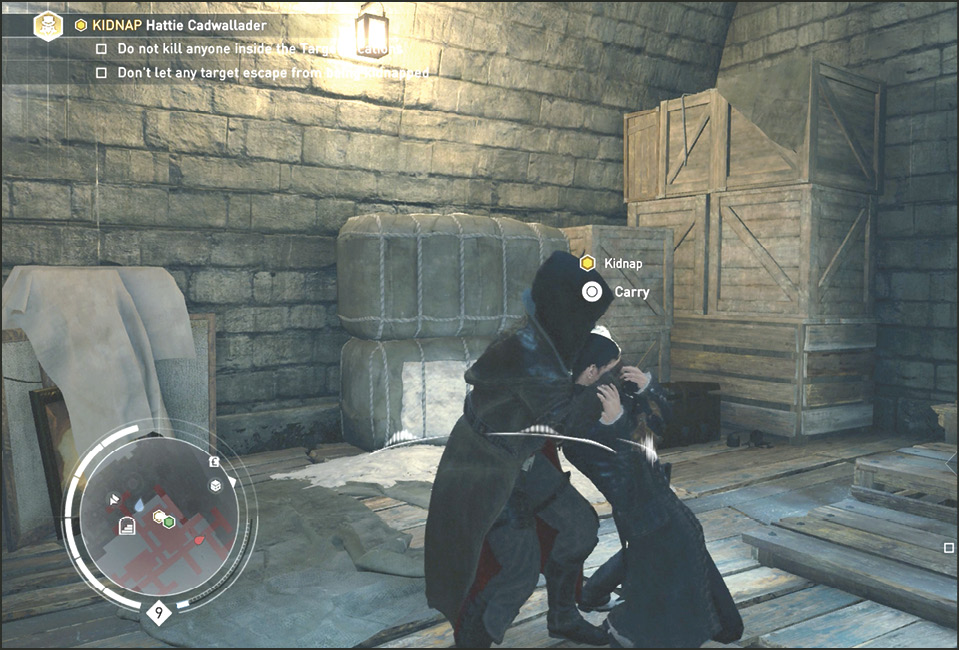
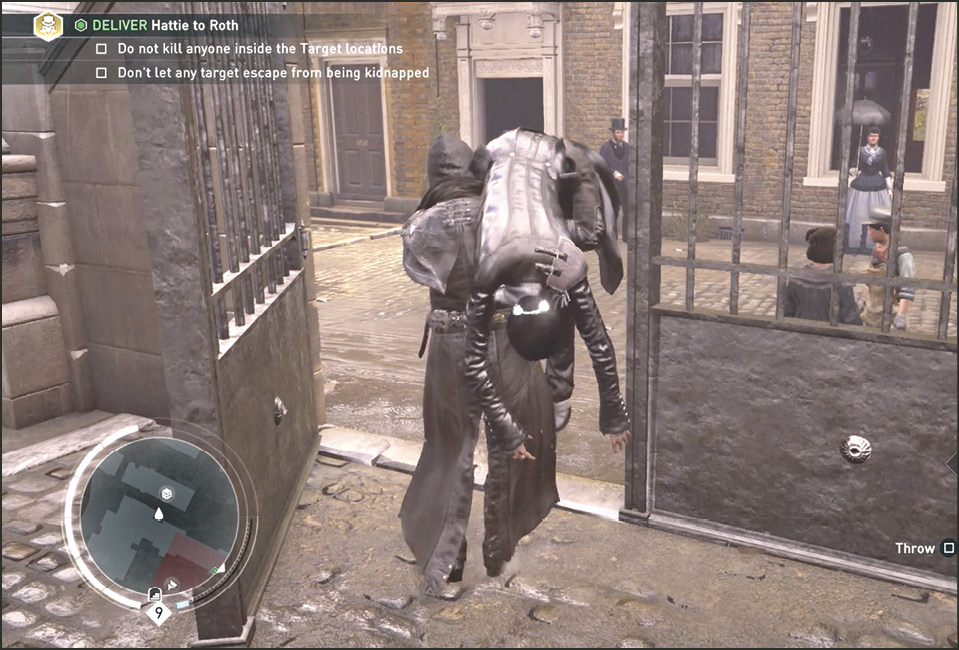
Current Objective: Deliver Hattie to Roth
When you reach the girl at the gate (4), instead of heading left the way you came, head right instead. Roth has moved the carriage to the other street (8). Walk down the alleyway and take a right at the street to reach Roth. It’s much easier this way than going through the police in the courtyard. Avoid running into people; that causes you to drop the body. Also, run in the street to avoid the sidewalks but weave in and out of the carriage traffic. Put the body in Roth’s carriage.
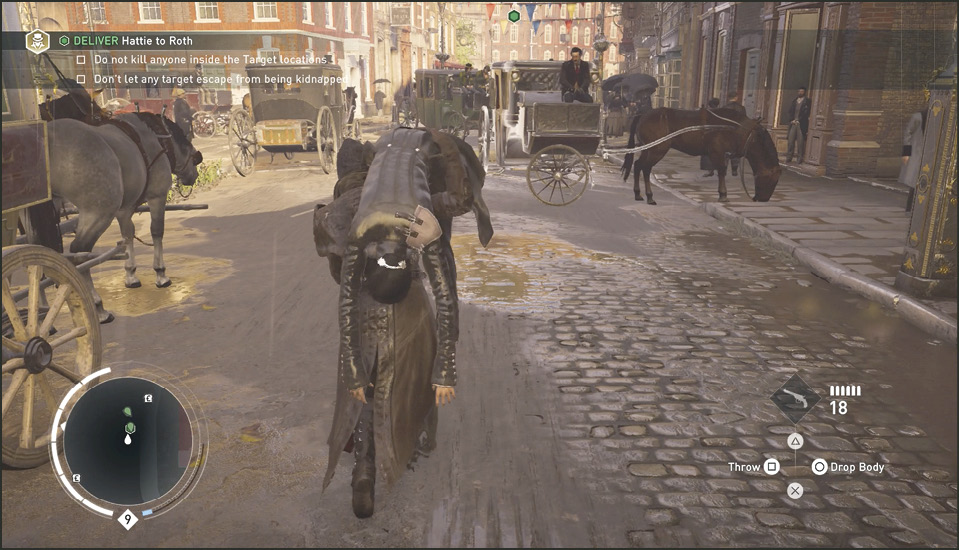
Current Objective: Reach Saint James Park
This memory is called “Triple Threat,” which means you have two more kidnappings like this one to make. Take the reins of Maxwell Roth’s carriage (8) and drive you, Roth, and Hattie to the next destination, Saint James Park (9).
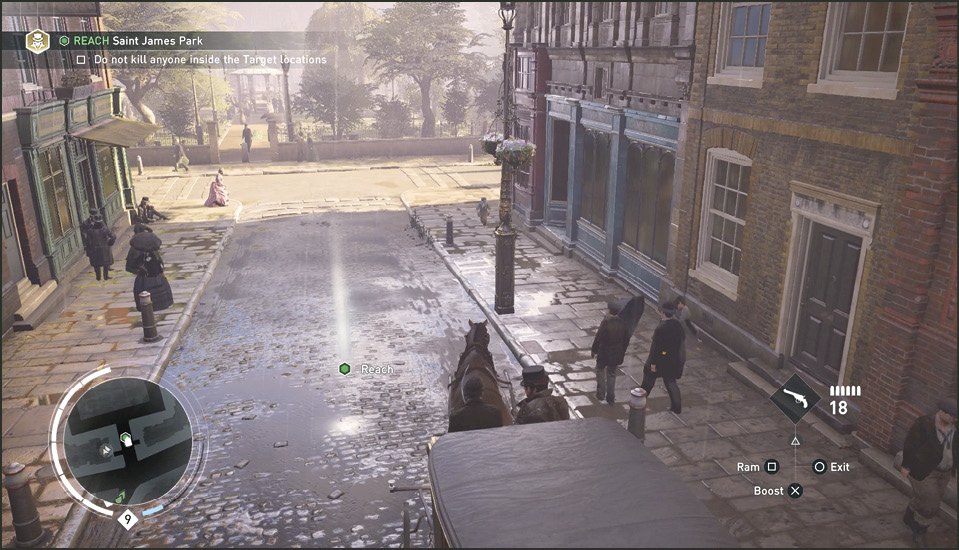
Current Objective: Kidnap Benjamin Raffles
When you arrive at the Reach marker across the street from Saint James Park, Roth tells you to be careful and that Raffles’ guards are never far away. The park’s north entrance has two guards, as do the west and east. Use the rooftops to reach the south entrance (10) where no guards stand or patrol. Raffles has a short patrol route to and from the east side of the gazebo (11). When he walks away from the gazebo, move to the opposite side of it (west) and wait for him to come and turn away again.
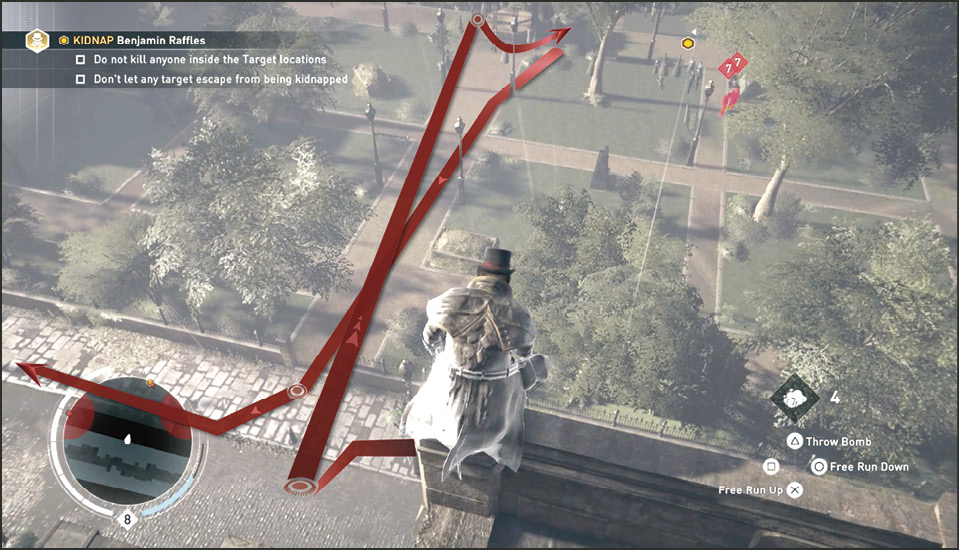
Current Objective: Deliver Benjamin to Roth
Come up behind Raffles when he is facing away from the gazebo and kidnap him. Walk him back through the south exit (10). This is the least guarded area. Now work your way carefully back through the street to Roth, avoiding the patrolling Blighter carriage and the Blighters on a street corner (12) to the north.
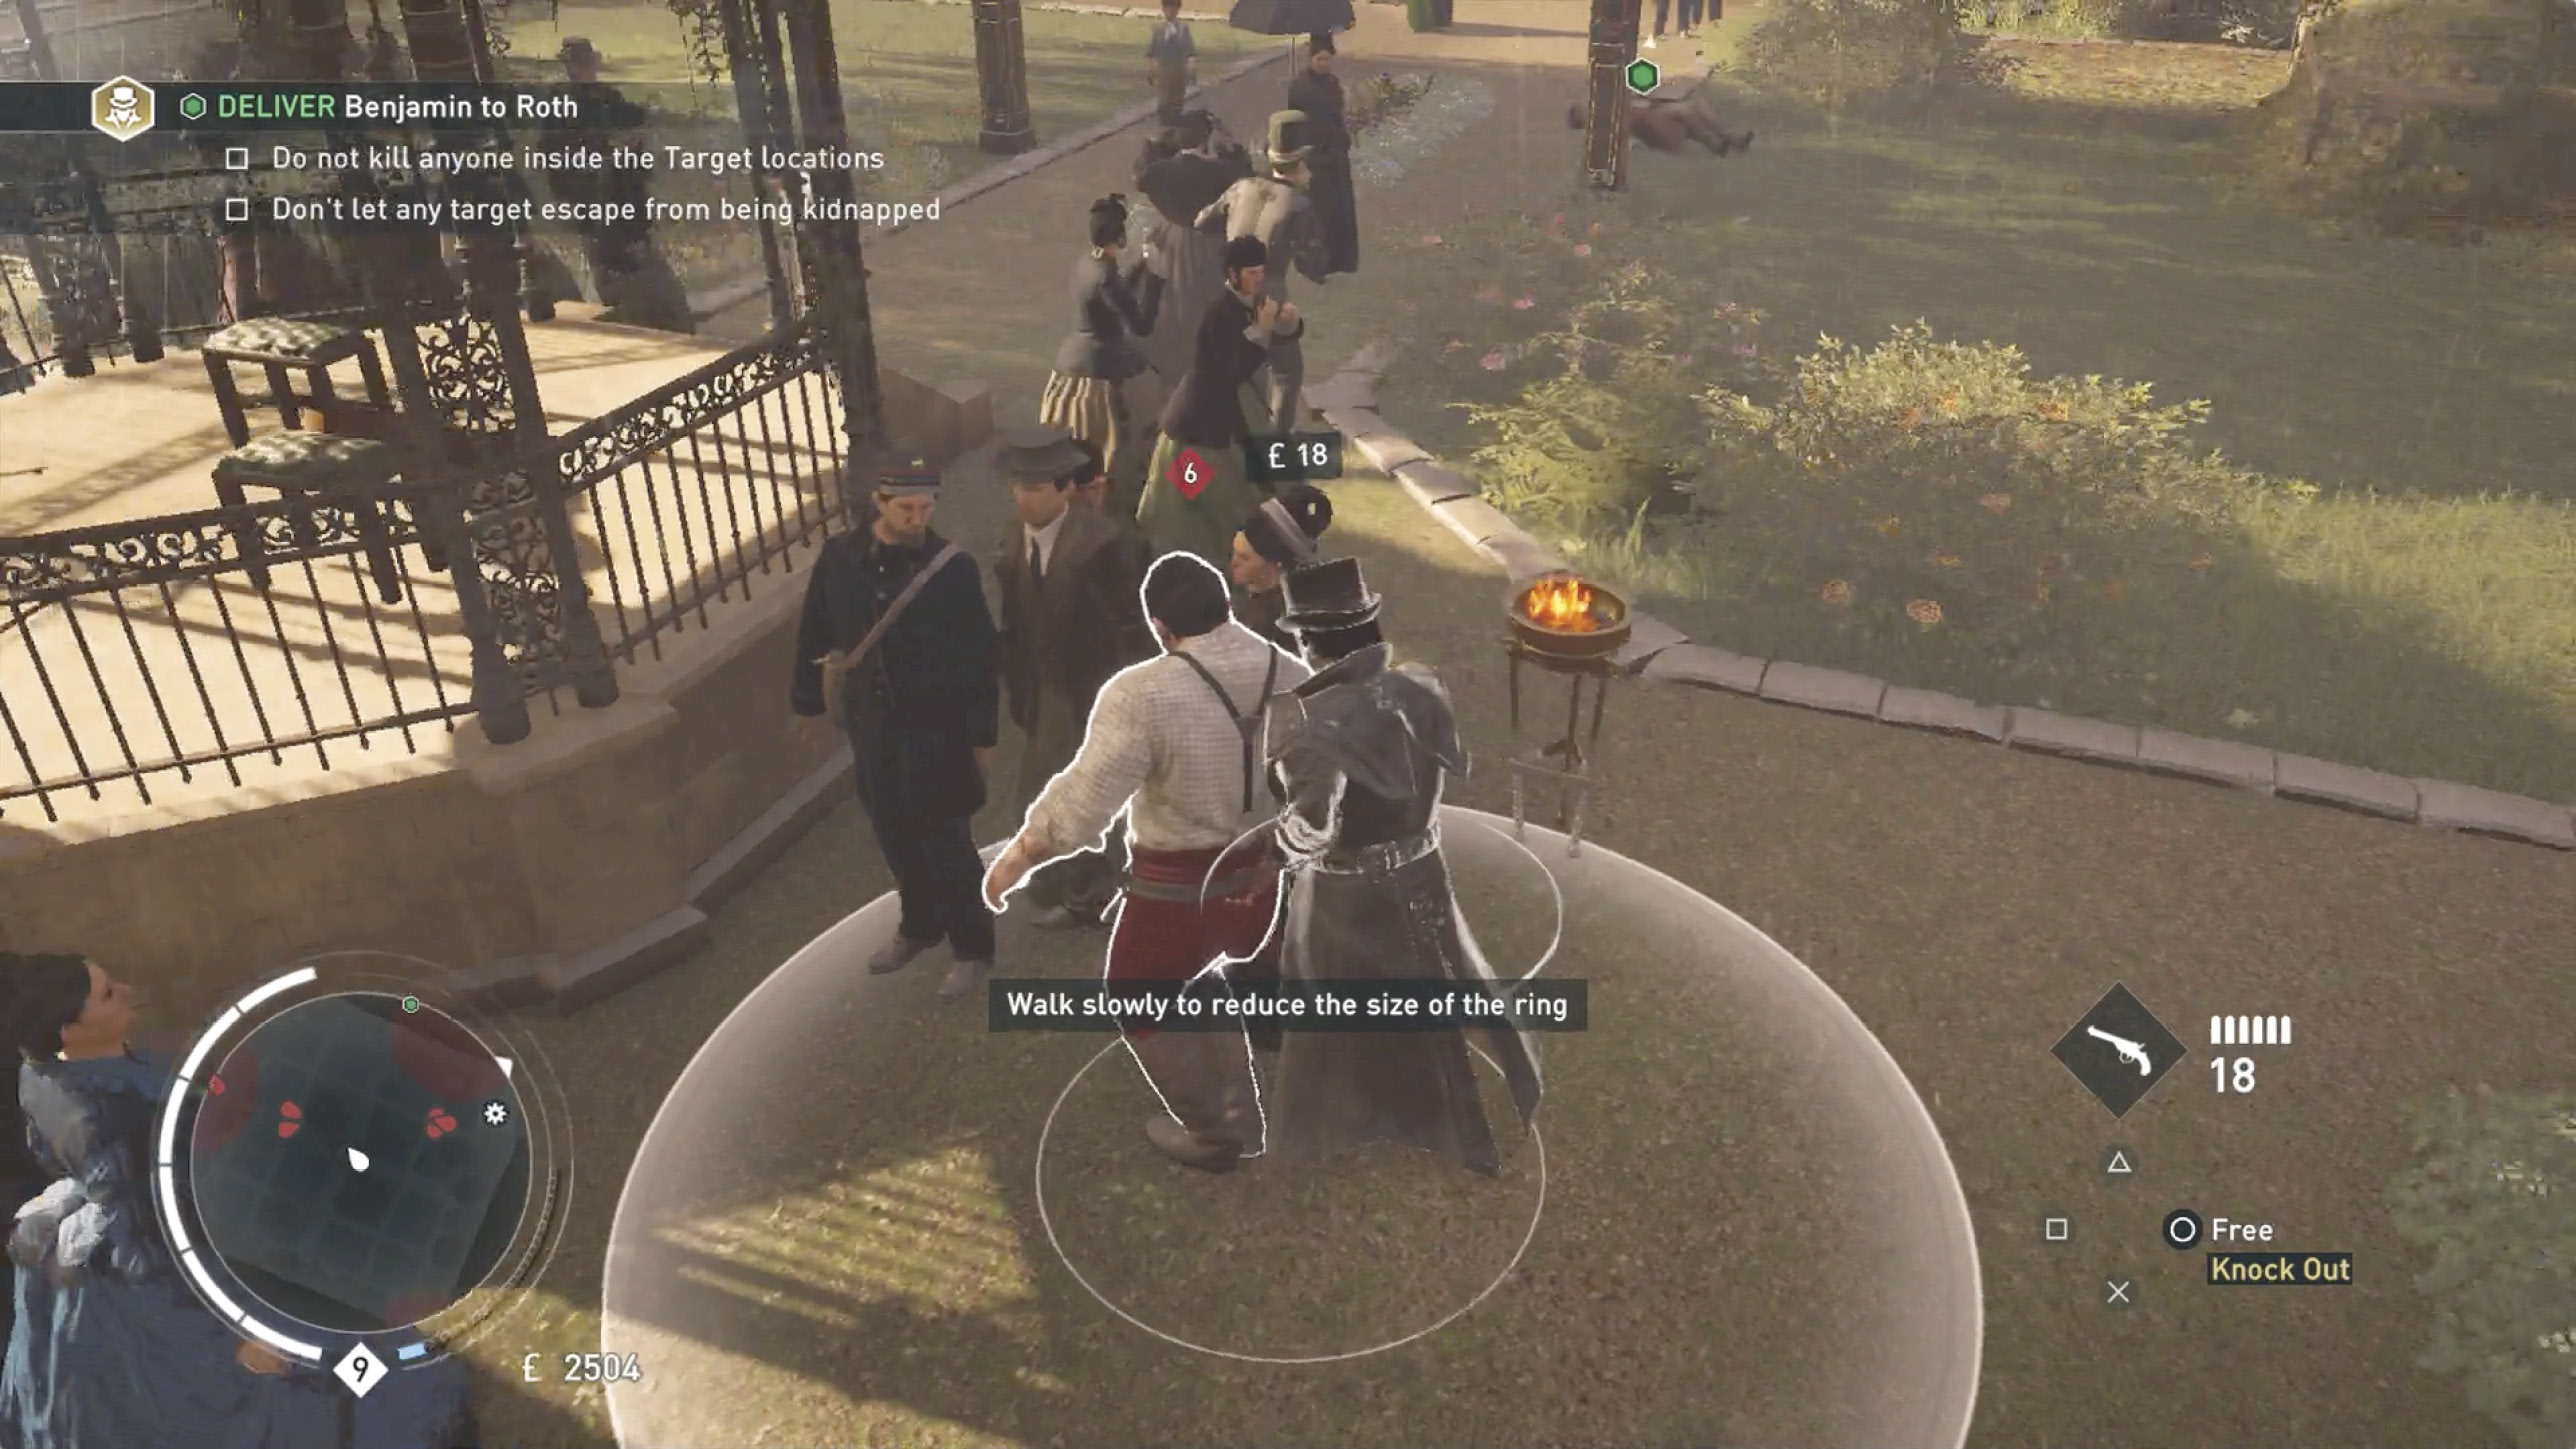
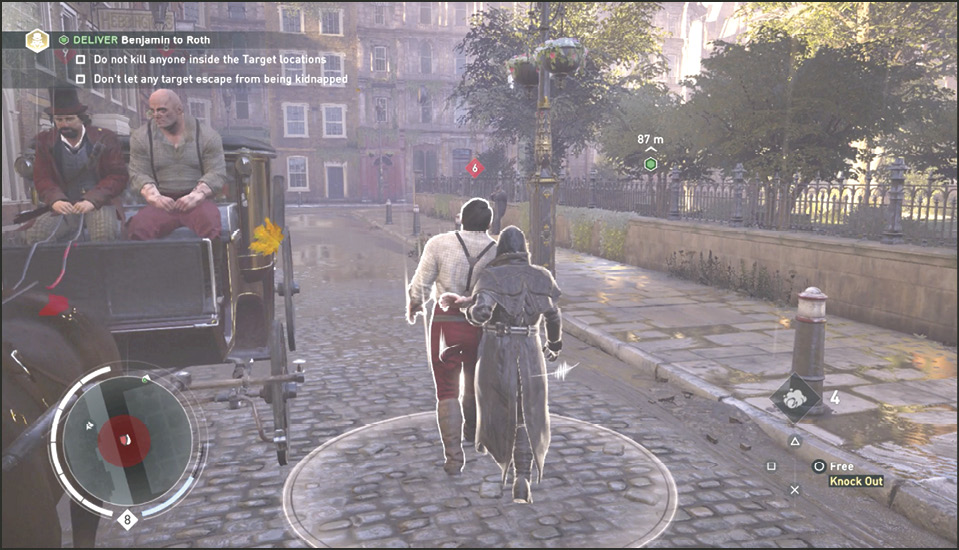
Current Objective: Reach Scotland Yard
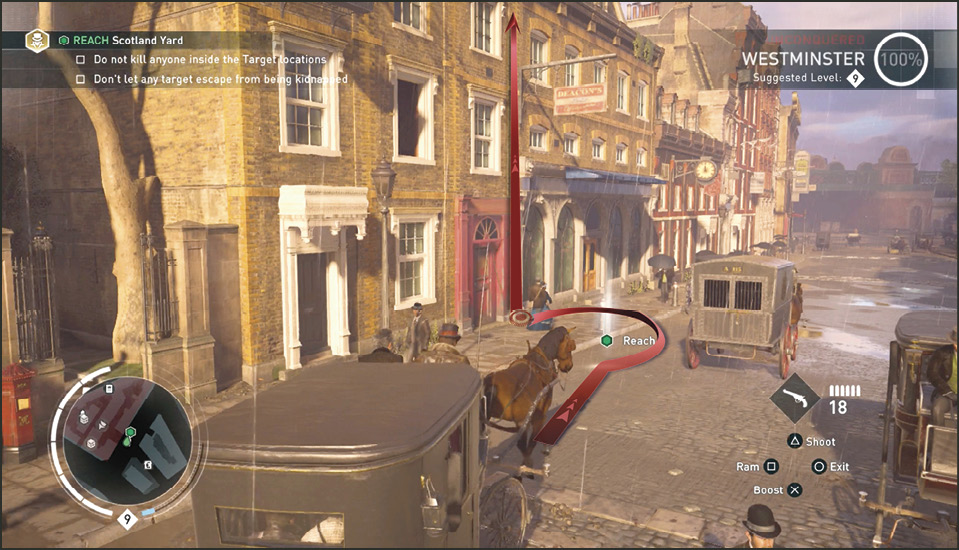
With two henchmen in the carriage, time to get the last one. Drive everyone to Scotland Yard (13) following the route marker on the road or Mini-Map. Blighters on the road generally leave you alone while you are with Roth, but don’t push your luck. Drive cool and get to the destination without having to kill anybody.
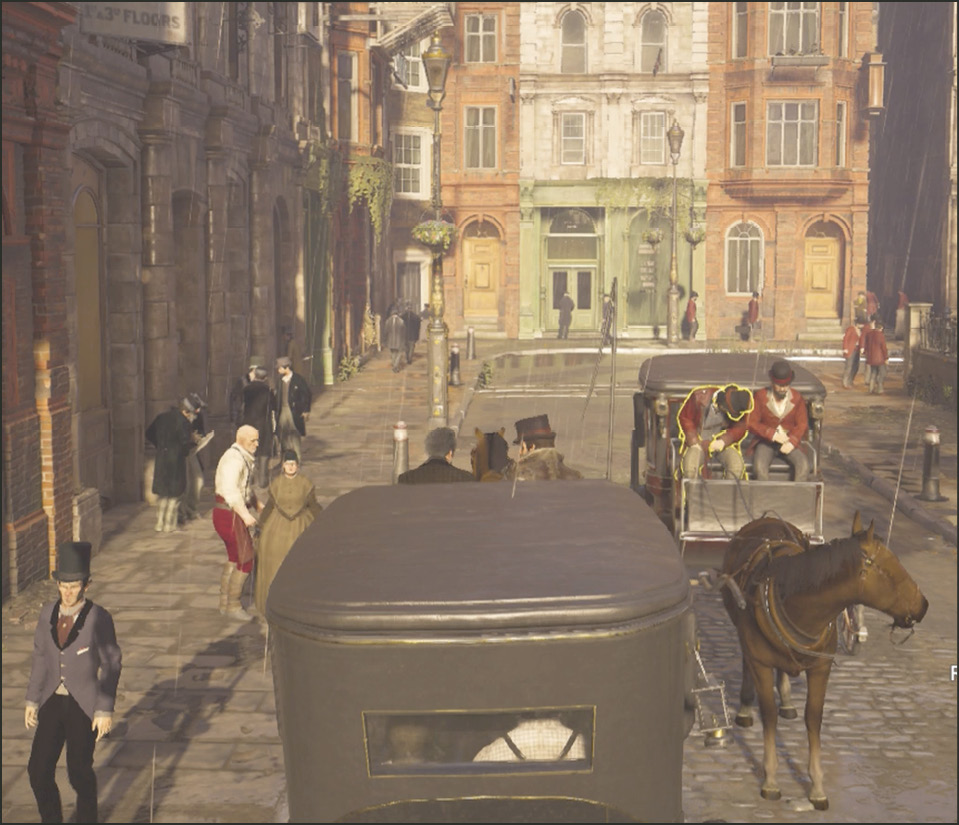
Current Objective: Kidnap Chester Swinbourne
Parked in the marker outside Scotland Yard (13), turn and face the yellow-bricked building to your north and Rope Launch to the top.
Activate Eagle Vision once on the rooftop (14) and you spot Chester (the yellow figure) in a room two buildings away. Hop from your rooftop to the next and then to Chester’s building.
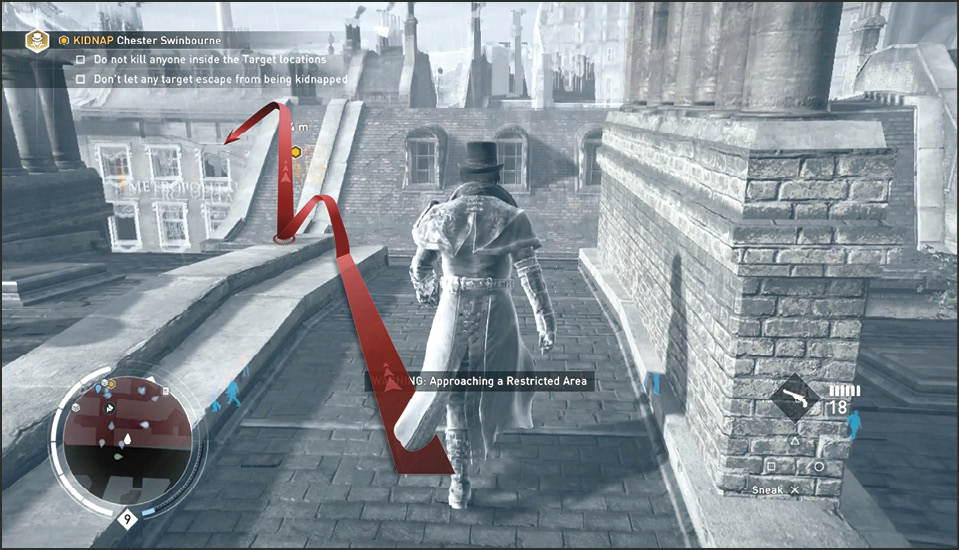
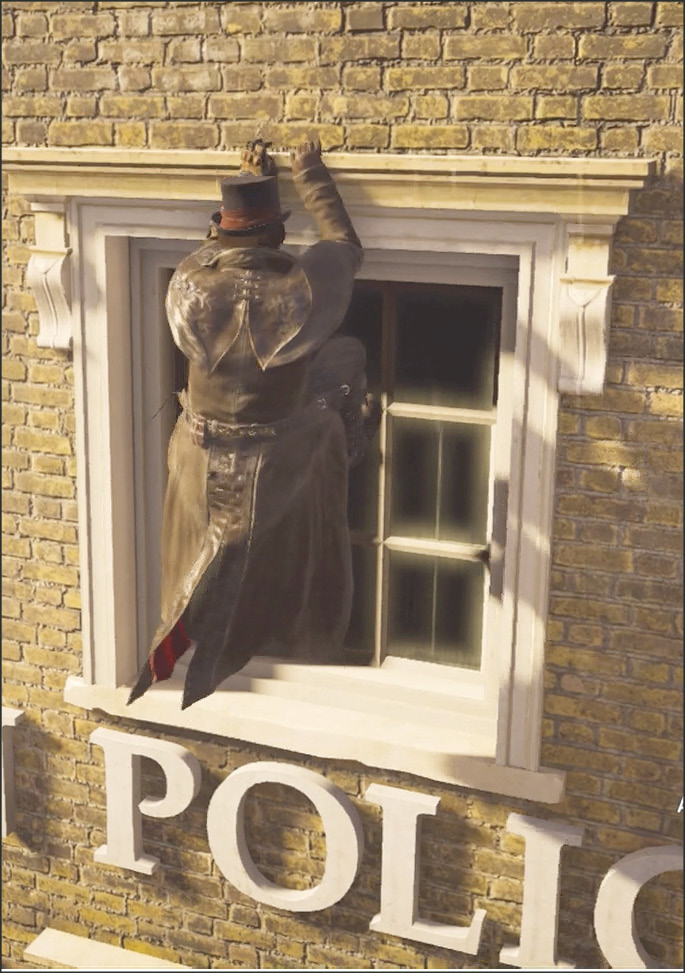
Climb on the exterior wall to his open window on the fourth floor. Wait beside the window (15) until Chester walks away from this open window. When he does, walk in and kidnap him.
Current Objective: Deliver Chester to Roth
Location: Scotland Yard; Fourth Floor
This is the trickiest delivery so keep him conscious. Do not knock Chester out until you are in the clear, out of Scotland Yard security.
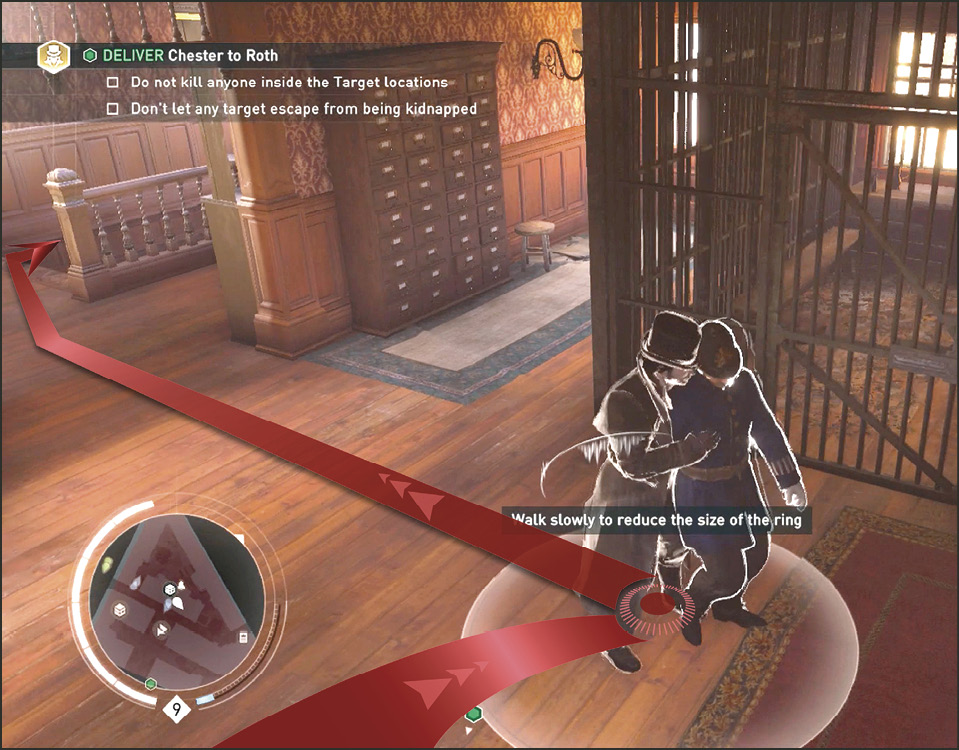
With Chester kidnapped, walk him down the stairs in the next room (avoiding the cop at the window to the left) to reach the third floor. Walk him very slowly so he does not escape on the stairs.
Location: Scotland Yard; Third Floor
On the third floor, wait for the guard (C) to walk from the right side of the room to the window on the left. Walk past him and the civilians to reach the stairs on the right side of the room. Head down the stairs to the second floor.
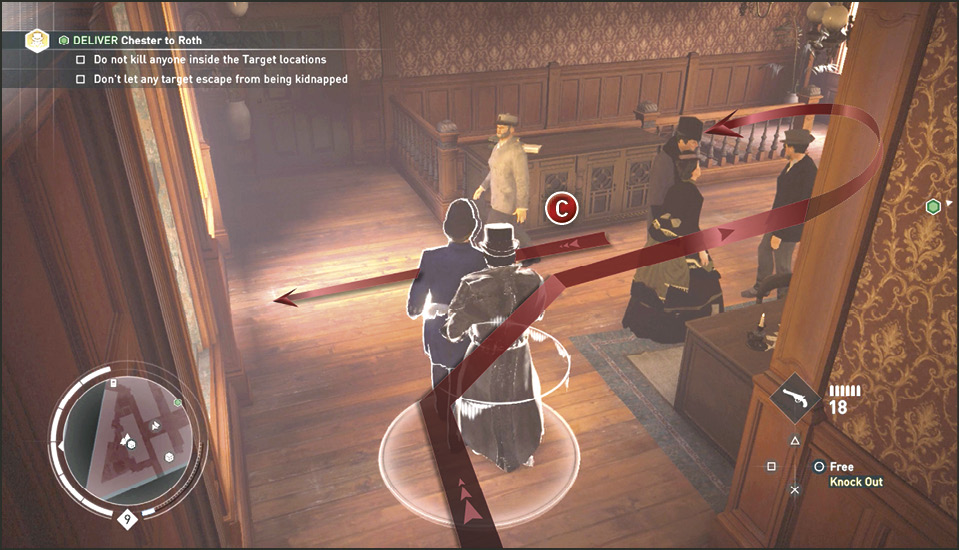
Location: Scotland Yard; Second Floor
On the second floor, stop at the bottom of the stairs and wait for the patrolling policeman (D) to move away from the window and stair entrance. Just keep to the left and walk down the stairs in the middle of the room. Do this slowly so the second policeman (E) leaning on the other side of the railing does not cross your detection zone.
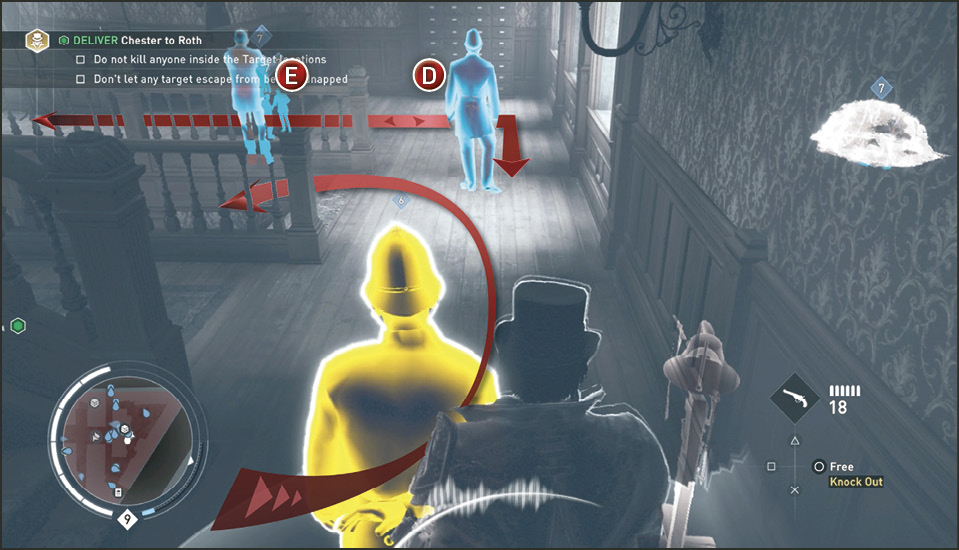
Location: Scotland Yard; First Floor Stairway
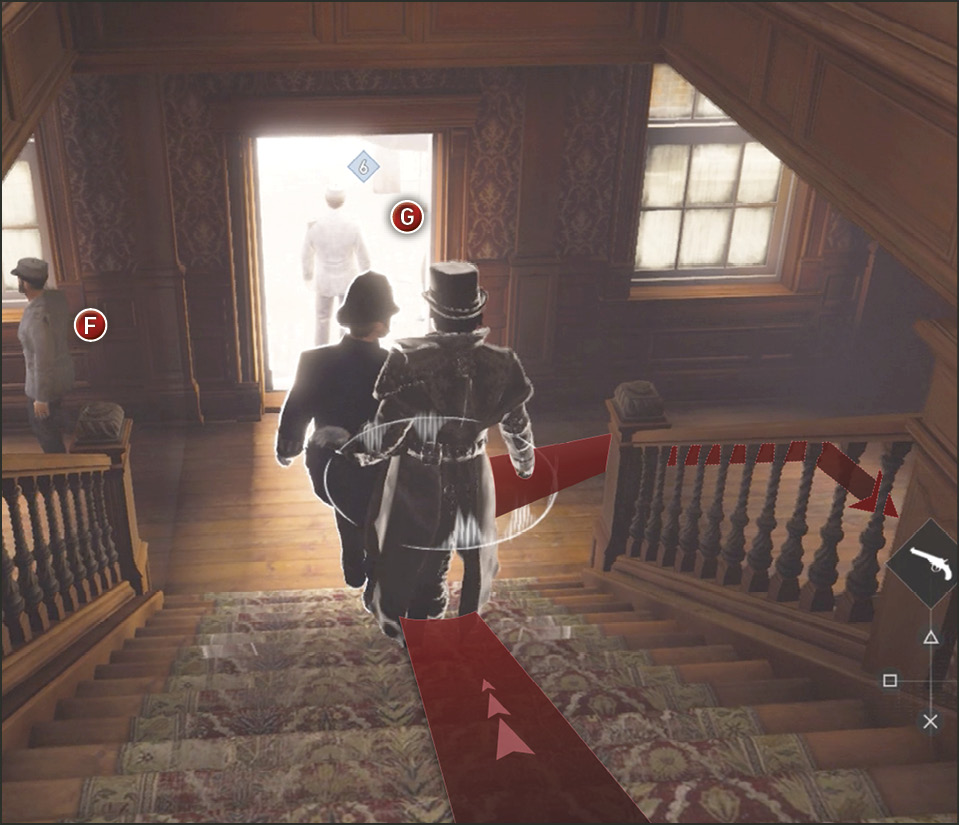
On your way down the stairs from the second floor you spot a guard (F) at the door at the bottom of the stairs and another guard outside the door (G), blocking it completely. There’s no way to squeeze through. Stop on the stairs and wait for the guard (F) at the bottom of the stairs to walk into the room on the left and then walk Chester to the bottom of the stairs and take a right at the doorway to enter the room to the right of the stairs. Continue around a desk and out a backdoor.
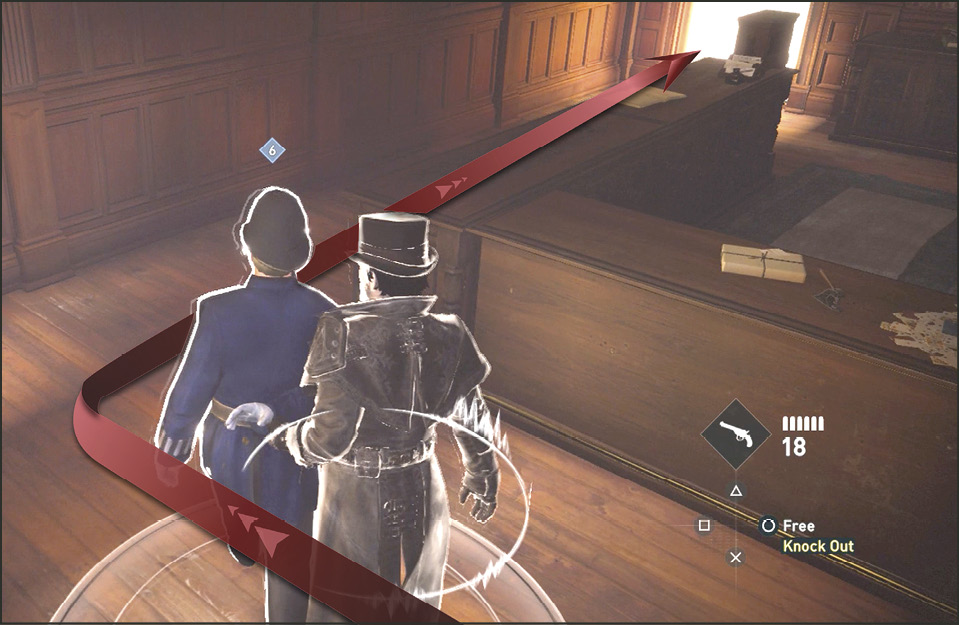
Location: Scotland Yard Exterior
Once outside (16), turn right and pass the alarm bell and hiding booth on your right and continue through the concrete gate archway. There are two guards behind you to your west that patrol these grounds. Keep moving and, if they get close, walk out of their pathway to keep them out of the detection zone. This zone becomes smaller when you walk slowly as opposed to standing in one place.
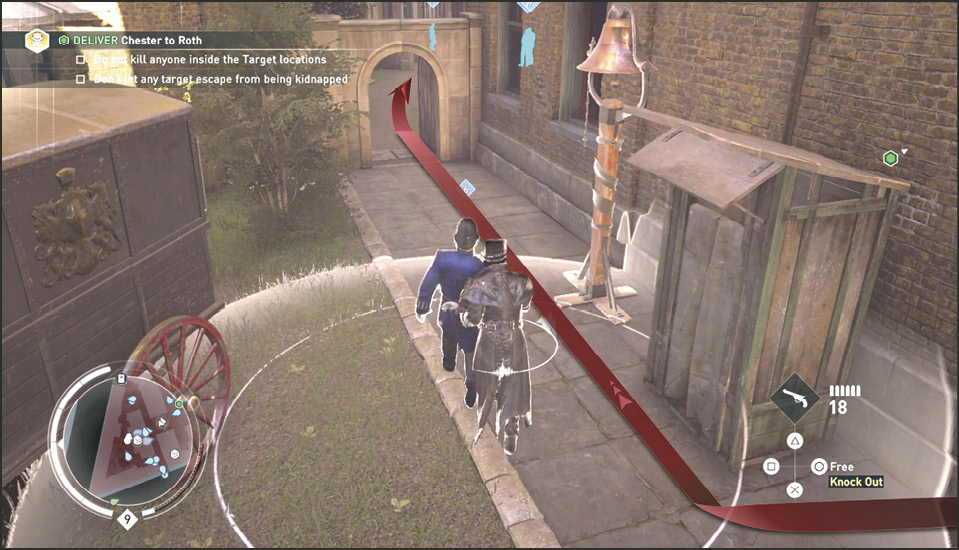
Continue along this path through the archway. Slowly pass two guards on the right side of the pathway. One more policeman patrols ahead near the next gate opening. He walks away to the right. When he does, pass through the gate and turn left toward the street (17).
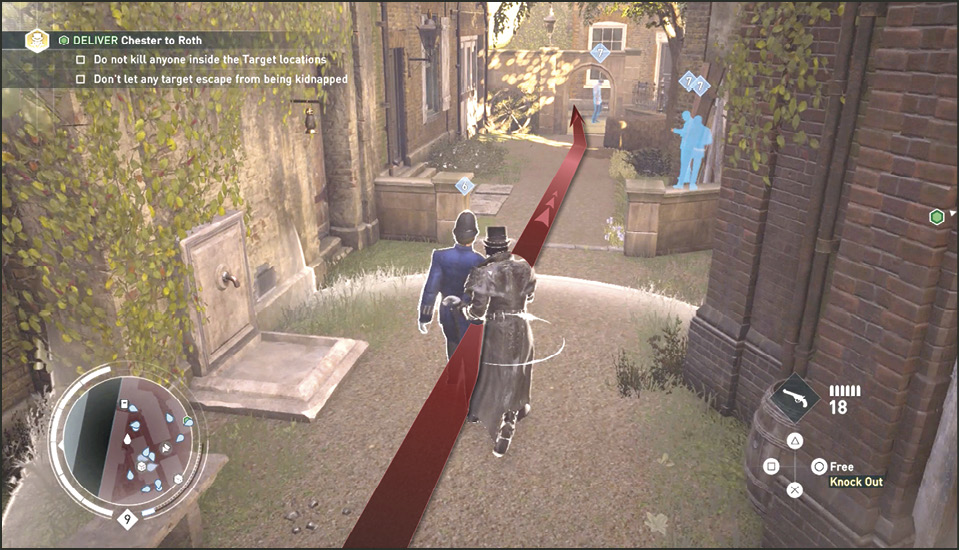
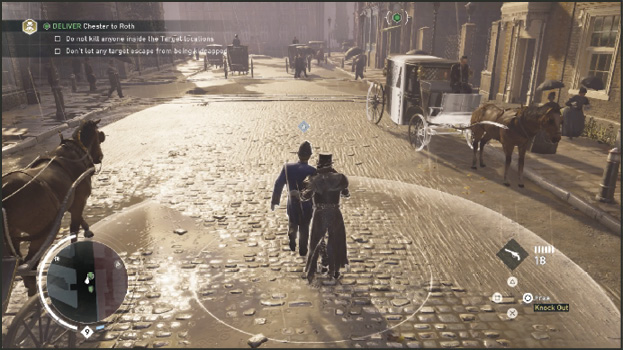
Once in the street, check your map and you see you are on the opposite side of the block from Roth (13) so walk Chester through the street around the east corner and back to the carriage. If you don’t want to risk him getting away now, you can knock him out and carry him from here.
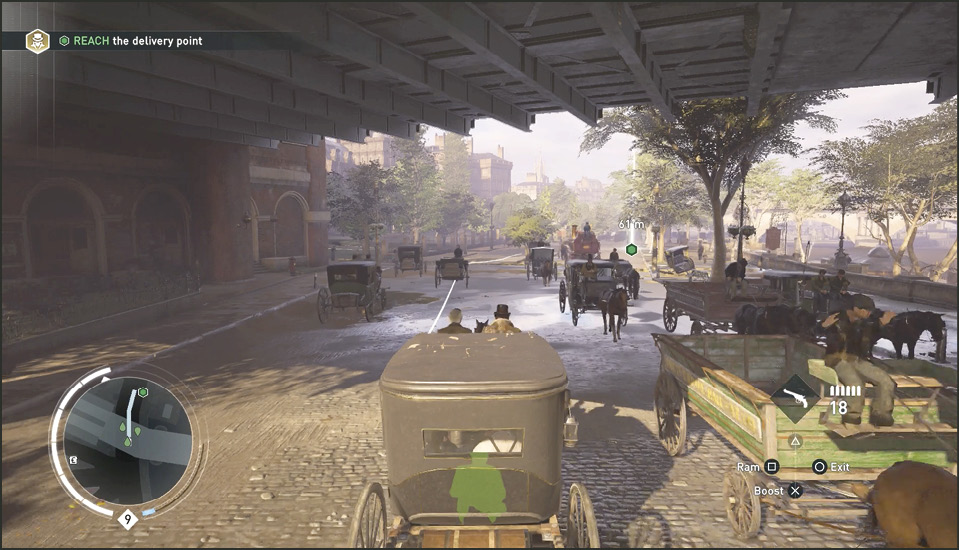
Current Objective: Reach the delivery point
With everyone in the carriage, drive to the delivery point (18) just southeast of the Charing Cross Station, just a few blocks away to the northeast.
When you reach the docks, Roth’s men load the three kidnapped henchmen onto a boat. Roth congratulates you and tells you to come see him again at the Alhambra.