
Assassin's Creed Syndicate Guide Walkthrough Sequence Six
A Spot Of Tea
MISSION OVERVIEWMemory Type: Templar Conspiracy Suggested Level: 6 AssassinJacob Frye Rewards£: 830 XP: 400 Belt: Metal Web Belt |
Current Objective: Locate the smuggled Cockham weapons
Location: The Thames, South City Of London
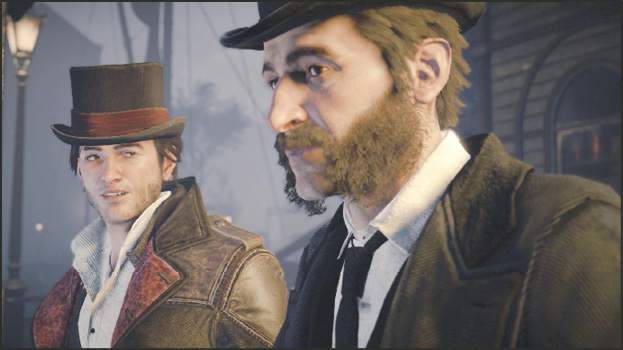
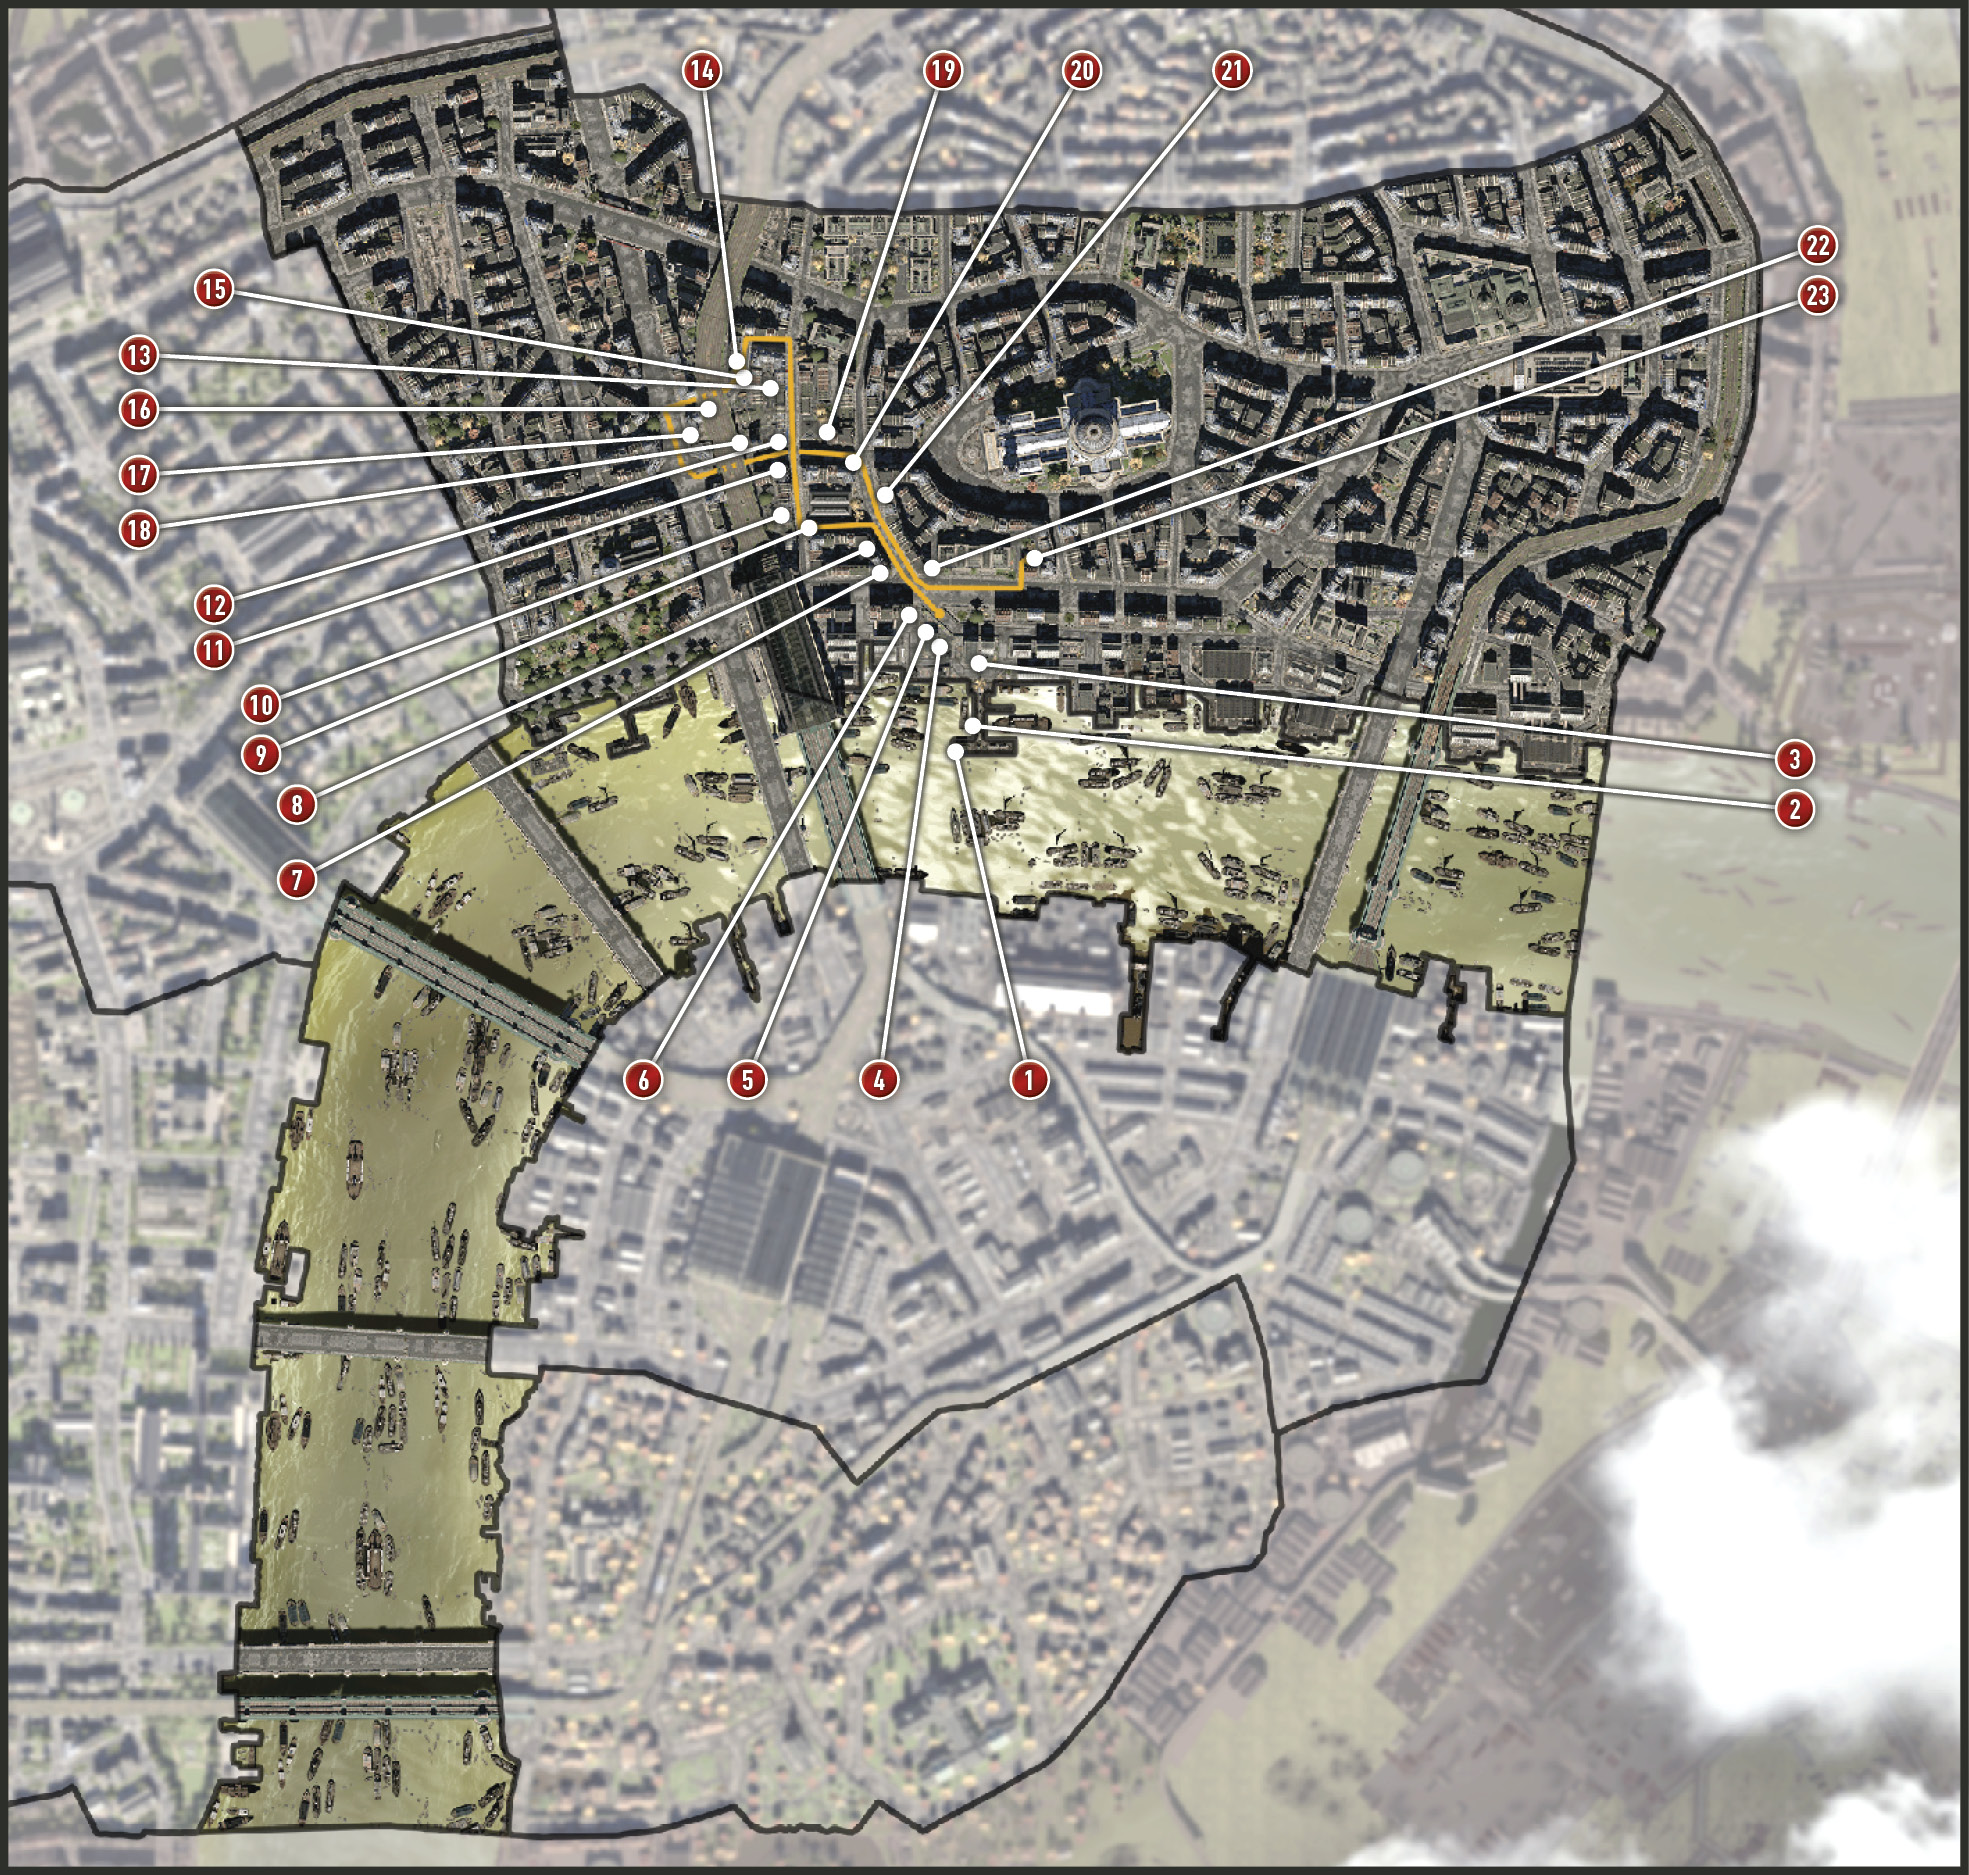
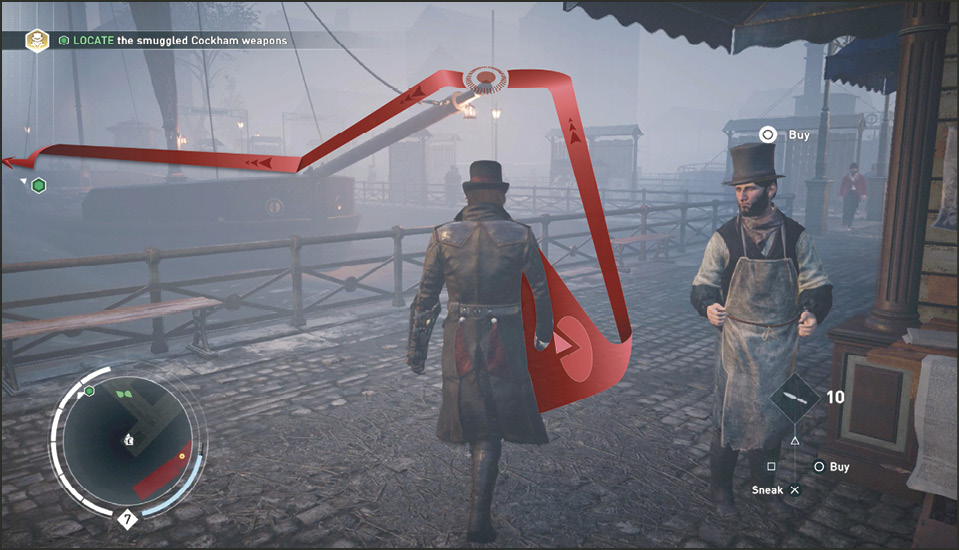
Jacob meets Abberline at the end of a pier (1) in the City of London on The Thames. Looking out at the sea of shipping vessels, Abberline tells Jacob, “If only I knew which shipment it was, then I could trace the weapons to their owner.” Jacob loves this idea and acts on it. He will use his Eagle Vision to locate Cockham’s weapon crates.
Head north toward shore. The pier is populated with police and Blighters, so if you don’t feel like dealing with them, leap from the pier rail to the mast of the ship (2) near your meeting location. Head to the end of the ship and jump to the pier rail and continue to the street.
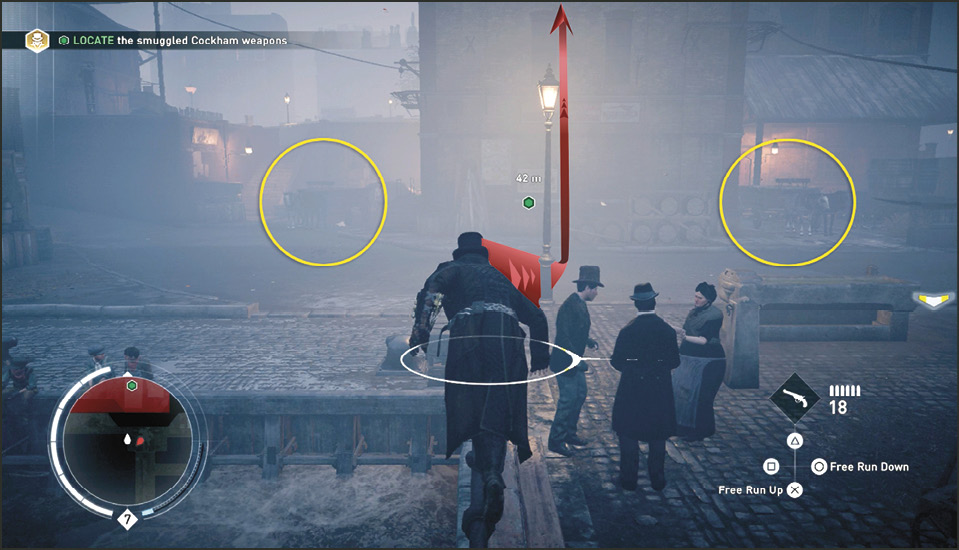
When you reach the street, activate Eagle Vision and you spot two carriages with suspect cargo. There’s one carriage on both sides of the building across the street (3). Neither of these cargos is what you’re looking for, so if you don’t want to bother with them, walk up to the front of the building and Rope Launch to the rooftop.
From the rooftop of the warehouse (3) run to the northwest corner and zipline to the next warehouse (4) to the west. With Eagle Vision you’ll be able to spot a level 9 Blighter (A) in a yard below. You’ll be passing over on the zipline. If you can, Air Assassinate this guard from the zipline. The nearby enemies do not have a direct line of sight on him, since he is behind a fence.
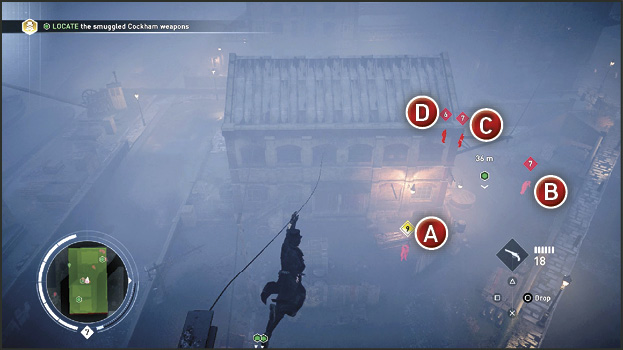
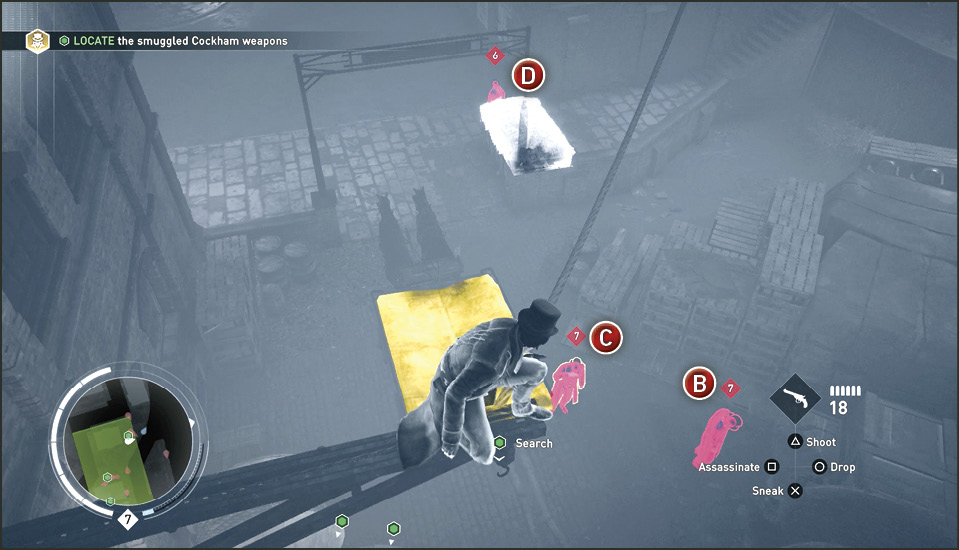
From the rooftop of the second warehouse (4) walk out onto the hoist on the north side. This vantage point overlooks the carriage with the weapon shipment (5). There are also three more Blighters (B, C, D). When he is alone, Air Assassinate the guard (B) around the carriage. Then try to come up behind the last two guards and take them out stealthily or just overpower them in a knife fight. Search the nearby cart.
Current Objective: Hide until the cargo cart’s departure
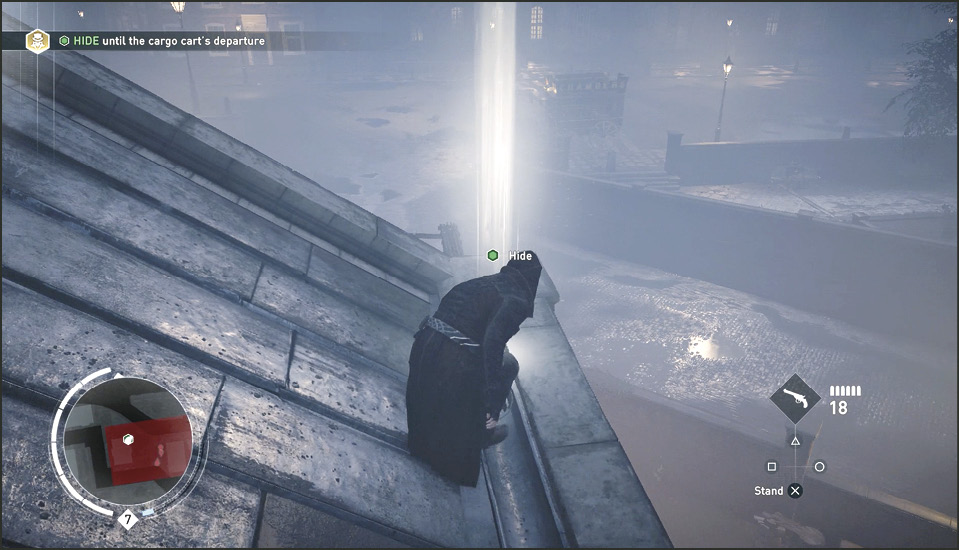
When Jacob inspects the cart (5) he finds Cockham’s weapon shipment under a tarp. Now you must wait to see who picks it up and then follow them to the group who ordered them. Rope Launch to the top of the building and enter the Hide marker. This is located in the northwest corner of the rooftop.
Current Objective: Tail the cargo cart
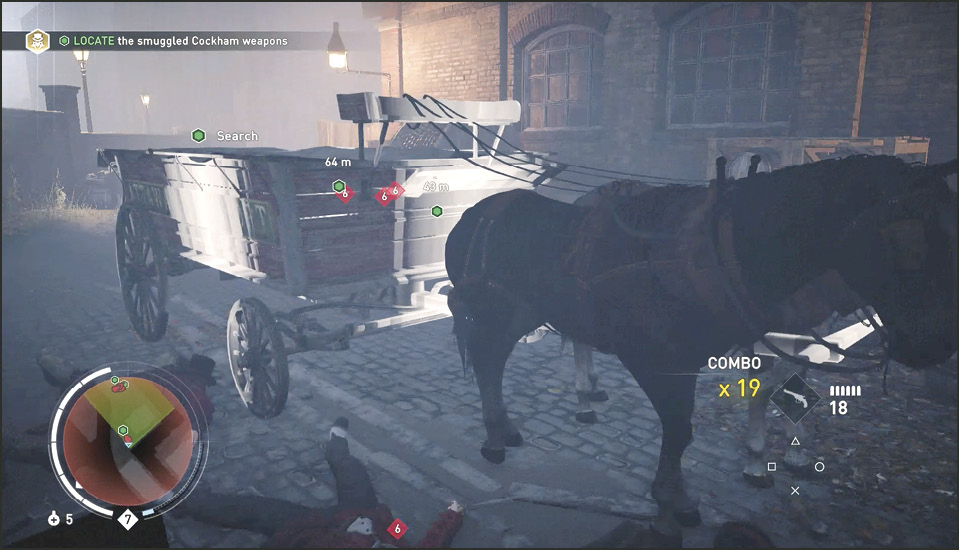
A couple of Blighters arrive and take the reins of the cargo and begin pulling away heading northwest down the street. You must tail this shipment and avoid being seen (don’t get too close). Use Eagle Vision to mark the target, making it easier to see. If the cart gets out of your view (blocked by buildings) then a 25 second timer begins ticking down until you get can get a direct line of sight with the cart again. Since the path you must follow takes you through many Blighters on the streets, we suggest that instead of following them in a cart of your own, you instead Rope Launch and parkour your way through this pursuit.
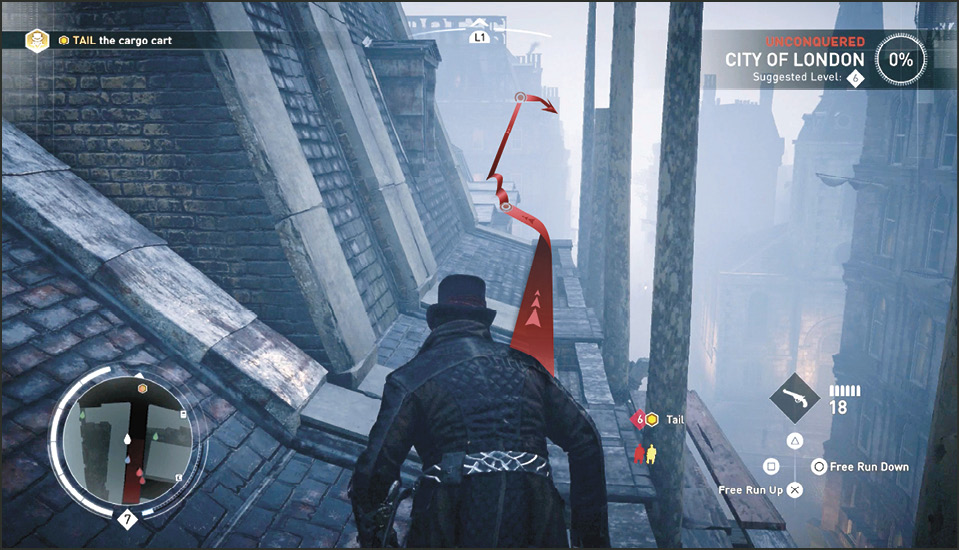
Begin your pursuit by running across the rope suspended between your building and the next to the northwest (6). From the end of the scaffold on the second building, leap to the plank sticking out the north side of the building. This is just around the corner to the right. This allows you to Rope Launch and zipline to the building (7) across the street.
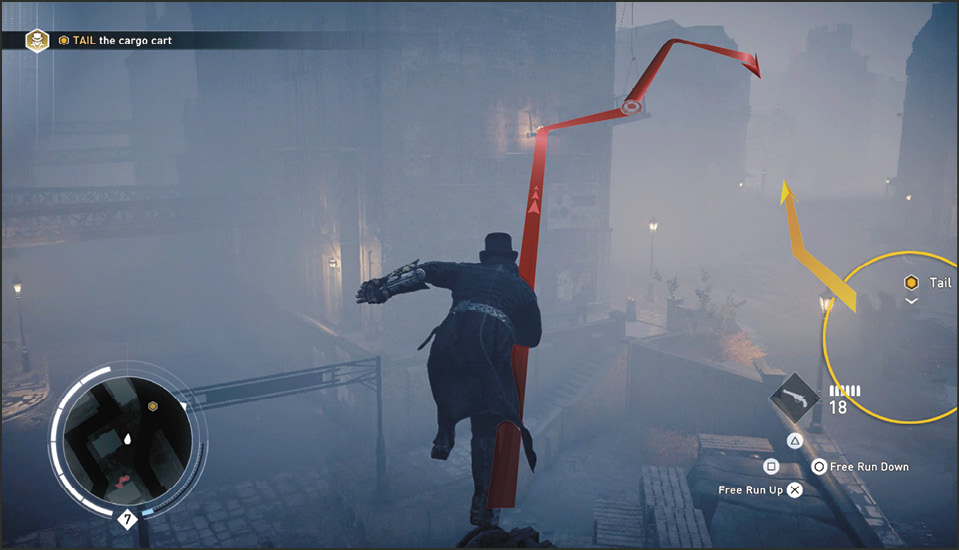
Follow this building’s east roofline ledge. Continue running northward toward the target below. The fog is thick in this memory so keep your eye on the cart (or the orange blip on Mini-Map). Run across the plank between this building (7) and the next (8). Rope Launch to the top of the next building’s rooftop.
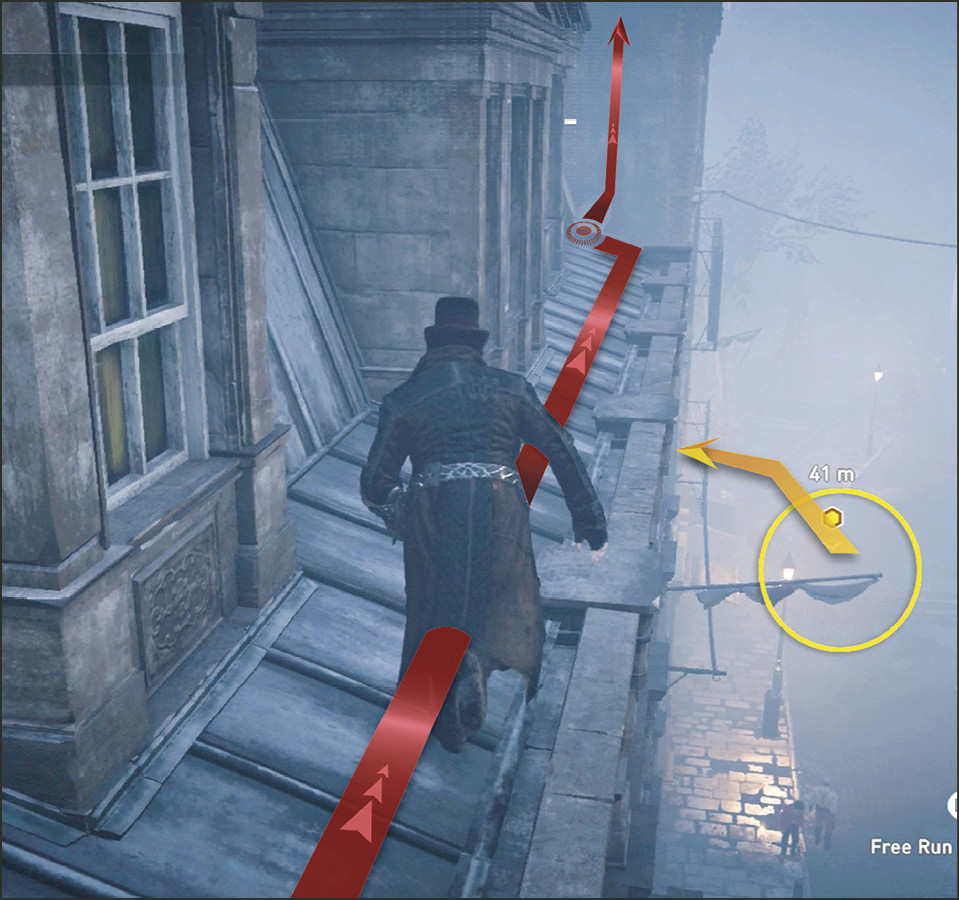
First Checkpoint
Follow the rooftops of this building (8) as they corner with the intersecting street below. The cart turns left here and stops at a checkpoint (9) and the street is full of Blighters. This is why you cannot follow the cart while driving a vehicle. You would run into a lot of trouble here. Continue to follow the roofline ledges around (ziplining where necessary) and start getting ahead of the cart while it prepares to leave the checkpoint.
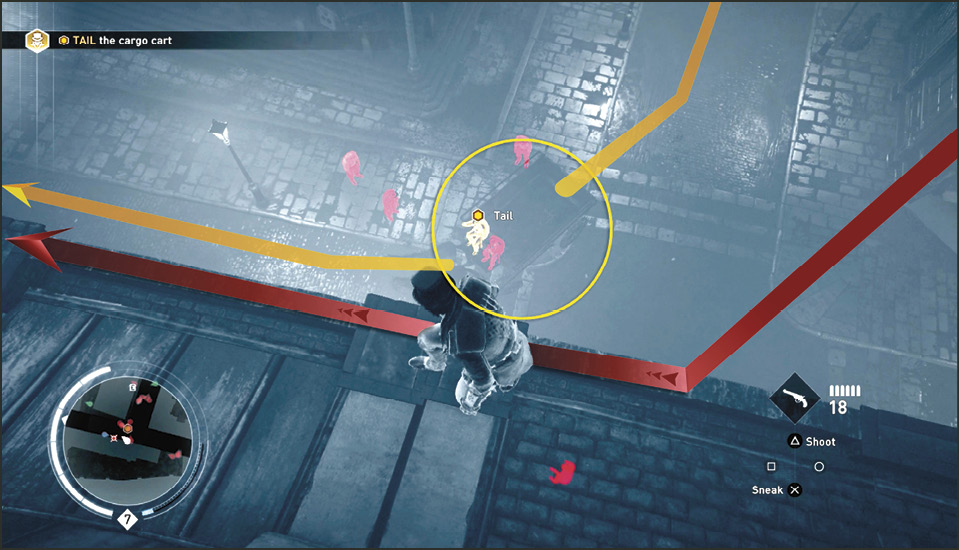
Follow the rooftop ledges on the left side of the road. Assassinate the Watcher (E) on the house (10) with the higher ledge. Continue heading north to the end of the roofotps and then zipline from the end (11) to the houses across the street (12).
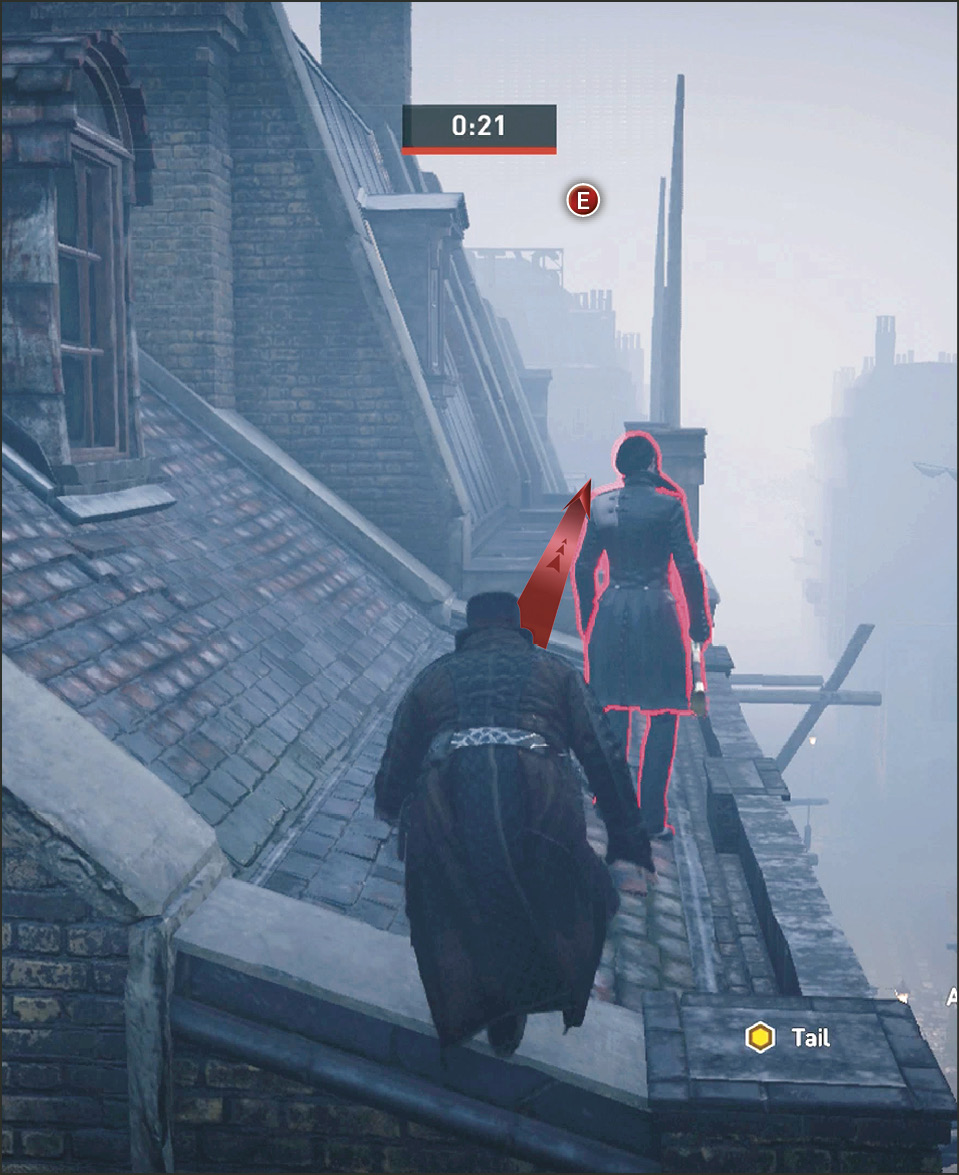
Second Checkpoint
About halfway across the long block of houses (13) you can begin veering west across rooftops; the cart turns west at the next intersection and circles around the block. You’ll be cutting the corner. Do this quickly so you can get the cart back in view before 25 seconds counts down. Now it stops at a second checkpoint (14) and picks up the final Blighter delivery driver. You can watch this transaction from the high scaffolding (15) above and across the street.
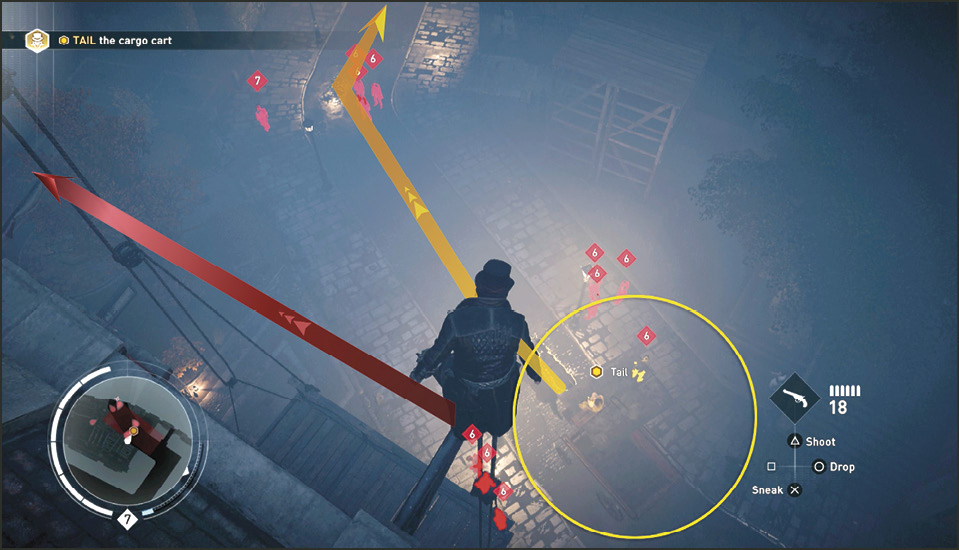
While waiting for the drivers to switch out, look for the rail bridge to the south. The weapons cart will travel under this bridge and circle the next block and come back around to intersect its previous route (see out map). So while waiting for it to move again, look for a Rope Launch lock-on on the top of the railroad lighting truss (16). There’s a Watcher on this railroad bridge, but don’t worry, she won’t be an issue.
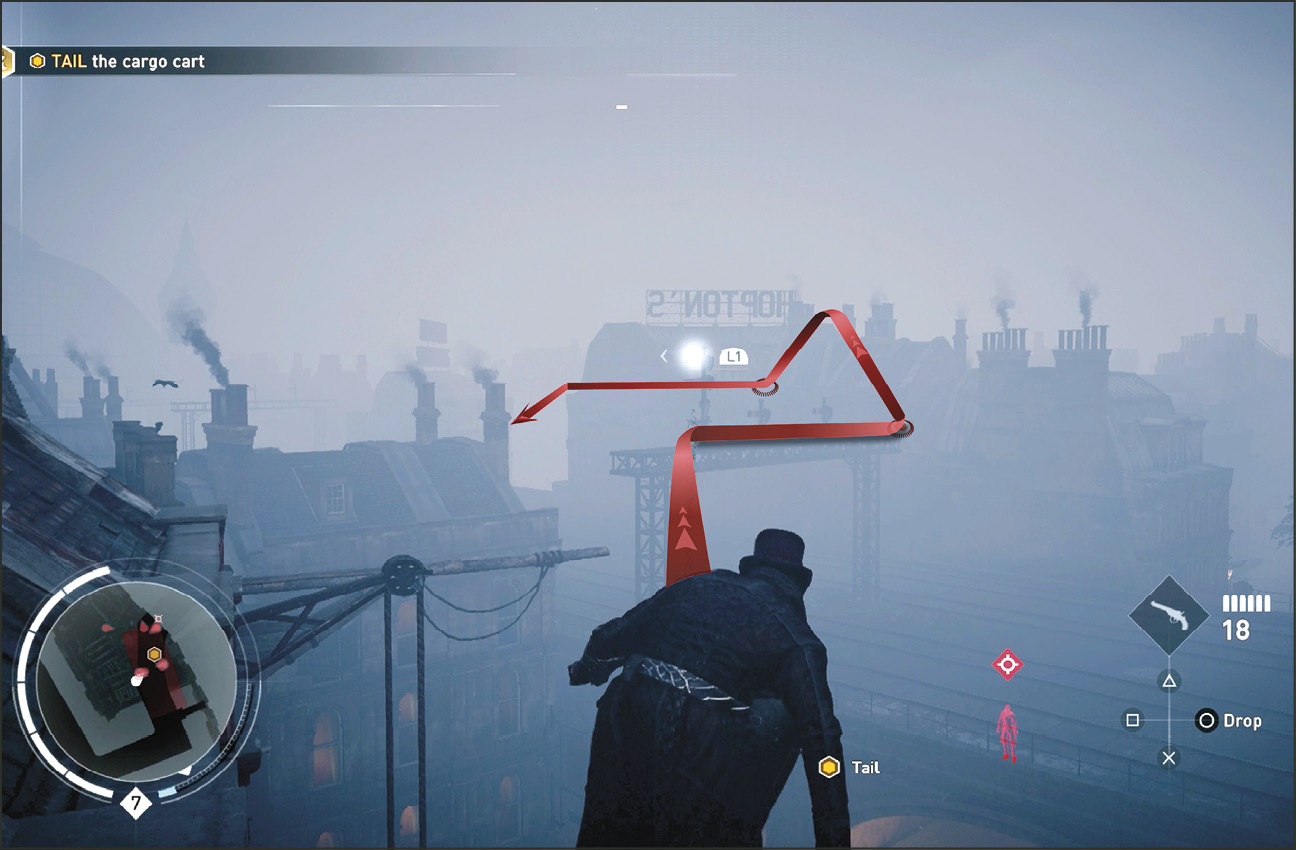
From the end of the light truss, Rope Launch to the rooftop of the houses (17) to the northwest. Aim for left side as much as possible as the weapons cart is circling around this block and going to pass back under the rail bridge on the next street. So basically, you need to cut the corner and cross back over the rails (18). Get the cart in sight to avoid running the clock down.
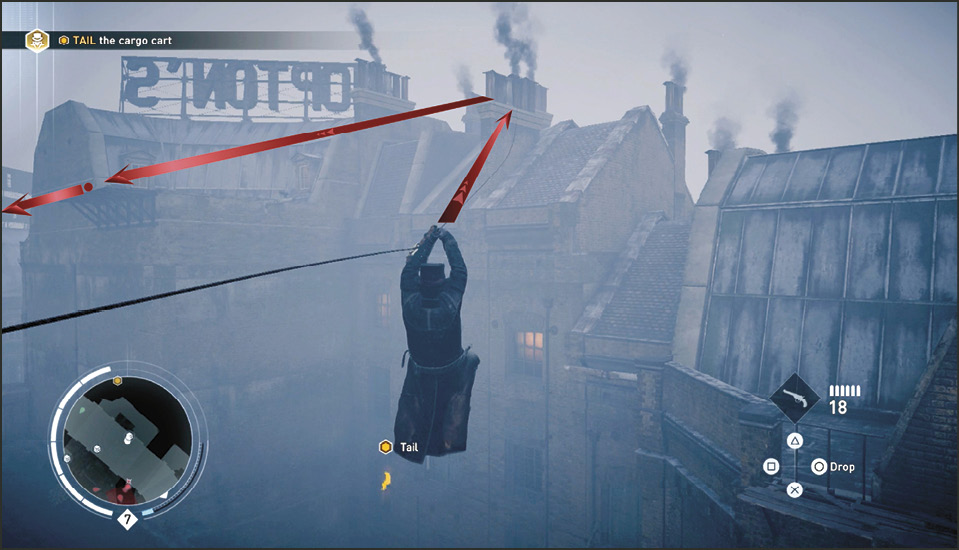
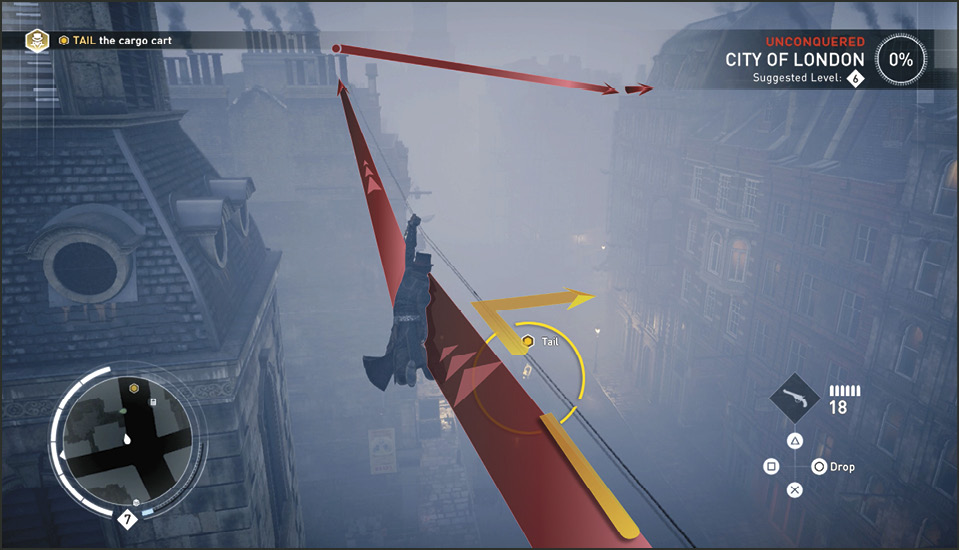
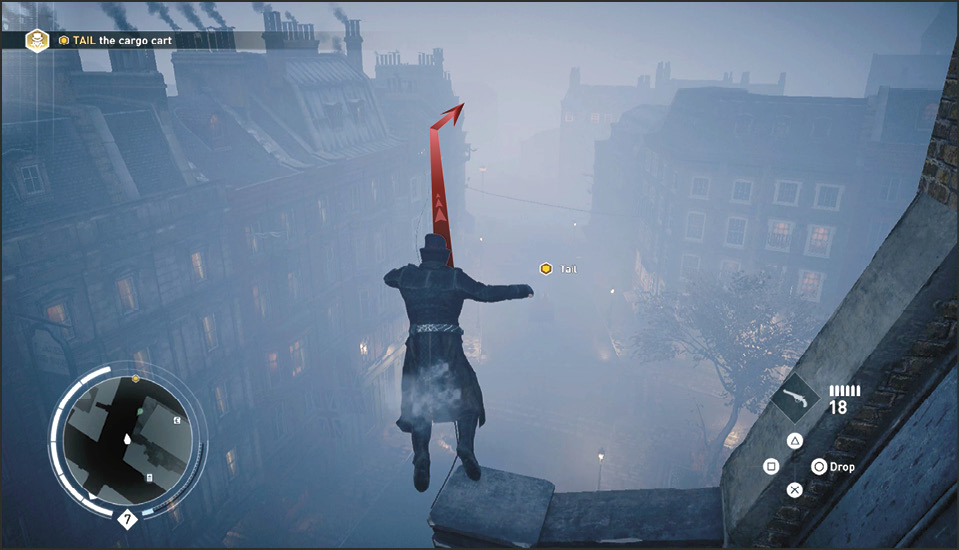
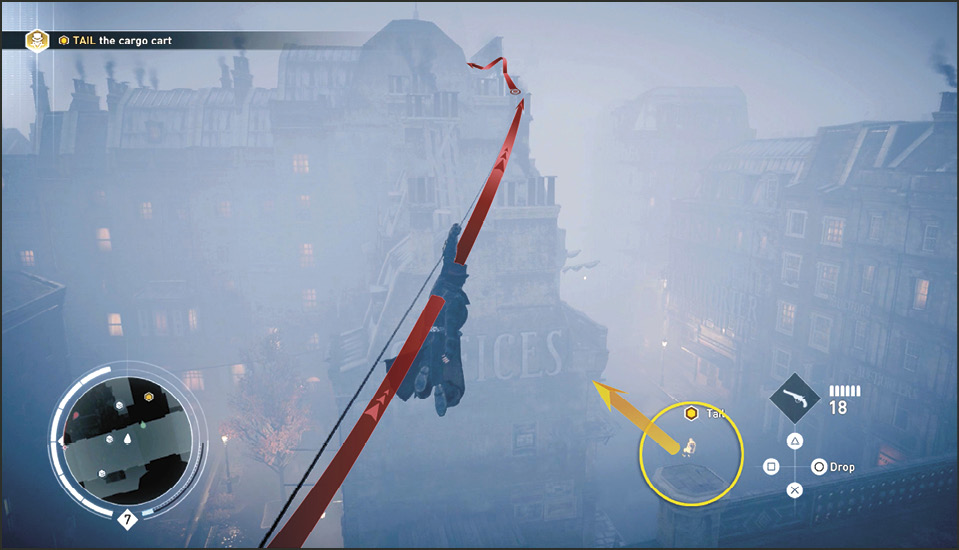
Follow the north side rooftop ledges, chimneys and signs to the next corner (12). You’ve been here before but this time zipline across the intersection, continuing east past a church bell tower to the next multi-story home (19). From here, zipline across the street to the corner building (20). The weapons cart turns right at this street. Continue to the south edge of your building and zipline across the street (21), getting the farthest Rope Launcher lock-on you can to keep up with the weapons.
Now run along the rooftop ledges heading south until you reach the corner (22). You can continue across one more block of rooftops or jump down to the street and sprint to the next corner where the weapon cart ends its journey in an alley (23) to the right.
When the weapons are delivered, a thug tells the driver, “Same routine as before. Mr. Twopenny opens the vault, we robs it and leaves the money in the storehouse.” The driver yells, “To the Bank of England.” Looks like you’ve found the guys behind the bank robbery. Nice work.