Assassin's Creed Syndicate Guide Walkthrough Sequence Four
Cable News
MISSION OVERVIEWMemory Type: Templar Conspiracy Suggested Level: 4 AssassinJacob or Evie Frye ChallengesUse darts on fire sources near 9 enemies Rewards£: 500 + 100 (Full Synch Bonus) XP: 1250 + 125 (Full Synch Bonus) Tool: Hallucinogenic Dart Lessons
|
Location: Alexander Graham Bell’s Workshop, Lambeth
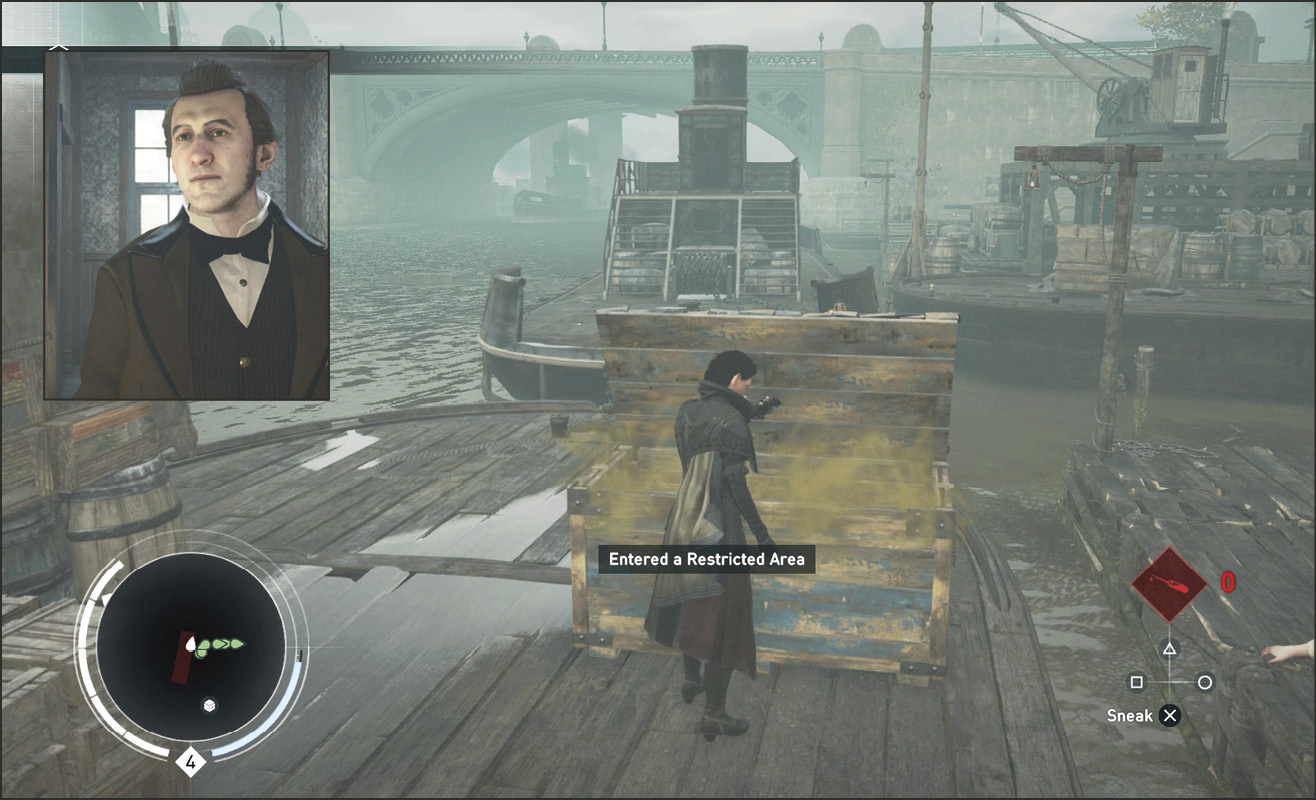
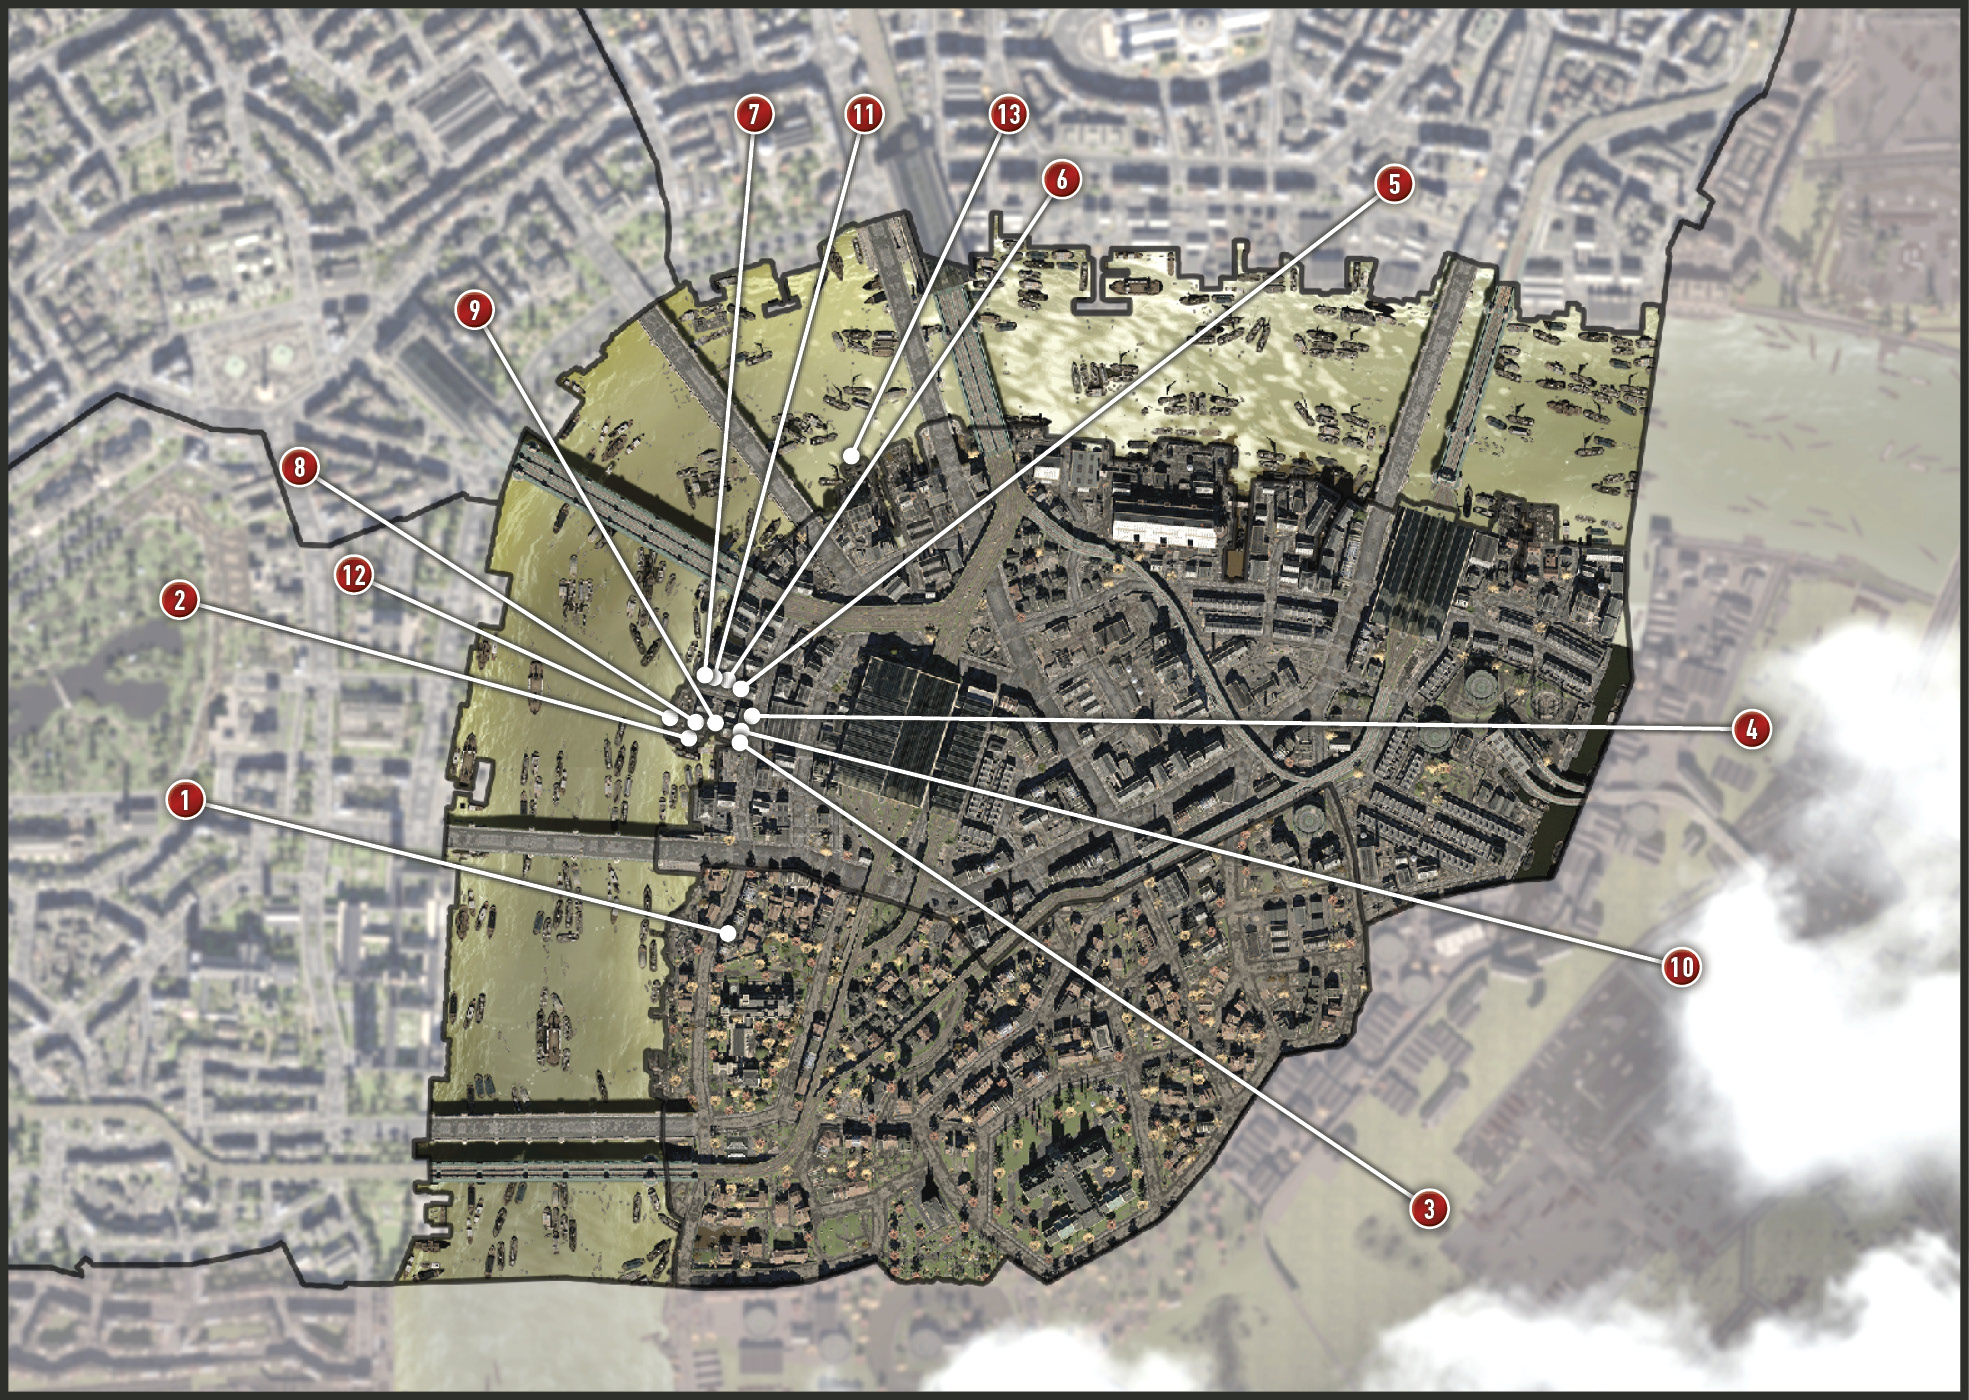
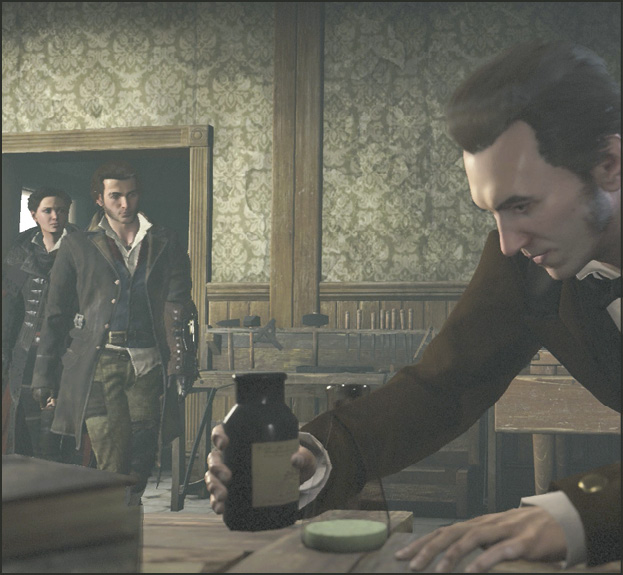
Follow the B icon on the map (1) in Lambeth to talk to Alexander Graham Bell who is in his workshop working on a new tool to aid your cause. He intercepts a wire containing the recipe for a powerful hallucinogenic serum. Bell designs it into a dart mechanism that can be attached to your gauntlets. He hints that it adopts the form of a gas when introduced to heat.
Current Objective: Locate the Missing Crew
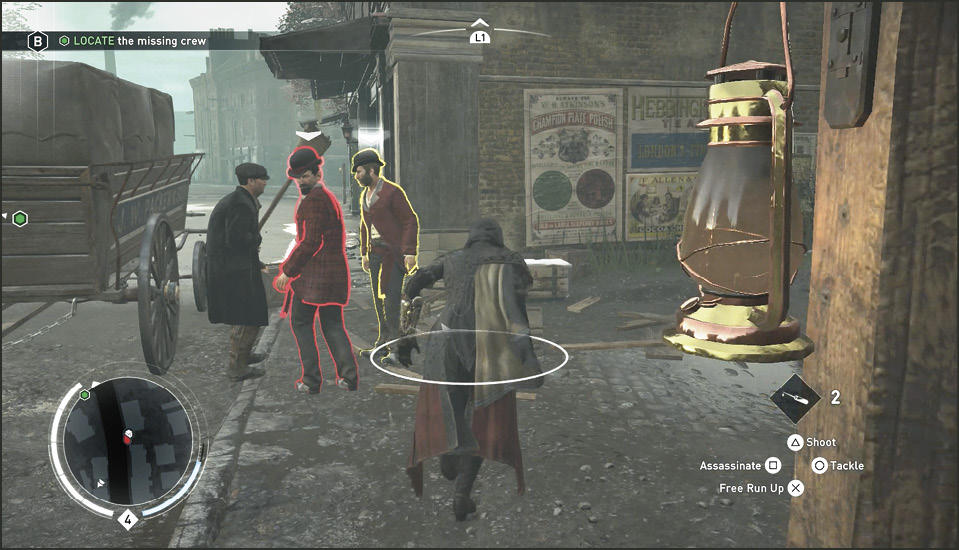
Upon exiting Bell’s workshop you spot two Blighters messing with a civilian down the street near a parked carriage and an alley with a Chest. Sneak up behind them and dispatch them both to help the citizen and then loot the Chest. Take the carriage to the green blip (2) to locate the missing crew at the docks in The Thames area.
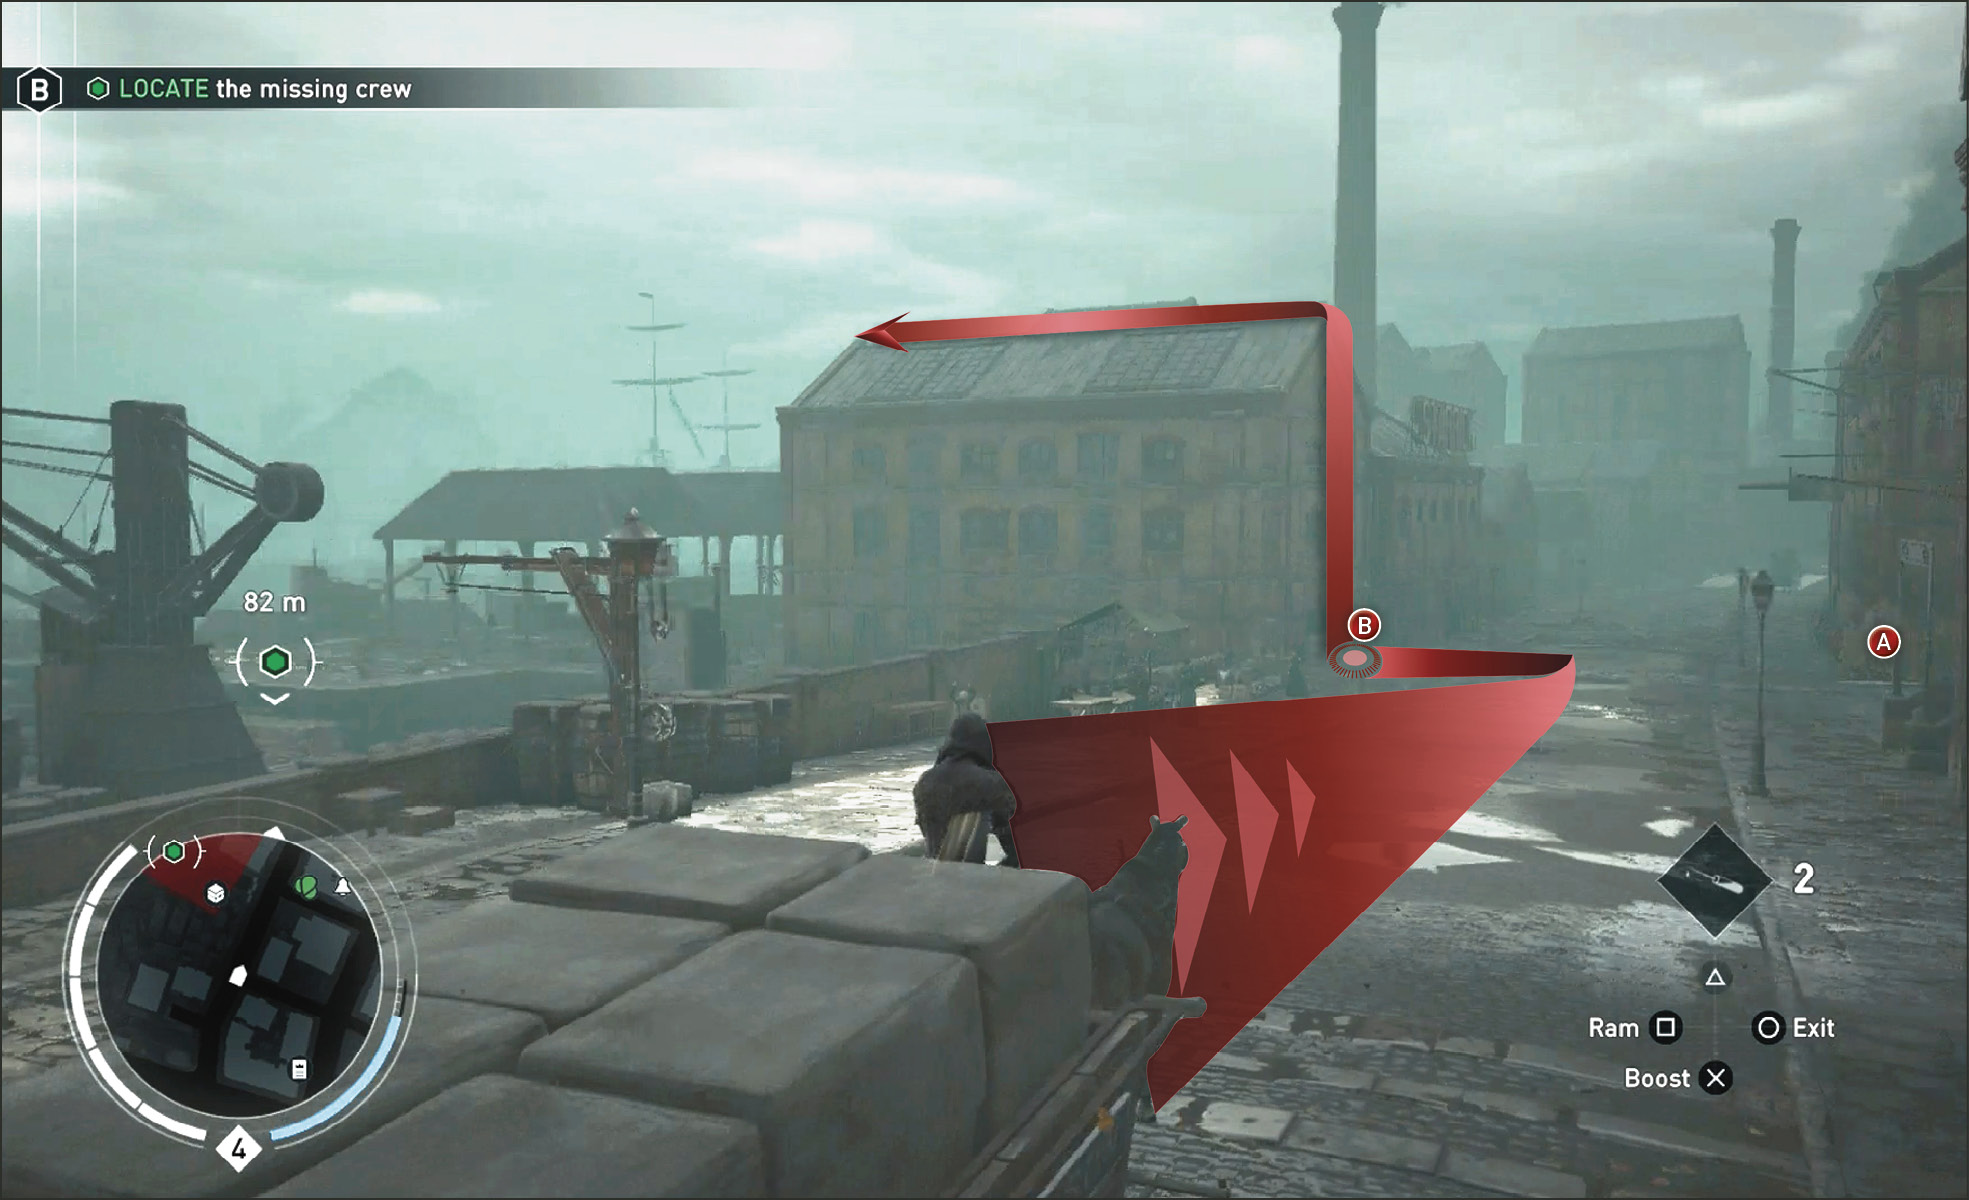
When you roll up on the docks and warehouse area marked on the map you find a group of Rooks on a nearby corner (A). We suggest leaving them out of this battle if you wish to complete the Challenge. Exit the carriage and dispatch the Blighter Soldier (B) on the sidewalk in front of the warehouse.
Rope Launch to the top of the warehouse (3) and walk along the rooftop using Eagle Vision to spot the green blip through the building’s rooftop. The missing crew is located here and a new objective is given once you have seen them within 50 meters.
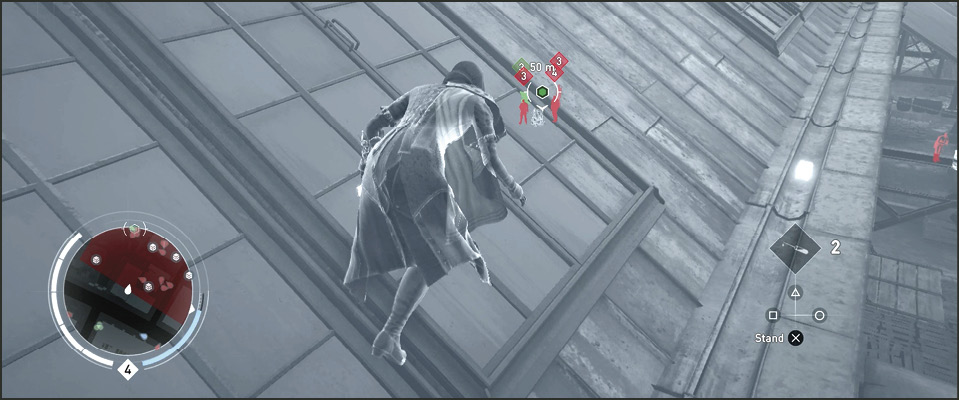
Current Objective: Locate the missing crew
Challenge: Use darts on fire sources near 9 enemies
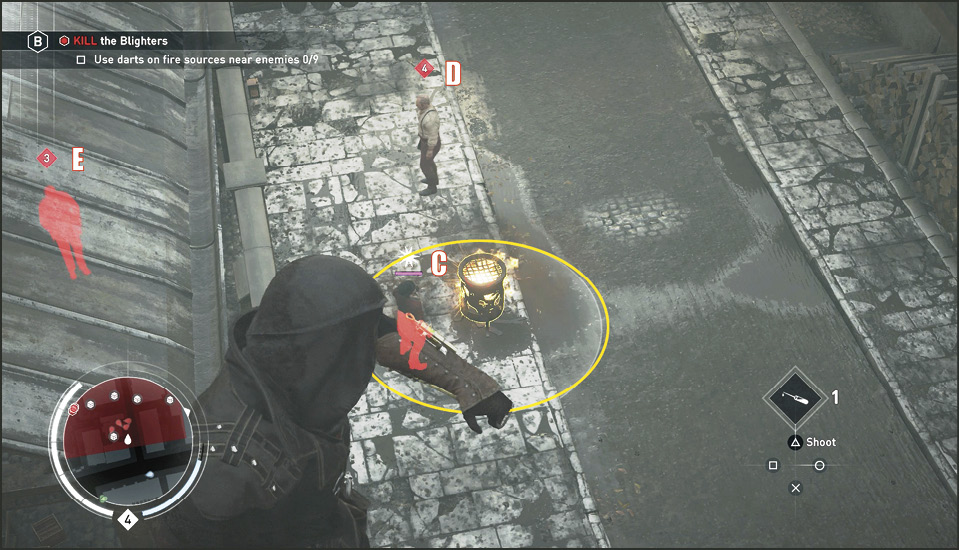
From the large warehouse rooftop, move northward following the outer edge of the Restricted Area (red area on the Mini-Map). Continue to the northwest corner (4) of the next rooftop and then face west down to the shelter with four patrolling Blighters. There are three level three Soldiers and a level four Brute. A single Soldier (C) stands next to a barrel fire on the sidewalk. Two Soldiers (E) patrol inside the shelter and the Brute (D) patrols the street area.
Hallucinogenic Darts in Fire
To satisfy the Challenge you are going to have to get creative because you cannot find nine enemies already standing next to fire barrels. So you must lure Blighters to the fire barrels. Select the Hallucinogenic Darts and take aim at the fire barrel. Notice how a white area of effect ring surrounds the barrel. This represents the effective range of the gas once you shoot a dart at the fire barrel. Currently only the Soldier (C) is in that area of effect. So go ahead and shoot the barrel to release the gas cloud that affects the Soldier (C).
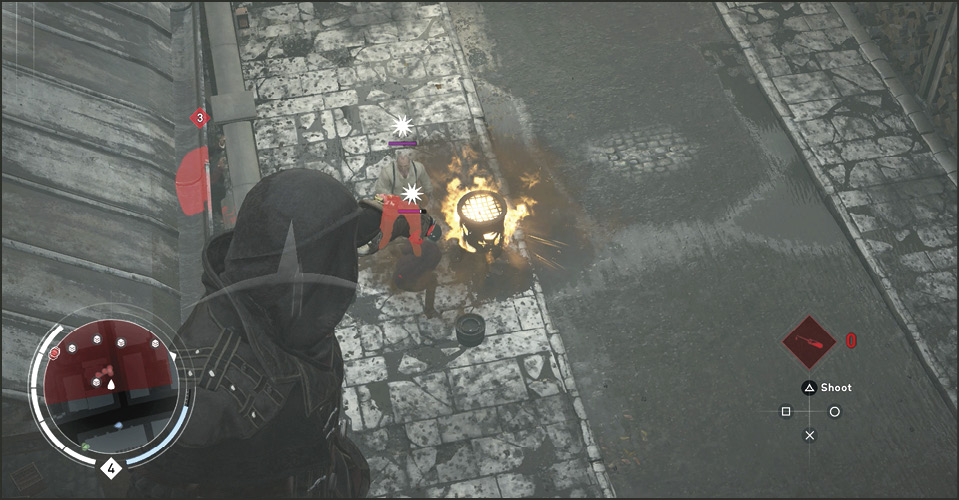
Stay in position and watch what transpires. The affected Soldier goes nutty and the Brute (D) approaches and starts attacking him. The moment the Brute enters the blast zone, hit the barrel again with another dart. You would have used the same amount of darts if you had just shot the two enemies.
In this scenario you could have just darted both Blighters and gotten the same results, but that would not count toward the Challenge. Next, the four enemies in the area fight to the death. Usually none of them survive, as the dart eventually kills the affected victim. In this location, many area Blighters come to investigate the commotion. None of them reach the range of the fire barrel so just hide on the other side of the roof until they return to their normal positions in distant areas.
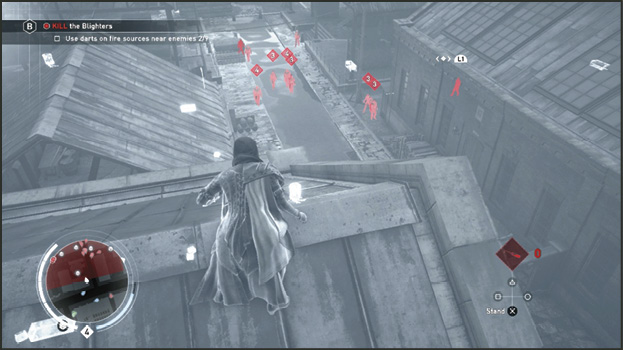
You are now out of darts. You can only carry two at a time right now. So finding a nearby crate is always your next objective after firing two darts. This is part of the Challenge strategy. Return to your corner (4) on the rooftop and drop down to open the Chest inside the shelter the Blighter Soldiers were patrolling.
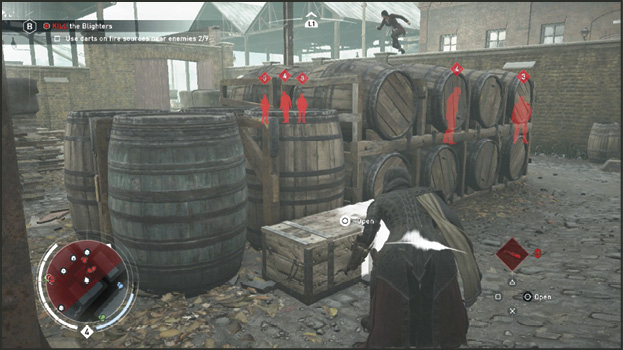
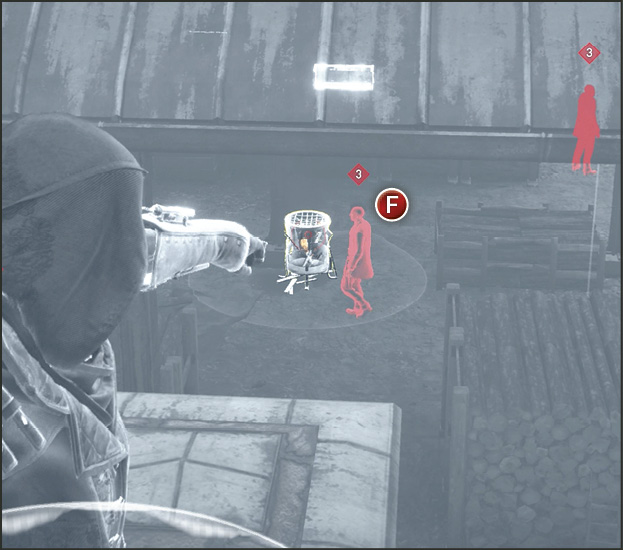
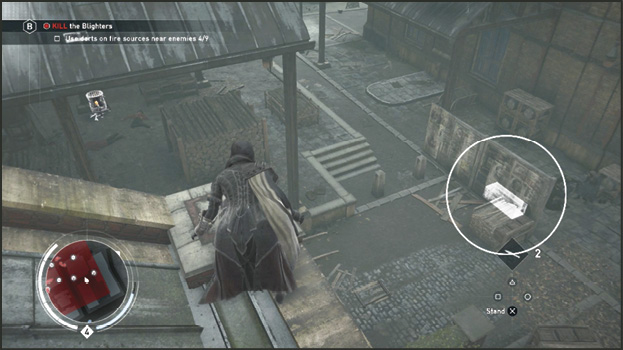
Get to the rooftop of the next warehouse to the north in the Restricted Zone and perch on the northwest corner (5) of this building like you did the last. Look into the nearby open shelter (6). Using Eagle Vision, you can spot four level three Blighters. One Soldier (F) has a patrol route that puts him in range of the fire barrel sitting in the middle of the sheltered area. Have your darts ready, aim at the barrel to see the blast range and wait for the patrolling Soldier to enter it. When he does, shoot the barrel.
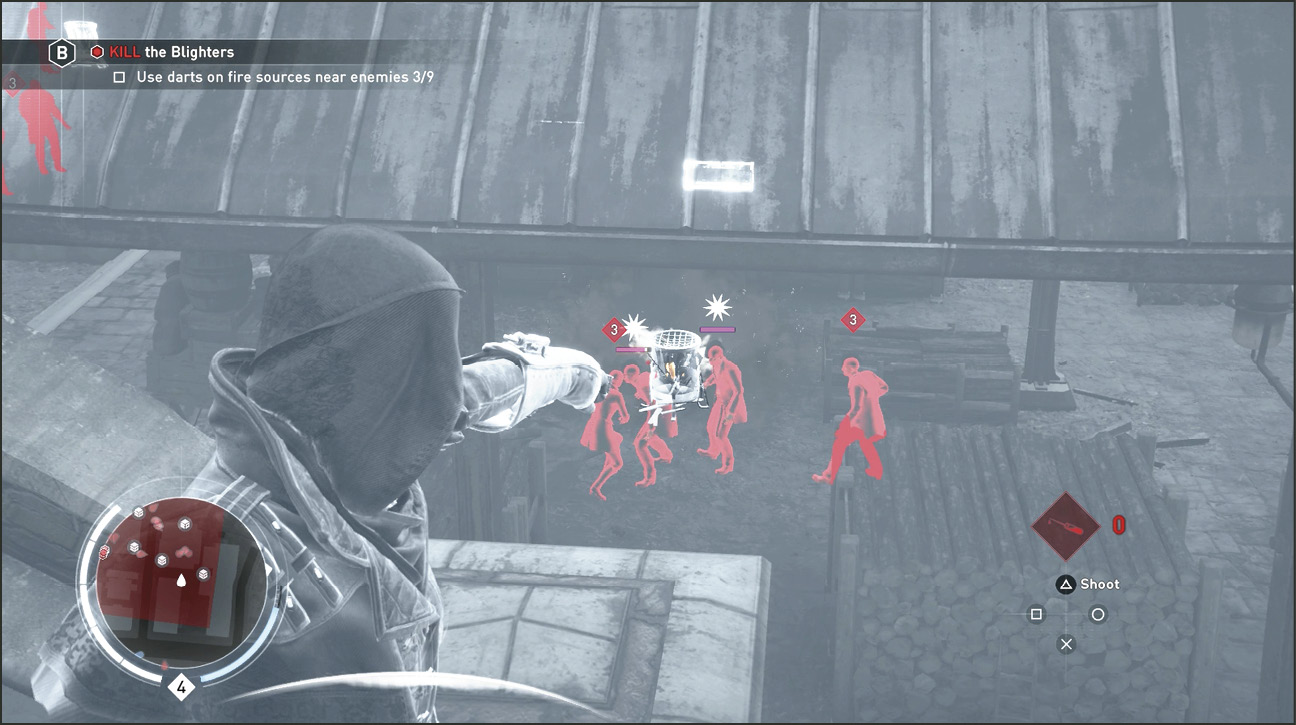
The Soldier goes nuts and the three Blighters nearby all descend on him at once and begin attacking him. As soon as one of the unaffected enemies enters the barrel gas radius, shoot the fire barrel with a dart again. You will probably only get two barrel kills here, but that leaves you with only five more to go. Easily finish off the lone survivor with a knife to the head.
From your rooftop corner, look to your right with Eagle Vision and you can spot a Large Chest behind a wall on the next sidewalk. Get off the roof and open that Chest to collect more darts.
Continue counter clockwise around the outer edge of the Restricted Zone by hopping back up onto the last shelter and cresting the second rooftop peak while heading west toward the edge (7). You spot a crane platform where you can see two Blighters (G & H) already in range of a fire barrel behind the crane. Quickly shoot a dart at the barrel and strike two more off the Challenge list.
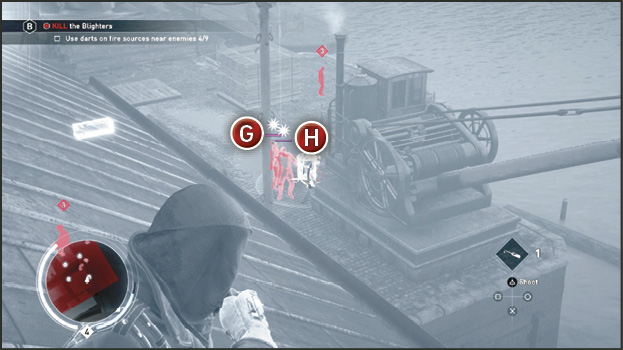
Stay on the rooftop and watch the battle that occurs between these two crazy Blighters and the two Soldiers that come running from under the shelter you are on to attack their infected allies. You most likely will not witness another Blighter entering that fire barrel’s effect radius. Continue to the south edge of the shelter rooftop and use the Rope Launcher to reach the next shelter to the south. The Blighters underneath this next shelter may spot you, but you quickly become anonymous as you continue to the south edge of this rooftop (8).
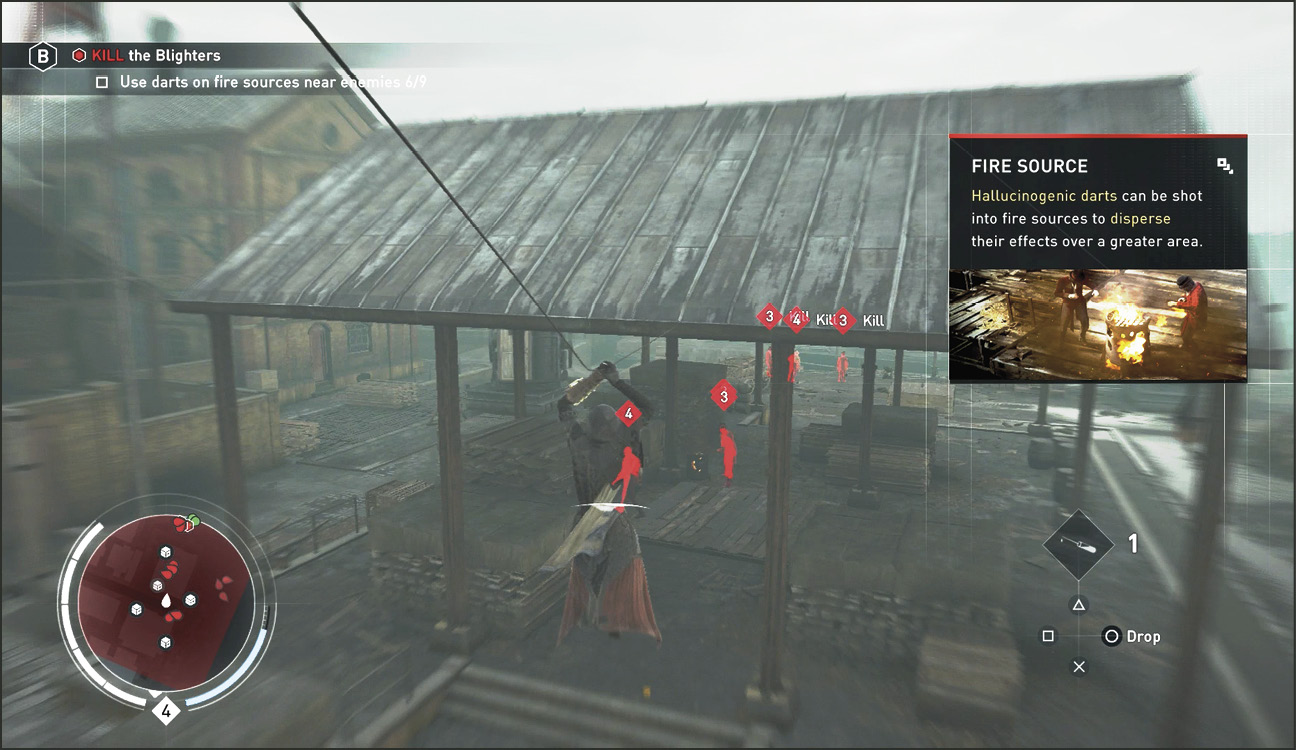
You should have one dart remaining. If you do not have one then you need to go raid a Chest and return to this spot (8) on the south edge of the shelter rooftop near the hostages. Quickly find the group south of the shelter on the dock. There are three crewmembers taken hostage and kneeling on the ground in front of three Blighters and a fire barrel. Quickly shoot a dart at the fire barrel as the Brute (J) and the Soldier (I) are standing in its area of effect.
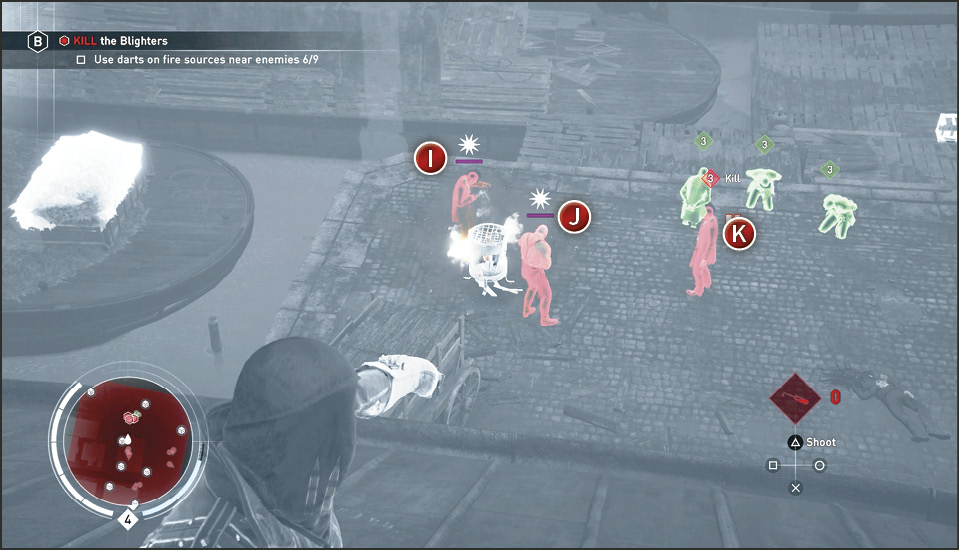
Watch as the two infected allies attack each other and the armed Soldier (K), who is not infected, begins shooting at them. Throw a knife at the survivor then get down there and free the crew (2). Loot the nearby Chest and find another to the south around the barges. Use Eagle Vision to find the Chests. There are a lot of Chests in this area and you should take the time to open them all; besides needing more darts, the crafting items they contain will come in handy.
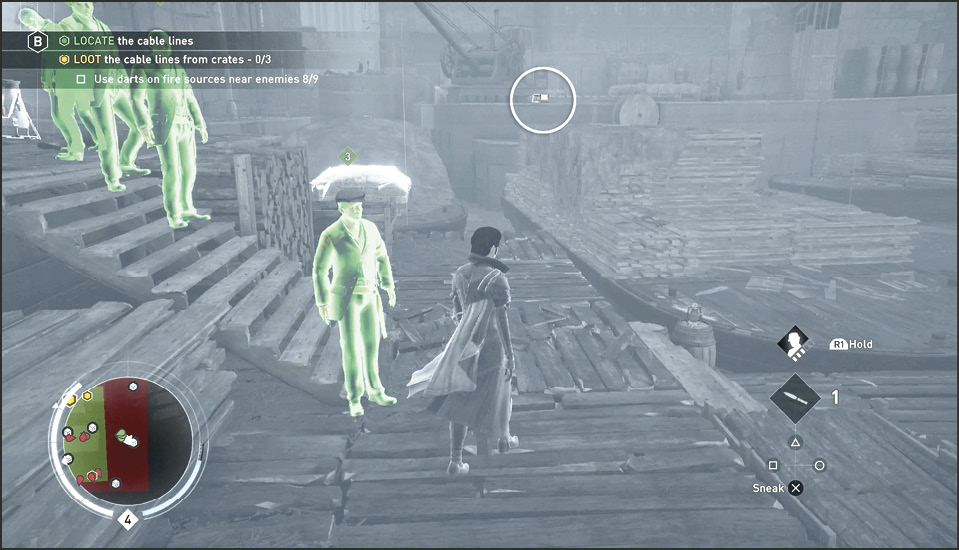
Current Objective: Locate the cable lines
Objective 2: Loot the 3 cable lines from crates
Return to the original warehouse rooftop (2) and get to the west edge. Look down and you can get a better view of the Blighters under the shelter (8) you were on top of just a few moments ago. Use the Rope Launcher to zipline to the narrow top edge of the wooden post between your warehouse and the shelter. From a perch on top of this pole you can quickly shoot the fire barrel under the shelter, infect the three Blighters, and finish the Challenge. Watch them tear each other apart.
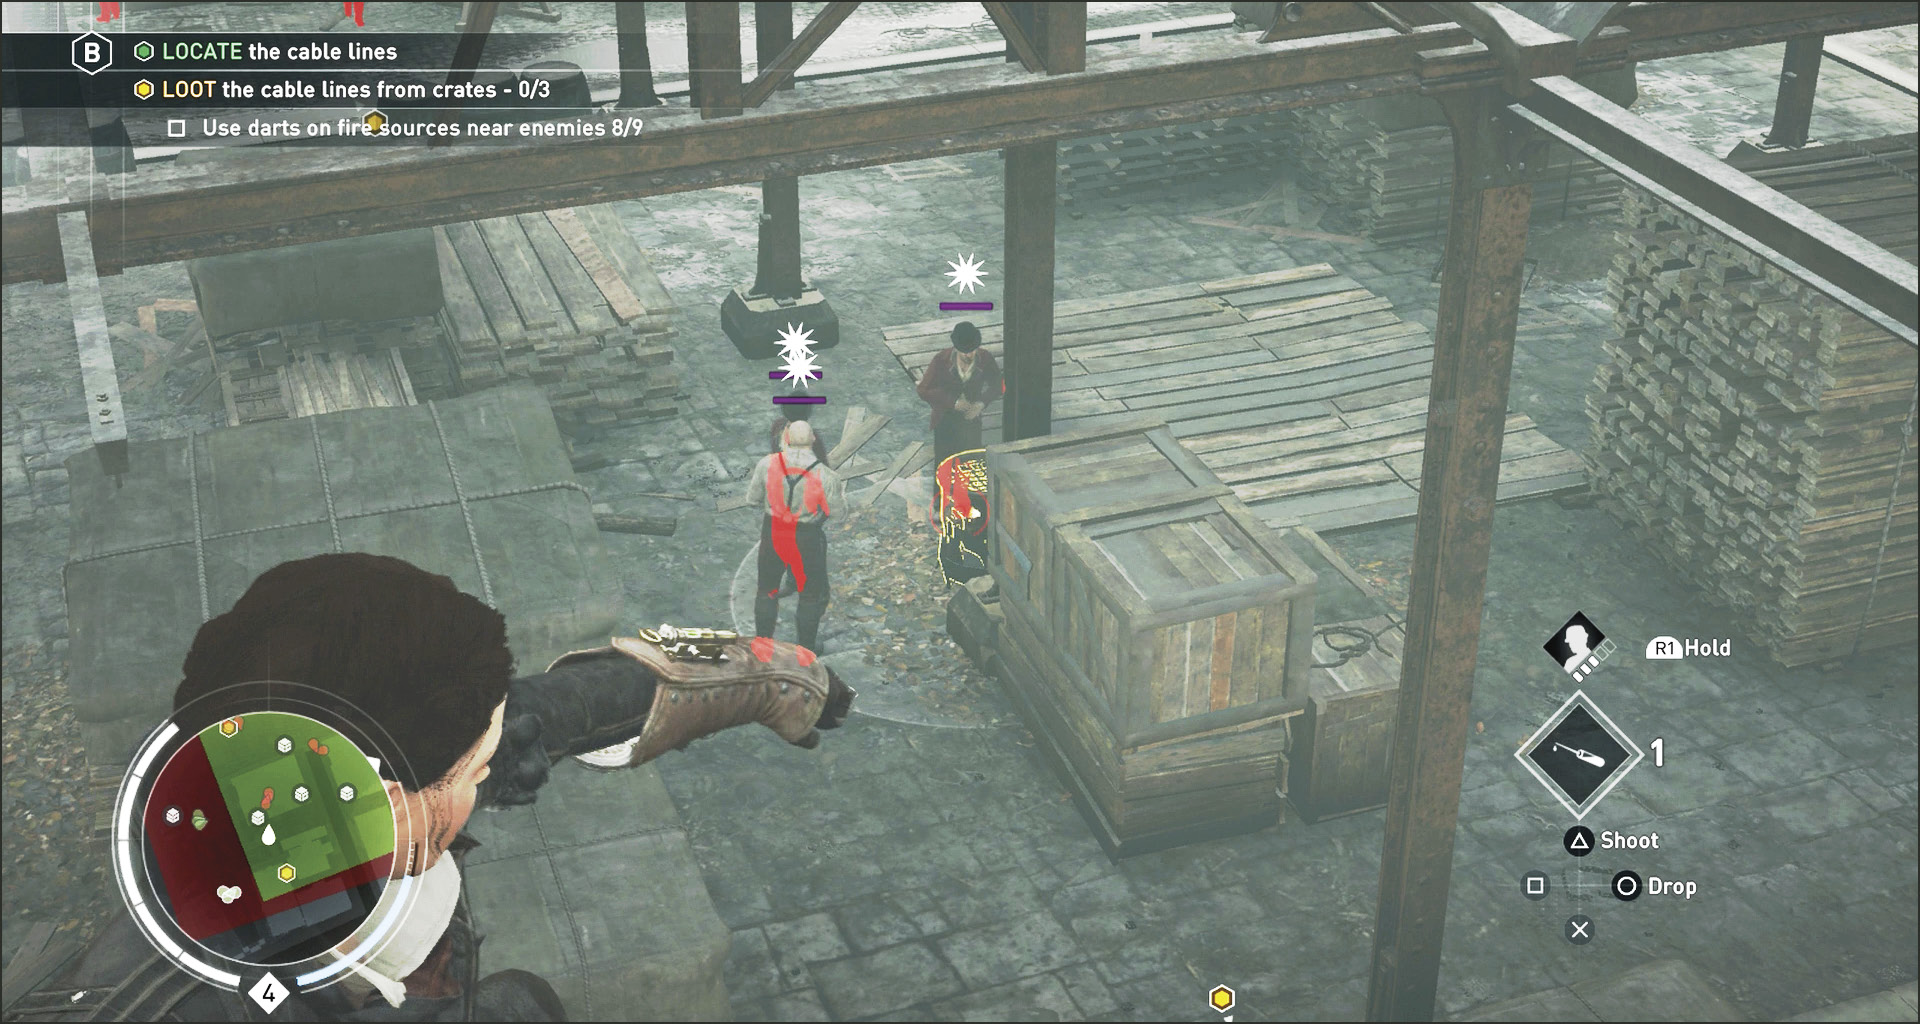
There are three cable lines to locate. They appear as yellow blips on the world map and Mini-Map. The first two are located under the north shelter (11) and on the east side of the Restricted Zone, on the north side of the first warehouse (10).
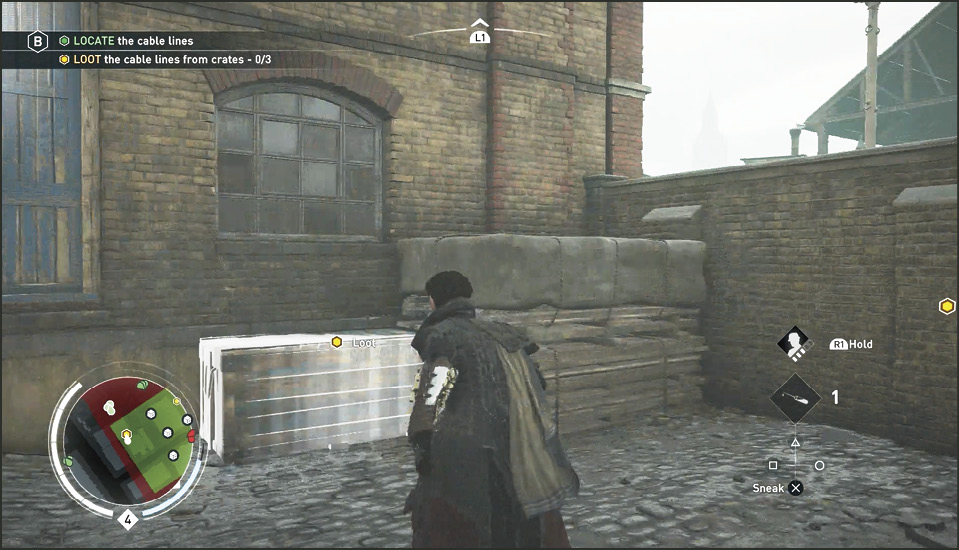
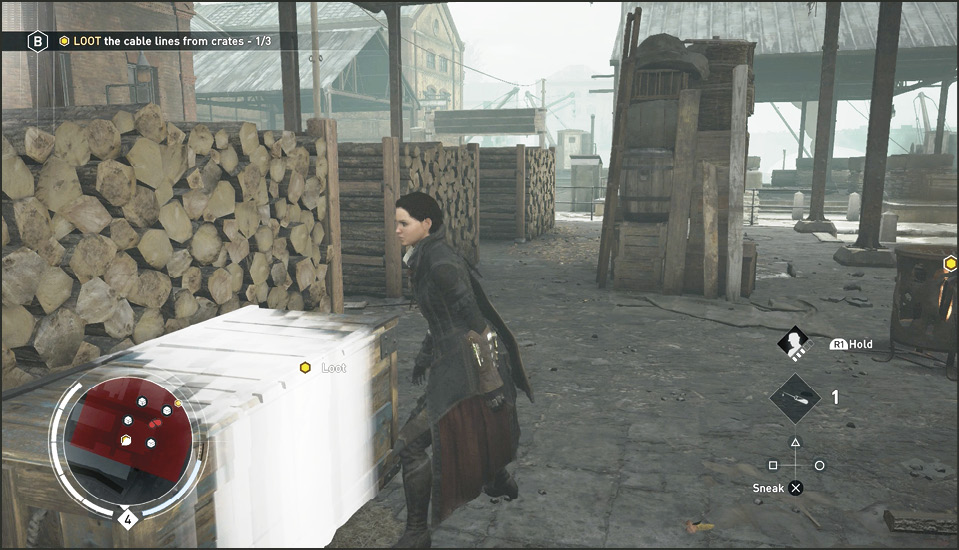
The third cable line crate (12) appears and is marked on the map after opening the other two crates. This one is located near the water on the west side of the Restricted Zone and behind the large crane. Defeat the enemies there if you have not done so already and loot the third crate.
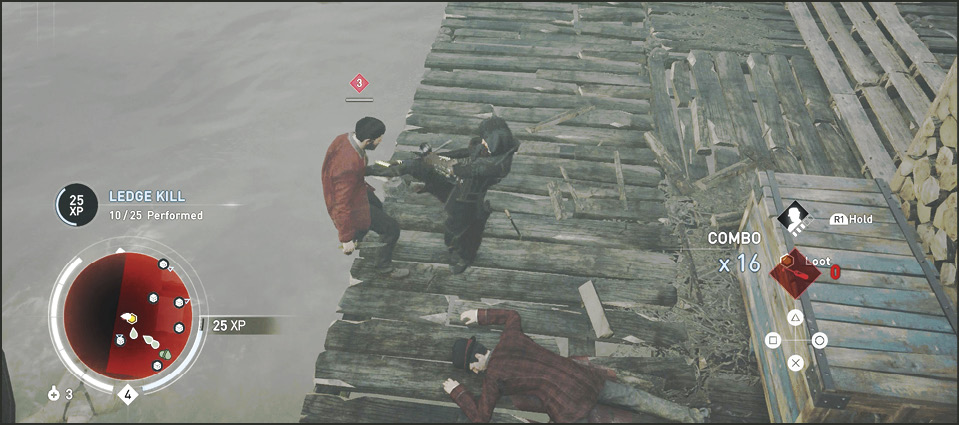
Current Objective: Reach the Cargo Ship
After looting the crate, a barge is seen cruising by in The Thames and a Blighter onboard warns the others that there’s trouble on the docks, meaning you. After the cinematic, run north along the dock and you quickly recognize there is a path of floating objects, old pier posts, boats, and structures that form a makeshift path for you to use to keep up with the barge. A flawless run allows you to board the barge before it reaches it’s destination but there’s no reward or advantage to getting on the barge before it reaches it’s destination. So, just keep up with it and don’t get too far behind.
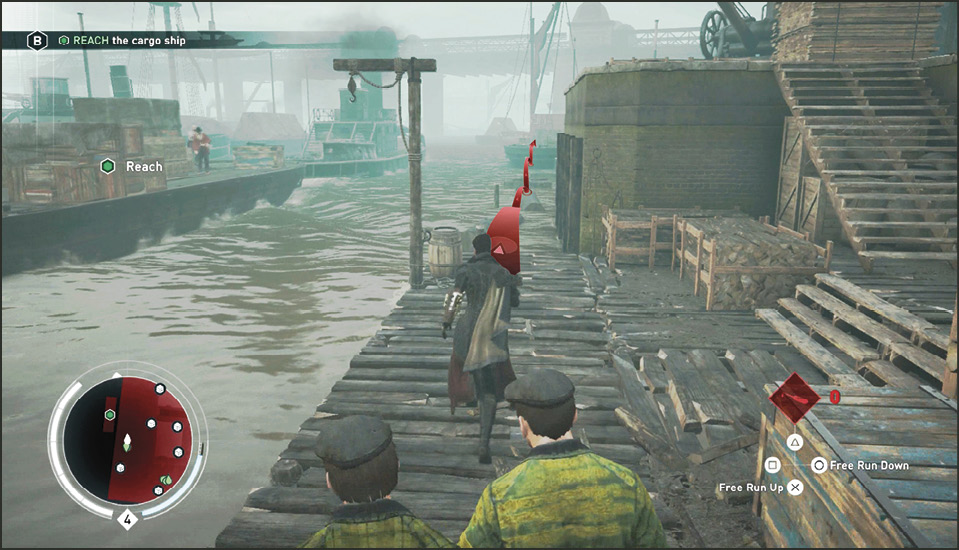
You should not have to enter the water whatsoever. Start by leaping across logs and pier posts to reach the first barge where you Slide Under some crates to make it to the next barge where you can Rope Launch to the top of the mast and then zipline to the rail bridge.
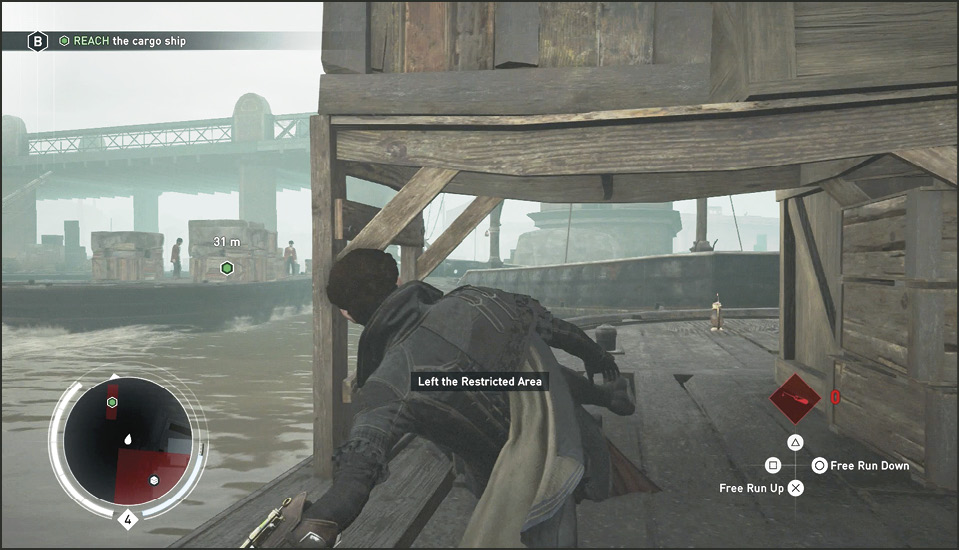
You could also continue under the bridge using the continuing floating logs and such. Zipline seems faster. Cross over the bridge and do a Leap of Faith into a haystack on a barge below.
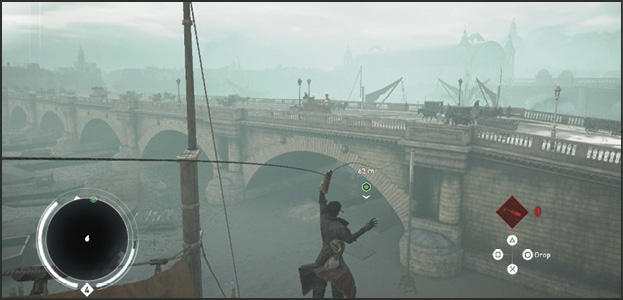
On the next barge, Rope Launch to the top of the mast and then to the next road bridge. Cross over the bridge and drop down to the small row boats. Cross the row boats to the final barge and just stay there and activate Eagle Vision.
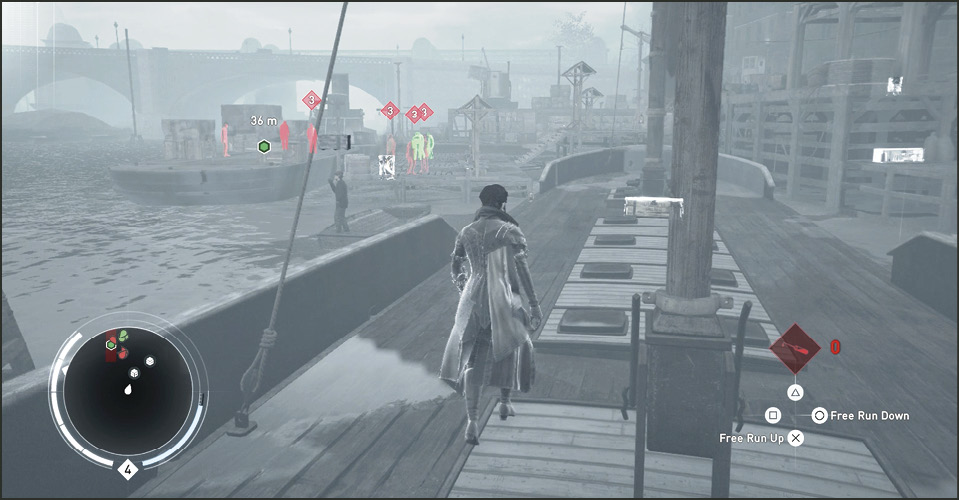
When you arrive at the location where the Blighter barge docks (13), use Eagle Vision to spot the many level three Blighters on the barge and on the dock. You also see a few Rooks nearby. Give them a little time to settle in—you’ll see why. Head to the docks to your right and open the Chest. By the time you get there, a gang of Rooks attacks the barge of Blighters.
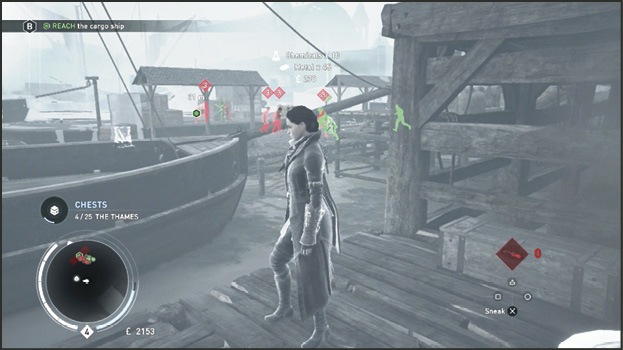
Head to the dock and help the Rooks defeat all the Blighters and then enter the green blip on the barge to complete the Reach objective.
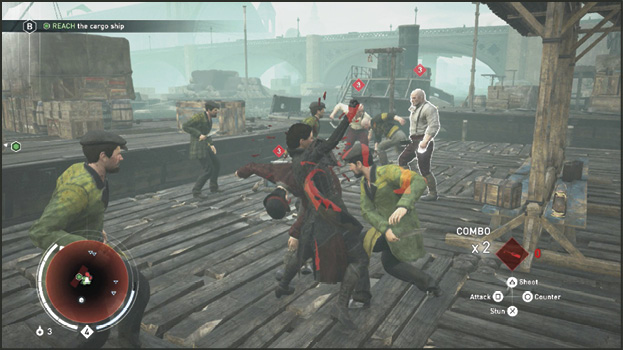
Current Objective: Loot the Crate
Open the last crate on the bow of the Blighter’s barge (now orange on the Mini-Map). Open the crate to discover poison inside.
Back at Alexander Graham Bell’s, the twins receive the bad news that Starrick’s poison syrup has found its way onto the open market. Take this time to play some Conquest Activities to earn more skills and to be able to afford upgrades and crafts.