Assassin's Creed Syndicate Guide Walkthrough Sequence Seven
Change of Plans
MISSION OVERVIEWMemory Type: Templar Conspiracy Suggested Level: 7 AssassinEvie Frye ChallengesUse Henry’s distraction twice Kill guards using hanging barrels Rewards: 1200 + 250 (Full Synch Bonus) XP: 600 + 250 (Full Synch Bonus) Schematic: Nightshade Cloak Schematic |
Location: The Strand
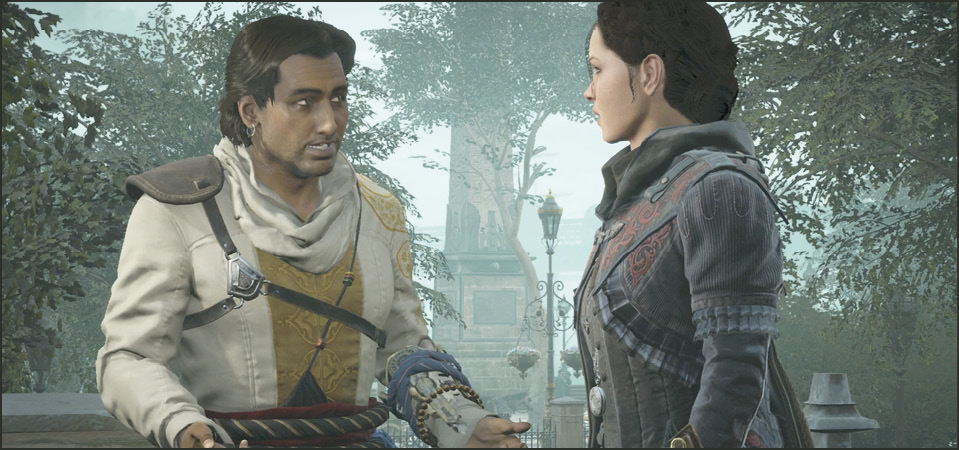
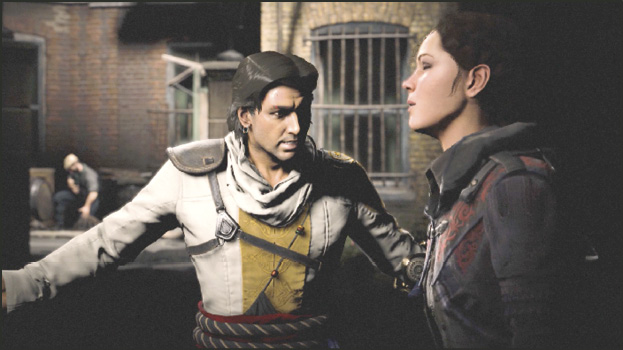
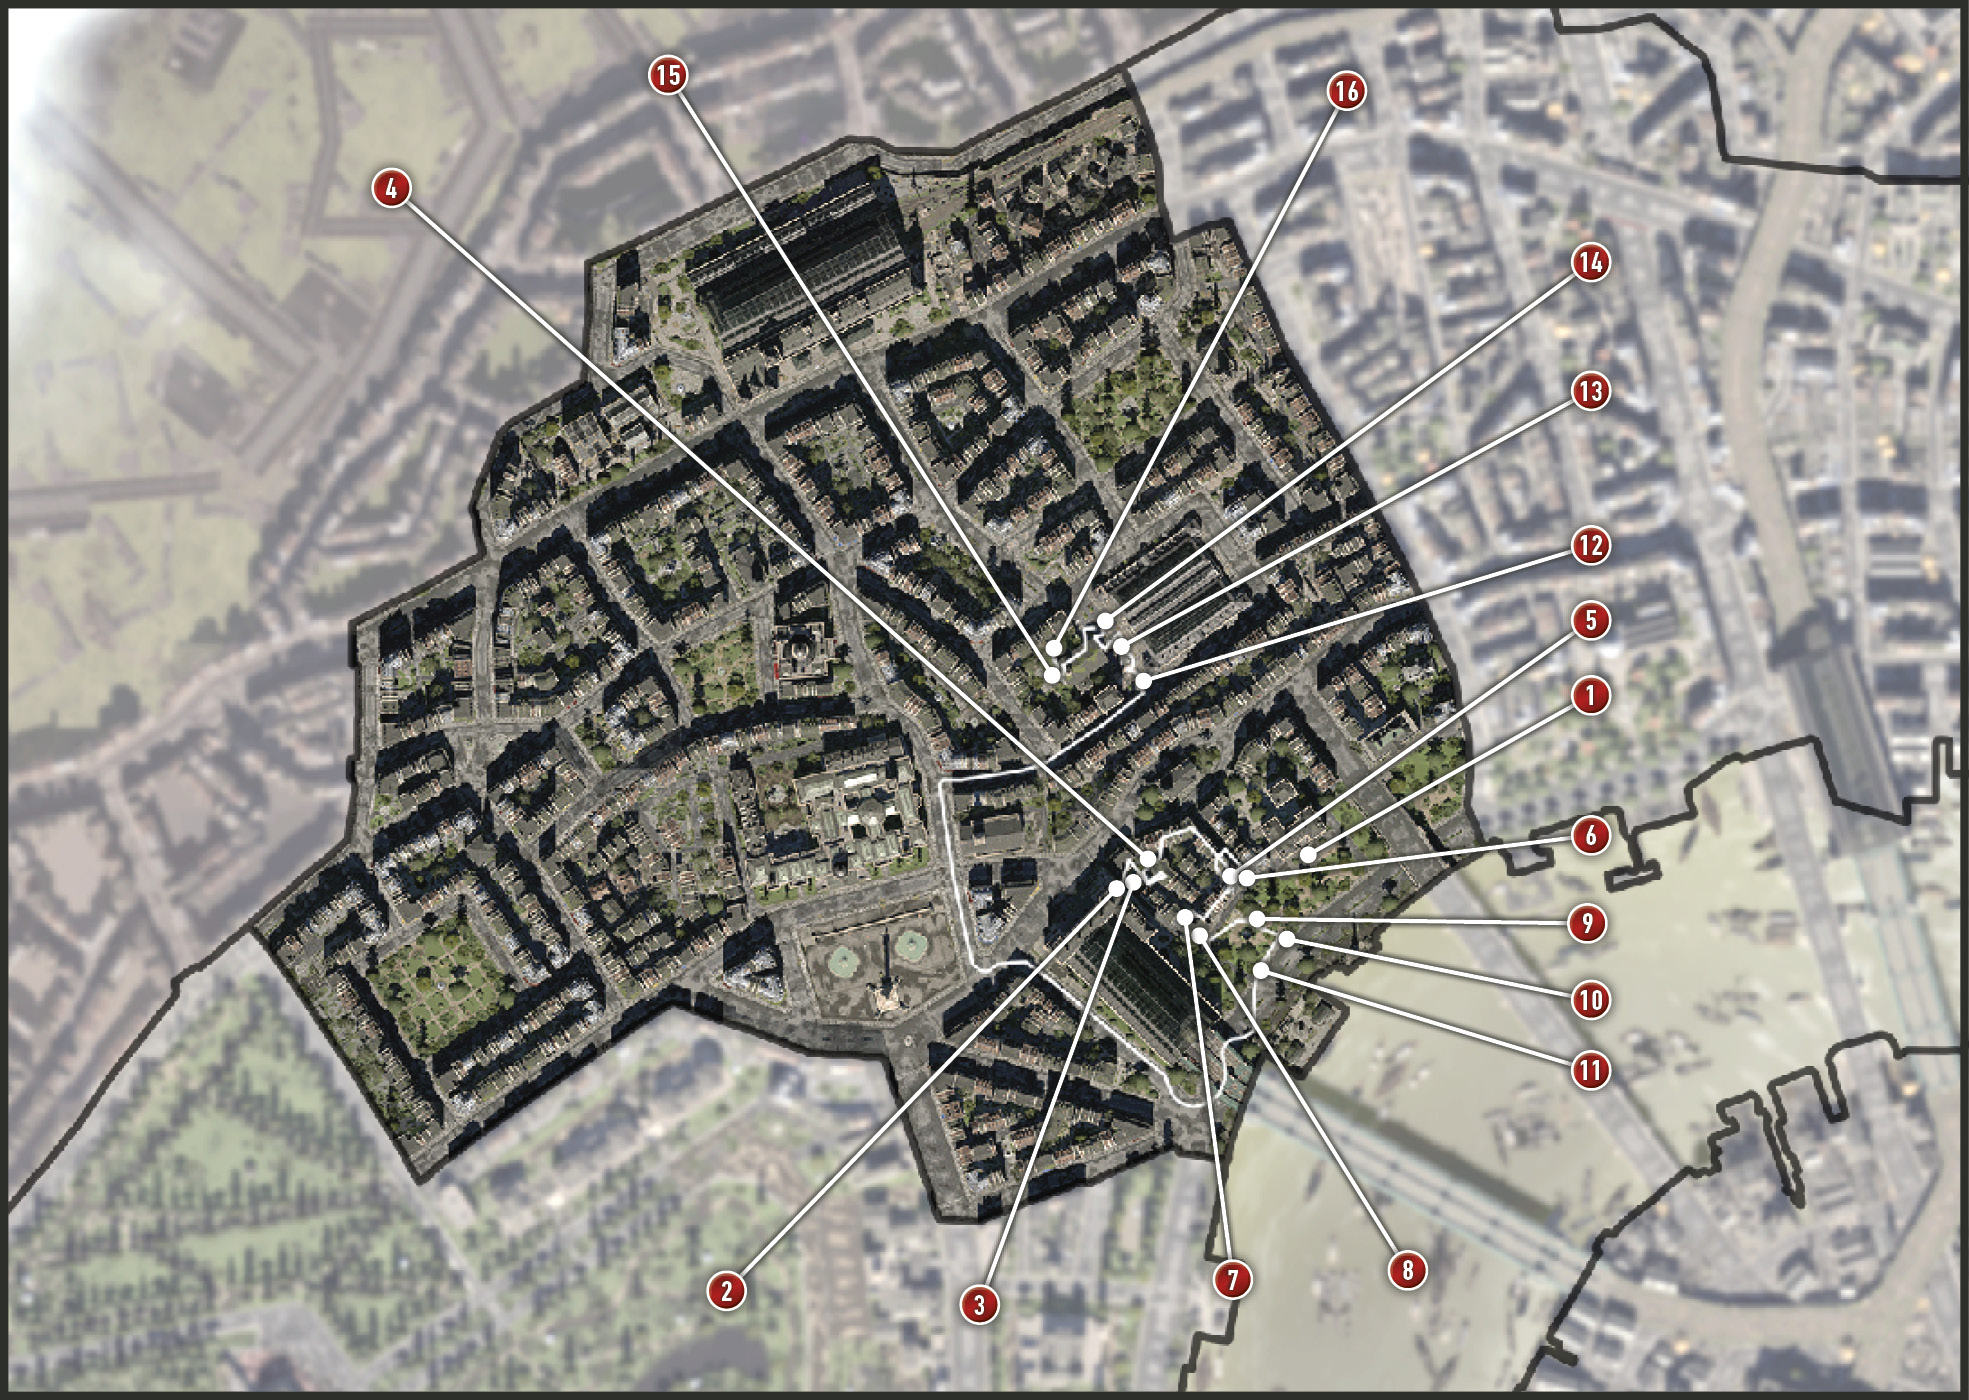
Evie meets Henry at the square (1) in The Strand. Evie and Henry are walking together across the square, Henry strides with a purpose. Evie tries to keep up. Henry has found a letter from the Prince Consort among Lucy Thorne’s research dated 1847. The year the Prince began renovations to Buckingham Palace. They think maybe he added a vault for the Shroud of Eden. They reach Dupleep Singh on a park bench and introductions are made. He tells Henry the plans have been removed by Crawford Starrick, but he knows where they are, but it’s heavily guarded.
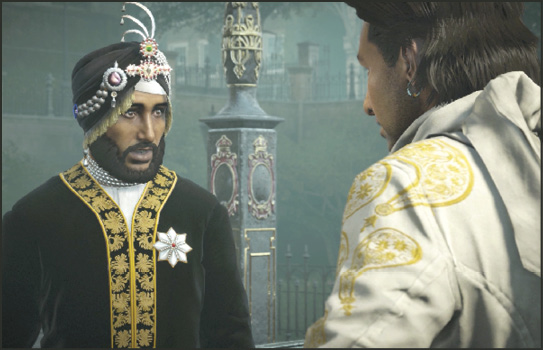
Current Objective: Find the documents
Challenge: Use Henry’s distraction twice
Location: Charing Cross Station, The Strand
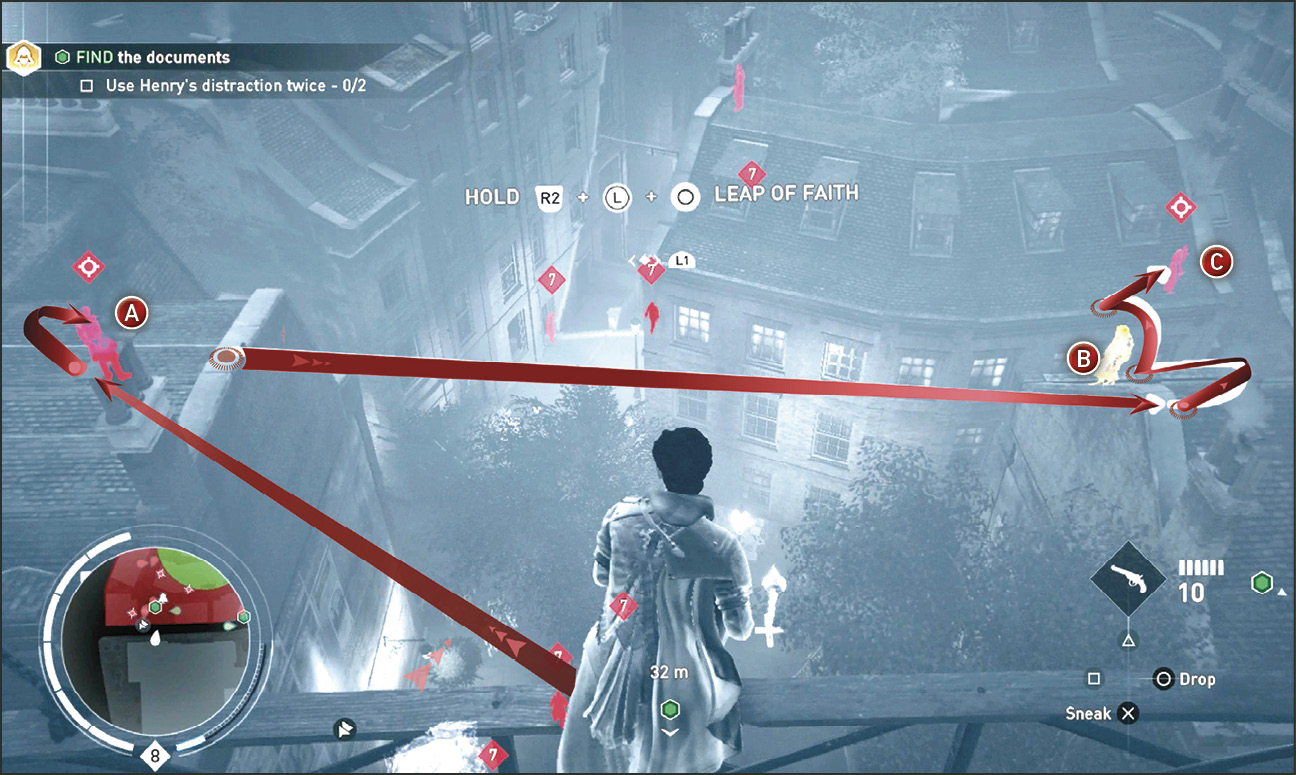
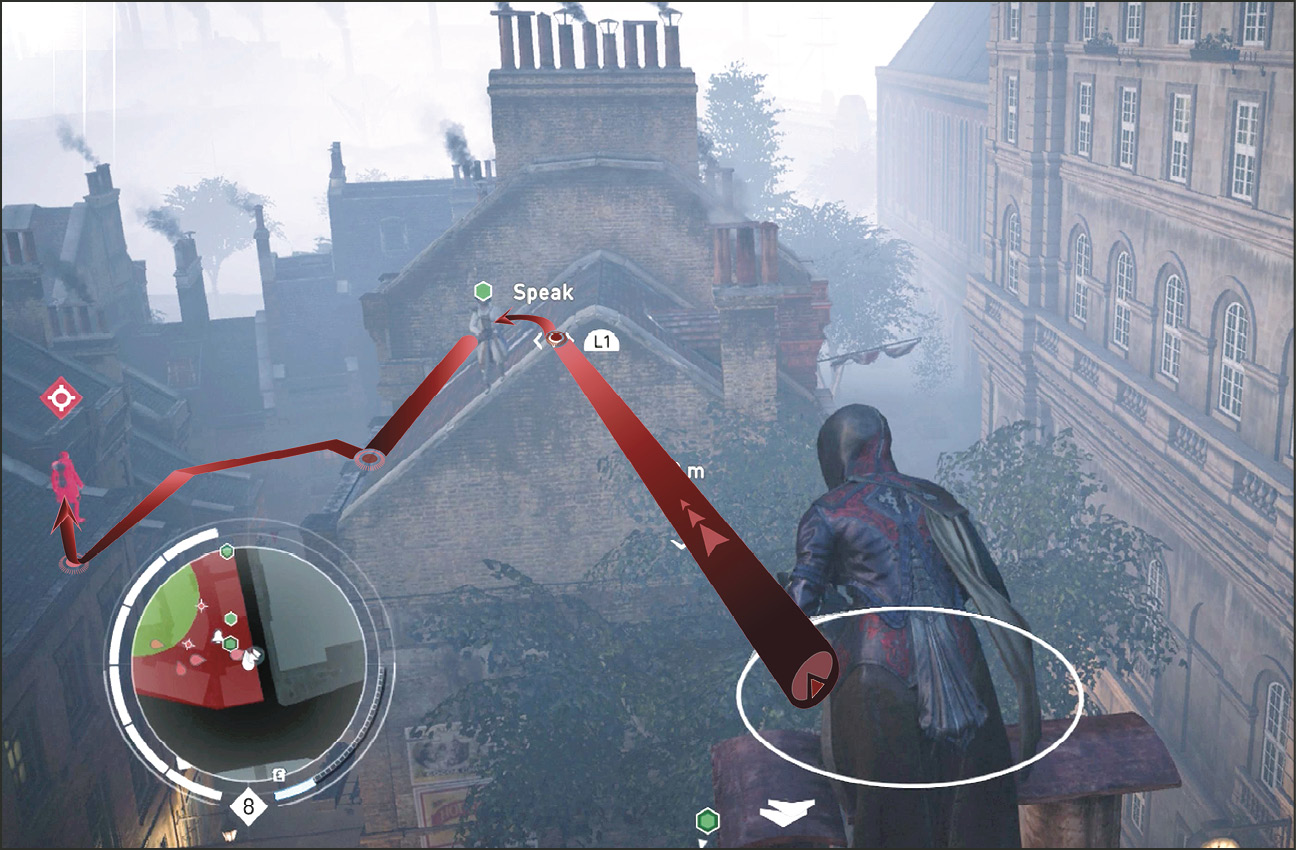
You begin this memory crouched on the edge of a high, hanging scaffold (2) on the northeast side of Charing Cross Station. You face a courtyard of Templars below and Henry Green (B) can be seen on a rooftop below and to your right (he glows yellow with Eagle Vision activated). There are also a couple of Watchers on rooftops in the area that you need to deal with before you ask Henry to distract the Templars around the first location (3) to search for the documents.
Rope Launch to the chimney on the rooftop to your left and then immediately perform an Air Assassination on the Watcher (A) standing on this rooftop. Rope Launch to Henry’s (B) rooftop then walk down the east side. Leap to the rooftop across the alley and come up behind the Watcher (C) and silently assassinate her.
Return to Henry and speak to him. He says he’ll distract the guards and start a fight. That’s when you throw a smoke bomb on the scene, check the crate (3) for the documents, and escape. The crate is at the base of the statue in the middle of the courtyard and is marked with a green blip. So focus on the enemies below and press the R1 / RT button to send Henry after them to distract them.
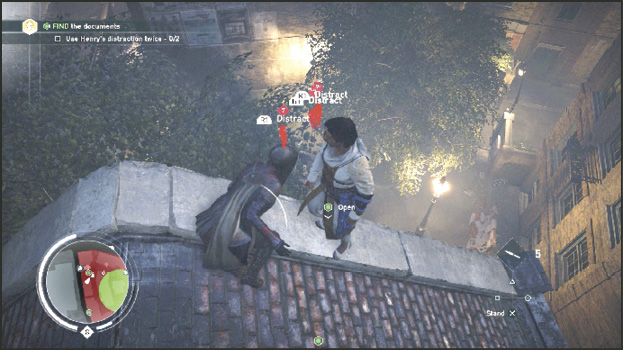
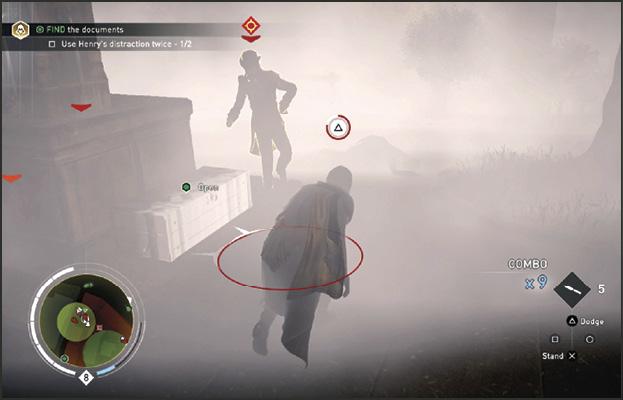
Watch Henry move to the ground and to the Templars below. He is marked with a blue blip. Throw a smoke bomb when he reaches the Templars. Jump down to the smoky courtyard, search the crate, and escape to the rooftops again. The crate does not contain the documents you were looking for but does contain the Upgraded Throwing Knife Schematic III.
There are two more locations to search. Continue the search by getting to the rooftop (4) to the east. Sneak up behind the Watcher on this rooftop and assassinate her. Follow the rooftops around until you reach an area (5) with a good view of another large group of Templars standing around an alarm bell in the northeast section of the block.
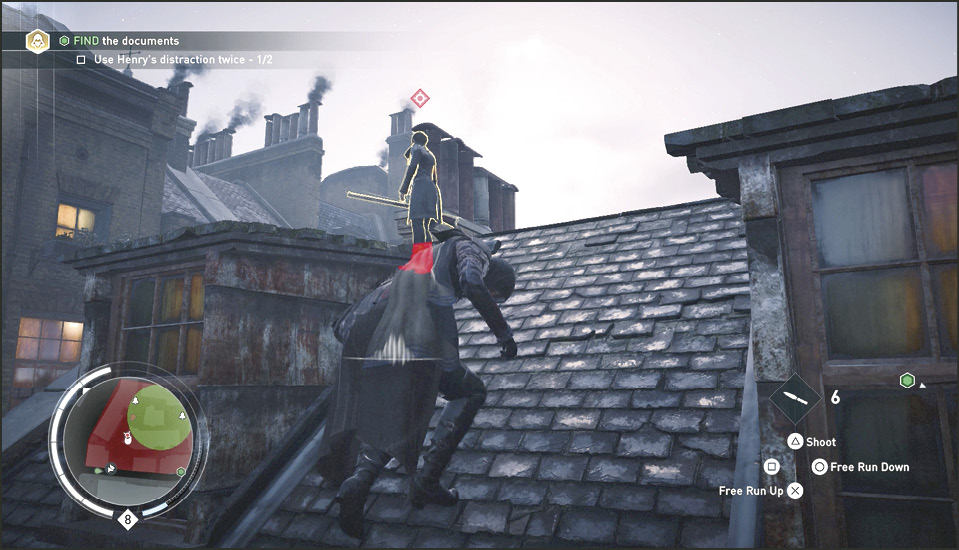
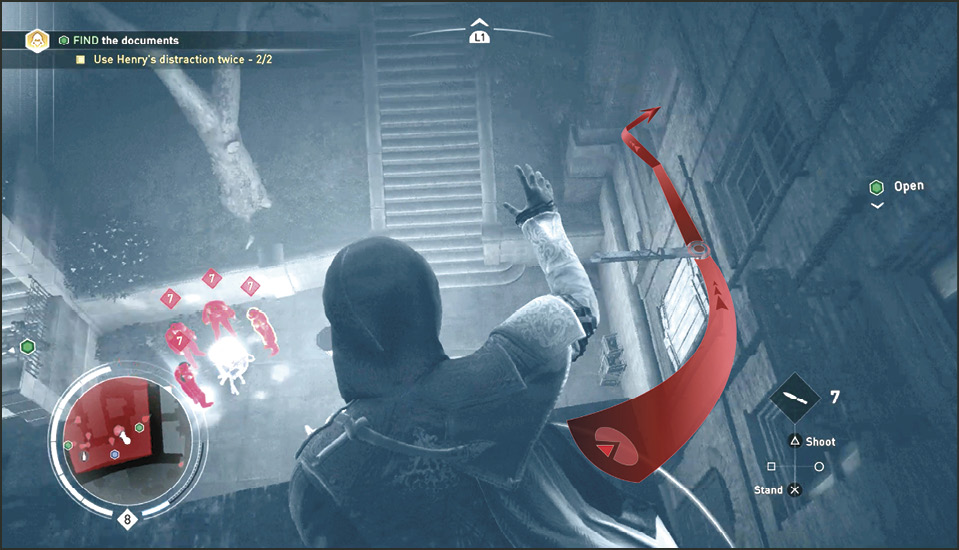
Select the Templars and press the R1 / RT button to send Henry after them to distract them. This completes the Challenge for Henry’s two distractions. Throw a smoke bomb to help him escape and to allow you to jump to the building with the open window to the east of this group. Enter the window and search the crate (6). It does not contain the documents either.
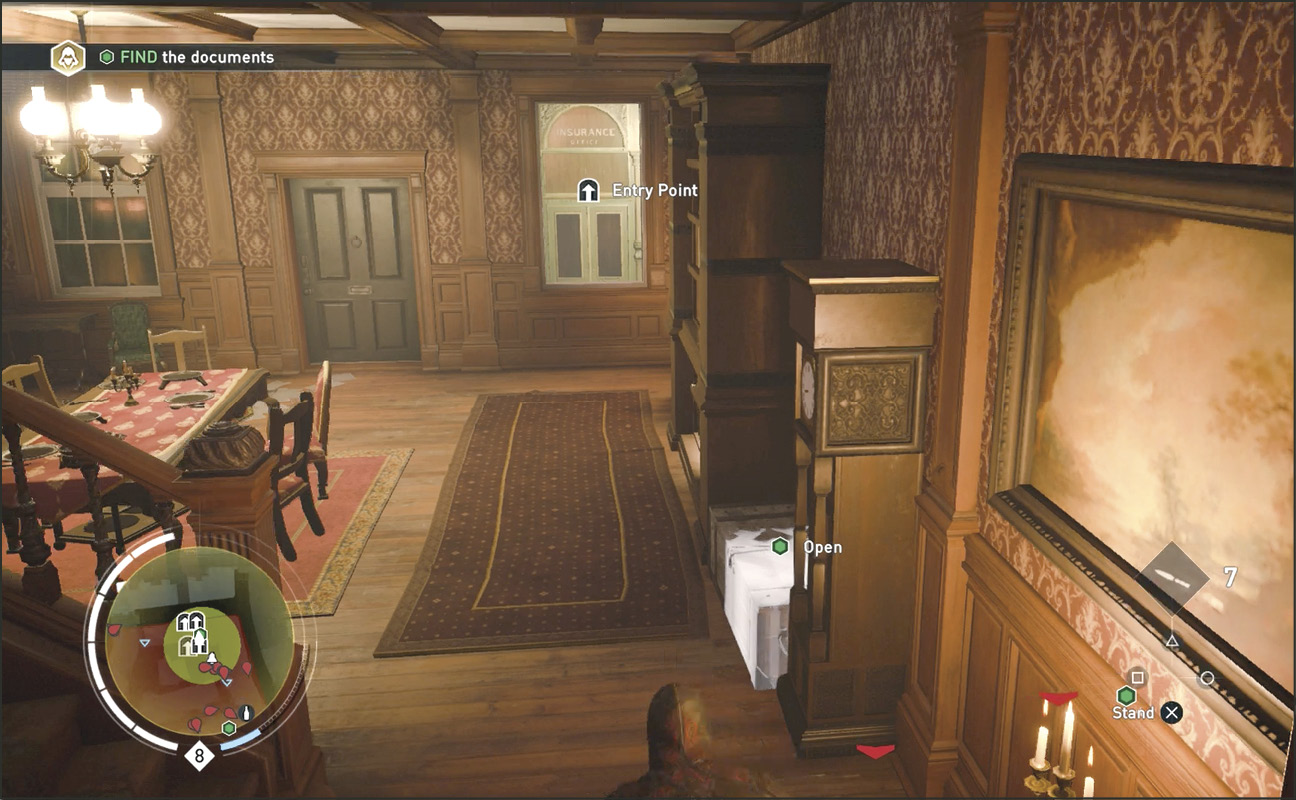
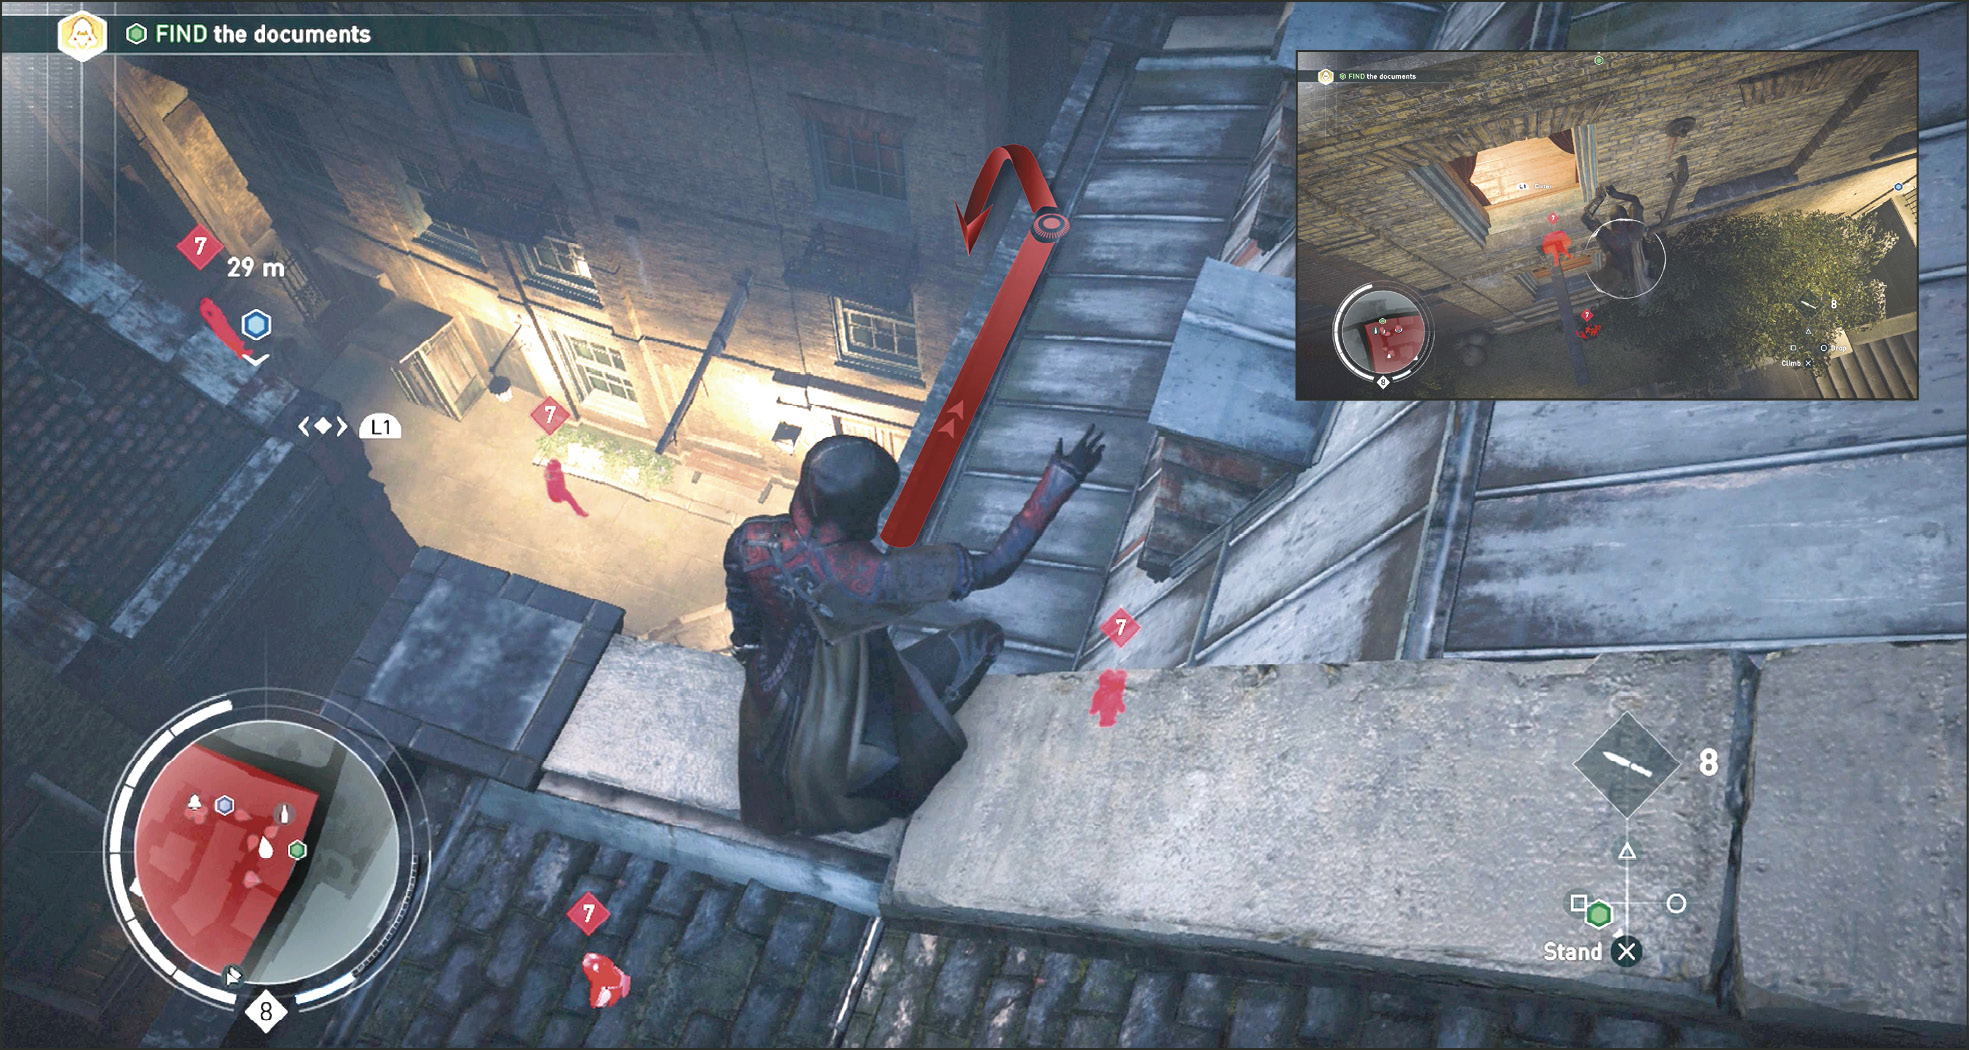
Exit the house through one of the Entry Point windows and work your way to the final Chest (8), which is inside a house in the southeast corner of the block. From the rooftop (7), call Henry Green to distract the Templars in the courtyard below and throw a smoke bomb to further distract the Thugs as you make your way into the top open window (Entry Point) below.
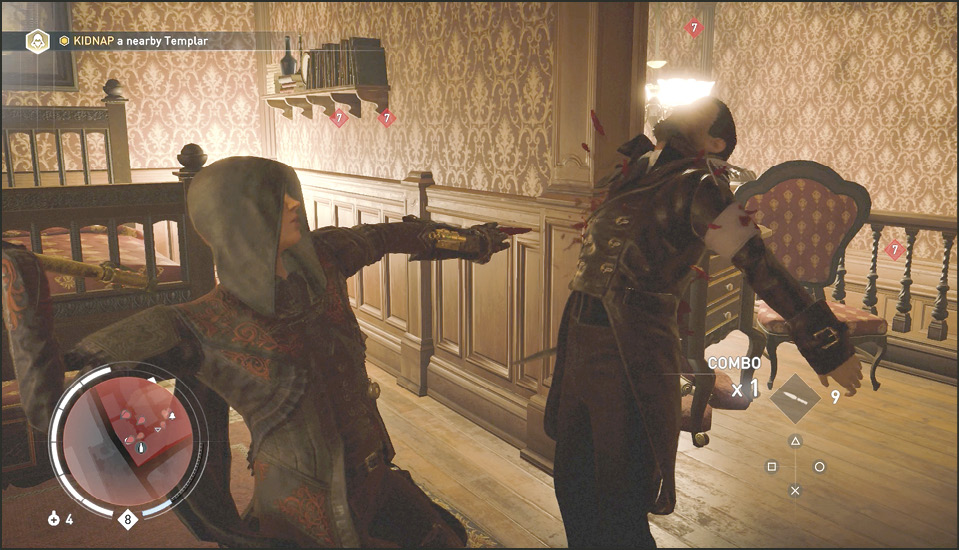
Once inside the top floor of the house with the last Chest (8), rush the Templar near the Chest and assassinate him. Search the Chest. You find this Chest empty as well. Evie concludes that she’s going to have to interrogate someone to figure out where the plans are.
Current Objective: Kidnap a nearby Templar
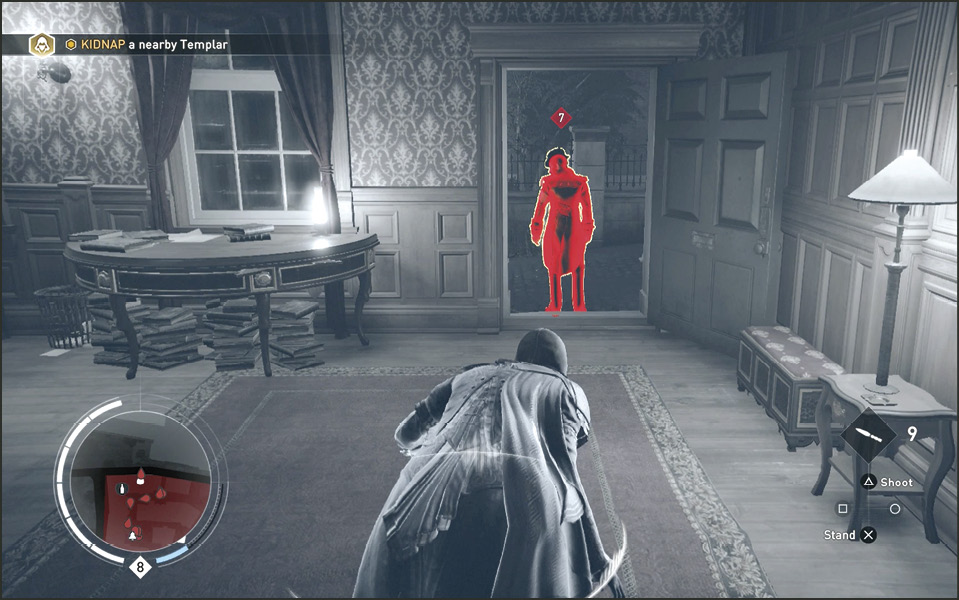
Before you leave the room with the last Chest (8), cover at the bedroom doorway and whistle for the Templar directly below you on the first floor. Cover Assassinate him when he comes up to investigate. Head downstairs and you see a Templar with his back to you guarding the exit. He is perfectly positioned for a kidnapping.
Kidnap the Templar in the doorway and walk him back inside the house. He tells you that Henry has been taken but knows nothing about the documents. Choke the Templar out or assassinate him (slice his throat while you have him kidnapped) and leave him there.
Current Objective: Find Henry
Exit the front door where you kidnapped the Templar and head east on the sidewalk following the distant green blip (9). When you reach the park, head to the northeast side of the gazebo to find your first clue to Henry’s disappearance.
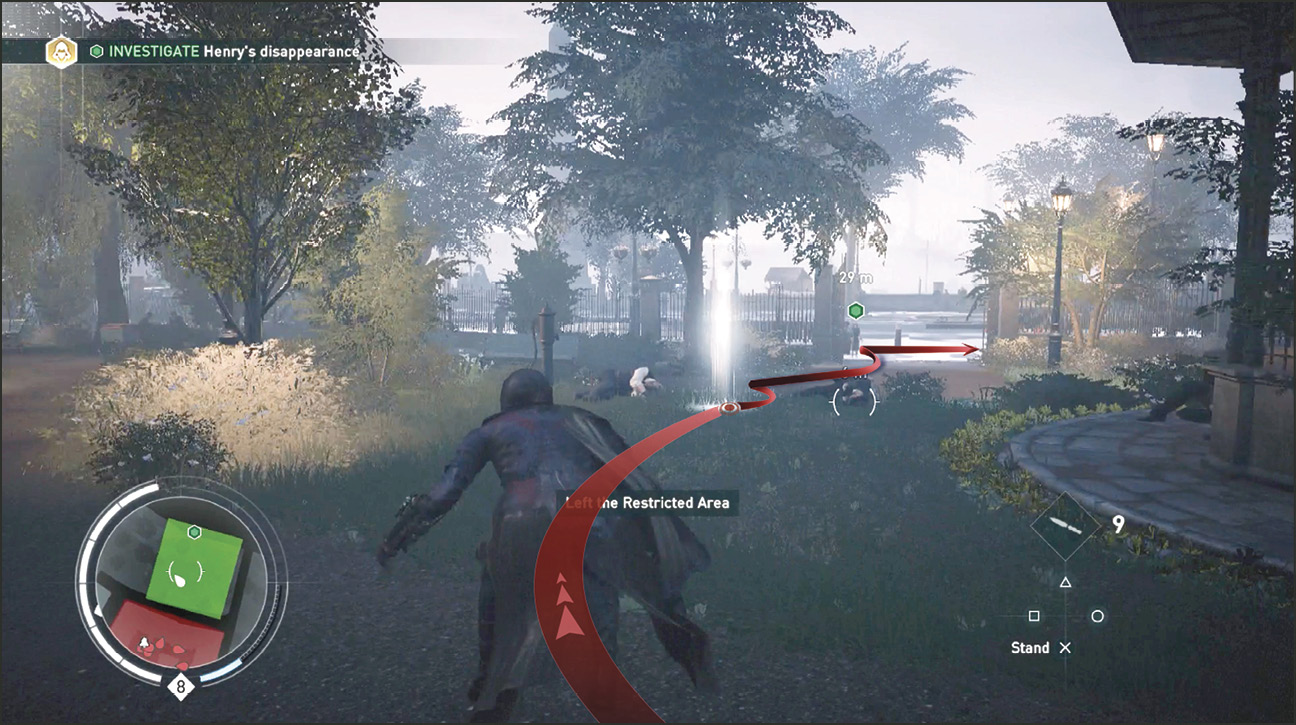
Current Objective: Investigate Henry’s disappearance
There is a search icon on the ground between two dead Blighter bodies. Search this glowing marker. The dead bodies clearly show that Henry fought back. You begin to hear a little girl (10) at the street calling for you. Search the second clue just feet away from the first on your way to talk to the little children. These are visible footprints that indicate Henry might have been carried away.
With Eagle Vision activated you can see the footprints glowing and leading out of the park past the children you need to speak with next. The children say that Henry was taken off in a carriage and that the carriage was badly damaged and leaving tracks. He points to the south where another marker appears. Investigate this corner (11) next.
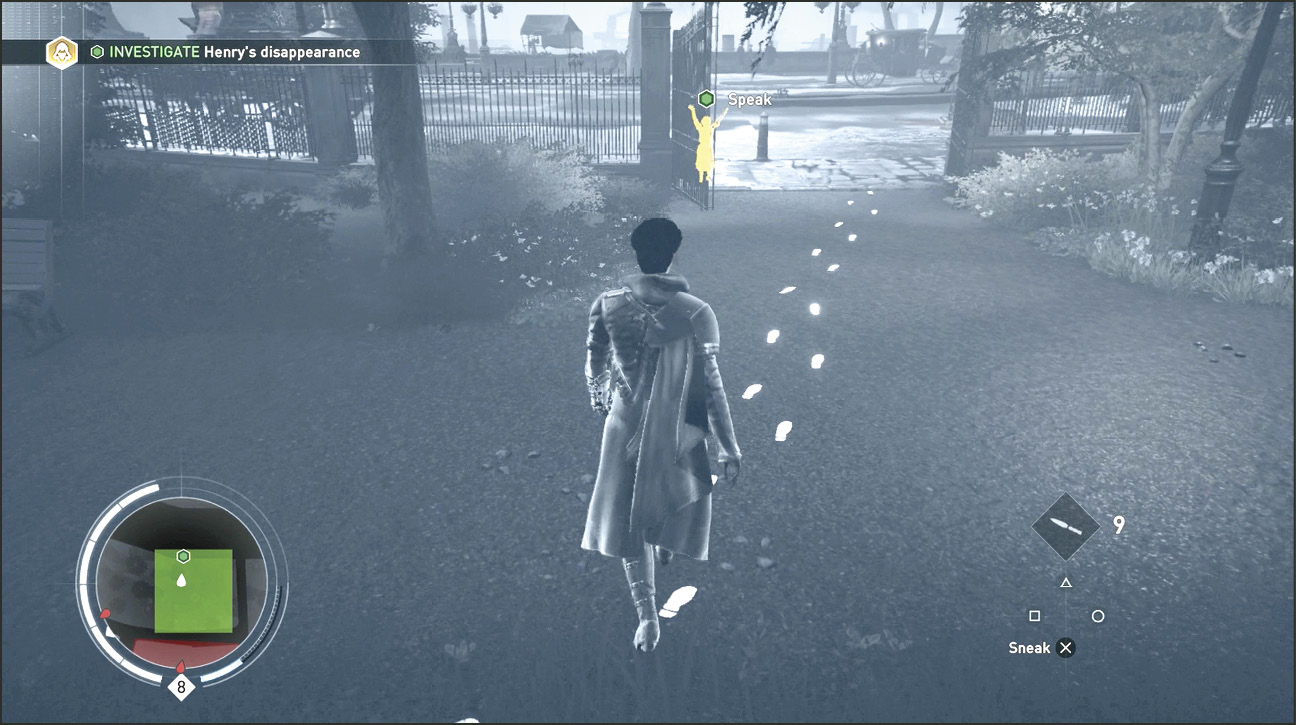
Current Objective: Follow the kidnappers’ carriage
Activate Eagle Vision once you reach the marker on the street corner (11) the children pointed out. You spot yellow highlighted carriage tracks heading across the street. From here follow these tracks for blocks finding the wreckage it left in its wake. Follow the route marked on our map if you lose sight of the tracks.
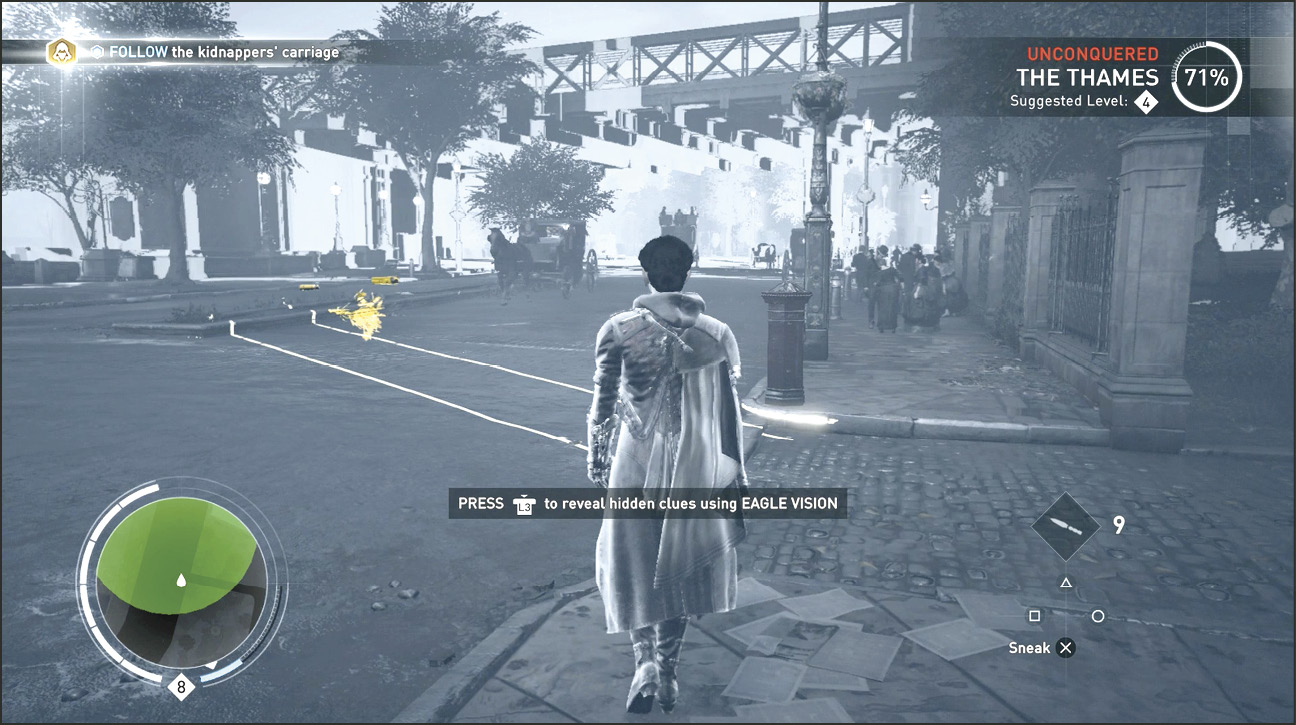
Current Objective: Find Henry
Challenge: Kill 2 guards using hanging barrels
Location: Street Market, The Strand
The tracks lead to a market square a few blocks north. Assassinate the Blighter near the entrance and parked carriage and then speak to the first of a few civilians that may be able to help in the investigation. These people are highlighted yellow in Eagle Vision and appear on the Mini-Map as green blips. The first lady (12) near a flower cart only talks about the number of armed Thugs in the area.
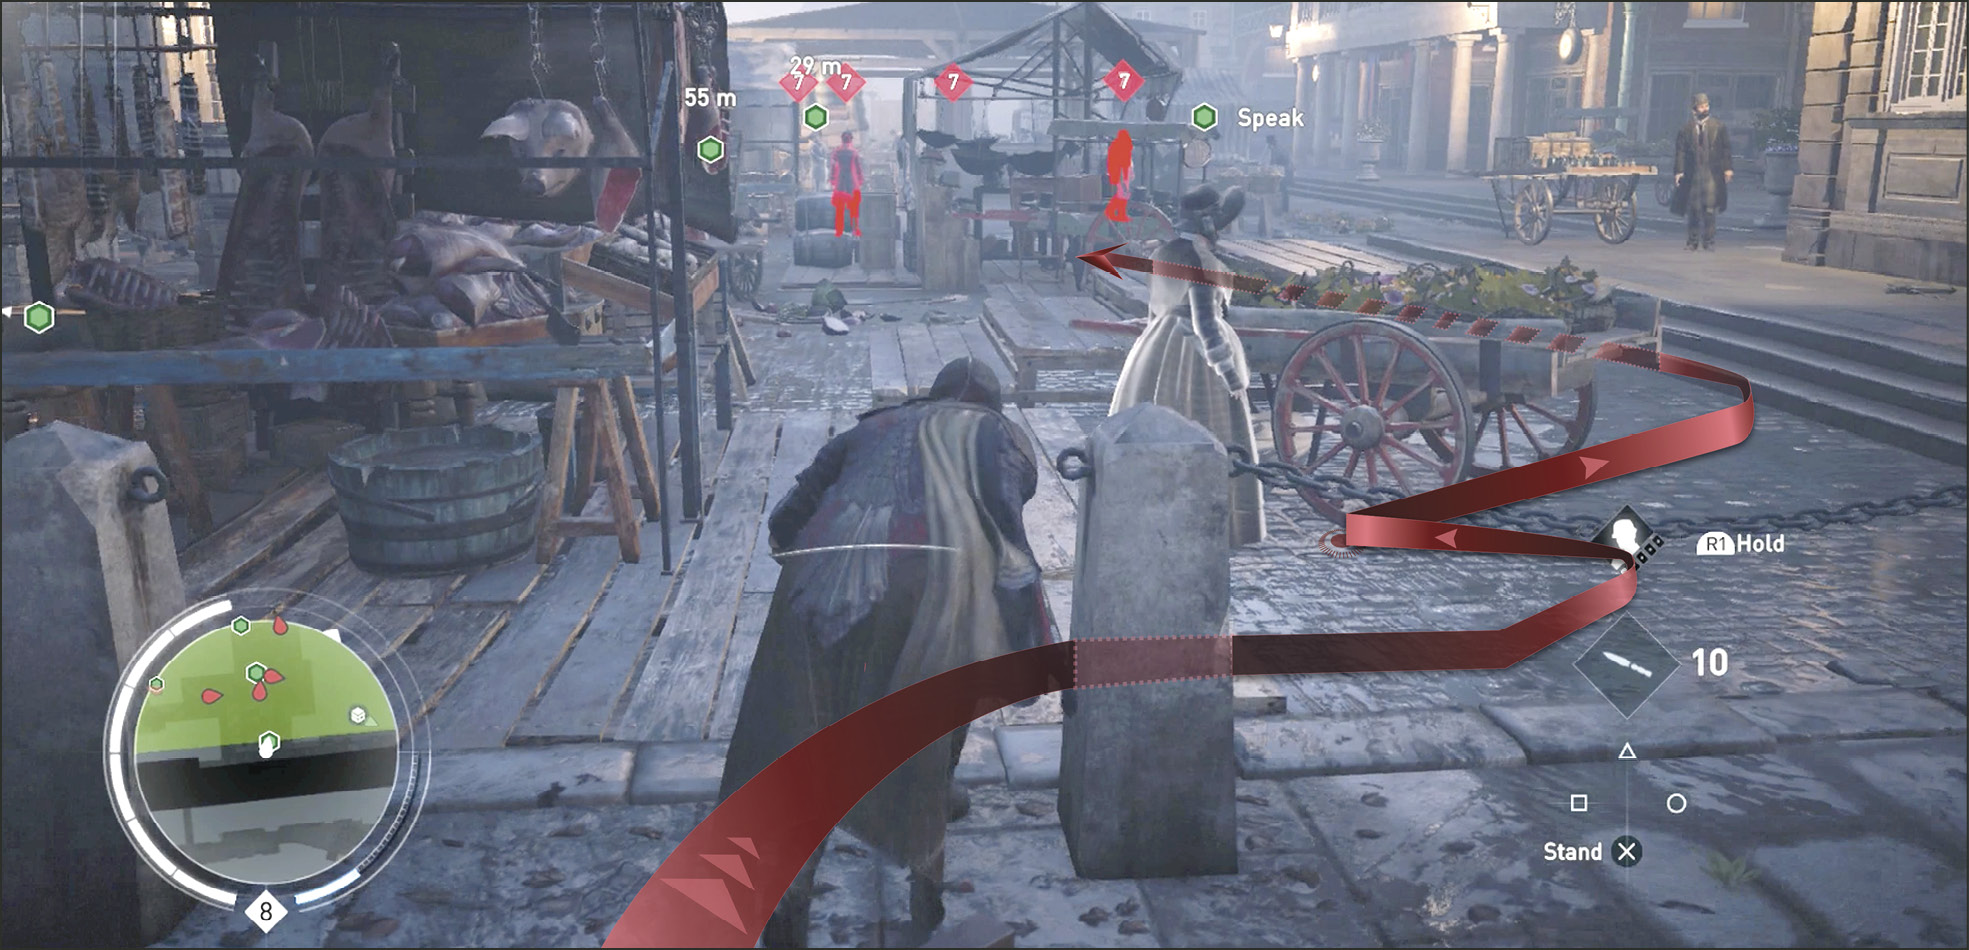
Sneak south and hide behind a cart near a small booth. You spot a couple of Thugs further to the south. They block you from reaching the next civilian to speak to (13). Whistle for the nearest Thug and assassinate him when he investigates. Approach the second civilian (13) and talk to him about Henry. This guy (near the hiding booth) saw them carrying him from the carriage to the church.
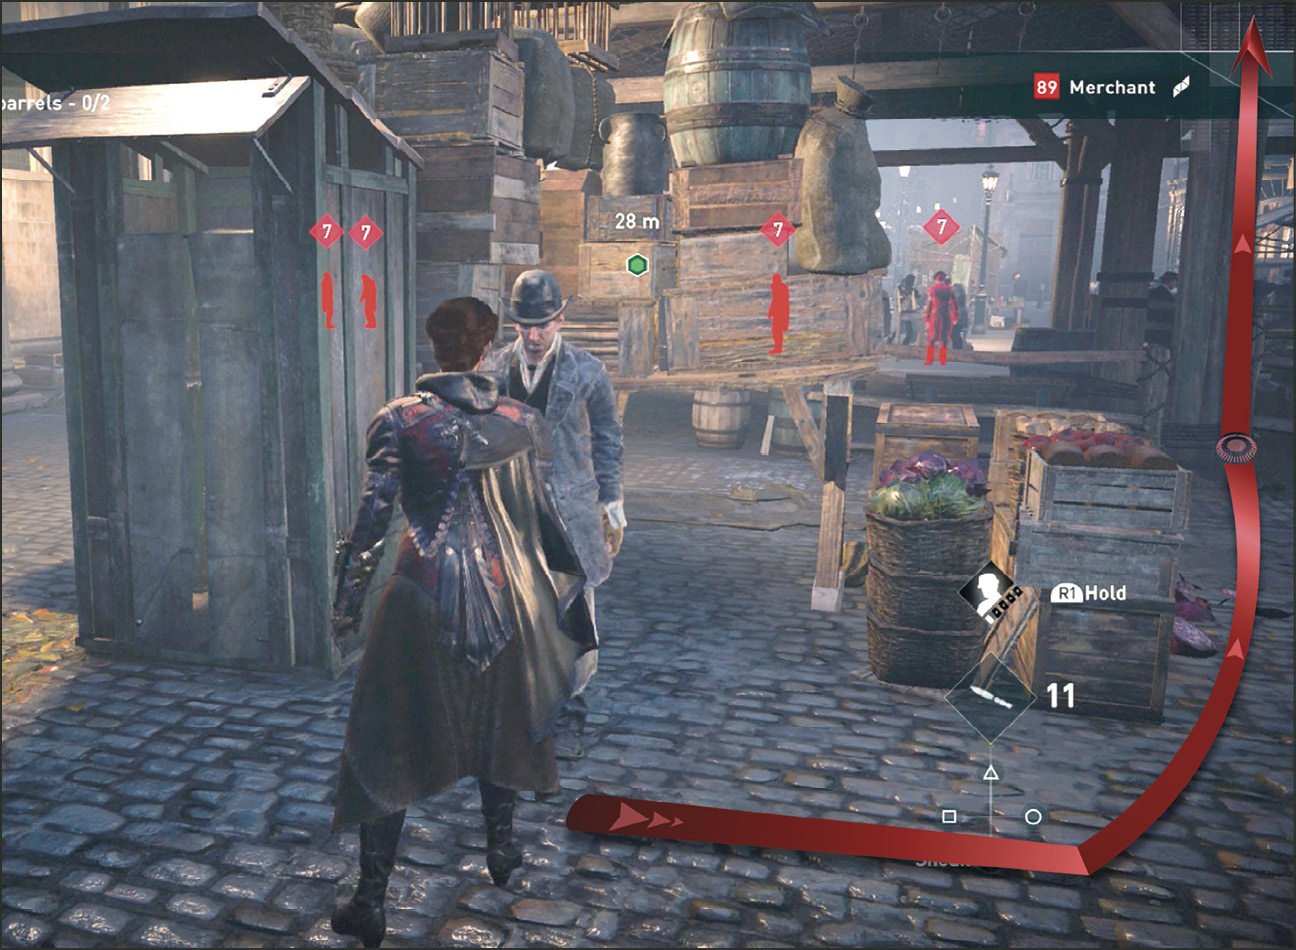
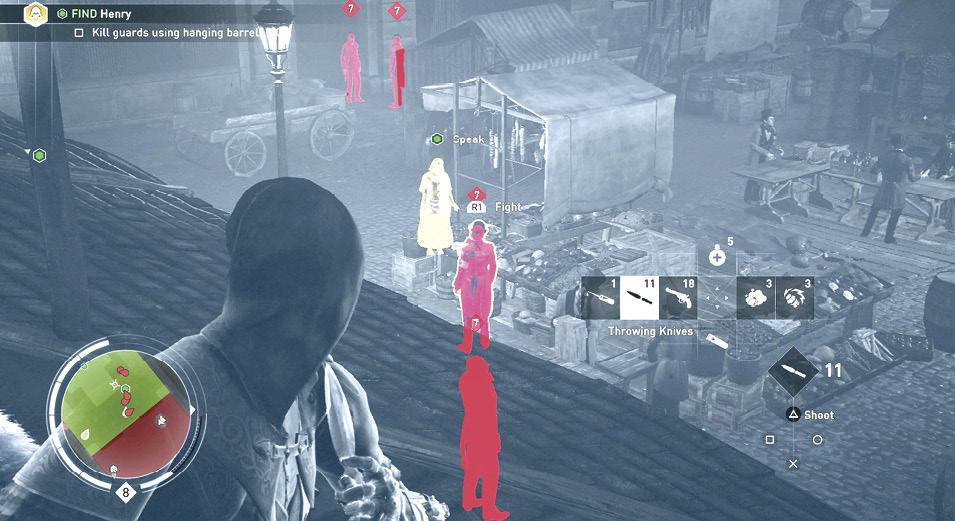
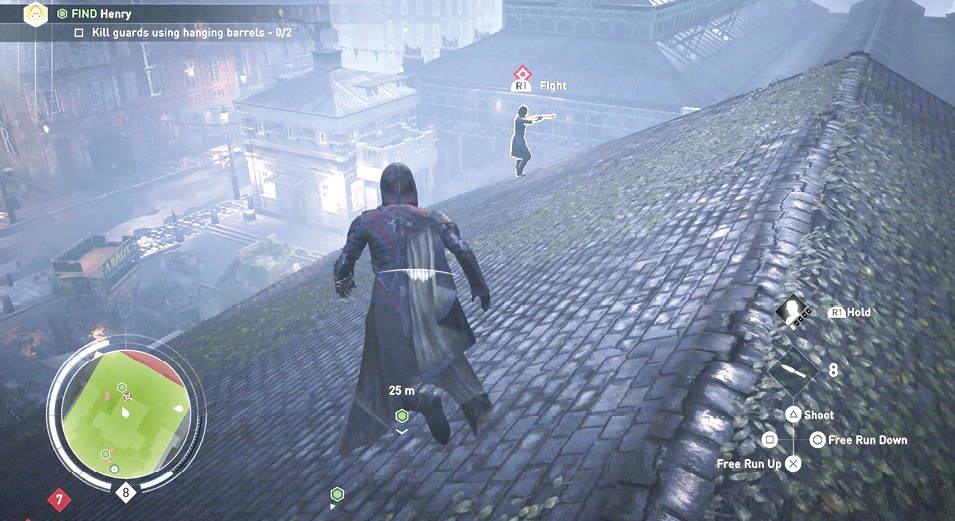
Climb to the top of the shelter to the south of the man you just spoke with. From the rooftop of this shelter you can throw knives at the heads of the many Templars around the third civilian (14). Before you approach and talk to this woman, Rope Launch to the rooftop of St. Paul’s Church (next to the shelter you were on) and get rid of the Watcher on the rooftop. Take out the two Templars on the sidewalk to the north as well. Now you can speak to the woman at the fruit stand (14) without interruptions.
Location: St. Paul’s Church, The Strand
This lady thinks Henry was drunk and says they carried him off to the churchyard to sleep it off. There is one green blip remaining in the area. It’s to the south in the churchyard (15). Rope Launch back up to the rooftop of St. Paul’s Church and head to the southern edge of the rooftop. Perform a Leap of Faith into the haystack below. Immediately Cover Assassinate the Brute standing next to the haystack.
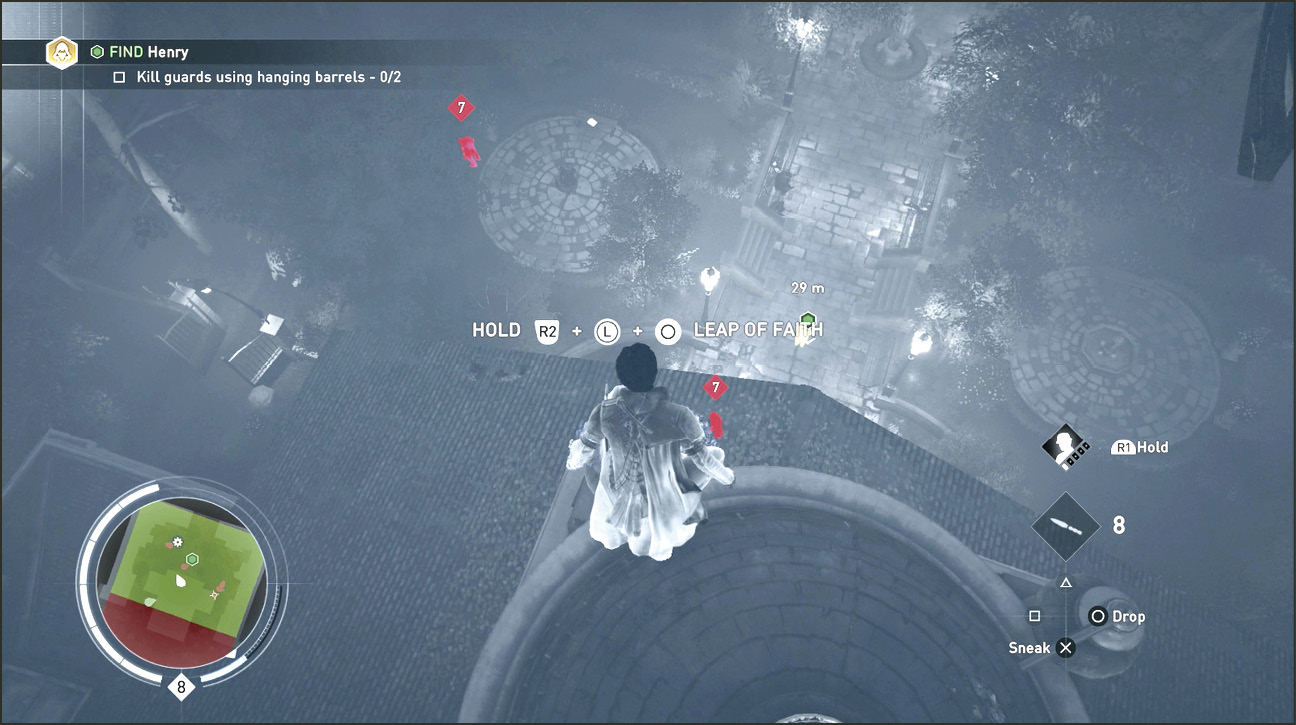
Whistle for the second Brute to come to the haystack and then execute him. Exit the haystack and talk to the man (15) in the hat in the middle of the courtyard. He talks about a gate being unlocked and points north. Find the Pressed Flower on the bench nearby (flower icon on the Mini-Map).
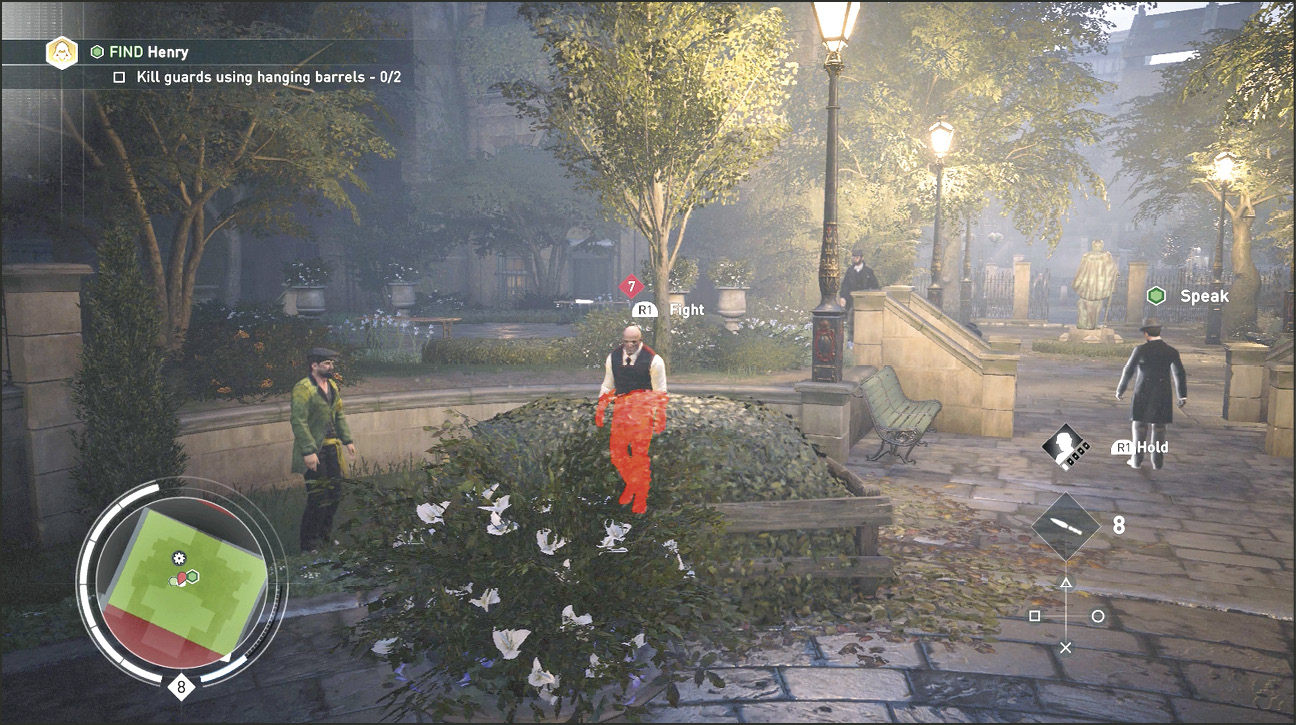
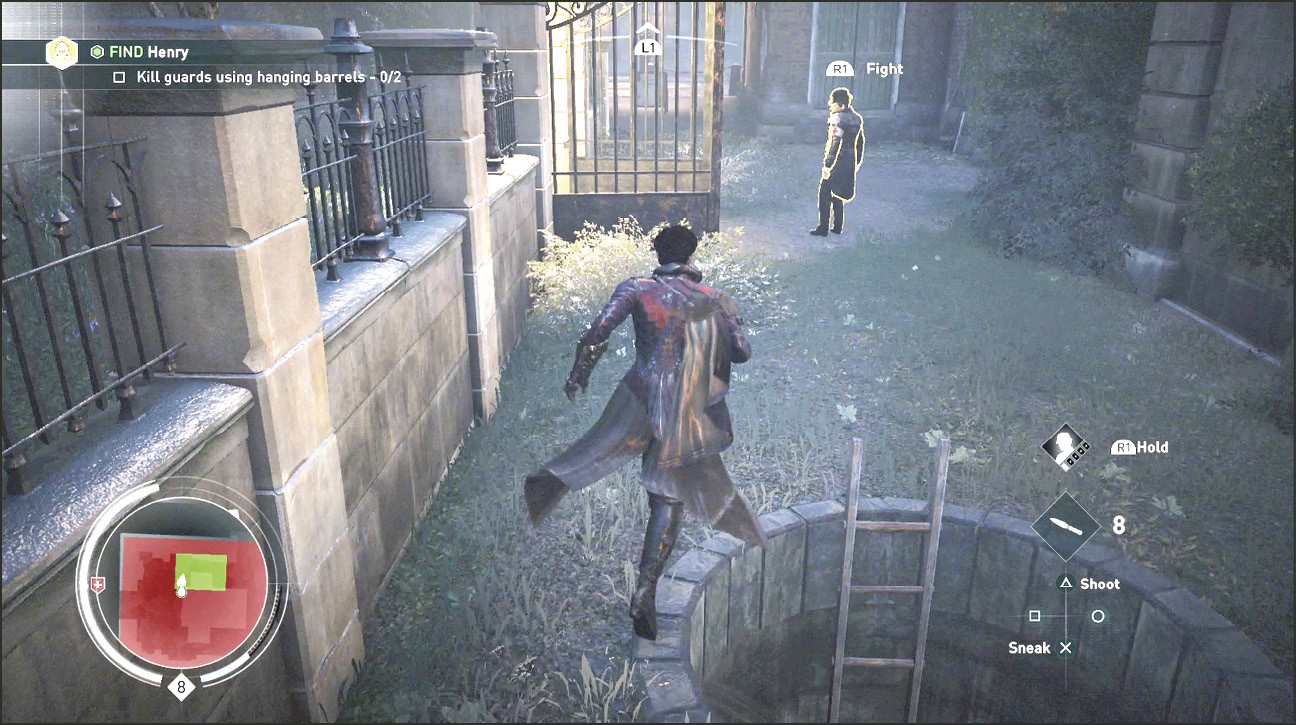
Look at the Mini-Map and you notice a small green patch highlighted in the red restriction zone you’re currently in. Head to this green area to the north and you find a Templar guarding an open well (16). Instead of entering through the open gate where the Templar Brute and Solider can spot you, hop over the fence beside the open well and either drop into the well or assassinate the Templars and then enter the well.
Location: Sewers below St. Paul’s Church
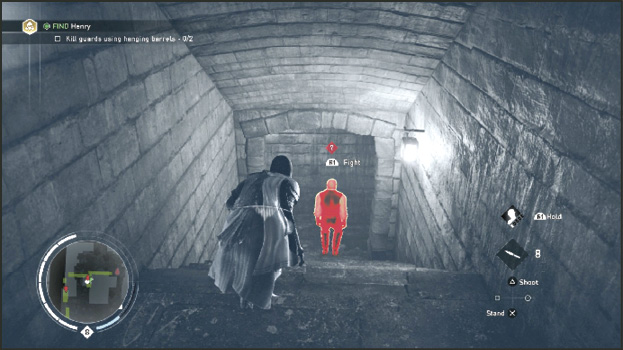
Examine your Mini-Map when you jump down into the well. The accessible pathway is highlighted green. Head down the stairs on the left at the end of the first sewer tunnel. Assassinate the Brute standing with his back to you at the bottom of the stairs.
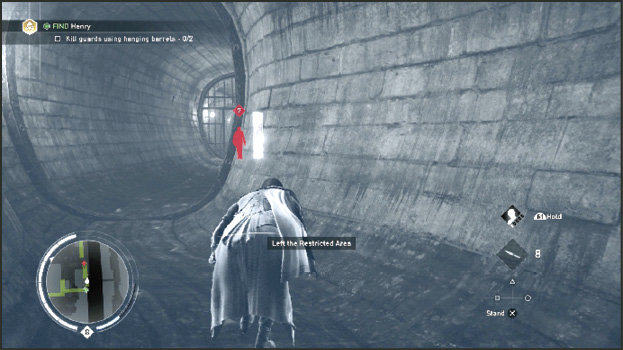
Follow the lower tunnel heading south. The tunnel bends left and reveals a door guarded by a Templar. He patrols this tunnel section and ends up approaching you. Back up to the previous corner and then come up behind him when he turns back towards the doorway.
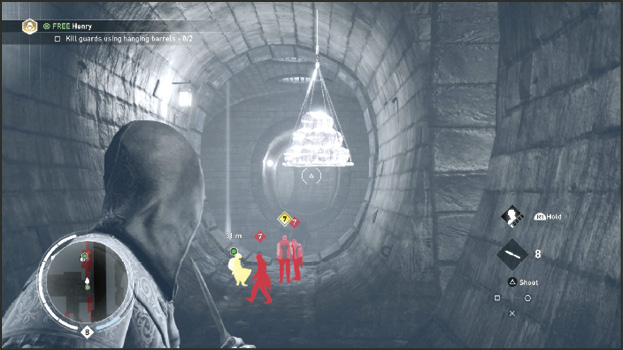
In the next clearing, and with Eagle Vision activated, you see Henry (yellow) slumped over in a chair, with three Templars and barrels hanging in the middle of the chamber. If you miss this opportunity to drop barrels on two guards, there is another chance as you leave the sewers. Defeat the three Templars and free Henry.
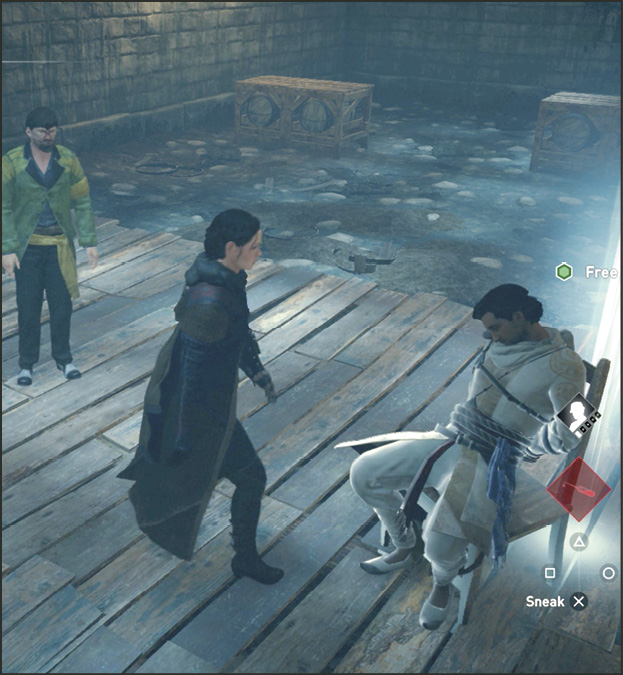
Current Objective: Escort Henry out of the area
Challenge: Kill 2 guards using hanging barrels
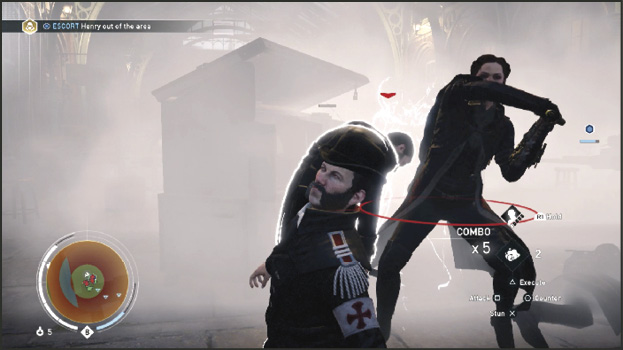
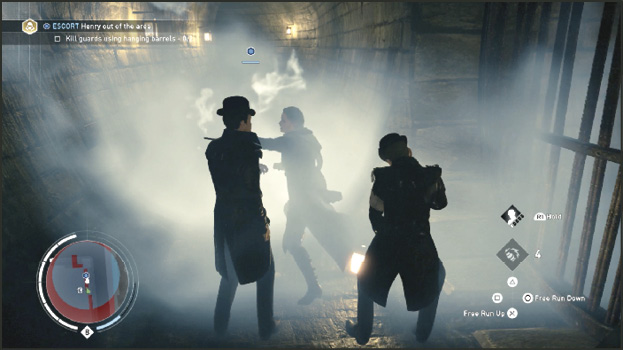
Untie Henry’s ropes and he tells you they sent someone back to move the architectural plans. He asks if you have them. You do not. Open the Chest in the room and then follow Henry out of the sewer. In the next tunnel are two Templars. Henry throws down smoke as he runs past them. You can easily Double Assassinate them as you pass by them in the cloud of smoke.
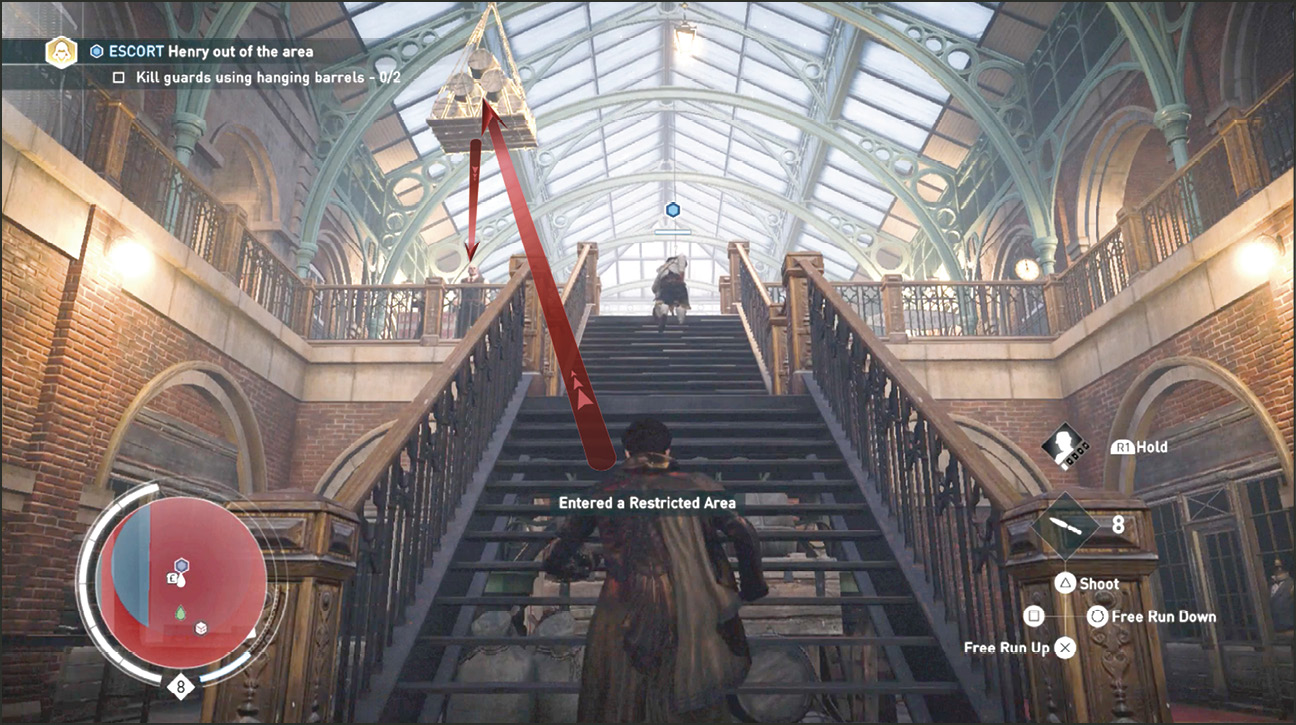
Continue to follow Henry as he climbs stairs out of the sewers and enters Charing Cross Station. At the top of the first set of stairs in the station you can spot Templars on the left standing under hanging barrels. Quickly throw a knife at the barrels as you ascend the stairs. This completes the Challenge if have not completed it yet.
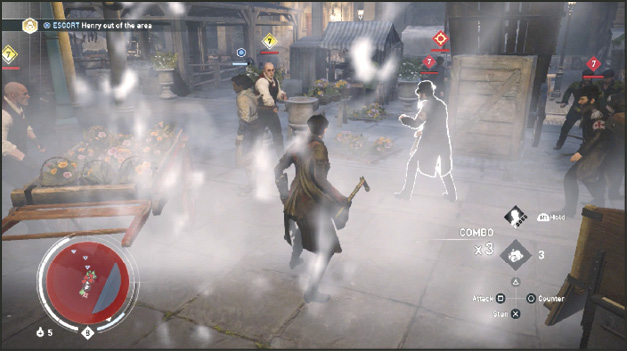
Henry turns right at the top of the stairs and throws a smoke bomb at the entrance of the next passage. Take out these two Templars. Henry runs into the next side of the station and attracts the attention of a group of four Templars. Henry runs back into the tunnel passage seeking your help with the battle. Drop your own smoke if you have some and quickly annihilate the threat.
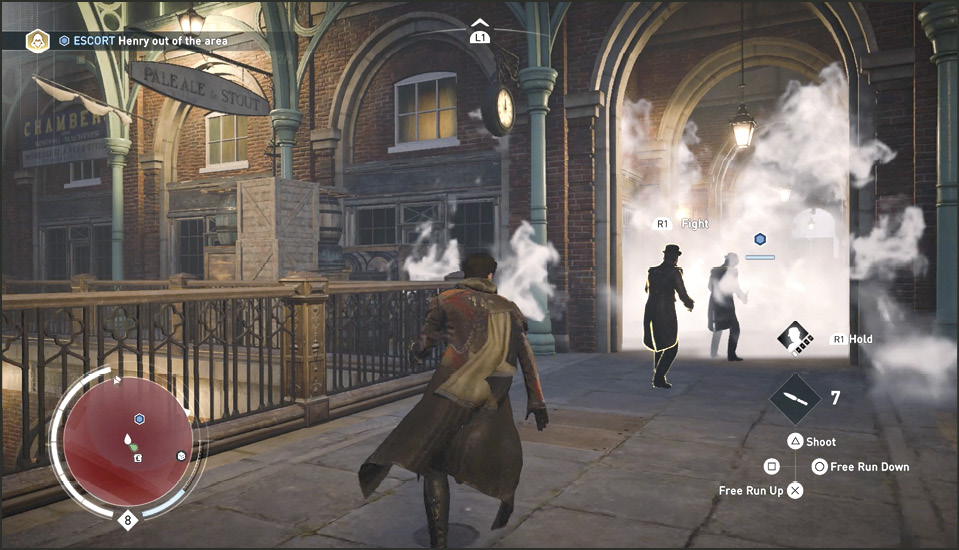
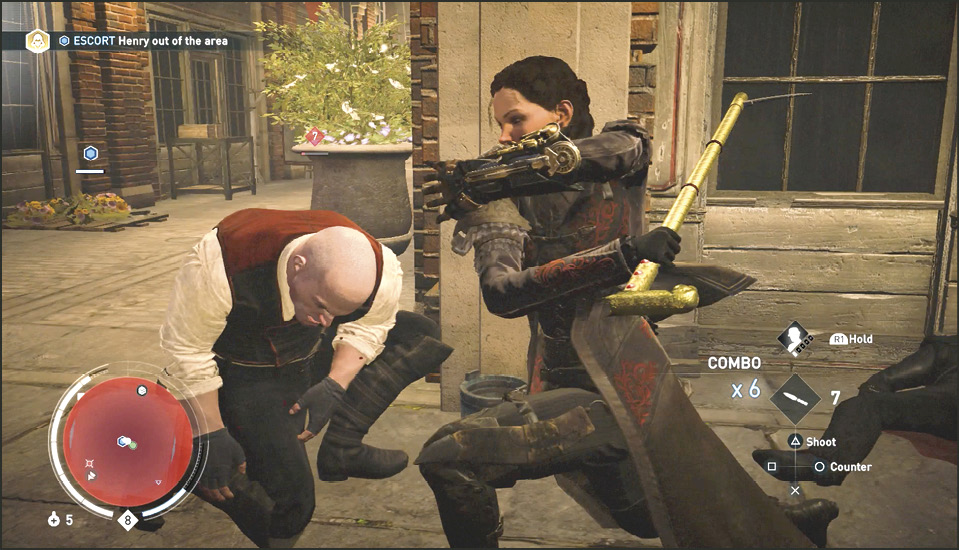
Henry does it again…he runs south through the terminal and runs right into a large group of level 7 Templars. Throw a smoke bomb and help Henry take them out. It’s likely this is a two-smoke bomb battle, as there are many high-level Templars to fight. Switch to knives or have your pistol available for Quickshots or combos that include weaponry. Luckily, there is a small gang of Rooks nearby that lends a hand—and a bullet or two.
Follow Henry across the street to complete the memory. Evie tells Henry to get Miss Nightingale to look at the wound on his forehead. She tells him that she must find the vault before Starrick secures the Shroud. Henry apologizes for his capture messing up her plans. Henry tells Evie, even if she finds the vault, she can’t just walk into Buckingham Palace alone. She reassures him that she won’t be alone and tells him she’ll see him back on the hideout train.