
Assassin's Creed Syndicate Guide Side Quest Associate and Income Activities: WWI
Spy Hideouts
 Spy Hideouts

Stealing documents to gain intel is the main goal of spy hideouts.
Clarence Stock House
Memory Type: Spy Hideout
Suggested Level: 6
Challenge: Destroy the spies’ military equipment (3)
£: 400 + 150 (Full Synch Bonus)
Steal Documents (3)
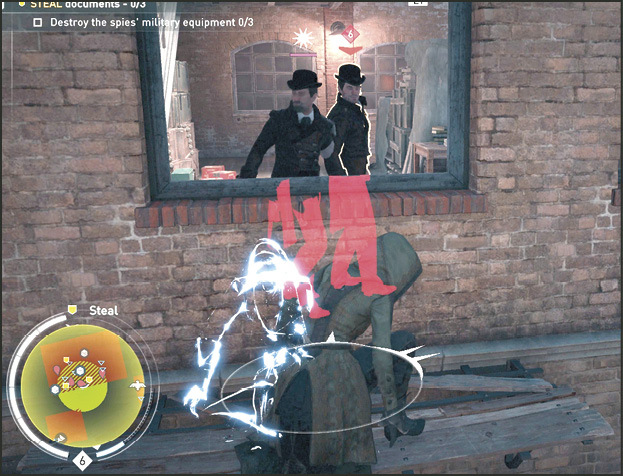
Enter from the window facing the street to the north of the stock house. Wait on the small ledge until the Spy is close, then use a hallucinogenic dart to force a fight among the enemies inside. This fight should kill all of the enemies on the top level making it easy for you to loot the body of the first spy.
Stay on the top floor and head east across a small bridge that connects the two buildings in the complex. In the room across the bridge, there is one spy and one other enemy. Throw a smoke bomb and run in to kill them quickly, loot the body of the spy, then head back to the bridge.
Jump down from the bridge and work your way to the east side of the dock. This can be done without alerting an enemy. Use throwing knives to clear a path if you don’t want to take a full stealth approach.
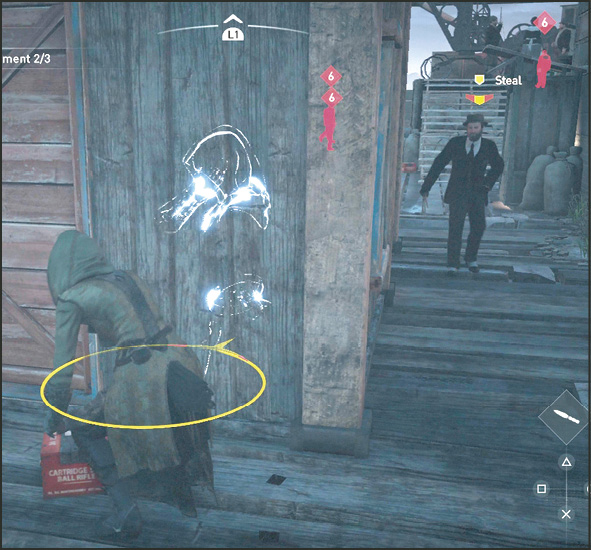
Once you’re on the docks, get behind the small building on the east side, then whistle to grab the attention of the last spy. If he is out of whistle range, stand out in the open to grab his attention. Move back into cover and assassinate him as he comes around the corner.
Destroy the spies’ military equipment (3)
In the first warehouse (the west building) that you entered, there are two pieces of military equipment, an emplaced gun and an armored car. On the top floor of this building there are plenty of ammo boxes that you can use to destroy the equipment. Ammo boxes function exactly like TNT boxes. They must be ignited to explode.
There are two enemies in the bottom floor of this building. Take them out before attempting to move ammo boxes as you cannot attack them while holding a box.
Move the boxes near each item, the gun in the northwest corner of the room, and the armored car parked in the center facing towards the open garage door.
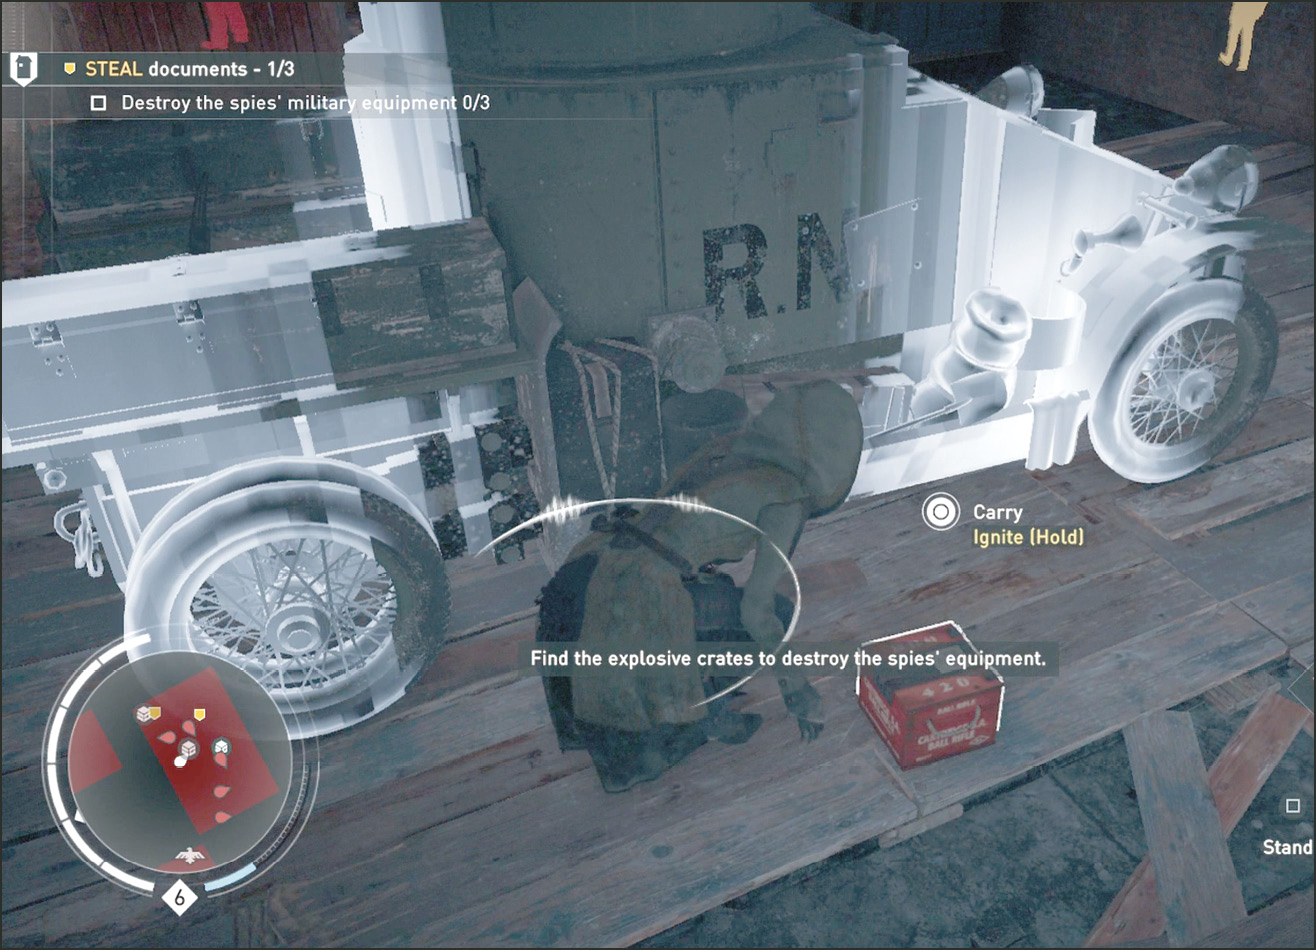
Ignite them both then head back upstairs, grabbing another crate of ammo and heading to the bridge. Toss the ammo box off the bridge towards the armored car that is parked on the boardwalk. Jump down and make any adjustments needed to put the box within range to damage the armored car. Ignite the box and run to a safe distance.
Hopton’s
Memory Type: Spy Hideout
Suggested Level: 6
Challenge: Plant false information (1)
£: 400 + 150 (Full Synch Bonus)
Steal Documents (3)
There is only one scout on all of the roofs in the area. Zipline to the roof with the scout and kill him. Continue to the west of the roof to the small room containing one enemy and the first spy. Do not ledge assassinate this spy as his body falls into the road below, putting the police on alert.
Use a hallucinogenic dart on the spy. Doing this causes him to kill the other enemy and then eventually drop dead from its effects. Loot the documents, then focus on the spy in the top floor of the center building.
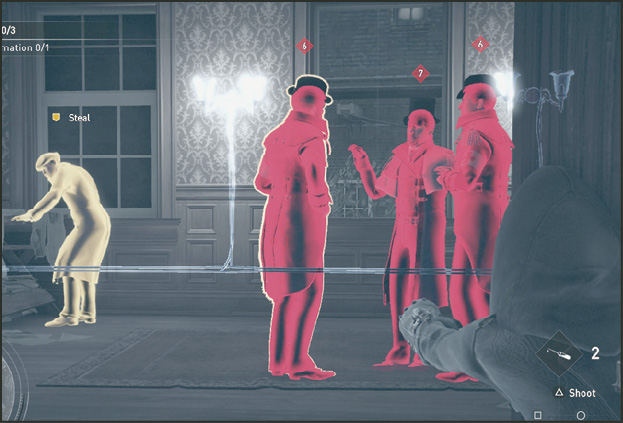
Your target is in a room with three other enemies. Throw a smoke bomb in the room when they are all grouped up. Under the cover of smoke, run in and quickly kill all of the enemies.
The third spy is on the bottom floor of the building. Continue down the stairs, then use a throwing knife to quickly kill the spy and any other enemies that may notice you when you go to loot the body.
Planting False Information (1)
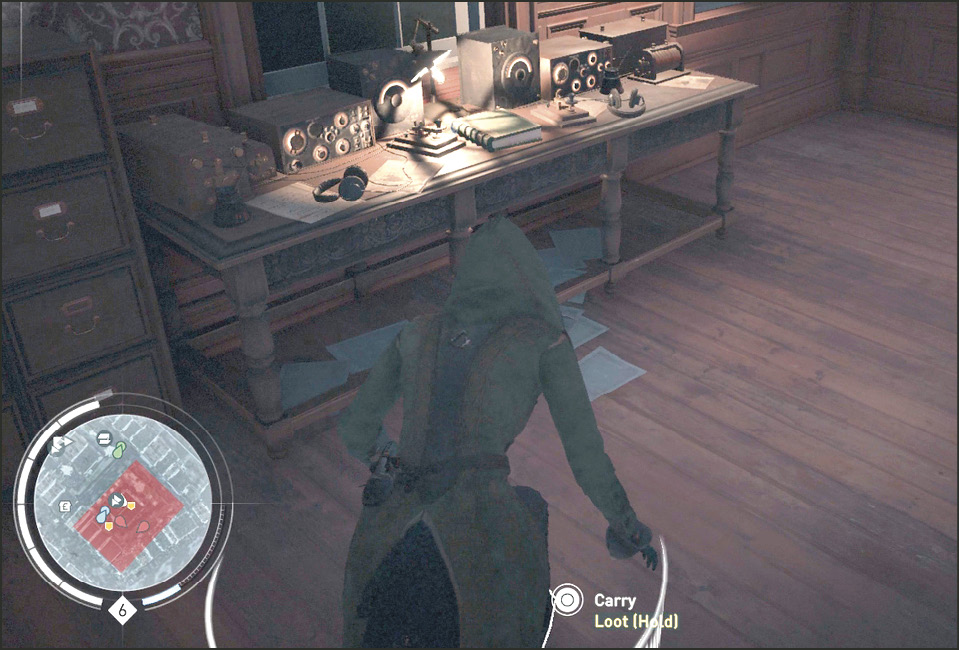
As you are working your way down from the top level of the house, stop off at the second level. In a room behind a door, one enemy guards a book on a desk. Open the door, kill the guard, and plant the information in the book. Eagle Vision shows the book as a white square on the table. This helps you locate the correct area as you descend towards the bottom floor of the house.
17 Walpole Lane
Memory Type: Spy Hideout
Suggested Level: 6
Challenge: Free allies (2)
£: 400+150 (Full Synch Bonus)
Steal Documents (3)
Enter the area from the north, killing the one scout that inhabits the roof. Work your way around the roof towards the east, following it as it curves to the south. Once you are lined up with the roof of the center building, zipline across. Two scouts are on the roof: one on the north side, one on the south. Kill the scouts before locating the spies.
Two spies roam the courtyard while the third is inside the center building. Police also walk the courtyard. Use your hallucinogenic darts on fuel sources to quickly turn some enemies against each other on the south side of the center building.
This pulls other nearby enemies, and at least one spy back behind the building. Once you see a spy come around, hit him with a dart, or go for a headshot with a throwing knife. The spies do not need to be alive for you to obtain the documents.
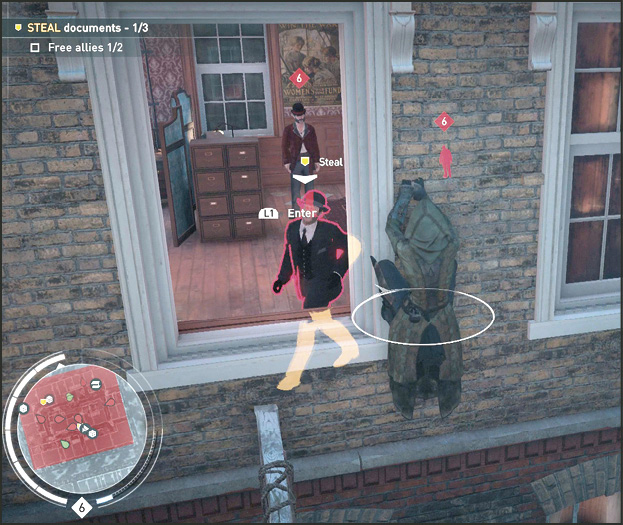
Keeping the fight behind the building lessens the chances of the enemies on the north side being alerted, making the fight much easier. Once you’ve grabbed the first file, hunt down the second spy that is in the courtyard if they haven’t already been pulled back behind the building by the fight. Use a throwing knife or dart to take them down then grab the documents from their corpse.
There is a small window with a post just below it on the south side of the center building that is home to the third spy. Simply climb to one of the sides of the window and whistle when the spy is closest to the window. Use a cover assassination to pull him out of the window, then loot the documents from the corpse below.
Free Allies
If you have killed the scouts on the rooftops, all you need to do is get to the roof nearest your captive allies. Once you are above them, Air Assassinate the one target guarding either set of your allies, then free them.
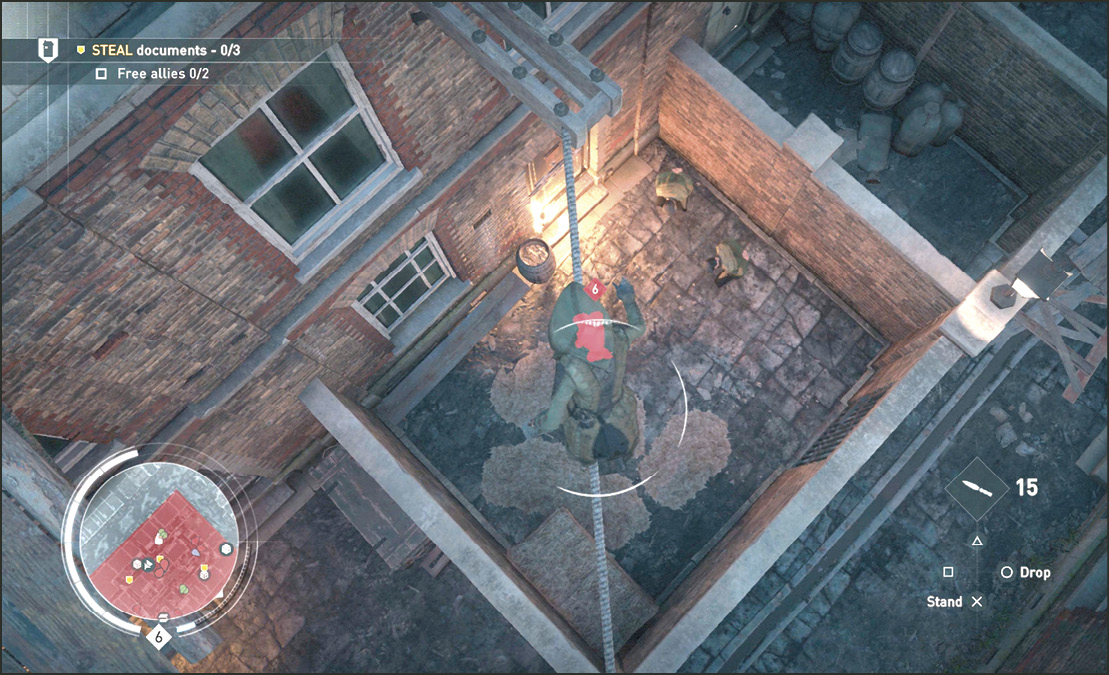
Open the door for them before heading out of their small enclosure. If there are any enemies in the area, they begin to fight. Your allies do not need to stay alive after you have freed them, so don’t worry about protecting them.
Spy Hideouts
| Map | Lvl | Name | Challenge | Reward |
|---|---|---|---|---|
|
1 |
6 |
Clarence Stock House |
Destroy the spies’ military equipment (3). |
£: 400 |
|
2 |
6 |
Hopton’s |
Plant false information (1). |
£: 400 |
|
3 |
6 |
17 Walpole Lane |
Free allies (2). |
£: 400 |